This site contains affiliate links to products. We may receive a commission for purchases made through these links.
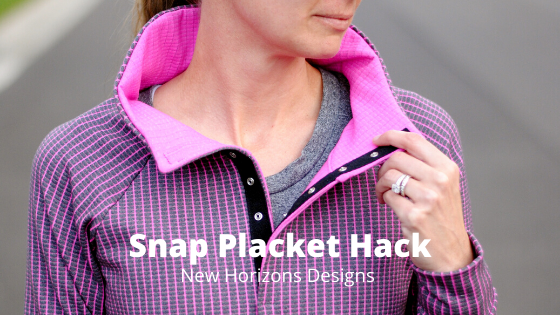
Hi All! Jody again, I’m here to share a tutorial for a snap placket hack I sewed up using the Summit Peak Hoodie.
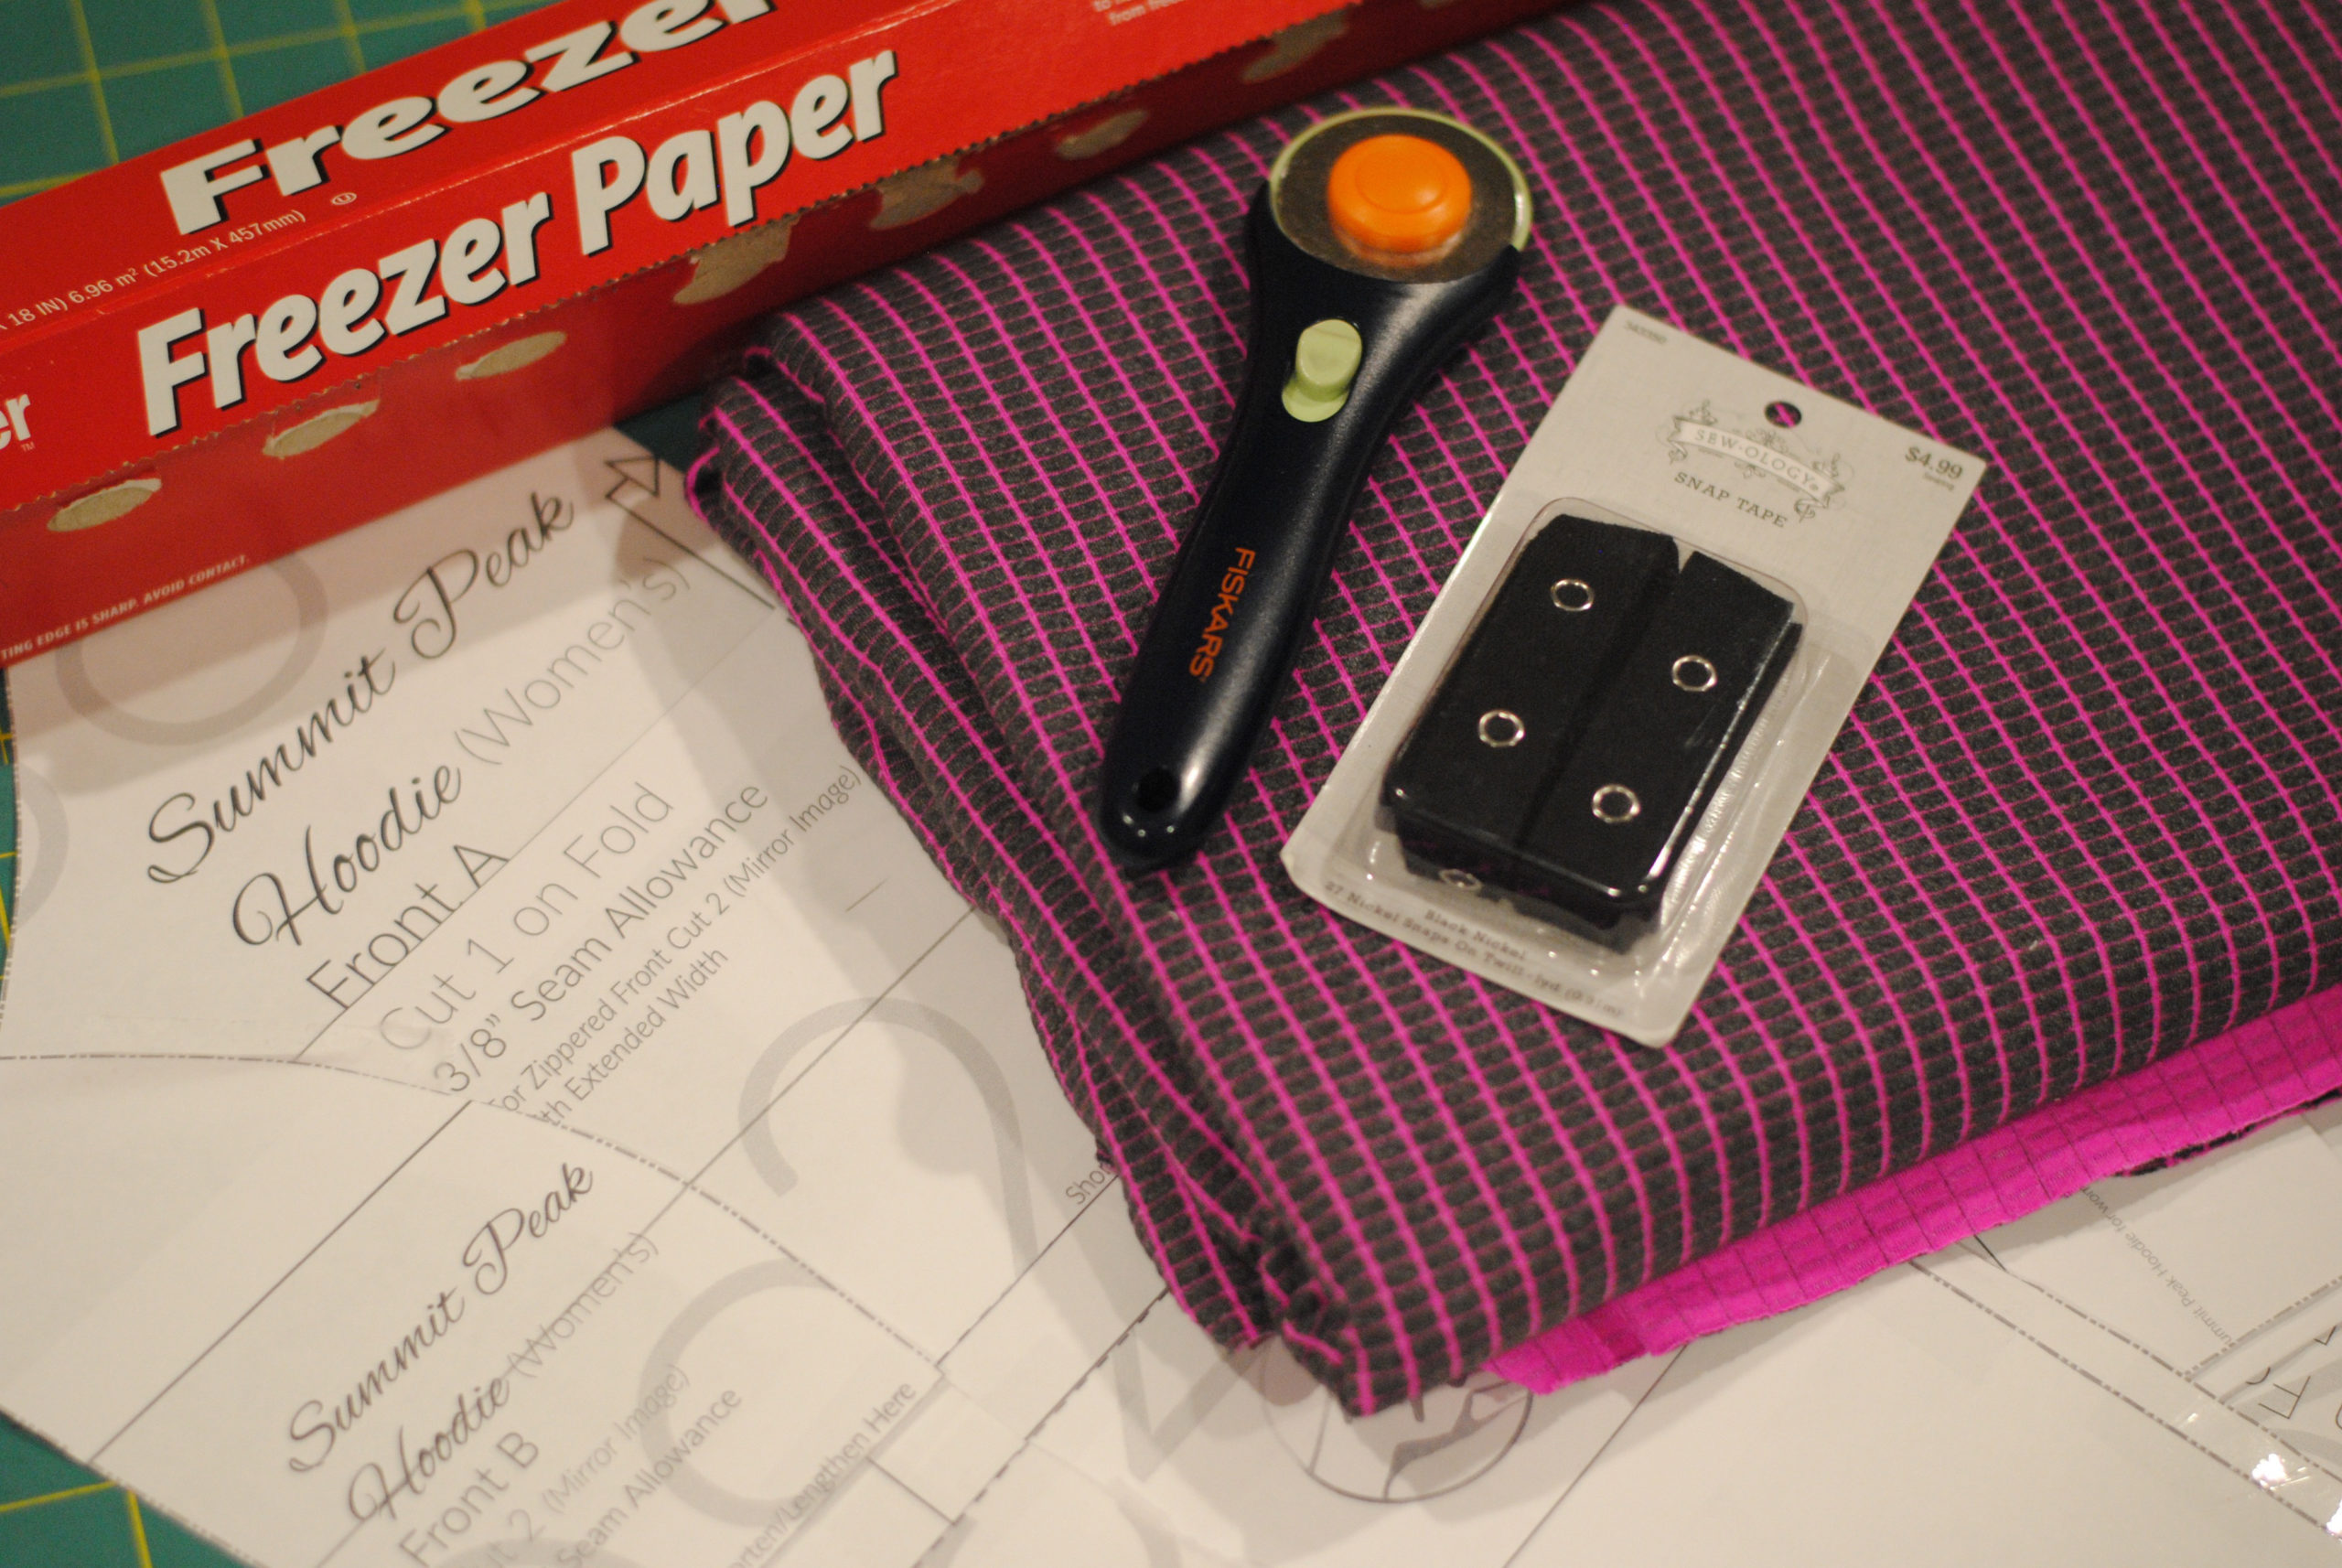
It also utilizes the hack Amanda had written up for modifying the pattern to have a collar, so be sure to familiarize yourself with that as well! You can find that hack here. For this hack, you will need all your usual pattern pieces and sewing supplies. You will also need some tracing paper (I use freezer paper) and some premade snap tape for the placket closure. (buttons/button holes or individual snaps are also an option, I just prefer the ease of premade snap tape though!)
Modifying your pattern pieces
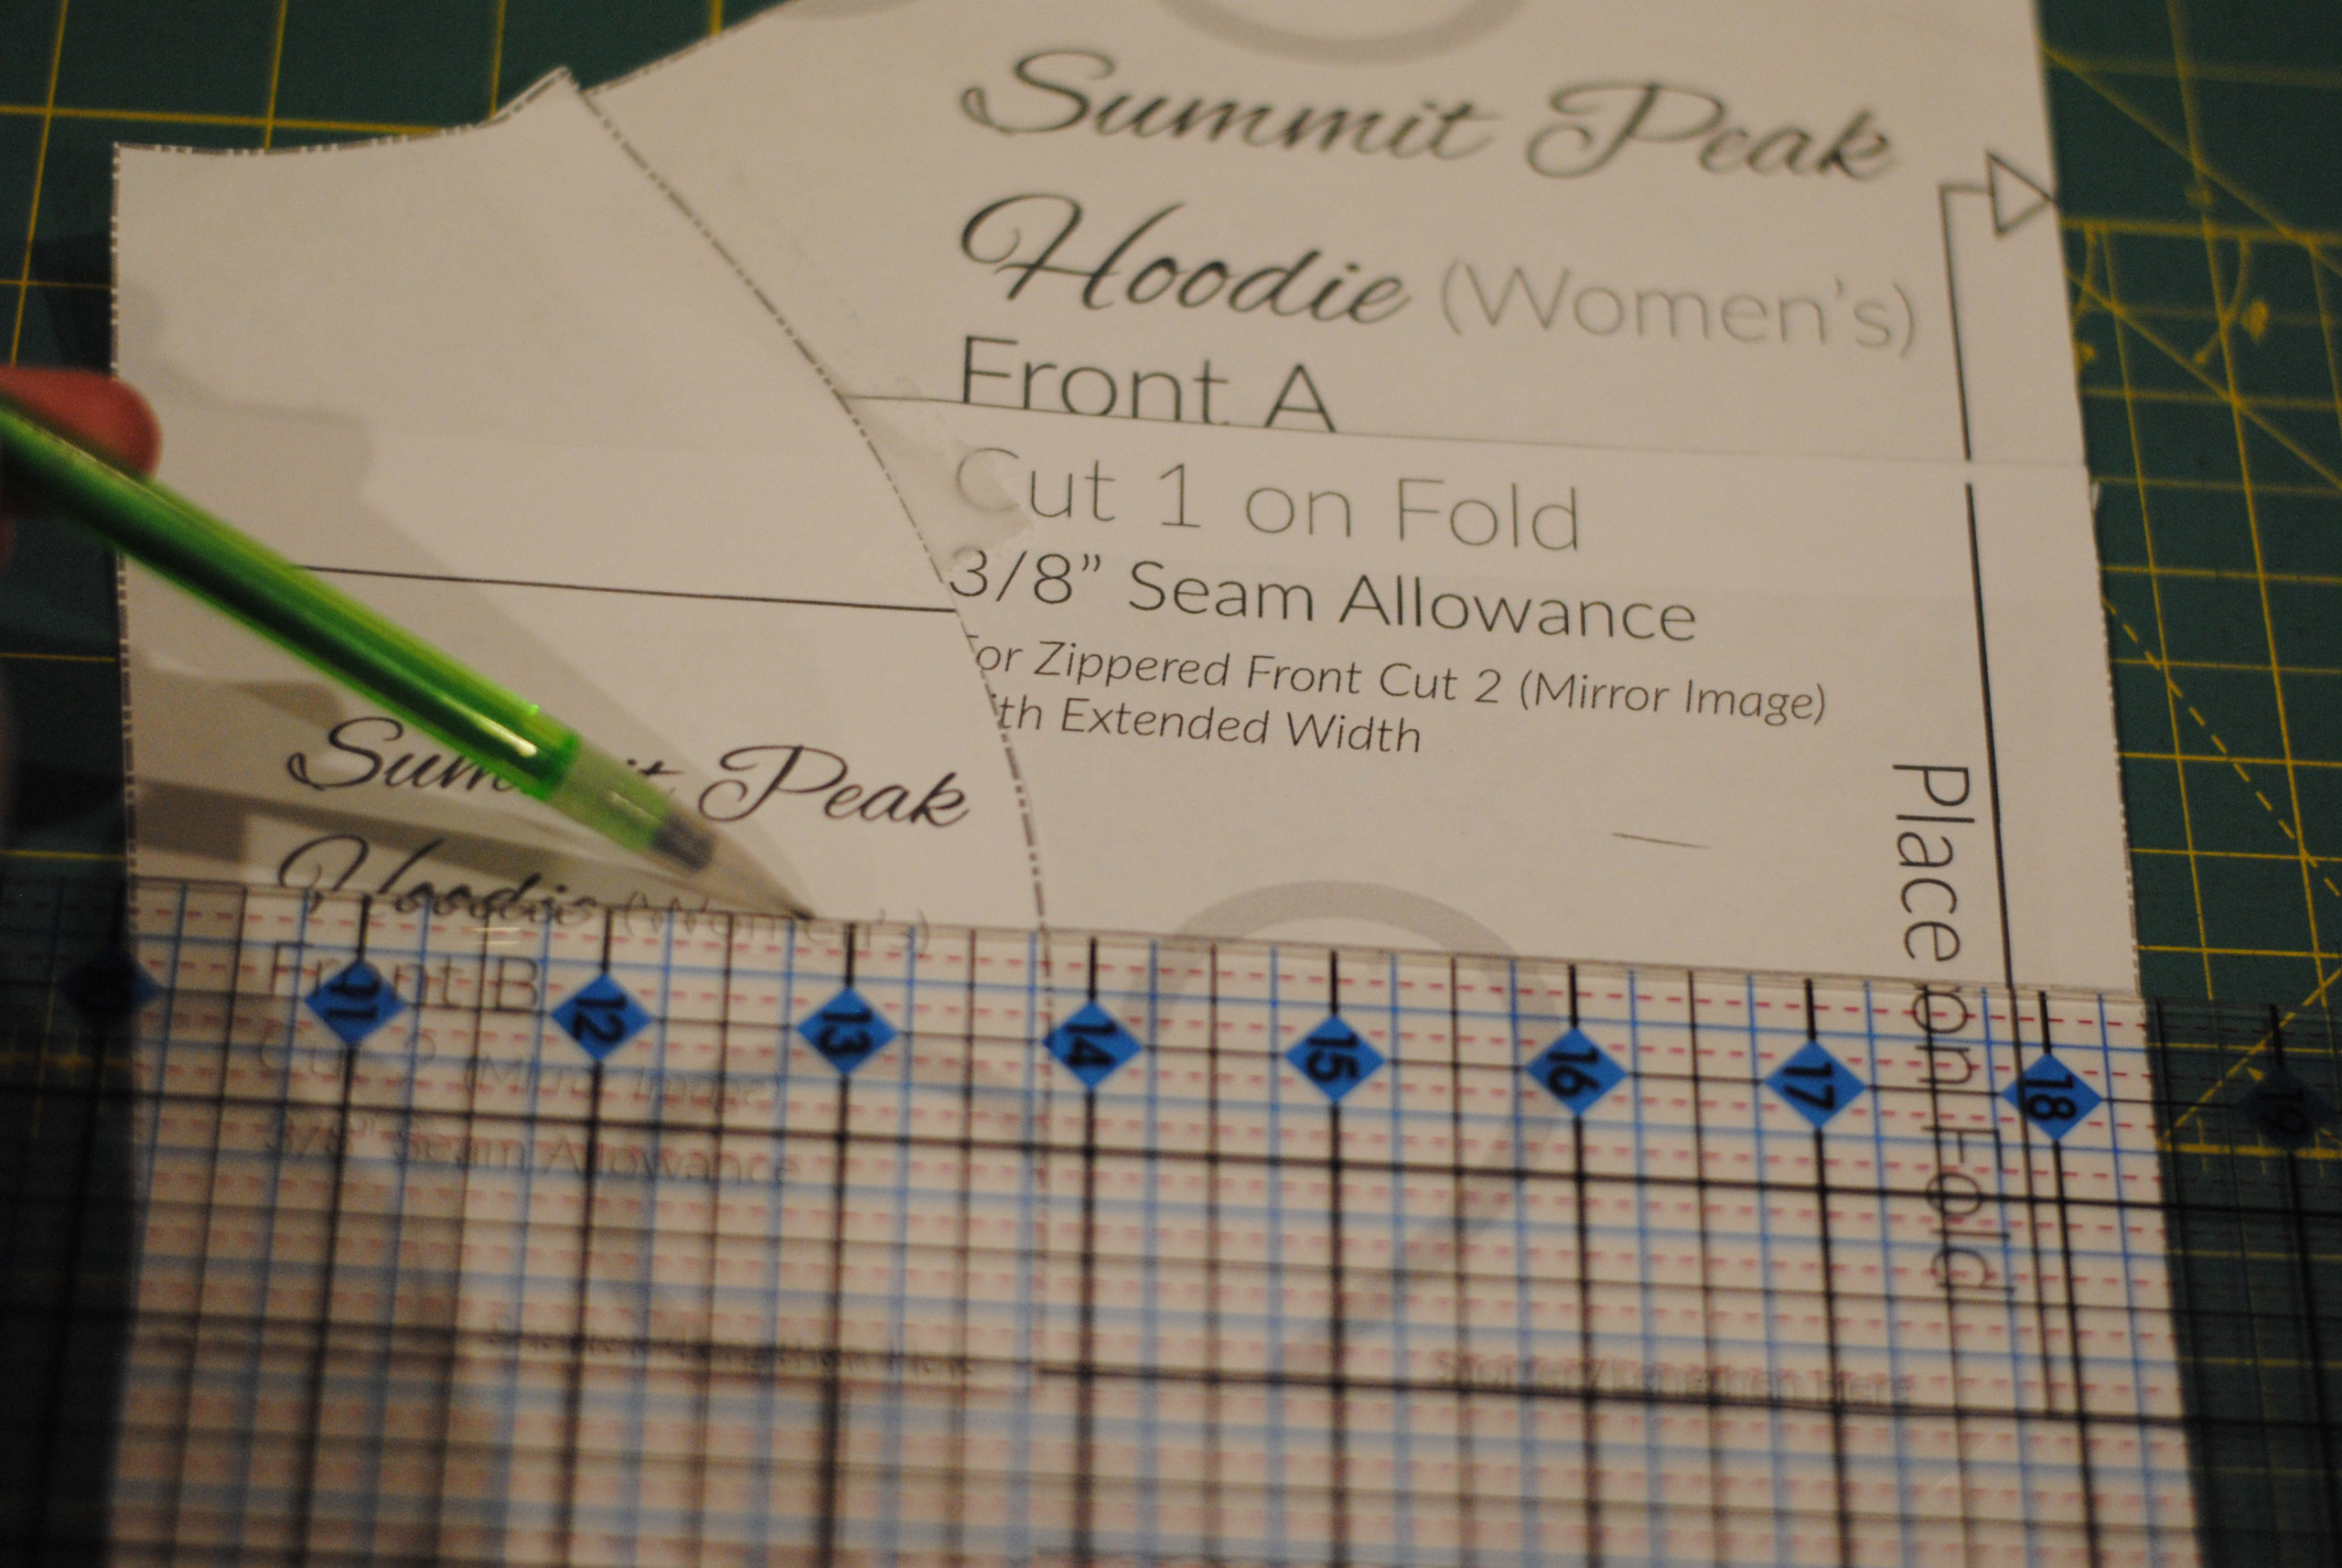
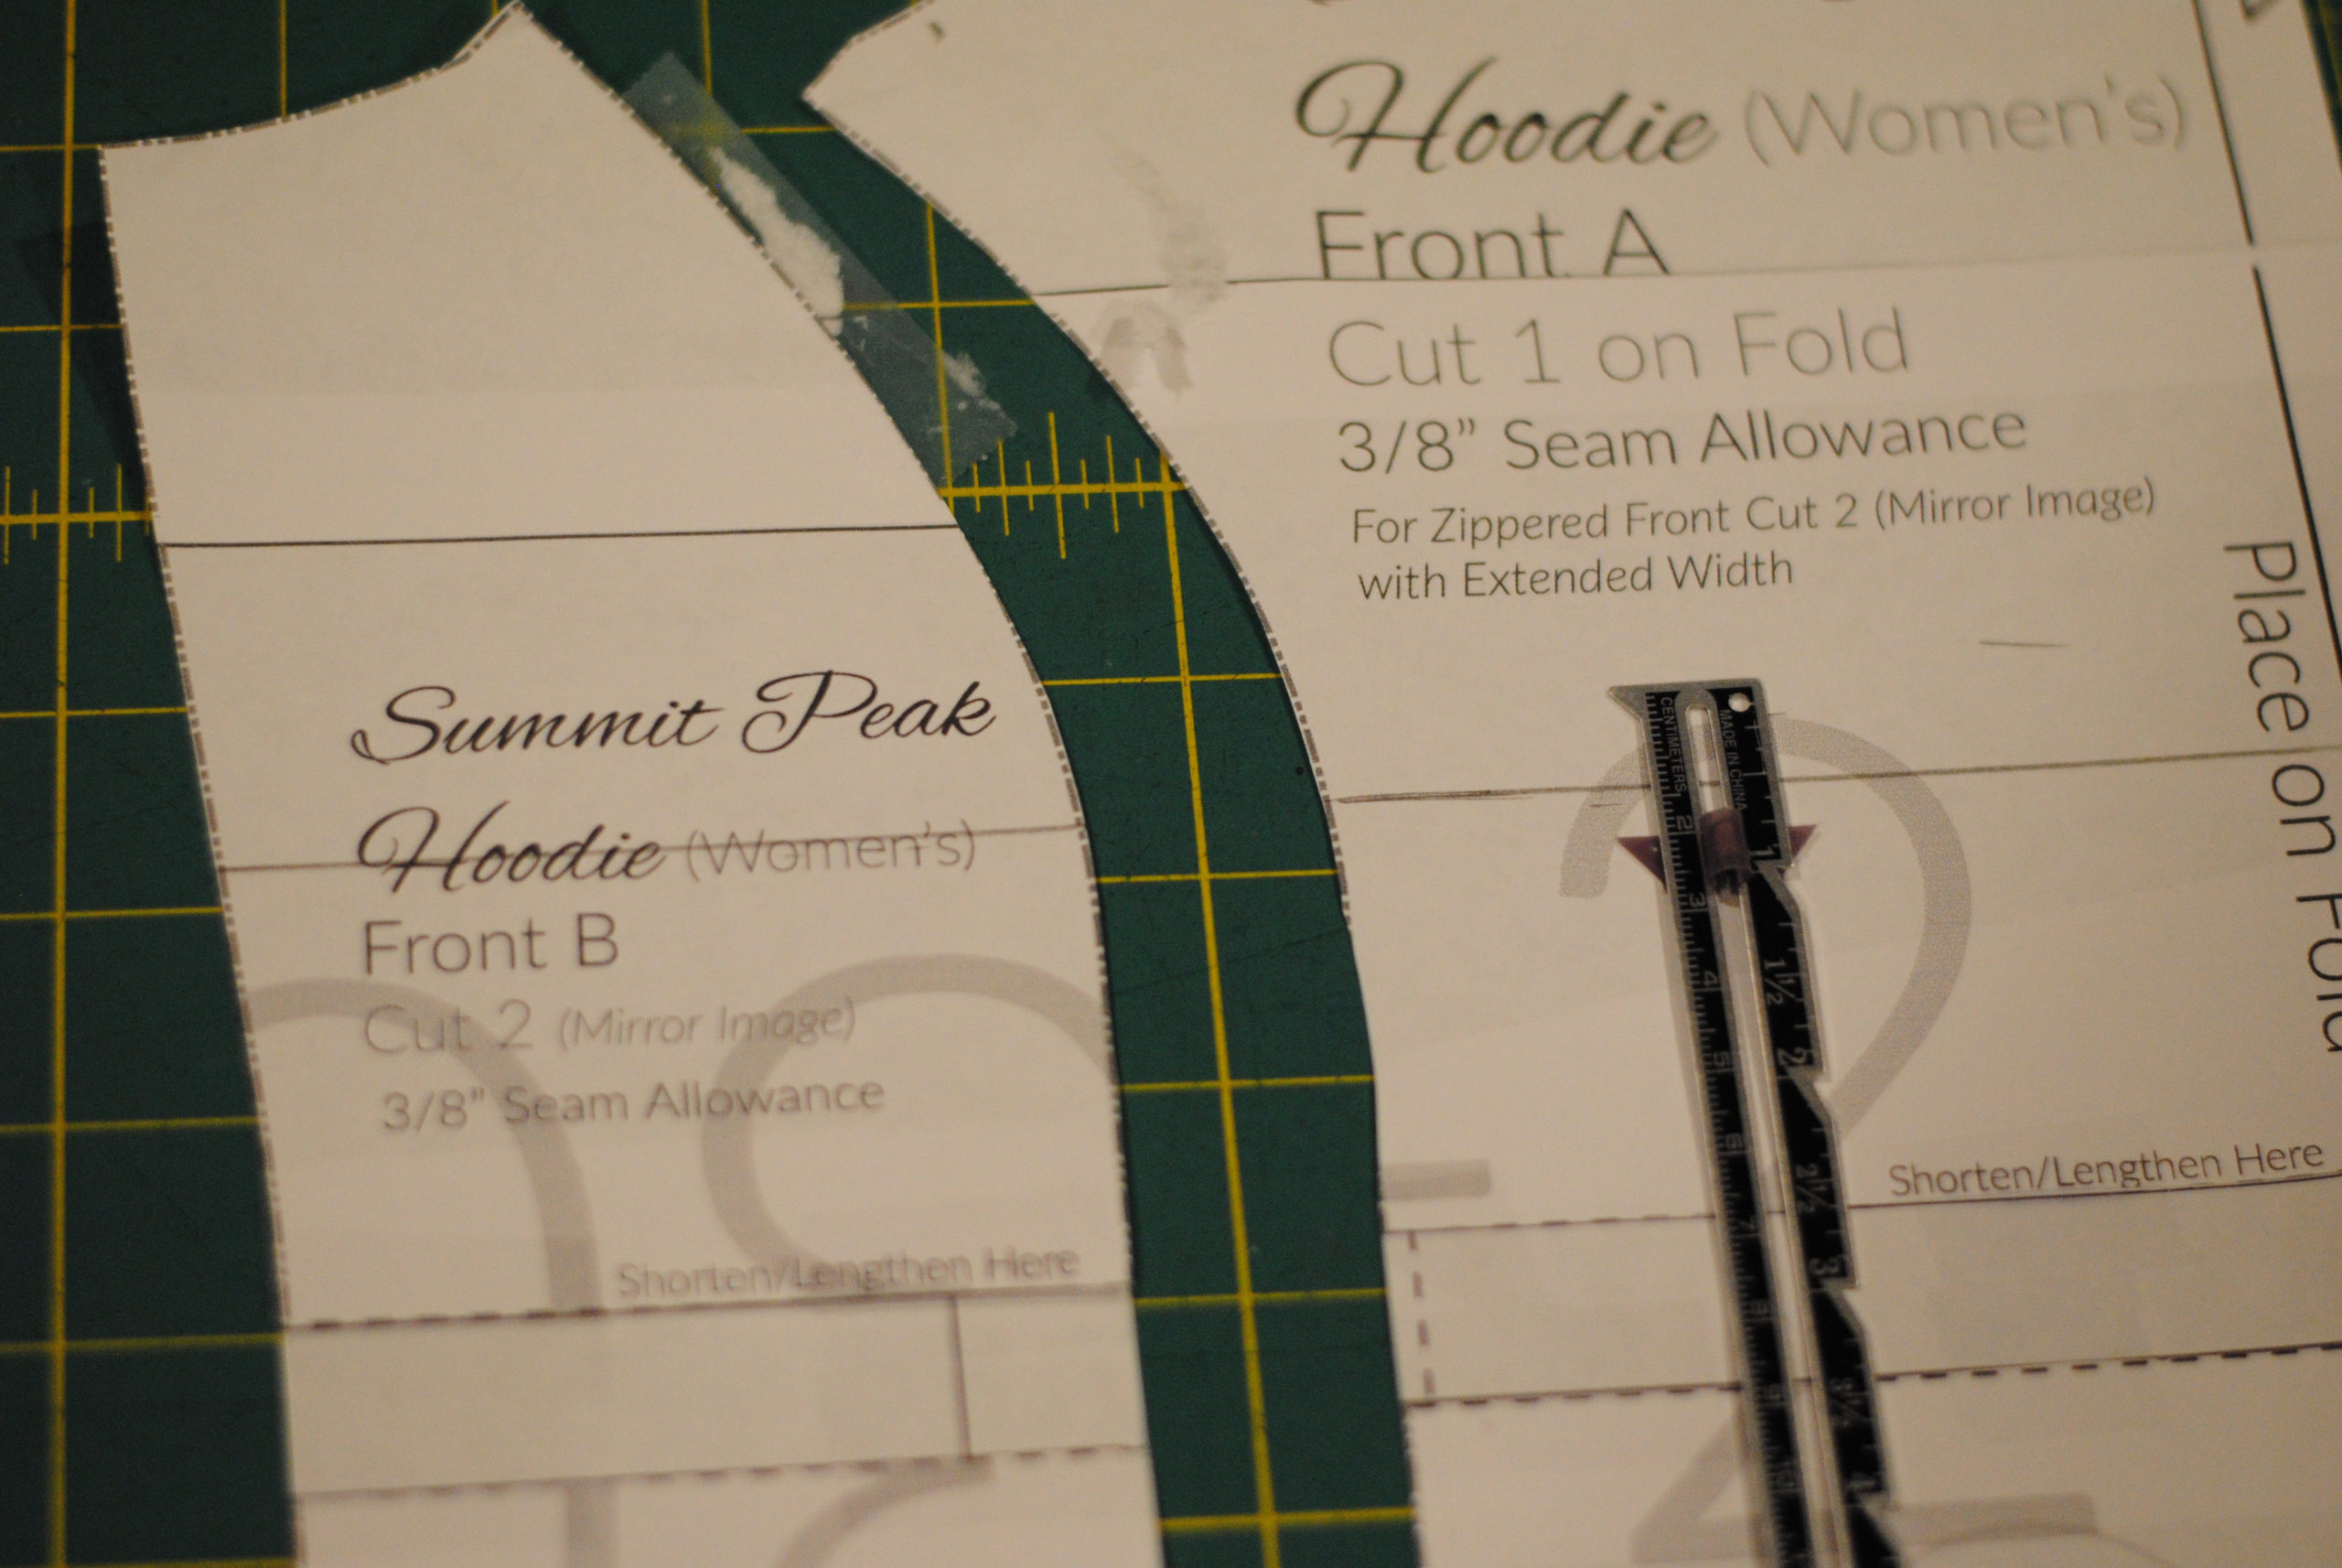
The next few steps will create your modified pattern pieces for constructing the front bodice to accommodate the snap placket. First you will need to overlap Bodice front A piece and bodice Front B piece along the princess seams to temporarily create a single front bodice piece. The pieces will need to overlap by ¾” (which effectively eliminates the 3/8” seam allowance on each piece).

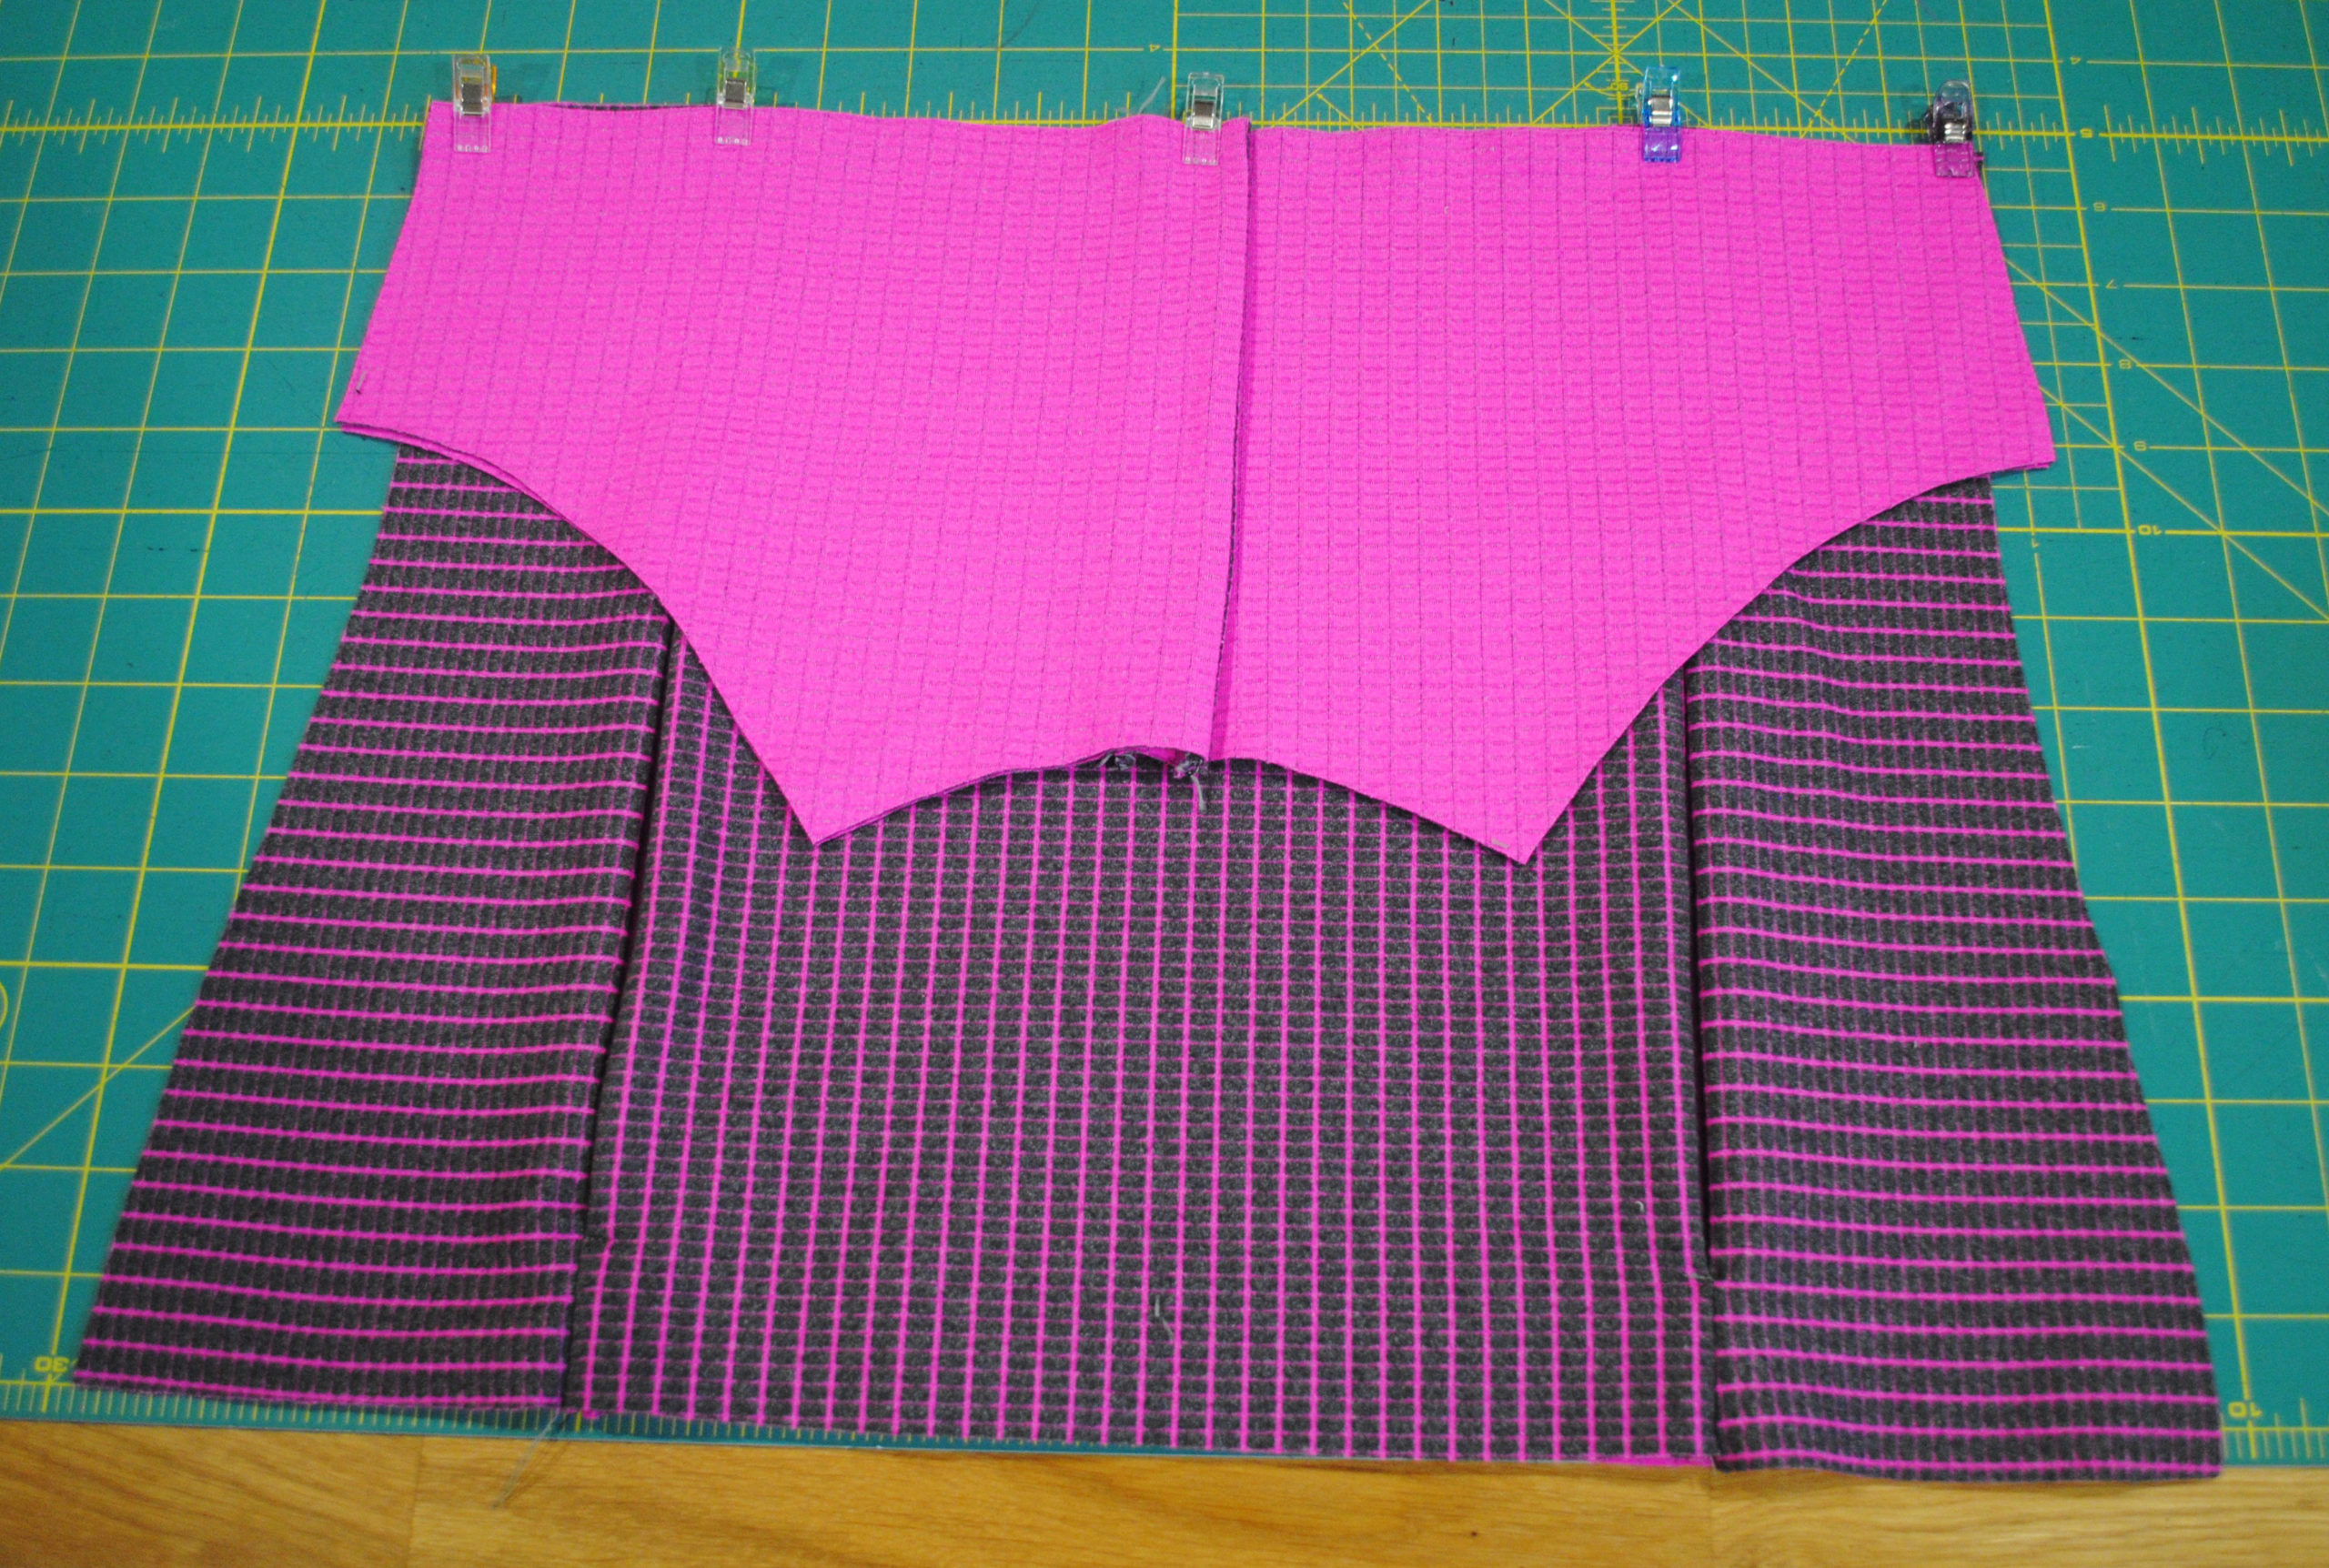
Next, you will draw a line across the two pieces to create the top yoke piece. I chose a spot about 7” down from the front neckline, right below the princess seams start to really curve. Draw a straight line across your pattern pieces at this spot. Take your tracing paper, lay it over top and trace around the neckline, armsyce, down the center fold and across the new line you just drew, creating your new yoke piece.

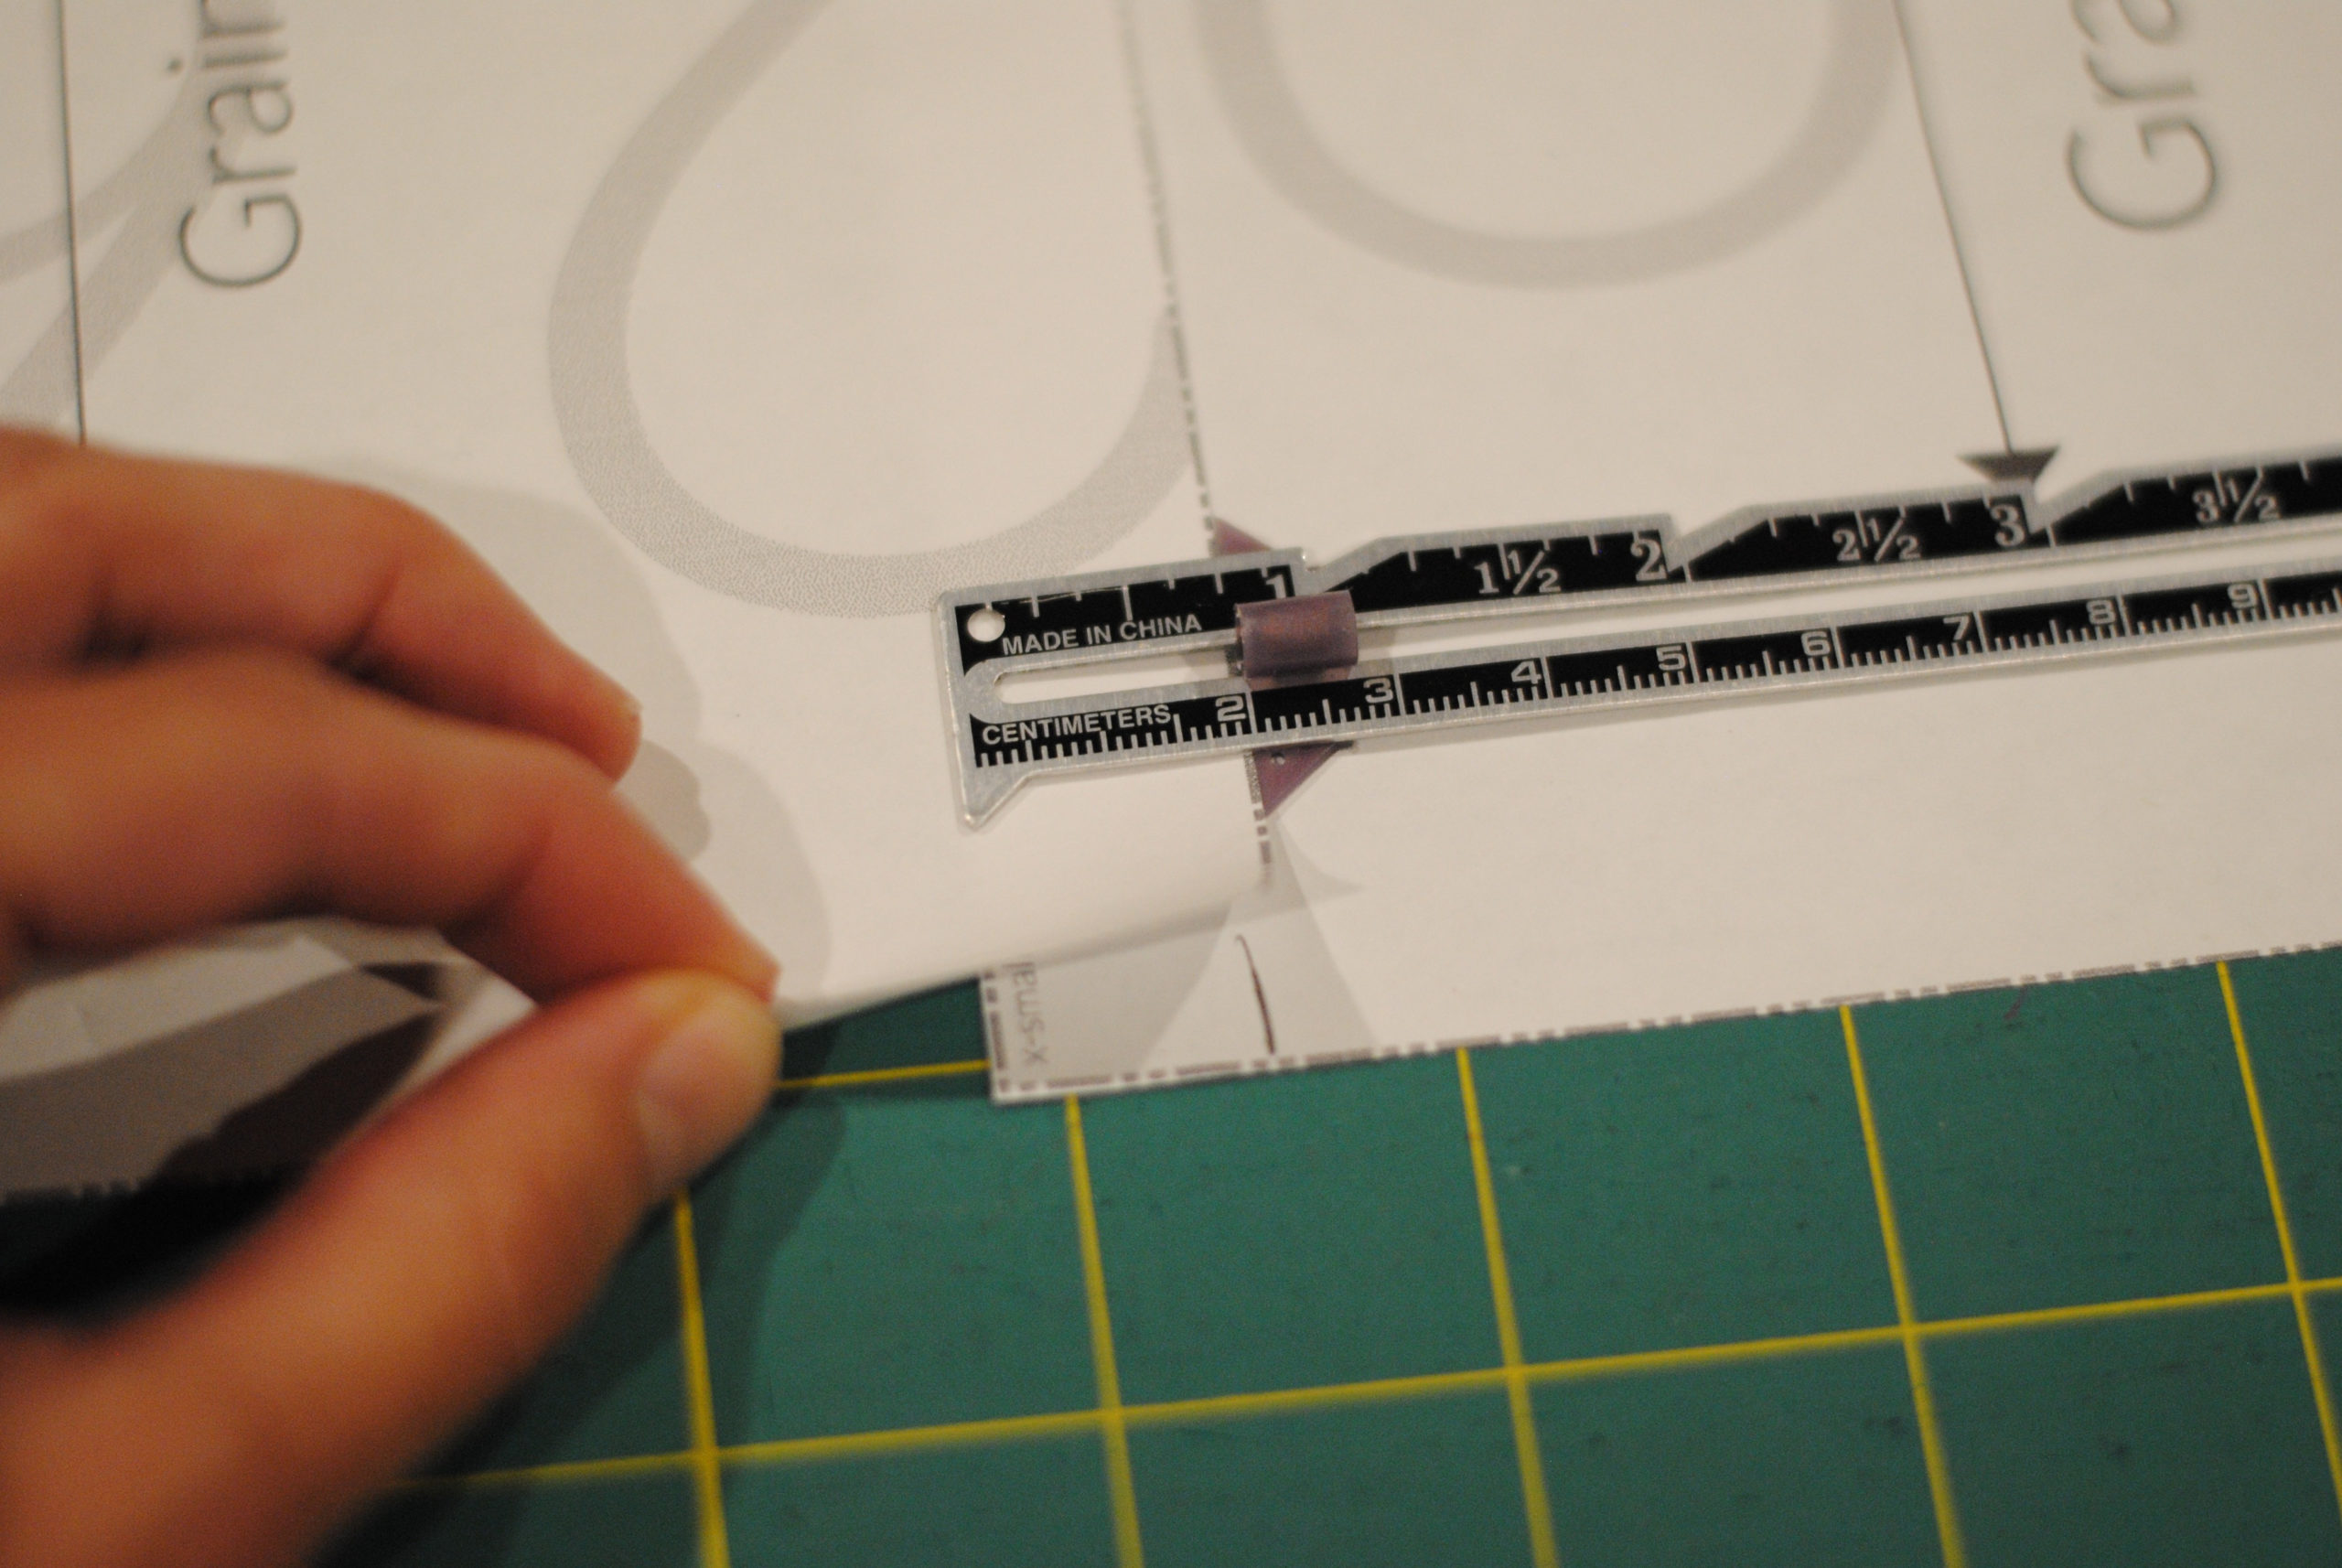
However, you are not quite done here as you have to make sure you add the necessary seam allowances to your pieces! Add 3/8” seam allowance to the bottom, and also add seam allowance PLUS overlap for the placket at the former center fold marking. My snap tape is ¾” thick, so I added ¾” plus 3/8” to the “yoke” piece. This yoke piece will no longer be cut on the fold, it will now be cut as mirror images, and you’ll want to cut one set of mirror images from a main fabric and one from a lining fabric.

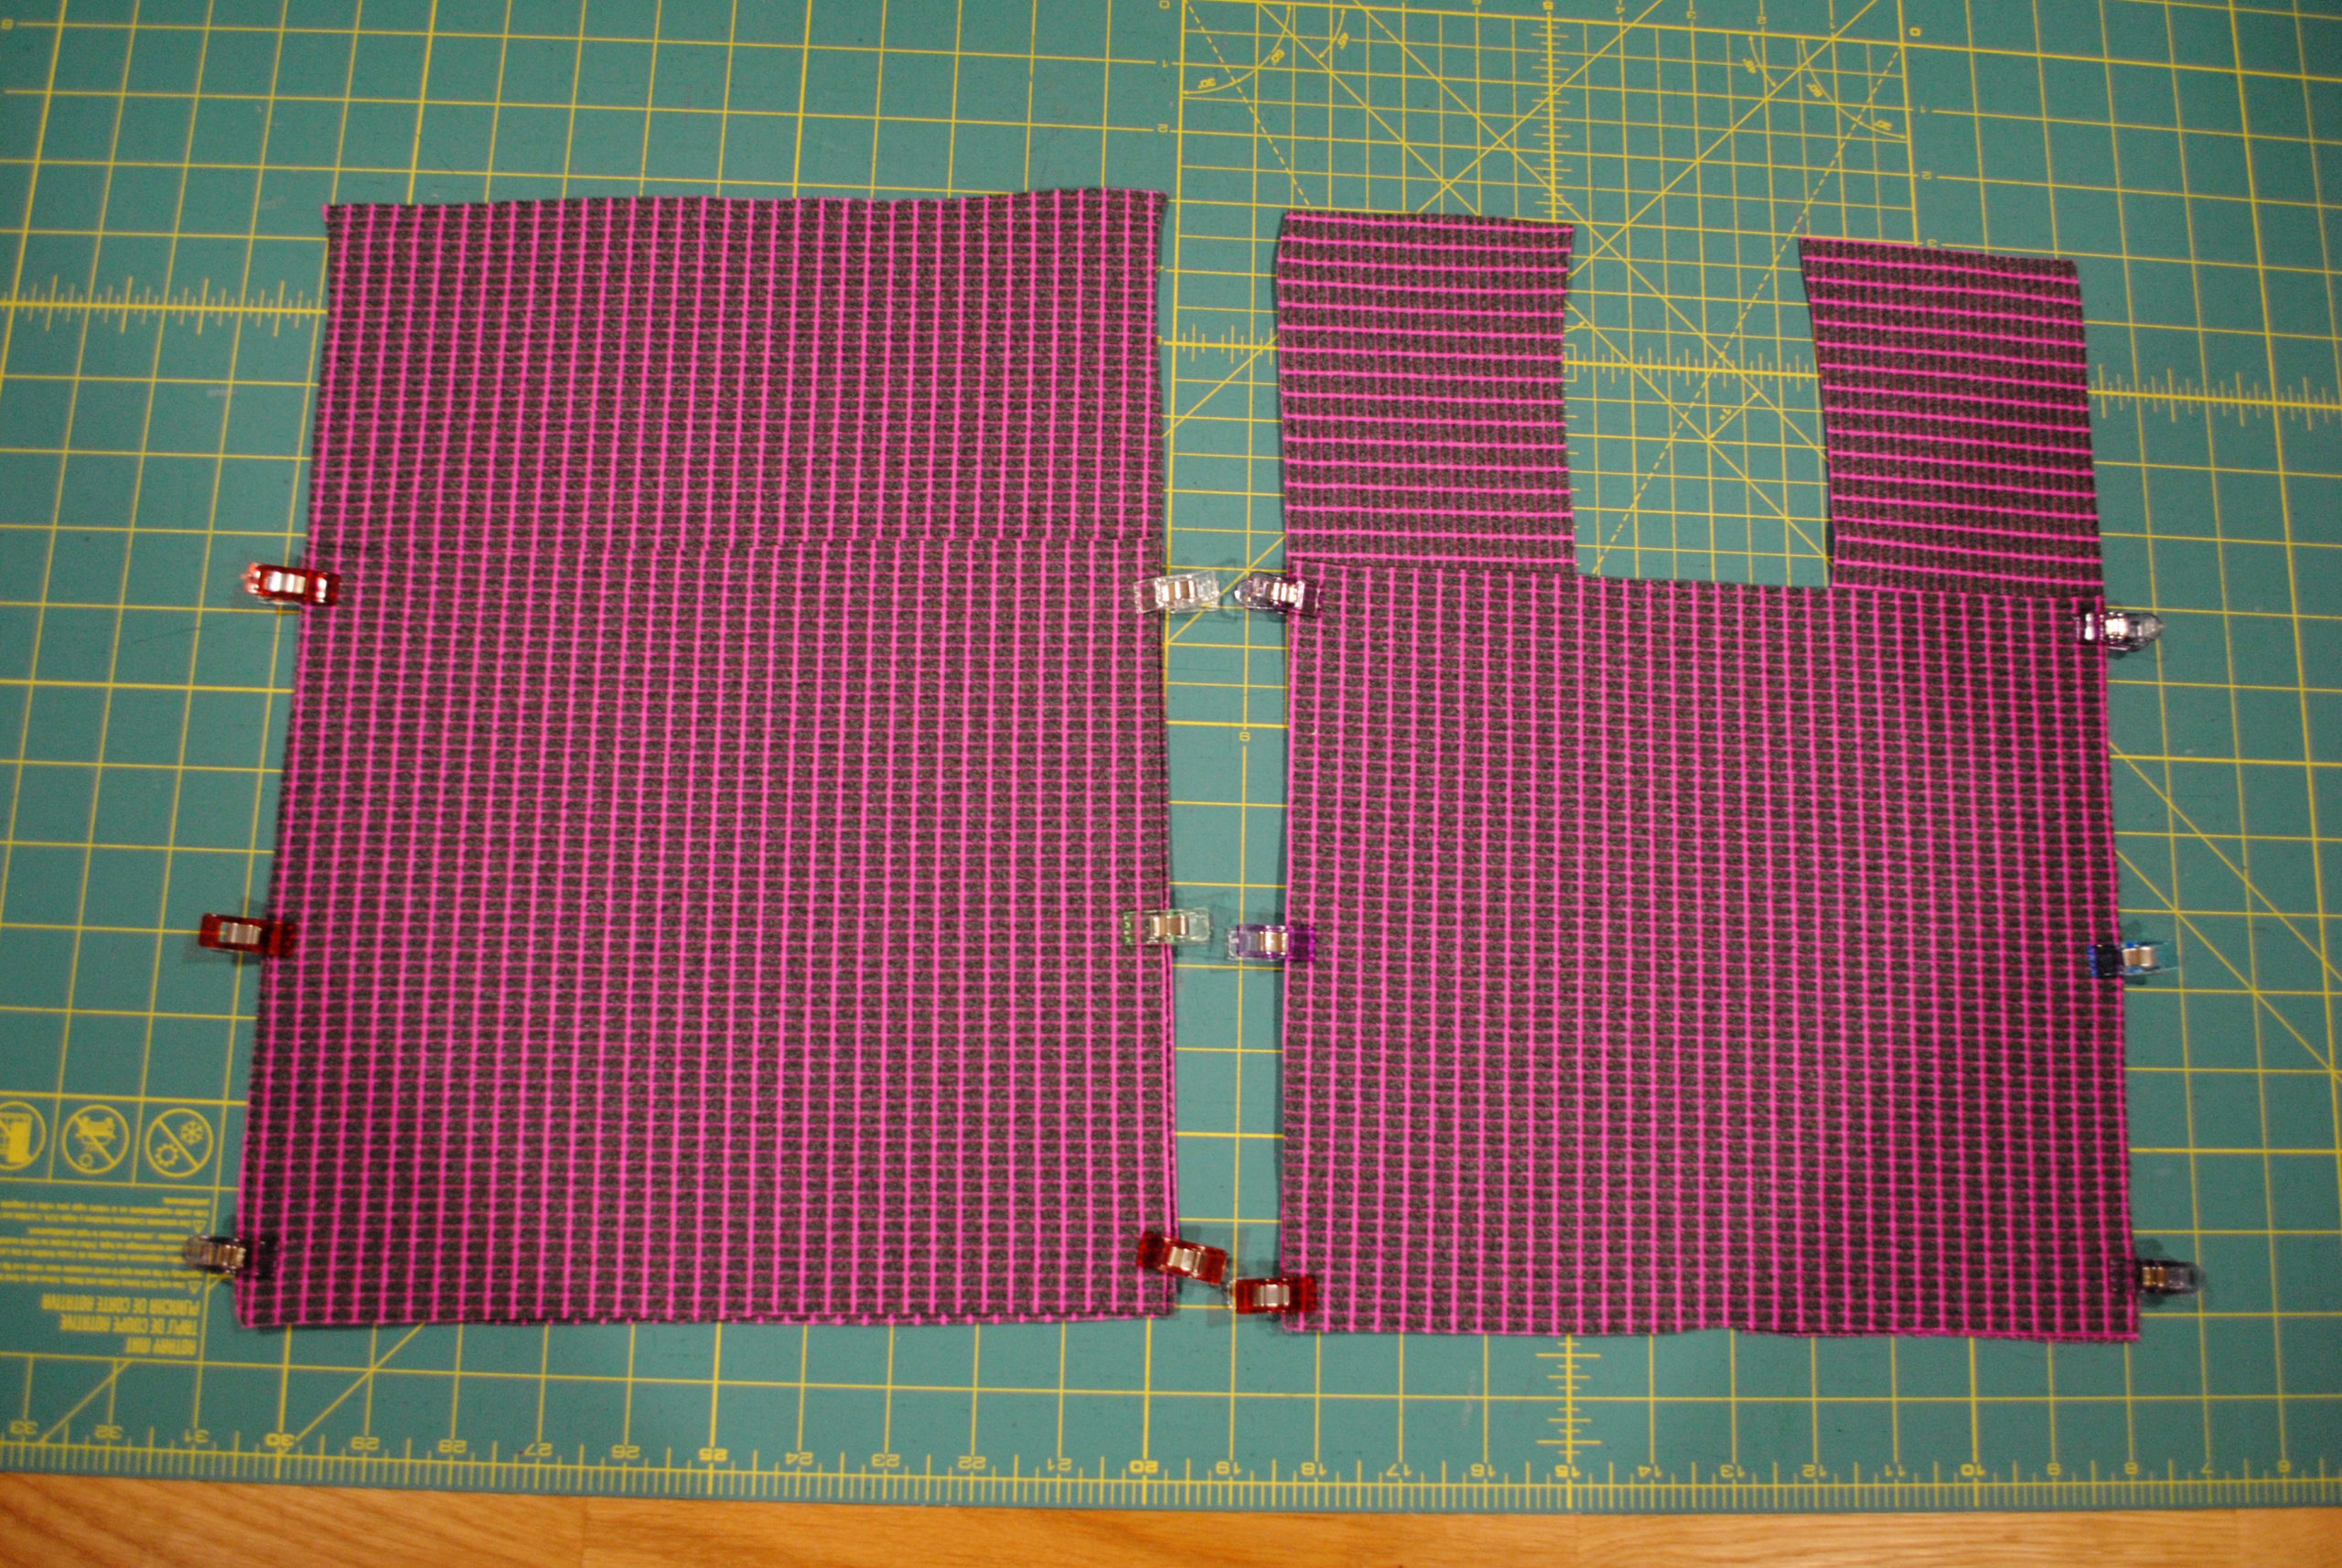
Next up, you’ll want to take apart the Bodice A and B pieces that were overlapped. The line previously drawn on those pieces will become your new cut line, making sure to also add seam allowance here! I measure the 3/8” seam allowance above the lines, and fold the remaining portion out of the way.

Cutting your fabric
On to cutting the fabric! You will cut your back piece, sleeves, waistband, and cuffs all according to the pattern. You will cut your collar pieces according to Amanda’s tutorial here Finally, for the front, you will cut your normal pocket pieces, and you will need to cut 4 total “yoke” pieces (which is 2 mirror images from main and 2 mirror images from lining) plus your modified bodice A piece and your 2 modified bodice B mirror image pieces.

Front bodice assembly
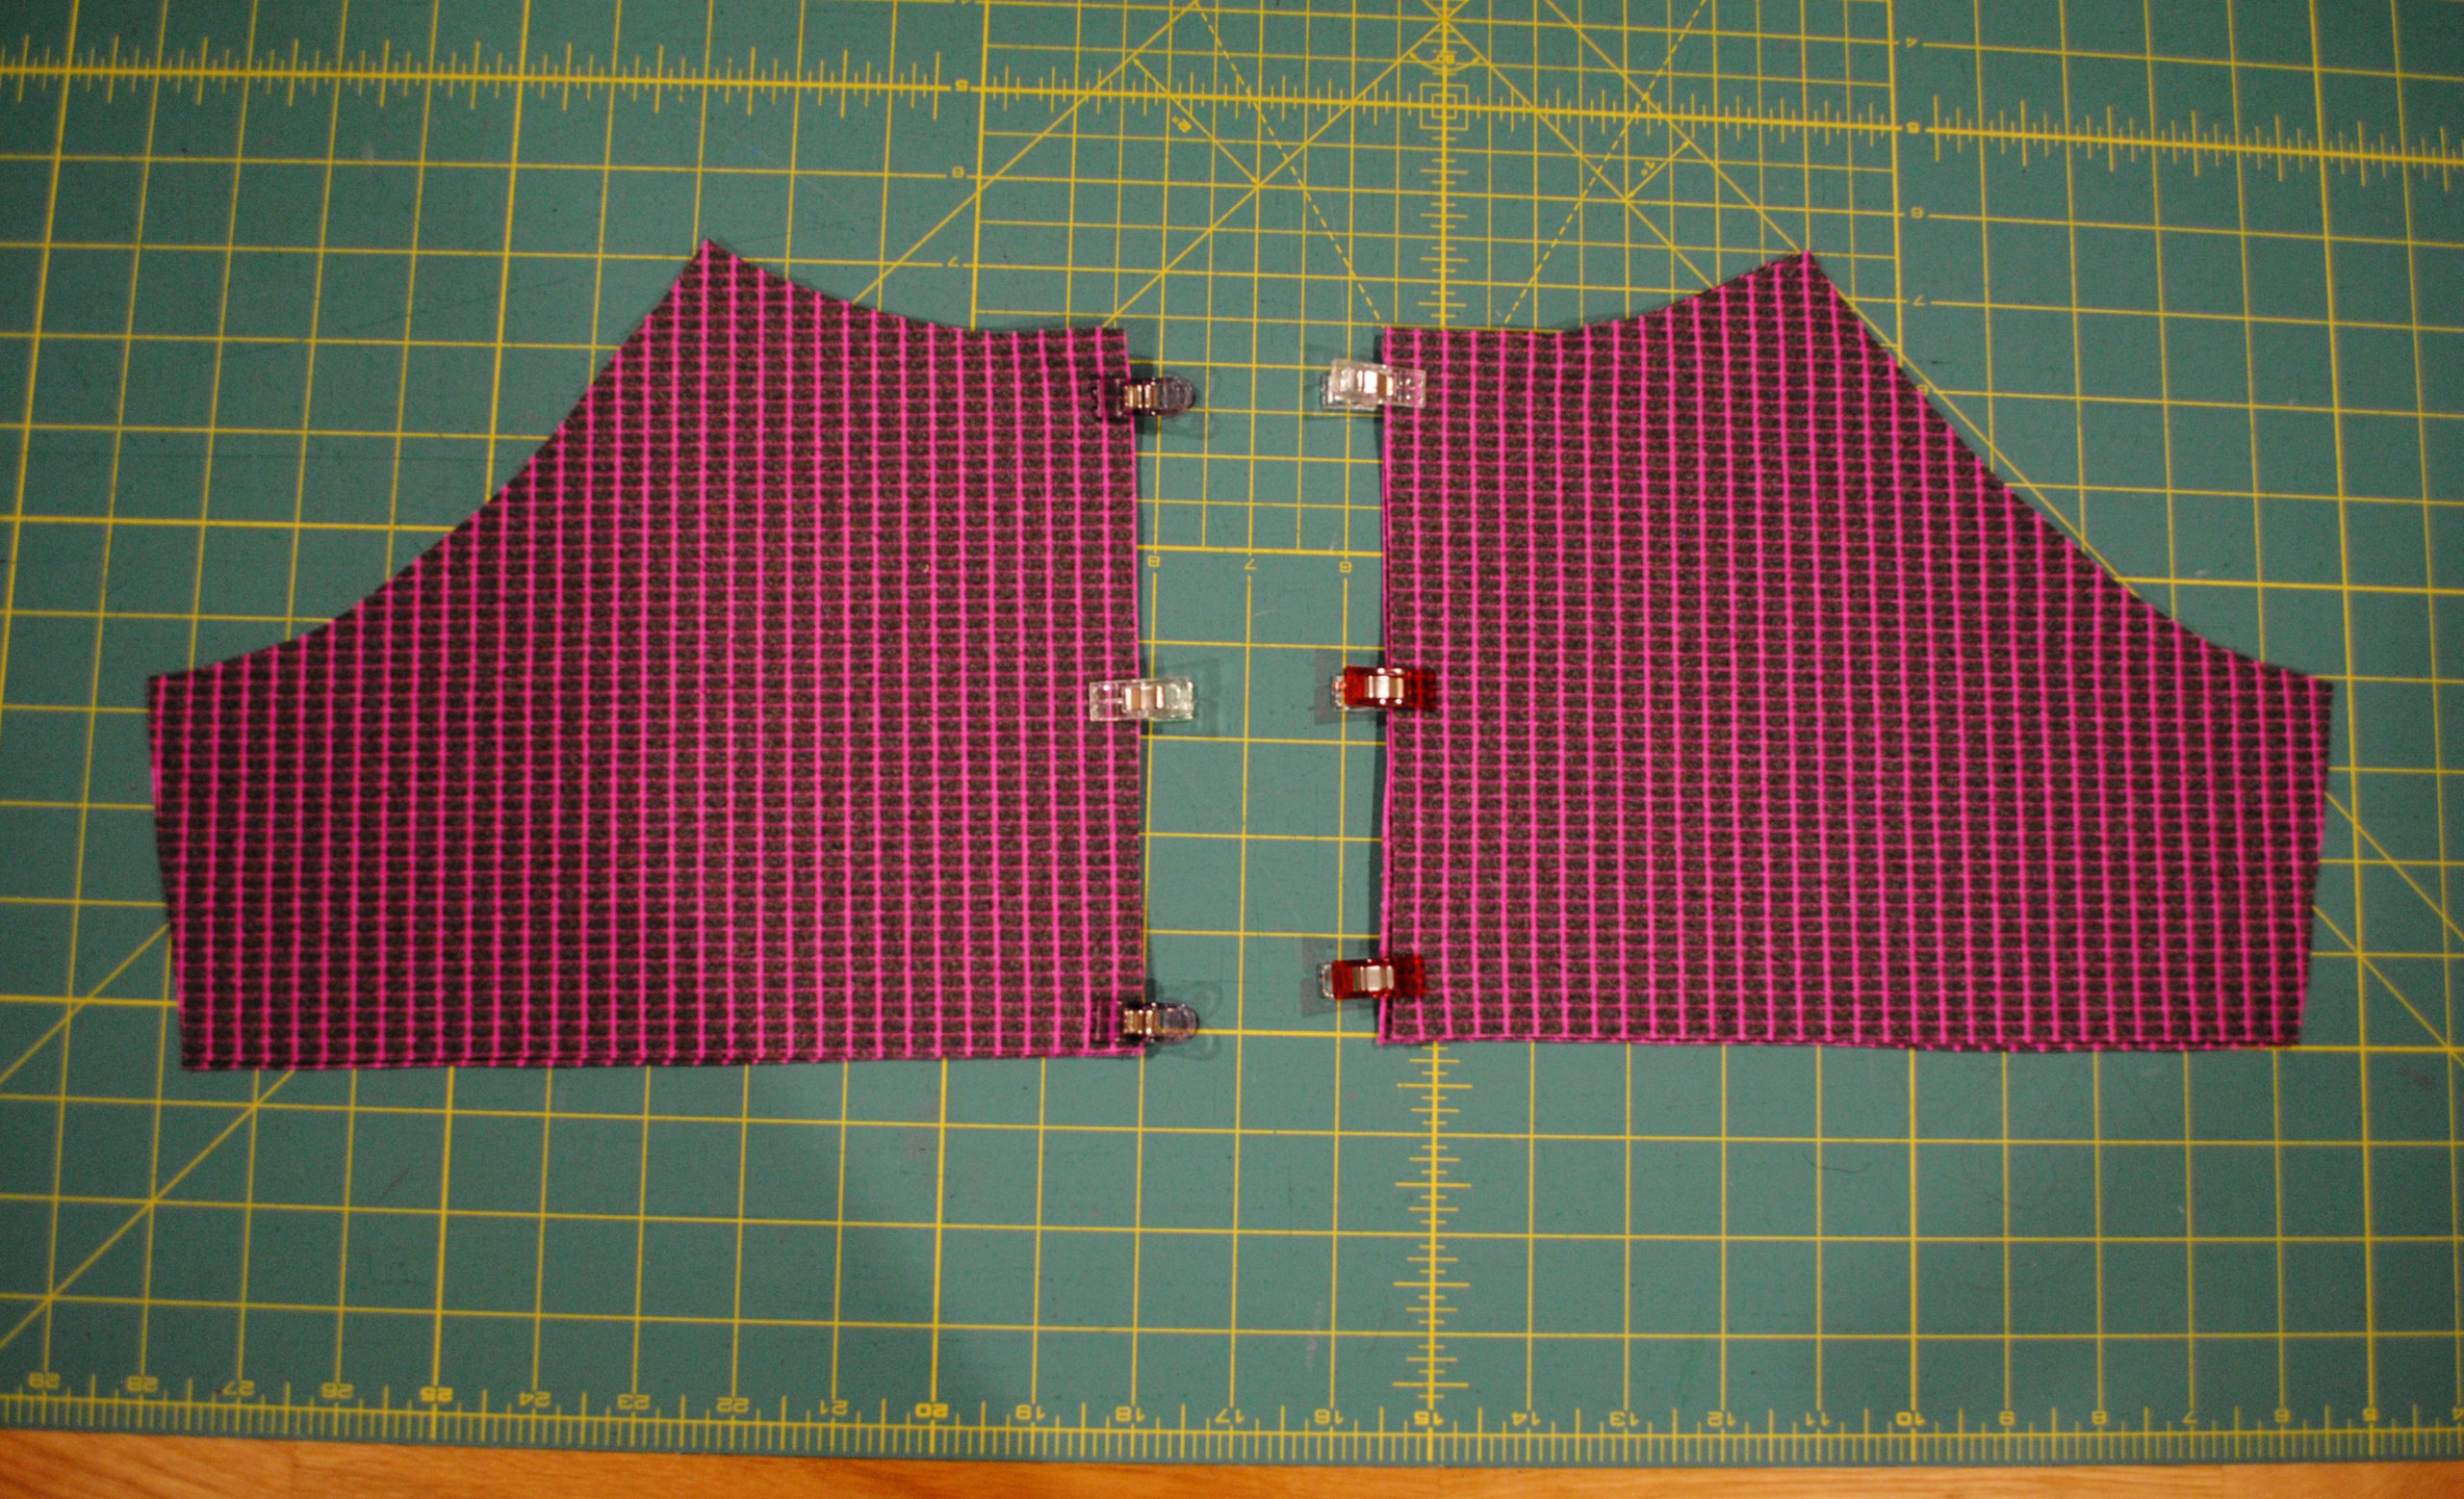
Assembly of the pocket will be done according to the pattern, it will just look a little different as the top part of the pattern pieces are chopped off. Continue assembly of the front bodice per the pattern, giving you a completed lower portion of your bodice.
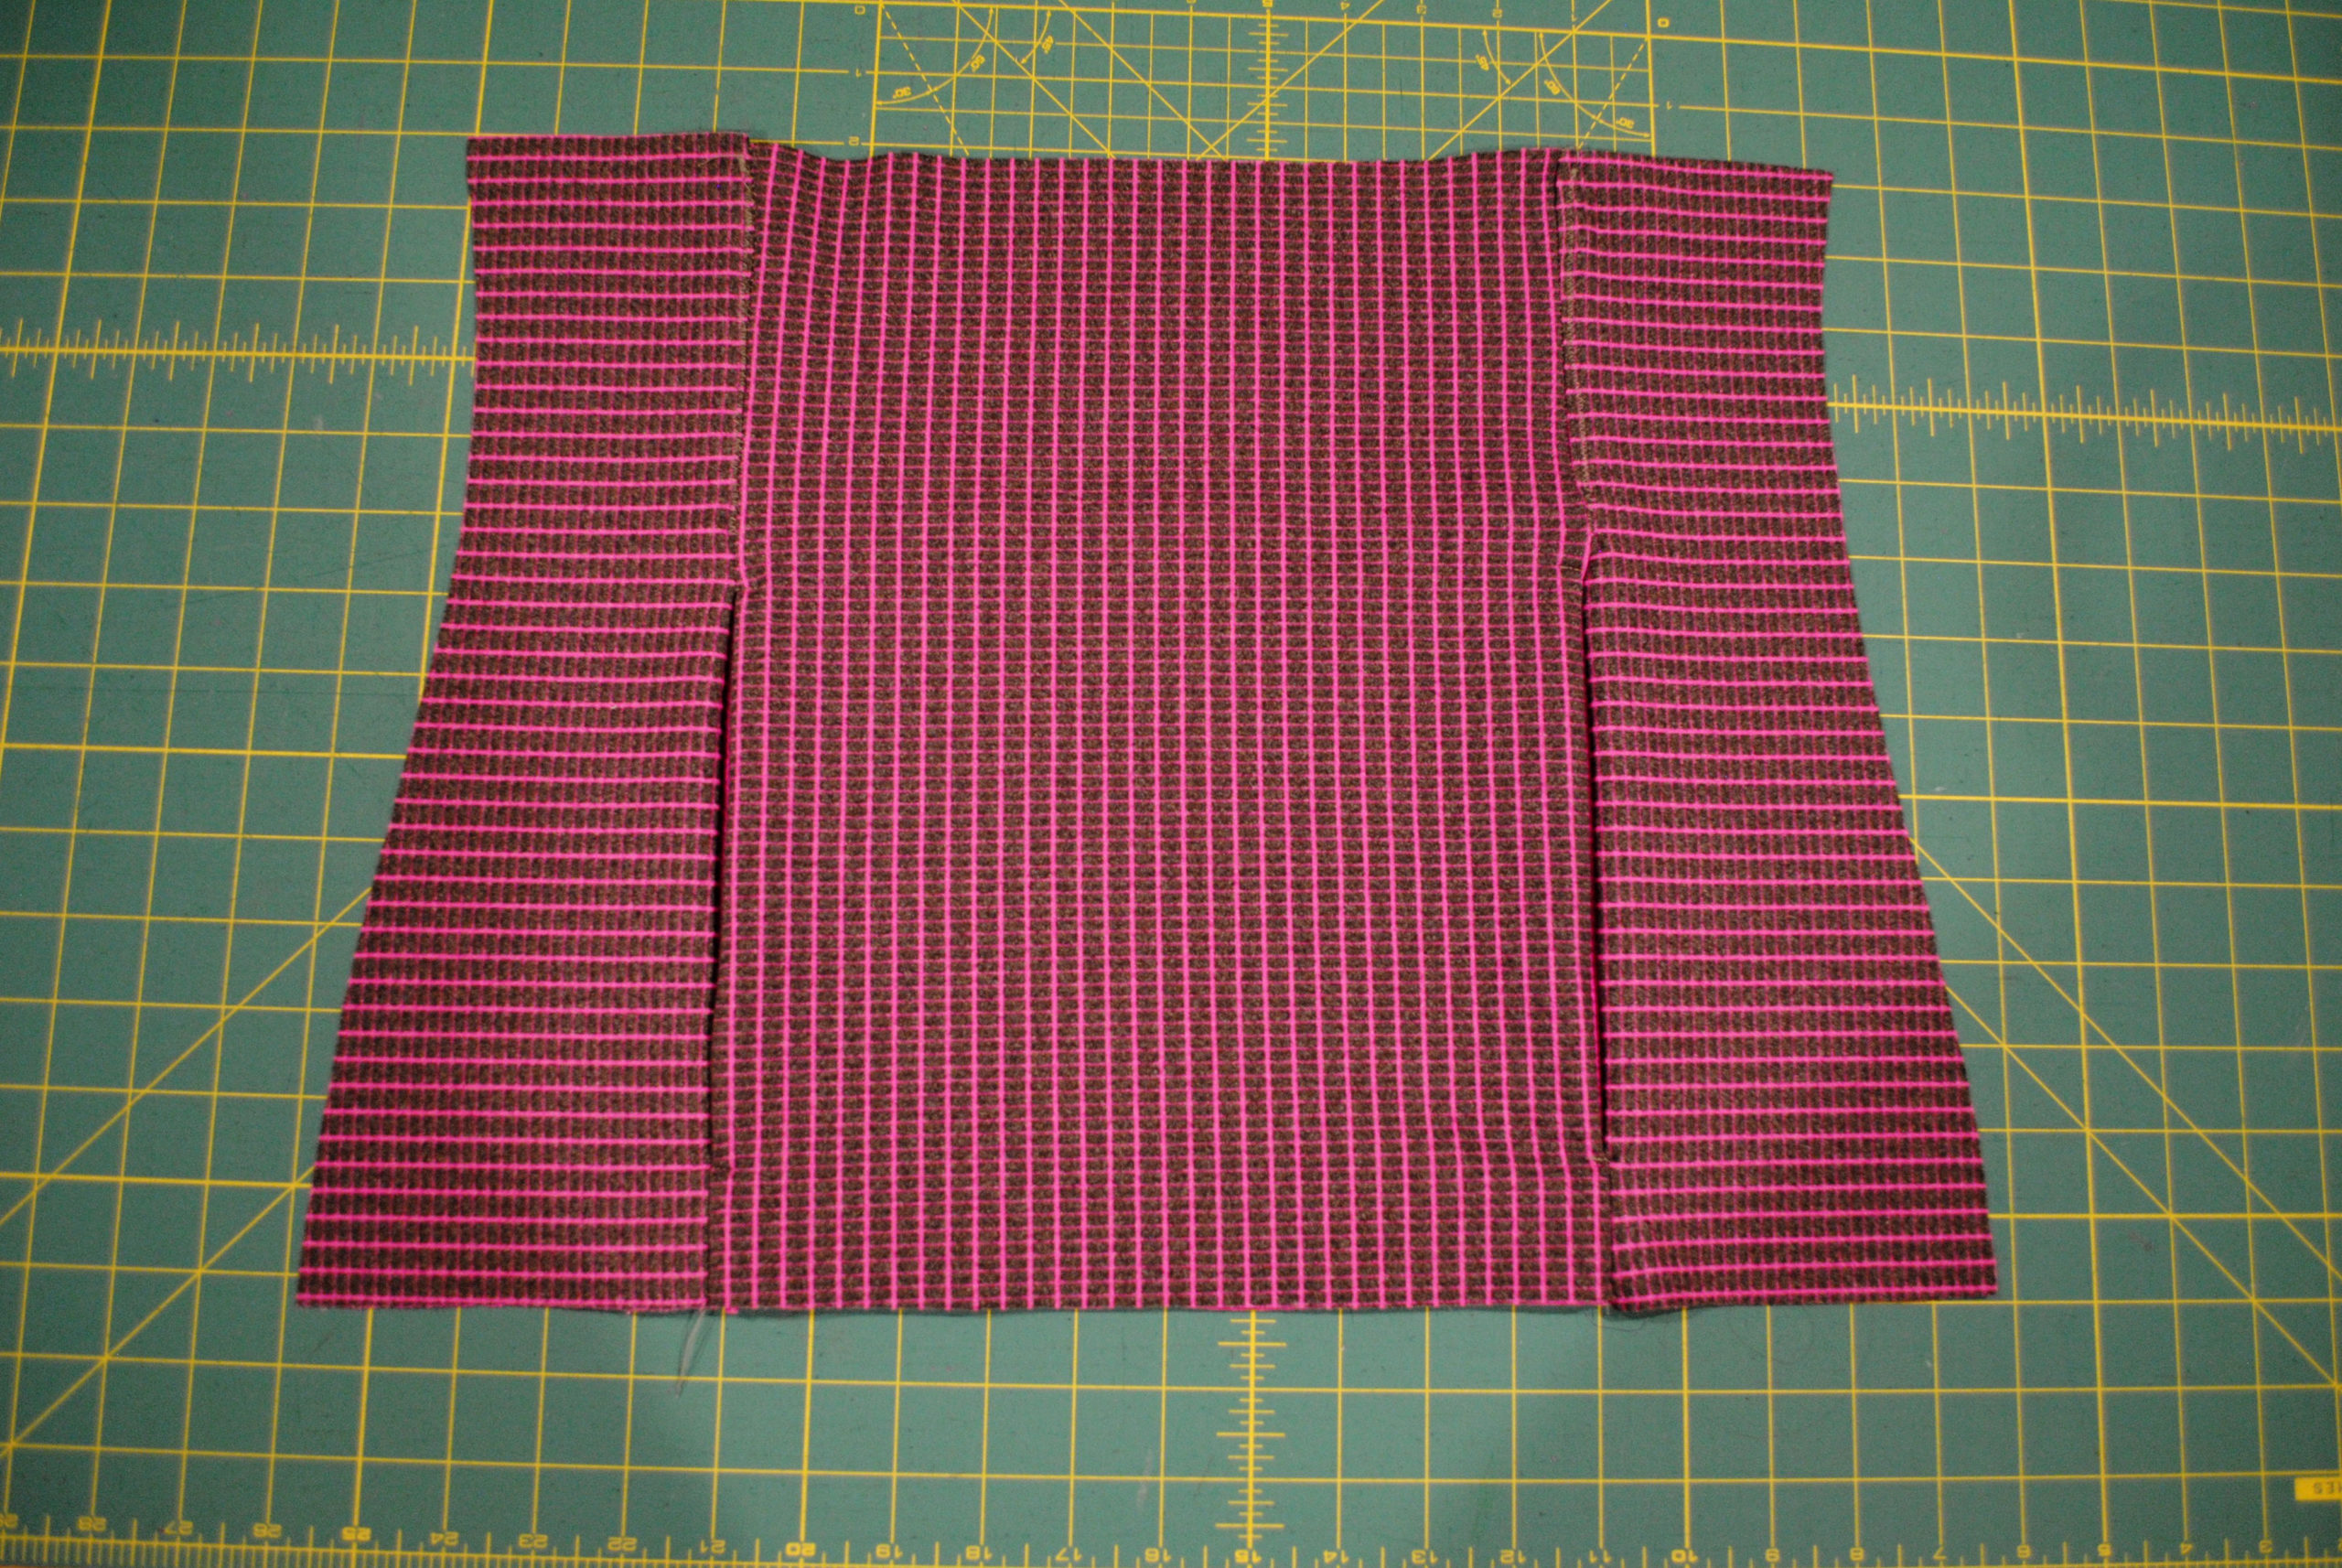
To create the top part of our bodice, you will need to take your yoke pieces, and align each pair right sides together. Sew down along the front center. Flip them around so they are right sides out, topstitch down the center front if you wish, and also baste around the armsyce and neckline. That helps you keep your pieces from shifting during the rest of the construction.

Overlap your front yoke pieces at the center, and lay them right sides together on your bottom bodice pieces, aligning the raw edges of the bottom bodice and layered yoke pieces. You may want to double check that your overlap is the correct size to fit the snap tape. Sew across the bodice to attach the yoke, and flip your yoke back up once sewn in place. Press the seam allowance down, and topstitch if desired.


Attaching the collar
You now have a completed front bodice piece. Continue on assembling the sleeves, back bodice, waistband and cuffs per the pattern. Stop once its time to attach the collar. Reference Amanda’s post for attaching the collar here. Just note you will be omitting the zipper, but still attaching it using the method she describes.


Sewing on the snap placket
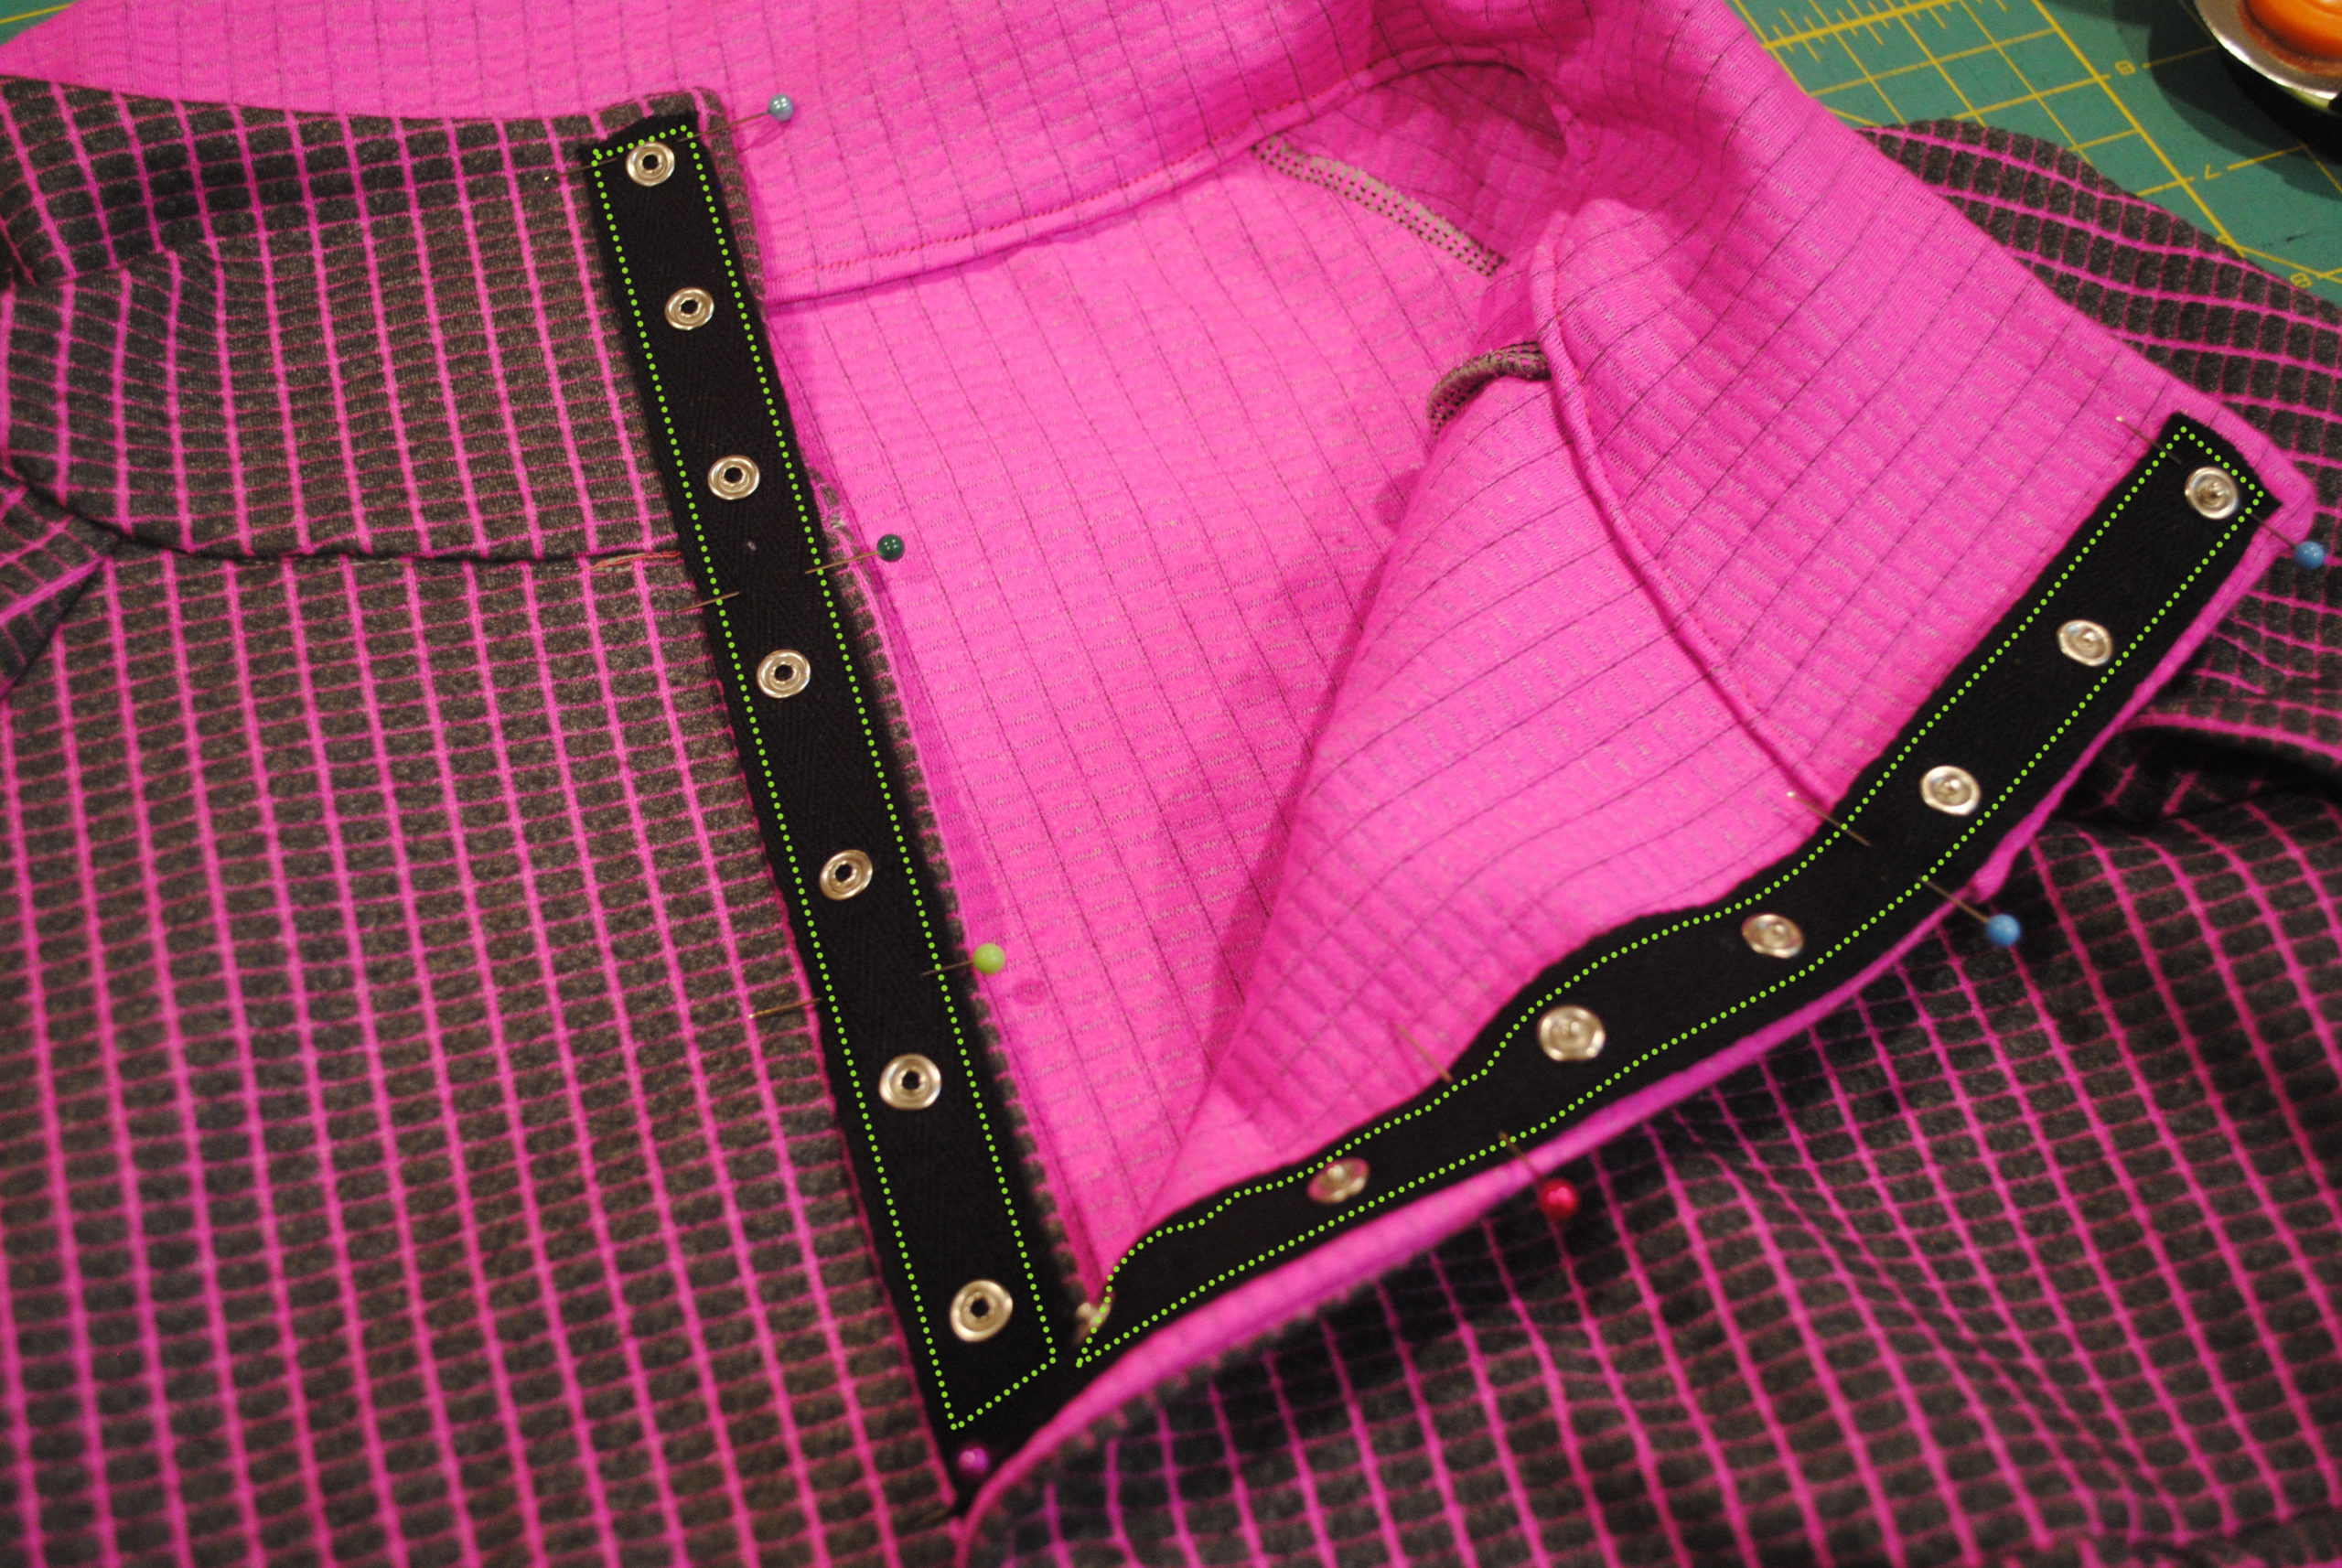
Once your collar is attached, it is just a matter of sewing on your snap tape! Lay the snap tape out on the collar and cut off to the desired length. Separate the two halves of the snap tape, and sew one piece of the snap tape to each side of the placket opening, making sure your snaps are lined up to the other half! I use my zipper foot to easily sew around the snaps. I also chose to do a bar-tack on the outside of my placket near the bottom to keep the placket closed at the bottom.

And Voila, You are done!


We love seeing your creations so please share with us in either our Facebook group or on Instagram. #newhorizonssewing