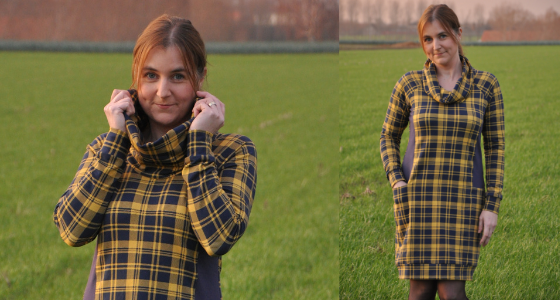
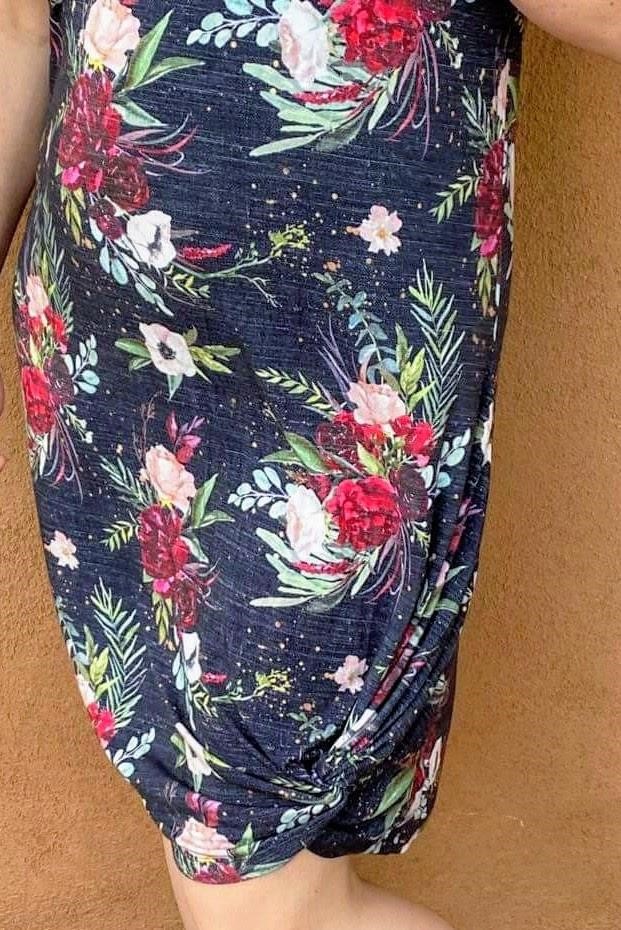
Hey there! Sarah here from Sweet Sprocket Handmade to share a fun New Horizons hack, perfect for spring and summer. I’m going to show you how to hack the Knoxville knot top into a dress, like this inspiration picture:

This is a little more complicated than a normal dress hack, where you would just add length at the lengthen/shorten line of a pattern – mostly because the front of the Knoxville is not symmetrical. Don’t worry – I’ve taken lots of pictures and will do my best to walk you through it!
How much length should I add?
First, you need to take some measurements so you know how much length to add. This will depend on your body and where you want the hem to be. I measured the pattern along the center back seam and measured my body from the back of my neck to the back of my knees to determine how much to add. For me (at 5’4”), that was about 9 inches for a knee length hemline. Keep in mind the knot brings the front of the hem up quite a bit, so don’t go too short!
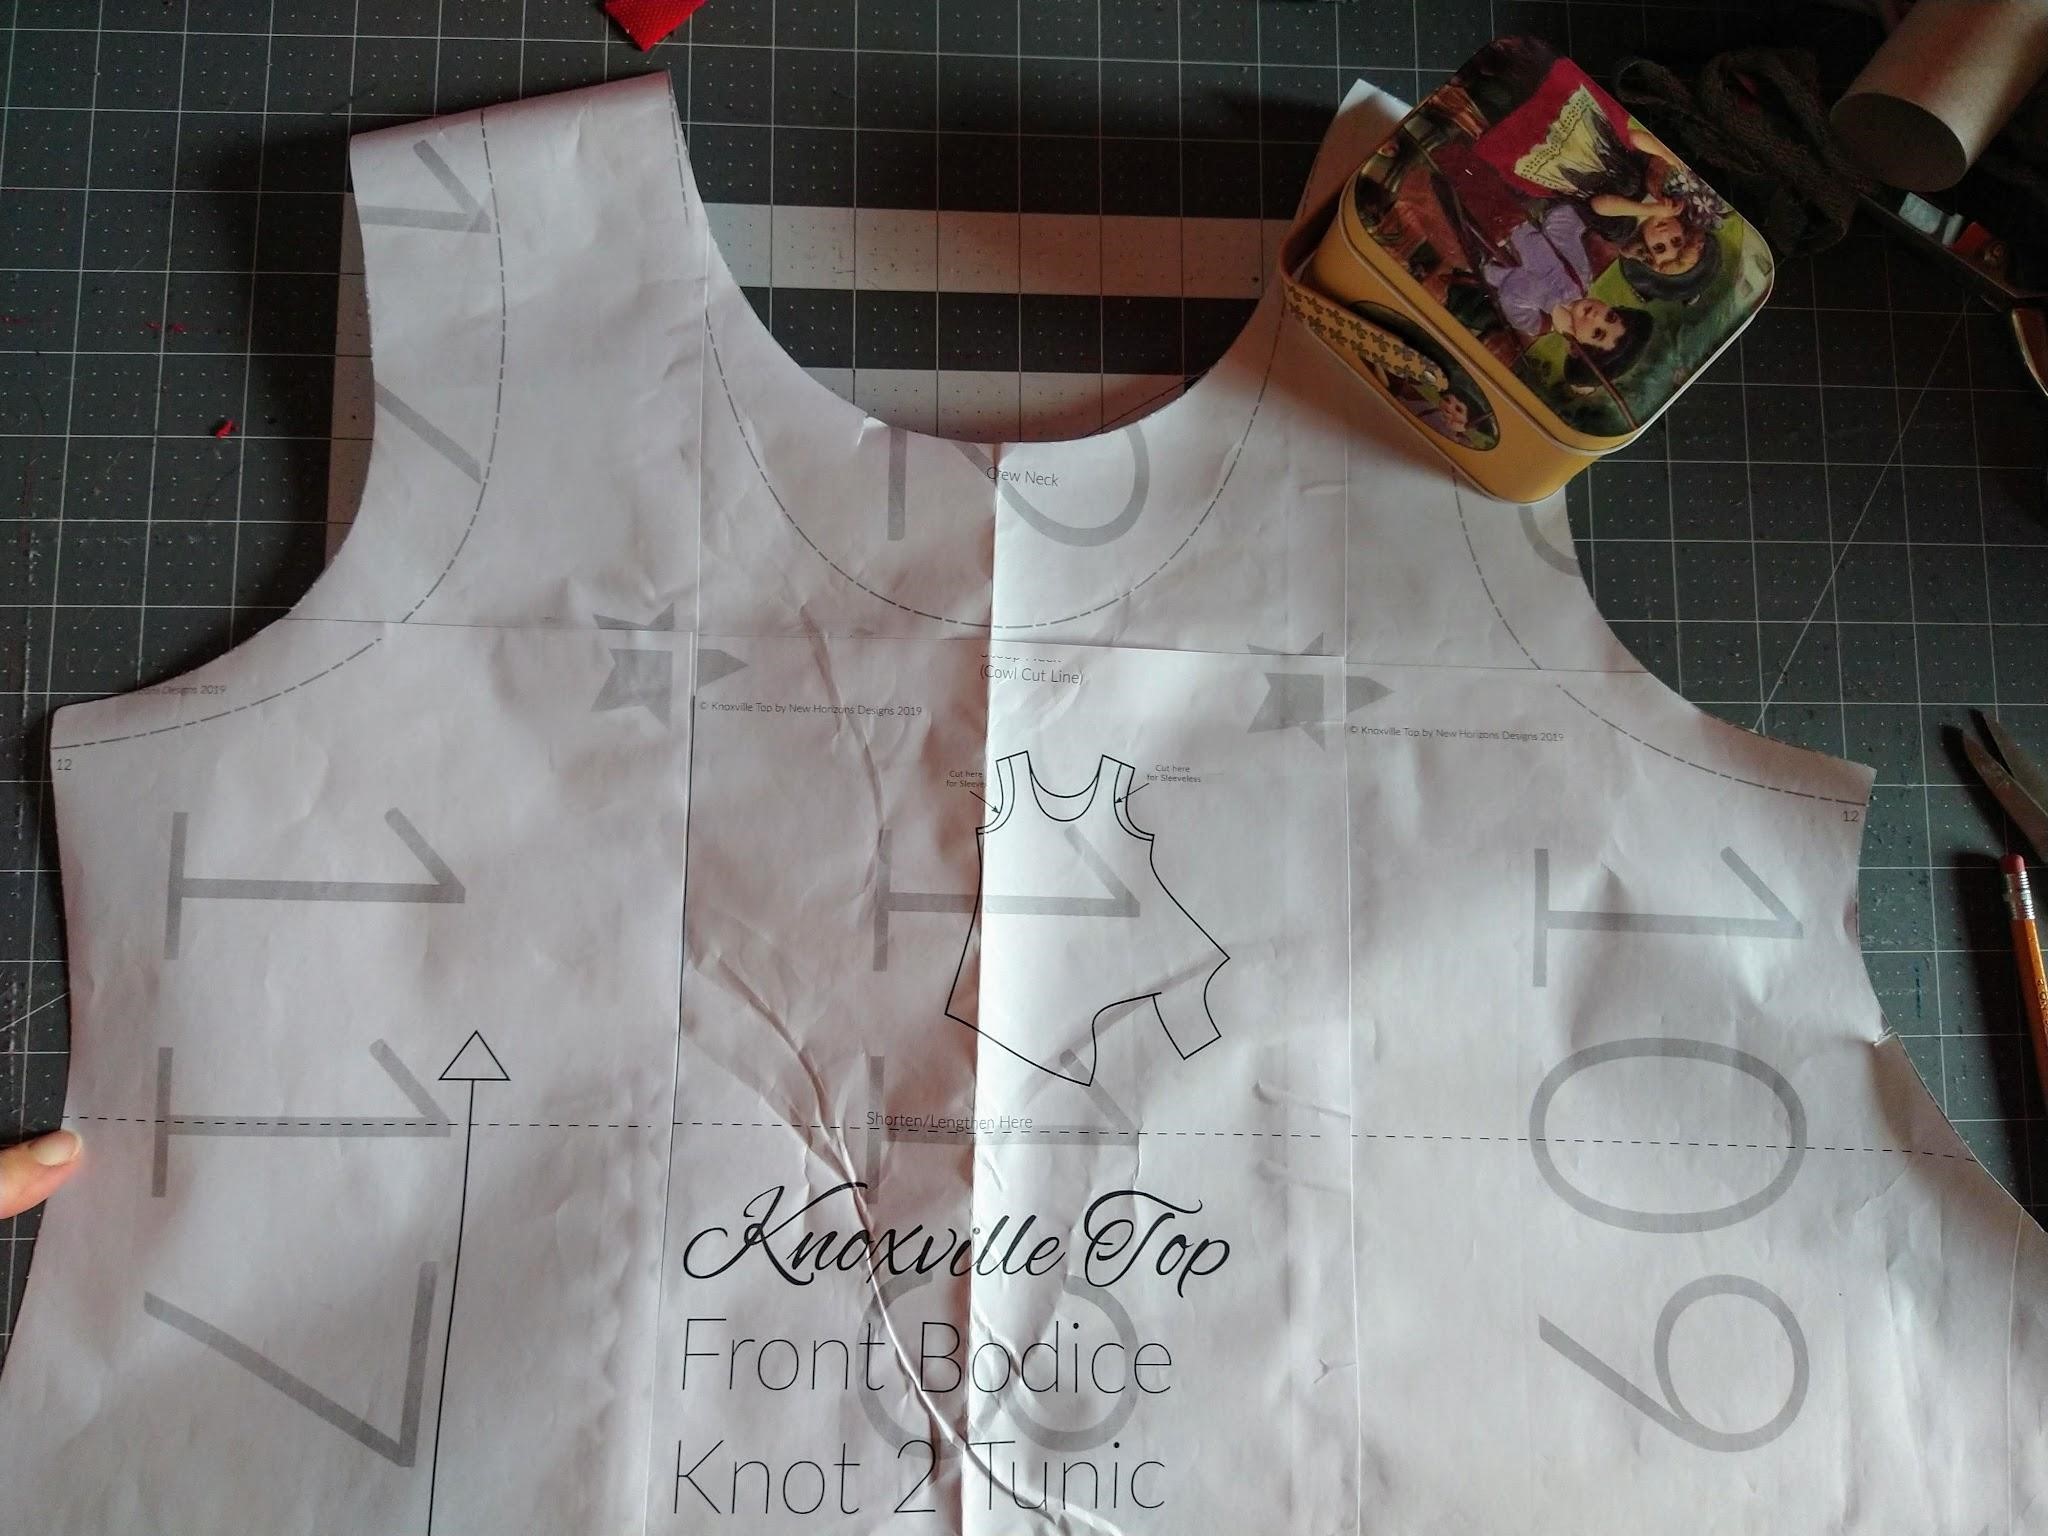
Once you’ve determined how much length you need to add, proceed as you normally would to lengthen a pattern. Start by cutting both the front and back bodice pieces at the lengthen/shorten line. I’ve identified them for you below:

Adding length to your pattern
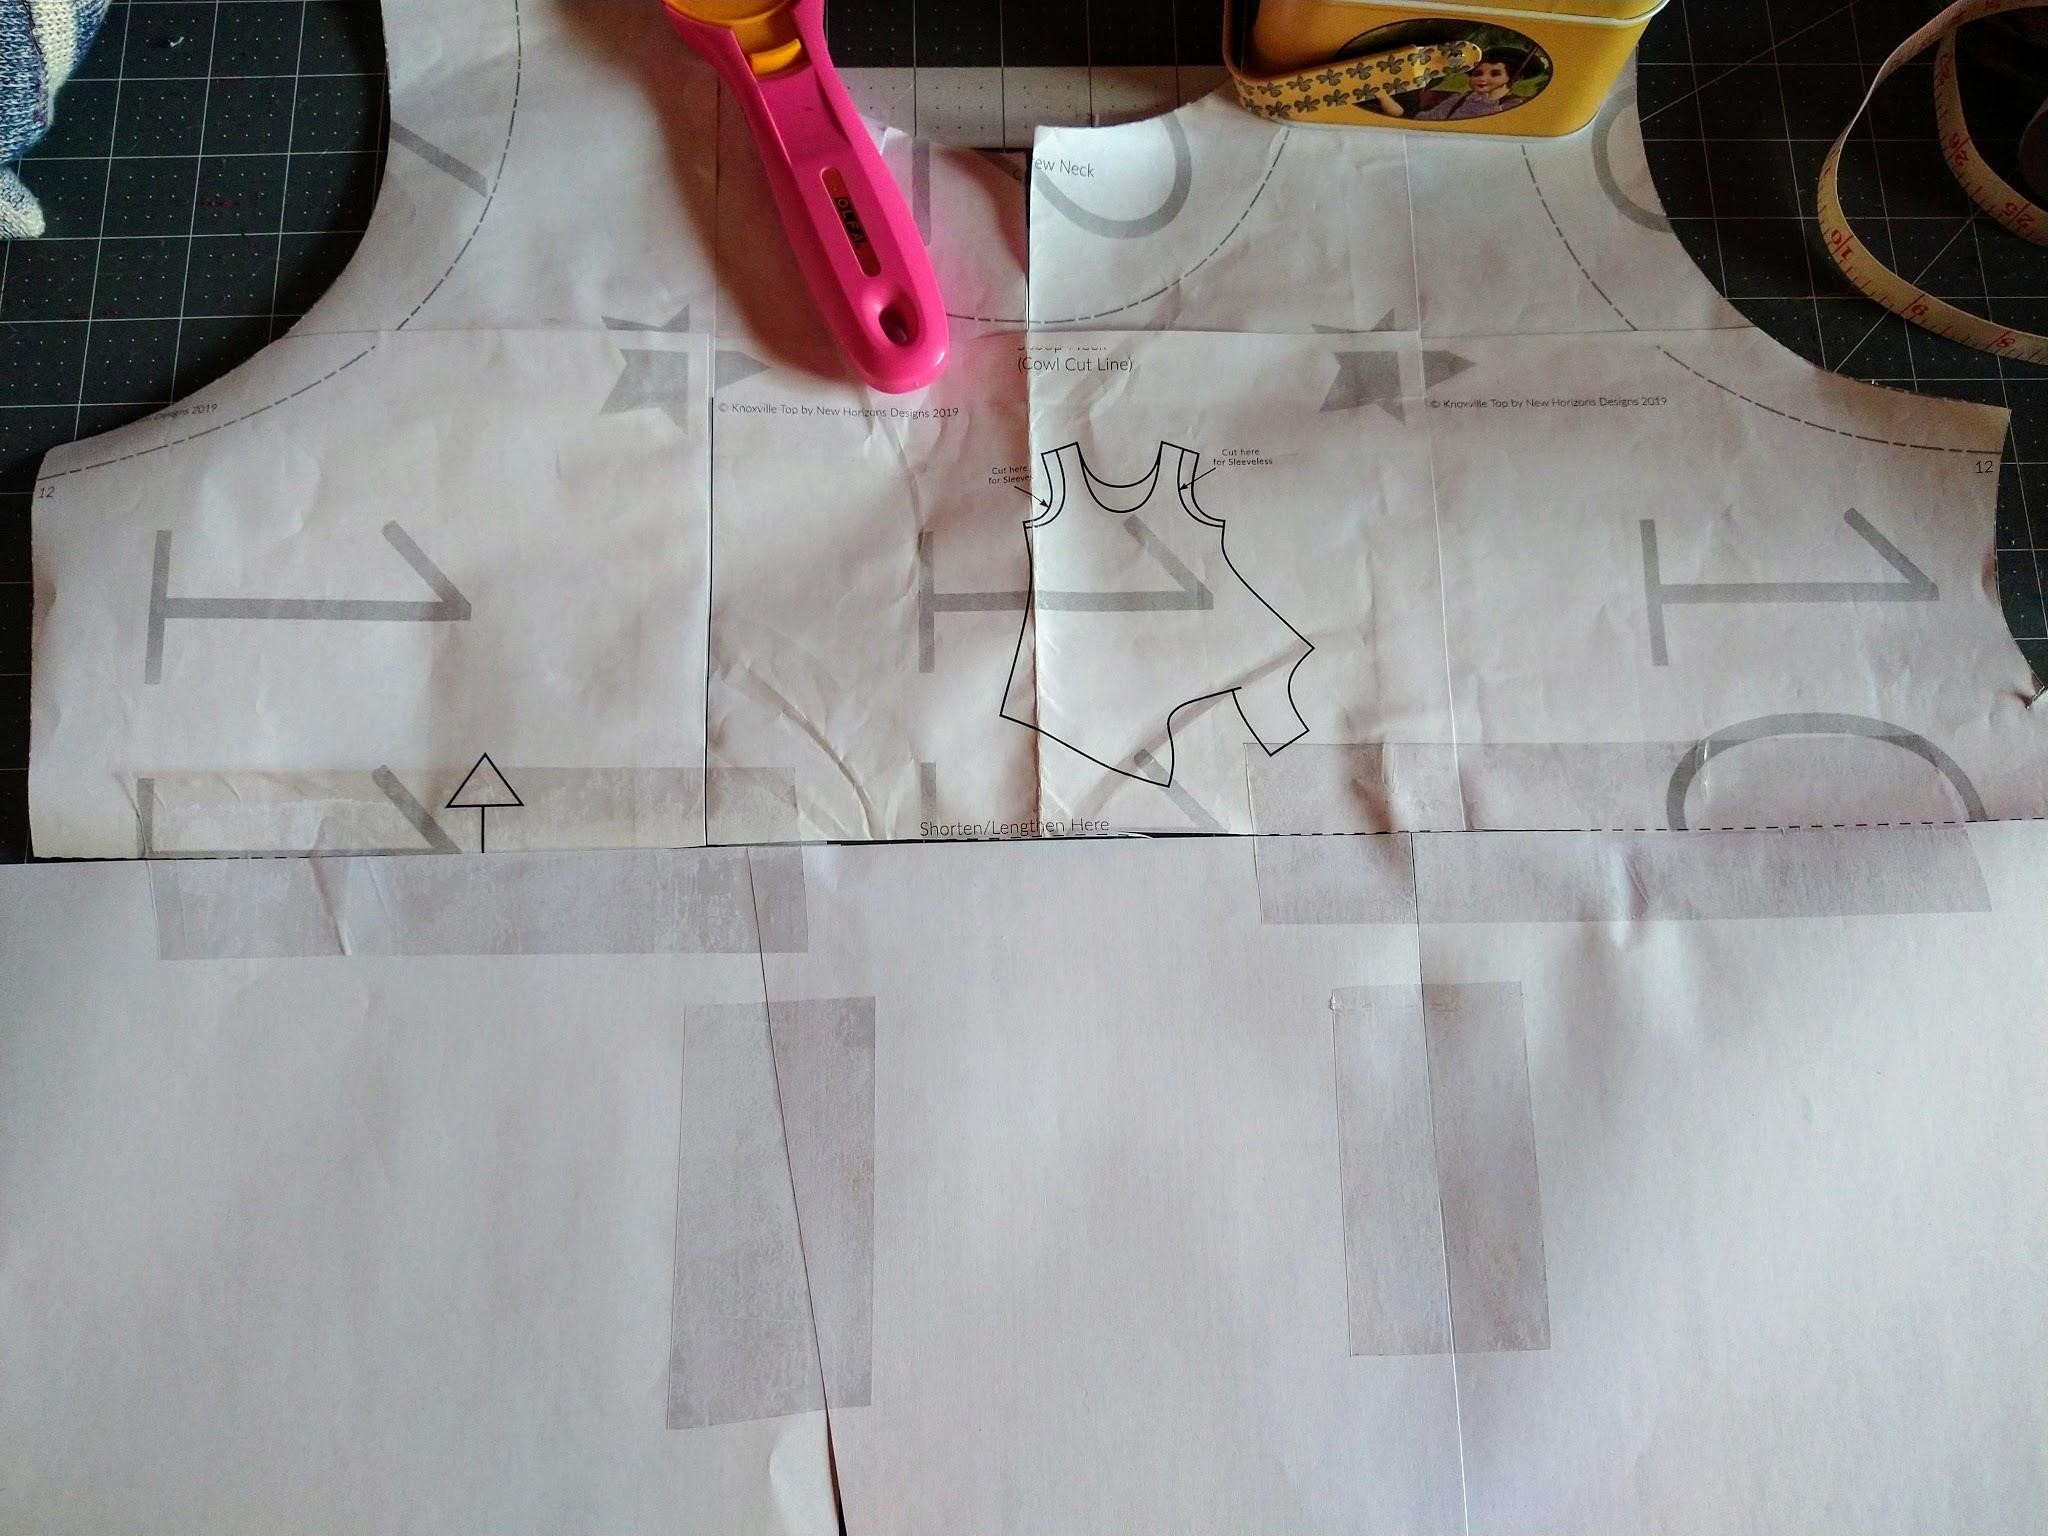
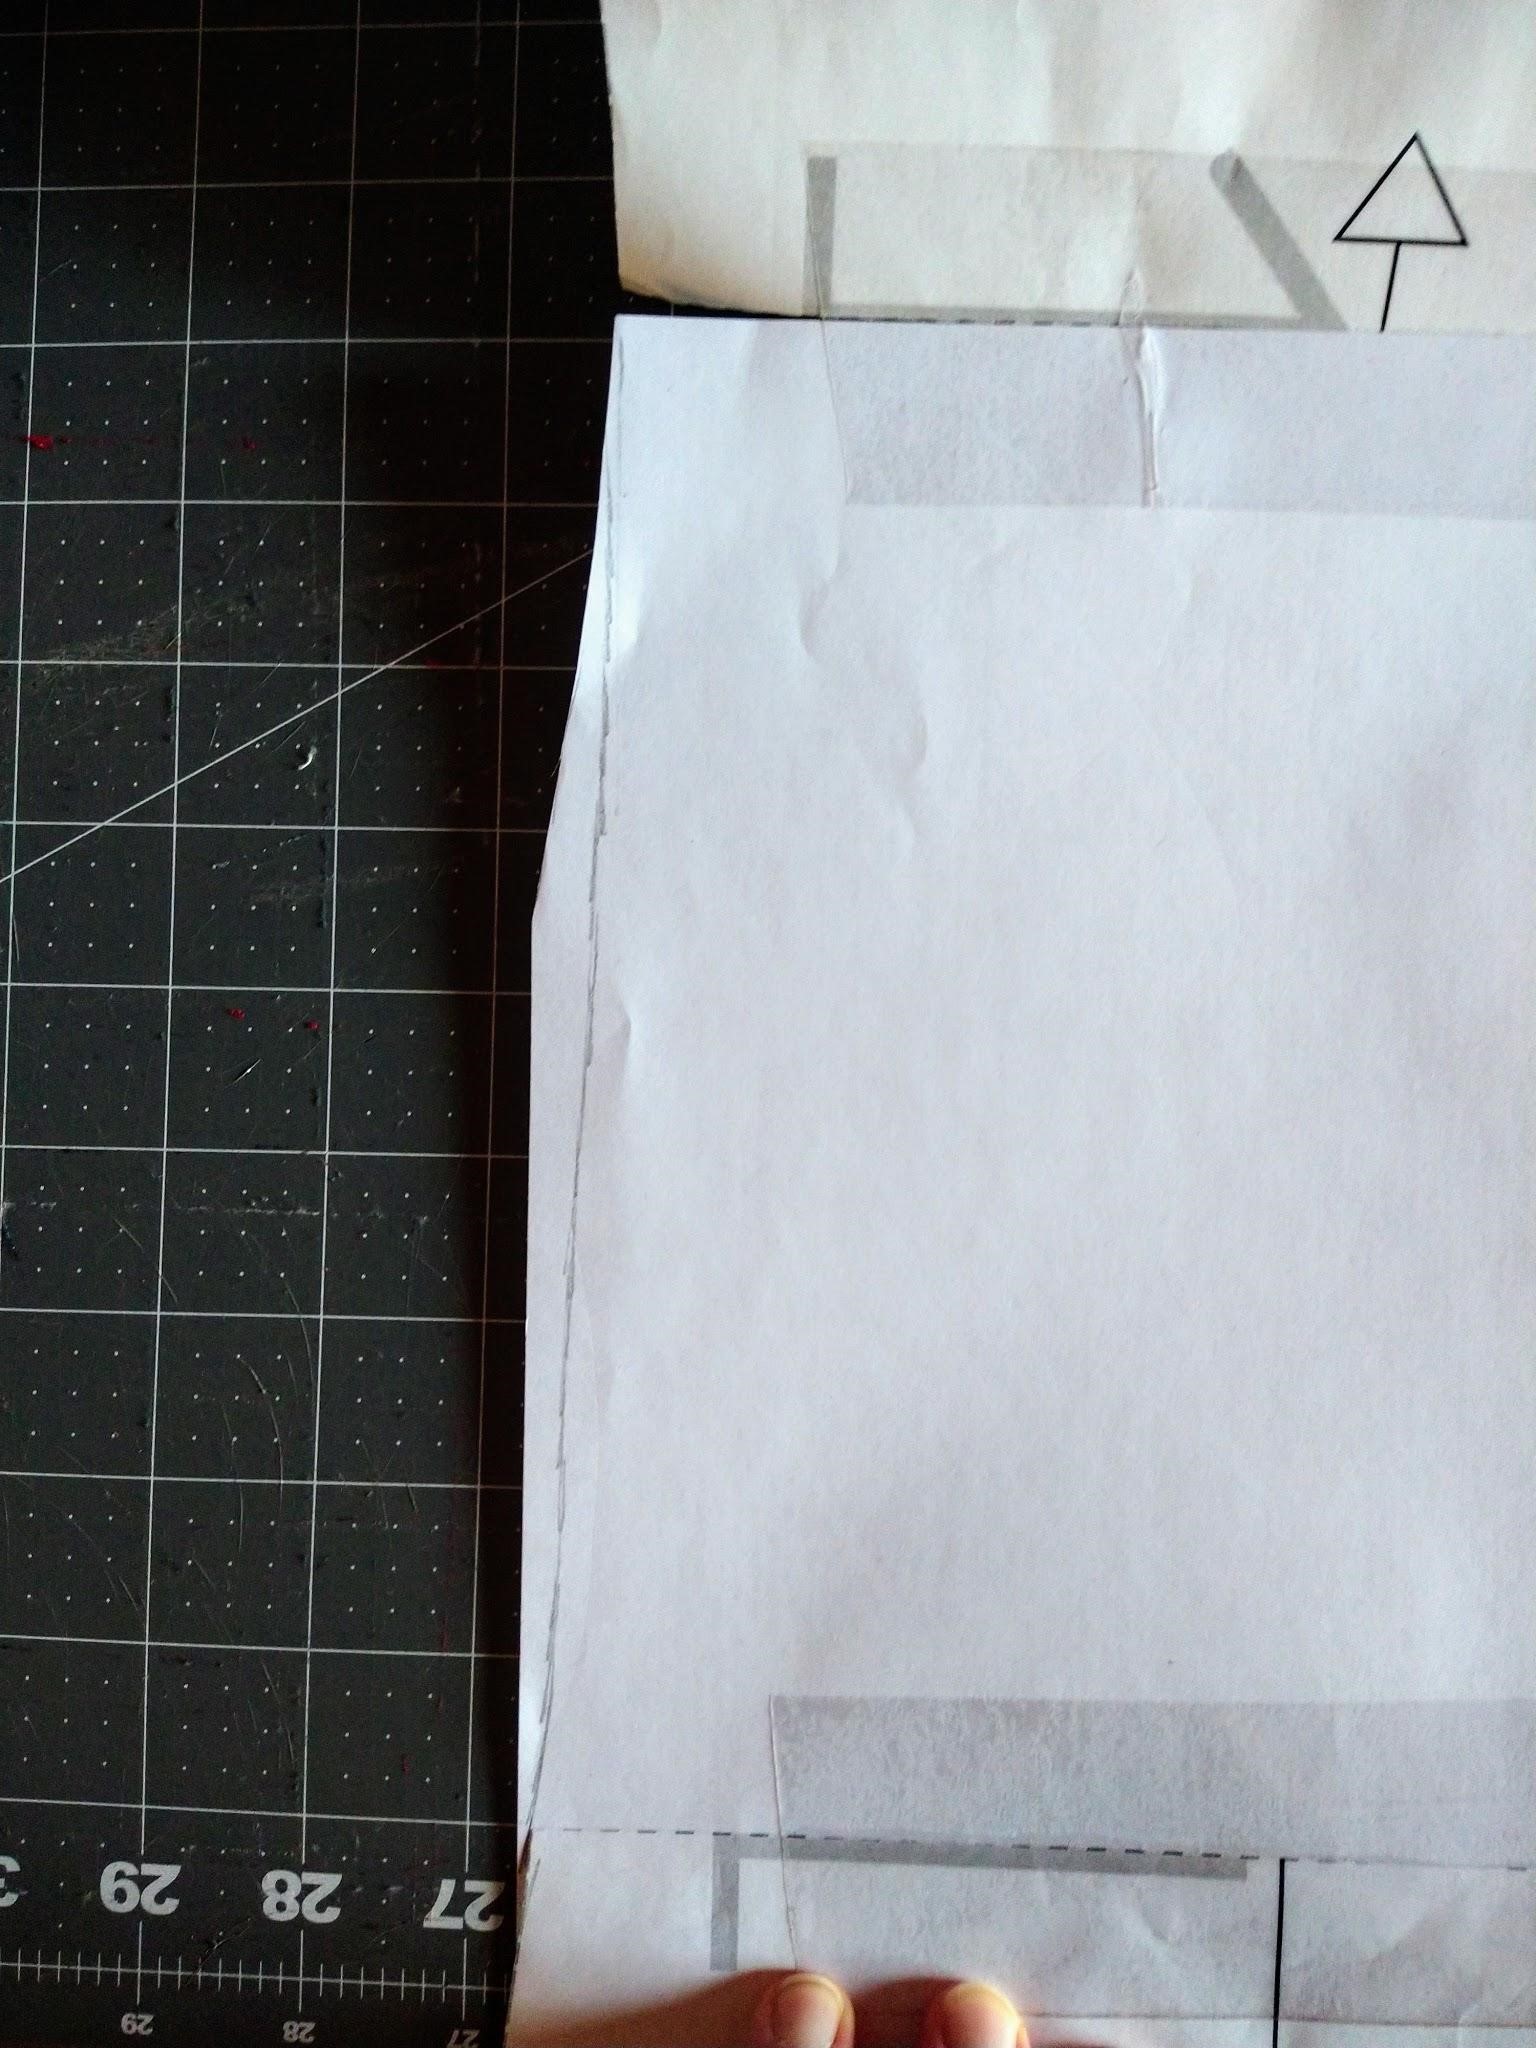
I started by adding three sheets of printer paper to the upper part of the bodice so I had a big clean slate to work with:
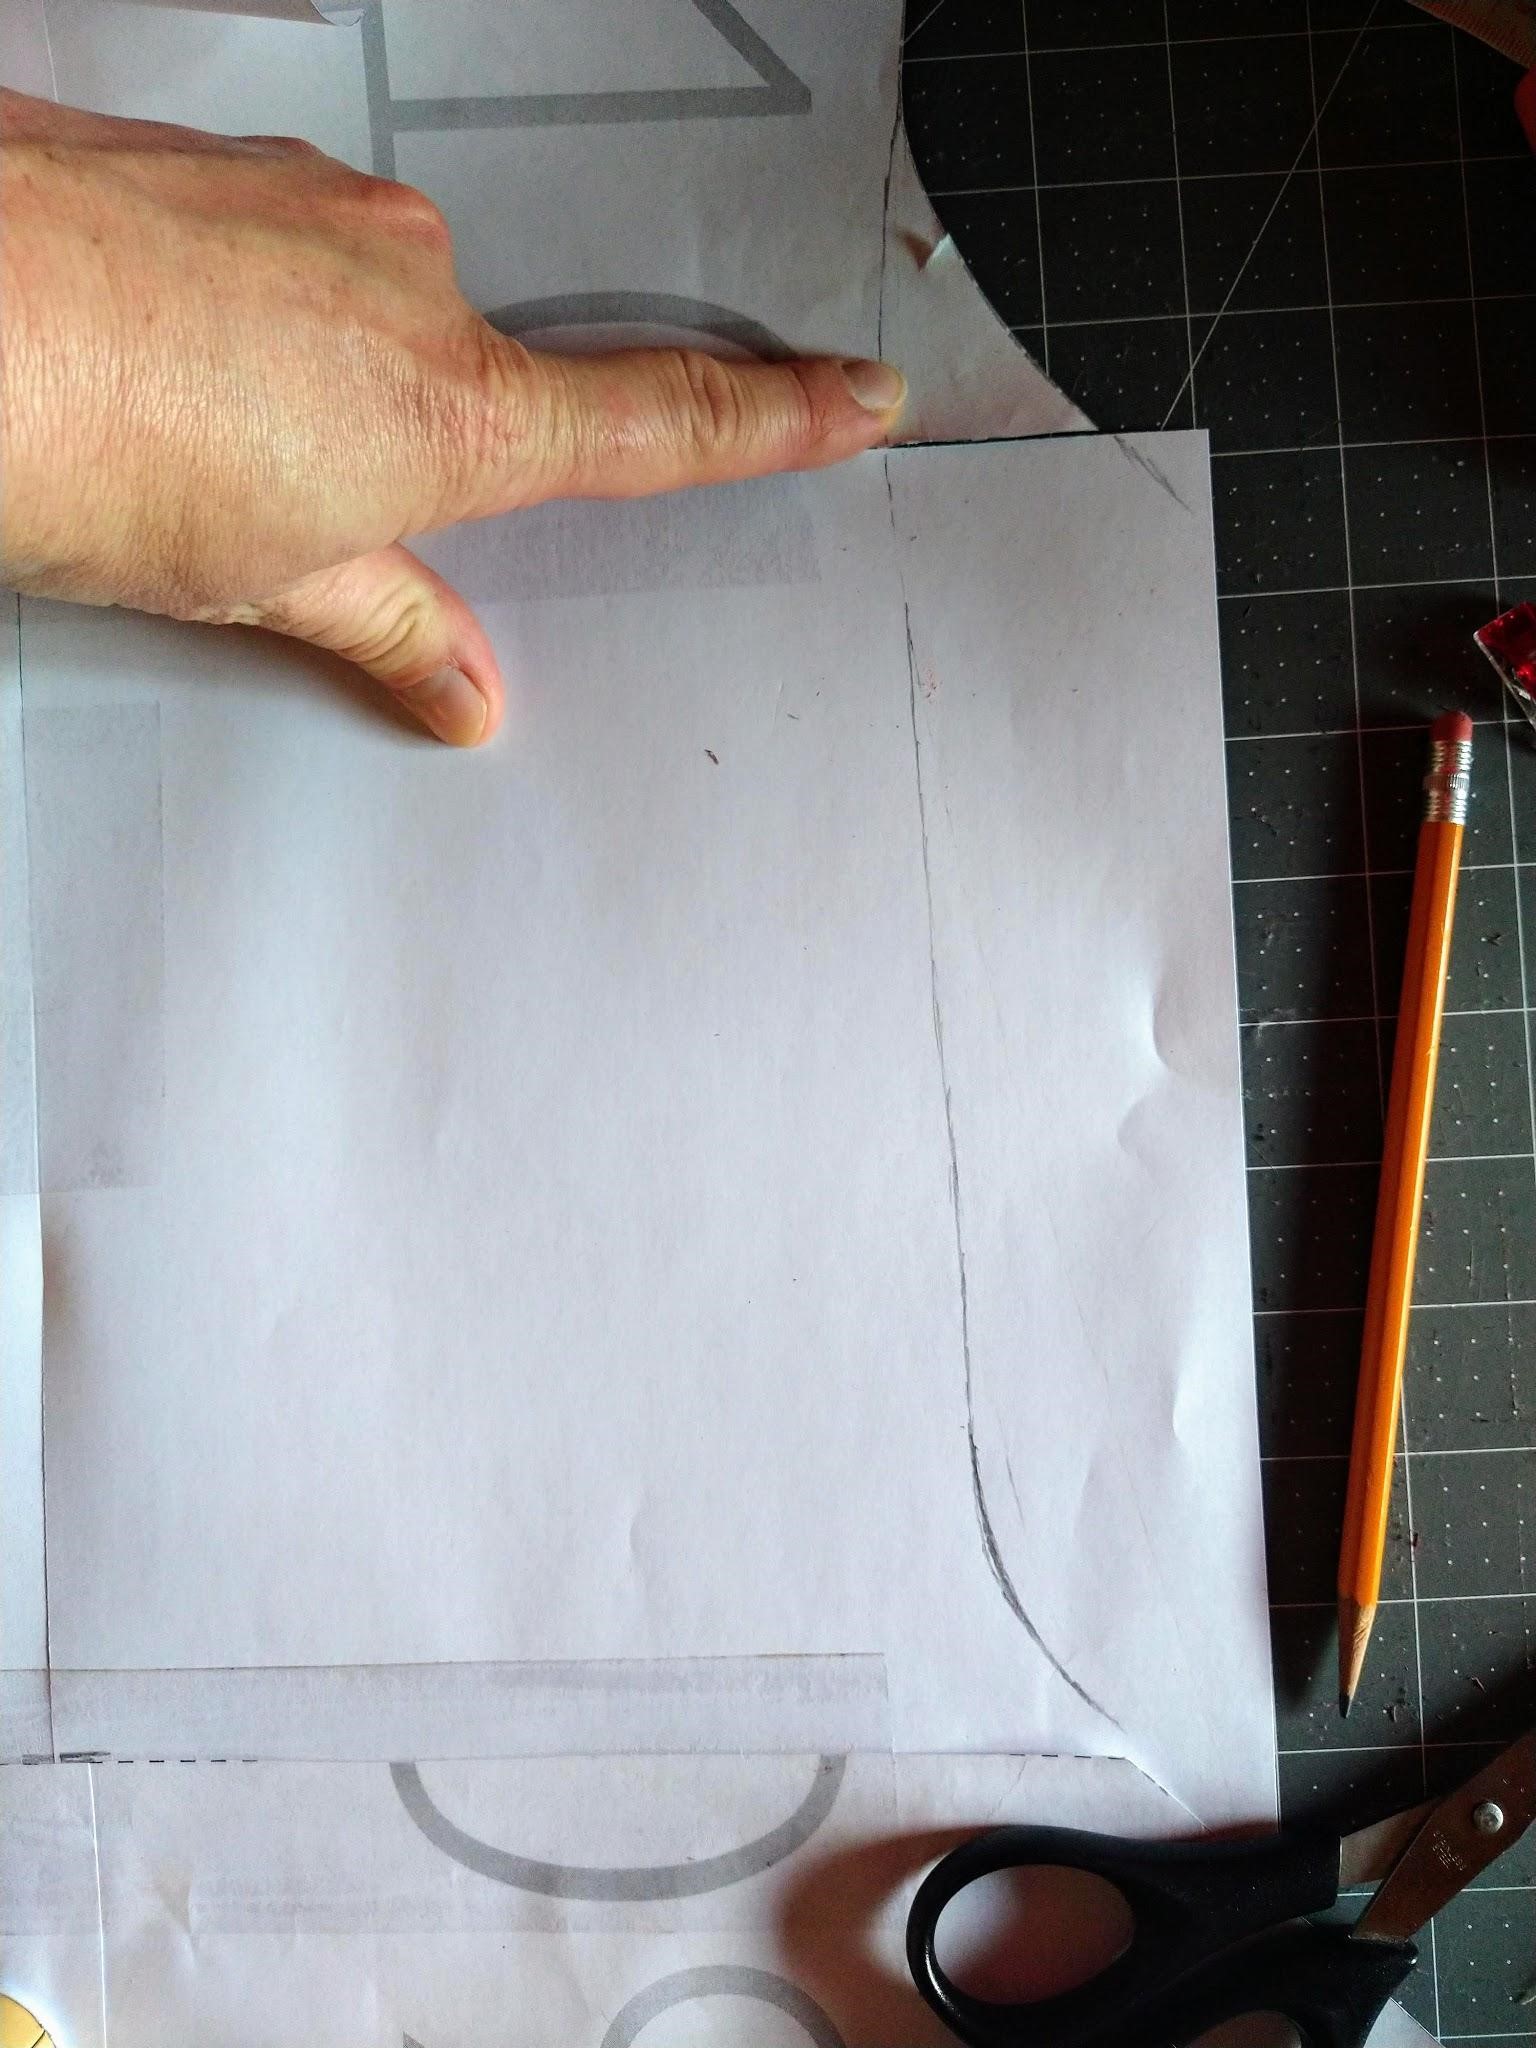
Left side of your pattern piece (non knot side)
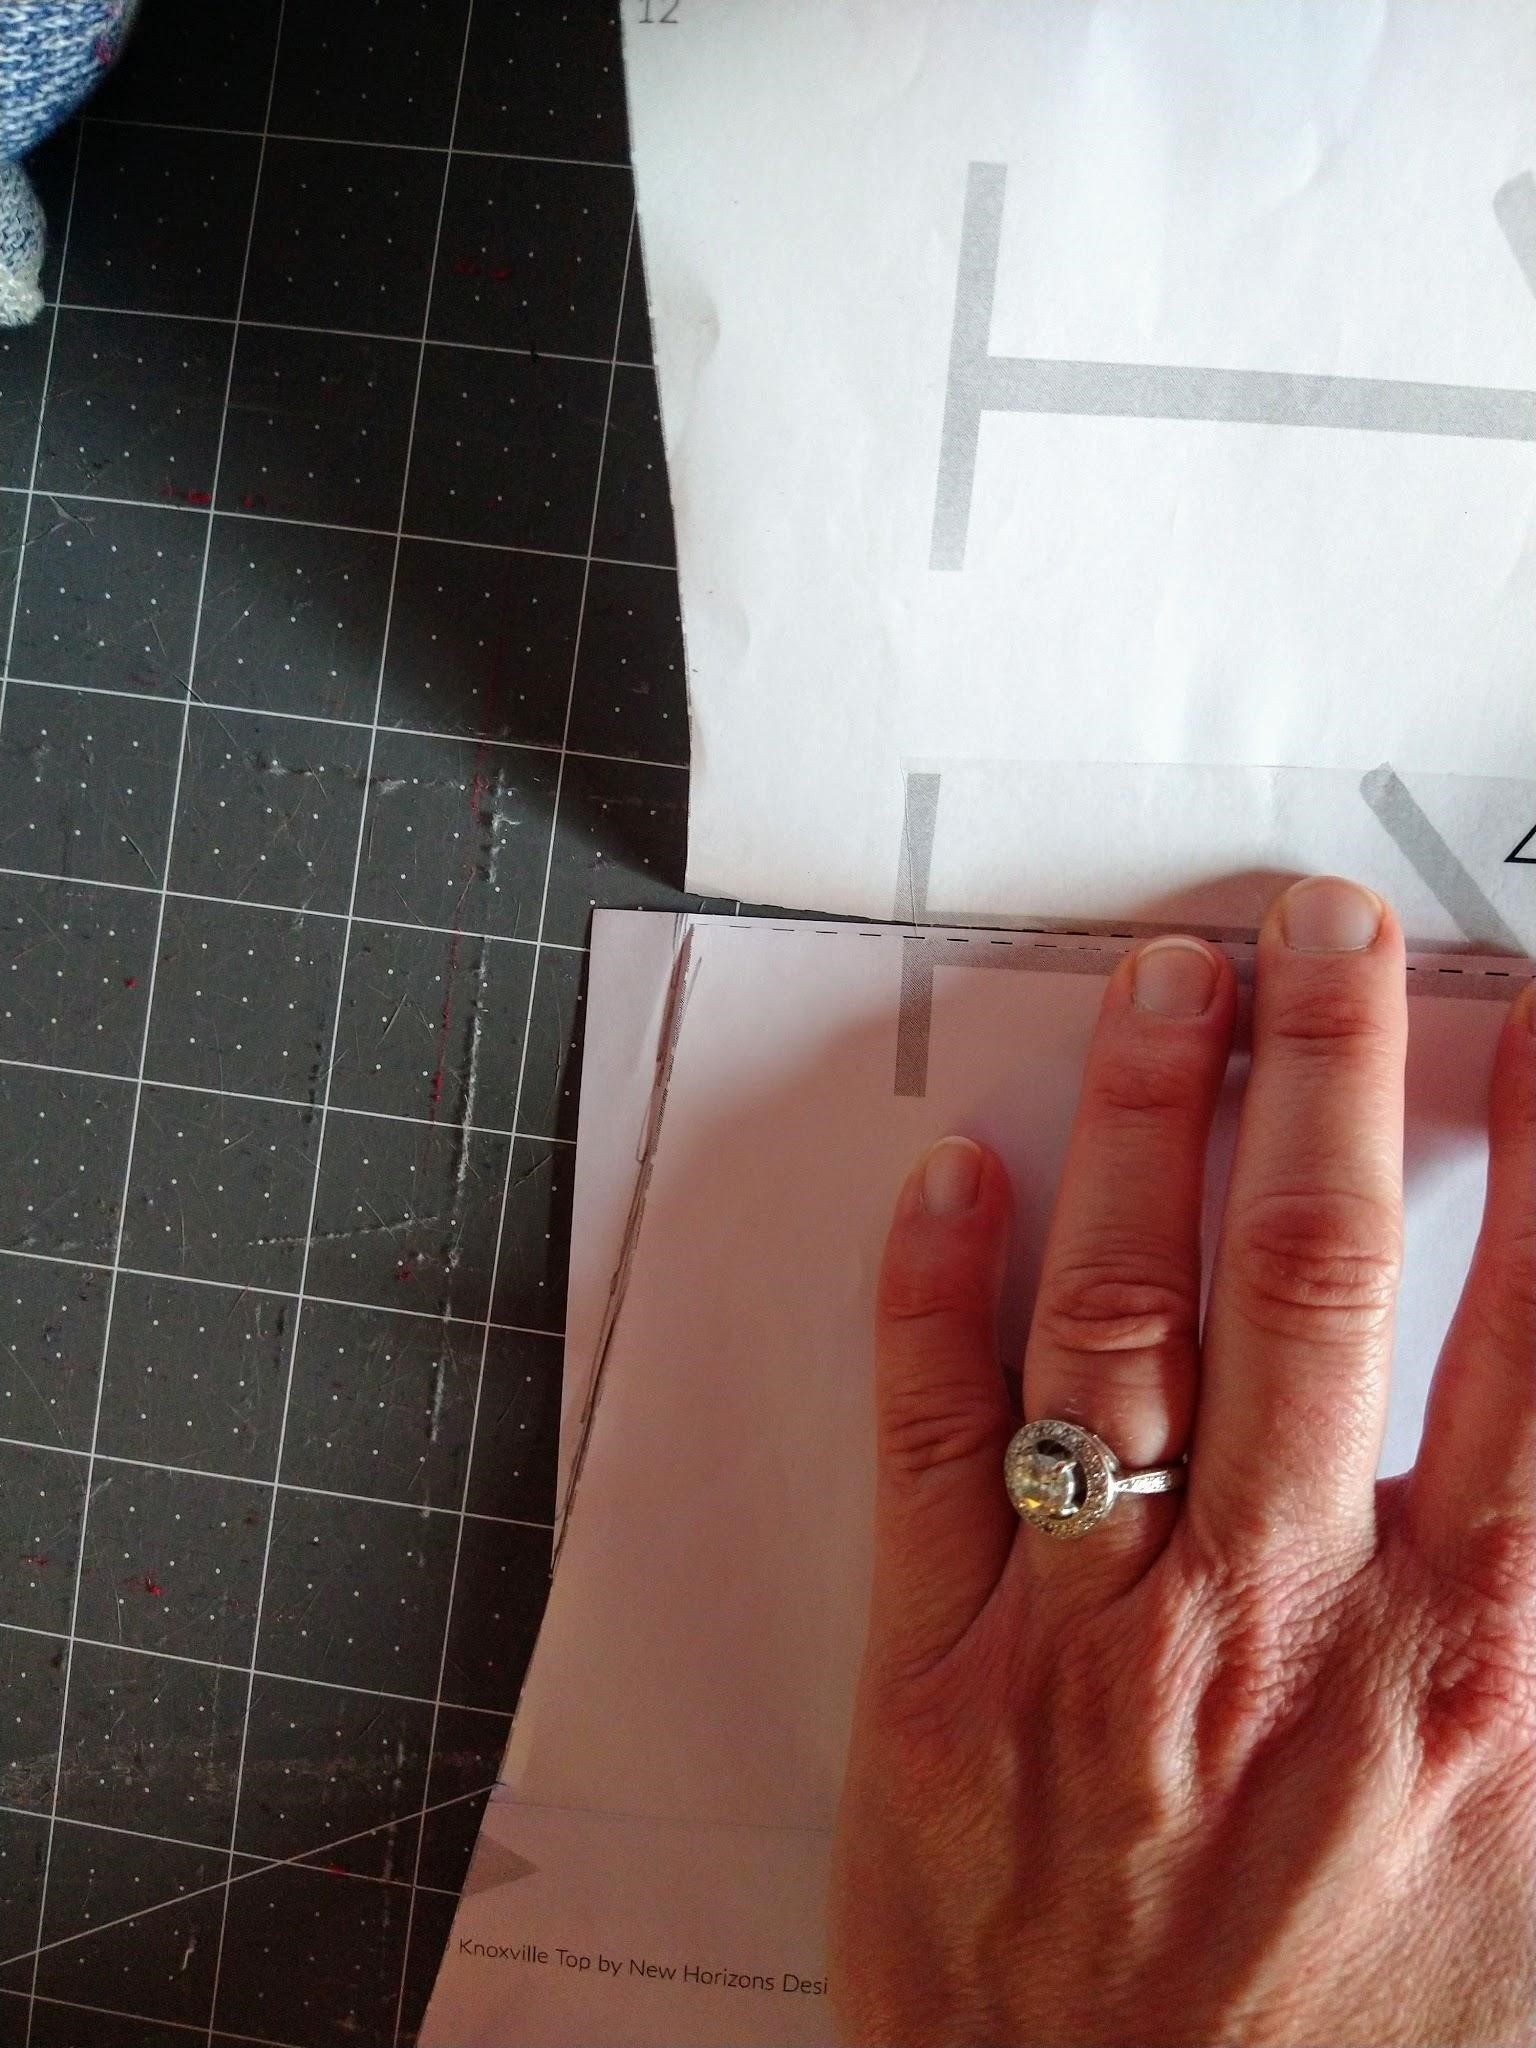
As I was working on adding the length, I realized that it was important to keep the shape through the waist and hip, as it is in the pattern, while moving the knot area lower. So we are going to use the shape on the left side of the bodice (which is actually the right side of the garment when you’re wearing it, but I’m using the photos for orientation – so the left side as you are looking at the pattern in my photos) on both the left and right sides when we add the length. I did this by tracing the existing side seam onto the blank paper and then traced the mirror image on the other side as well. You might have to smooth the curve a bit to accommodate the pattern piece you’re adding below it. I drew this line a bit more on straight than curvy so it would have a more relaxed fit. My step by step process for the LEFT side is pictured below:

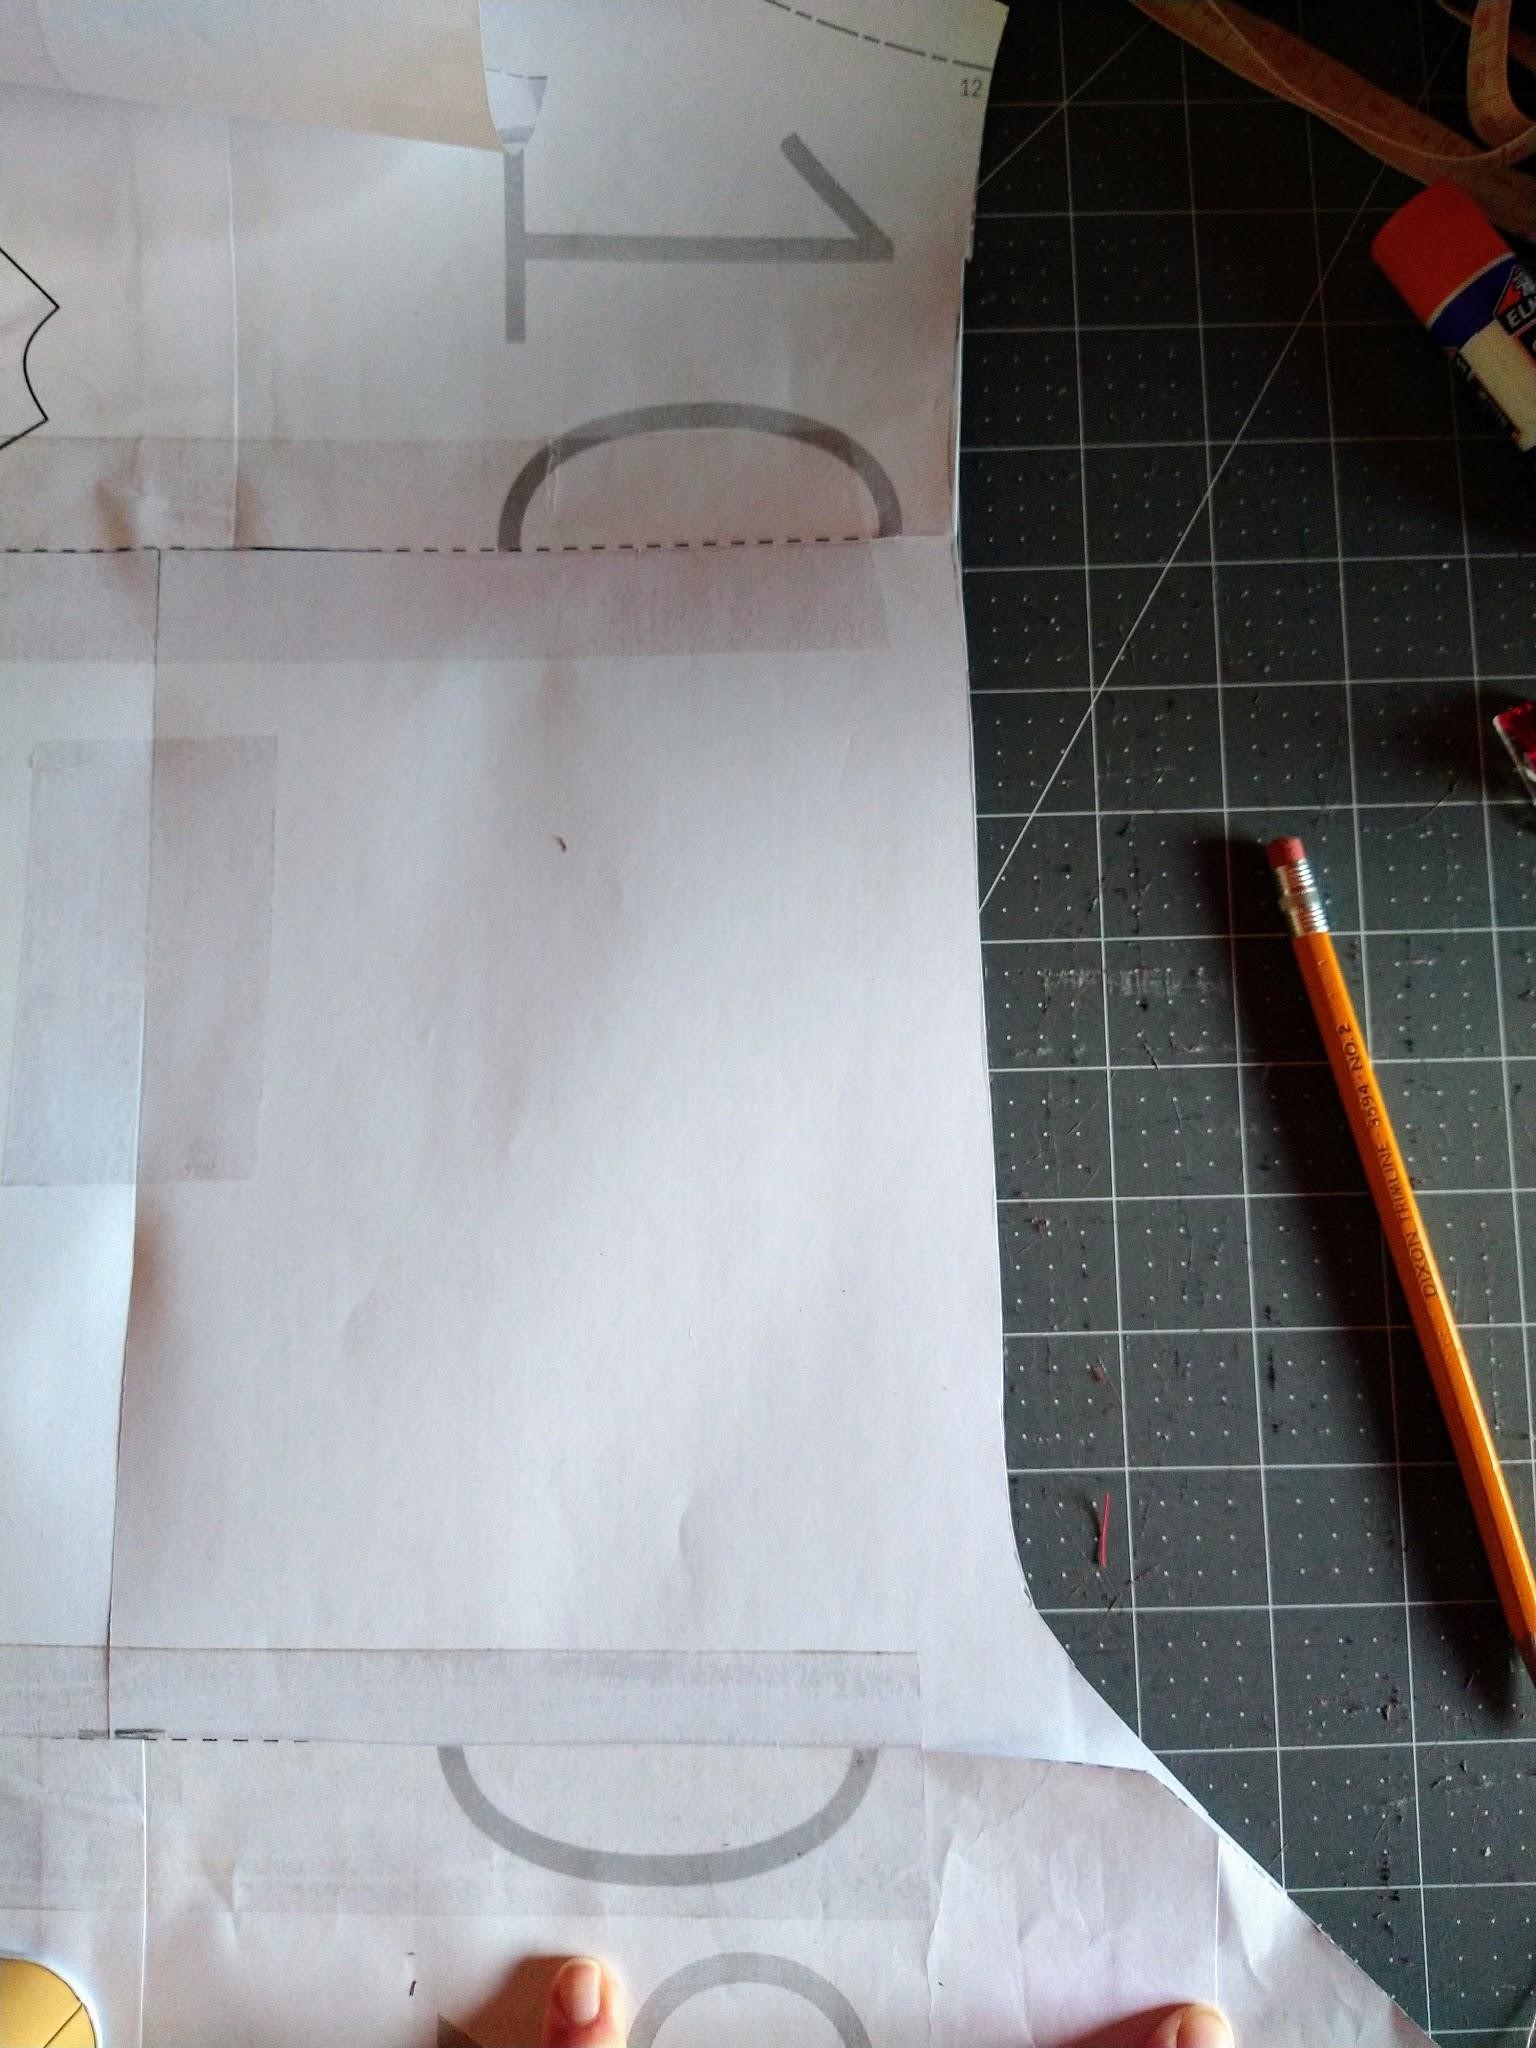
And here it is all finished:

Right side of your pattern piece (knot side)
Now onto the trickier side. We need to maintain the correct angle toward the bottom to accommodate the knot. That requires trimming off the angled bit of paper above the lengthen/shorten line and moving it with the knot side of the pattern to below the area of added length. Then we trace the same shape to lengthen the bodice on the right side of the pattern that we used on the left (mirrored, of course). Pictures below:

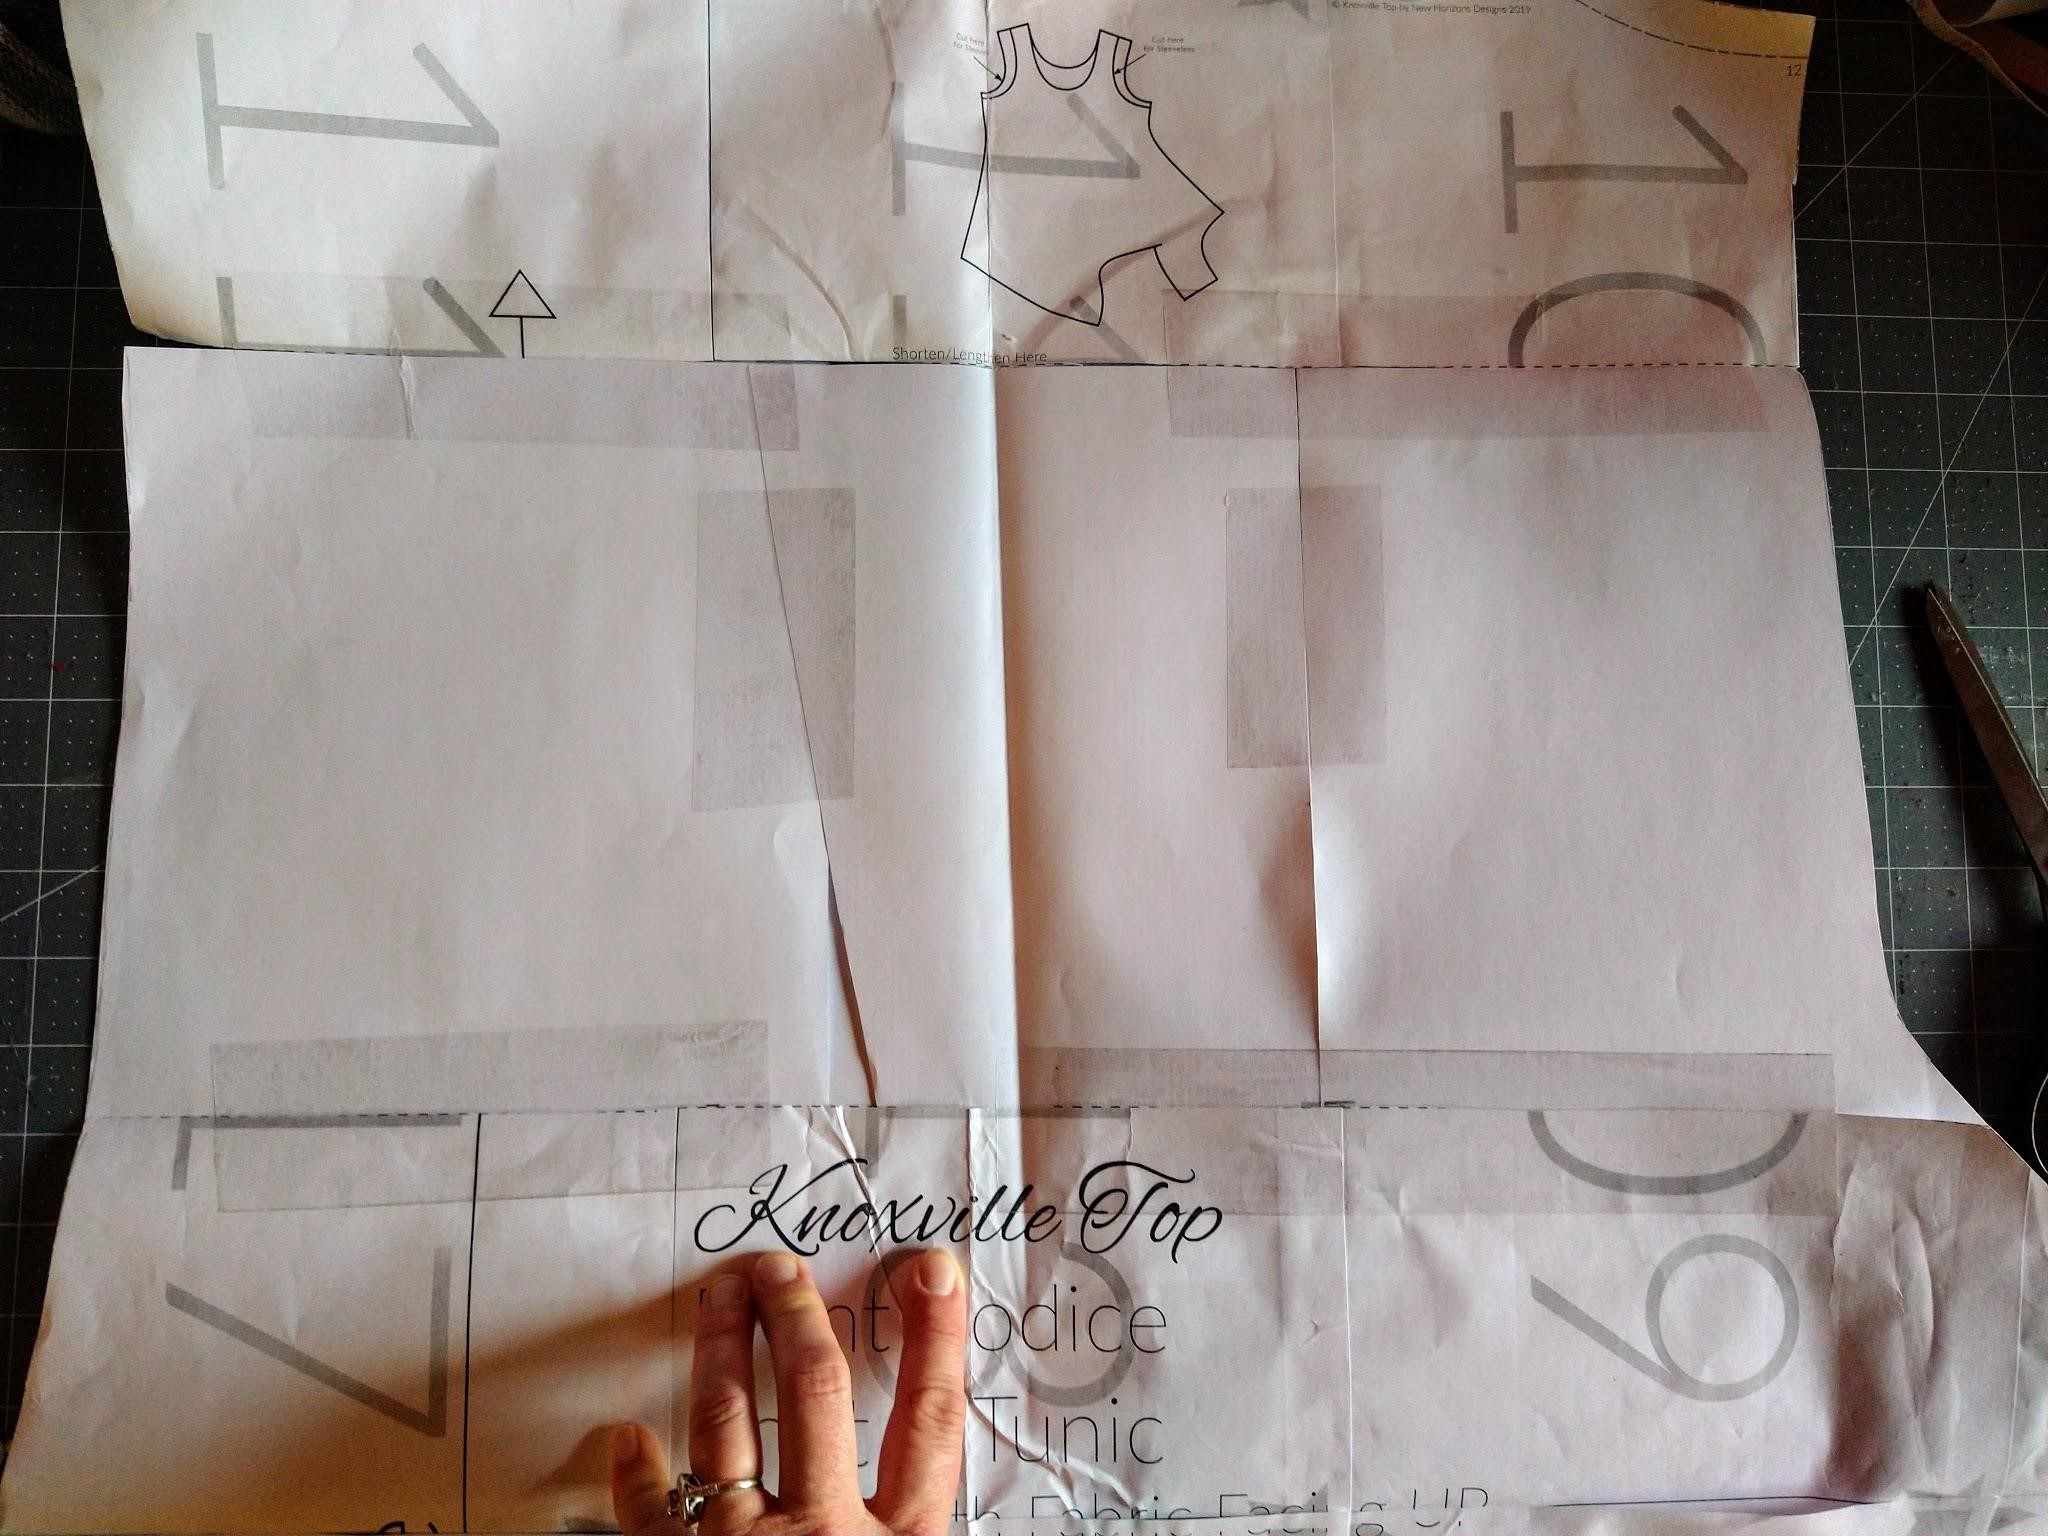
Here is the finished picture of the length I added to the front bodice:
Completing your Knoxville Dress Hack
From here, you should follow the tutorial and sew as instructed. When you’re done, you’ll have a beautiful dress with a cool knotted hem just like me!


We would love it if you shared your Knoxville knot dress hack with us in our Facebook group or on Instagram #newhorizonssewing