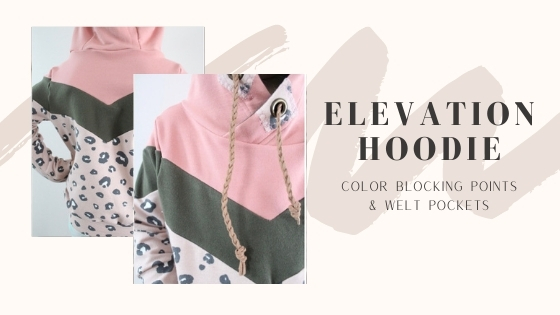
Time for one of my favourite things – colour blocking! Today we’re going to go through a few tips to get the elevation hoodie looking juuuuust right. There’s a few tricky bits to this pattern, but nothing you can’t handle, so grab your supplies and let’s dive in!

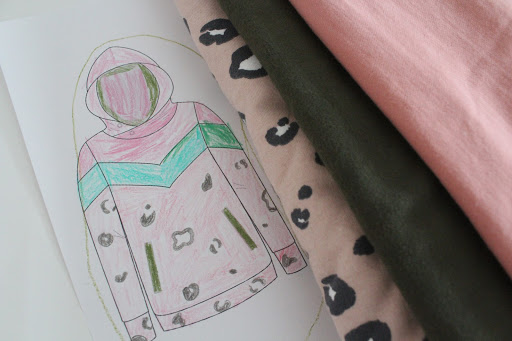
The pattern suggests knit fabric with at least 35% stretch for the garment, plus ribbing with similar stretch. I chose to use self fabric for my cuffs and hem band, and it worked out alright, but, depending on the stretch of your fabric, you might want to add some width to your pieces. The fabrics I’m using are a pink french terry remnant I had (I think from Fabric Snob), some olive bamboo fleece I picked up in a destash (originally from Water Tower Textiles), and some beautifully soft organic cotton french terry in this fun animal print from Shear Perfection Fabric.
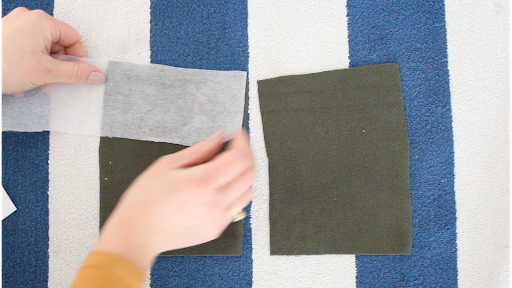
You’ll also want to find a scrap of interfacing. If you don’t have any, a piece of woven fabric will work, too – just baste it to your fabric piece within the seam allowance.
Grommets and drawstrings are optional, but add a nice touch. I picked up this kit on Amazon.

Oh, and this really fun braided suede-like cord is also from Shear Perfection Fabric.

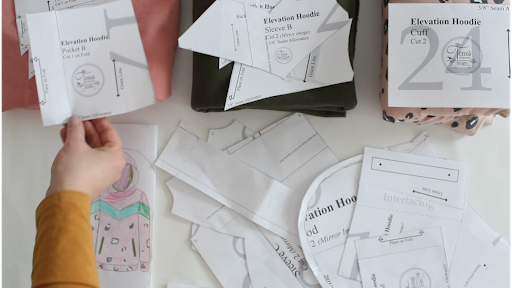
After I gathered my supplies I wanted to make a couple alterations to my paper pattern pieces. I used a 3 piece hood hack, and shortened the bodice by 3” at bodice piece C. I also shortened the sleeves by 3” at sleeve piece C but they ended up too short and I had to make new, longer cuffs to fix that, so maybe double check your measurements so you don’t repeat my mistakes.
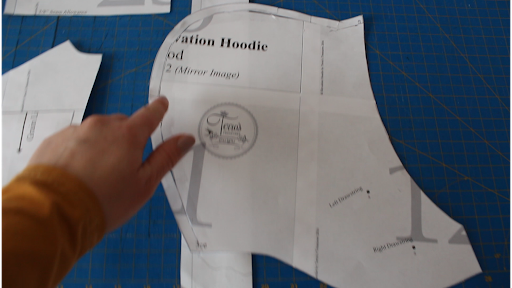
Once my pattern pieces were ready to go, I sorted them all out by fabric. A. B. C. I wasn’t exactly sure how I was going to do the pockets, so I left that til last. Also, if you’re doing a lined hood, don’t forget to cut those pieces out twice.
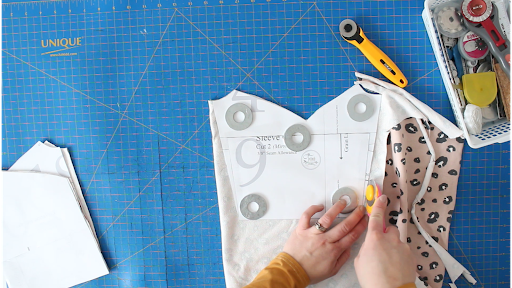
When you move on to cutting your fabric, don’t forget to mirror the pieces. This is extremely important because the sleeve design is NOT symmetrical. Take your time to get it right the first time to save you frustration later on. Also keep in mind directional prints, stripe matching, etc. This garment has some really cool design features that could showcase really well with some creative pattern placement.
Interfacing Pattern Pieces
Next I interfaced my pocket pieces. DO NOT FORGET TO MIRROR YOUR PIECES. Again, this is extremely important. The instructions have some pretty good photos to help guide you.
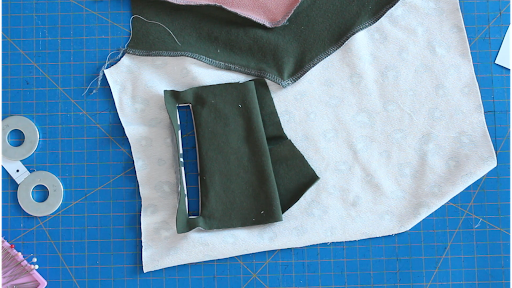
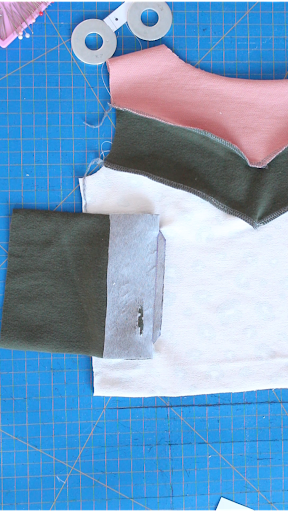
Ok, so you could definitely cut out 2 pieces of interfacing and then iron them onto your fashion fabric, but what I like to do is block interface. I’ll take all the pieces that need to be interfaced and stick them onto one large piece of interfacing, then cut them out after. This isn’t a great example since my scrap piece was the perfect size, but I think you get the idea. The little cut off strip will get used later for the hood grommets.
Finally, it’s time to sew. Now most of the pattern is pretty straight forward, but there’s a few things worth going over in more detail. I will say, the best thing you can do to get a nice crisp point is to take your time before you sew it. Preparation is key! Oh, and don’t skip the basting!
Sewing Nice Crisp Points
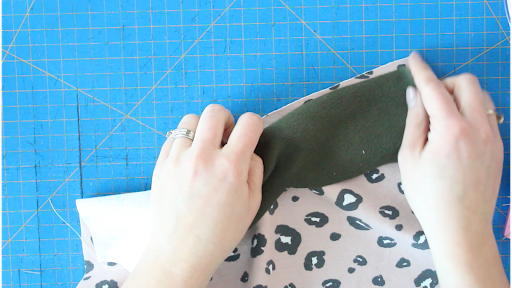
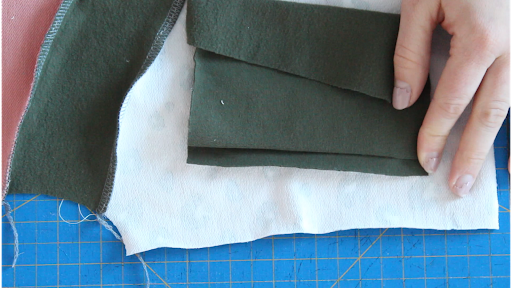
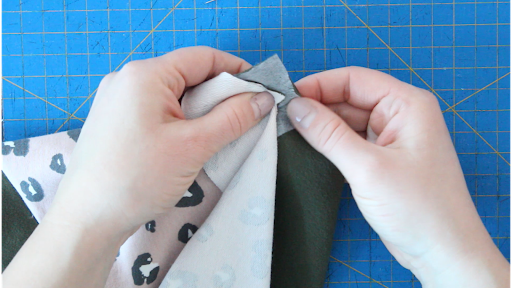
We first need to construct the colour blocking to form the full bodice and sleeve pieces. I’m going to follow the pattern instructions, so let’s start with the back piece. Lay bodice piece C down with RS up. Grab bodice piece B and lay it above, RSU, making sure it’s going to match up nicely.
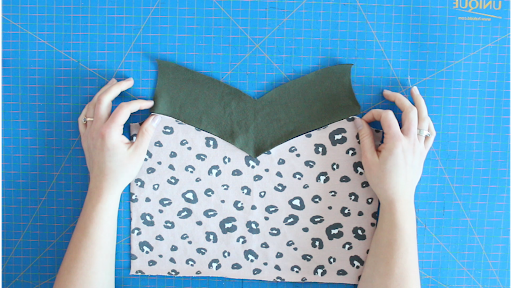
Then flip it down so it’s RST and doesn’t look like it will align at all!
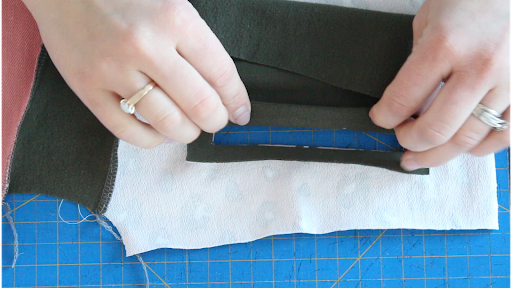
Measure ⅜” (SA) down from the point on the wrong side of bodice piece B and make a defined dot.

Next snip into the inside point of bodice piece C, about ¼”.
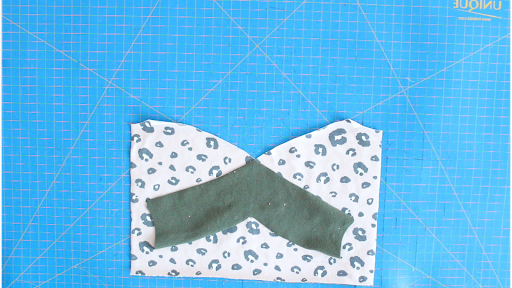
Now line up the outer point of bodice piece B with the inner point of Bodice piece C. It will be the only part of the 2 pieces that align. Don’t worry about that right now. Put a pin right into the dot you just created and secure.

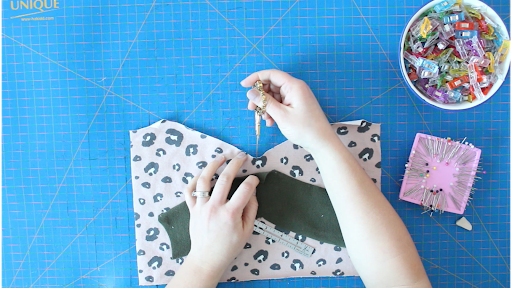
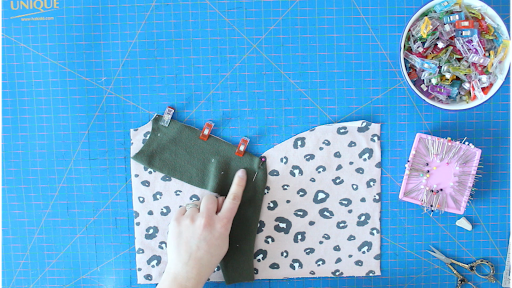
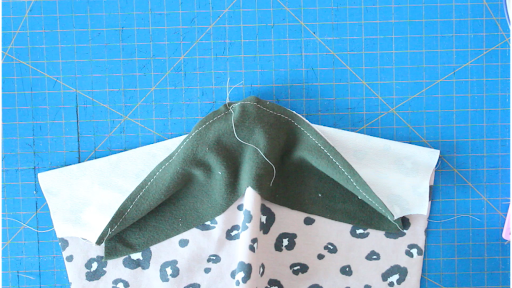
Now pull one side of bodice piece B up to meet the angel of bodice piece C. You’ll notice that once you pivot the piece, the point of bodice piece B moves and overhangs the dot you created. That’s exactly what we want. It’s the seam allowance. Place clips along the edge and then baste in place with your sewing machine starting from the outside and going into the center, being sure to stop right on that dot.

Repeat this process with the other side of the bodice pieces. This can be a bit tricky to get the inner point smooth. Take your time and spread the fabric as you sew. You might need to clip a little further into the seam allowance on bodice piece C, just be careful not to go into the seam or you’ll end up with a hole at the point.
Once you have your basting stitches complete, you can move on to your stretch stitch or serger. I do recommend doing 2 separate stitches – one from each outer edge.

Repeat this process with the bodice piece A onto bodice piece B, and then the entire process for the front bodice and the 2 sleeves.
When you get to the sleeves it is very important to take note of the front and back notations on the pattern pieces. The sleeve pieces are not symmetrical to themselves, so if you don’t have them matched up, it will end up pretty wonky.
Welt Pockets
Time to do the welt pockets. These are a little bit of work but SO worth it for the outcome! The first step is to take the paper pattern piece for pocket piece A and carefully cut out the long skinny rectangle for the welt opening and save it for the next step.
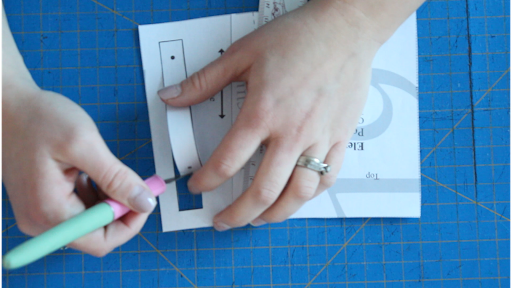
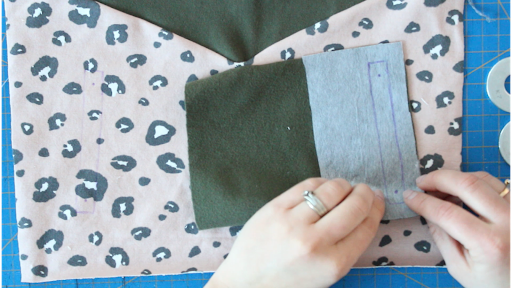
Then lay the pocket pattern piece onto the wrong side (interfaced side) of pocket piece A fabric. Remember these pieces are to be mirrored, so make sure you have things lined up properly.
Take a pencil, fabric marker, chalk, and trace around that inner rectangle on the interfacing. Remove the paper pattern piece and take the paper rectangle that you cut out and lay it on top.
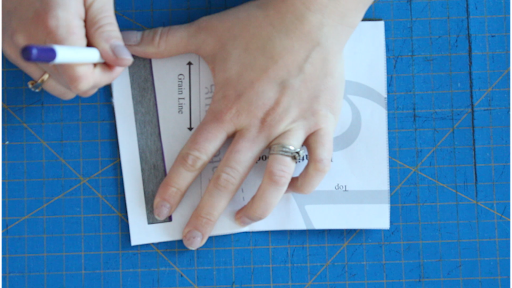
Make holes in the dots on the pattern with a pin, scissors, seam ripper, pen, and mark the position on the interfaced pocket piece.

Use the paper pattern piece for front bodice C to mark the pocket placement on the front bodice. I found it helpful to cut out the rectangle on here as well,and then line up the bottom and side edges.

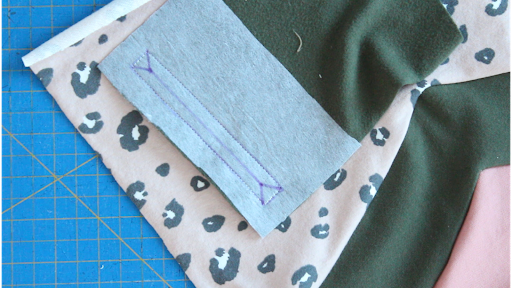
Now take the fabric pocket piece and lay it right side down on the FRONT of the front bodice, so that the rectangles are aligned and the two pieces are RST.
Pin in place and sew directly over the rectangle.
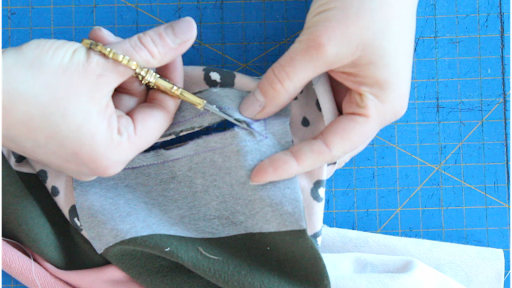
Cut a straight line between the two dots, and then small angled snips from the dots into each of the 4 corners, going TO the stitches, but not THROUGH.
Next pull the pocket piece through the front bodice to the wrong side and press it flat.
Grab the long part of the pocket (closest to the center) and pull it back over the pocket opening and out to the side, revealing the seam allowance from the rectangle on the center-most side of the opening. Press it flat. Make sure to check your iron settings so you don’t melt your interfacing.
Make a mark ½” away parallel to the rectangle stitch line into the longer pocket piece.

Fold the pocket piece back onto itself along that line. You should be left with a portion of the pocket completely covering the opening. Press.
Ok, now we’re going to go a little off-script for this next step. I found it a bit confusing, so what I did was grab the edge of the fold that we just made at the bottom of the pocket opening, being sure to hold onto the little triangle piece from the opening, as well. I then lifted that up while I moved the bottom of the bodice out of the way and flipped everything over so I was left with the pocket on the bottom and the little triangle on top.
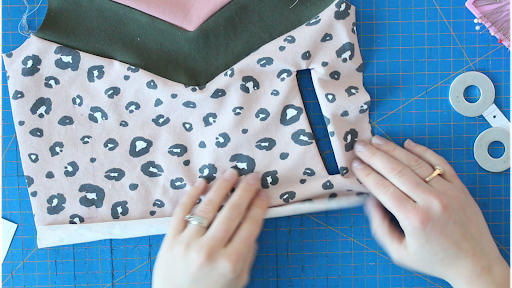
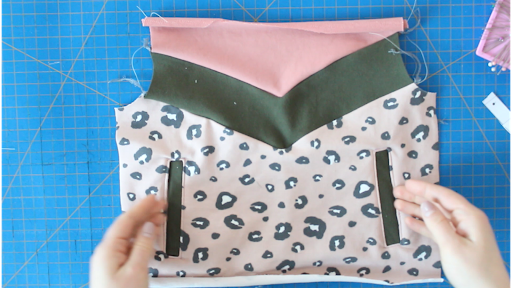
Then I stitched right over top of that little stitch line on the triangle. Repeat this with the top of the pocket opening. Turn it over and admire the magic! Lastly, smooth it all out and topstitch around the rectangle opening on the right side.
Repeat this all for the second welt pocket.
To attach the two pocket pieces to each other, you can either sew them wrong sides together, with the seam allowance inside the pocket, or do like I did and flip the two pocket pieces to the other side of the bodice so they can be right sides together and have the seam allowance hidden between the bodice and the pocket bag. Flip back to the wrong side of the bodice.

To complete the pocket we will lay pocket piece B on top of the long pocket we just created, and sew along all 4 sides, being careful not to catch the bodice anywhere.
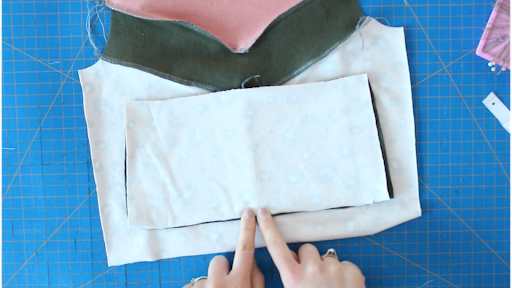
Again, turn over and topstitch just on the outermost stitch line of the pocket opening (closest to what will become the side seam of the bodice).
Sew the rest of the hoodie per Instructions
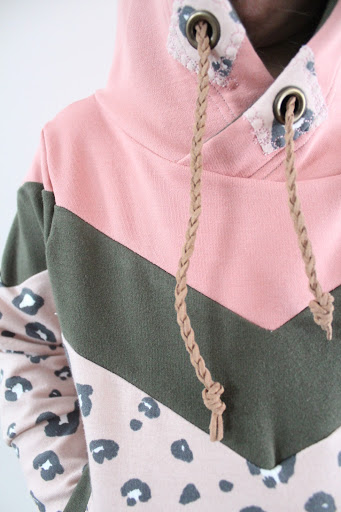
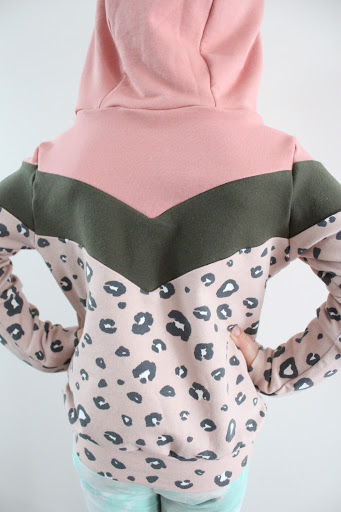
The rest of the construction is pretty straight forward. Attach the front and back bodice pieces at the shoulder seams. Make the hood (I added some extra embellishments) and attach it to the bodice. If you need some help with grommets, I have a video on my channel for that. Then attach the arms and sew up the side seams. Lastly add the sleeve cuffs, bottom band, and thread the drawstring if you’re using one.

That’s it! I love hoodies and other basics that pack a serious design punch. This has turned out to quite possibly be my most favourite thing in my daughter’s closet. I think it’s the pockets!

Don’t forget to tag us on Instagram and use #elevationhoodie with your own creation.
By Katelynn Hegedus from Sewing from Scratch on YouTube