Christmas is coming and that means we have gifts!! Today we have a Free tree skirt pattern. This Button Tree Skirt will add a one of a kind touch to your holiday decor. Watch the video below for step by step instructions for sewing your tree skirt.
Free Tree Skirt
Assemble Pattern
First we need to print the pattern and assemble the pieces in sequence.
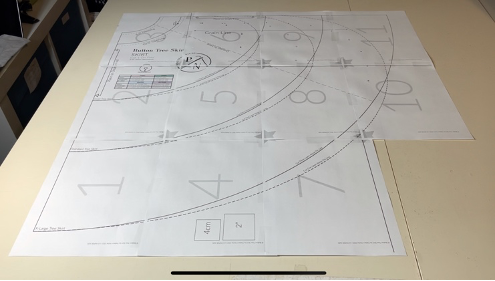
Once that is done, you can either trace the size you plan to make or use the assembled pattern.
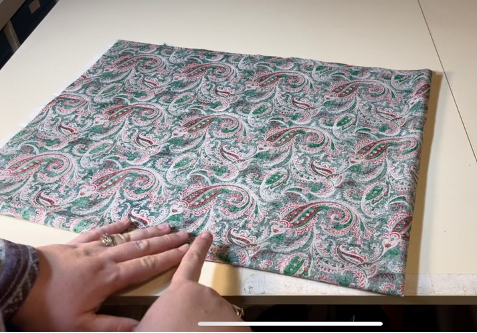
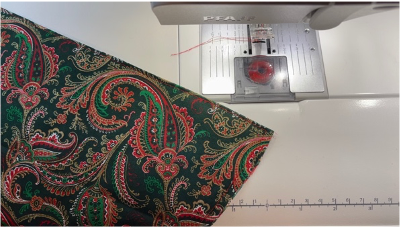
Cutting Your Fabric
Now we fold our fabric so that the selvedge edges are together.
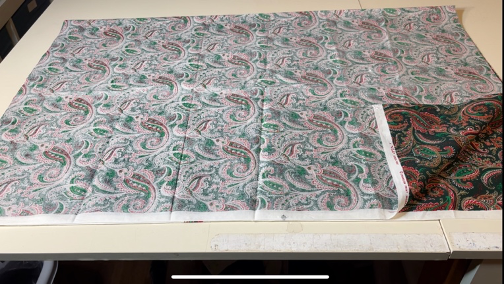
Then we fold it again the opposite direction so the original fold lays on top of itself and the selvedge edges are layered as well.
Then we lay our pattern on top and pin.
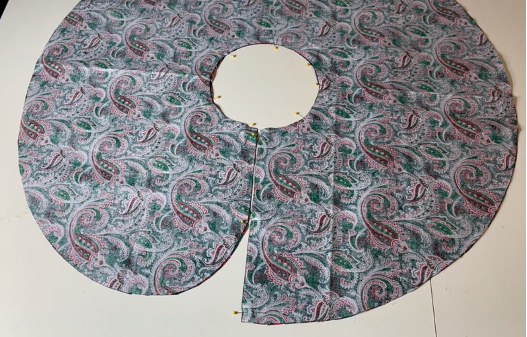
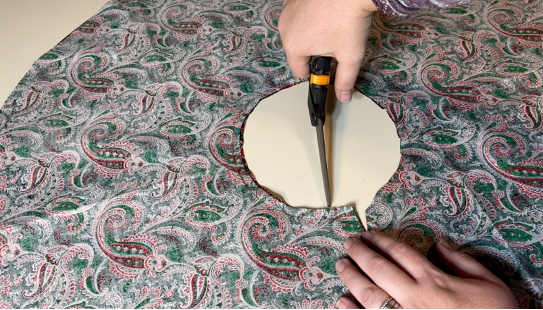
I started by cutting the small circle for the opening.
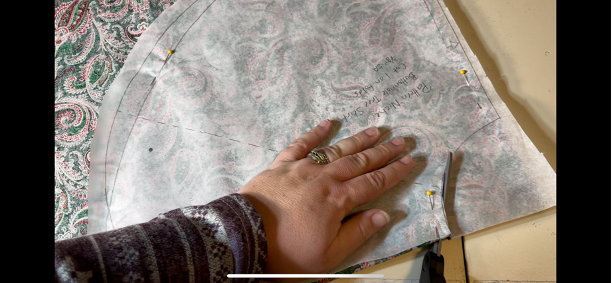
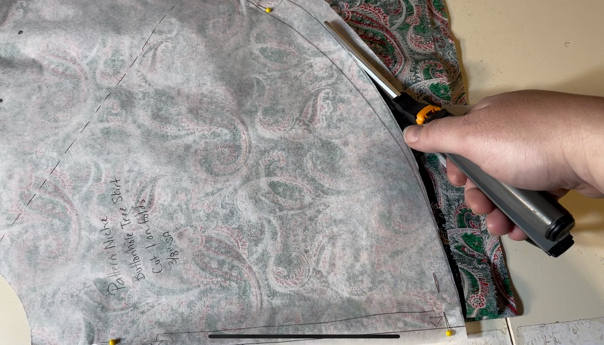
You can choose the 6.5” opening or the 10.5” opening. You will notice that one layer has a different cutting line than the other 3 layers. To accomplish this, start clipping at the edge that matches through all four layers.
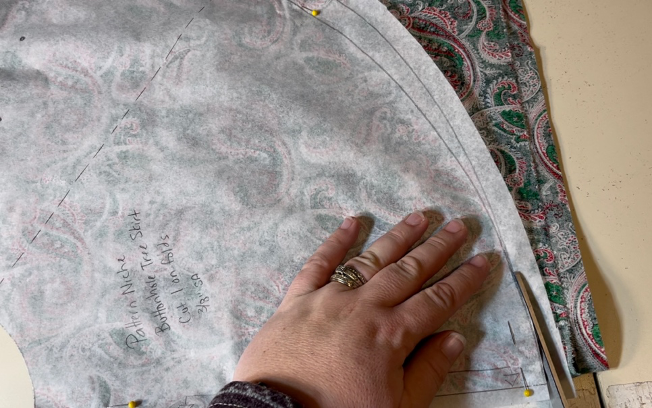
Then slip your scissors under just the top layer to cut along the single layer cut line and up the fold to the opening edge. Then you can fold that layer out of the way and cut the remaining layers along the circle edge.
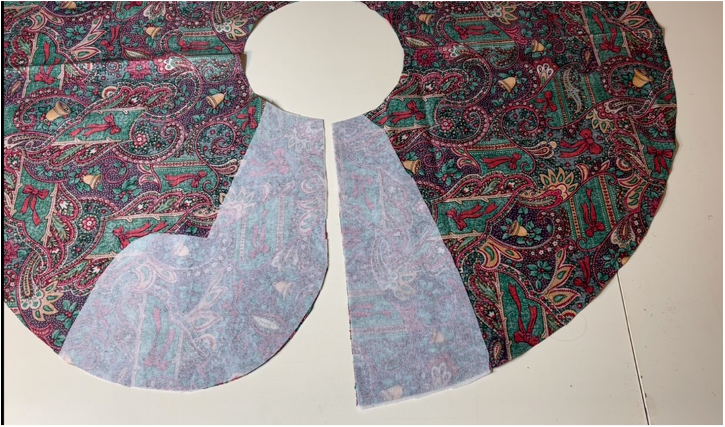
Applying Interfacing
Next we want to interface the overlap sections to support the buttons and buttonholes (if you choose to use them). You can also choose Velcro or snaps as a closure option.
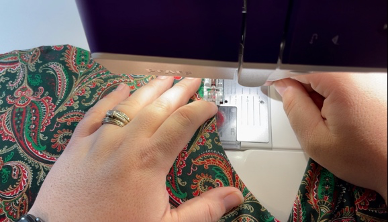
Sewing The Tree Skirt
Now we will stitch the straight edge and the inside circle right sides together with the lining.
Once stitched, clip the seam allowance of the inner circle and the corner where it meets the straight edge.
Flip right sides out and press. Then topstitch the same edges you just stitched. Baste the raw edges of the outer circle together.
Attaching The Binding
Now we attach the binding. Start with the binding ½” or so past the finished edge of the tree skirt. Then, open the binding and match the edge to the raw edge of the skirt. Pin in place without stretching.
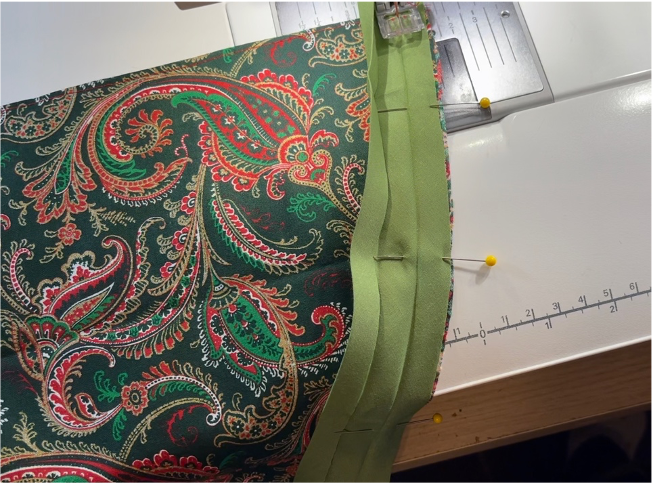
It is ok if the binding puckers a little on the edge where you are not stitching. Stitch along the fold line closest to the raw edge all the way around.
I like to trim a little of the seam allowance out of where I just stitched (just the fabric not the binding).

To finish the ends of the binding, fold the end into the binding and then fold the binding to the back side enclosing the end of the binding.
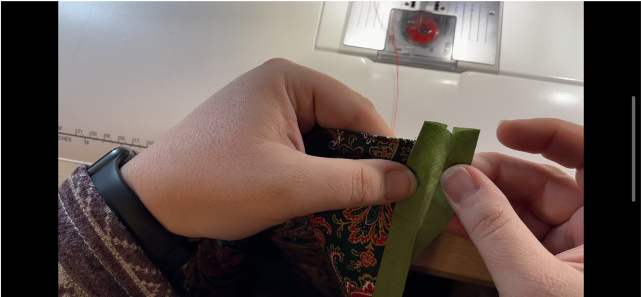

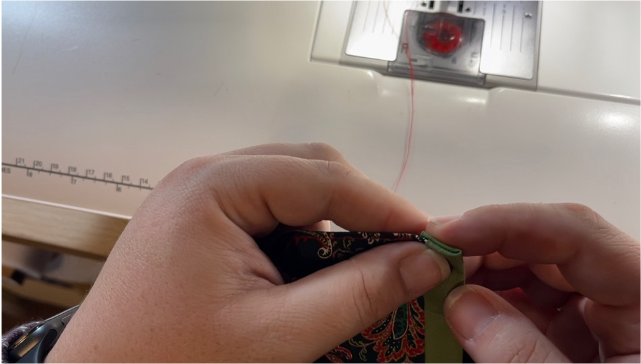
Fold the remaining binding to the wrong side of the skirt and topstitch, catching the folded edge on the back side.

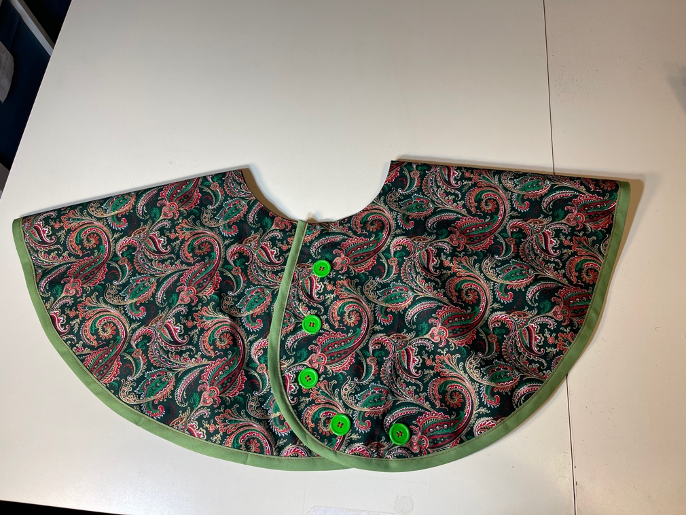
Attaching Closures
Now we can attach our closure. Using the markings on the pattern, mark the overlap and match up where you will place your Velcro, snaps or make the buttonholes. Attach your closure and then stitch buttons on at the markings.
Completed Tree Skirt
Now your tree skirt is ready to adorn your tree!