Christmas is a time of giving so Pattern Niche is excited to give away a free apron pattern to you all! This is a great pattern for all year long but I am sure more baking happens around the holidays I know it does at my house!
This will give you a brief overview of the pattern as well as some very basic instructions but for the full tutorial make sure you check out our YouTube video where I walk you through step by step.
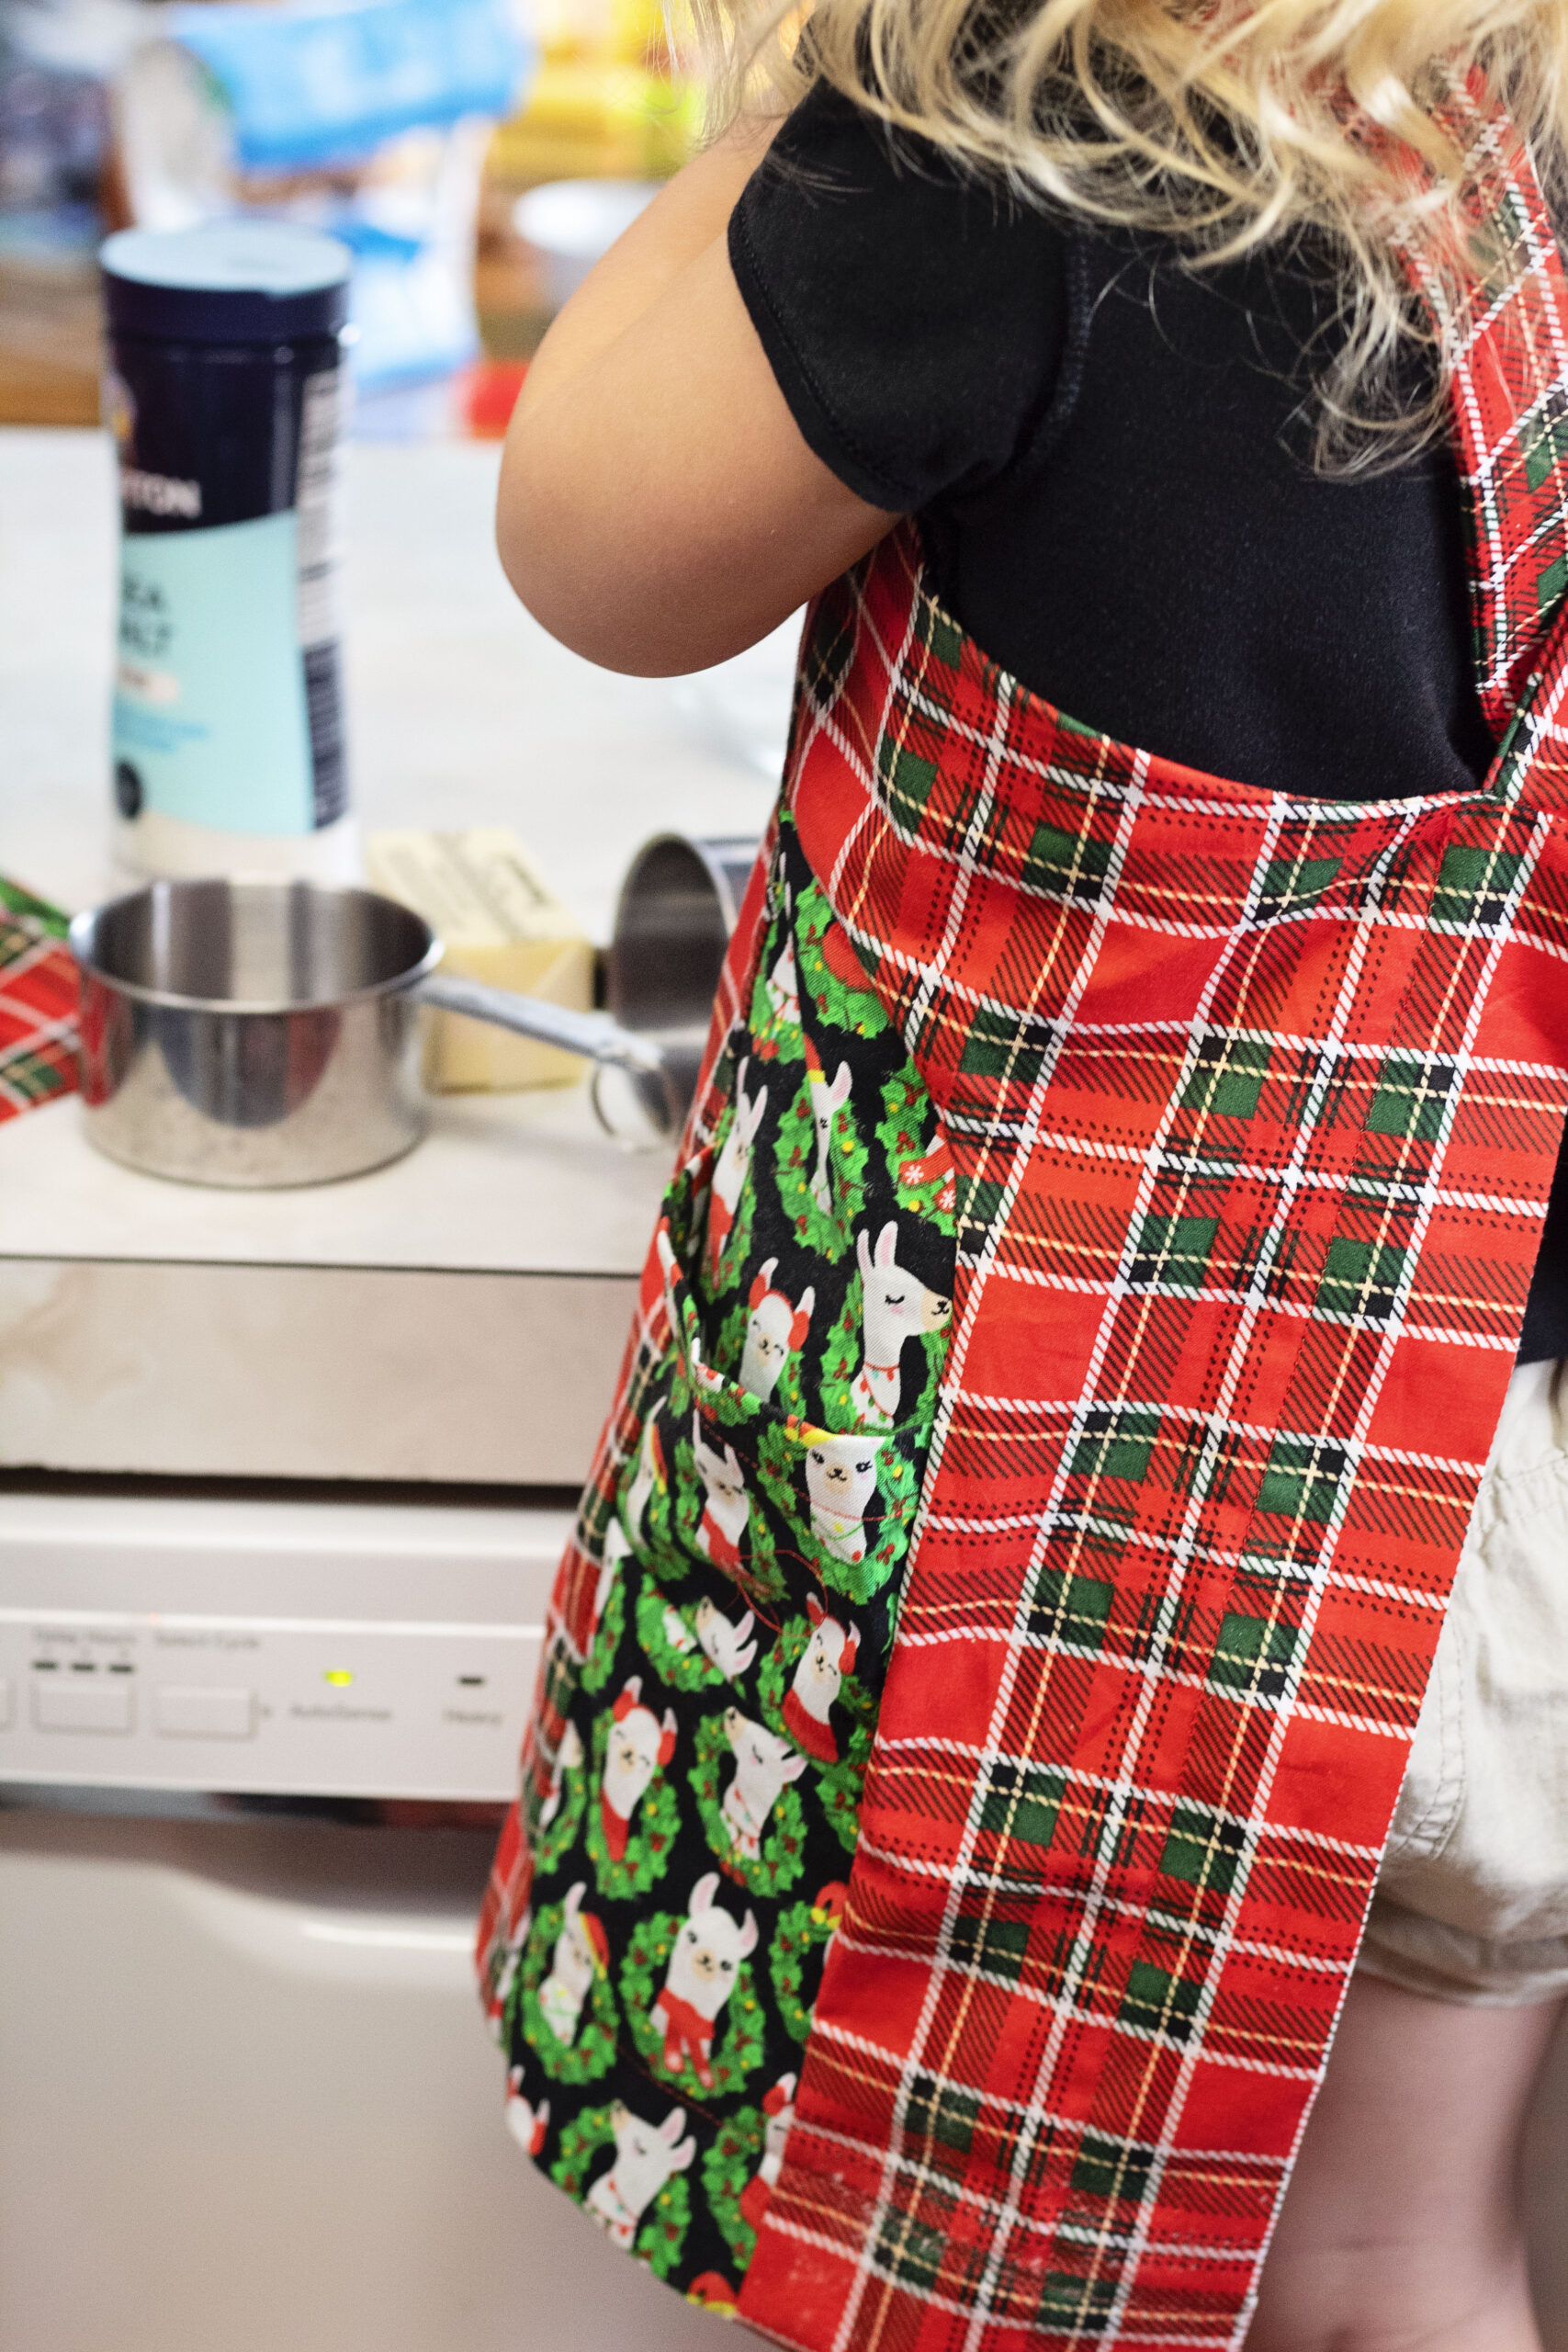
We have an adult apron and also a child apron. They both come in multiple sizes for the perfect fit! The pattern is drafted for woven material and you can see all of the size charts and fabric requirements in the pattern listing.
Let’s get started!
Take two strap pieces and place them right sides together. Stitching along both long edges. After you stitch into place you will turn the strap right sides out, press flat and set aside. Repeat with the other strap.

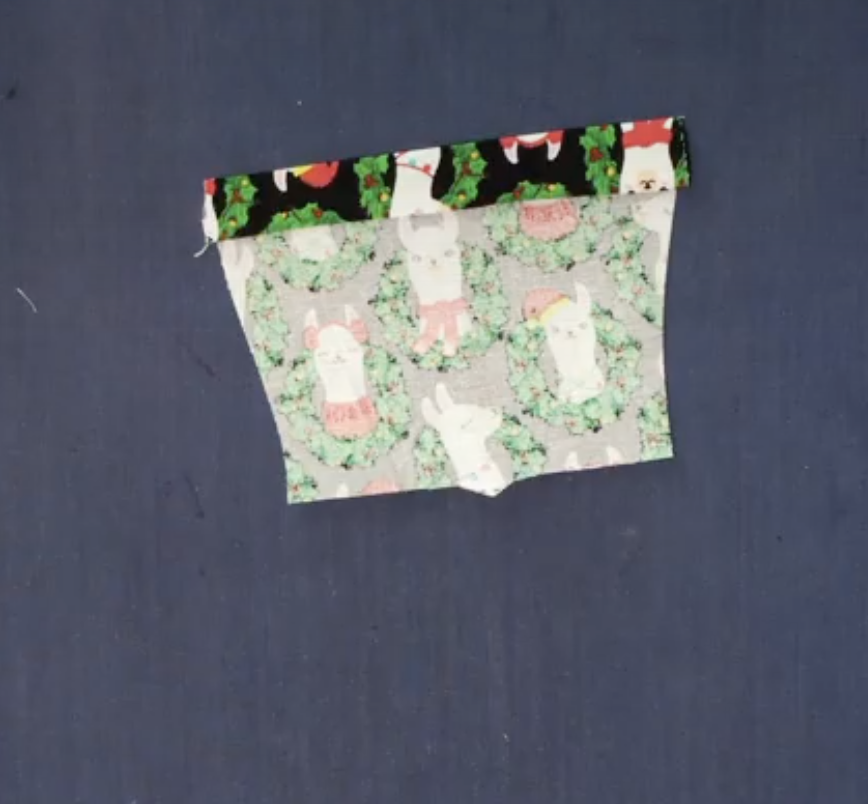
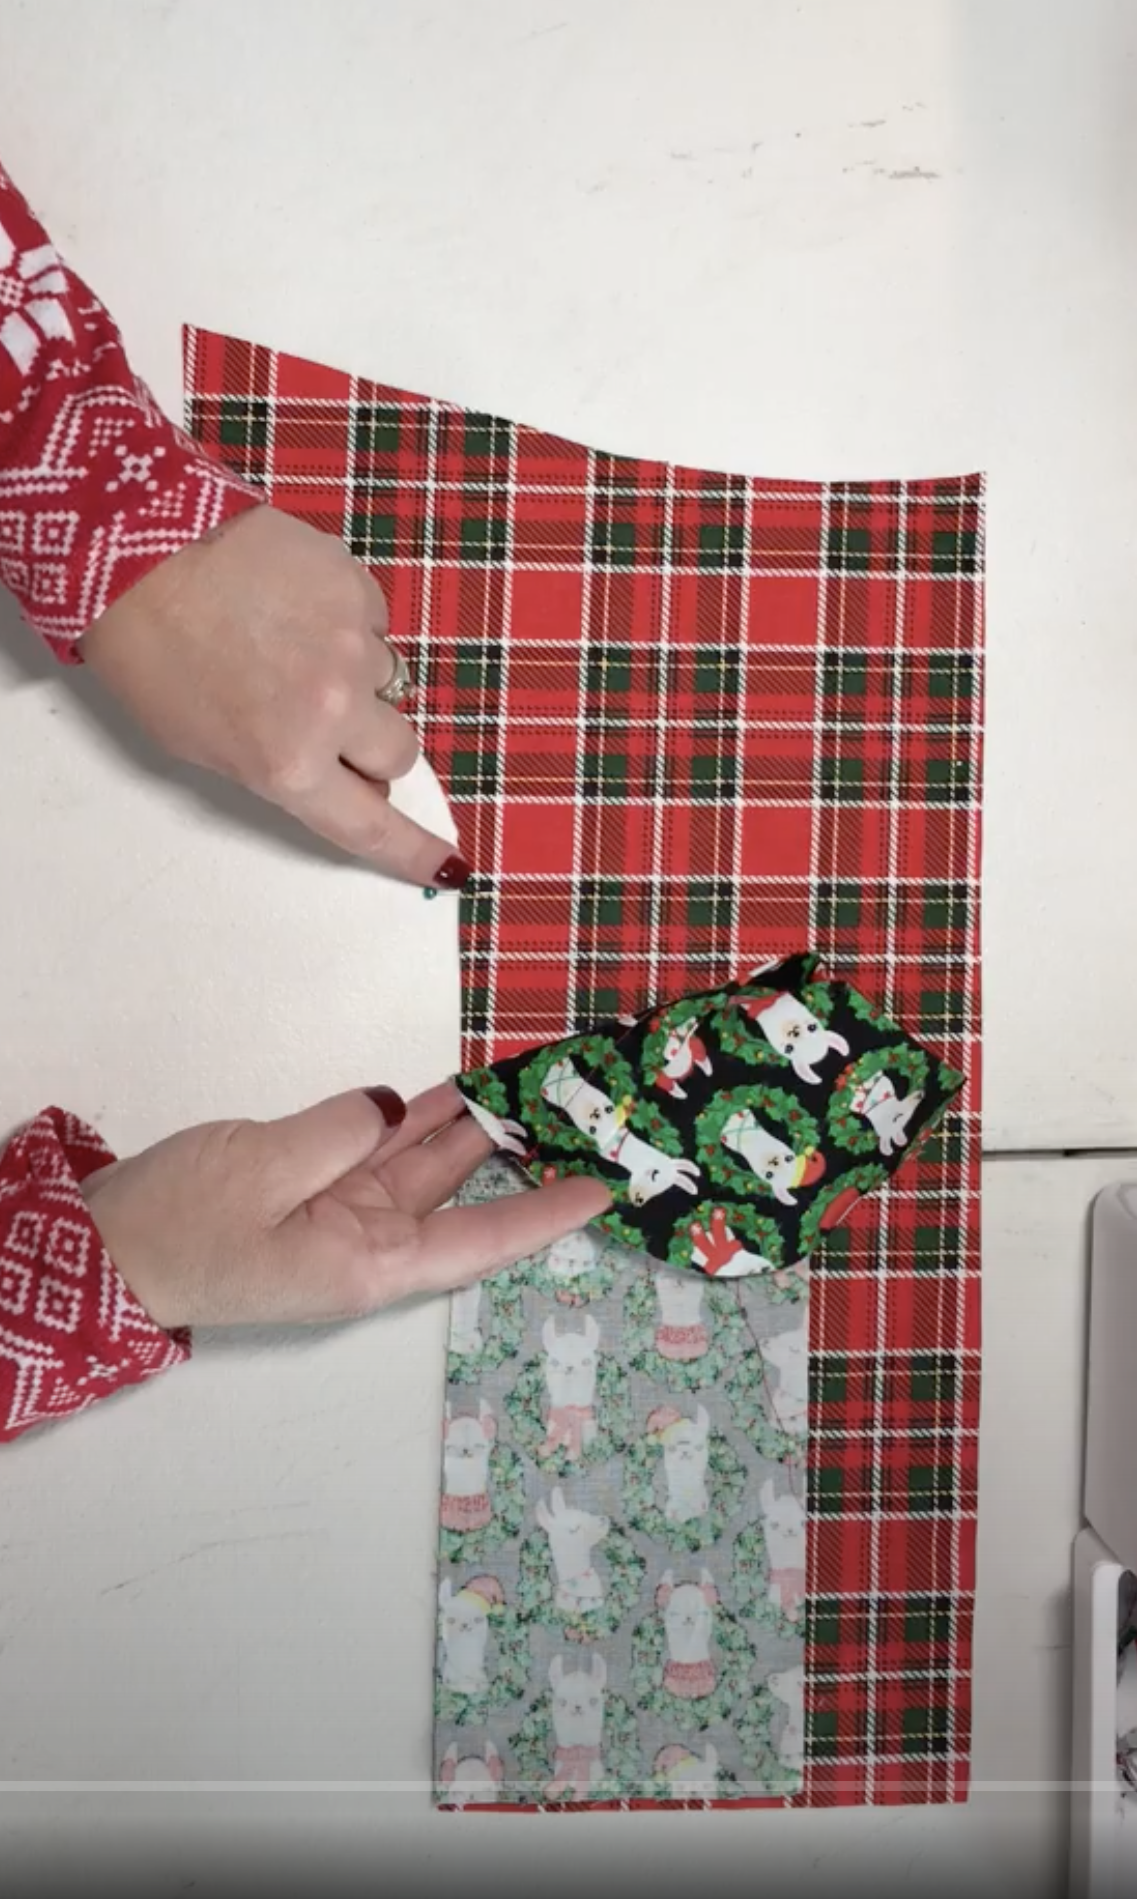
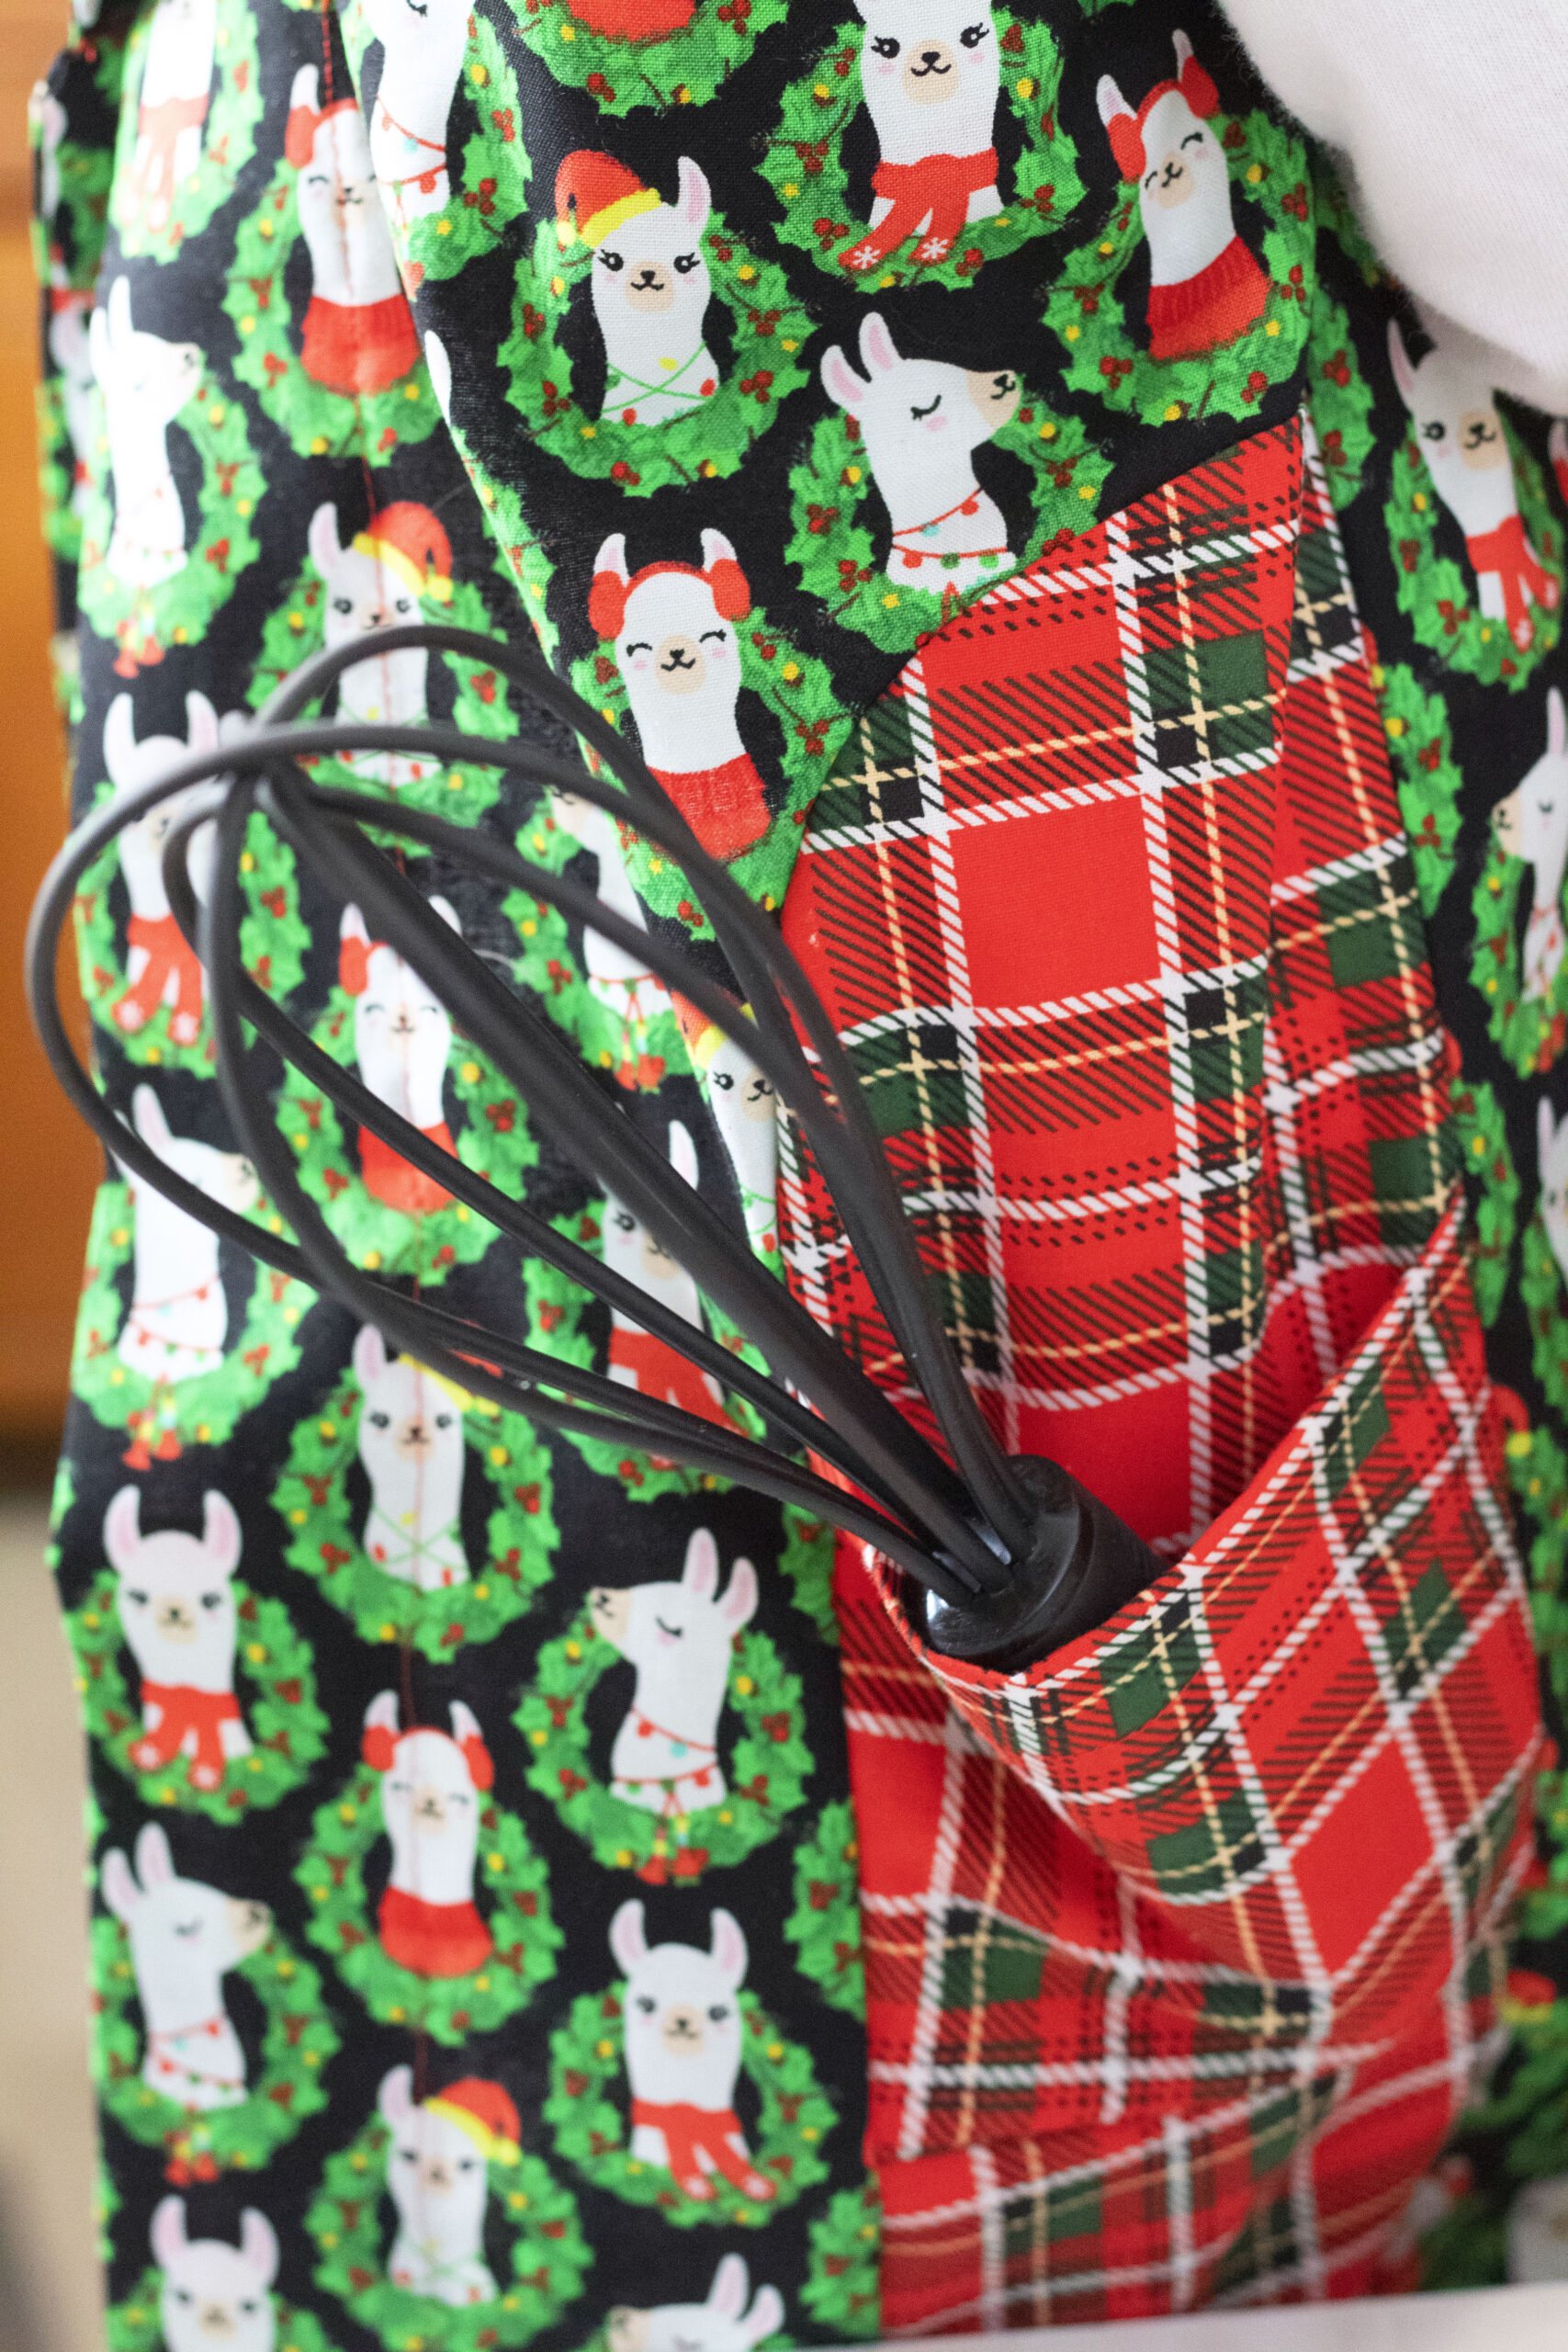
Pockets and Side Panel
We are going to hem the top of pocket pieces with a 1” hem allowances.
Take your bottom side panel piece right side up and lay your pocket piece right sides together lining up the notches. Once you have that in place take your upper side panel piece and you will lay it right sides together with the bottom panel piece sandwiching the pocket in between. Stitch in place.
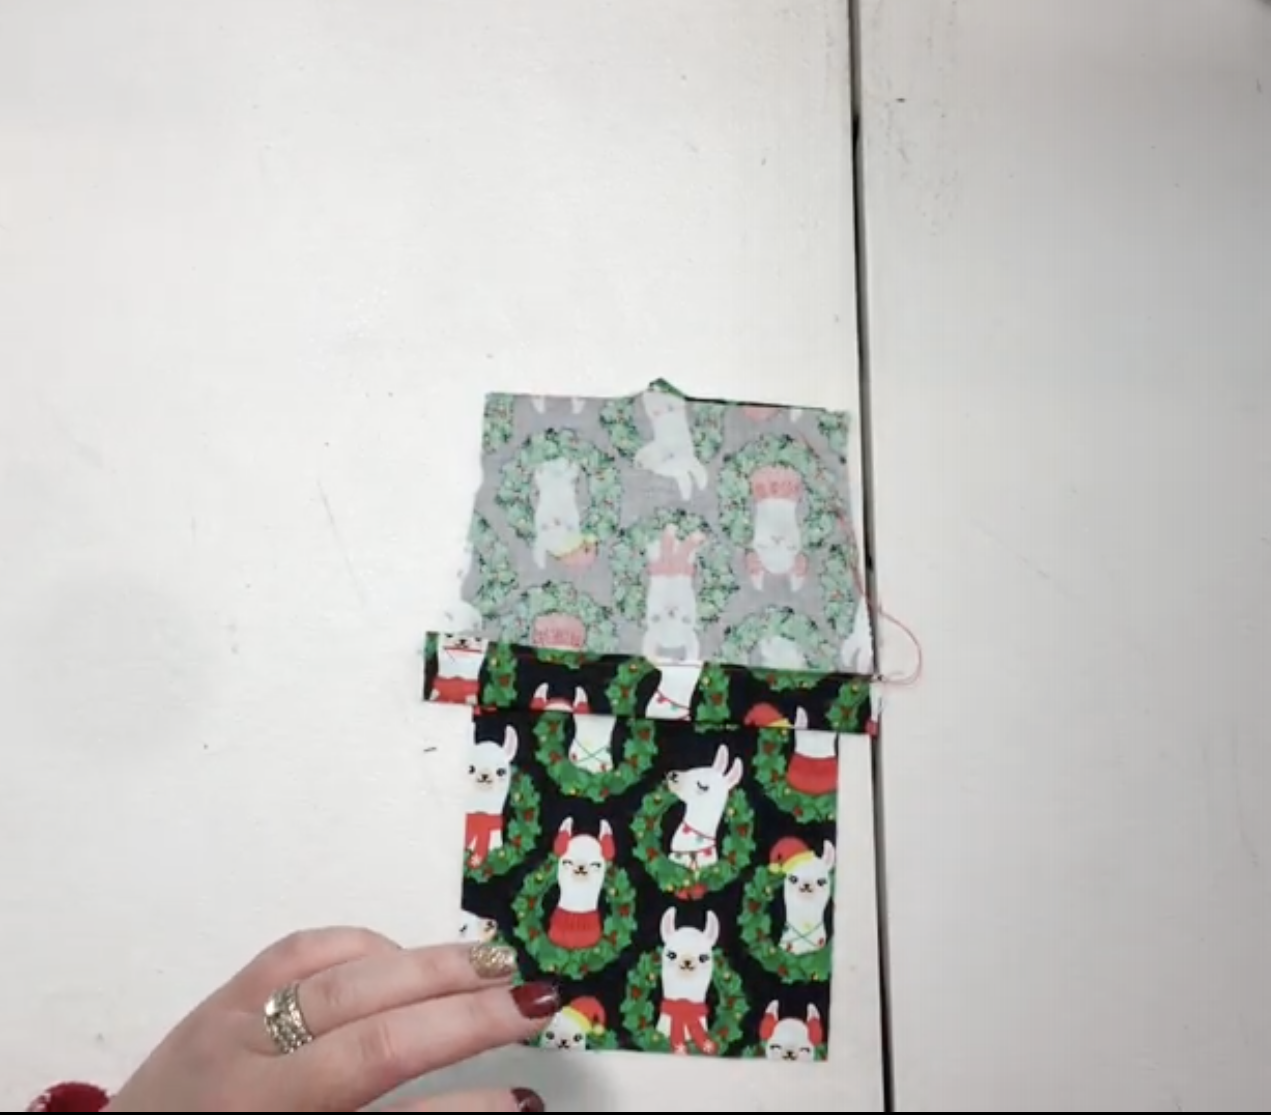

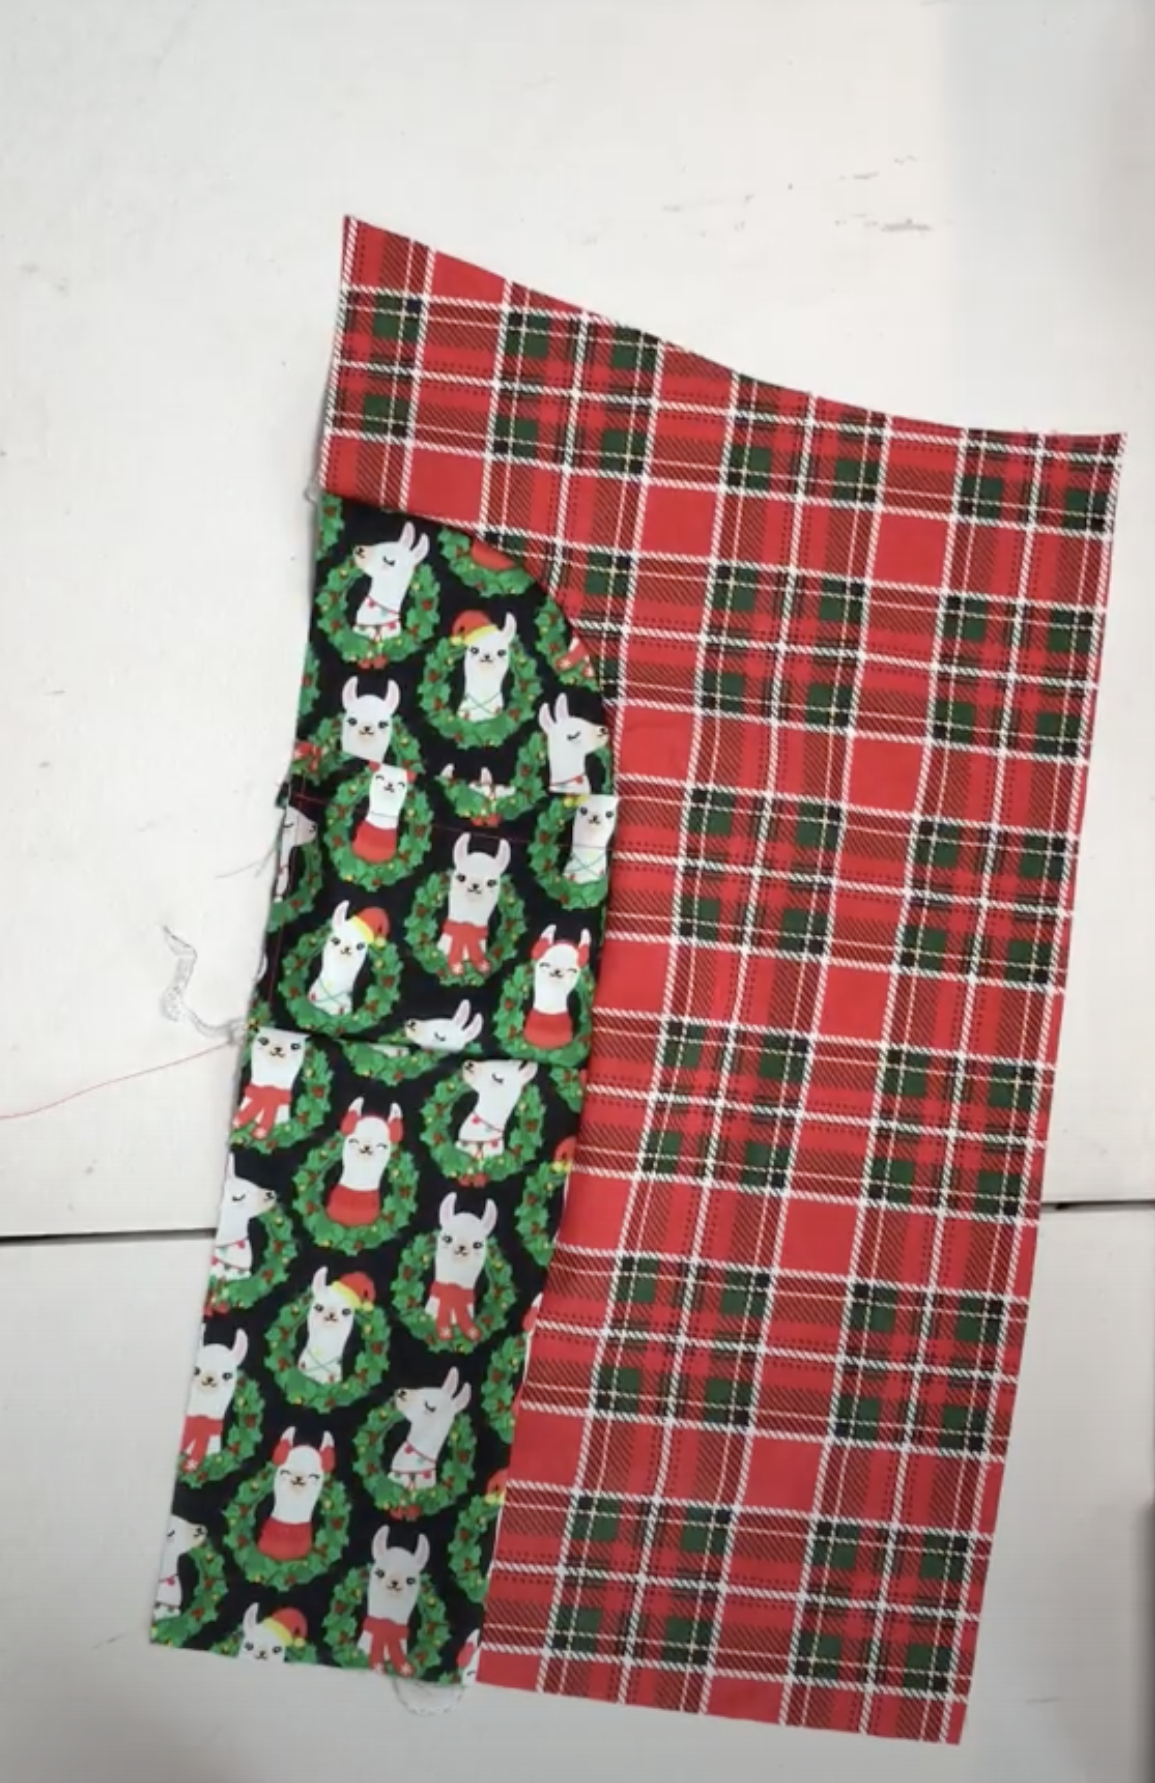
Unfold the top side panel piece up laying it flat as well as the pocket piece. Baste the edges of the pocket to the top side panel.
Repeat with other side.
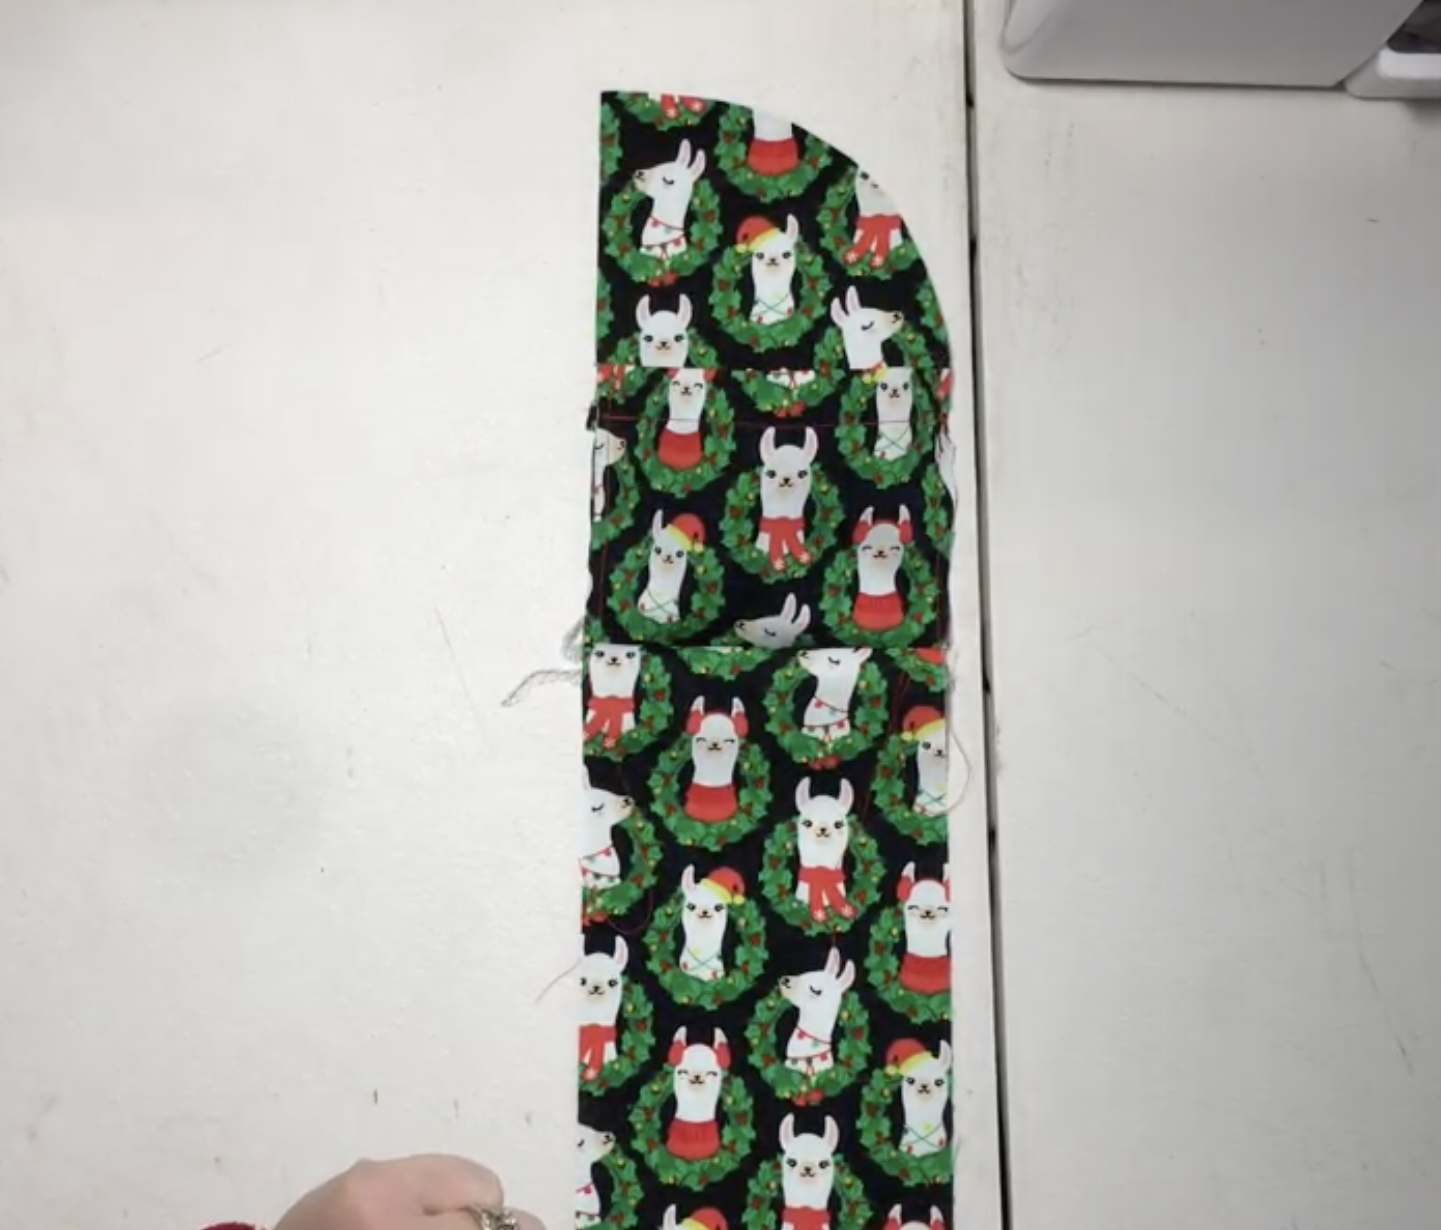
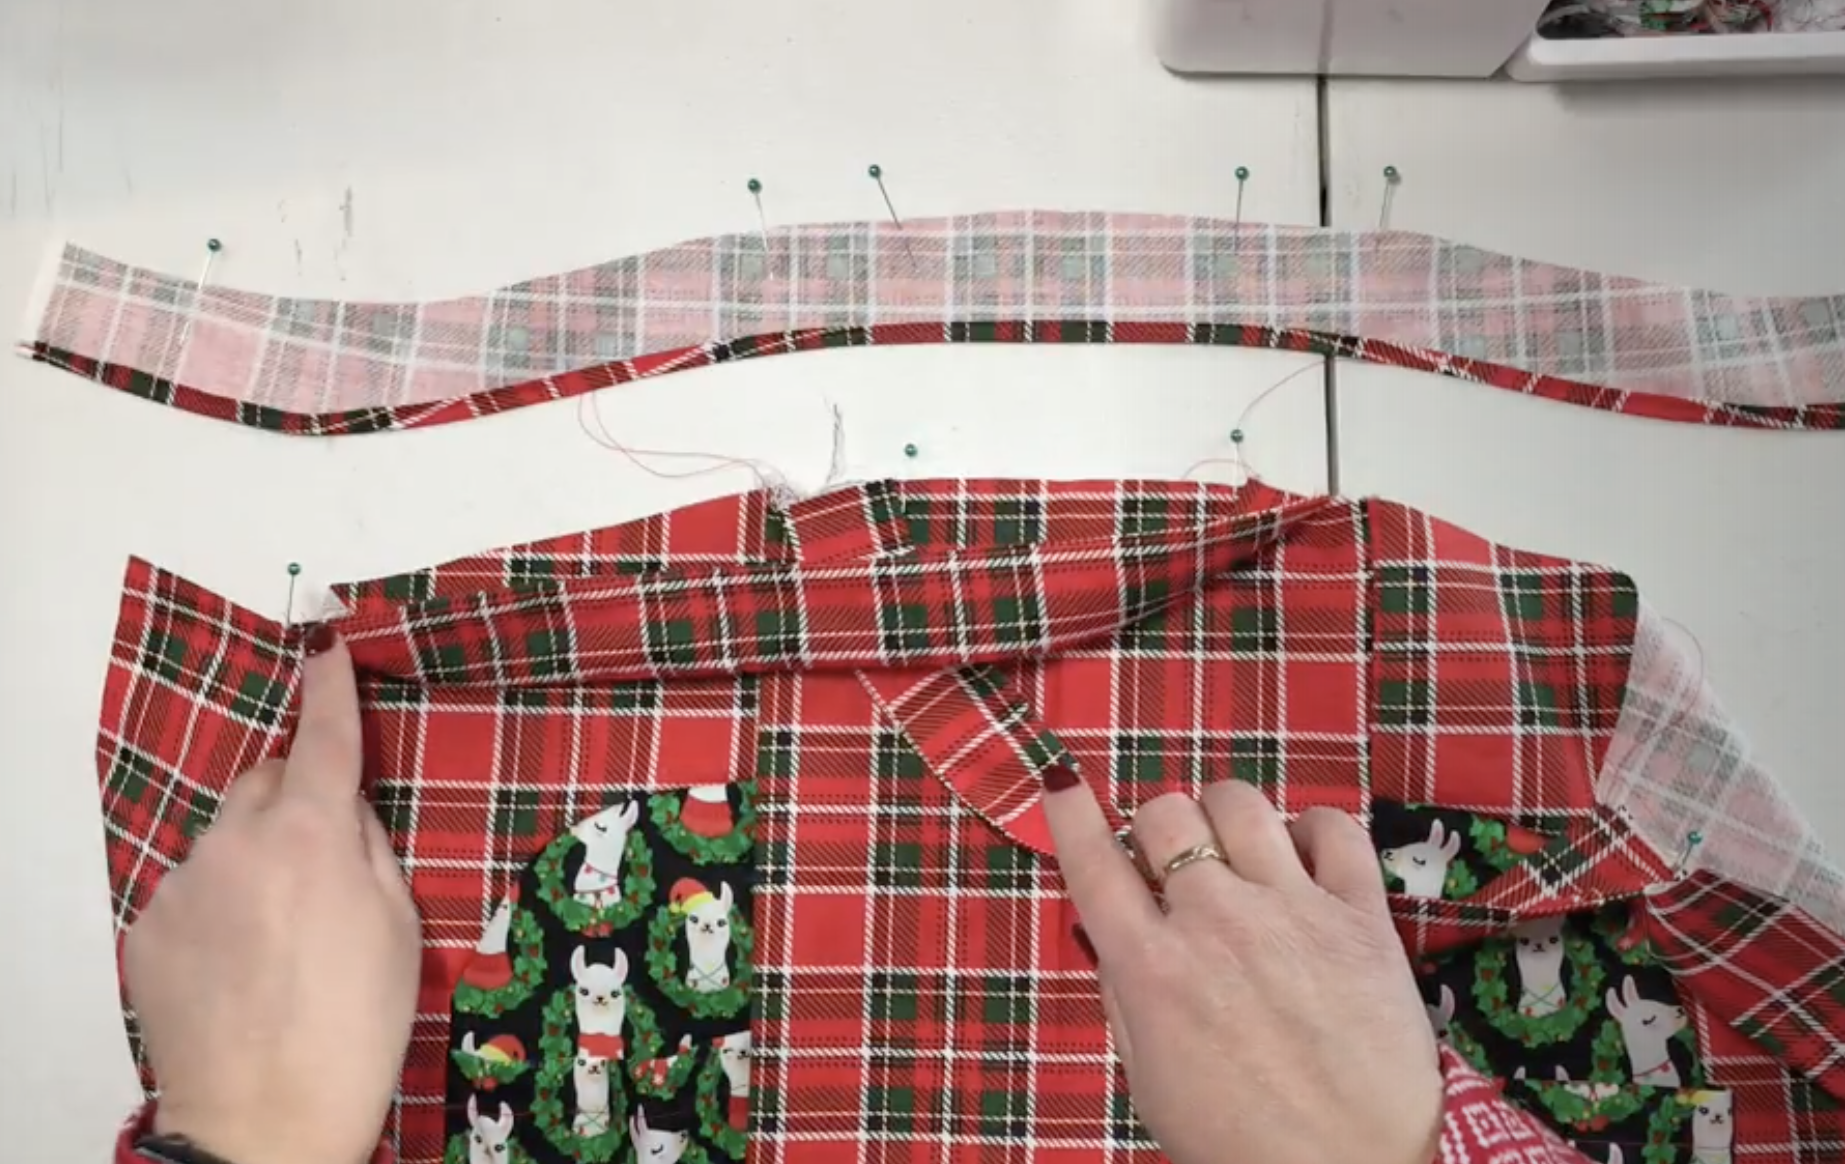
Attaching the side panel of your apron to the back panel
With the right sides together take your back panel piece and side panel making sure to match the notches. Ease the side panel around the curve of the back panel pin and stich in place.

Repeat with the other side.
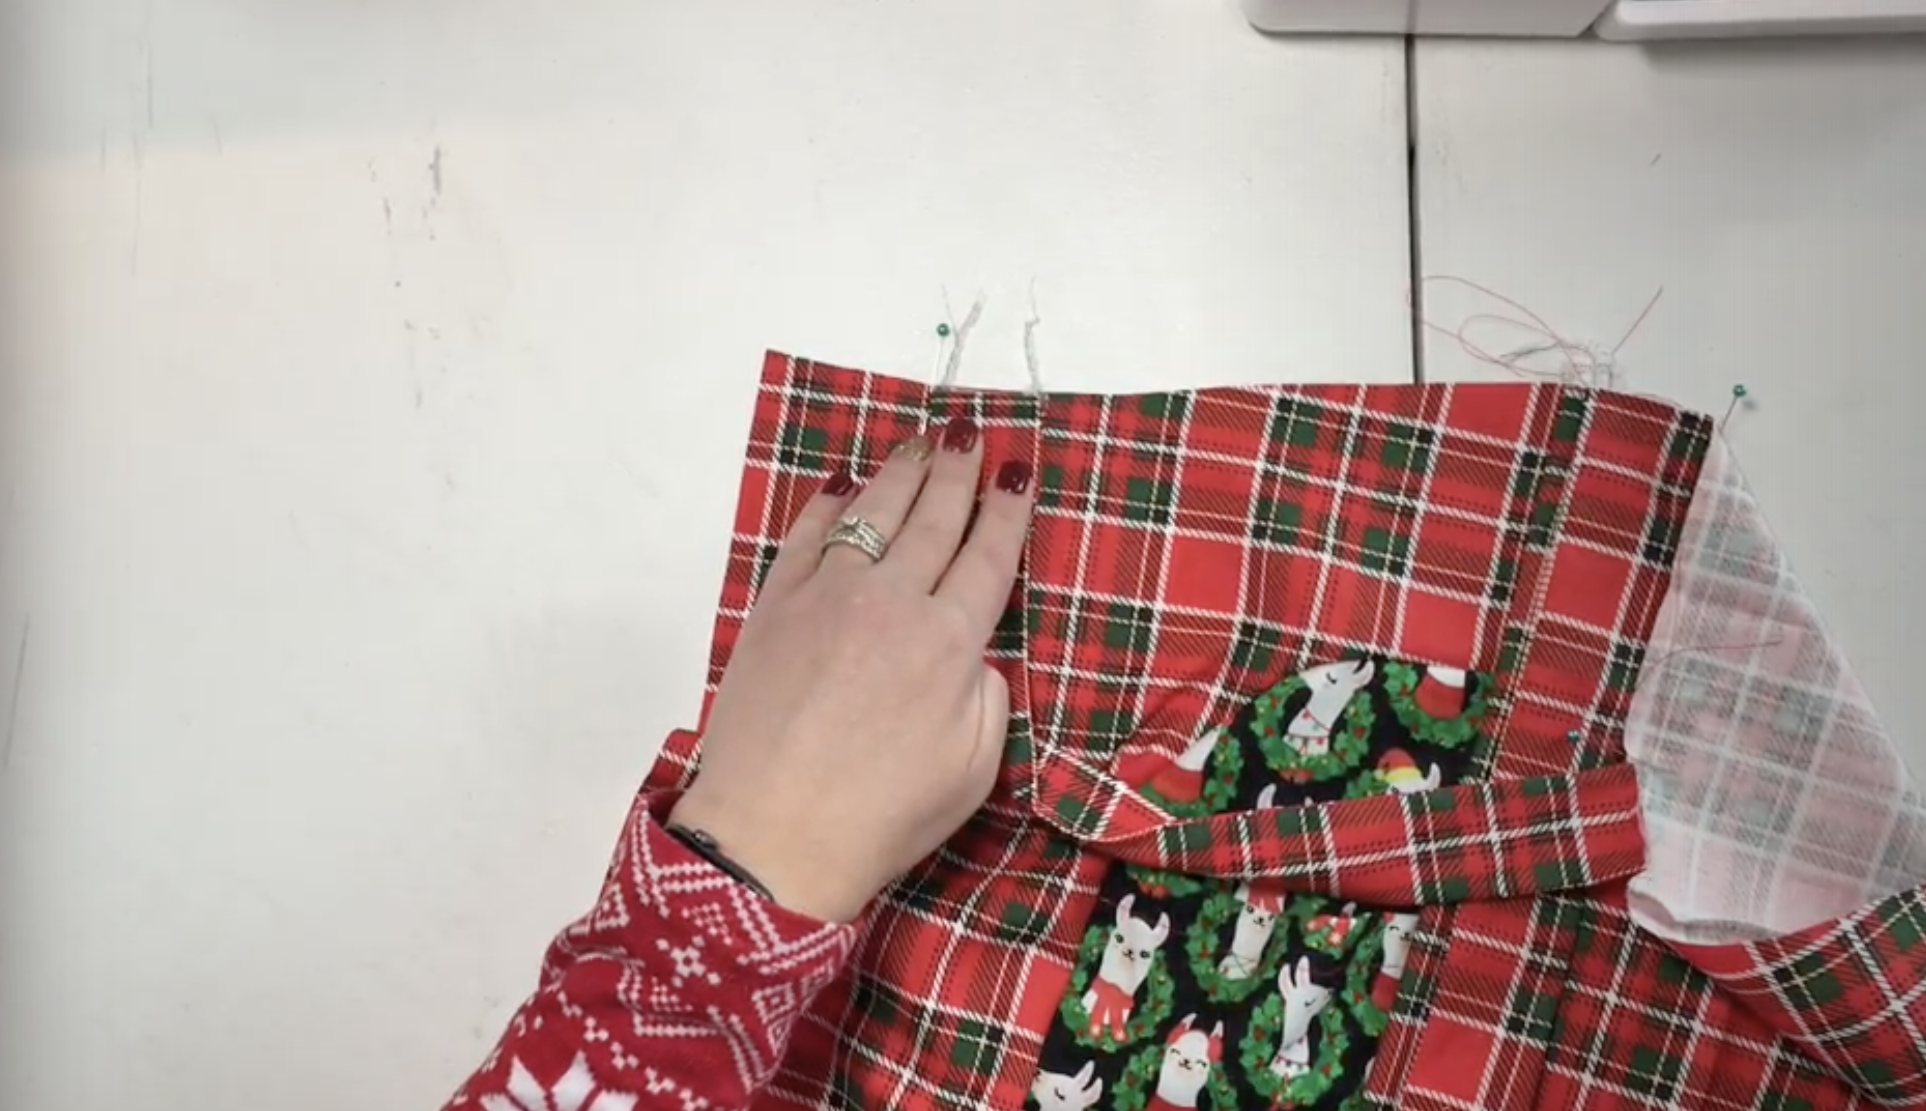
Adding the front panel
Take the front panel piece and lay it right sides together on top of your side/back panel piece. Make sure you are aligning the top of your front panel with the top of the back so that you don’t sew it upside down. Stich in place along your side seam and repeat with the other side.

Facing and straps
Along the bottom edge of your facing, we are going to do a narrow hem folding under 1/4″ and then 1/4” again to finish the edge.

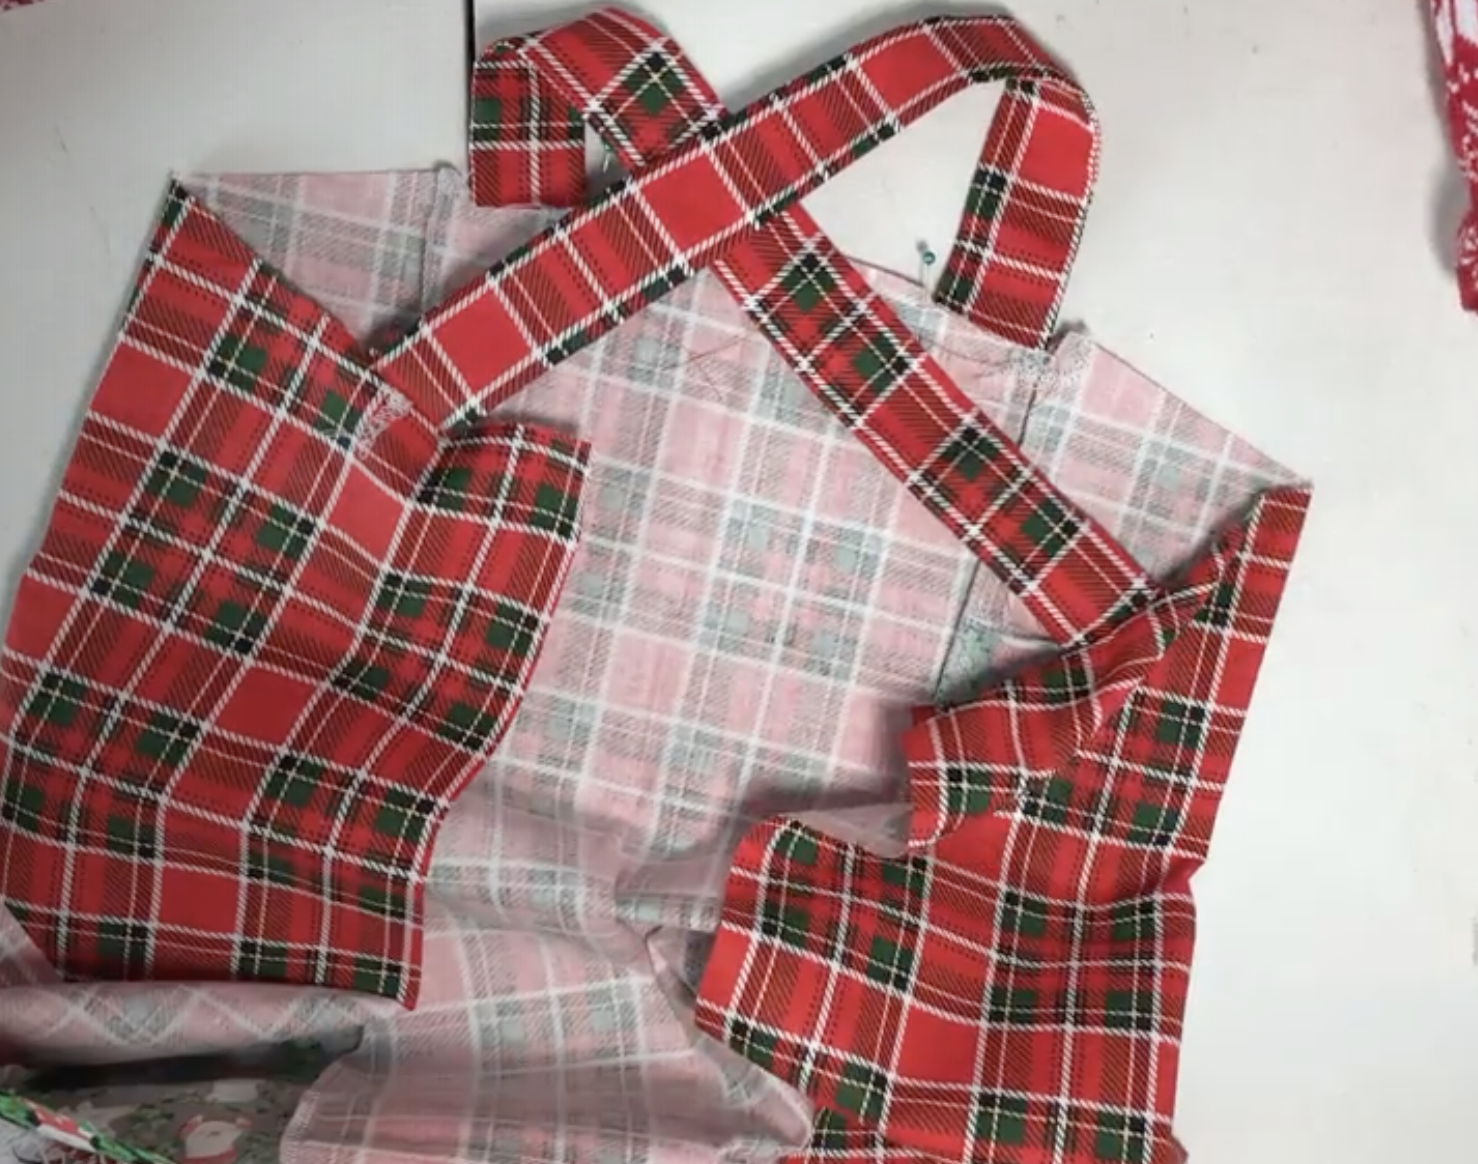
With your bodice right side up take your straps and place them in between the pattern marker and the side seam. Line up the raw edges and baste in place.

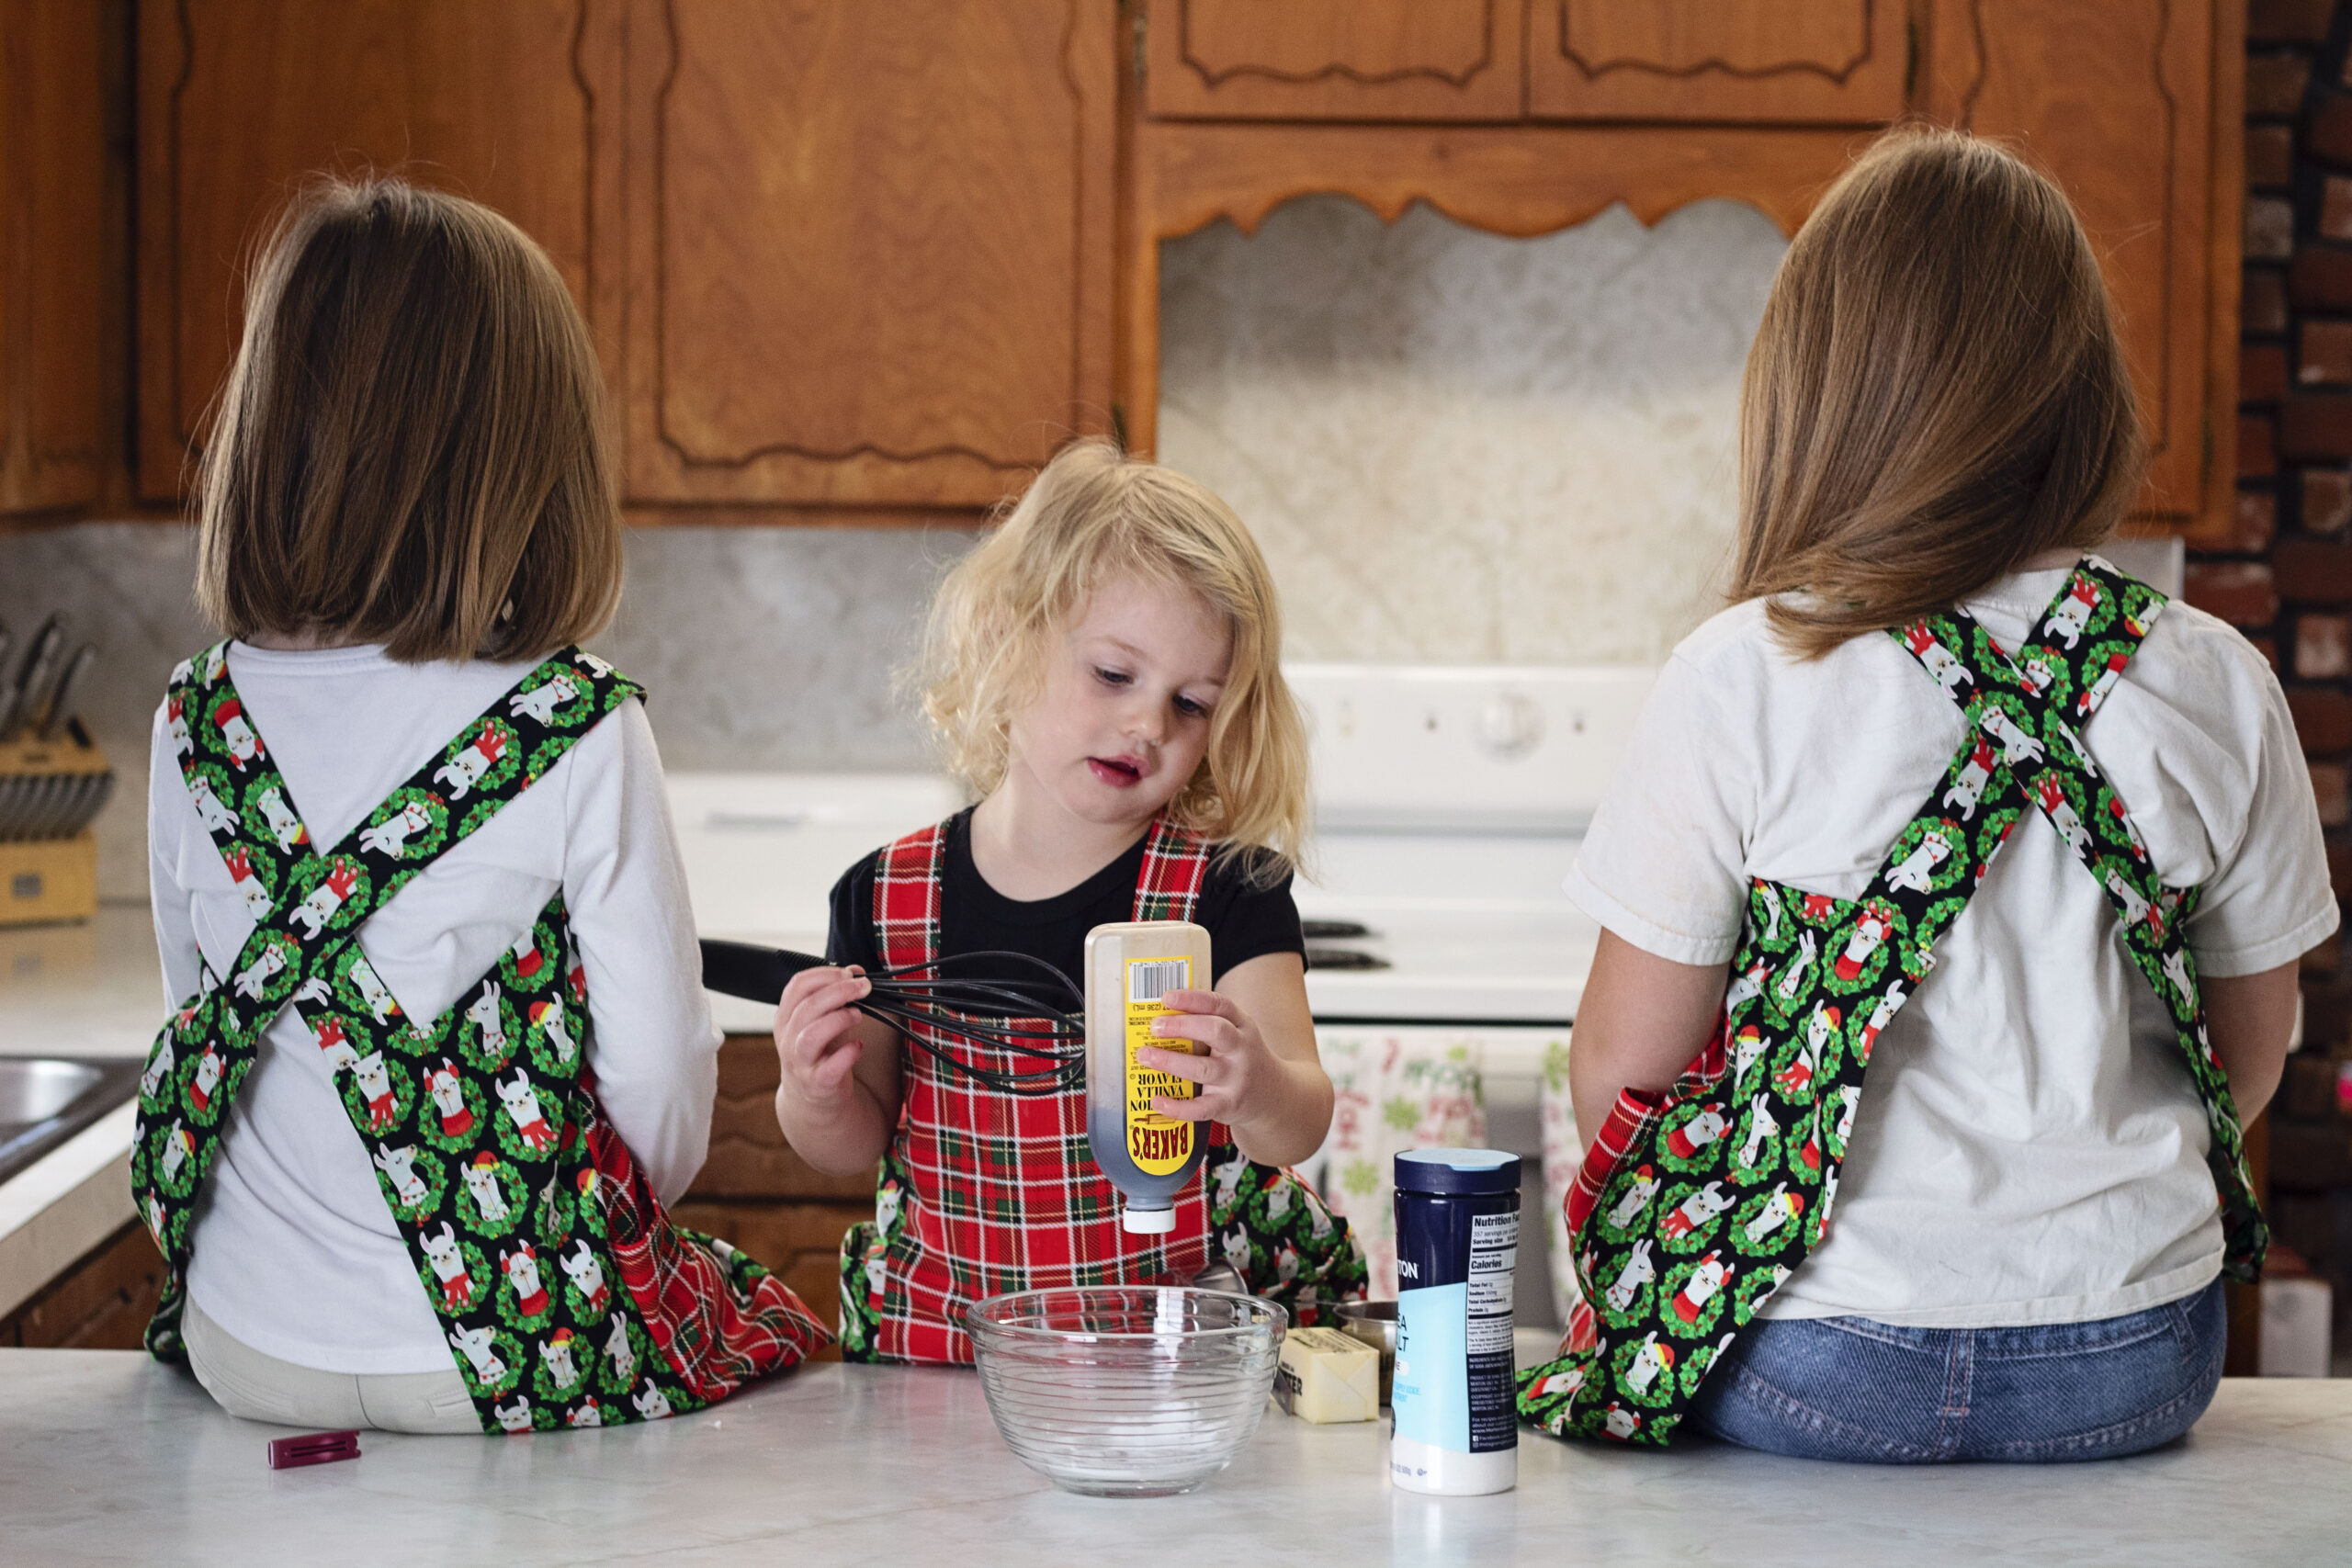
Now you are going to criss cross your straps so that the front right strap is attached to the back left and the left will go to the back right. Making sure you do not to twist the strap align the raw edge of your strap with the raw edge of your back panel right sides together. Baste in place.
With your bodice right side up take your facing piece and line up the notches with your strap pieces. Right sides together.
Once we have the facing pinned in place, we are going to stitch in along the raw edge but we aren’t going to sew all the way to the end. We are going to stop at the pattern marking just passed the edge of our back strap. This marking is at your hem allowance. Make sure to pay attention because it depends on the size you are making for the children’s apron. All of the adult sizes have a 3” hem allowance. When you get to your hem allowance you will sew straight down towards the bottom of your apron. Stop at the bottom edge of your facing piece. Make sure you do that on both sides of your apron.
Clip the corners of your fabric and turn right side out. Under stitching will help keep the facing to the wrong side of your apron. Press your facing flat towards the wrong side of your apron.
Finishing up your apron pattern
The only thing left to do it hem! This would be a great place to do a mitered corner and you can find a video on that here. Paying attention to the hem allowance for the size you are making fold under 1/2” and then the rest of your hem allowance. Press and stich in place. Repeat this step for both sides and the bottom of your apron.
Let us know what is the first thing you are going to bake in your new apron. I wore mine all day on Thanksgiving so it got a lot of love right off the sewing machine.
I hope you enjoyed this Holiday Freebie! We would love to see your finished aprons in our Facebook group or on Instagram #patternniche.


This Post Has 2 Comments
The apron is cute, the tutorial is helpful, but where is the pattern? At this point it is nowhere to be found on your website. I’d love to find it so I can make a couple of aprons!
I apologize for the delay but the pattern is available now 🙂