Making the Melbourne Nursing-Friendly
By Katelynn Hegedus of Sewing from Scratch on YouTube
Hey friends! Today we’re hacking the fun Melbourne Top to be breastfeeding friendly. Because this pattern has a built-in empire seam, crossover bodice option & a super flattering gathered skirt, I knew it would be just perfect for a boobtastic modification. AND, spoiler alert, it’s incredibly simple to do!
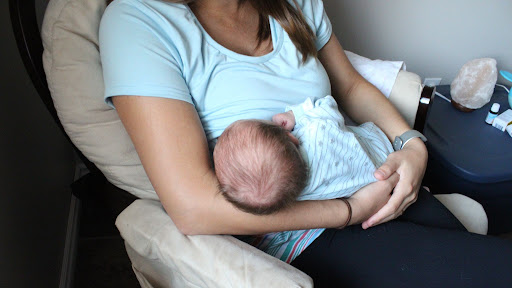
I made this version for my good friend who just welcomed her 3rd little girl to their family. She echoed all my thoughts on the top; great access, extra comfortable, and amazing for the post-baby belly.

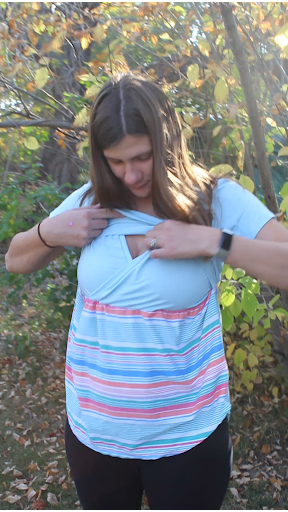
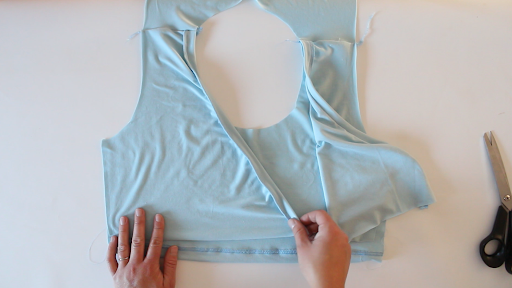
The concept of this make is quite simple. We’re taking a full-front bodice and laying it over the cross over bodice. This allows the overbodice to be lifted up to reveal the underbodice that can then be pulled over to feed babe, very similar to THIS option available online. It’s one of the most simple nursing shirt hacks, in my opinion.
What You Need
For this breastfeeding shirt, we’re going to be using the following pattern pieces:
- Bodice Back
- Crew OR Scoop Neck Bodice Front (I’m using scoop)
- Crossover Front (2 mirrored pieces)
- Skirt Front
- Skirt Back
- Crossover Neckband
- Scoop (or crew) Neckband
- Sleeves (2 mirrored pieces)

Adjustments to Make
To hack this sewing pattern, we need to make some very minor adjustments. I’m using the projector file, so I need to make my adjustments in Inkscape, but if you’re using paper, it’s the same concept. The changes are as follows:
- Straighten out the waist seam on the front skirt, overlay bodice (scoop or crew) and crossover bodice pieces (this is optional, but I do recommend for comfort)
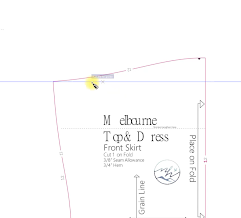
- Extend the front overlay bodice piece by 2”. This will allow for 1” hem, and then a 1”+SA extension to hide the seam. I also recommend kicking out the ends of the hem allowance to sit nicely once folded up. This is as simple as mirroring the 1” portion just above the hem allowance.
*If you want to lower the waist seam, you would just need to slice across all bodice pieces to add length.
Sewing the Nursing Top
Now we’re ready to sew. The process is very similar to the original pattern, but I’ll walk you through the differences.
Step 1: Prepare the front bodice pieces
- Add the bands to the crossover front bodice pieces by cutting the neckband piece in half and stretching it slightly while sewing it to the pattern piece.
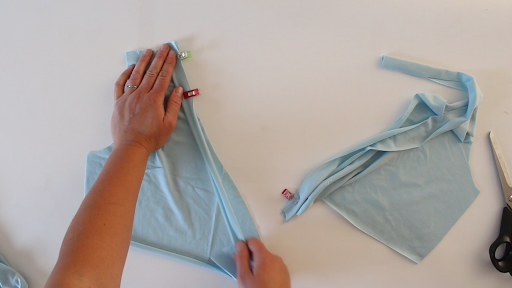
- Hem overlay front bodice by 1”.
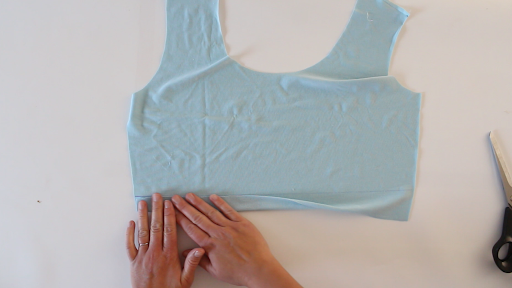
Step 2: Attach fronts to back at shoulder seams
Lay down the pieces on top of each other, lining up shoulder seams, as follows
- Front OVERLAY (scoop) bodice, right side UP
- Back bodice, right side DOWN
- Crossover bodice piece, right sides UP
Stitch across both shoulder seams.
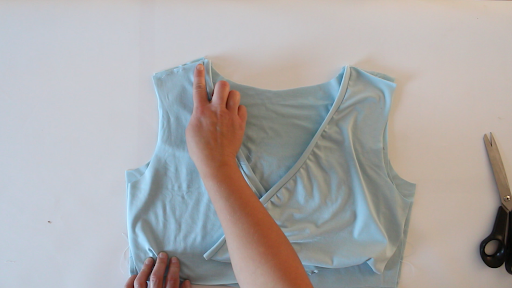
Step 3: Baste crossover front together
Lay the overlay front bodice down, right side down. Neatly lay the crossover pieces on top, aligning the pieces at the armscyes.
Baste just the 2 crossover pieces together along the bottom edge, keeping raw edges lined up.
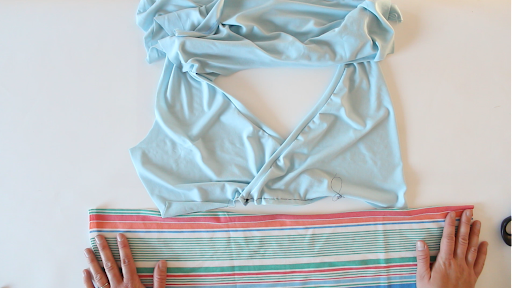
Step 4: Add Skirts
Gather & attach back skirt to back bodice. Repeat with front skirt to crossover front only (overlay front bodice should be kept out of the way).
Step 5: Attach Sleeves
Sleeves are not symmetrical, so make sure you’re placing each one on its correct side by following the notches on the pattern.
*Optional Step: Memory Hem
Press sleeve and bottom hems now so they’re easier to work with when hemming. Unfold before sewing.
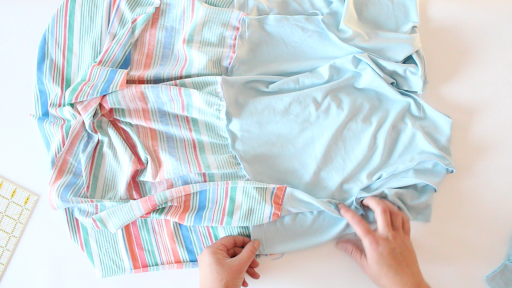
Step 6: Sew up Side Seam
Neatly align all side seam raw edges and waist seams. You may choose to pull the overlay bodice more tightly, having the edge extend past the other bodice pieces. This will allow for a more snug outer bodice at the hem of the pull-up piece. Stitch entire side seam on both sides.
I like to work from the bottom of the bodice out to the end of the sleeve. Keep the waist seam allowance going down, and the sleeve seam allowance going out toward the sleeve.

Step 7: Hem
Hem both sleeves and bottom of shirt.
Step 8: Add Neckband
Sew your neckband into a loop and quarter. Quarter neck opening. Clip neckband to shirt, stretching neckband slightly to fit. At the shoulder seams you will want to catch a tiny bit of the crossover bodice before moving the underbodice out of the way and continuing as normal.
Step 9: Try it on and test it out!