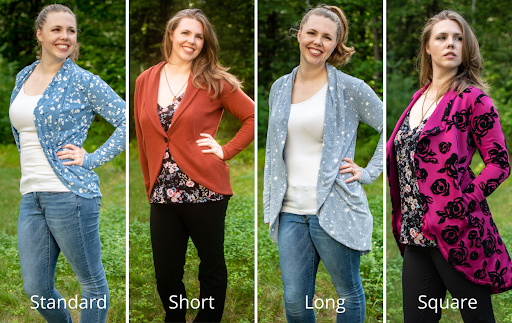
Hi, it’s Amanda from DerivingMommyhood here to share a few tips and techniques to help you get the most out of your serger! These are the top serger tips I’ve been asked for help with from my beginning sewing friends, so hopefully there’s something you can use.
Sewing a Neckband in the Round
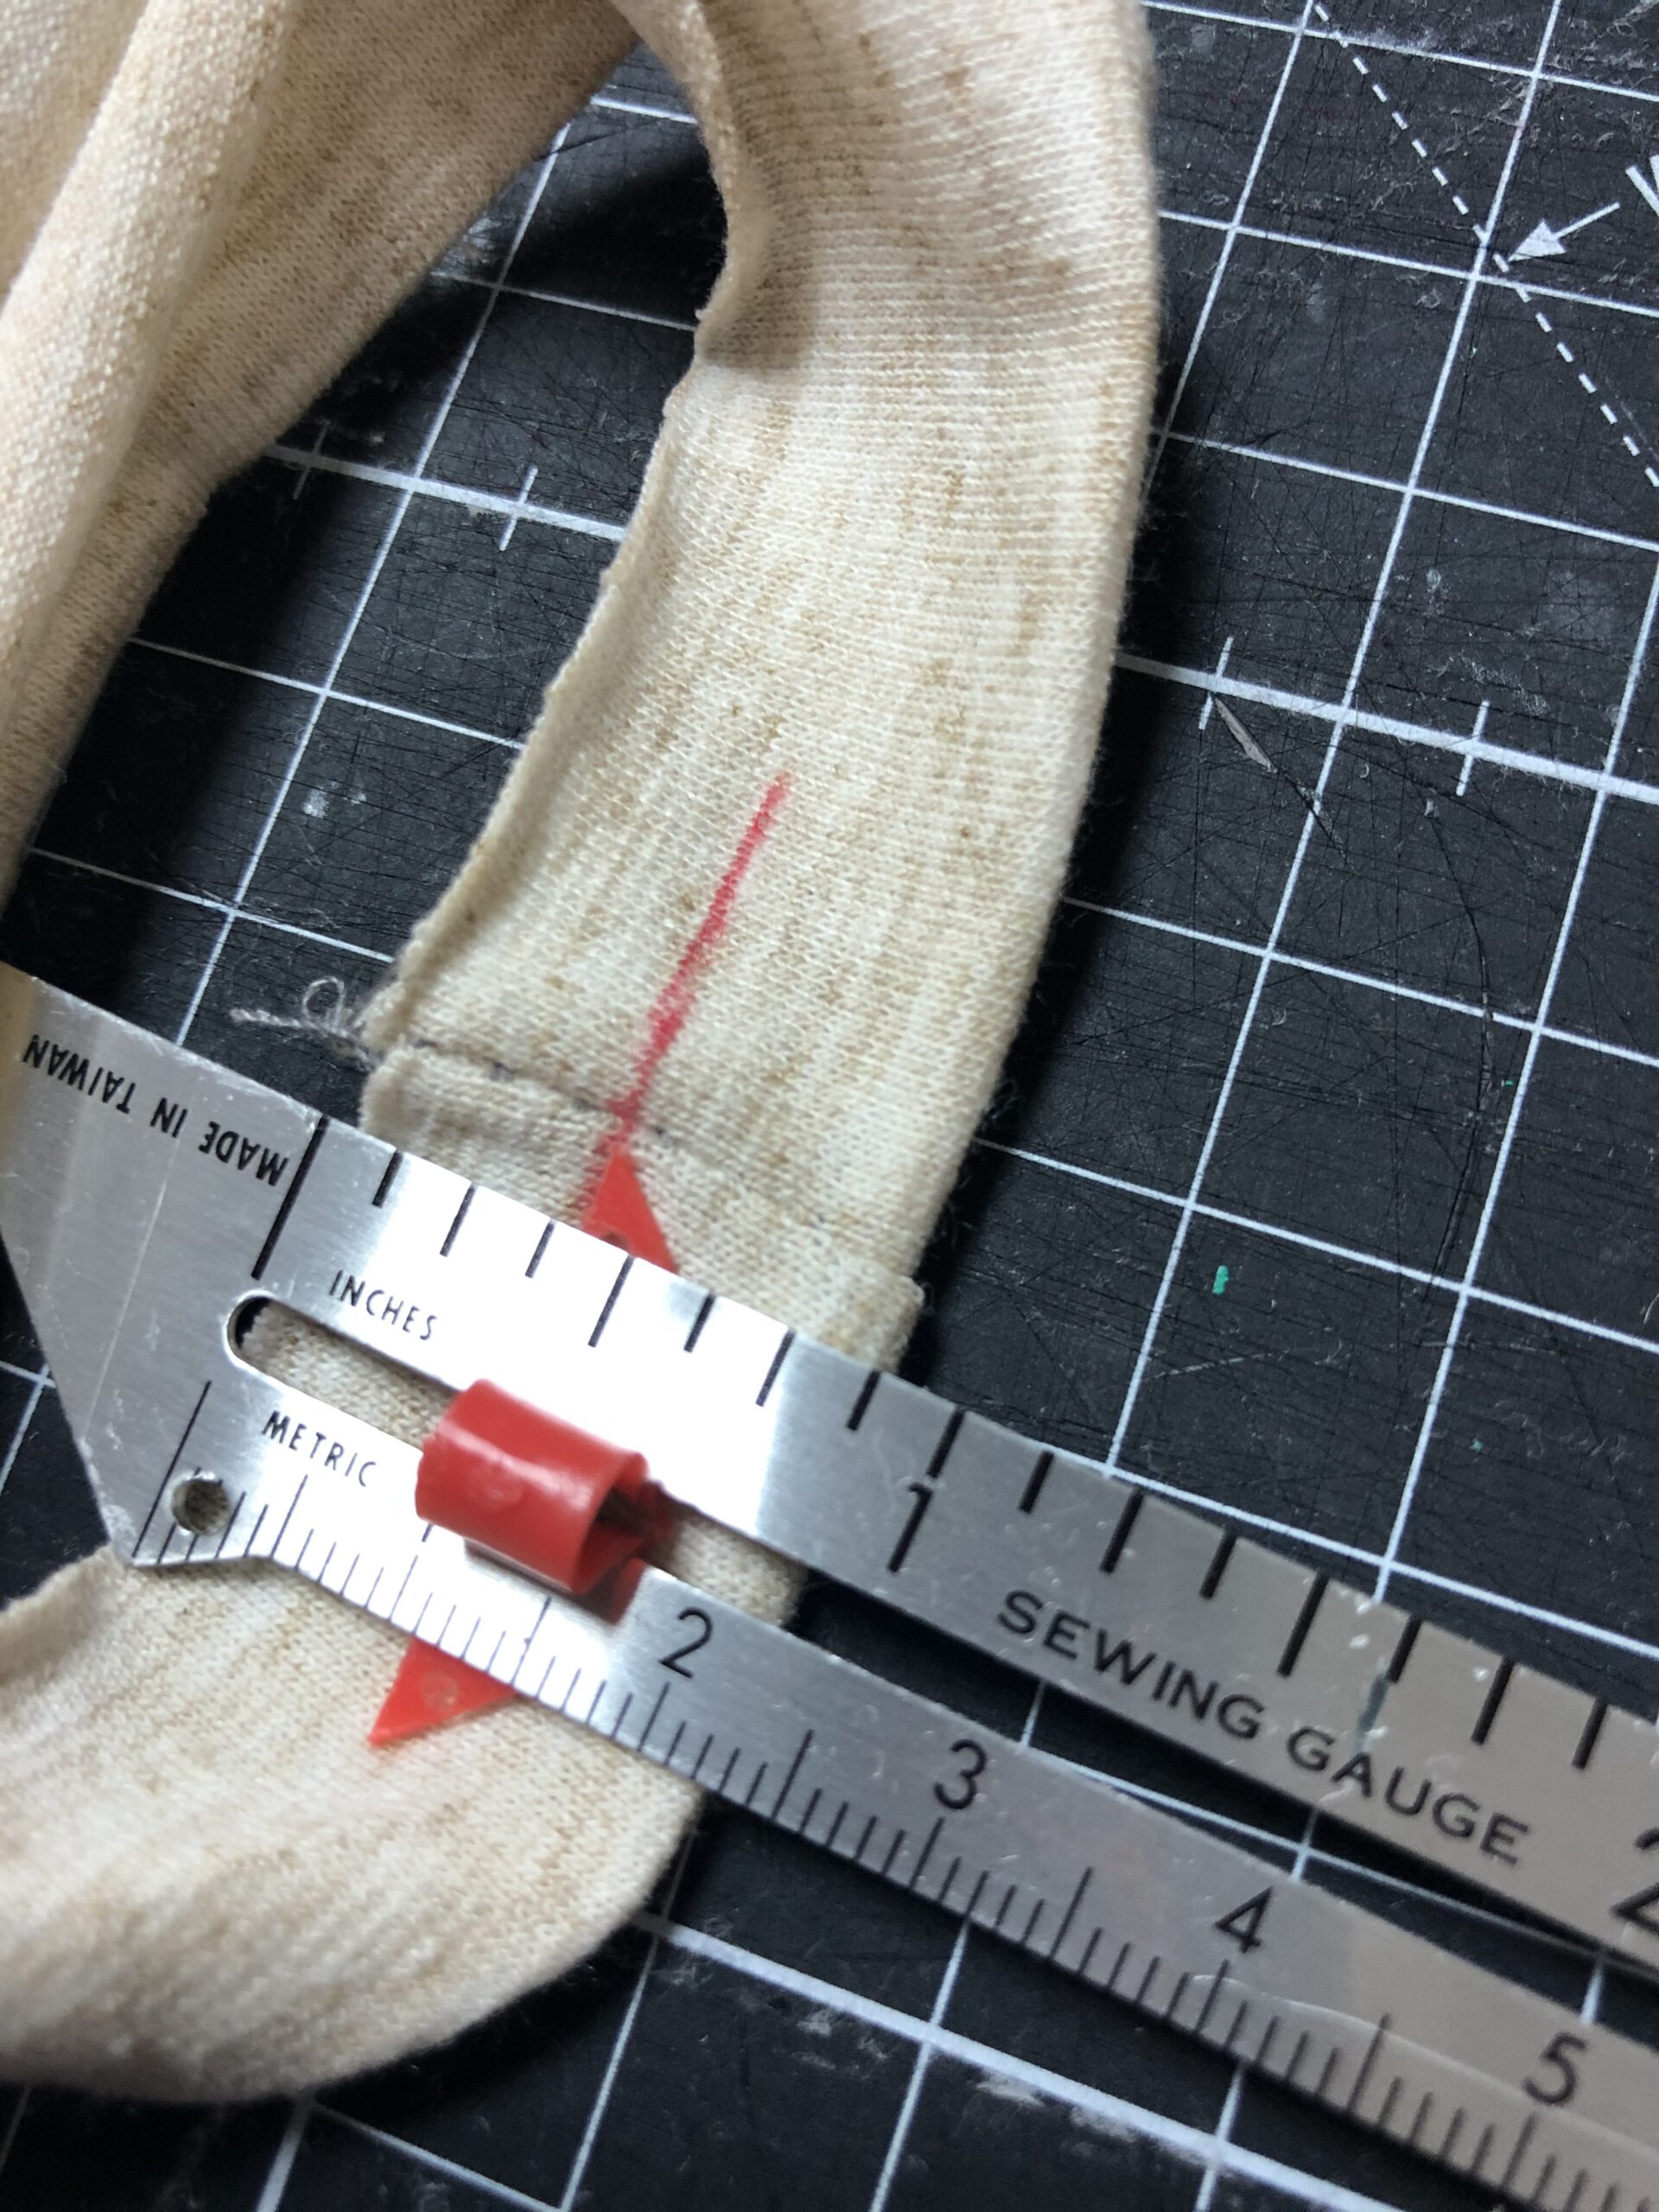
First, sewing a neckband in the round and how to make start and stop that seam to make it look it’s best. The tricky part is that you will be starting at an angle, so to make sure that you match back up after and keep a consistent seam allowance, try marking your seam allowance where you will start and stop. For New Horizons patterns, your seam allowance is 3/8inch. Mark that from the raw edge to give you a guide first.
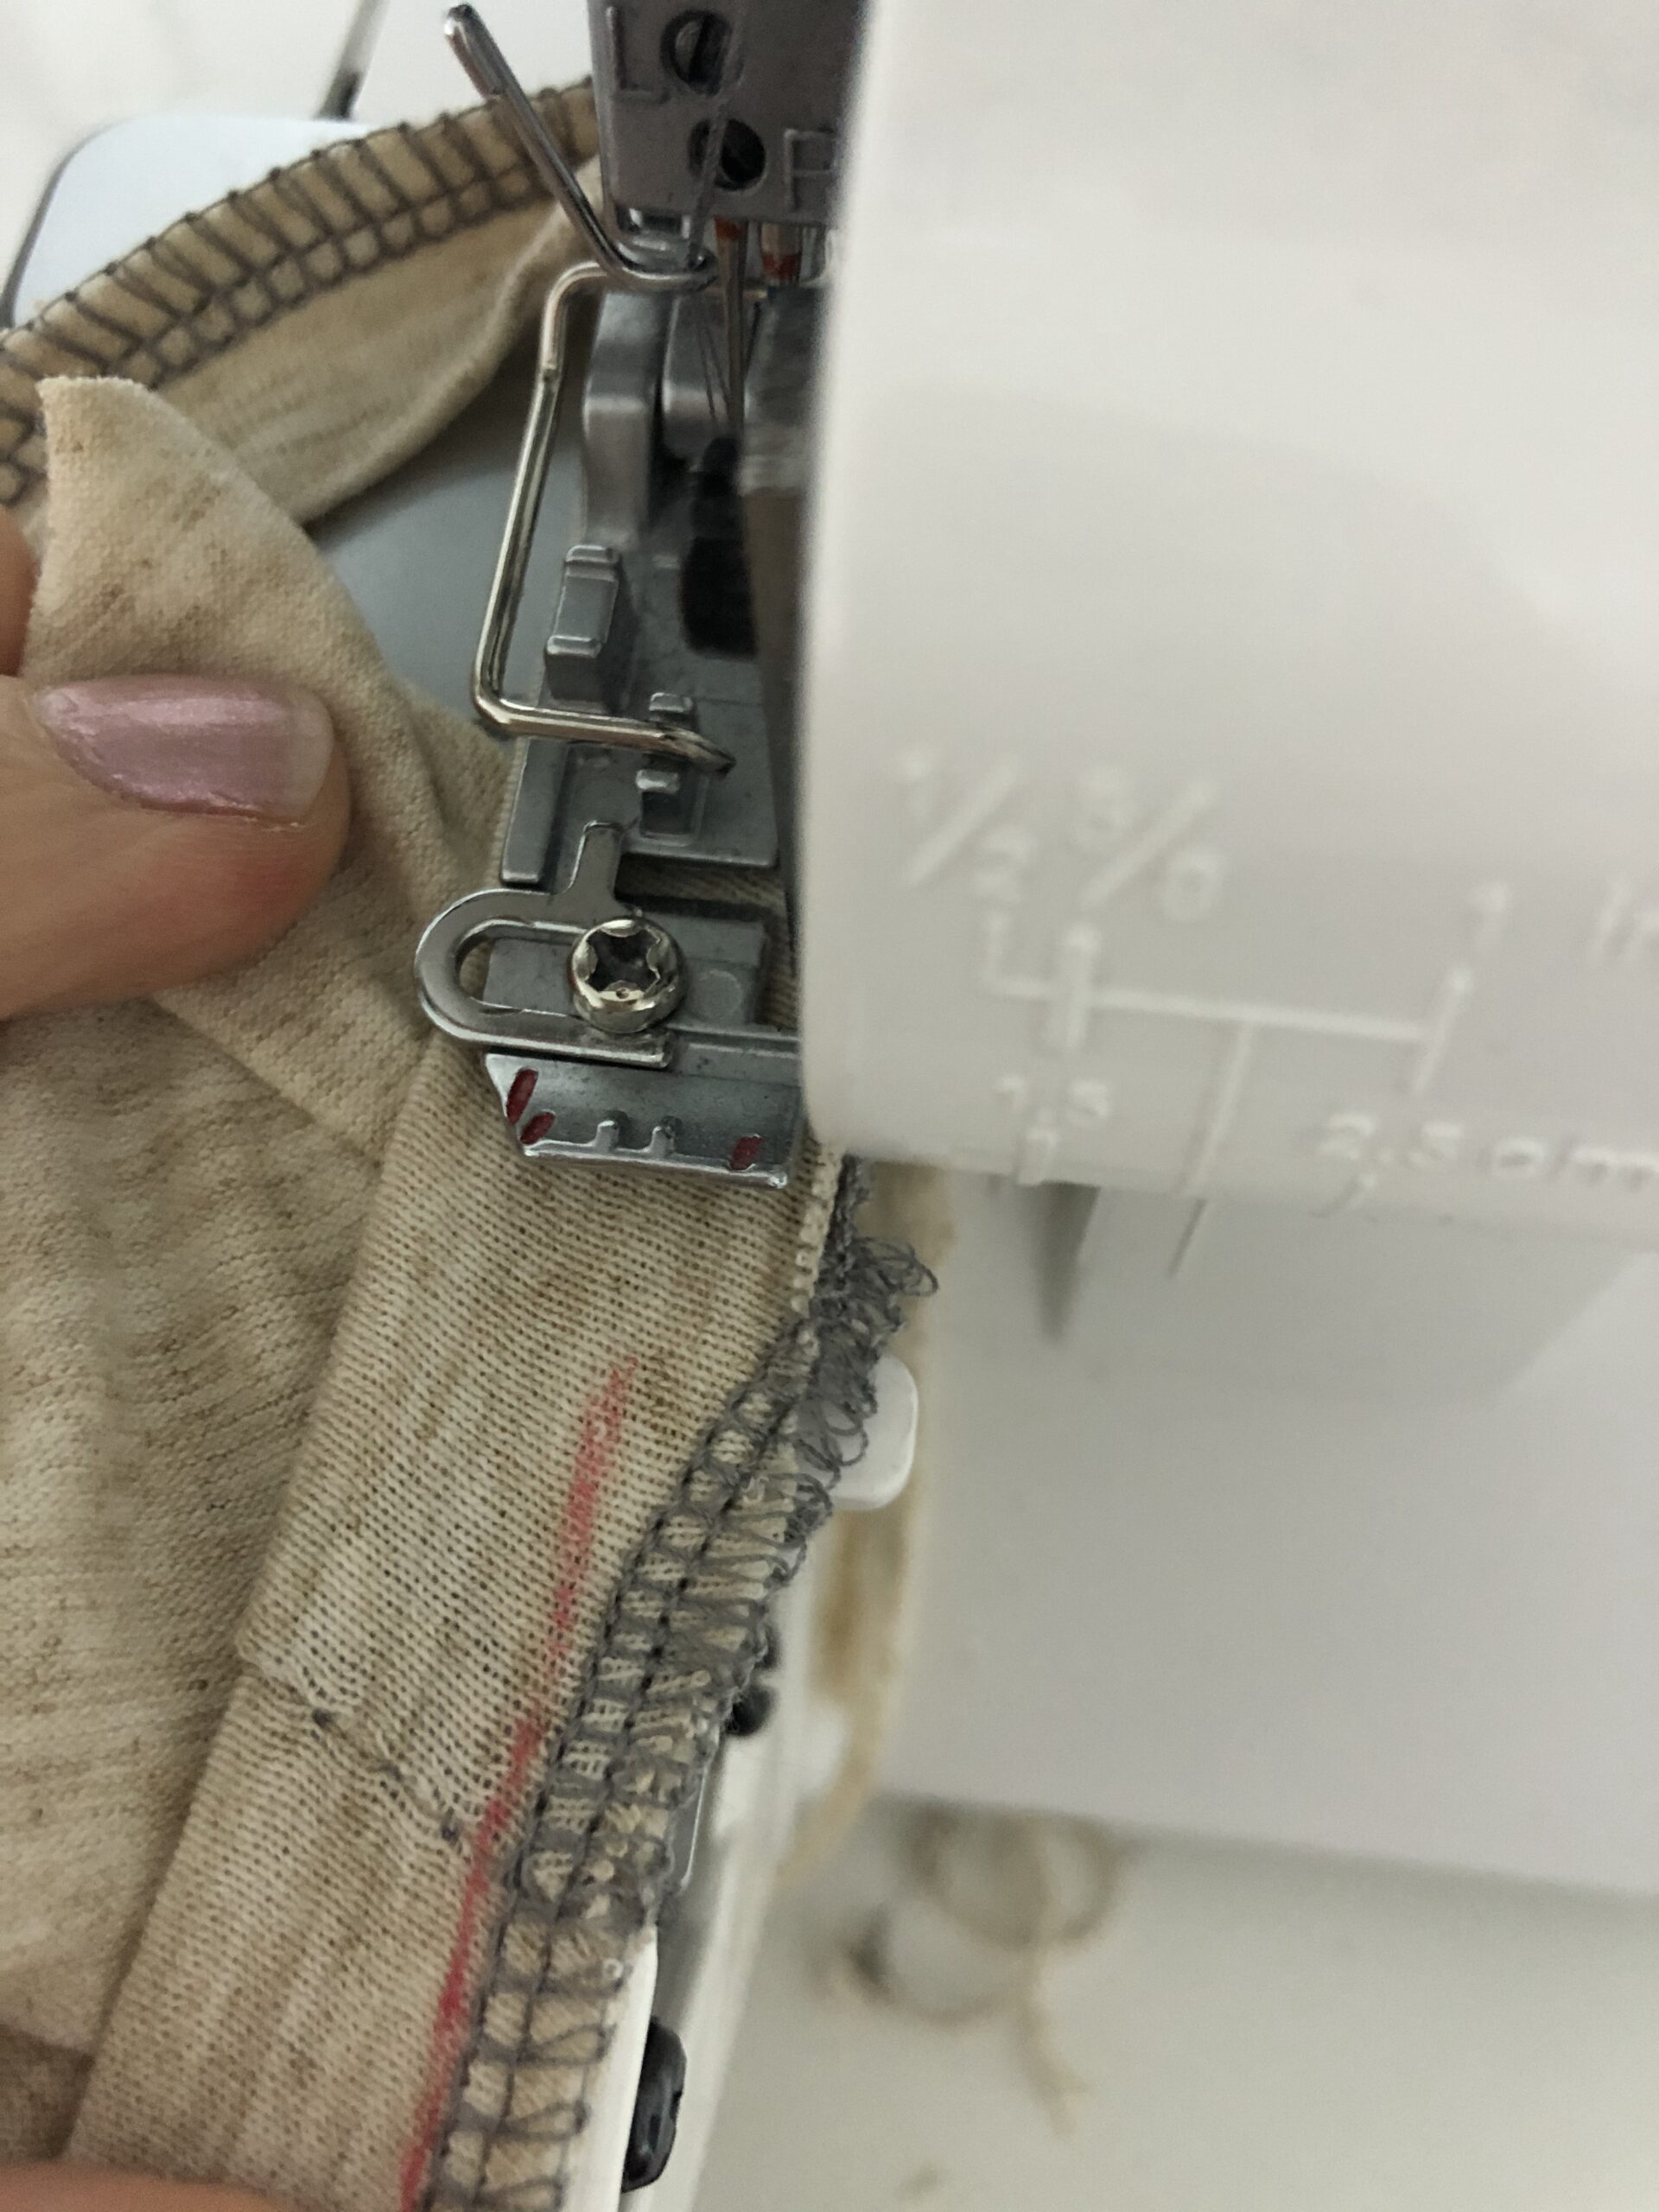
Also, I always sew neckbands and cuffs with the cuff or band on TOP of the garment, so that I can keep it parallel with the presser foot as I go and keep that seam allowance consistent. So starting at the back of your neckband and off your fabric, angle in towards your seam allowance.

Then you’ll sew the neckband as normal, but as you get back around, make sure your needles go right over that line you drew and line back up with the stitches from the start. As soon as you go back over the start at the right seam allowance (meaning not an angle), with your needles up, lift your presser foot, and pull the project out of the way of your needles. Then put the foot back down and stitch a chain off your project. You’ll be left with a neckband perfectly in the round!


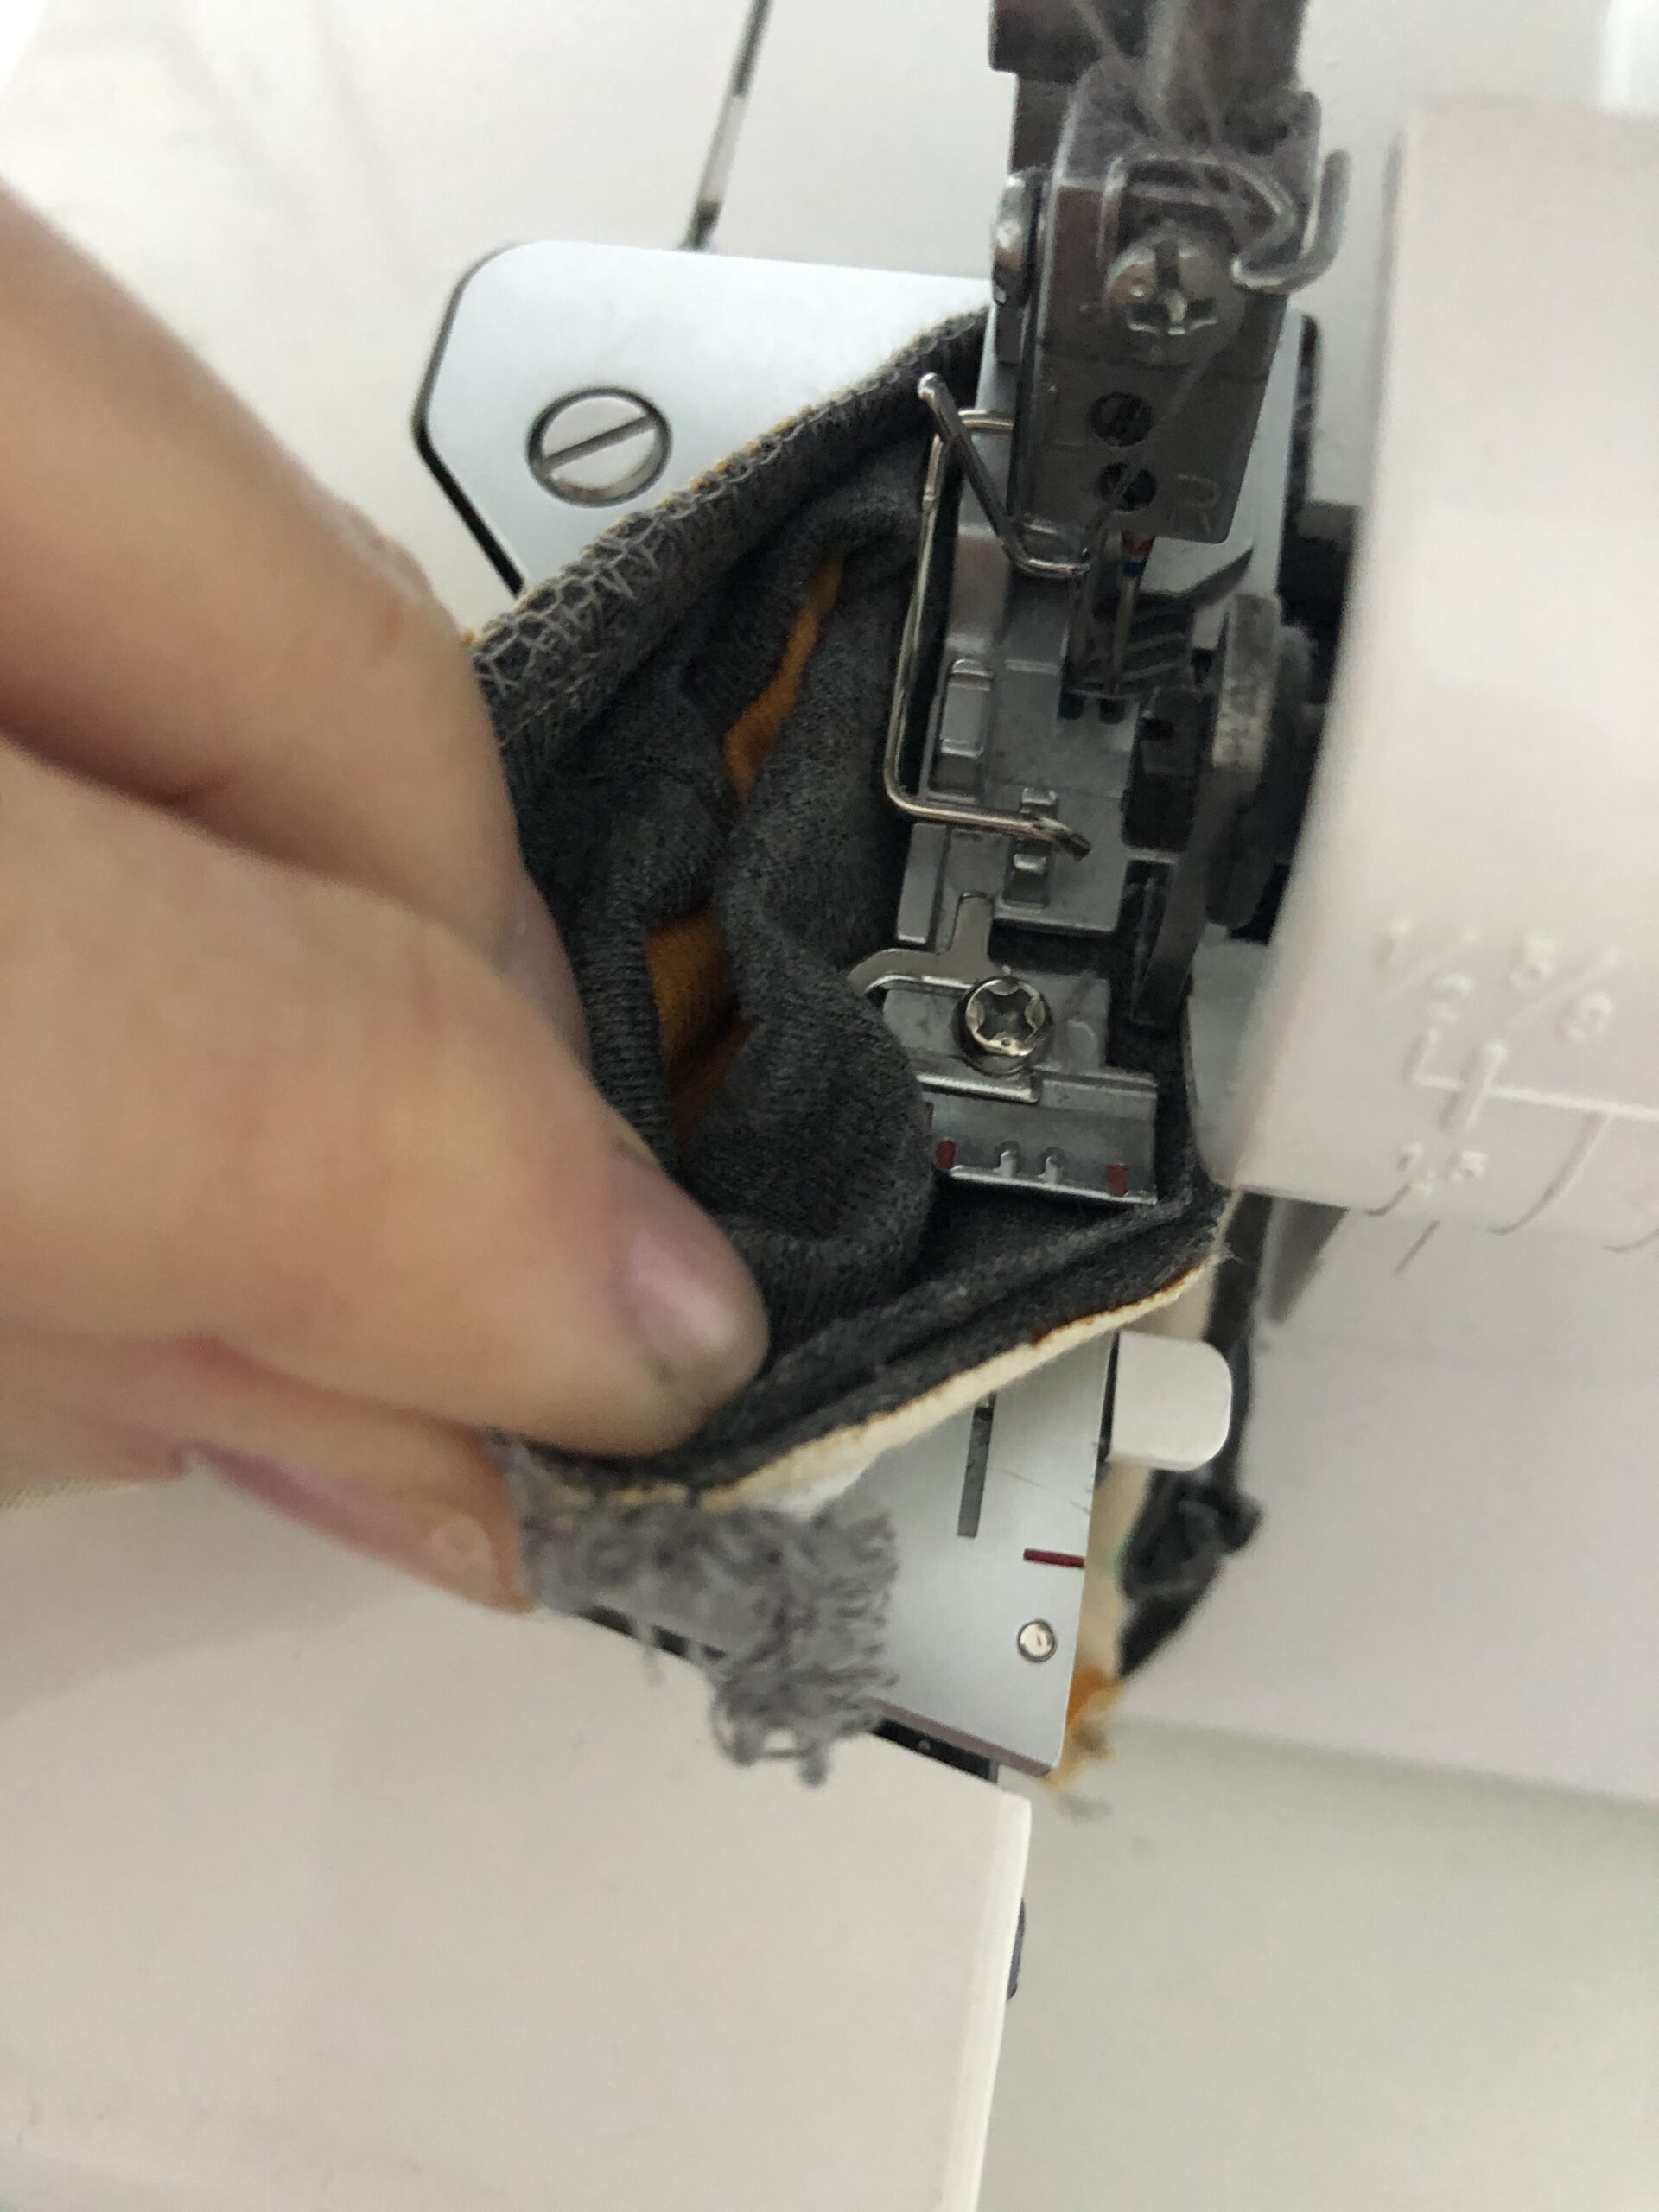
Sewing Itty Bitty Cuffs
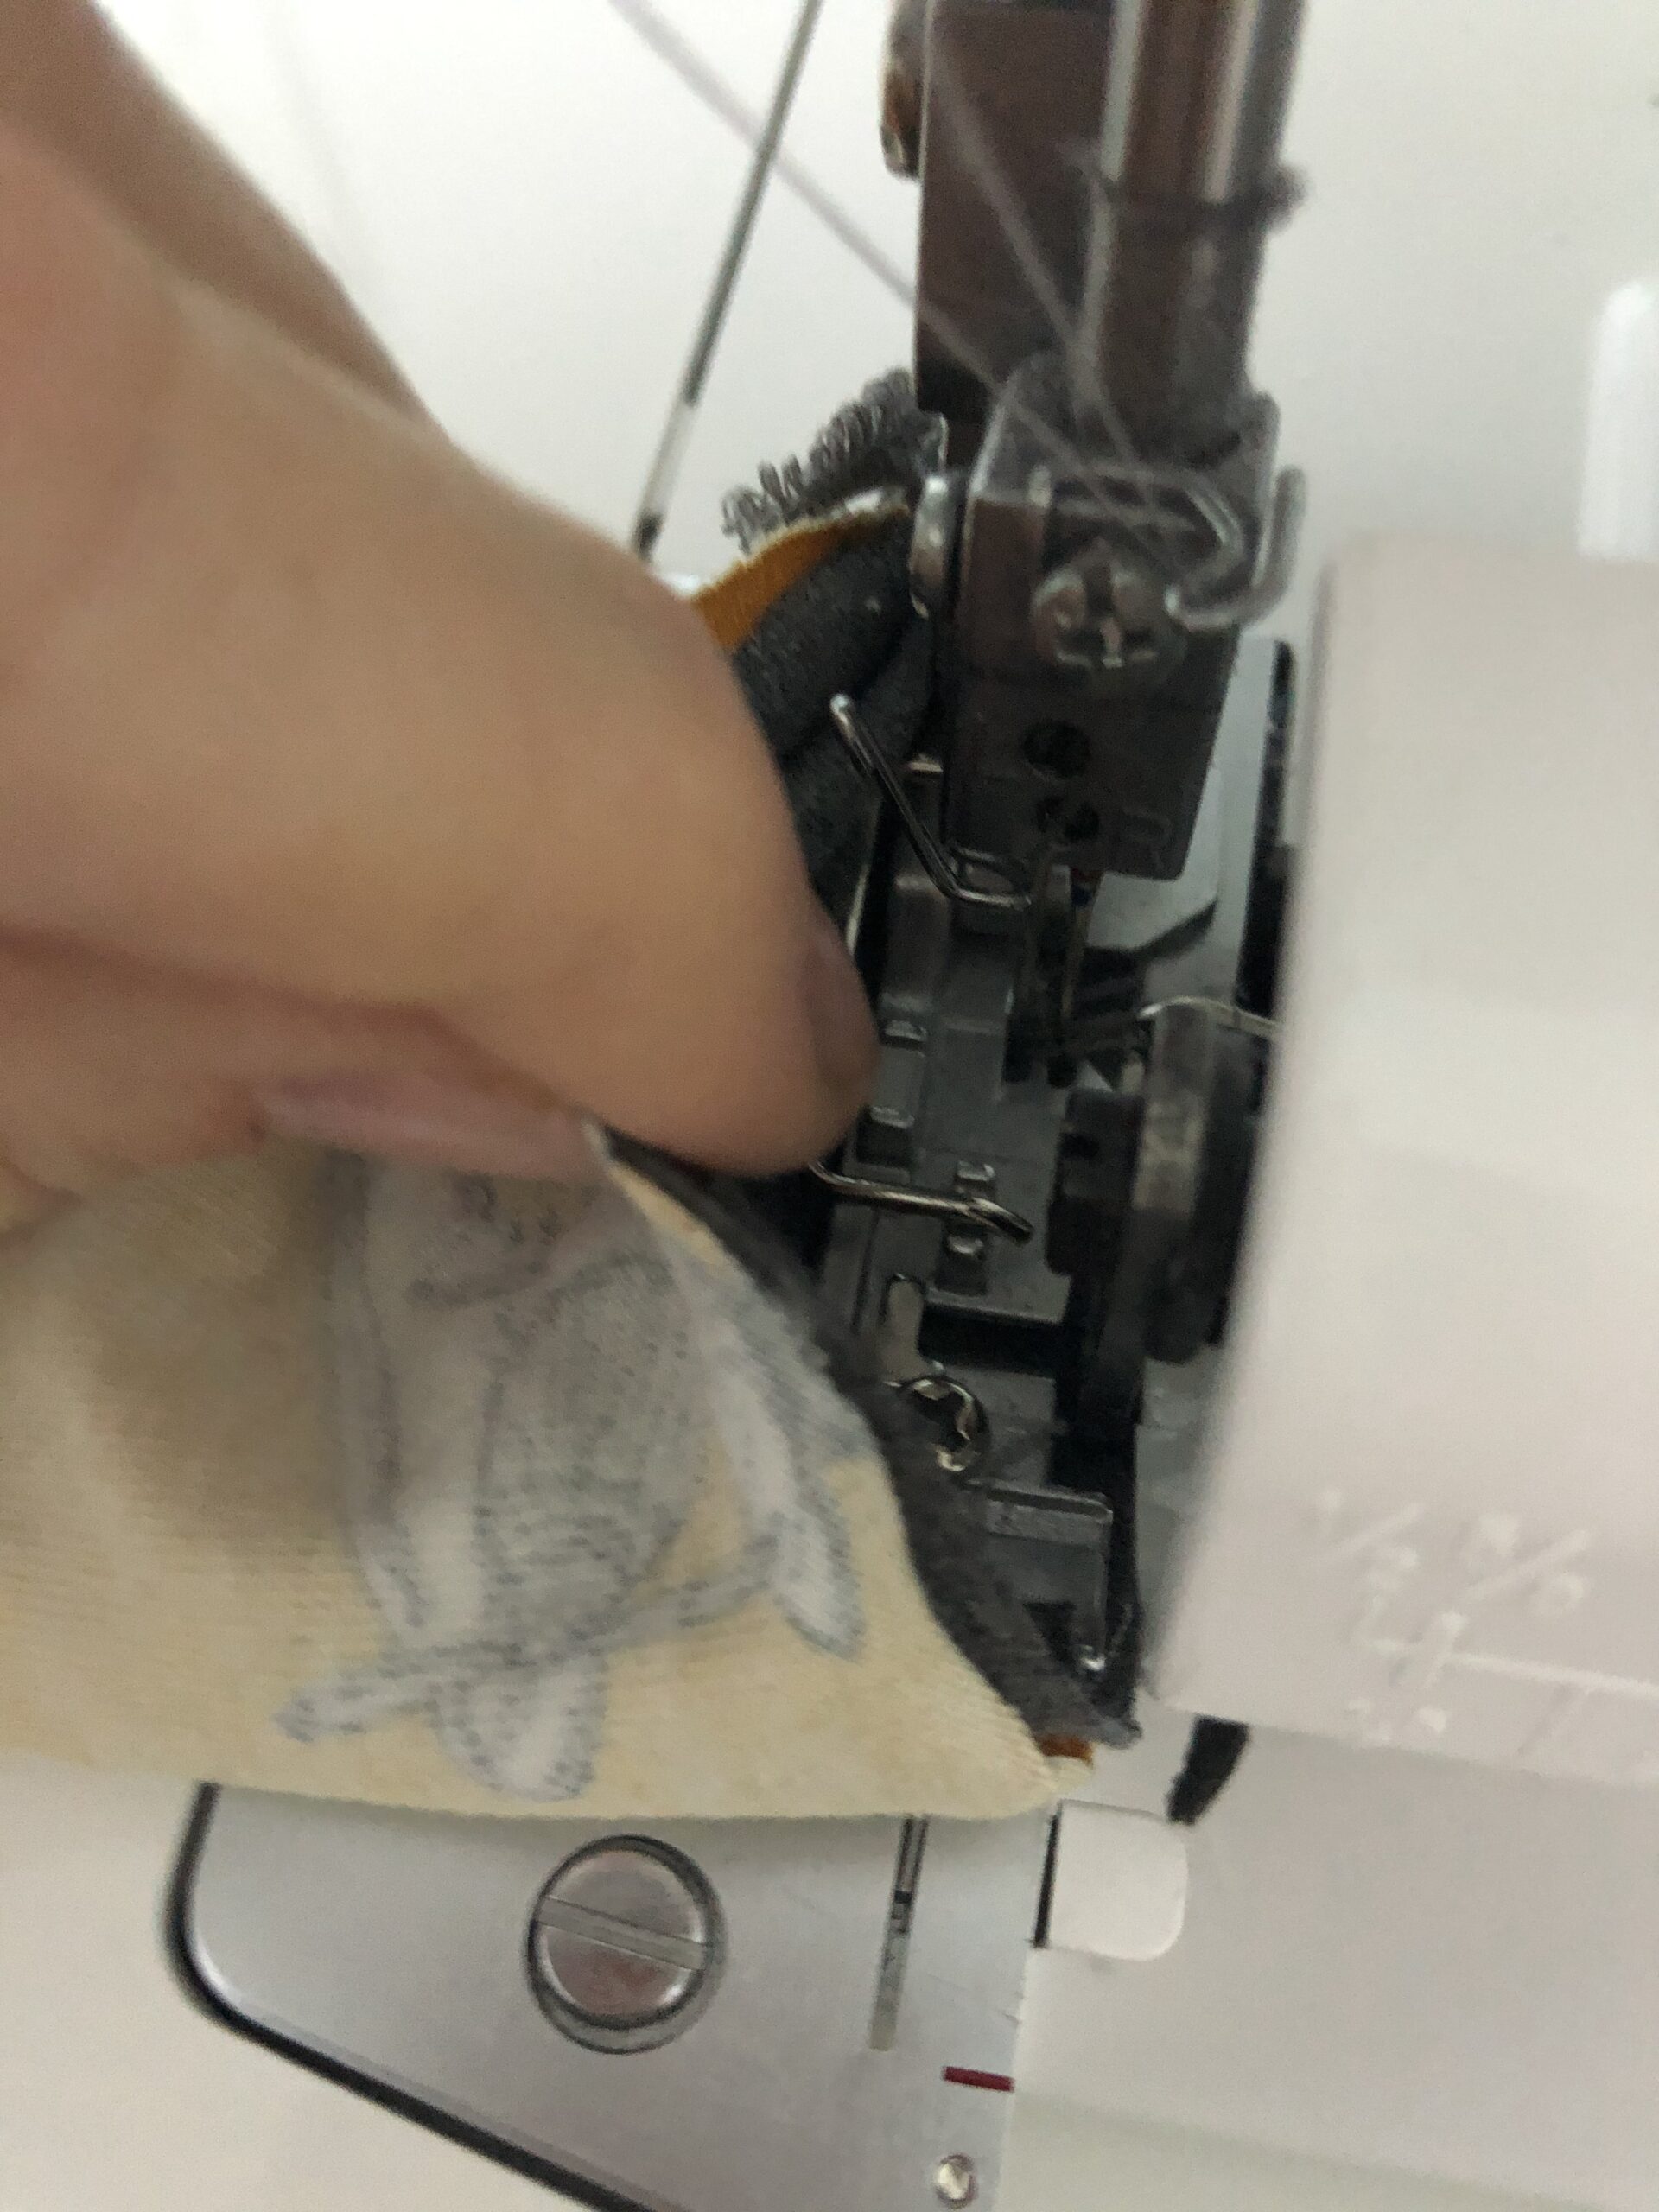
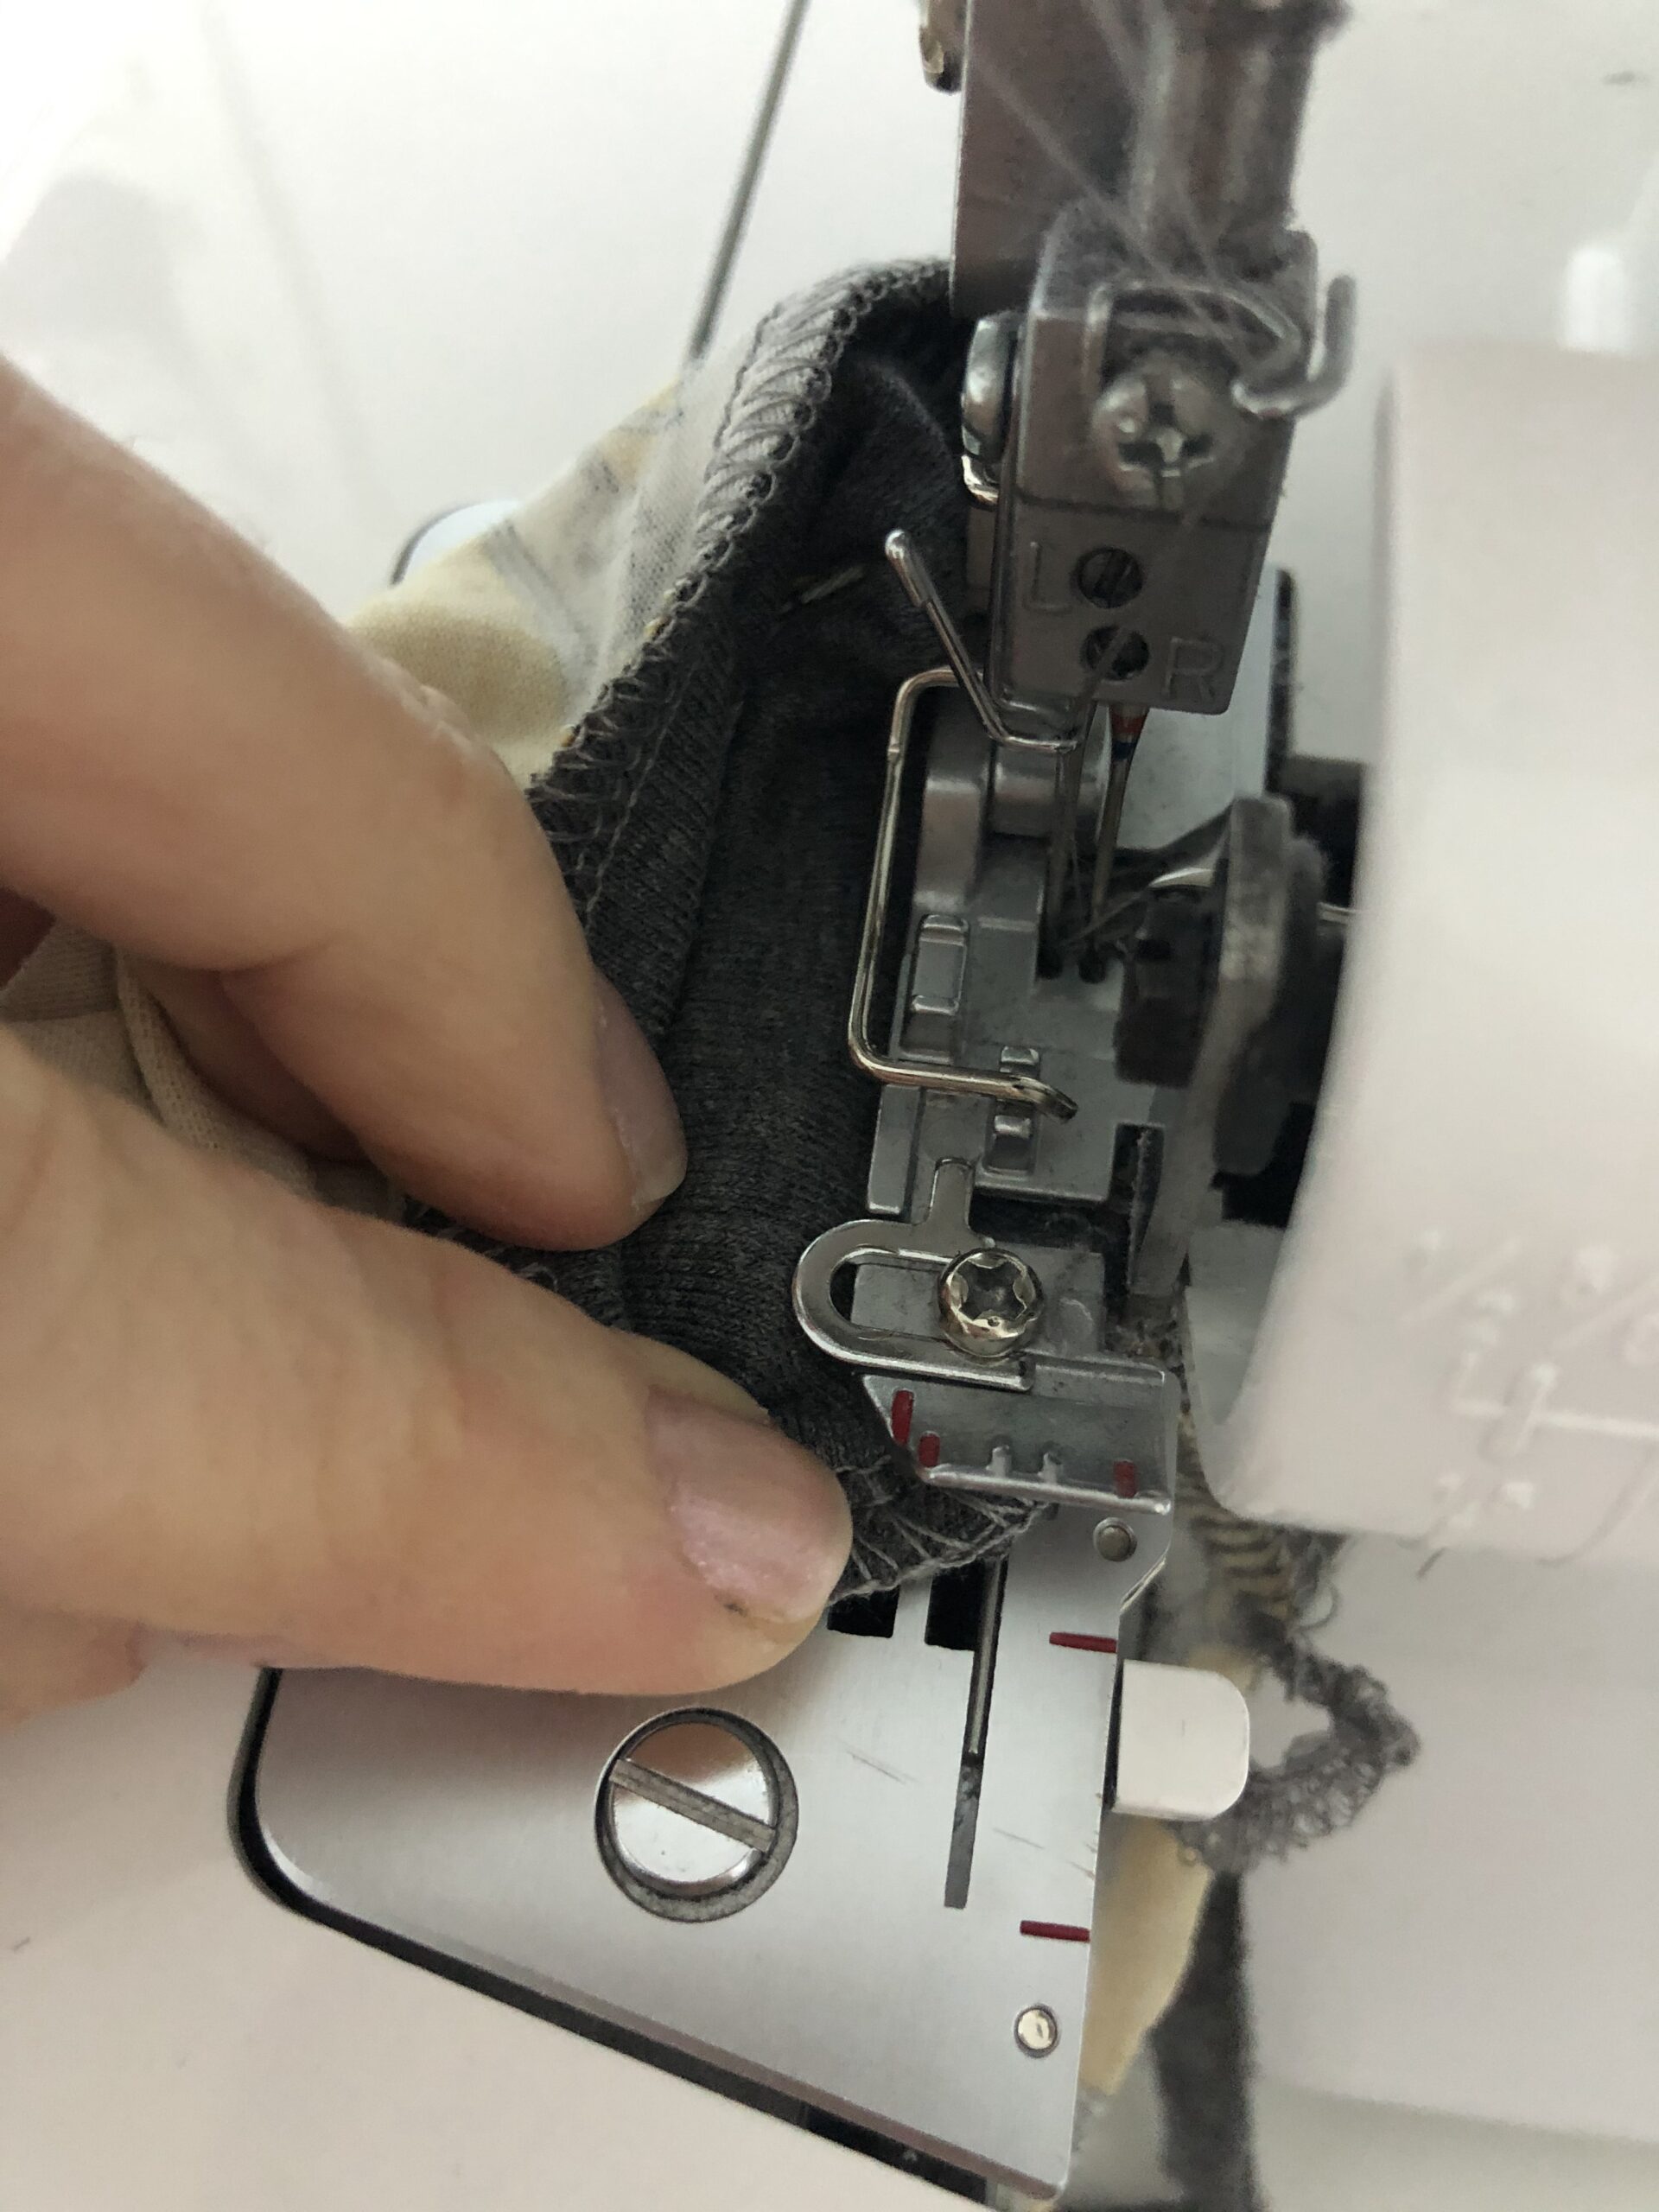
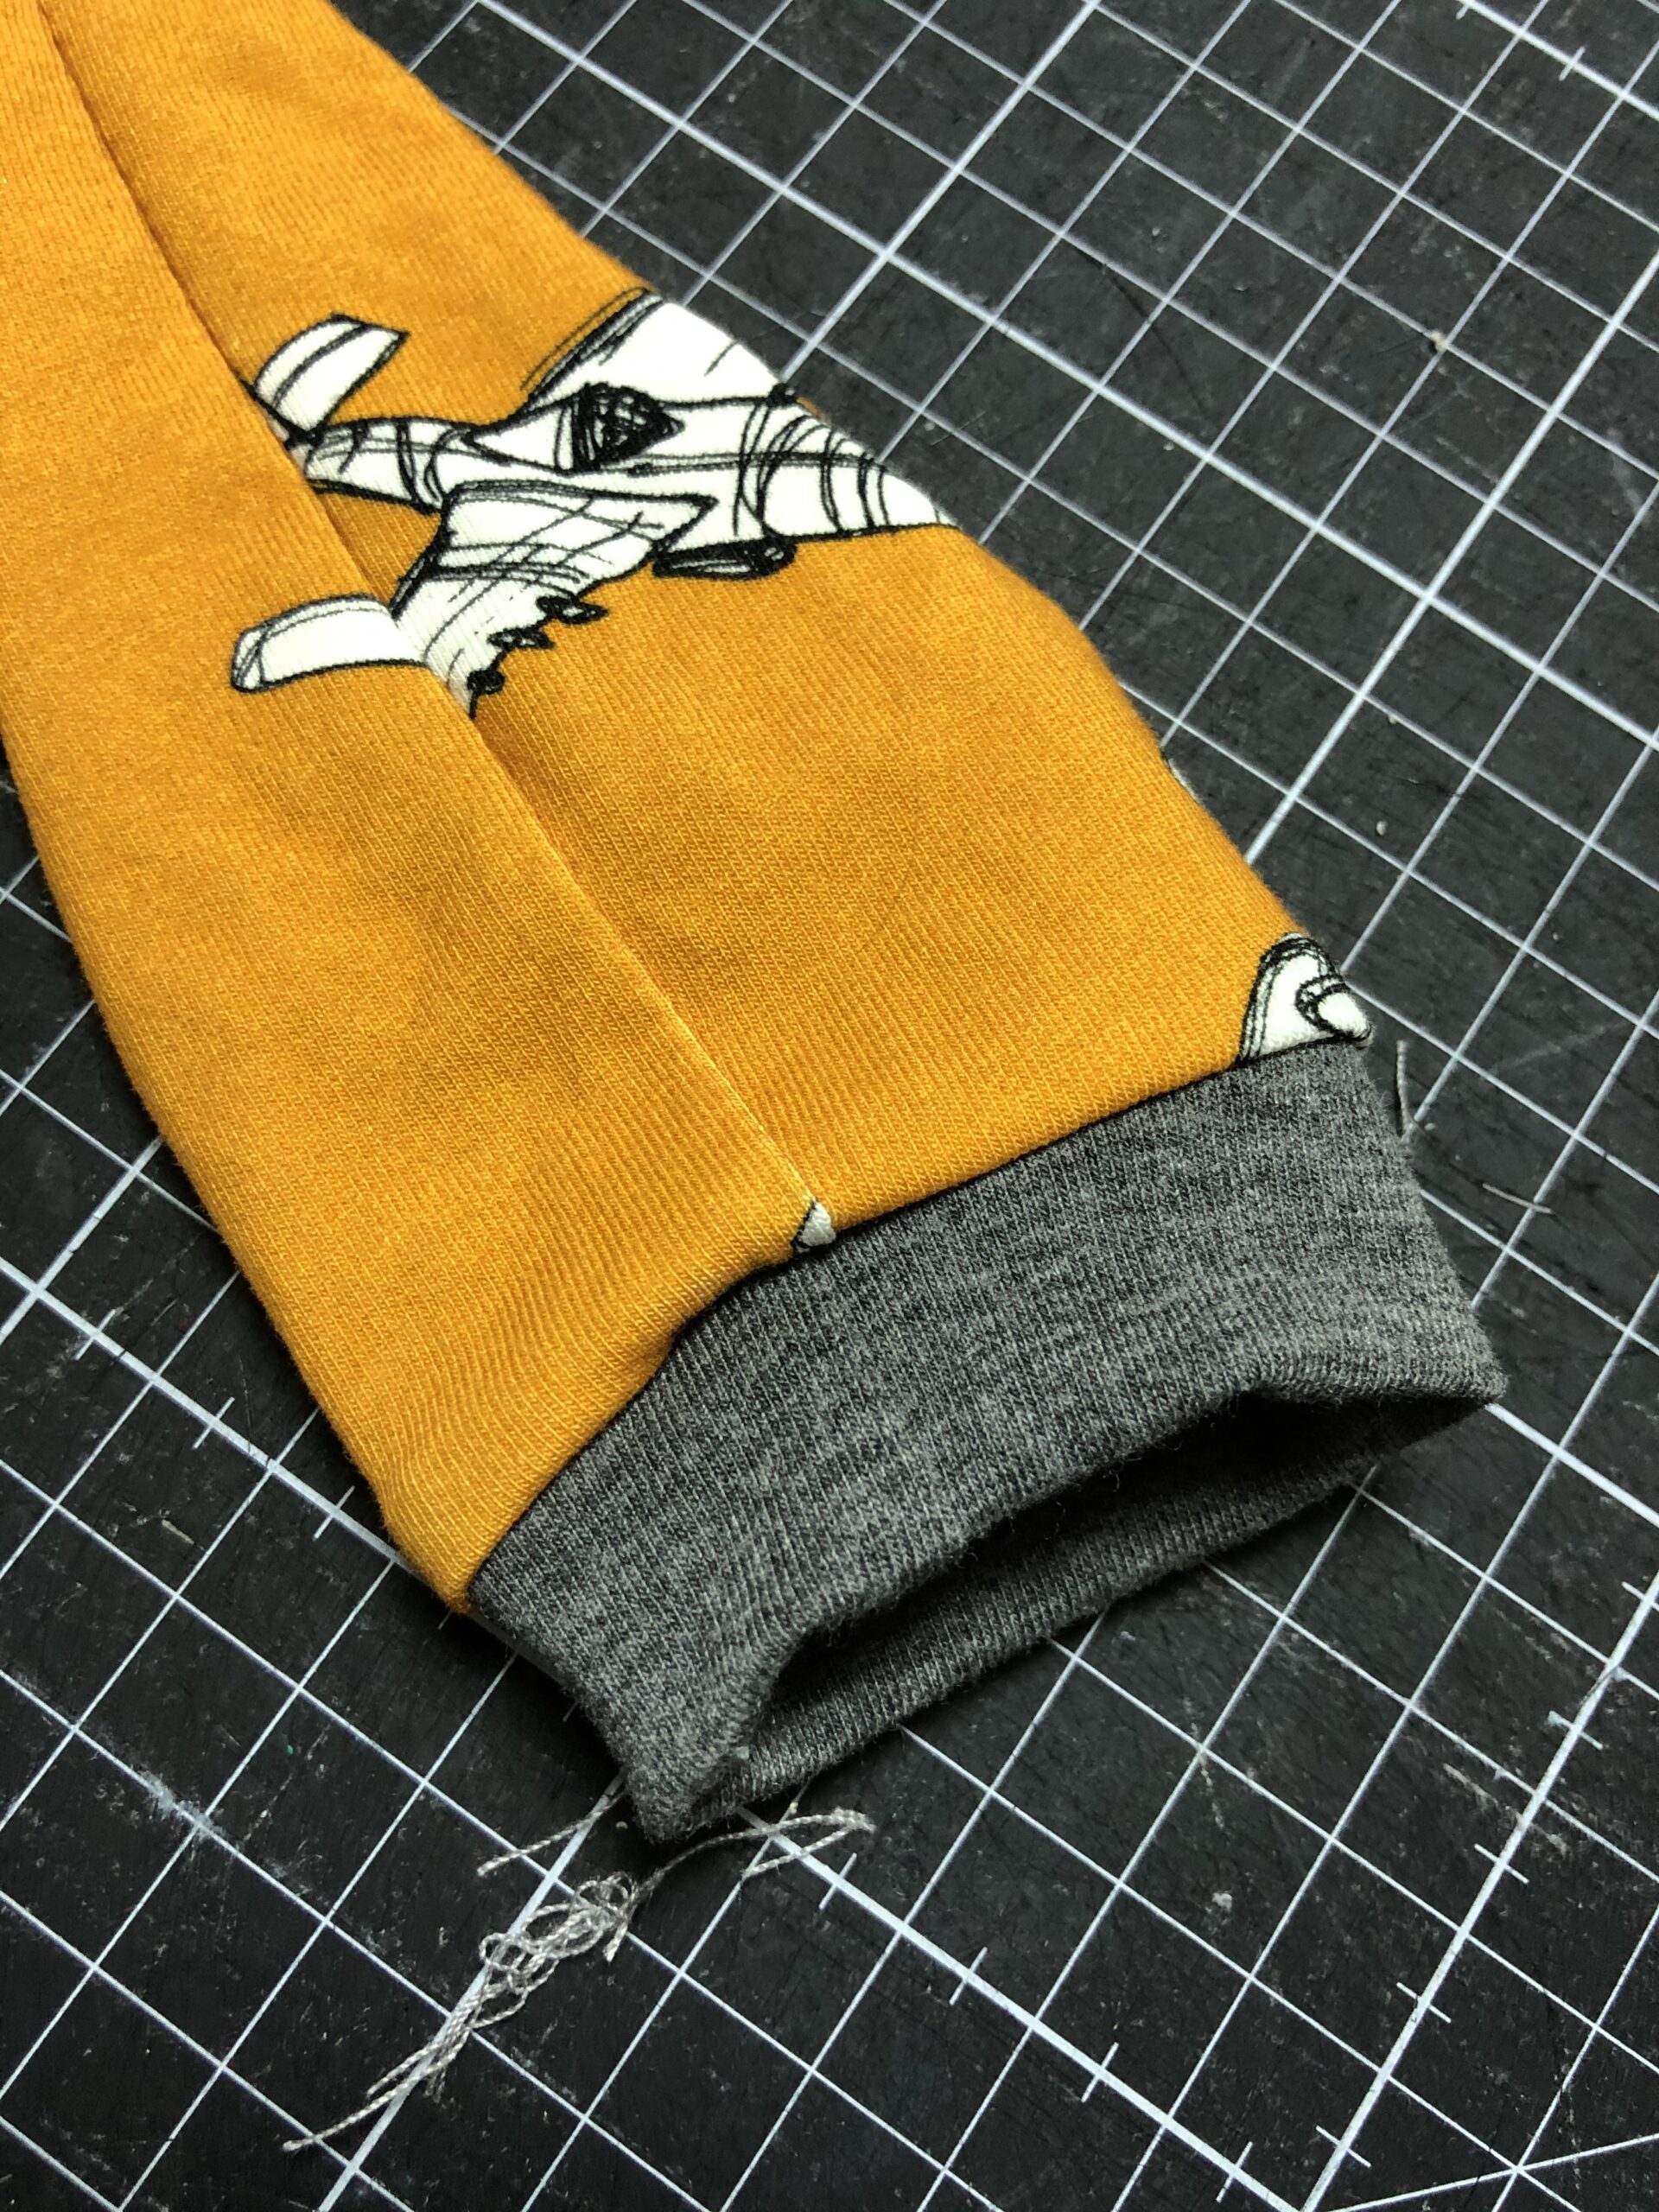
Next up, how to sew itty bitty cuffs onto things, like armbands and leg cuffs of baby items. This is tricky because the foot of the serger is so long it can be hard to fit your project in. This is done very similarly to those neckbands though. Start with the garment wrong side out, and your cuff placed inside. Line things up, nesting those seam allowances to reduce the bulk. (It can be helpful too to sew cuffs in a circle with a sewing machine rather than a serger so that you can press seam allowances open to give less bulk).

Now, as you sew, your presser foot will be INSIDE the project, as you slowly feed it around, starting and stopping often to readjust. Concentrate on just the part going under the presser foot/needle. You’ll start and stop the cuff just like the neckband, starting off at an angle, matching over the stitches from the beginning, and pulling it out of the way to chain off the project once you’re done sewing in the round.
Gathering on Your Serger
Next up, gathering on your serger. I’ll be honest, I rarely use this technique, but do find it helpful if I’m gathering fabric that frays very easily as it can help it stay neat while I handle it. It is also helpful if you’re gathering something that doesn’t have to be a very specific length. First, adjust your stitch length to be as long as it goes, and turn your differential all the way up. Next, turn up the tensions of your needles….I find that the higher you set them, the more gathered the fabric is. Last, run the fabric you want to gather through. Don’t’ forget to always use a test piece first! The lighter the weight of the fabric, the better this technique works (and don’t forget to put your settings back when you finish!!)

Finishing Techniques
Rolled Hem
Now for a fun finishing technique—the rolled hem. This is a great way to do a quick hem or decorative edge, and is especially useful for flounces or very lightweight fabrics. Like the Cascade Tee in Women’s and girl’s sizing. I love using a contrast thread rolled hem along a ruffle for a fun look. First, remove your left needle as you’ll only need the right needle and loopers. Next, turn your stitch length down, usually around 0.5. You might need to tighten your loopers a bit too, usually I have to turn them up a click or two. Last, you will find the stitch finger switch on your machine and slide that out of the way (check your manual to find where this is). Your differential adjustment will depend on your fabric, if you find that it is bunching a lot turn the differential down, but if it is stretching and curving you’ll want to turn it up. Usually I need it just above N on my machine. Run it through, cutting off your hem allowance. Go nice and slow and resist the urge to tug on it, the stitches are very close together so it can be slow going!!

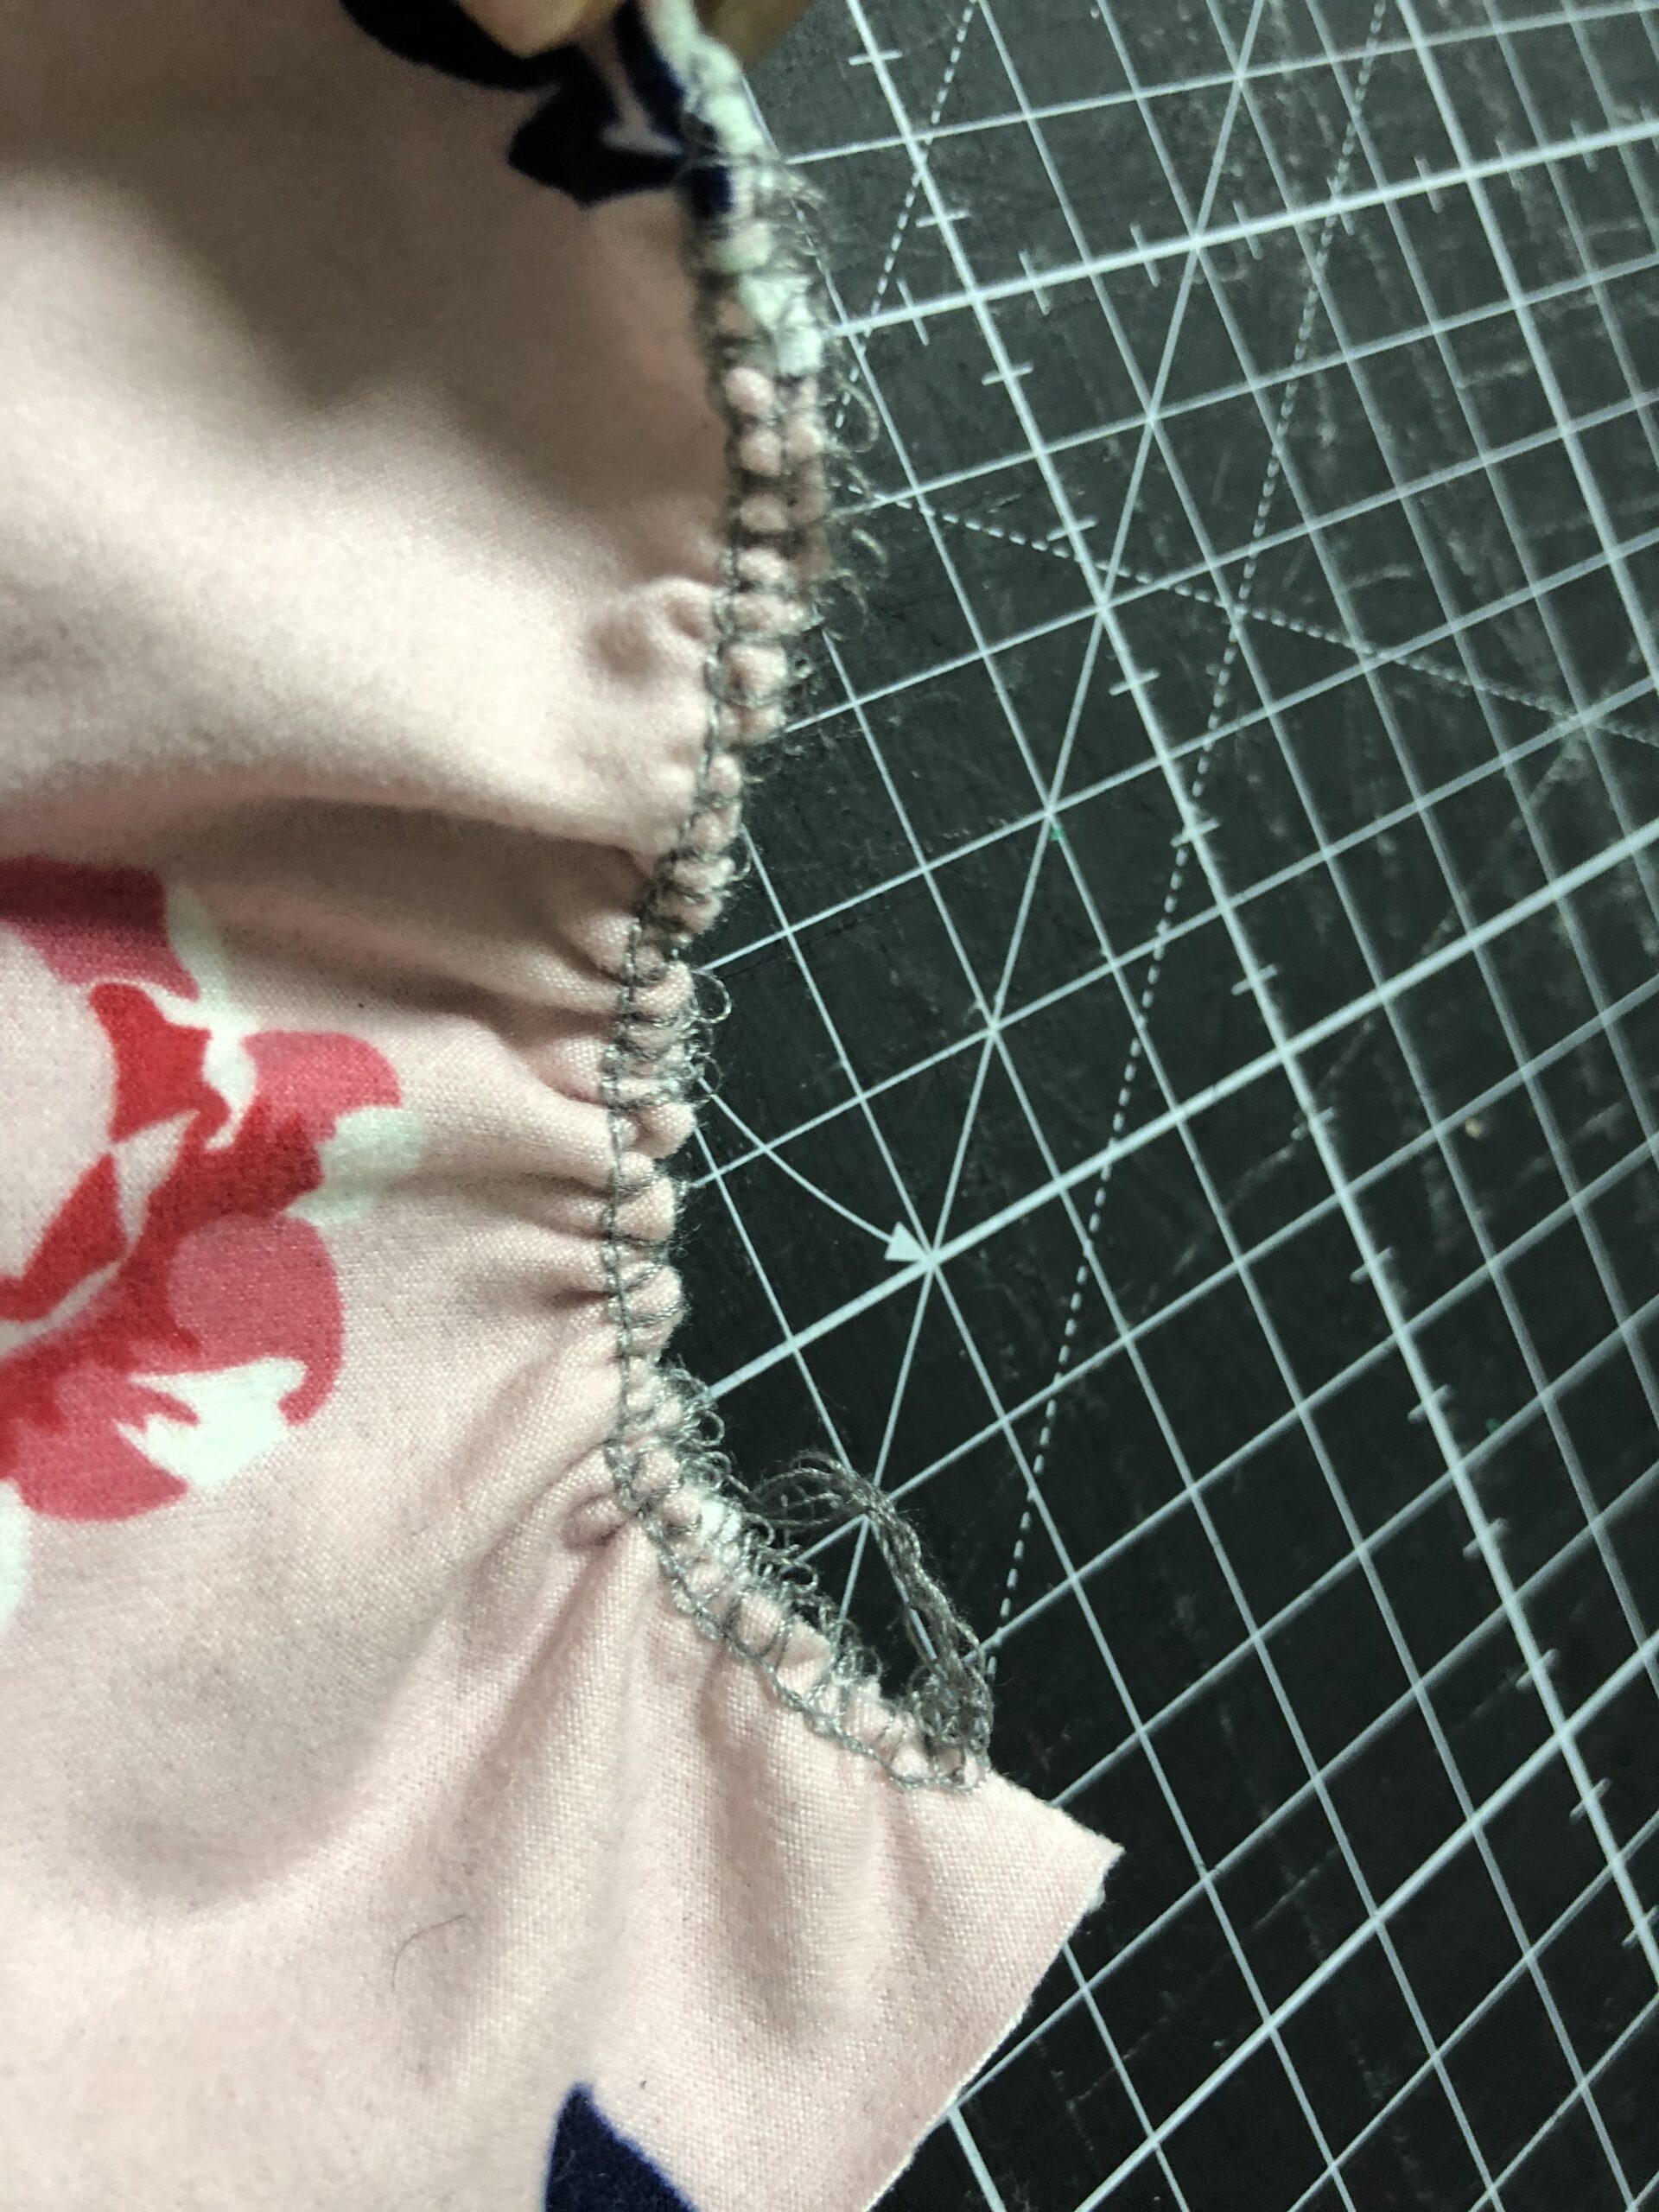
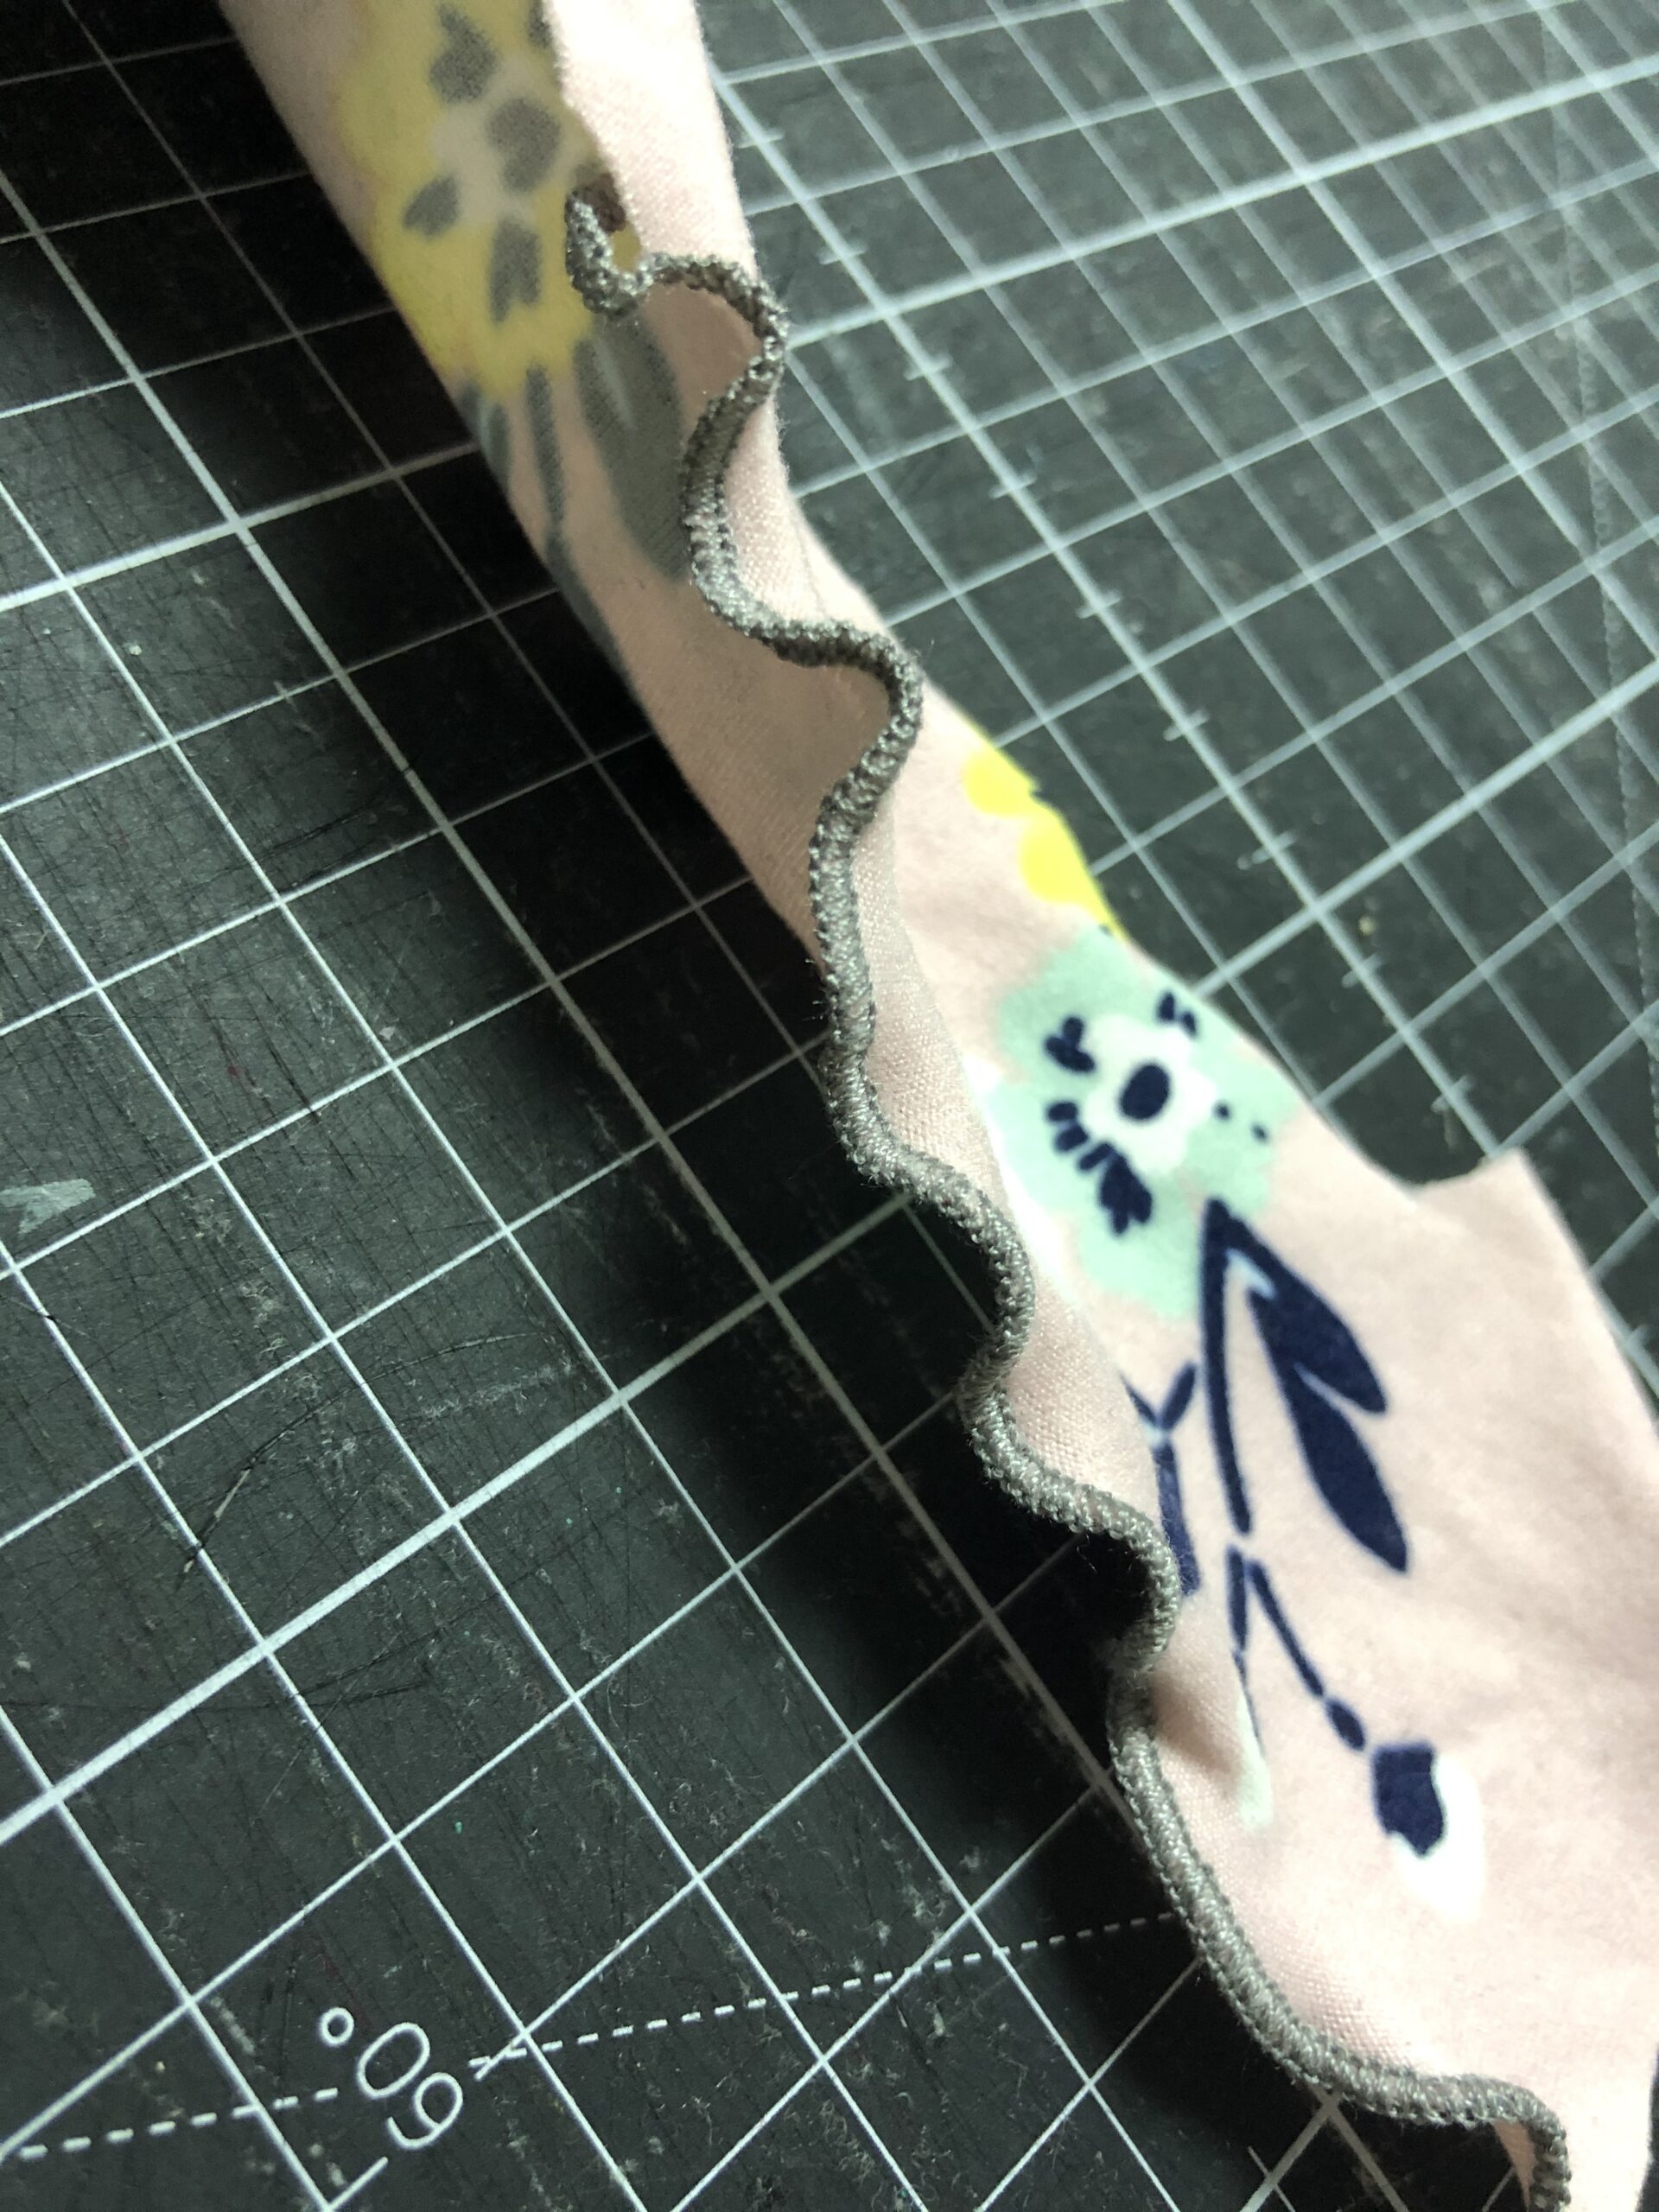
Lettuce Hems
Last up, lettuce hems can be fun to create a little ruffle on a project. I like using It on a simple summer tank for my girls, for example. To do a lettuce hem version off the rolled hem, simply turn the differential all the way DOWN (keeping the rest of your rolled hem settings the same). That will cause the fabric to stretch a little as it goes through so that the resulting rolled hem has some waves to it. The lighter your fabric, the more wavy you can get it!


Hopefully you’re ready to brave some new things with these serger tips. Dive in and don’t forget to share your projects with us! Visit our Facebook Group or on Instagram #newhorizonssewing