How To Hem A Garment | Rolled, Standard, Blind, Serger-rolled and Coverstitch Hem
Hey sewers! Today we are going to look at various types of hems and how to do them. Whether you are sewing with knits or wovens there is a hem type to suit your garment.
BLIND HEM
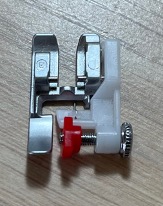
First I want to start with a blind hem. Many people avoid this hem because it looks like it would be complicated. But really it is quite simple. First, ensure you are using the correct foot, it should look similar to this:
Set your stitch to the blind hem stitch. The one with straight stitches is for woven fabric and the one with zig zags is for knits.

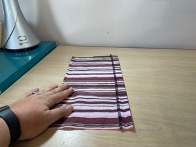
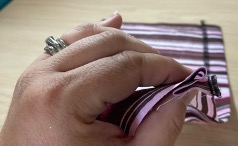
Ensure you are using the appropriate needle for your fabric. Finish the edge of your fabric before stitching. Then simply press your hem amount up wrong sides together on the edge to be hemmed. Then you will fold it back the opposite way, (right side to right side) maintaining the original fold and place on your machine.
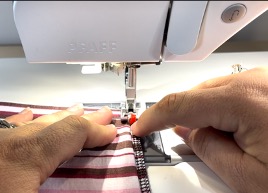
Next stitch with the loose fold along the guide in the hemming foot. The purpose of this is so that when the stitch goes into the main part of the garment, it catches just the smallest stitch so the hem appears “blind” from the right side.
COVERSTITCH HEM
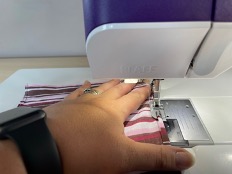
Not everyone has a Coverstitch machine, but if you are looking into one or have one but have yet to use it, this hem is easy to do and makes a really nice finish to your garment. Following the directions for your machine, set it to your desired Coverstitch type. Simply press your hem amount up on edge you are hemming.
Match the raw edge of your hem to the left needle and insert into your machine right sides up! I usually start with a couple of hand turns of the wheel to get it started and then stitch your hem. If you are stitching a Coverstitch in the round, simply overlap your stitches by a few and remove the garment from your machine.
STANDARD HEM
Using your standard presser foot and appropriate needle, set your machine to a straight stitch with a long stitch length. Finish the edge of the fabric that will be hemmed. Press or pin the hem amount up and simply stitch approximately 1/8” from the raw edge.


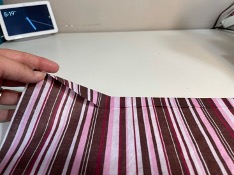
ROLLED HEM – SEWING MACHINE
Sometimes you will want to have a narrow finished edge on your fabric. This type of hem works best with woven fabrics. DO NOT finish the raw edge before hemming as it will add bulk and make it difficult to pass the fabric through the foot.
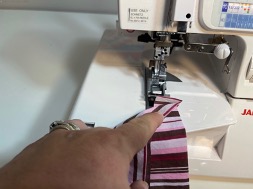
Most machines will have a rolled hem foot like this:

Attach the foot and set your machine to a long straight stitch. Place your fabric into the machine, wrapping the raw edge into the foldover section of your presser foot. Simply stitch and slightly fold the fabric as it goes into the foot as you go. The presser foot will do the rest!
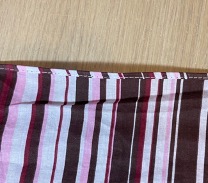
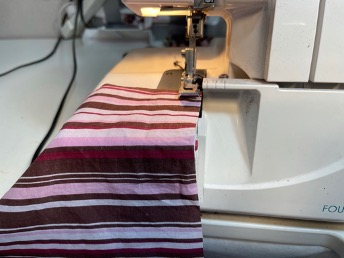
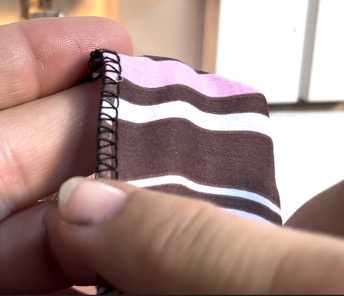
ROLLED HEM – SERGER
Following the directions for your serger, set it to the rolled hem setting. Then, simply run your raw edge through the machine right sides up and it will do the rest!
Make sure you head over to our Facebook Group or Instagram #patternniche