Truing Up a Pattern by Ioana “Jo” Dumitrescu
Many of us started sewing because we wanted clothing that fits and looks better than ready to wear. And there’s nothing like that “Me made” feeling, am I right?
But the thing is…patterns are drafted for an average individual, and we’re all different. We can’t expect a pattern to fit perfectly because even at the same measurements, people are not proportioned the same. The beauty is, we can adjust the patterns to fit our body and our proportions.
You can find loads of tutorials online on how to alter a pattern to fit your particular needs. But few of them teach you how to make sure that your pattern still sews up nicely after you’ve made those changes.
Sometimes you need to make more than one adjustment. So you sit there at your sewing machine with one seam longer than the other wondering where something went wrong.
Enter “truing your patterns”. You might have heard of this term, but what does it actually mean? Nothing could be simpler: you just need to check a few key places on your pattern pieces to make sure they follow a set of rules:
- Seams that are sewn together are the same length (exception: when the pattern instructions specifically mention you need to ease a seam into another -> that means the seam that needs to be eased in will be longer).
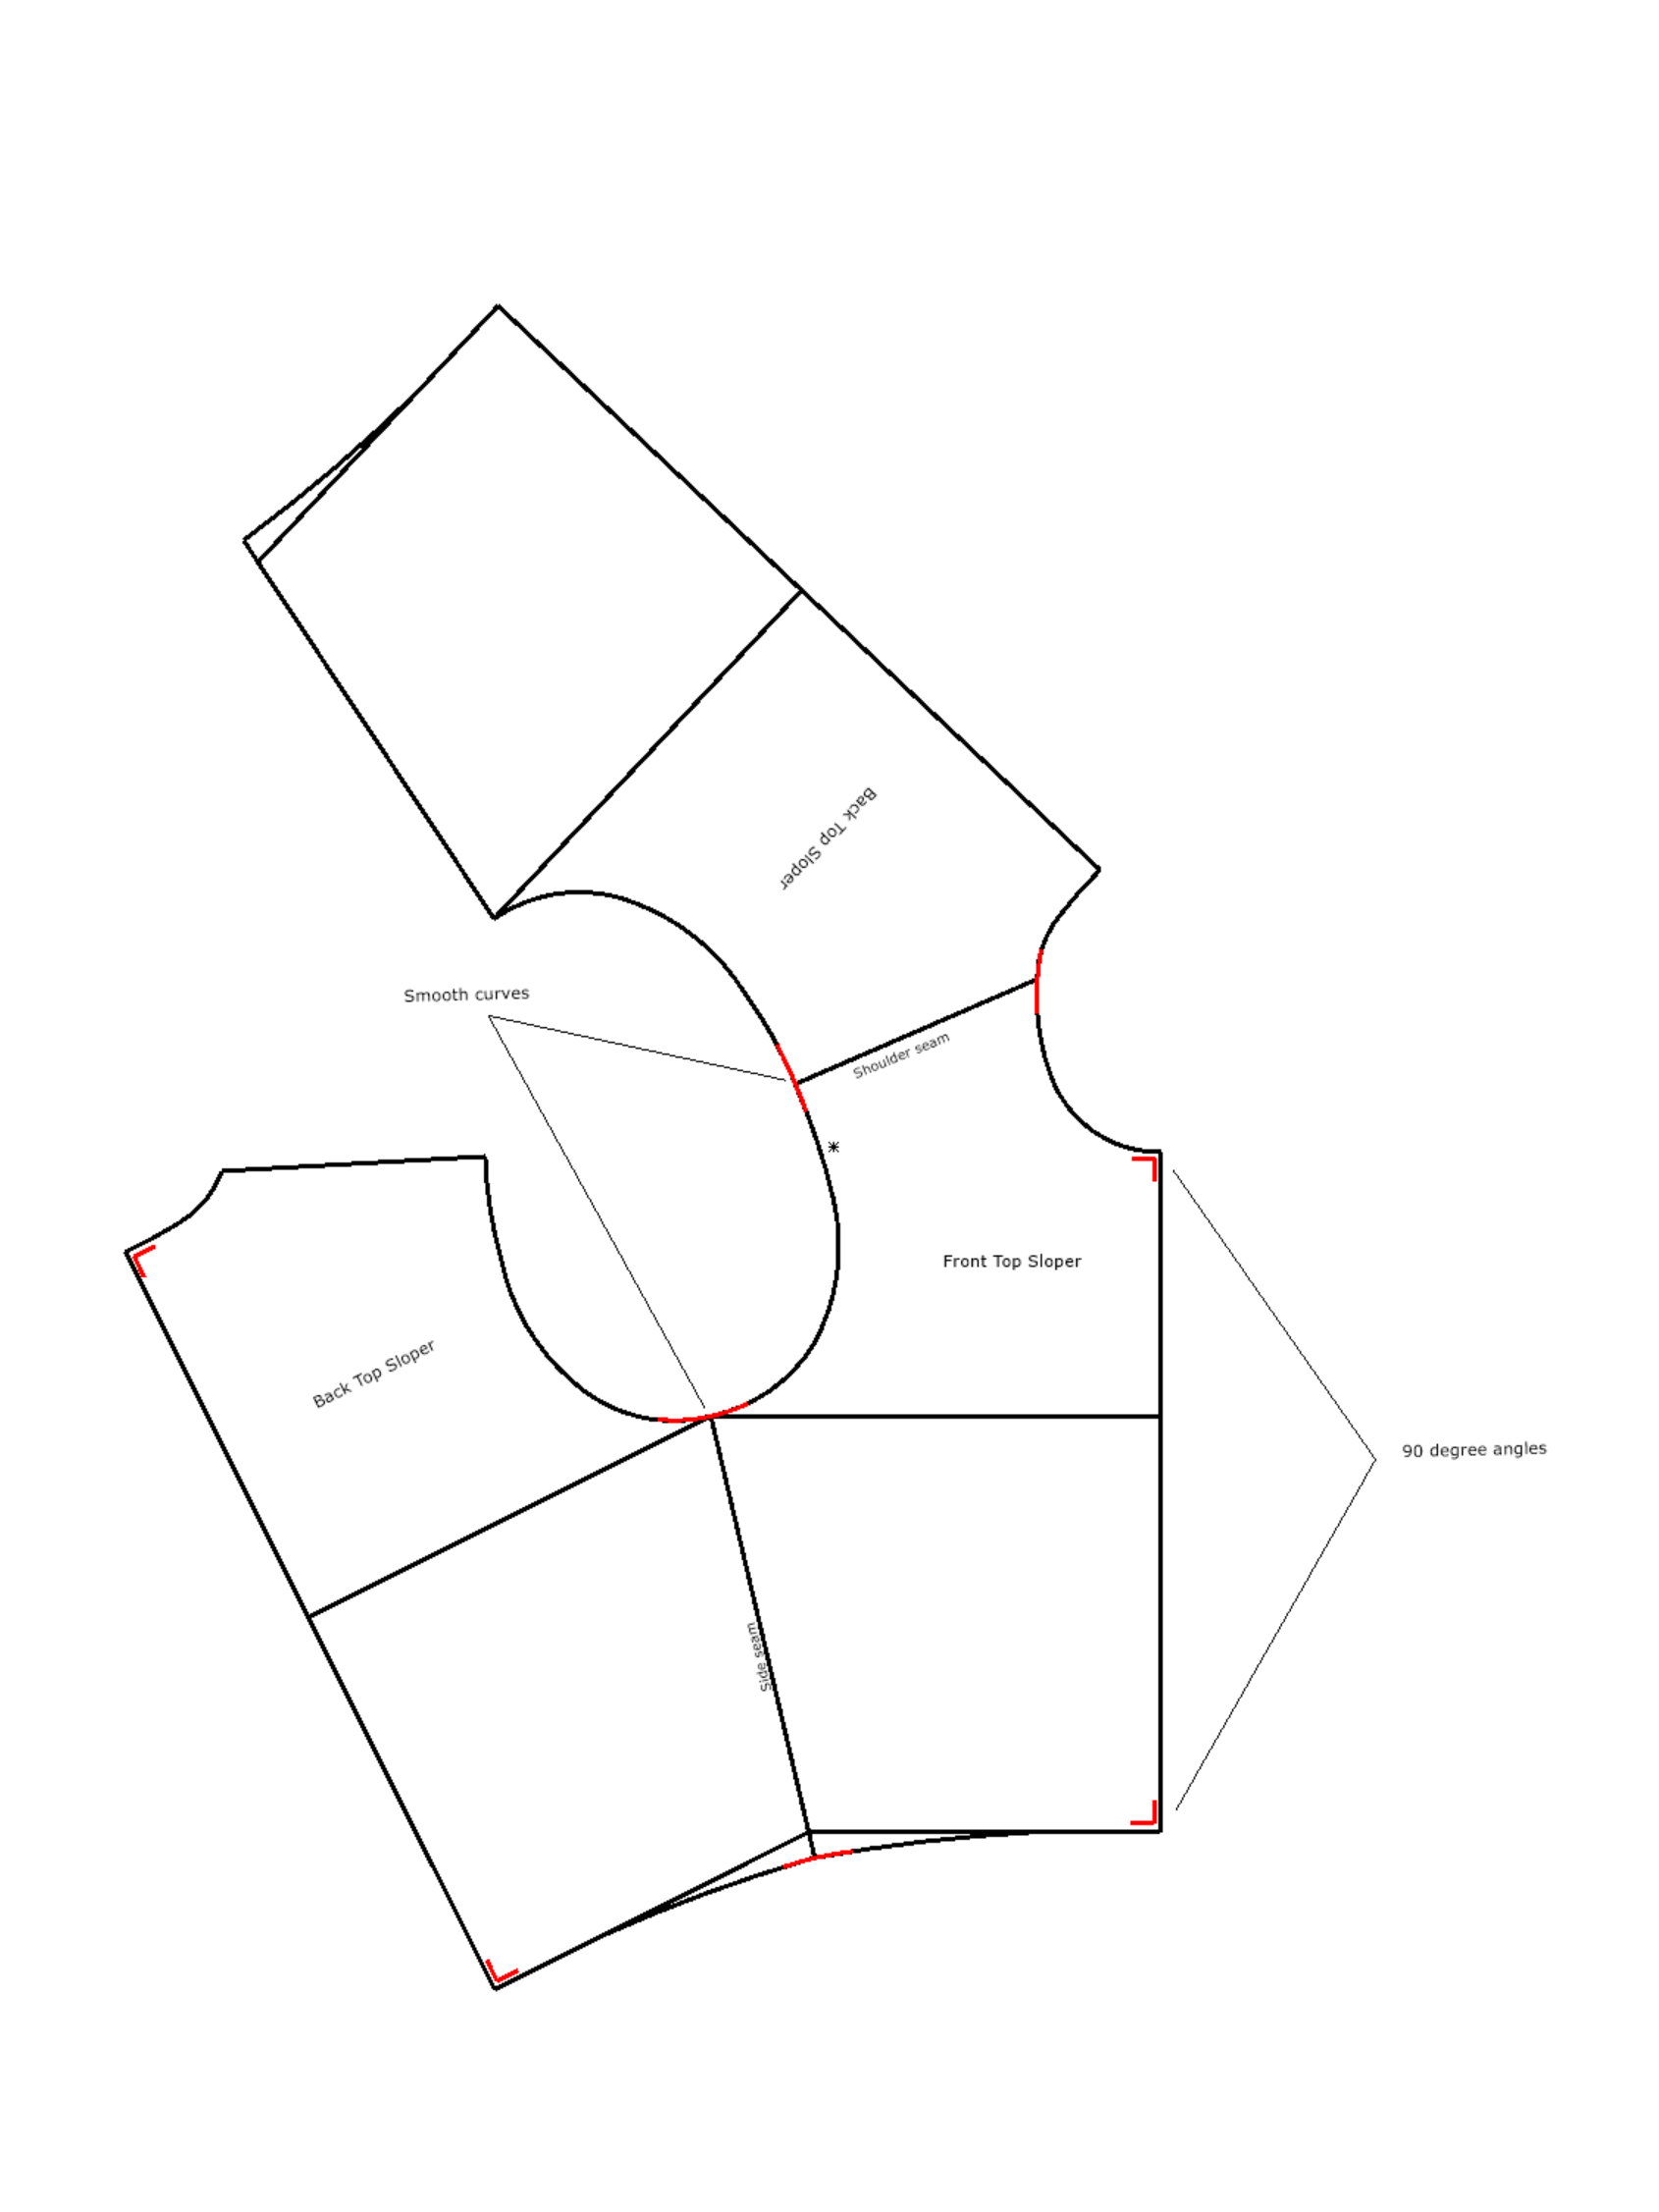
- Smooth transitions: neckline front to back, armscye front to back, side seam front to back (or back to front, it doesn’t really matter). Unless your design specifically calls for some sharp angles, lines should flow smoothly from one seam to another.
- 90 degree angles: the waist line and the neckline should pe perpendicular to the center front/back line for at least 1/4″-1/2″ (exception: V and asymmetrical designs).
It’s best to follow a sequence every time you finish altering your pattern. That way you don’t skip over any steps.
Remove Seam Allowances
First of all: remove the seam allowance before you start making changes. Yes, it’s cumbersome, but trust me when I tell you that most mistakes happen because we made the adjustments at the cut line instead of the seam line. Both the changes and the truing should be done at the stitch line. You don’t have to cut off the seam allowance entirely, you can just snip in a couple of places and fold it out of the way.
A pattern can come together perfectly when you place it with the cut lines together but create all kinds of odd shapes at the stitch line.
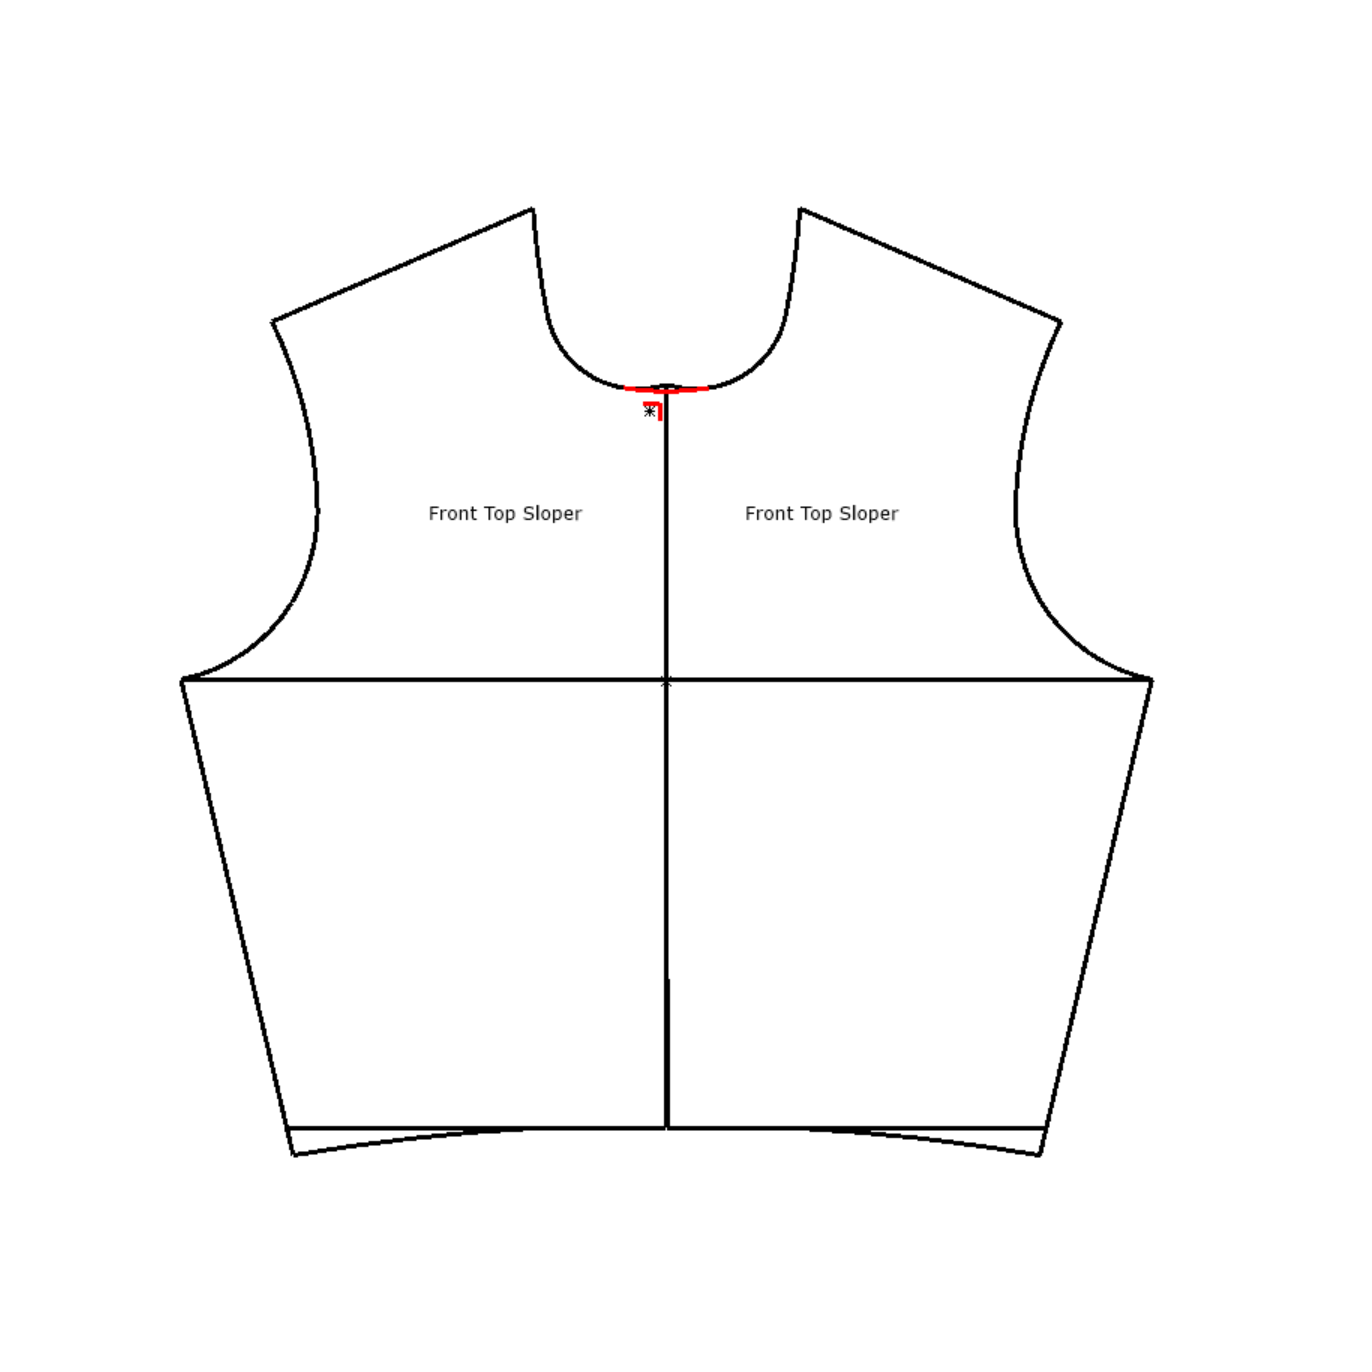
I like to start with checking if the seams that need to be sewn together are the same length. Because if I need to change anything, all the steps I go through after this will ensure my pattern will still sew together perfectly.
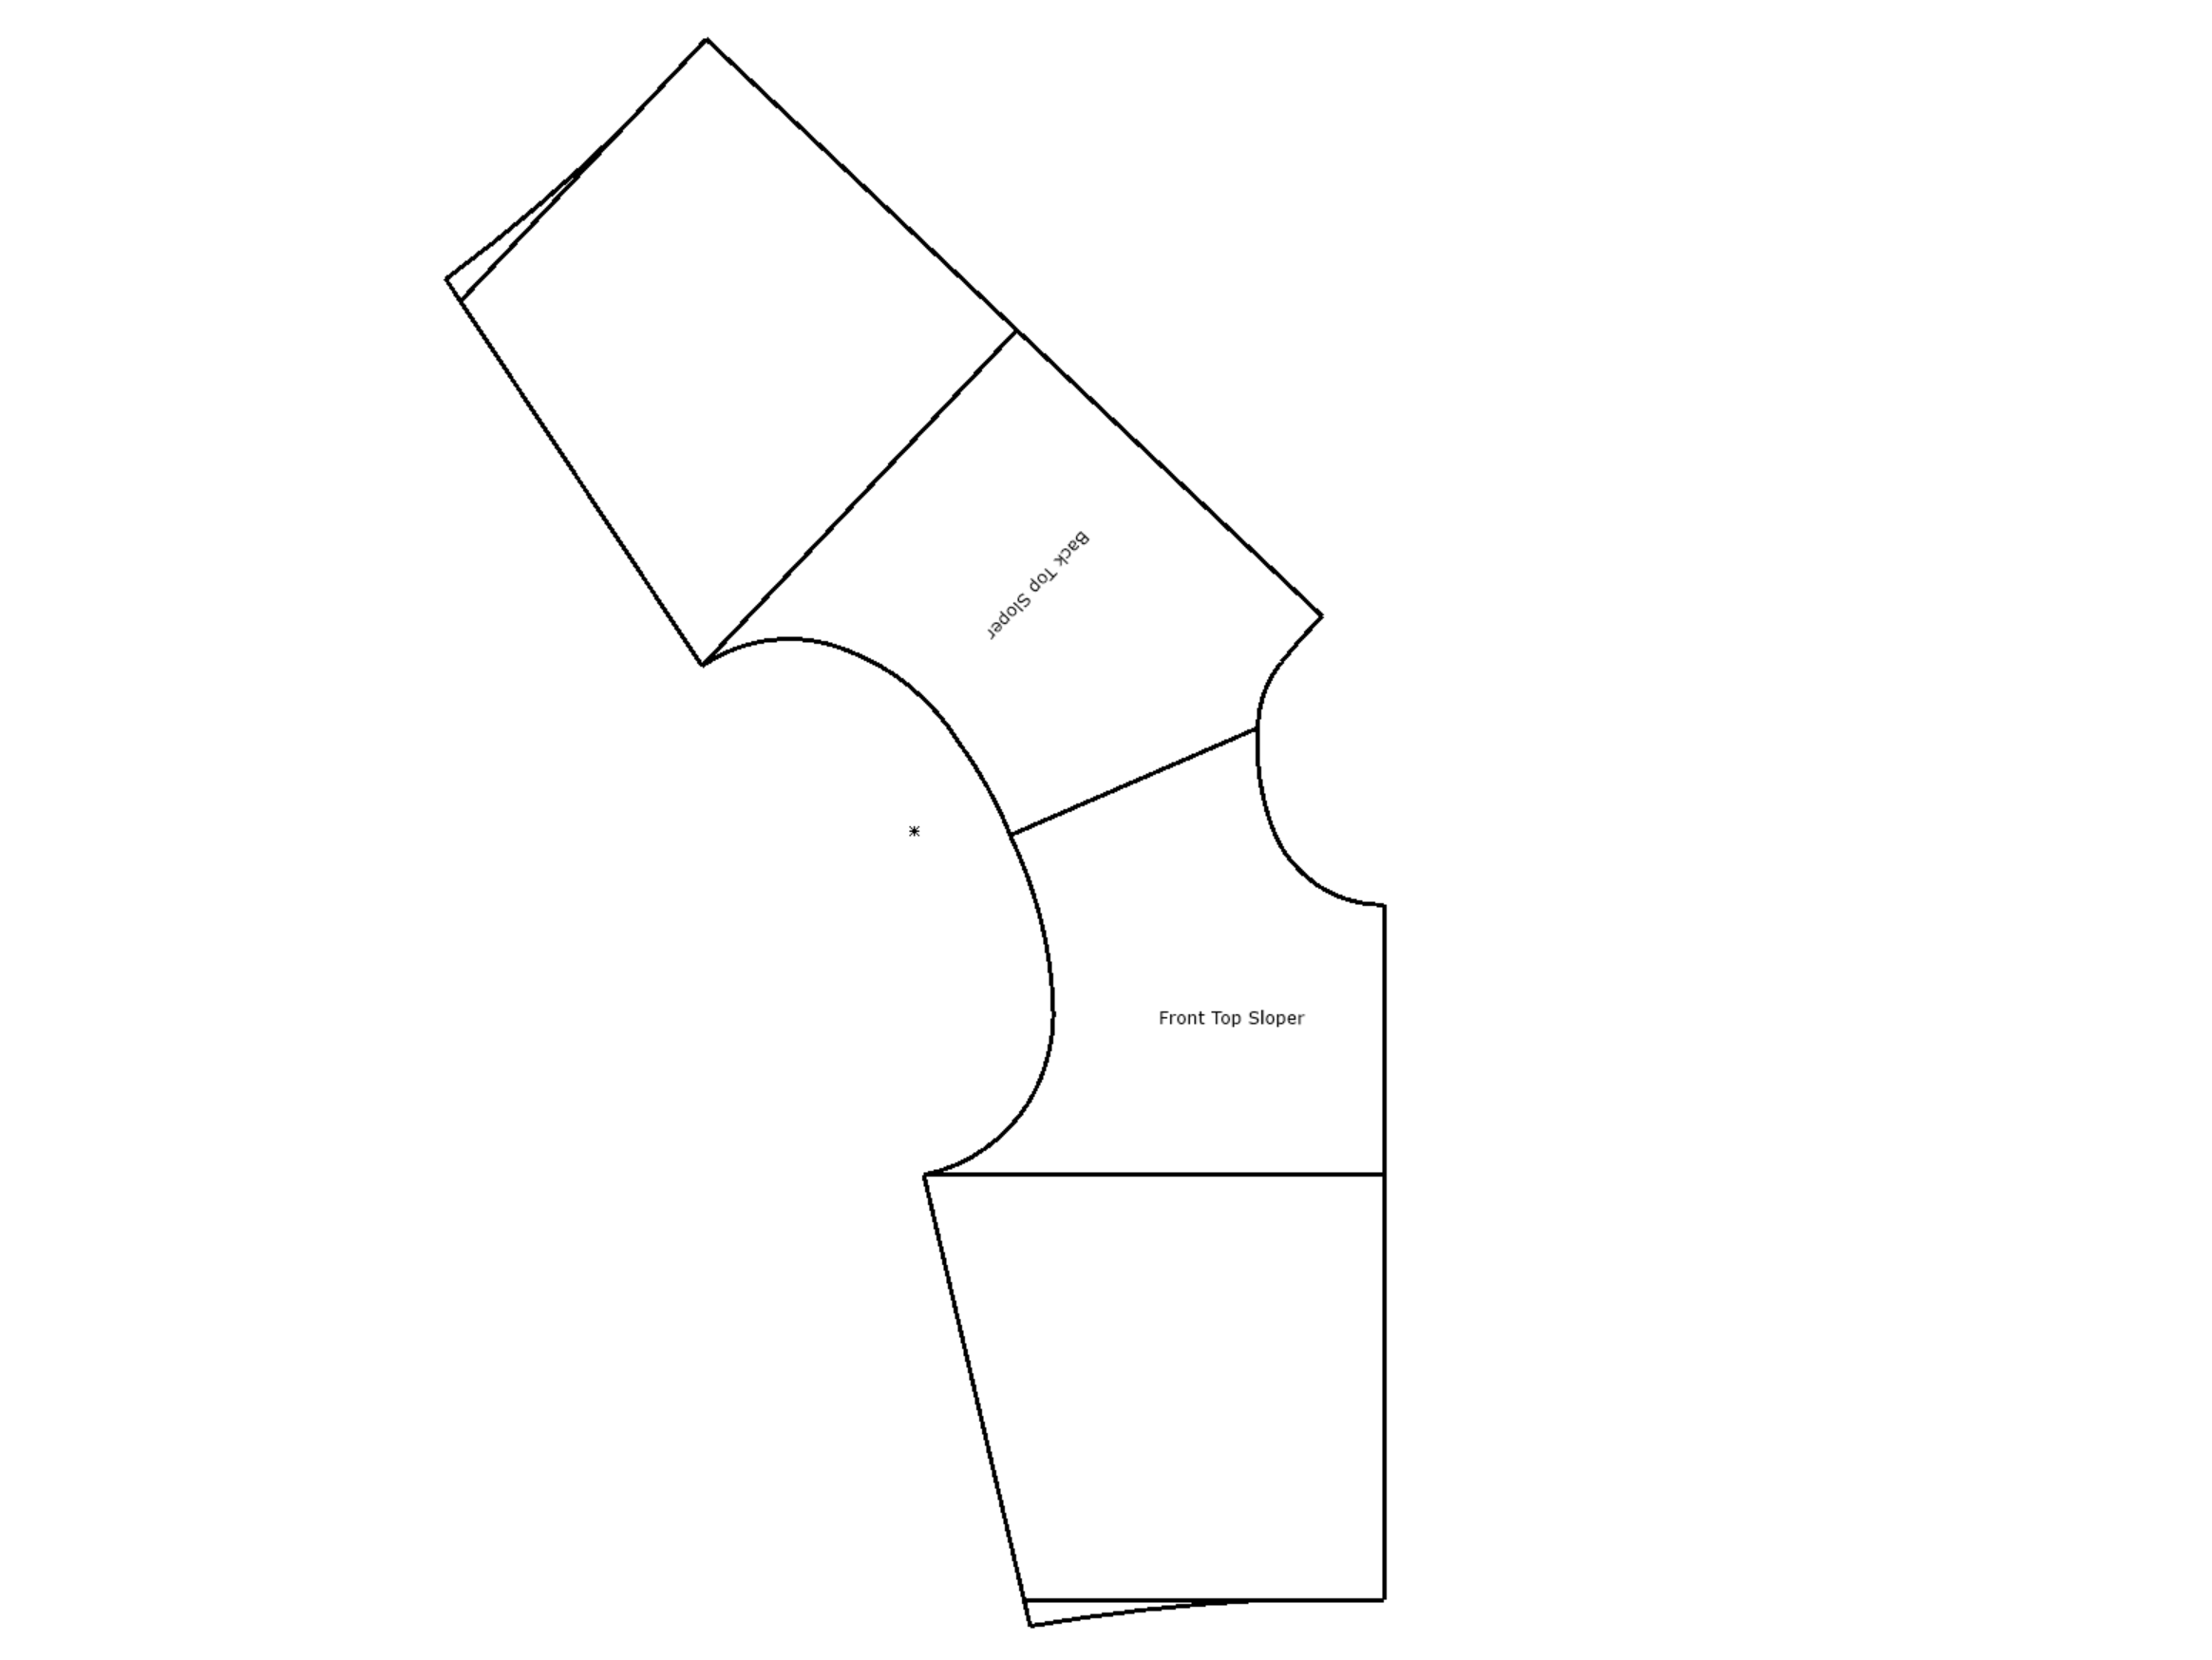
Shoulder Seams
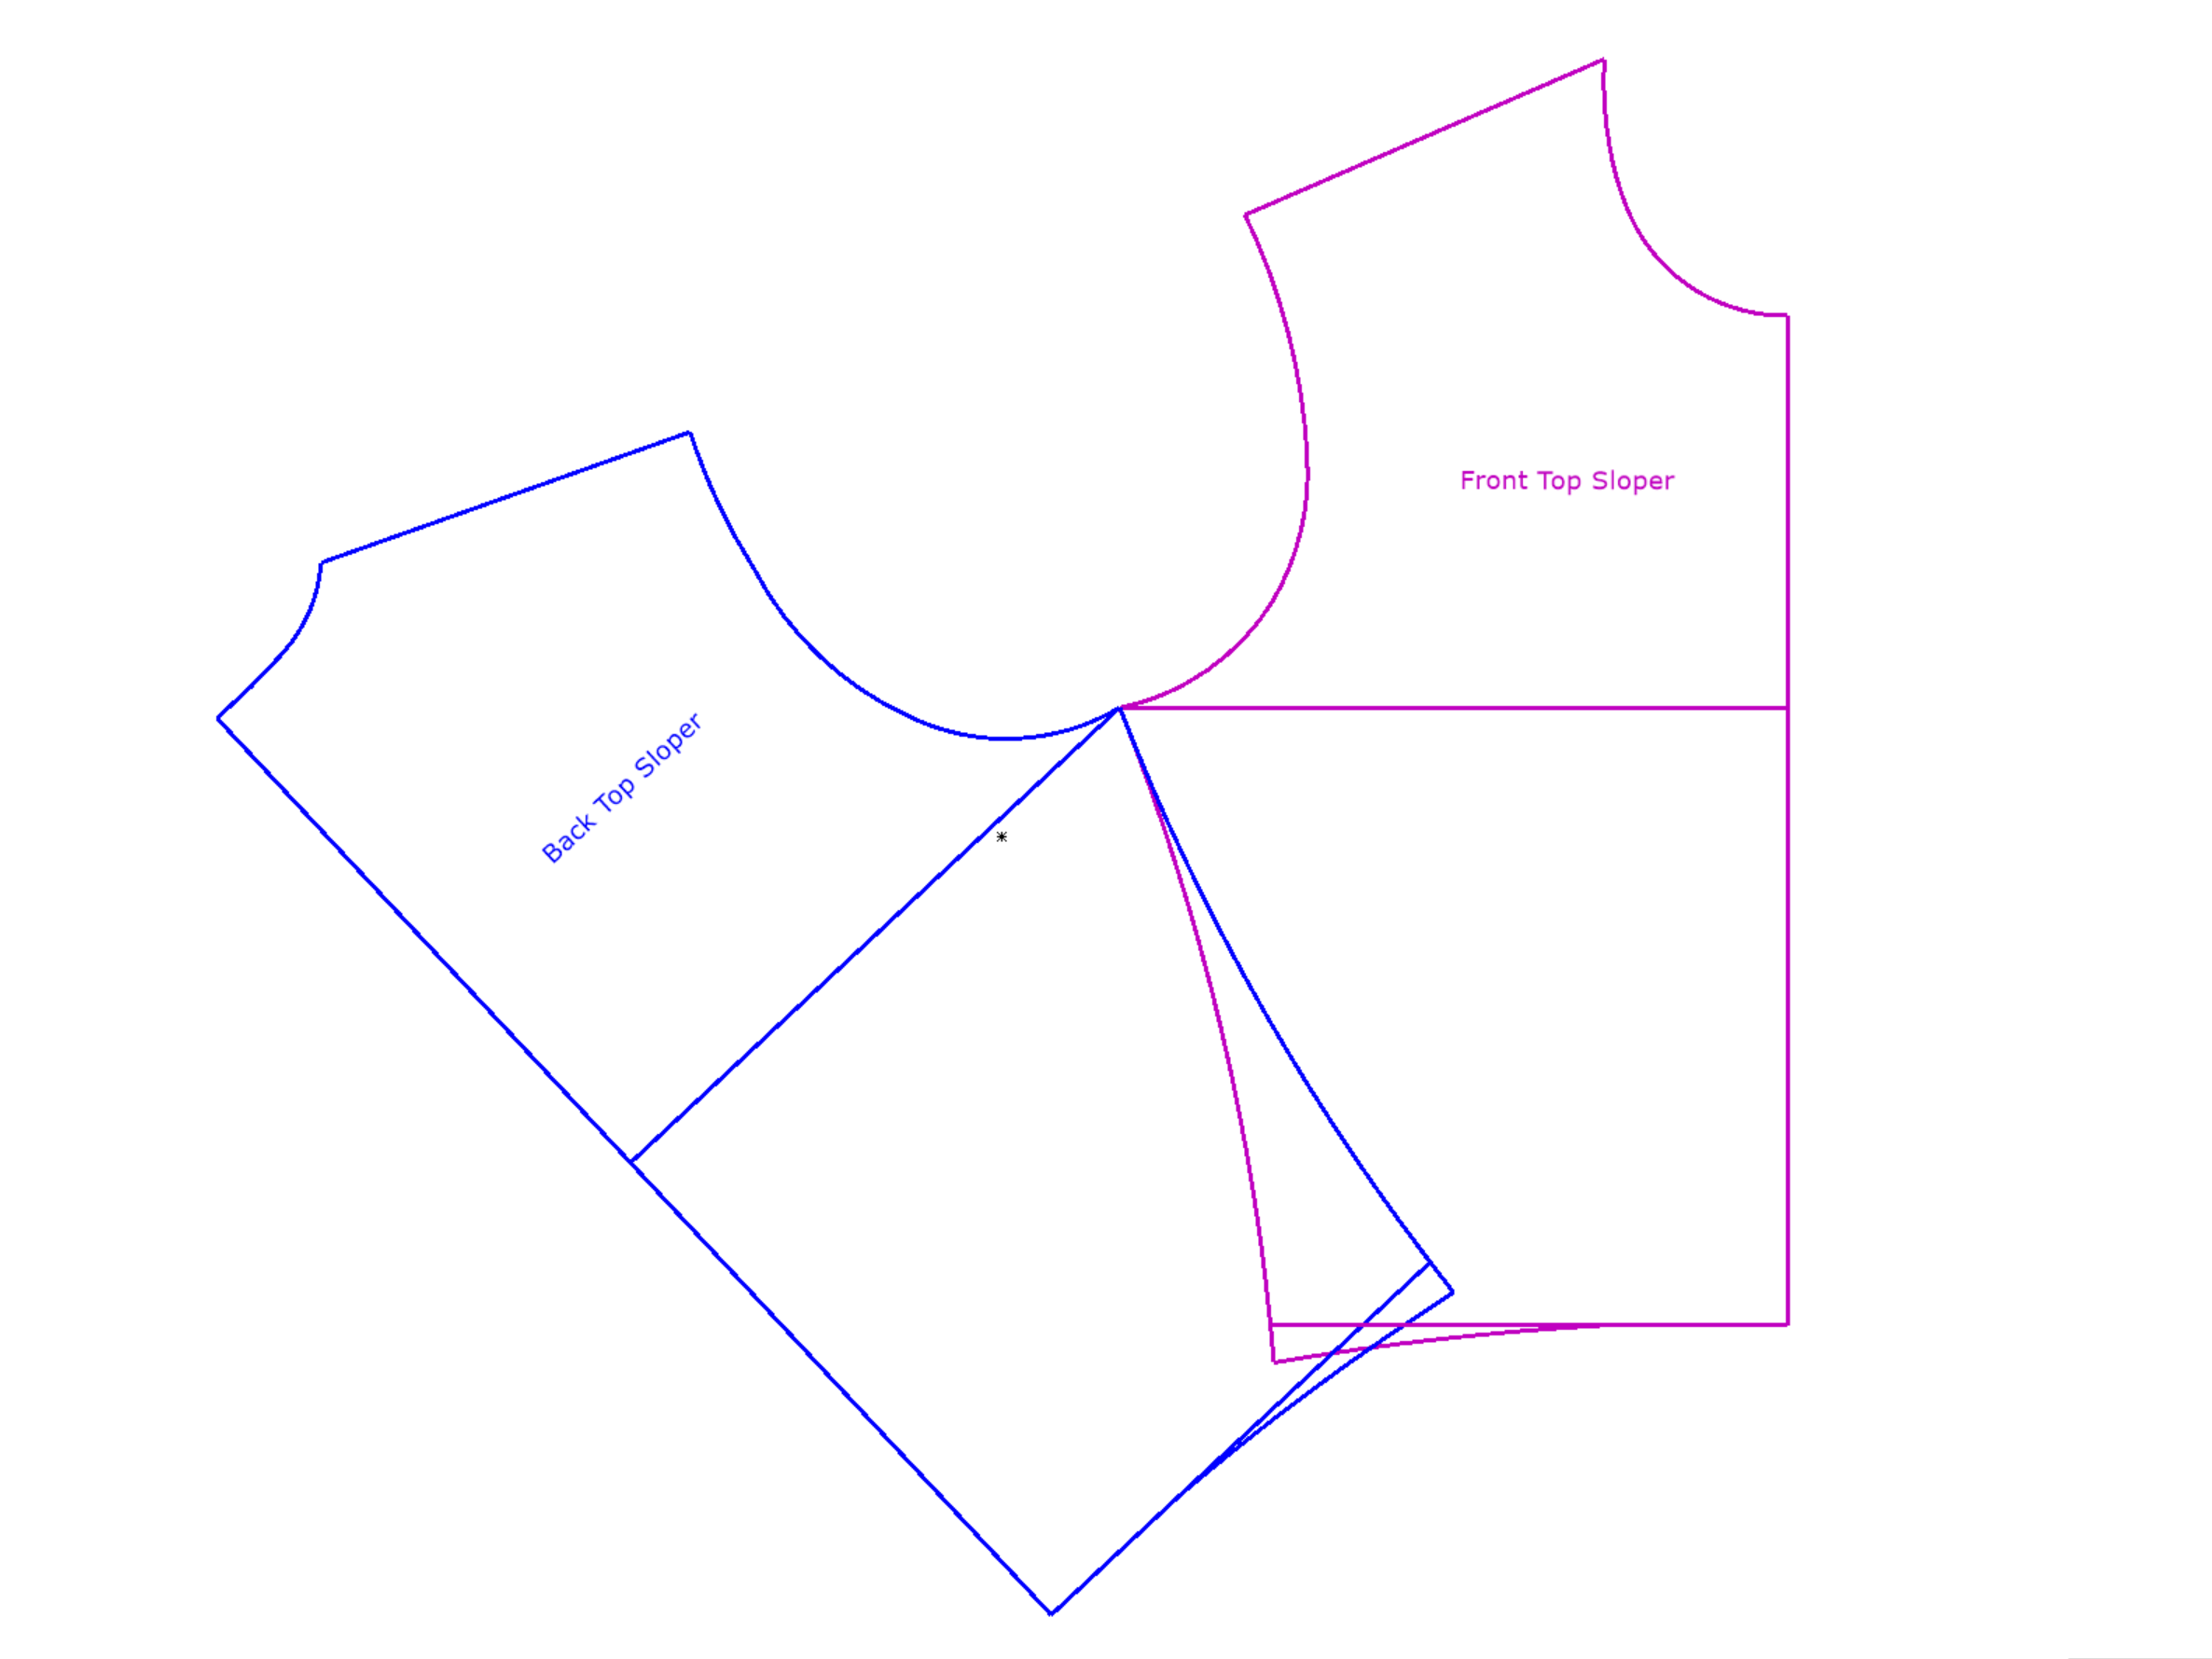
First, I place the patterns together at the shoulder seam.
If you’ve made changes to the neckline but not the armscye, place the patterns together starting from the armscye and see if they match at the neckline. If they don’t, you have three options:
- extend the shorter seam to match the longer one
- shorten the longer seam
- make an average: extend the shorter seam by half and shorten the longer seam by half.
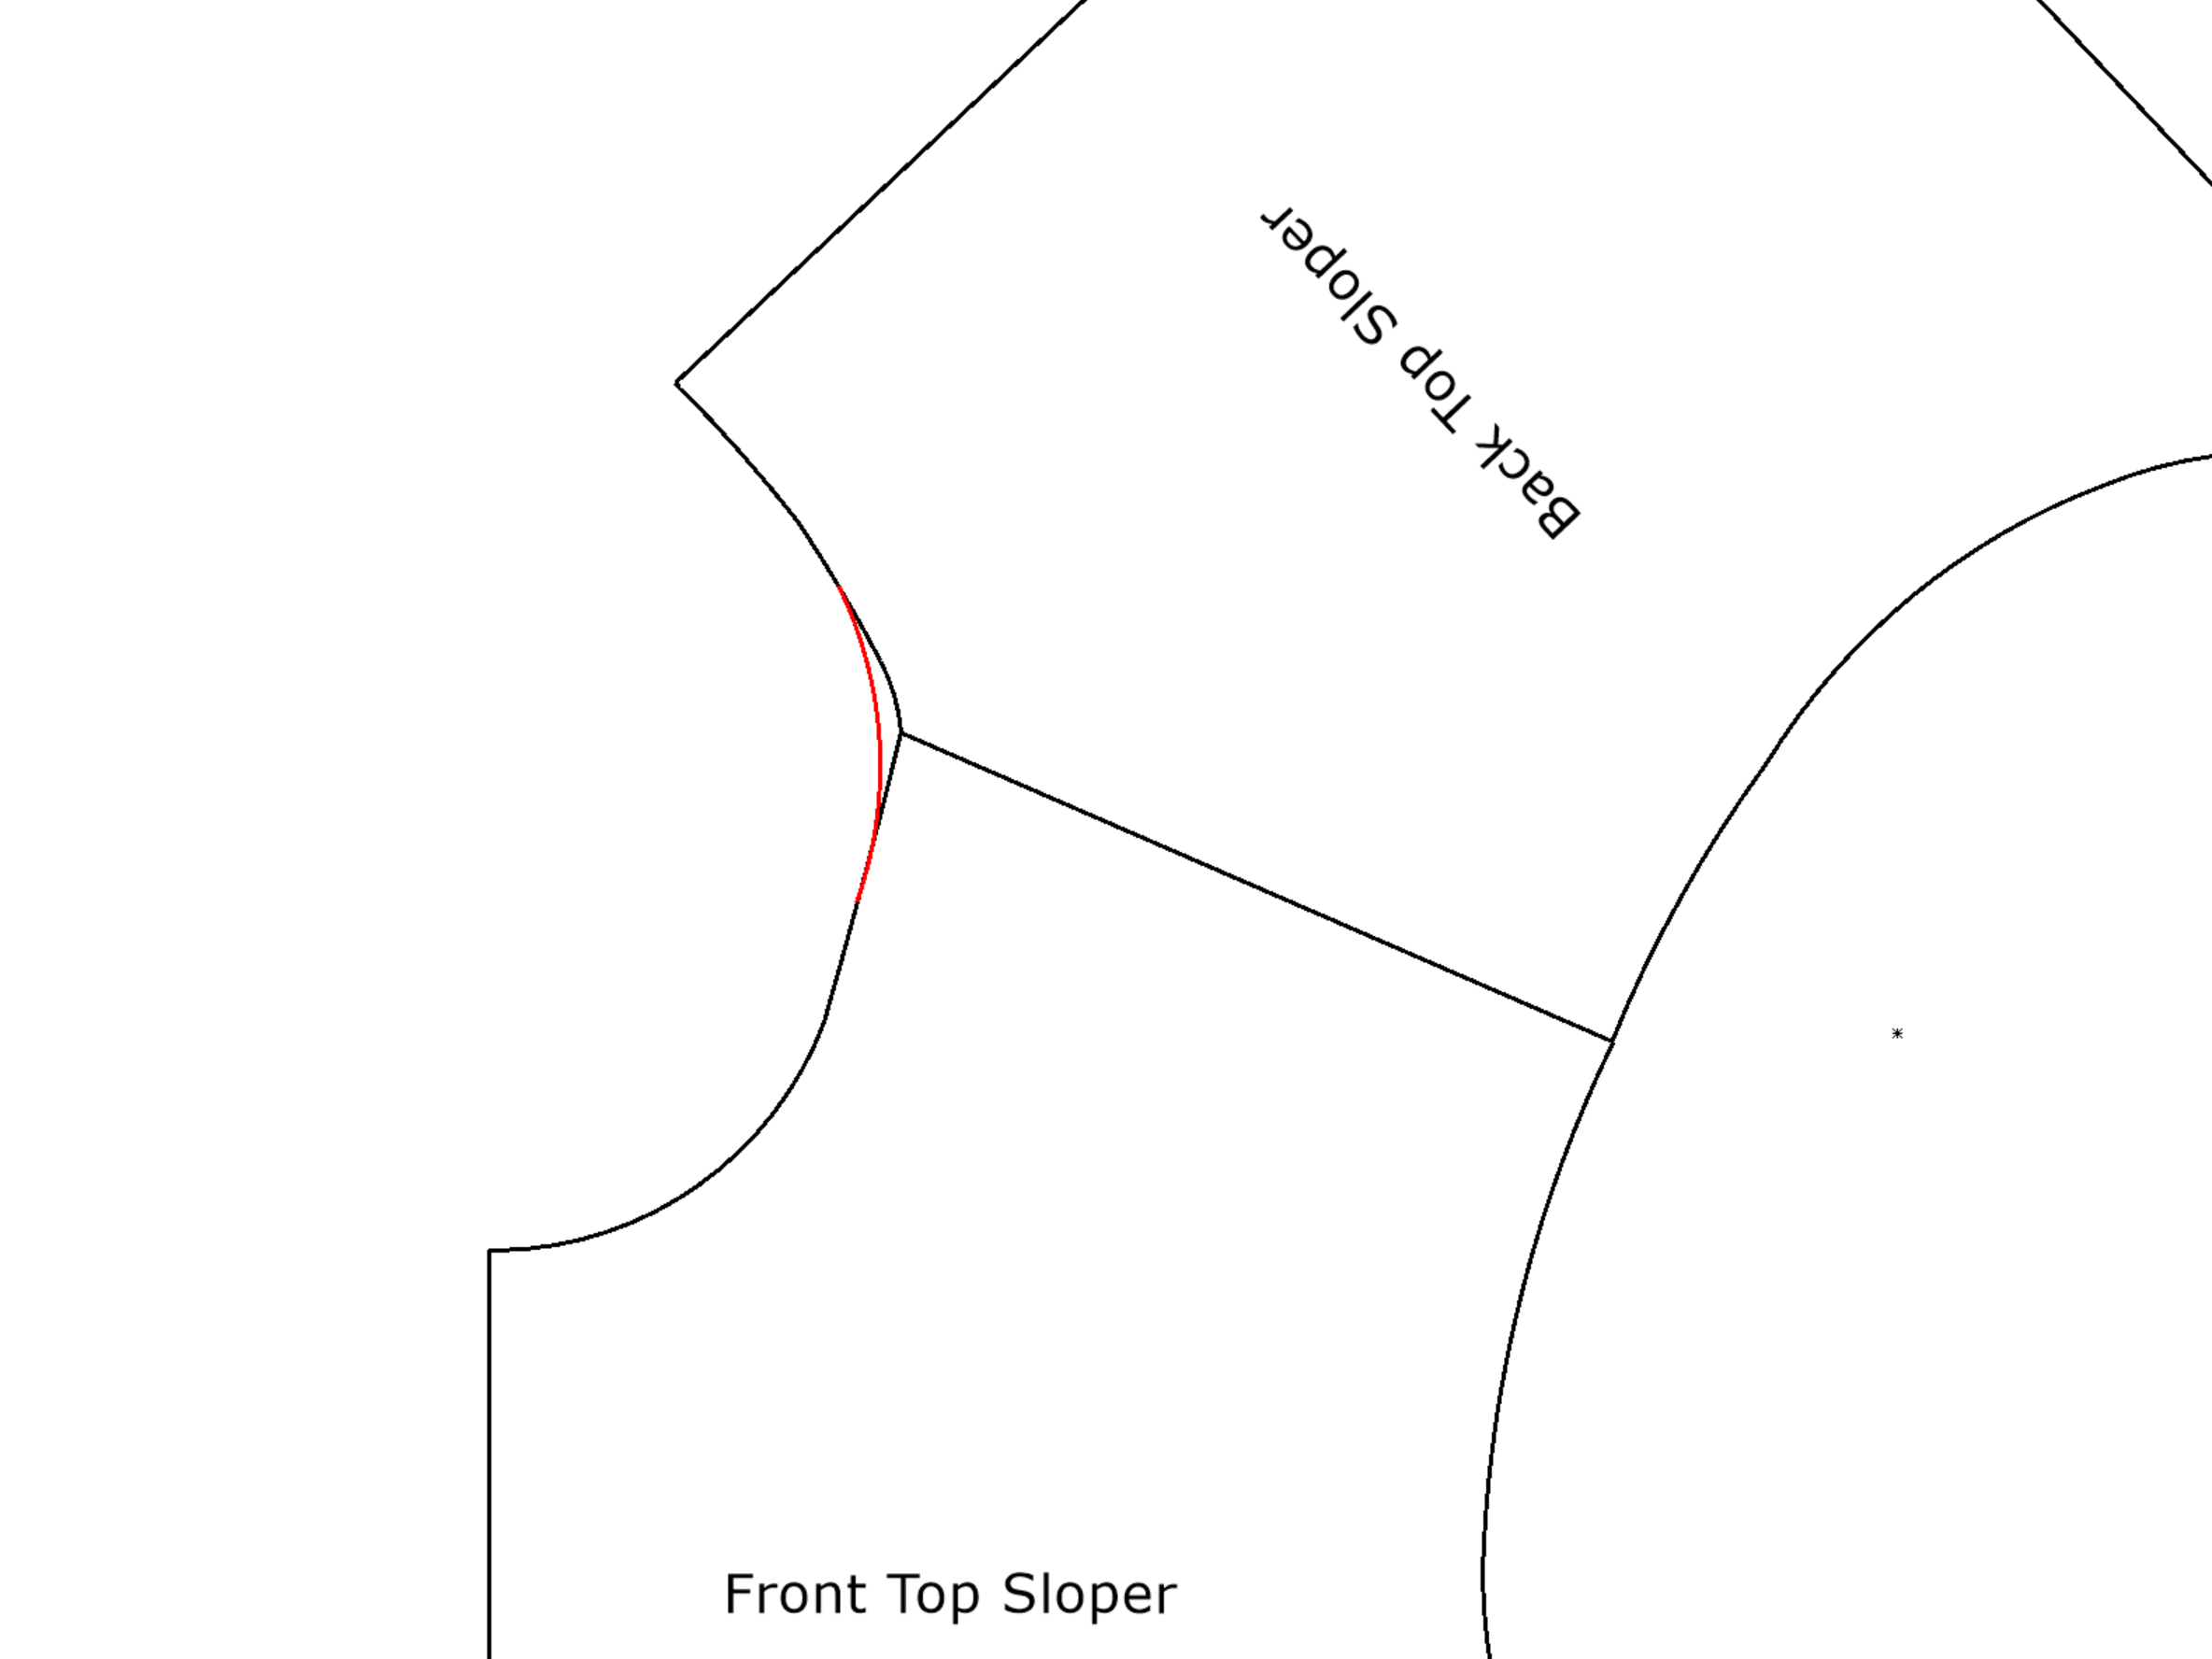
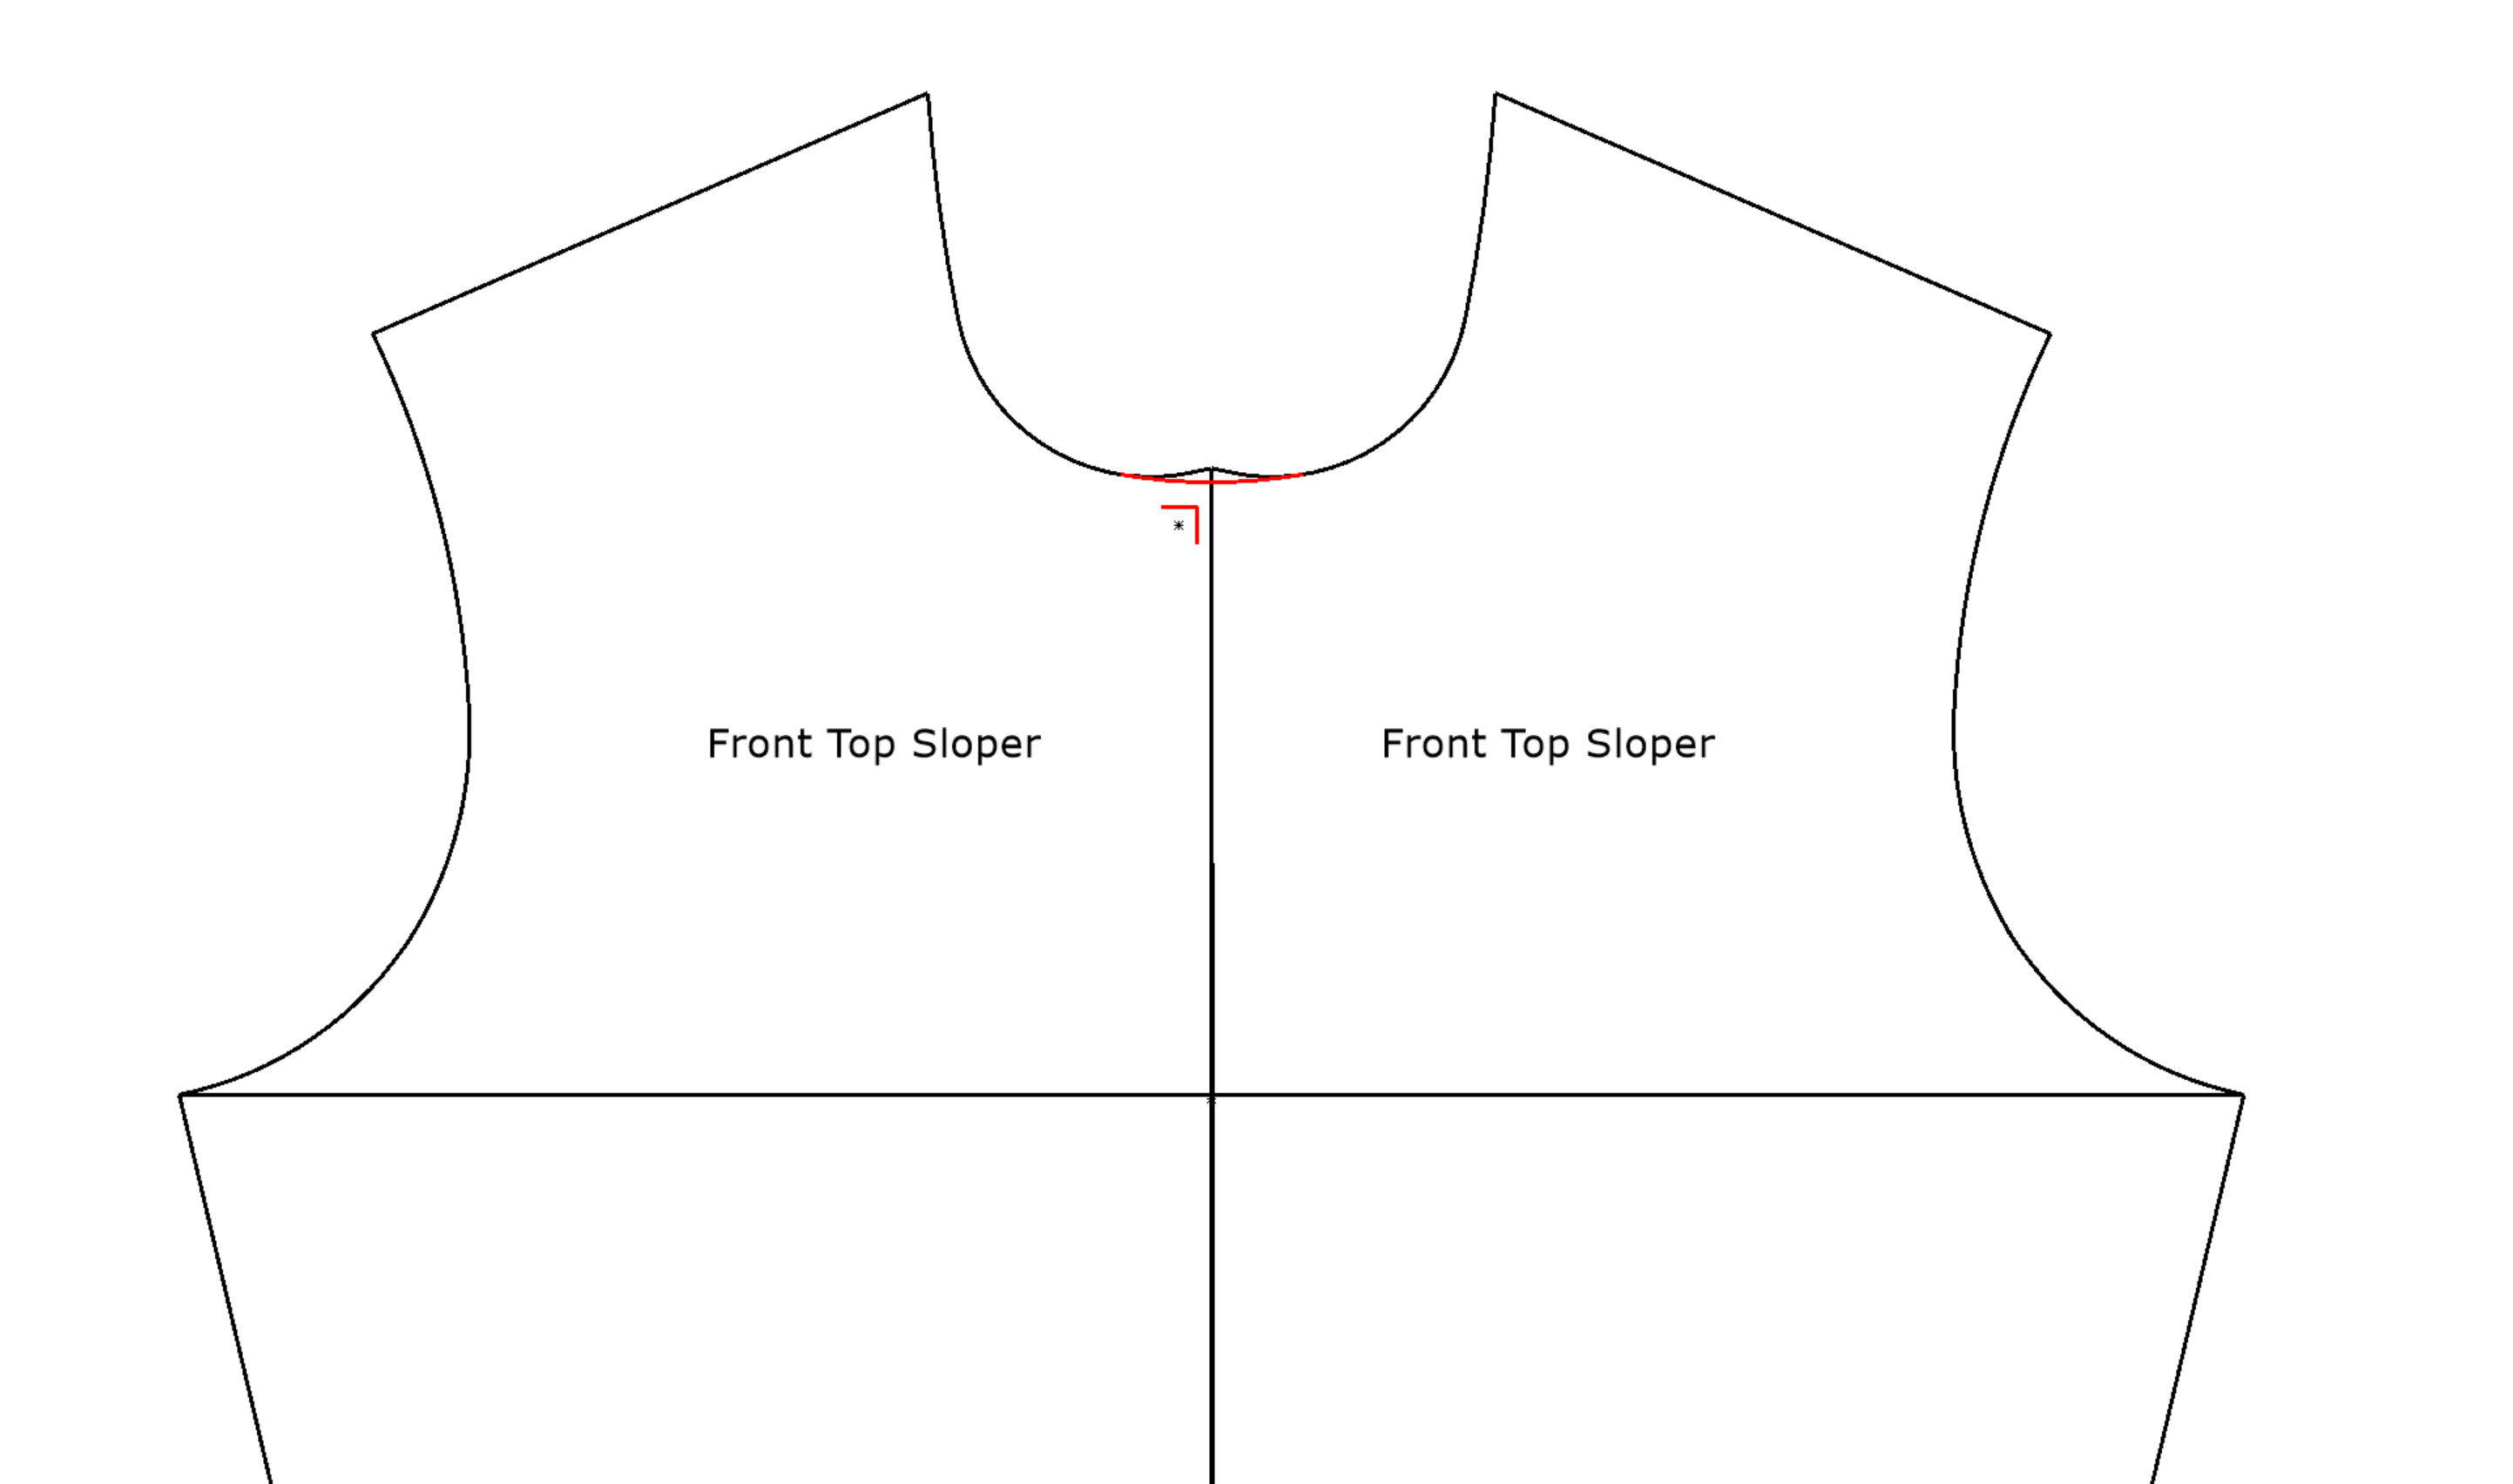
At the same time, look at the curve created by the front and back necklines. You want to have a smooth curve where the front and back join. If you have a little peak or valley (like in the picture below), you need to smooth it out. Place your french curve and draw a smooth line. PICTURE 3 and 5
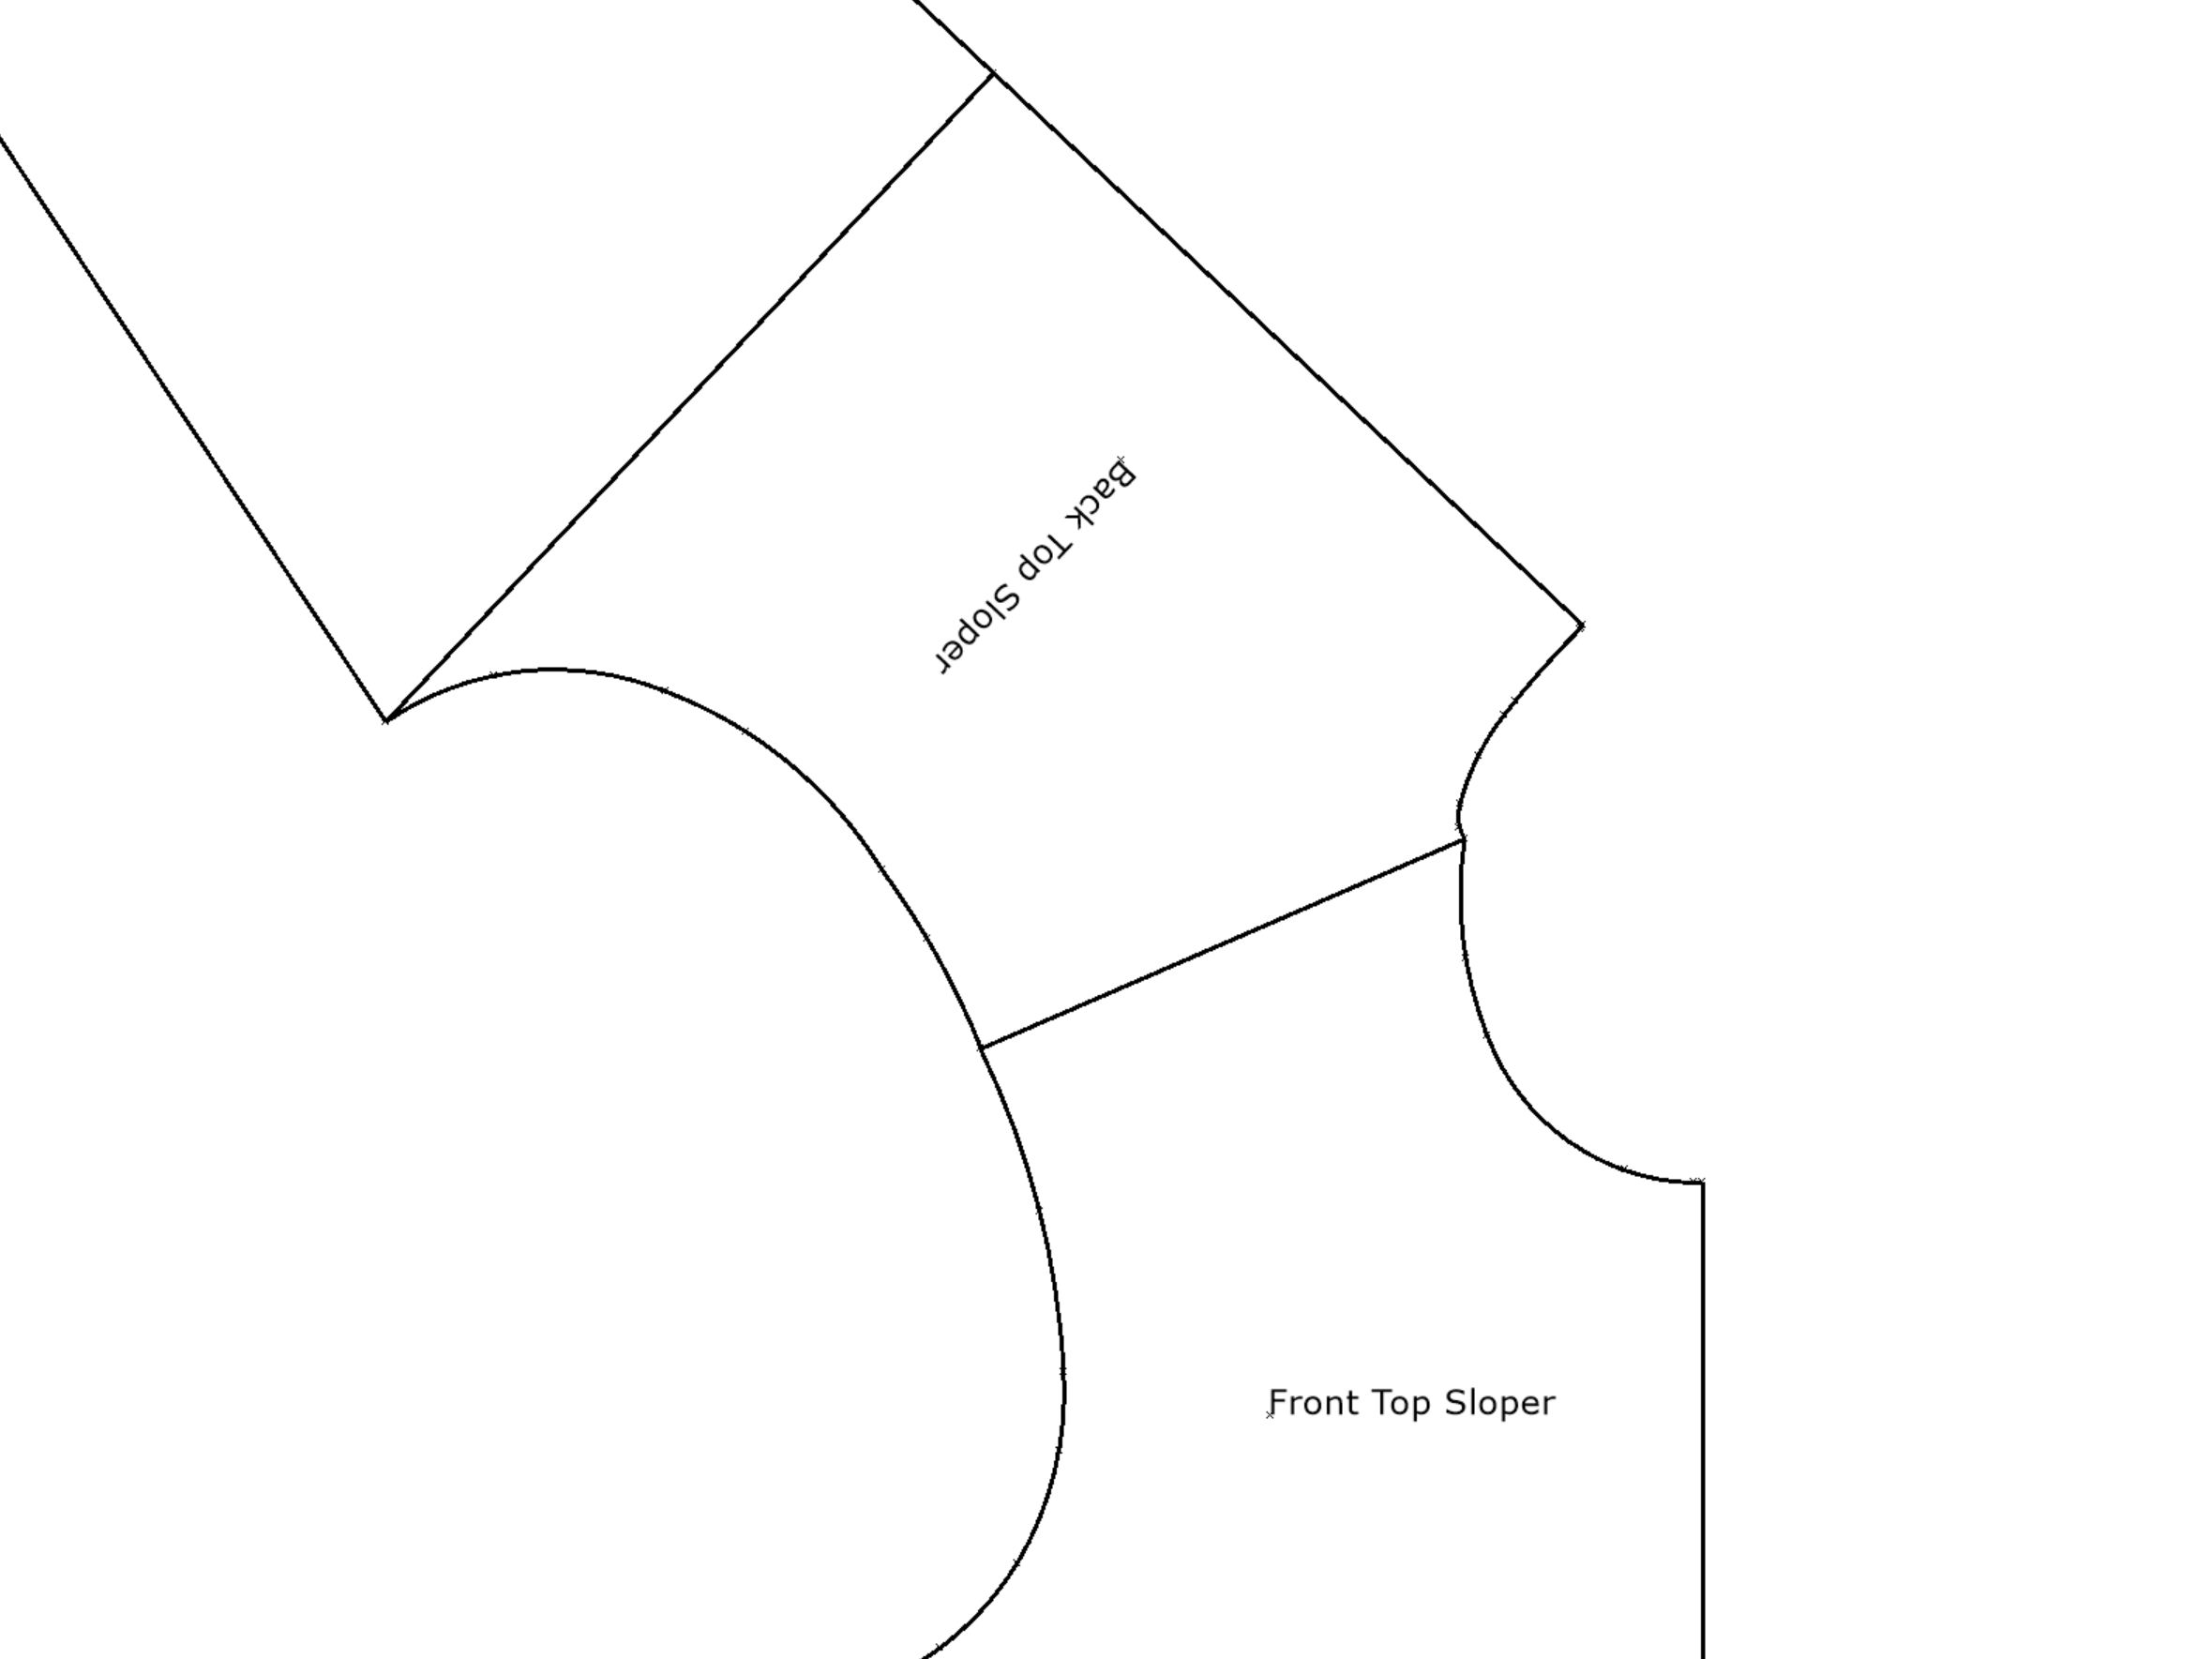


If you’ve made changes to the armscye but not the neckline, do the same as above but start by placing the seams together from the neckline.
If you’ve made changes to both, things get a bit more complicated. The way I like to do it is mark a notch on the shoulder before I start doing any adjustments (it can really be anywhere, just place the shoulder seams together and draw a line perpendicular to the seam on the front and back), and then when I have to true up, I place the patterns together matching at the notch. I then check to see if the seam length matches and if there is a smooth transition at the neckline and the armscye.

Side Seams
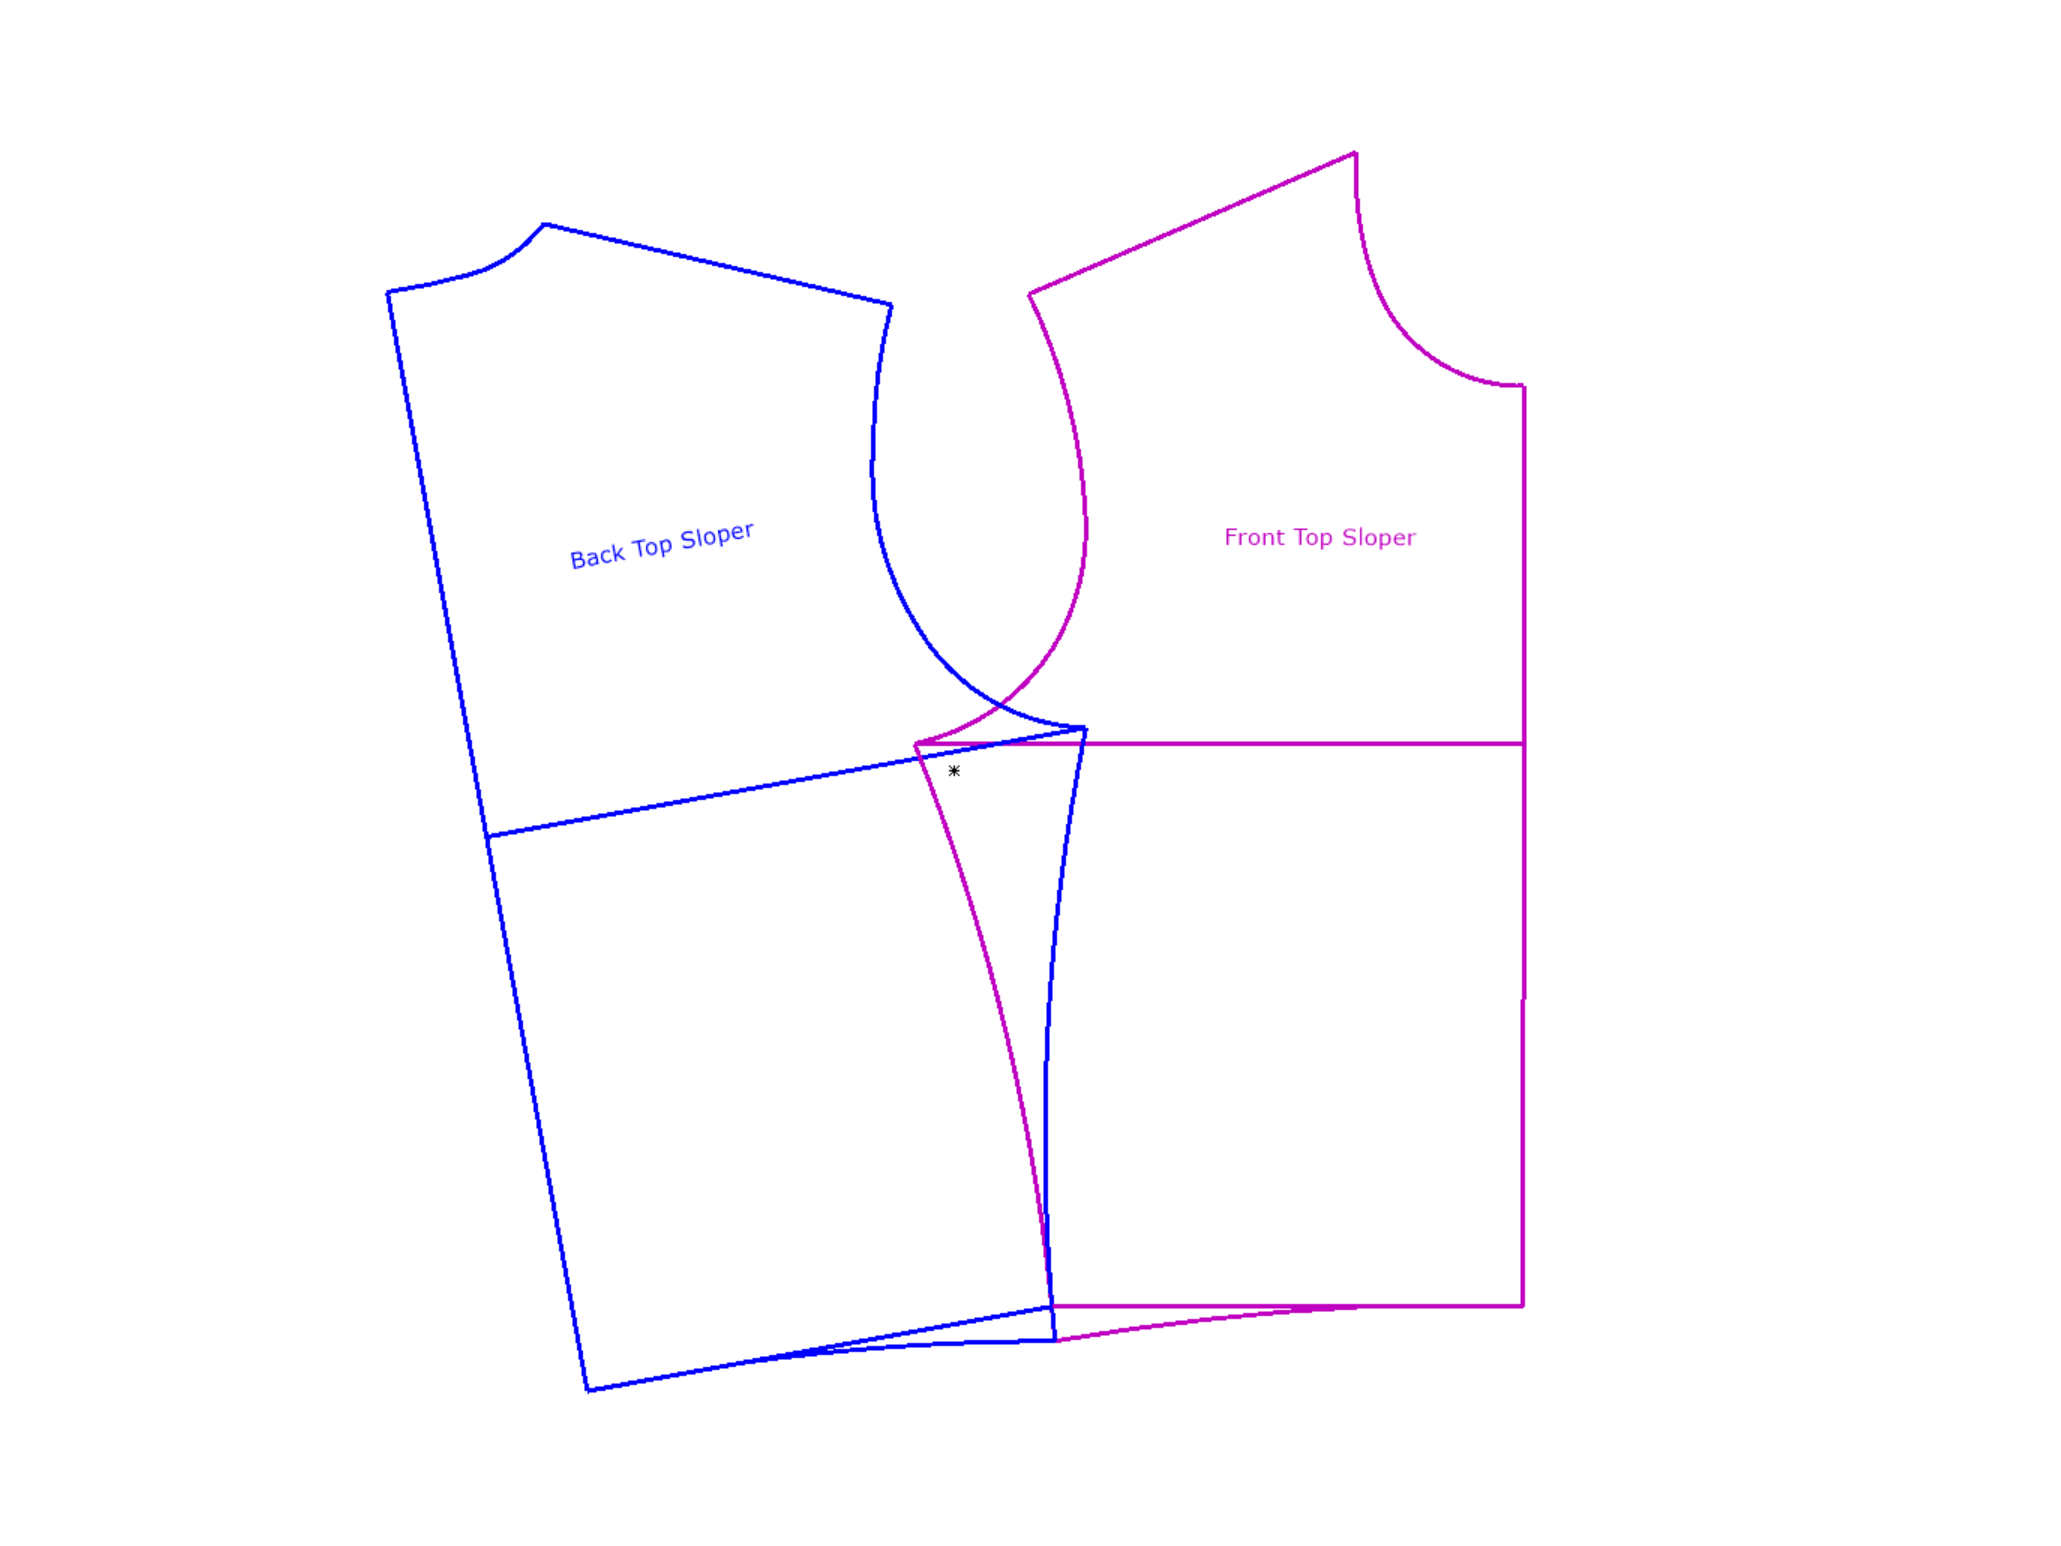
The other seam you need to check on a basic top is the side seam. Place the back pattern on top of the front, matching at the armscye. If the seams are the same shape, you can easily see if they are the same length.
If they are a different shape, use an awl or a pen and walk the seams together. Just match as much as you can then use your awl to pivot on a point where your lines intersect, match the next section, rinse and repeat until you get to the end of the seam.
Note: If you have a side dart, place the seams together on the section before the first dart leg. Make a mark on the back pattern where it intersects the dart leg. Then slide your back pattern down until the mark reaches the second dart leg and continue measuring from there. You can also use a measuring tape, but walking the seams is often easier. Don’t use a ruler on curved seams, it’s harder to get precise measurements. If your seams are the same length, move on to the next step. If they are different lengths, use one of the 3 options mentioned above: extend, shorten or use an average.
Neckline
Next step is to use the corner of a ruler and check the neckline at the center front (you need to check this on both the front and the back): there needs to be a 90 degree angle where it joins the center front line for at least 1/4″ to 1/2″, depending on your design.
If you have a V or an asymmetric neckline, you will not have a 90 degree angle and that is ok. If your pattern is not a half pattern and doesn’t have a center front line, just make sure the neckline curve is smooth all the way. What happens if you don’t have a 90 degree angle? You get a little peak (picture below) or a V neck right at the center.
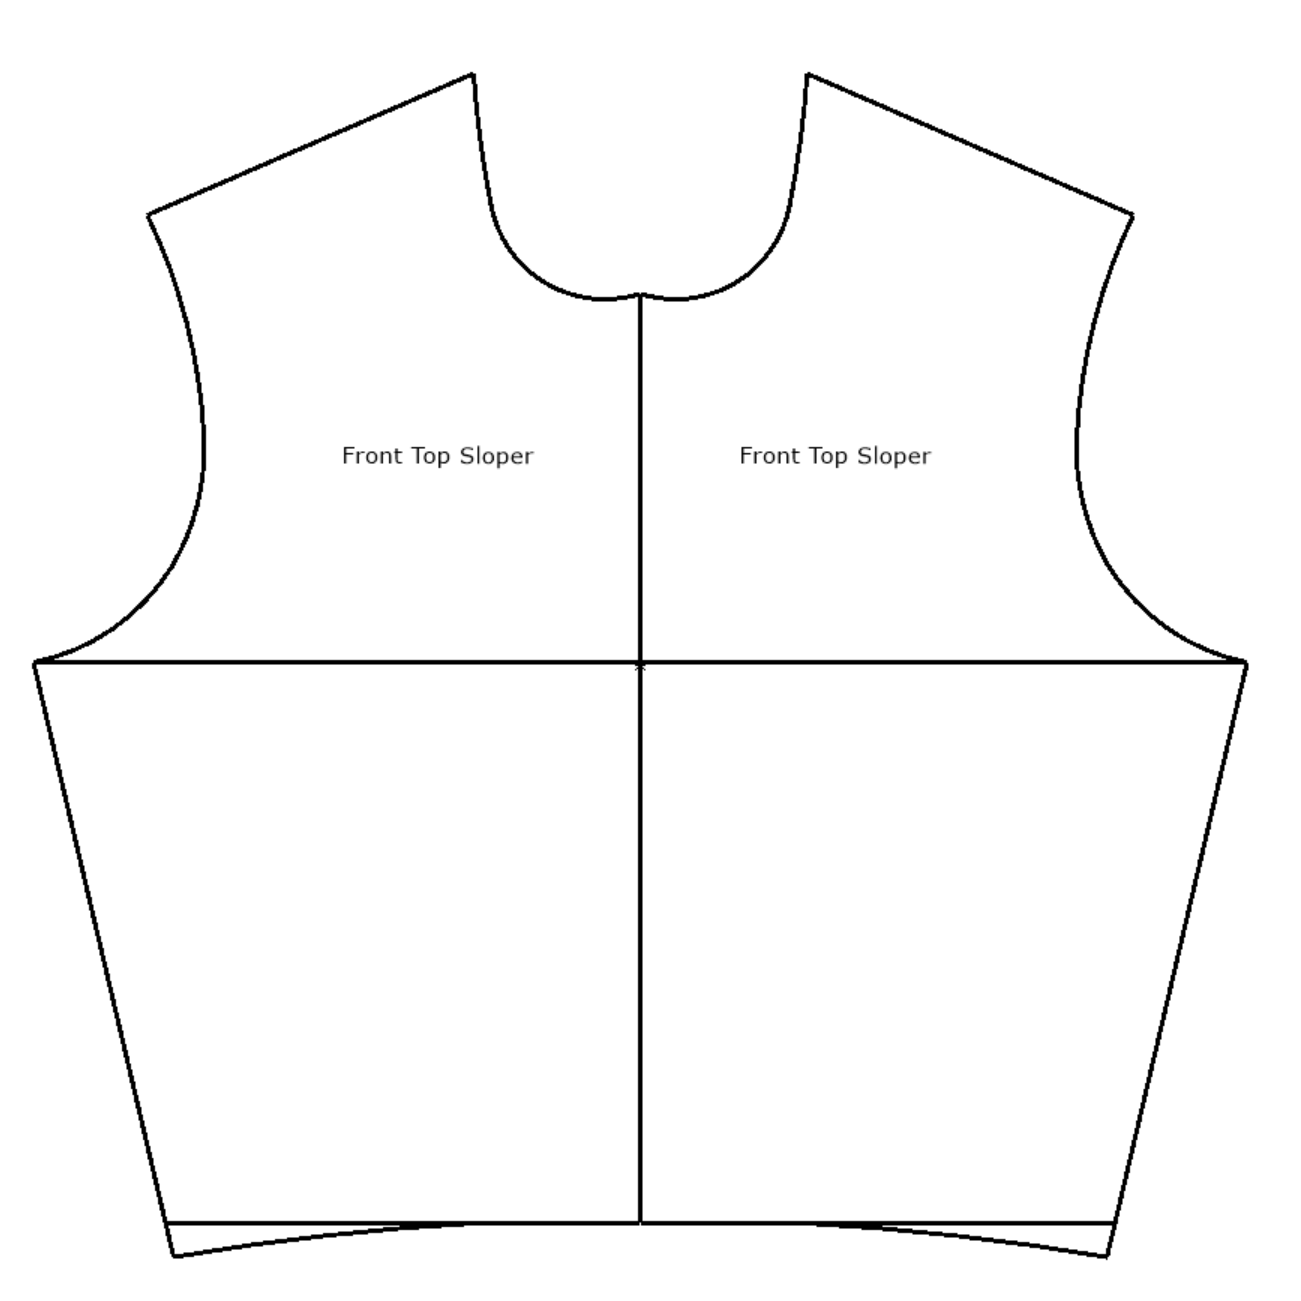

The fix is easy: draw a 1/2″ perpendicular line on the center front. Blend it with the rest of the neckline.
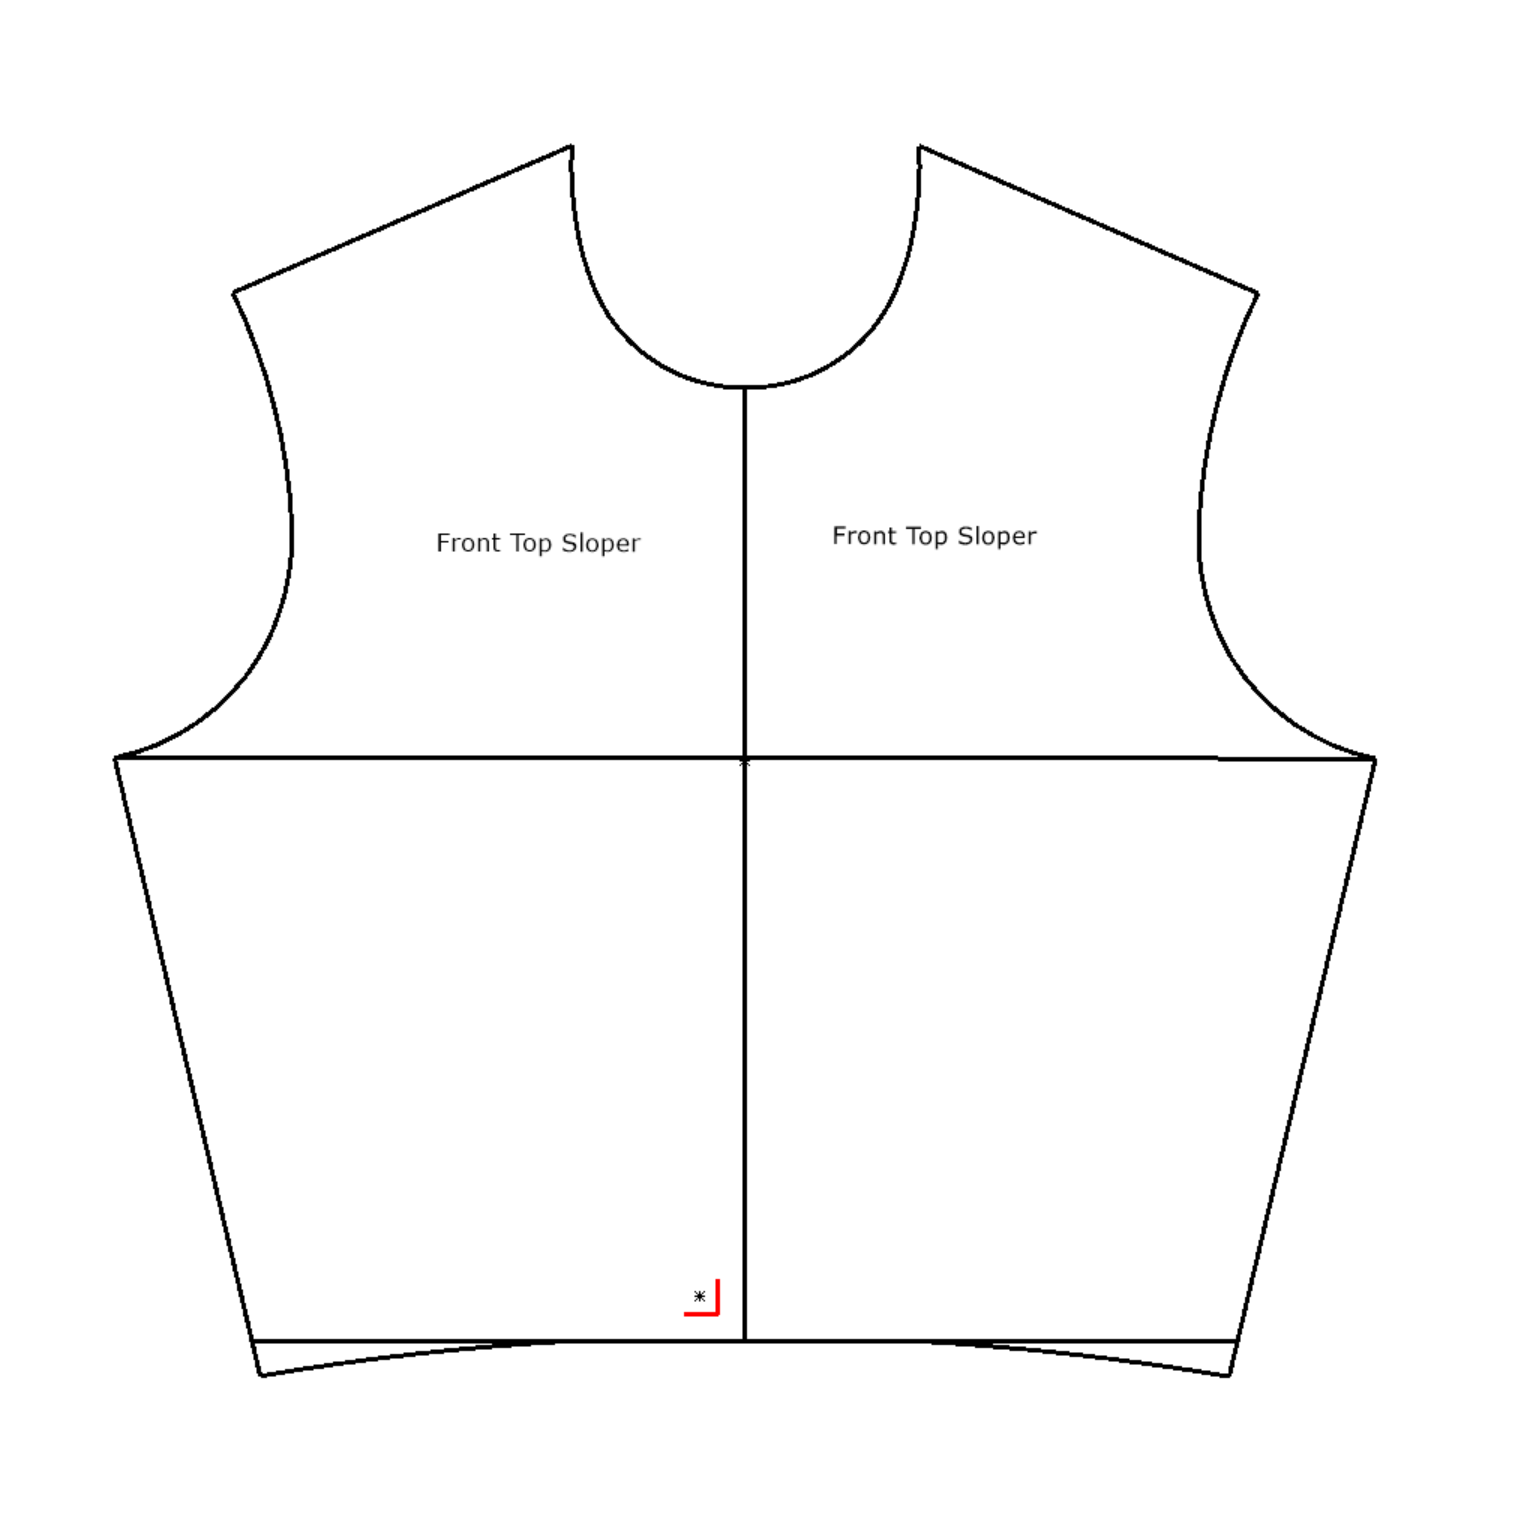
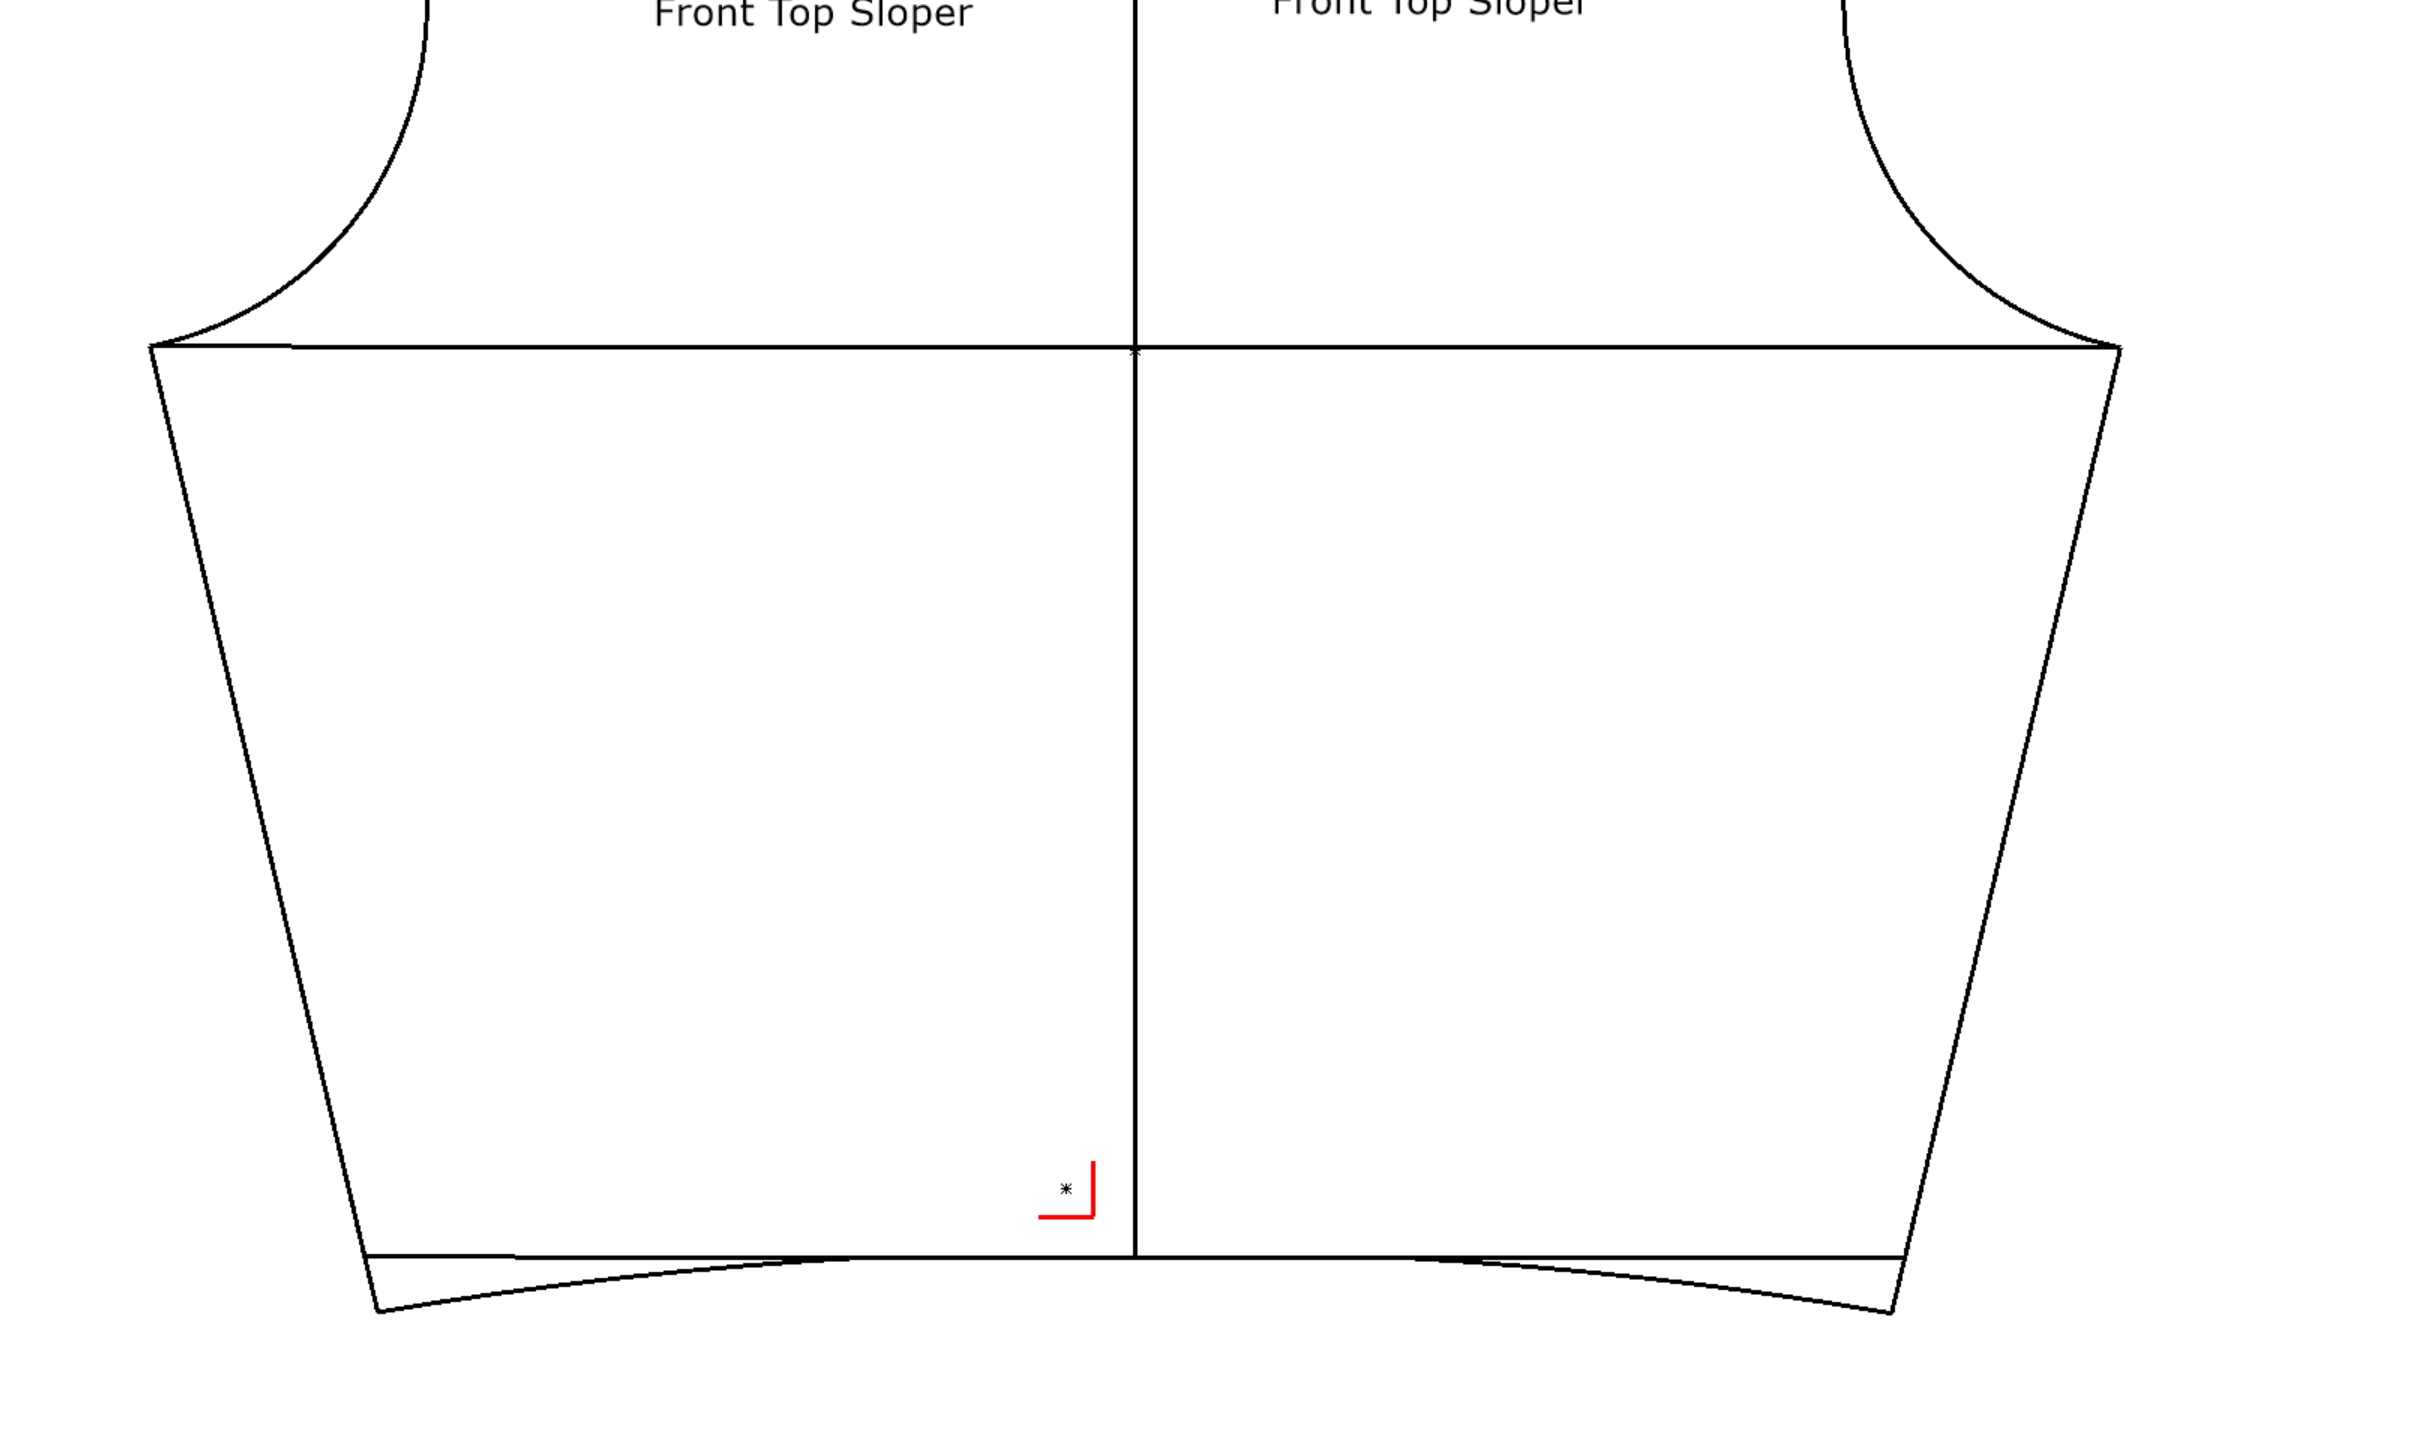
The second place where you need a 90 degree angle is where the waist line (or hem line, for longer tops) joins the center line. Just like at the neckline, v or asymmetric designs are excluded. Yes, you need a 90 degree angle even for curved hemlines. Use the same method for checking and fixing as you did for the neckline.
Moving on towards the side seam. While it’s best to have a 90 degree angle between the waistline and the side seam, it’s not always possible.
But what you always need to make sure is that there is a smooth transition between the front and back.
We’ve already measured our side seams and made sure they are the same length, so we can put our front and back next to each other and look at how they come together.
Since I’m working with blocks, the side seams are straight and symmetric. But in some cases you will have shaped side seams, meaning that they won’t fit together nicely along the whole side seam line, like this.
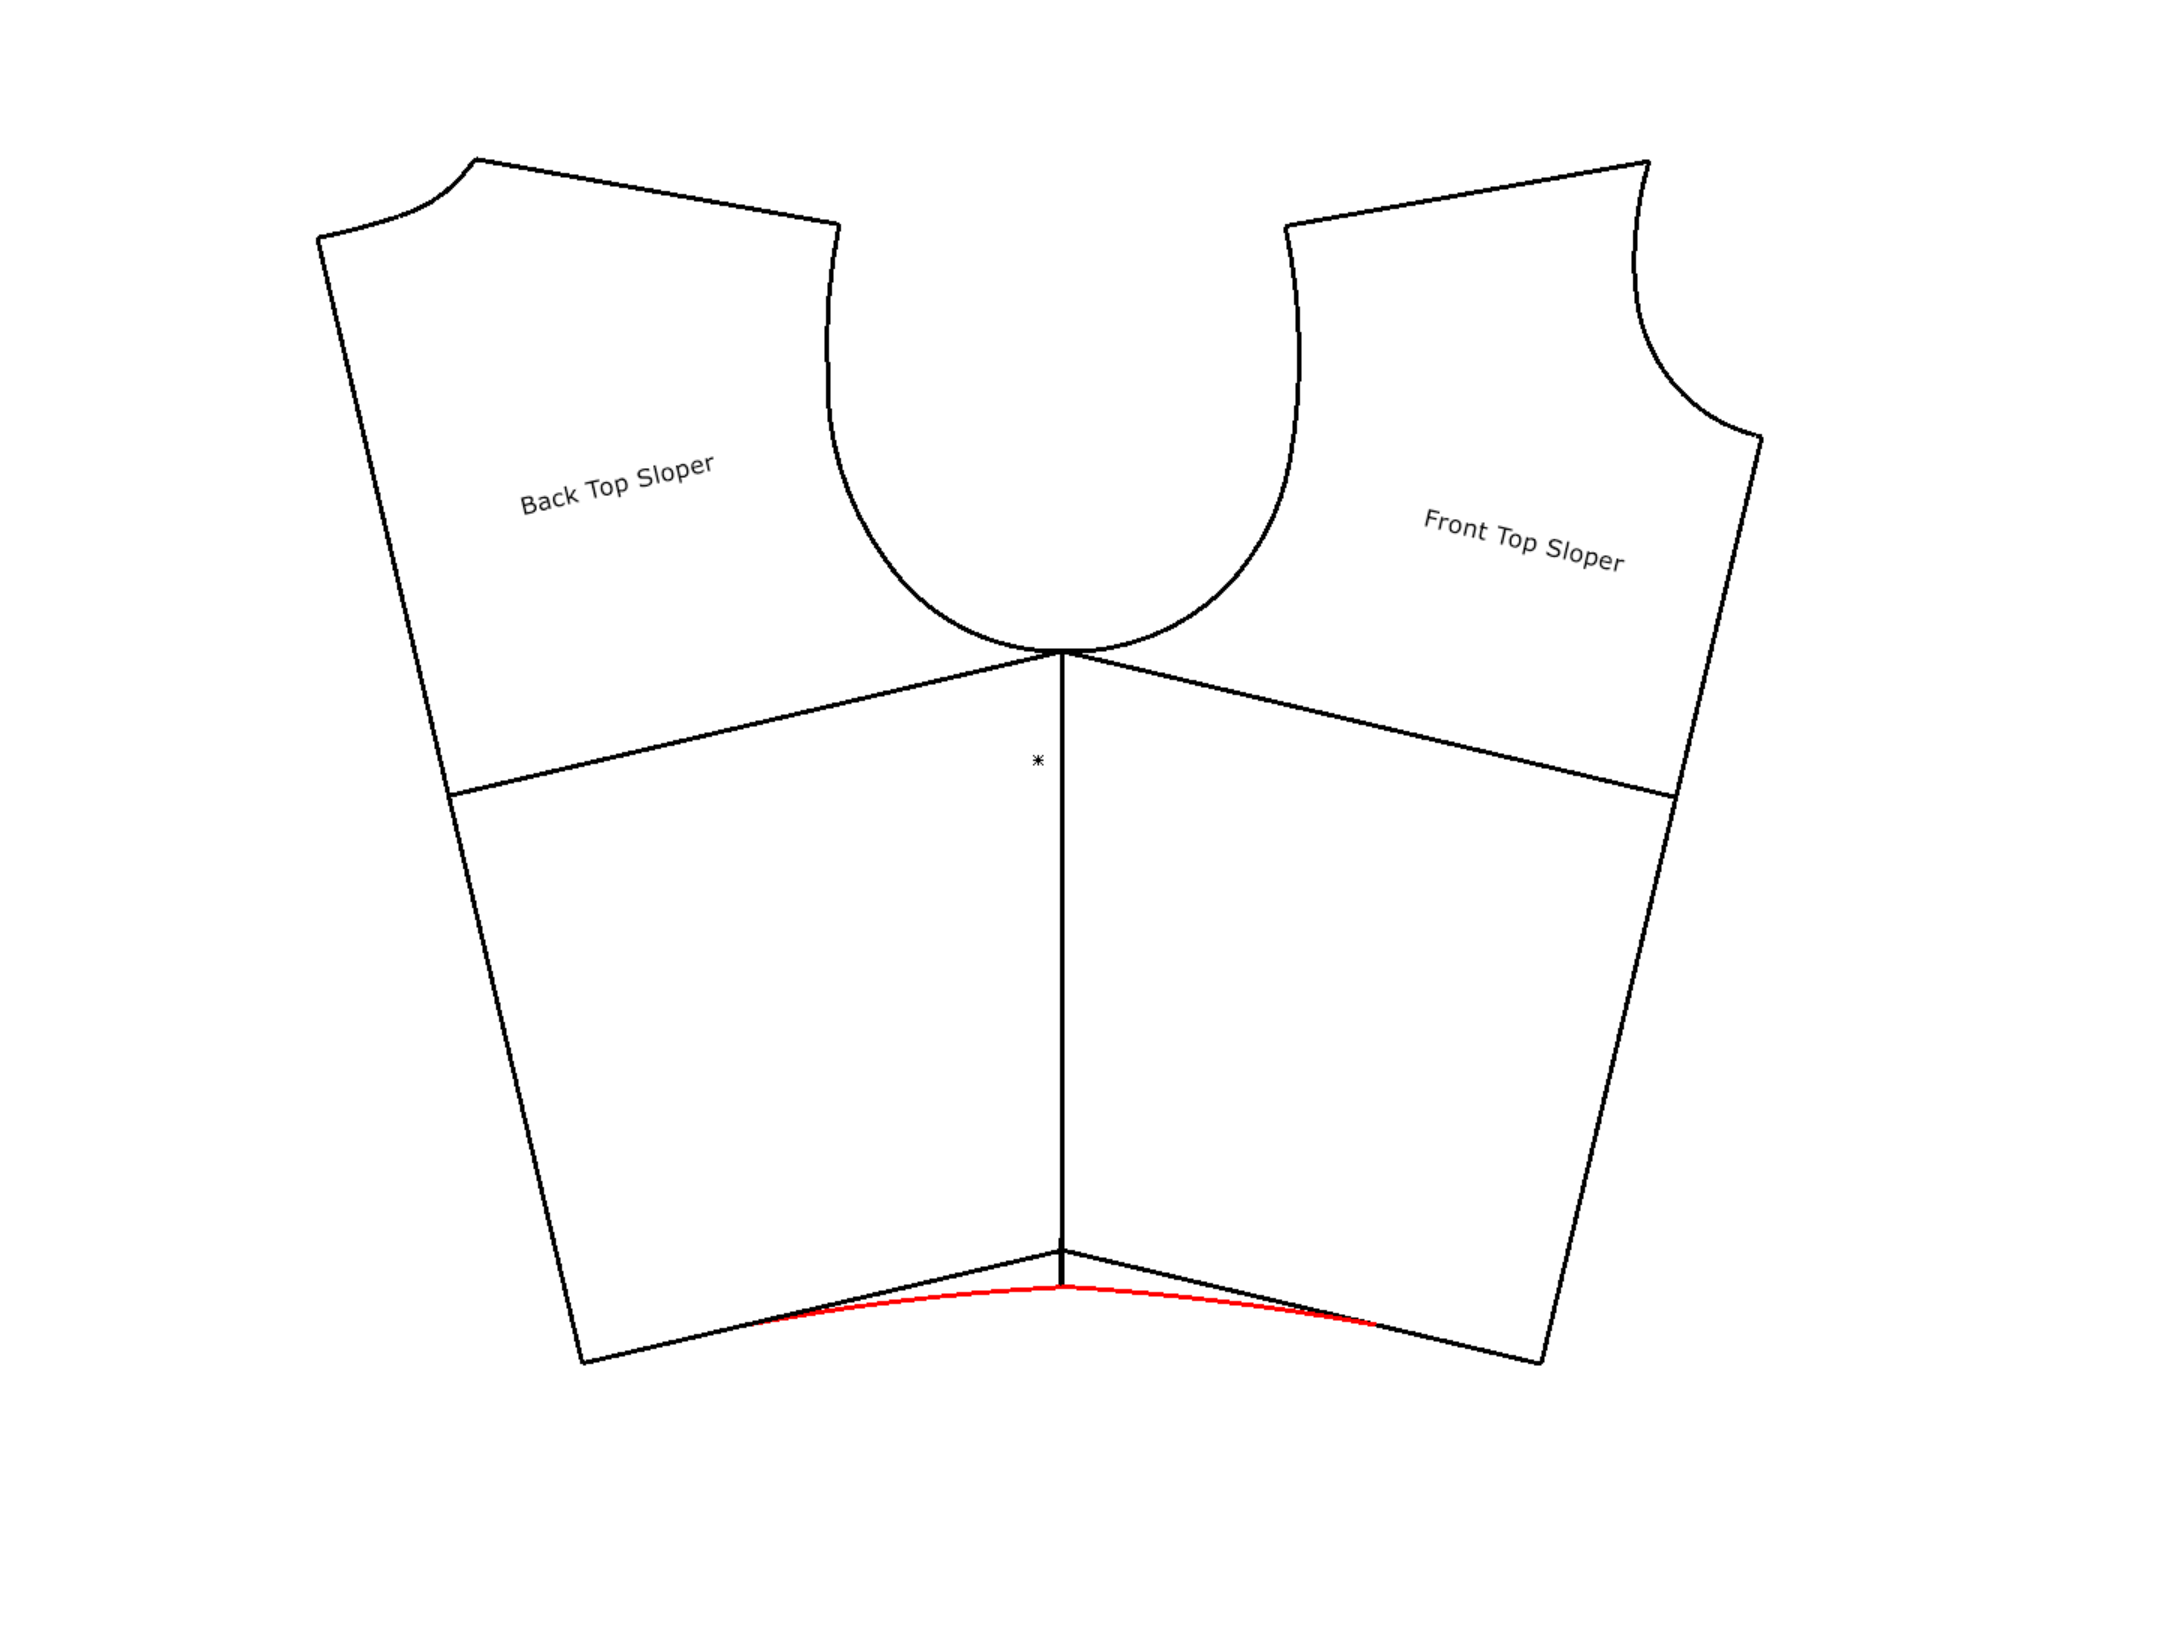
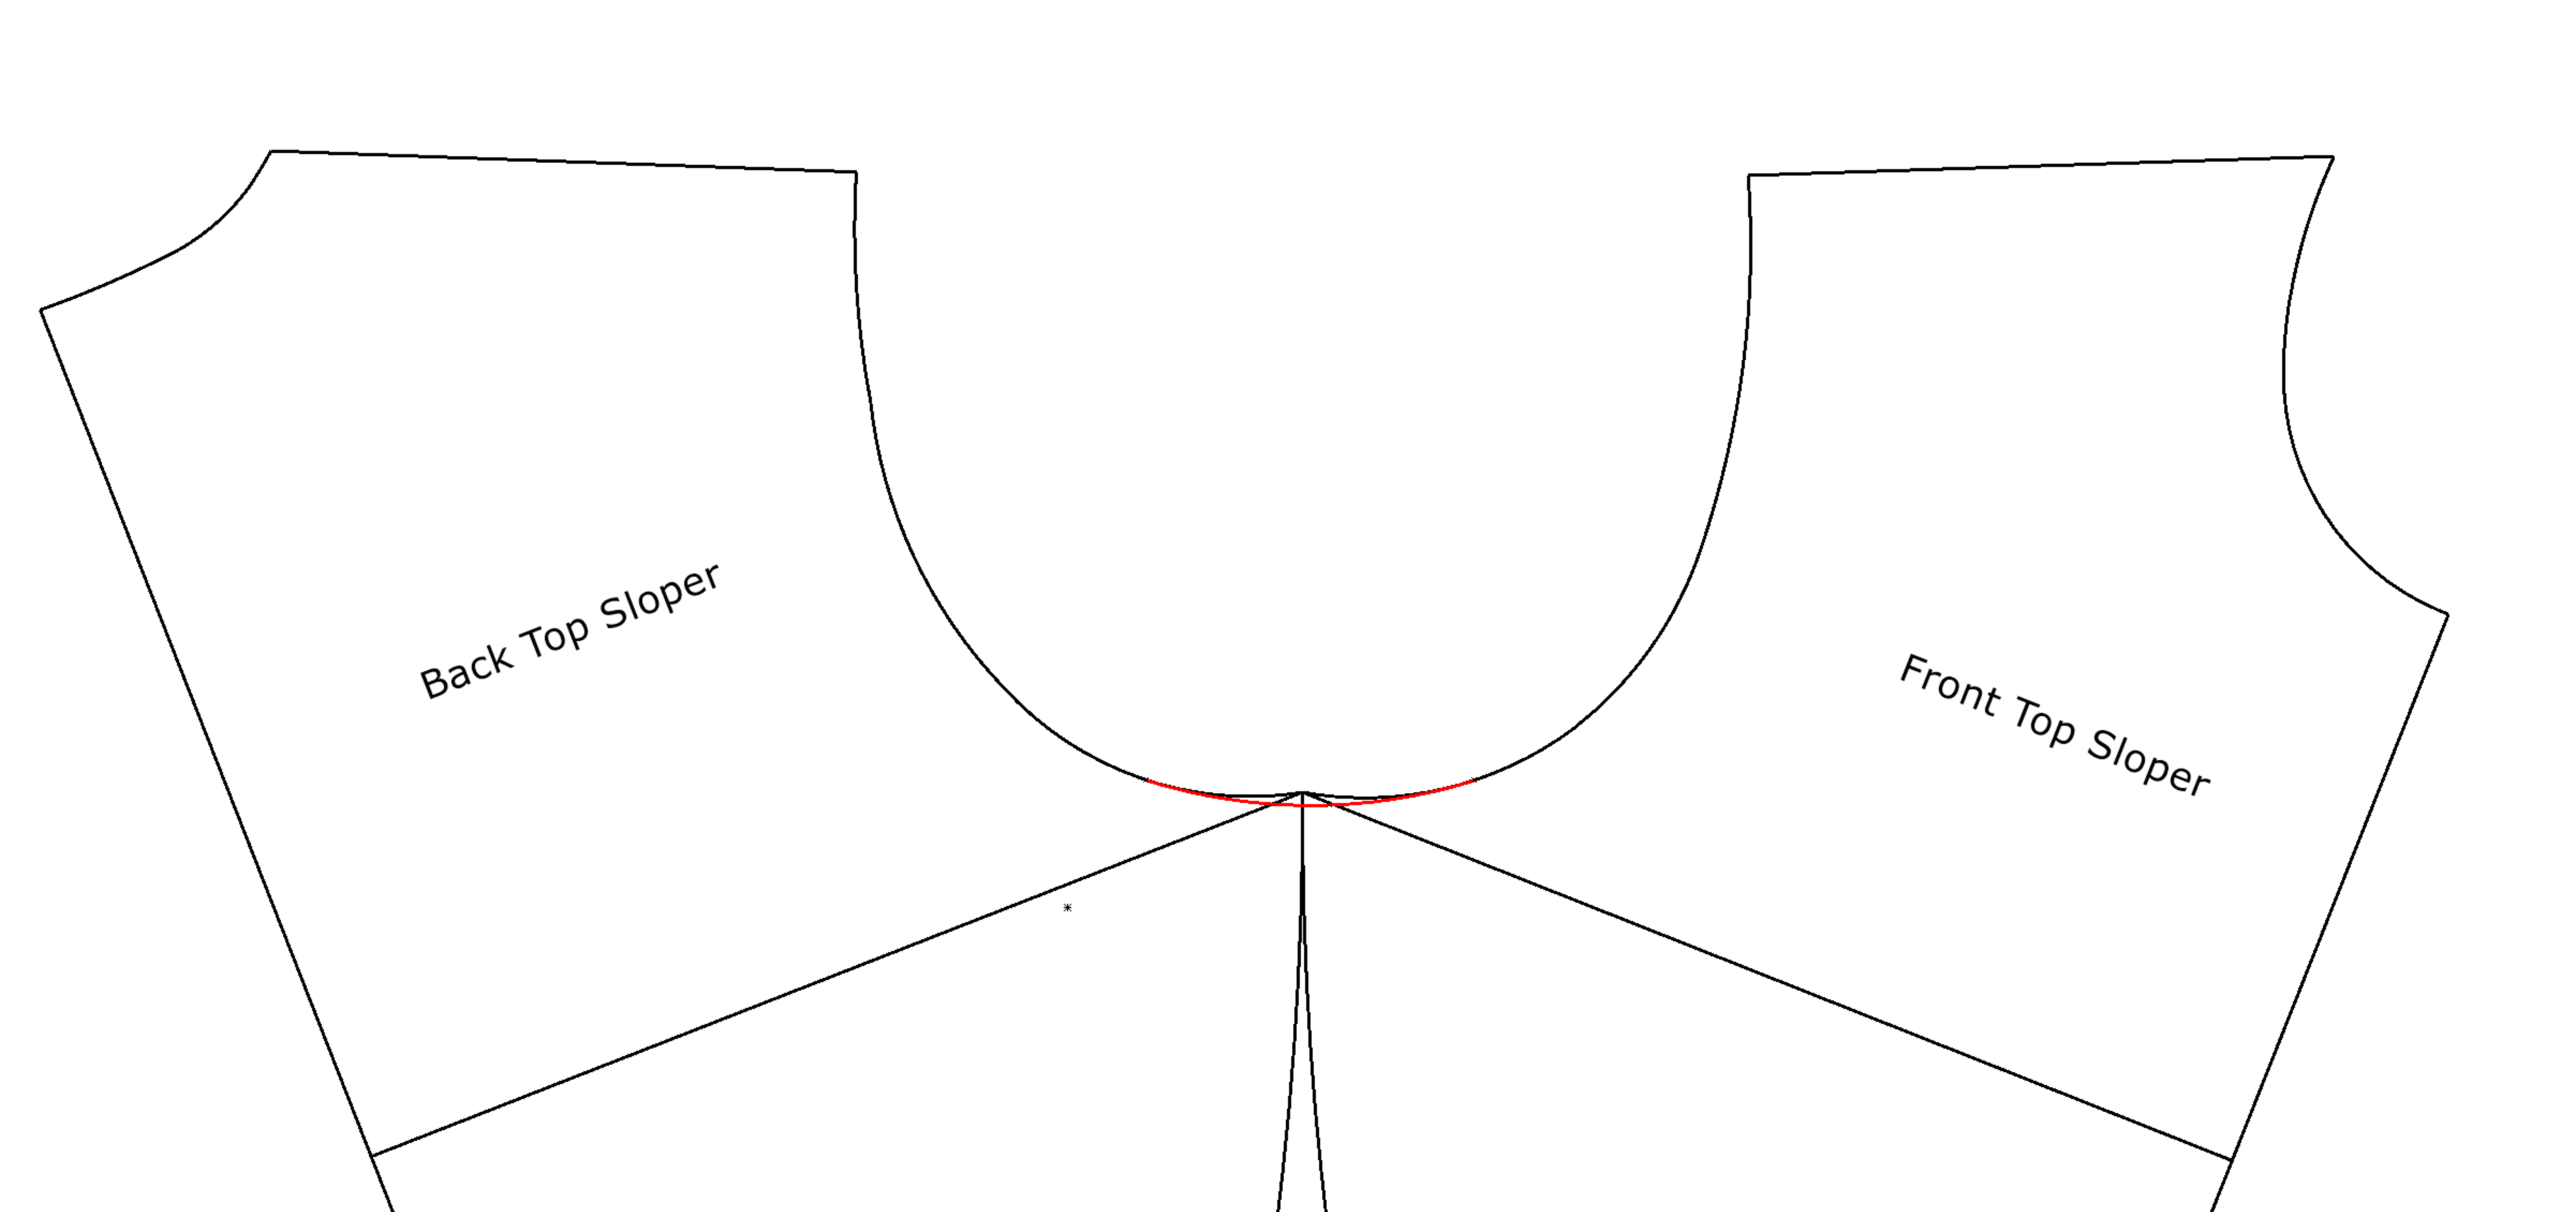
In this case, what you need to do is place them together for about 1/2″ to 1″ or 1 to 2 cm from the waistline as they would end up when sewn together, and check if there is a smooth transition between the front and back. A curve is good, any kind of angle not so much.
In the picture below, both black lines come together at an angle. The red line is what you want to have.
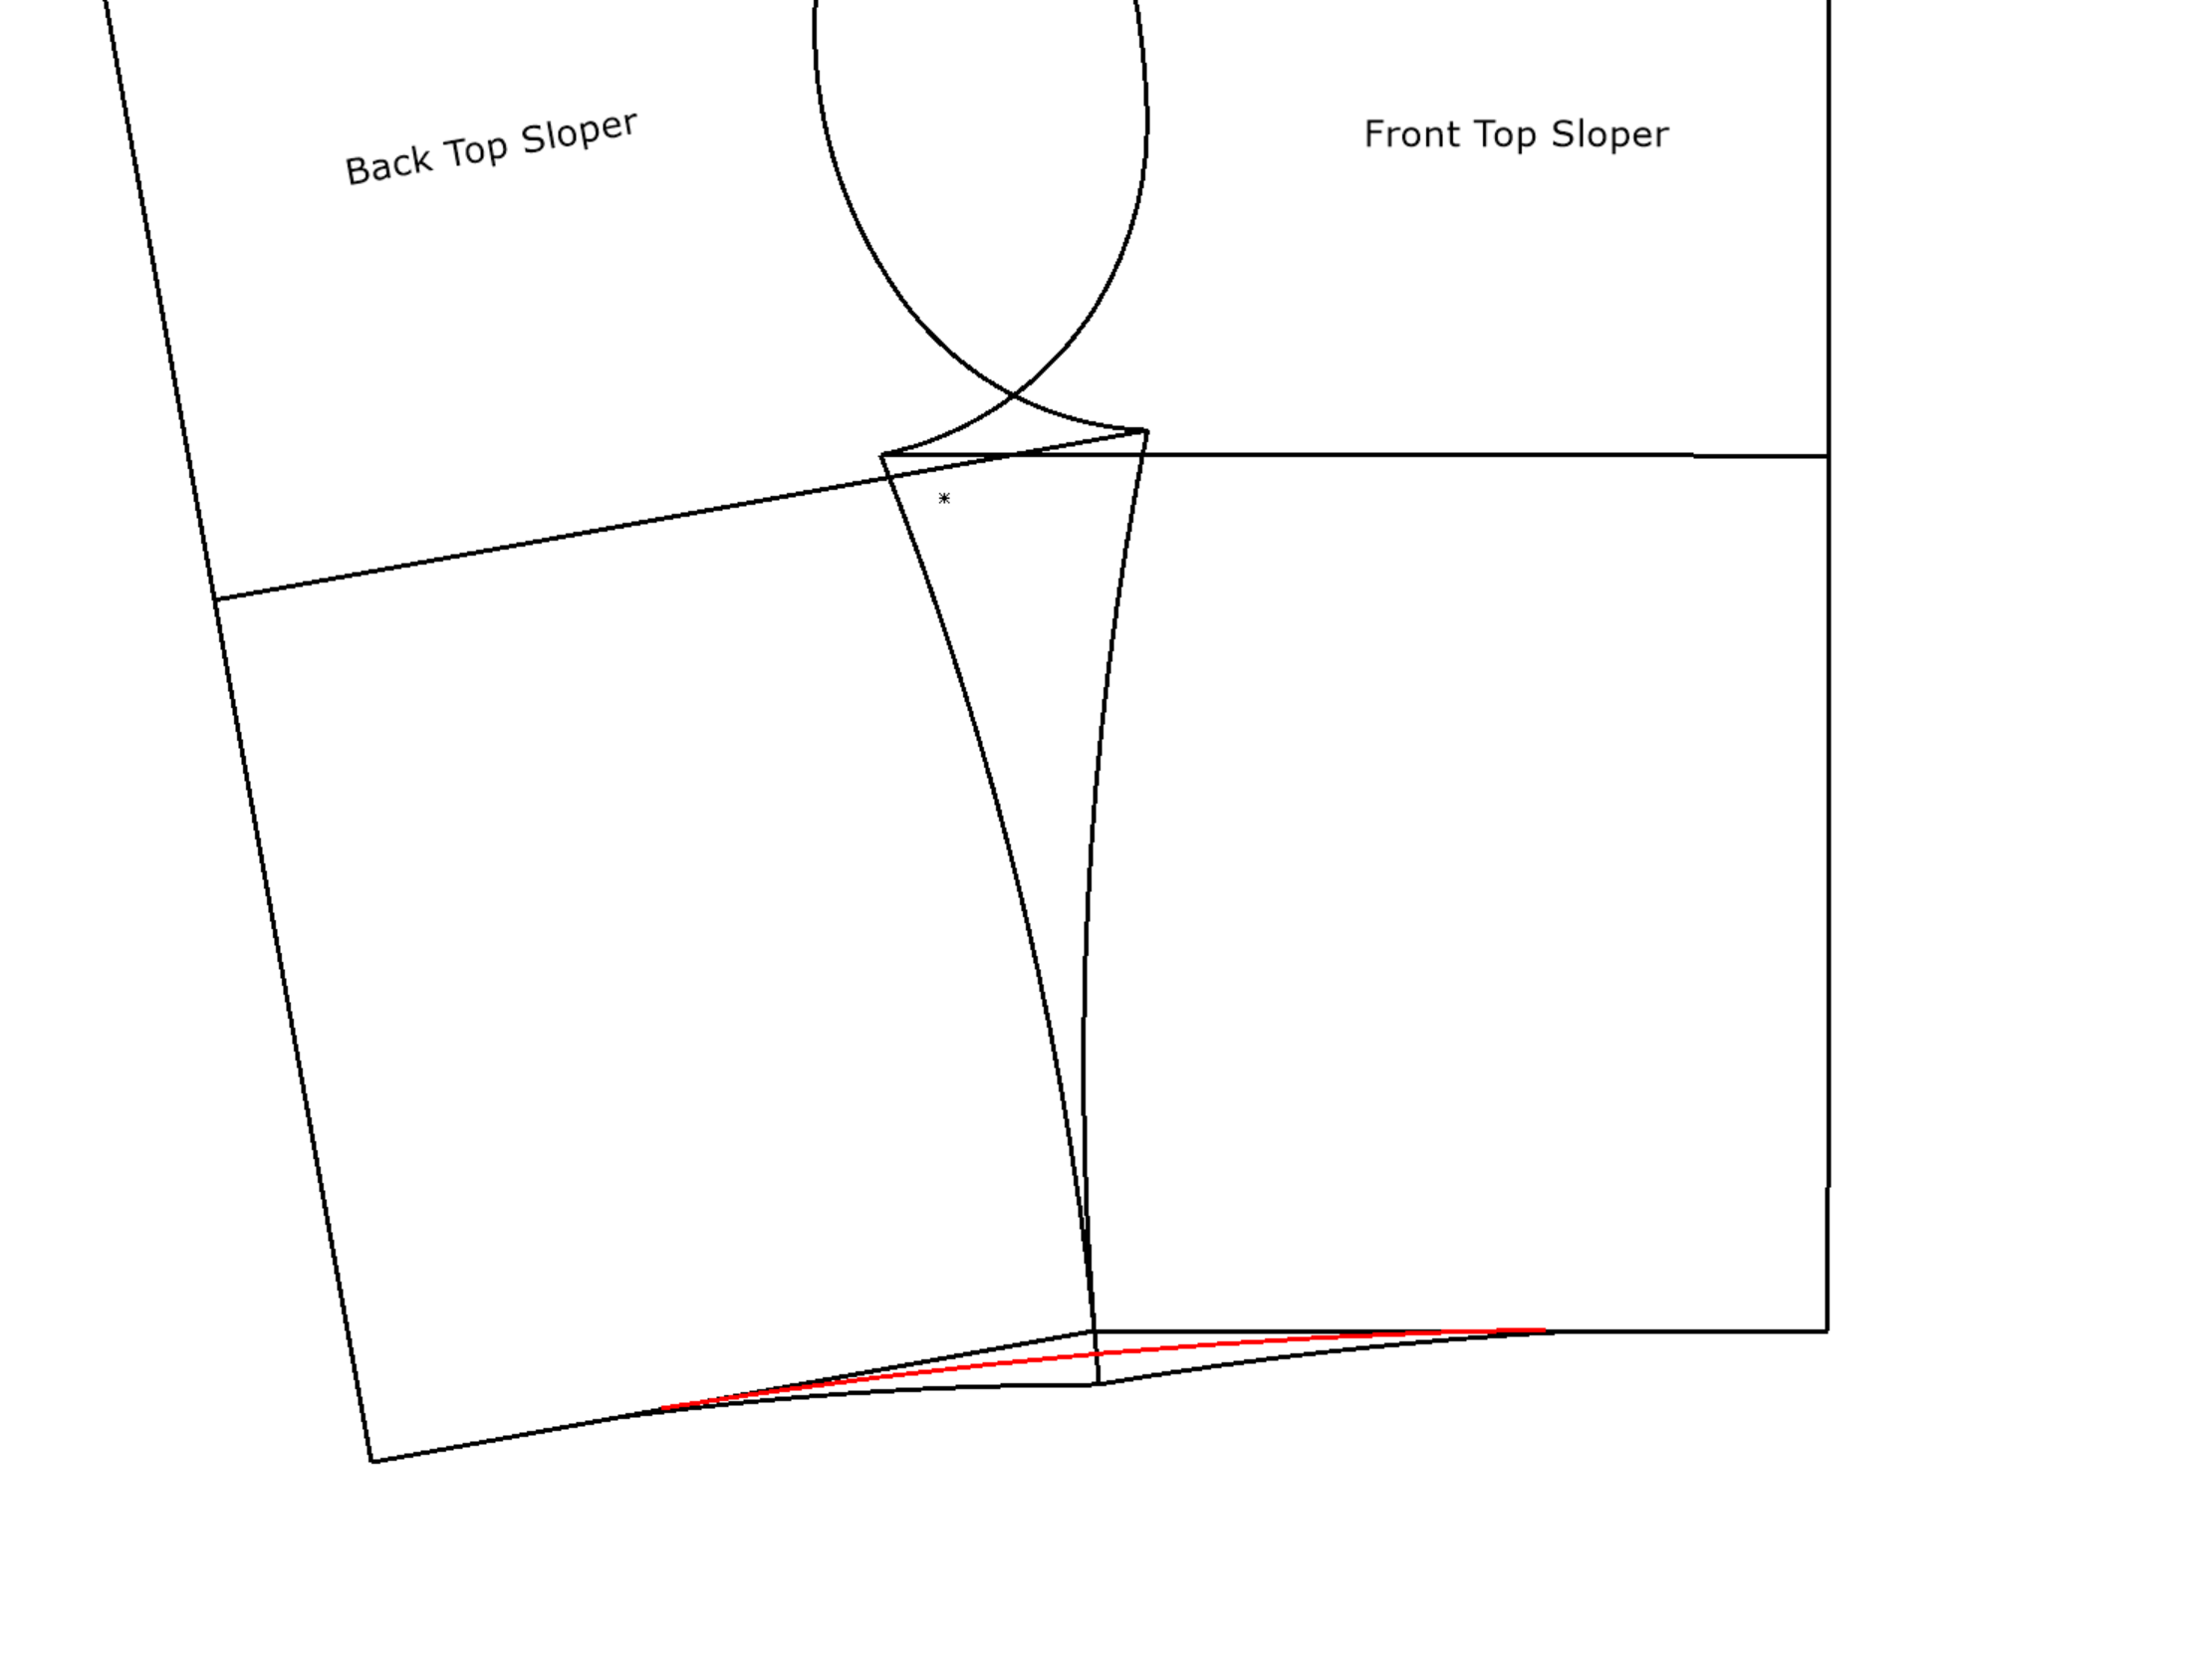
Armscye
The last place to check is the armscye curve. Just like we did at the waist line, place the seam lines together for about 1/2″ to 1″ or 1 to 2 cm and look at the armscye curve.
You want to have a smooth transition, with no discernible peak or valley where they join. The red line is your goal.
That’s it! That’s everything you need to check to ensure your top pattern sews up nicely.
Make sure you head over to our Facebook Group or Instagram #patternnichedesigns #patternniche