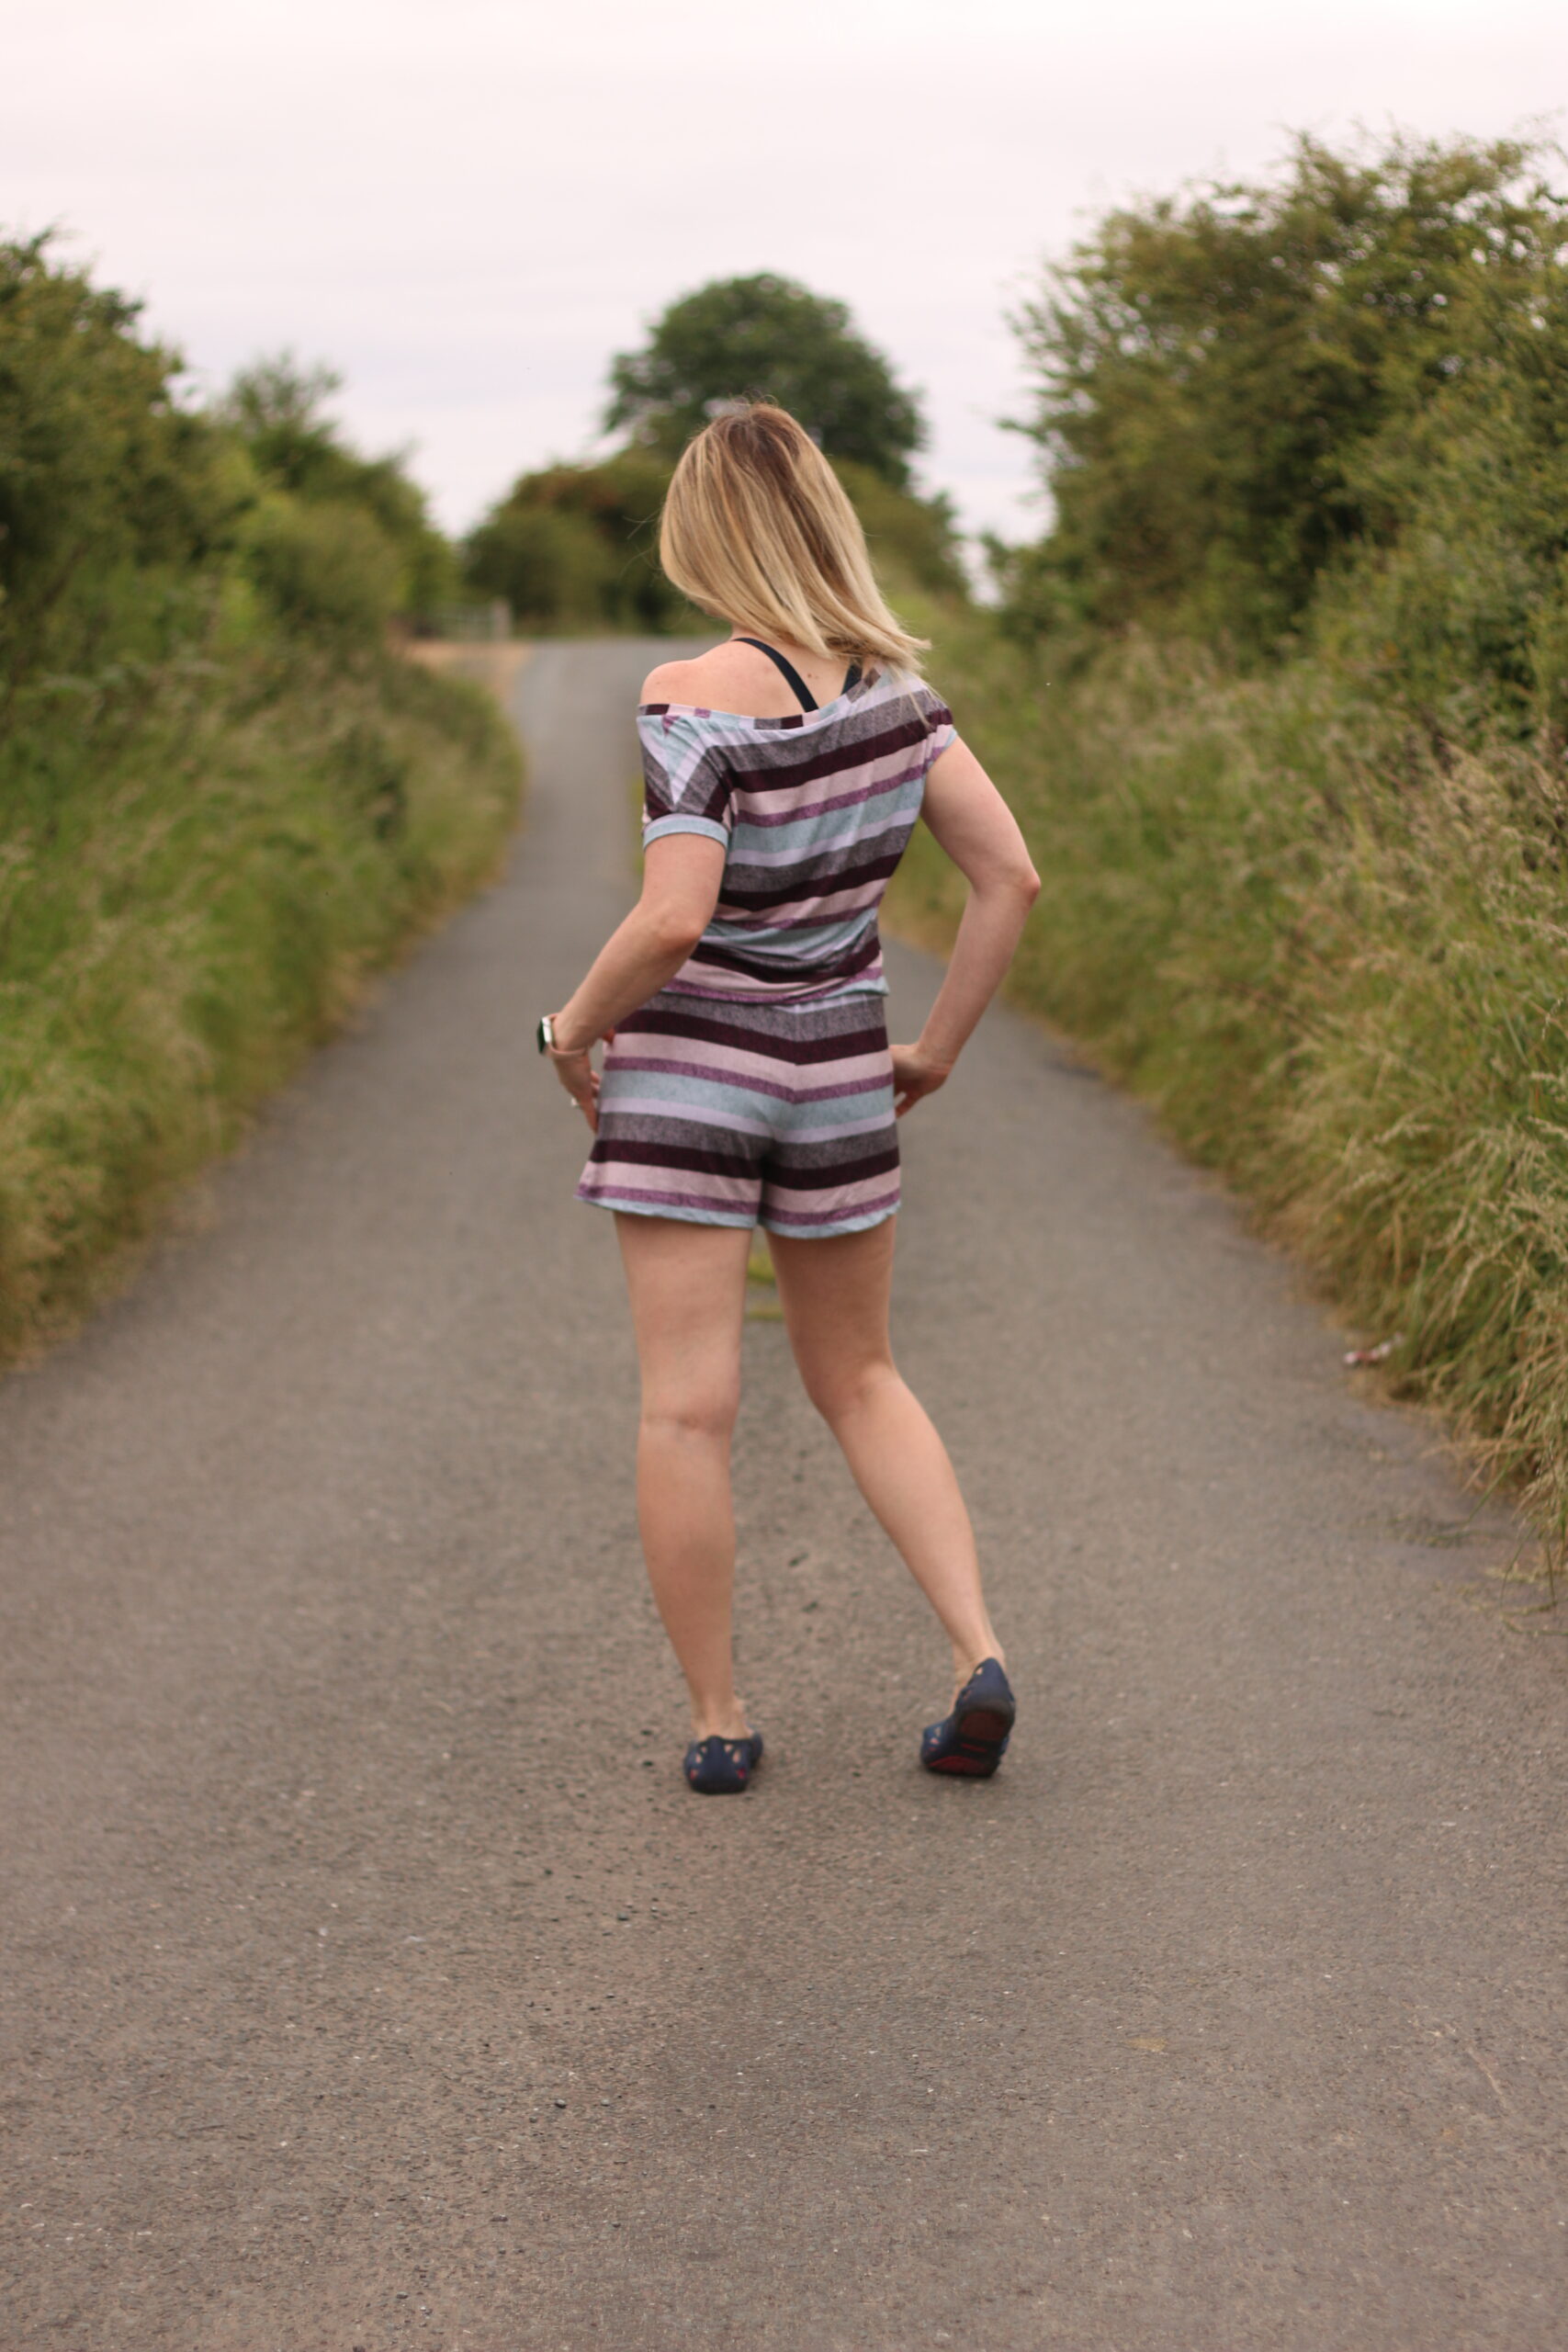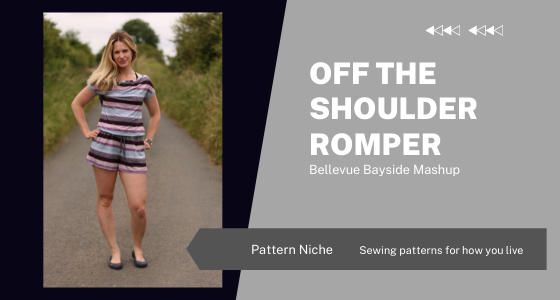
I’m Amanda from DerivingMommyhood and have a super fun and easy hack for you to try!! An off the shoulder romper using two Pattern Niche patterns.
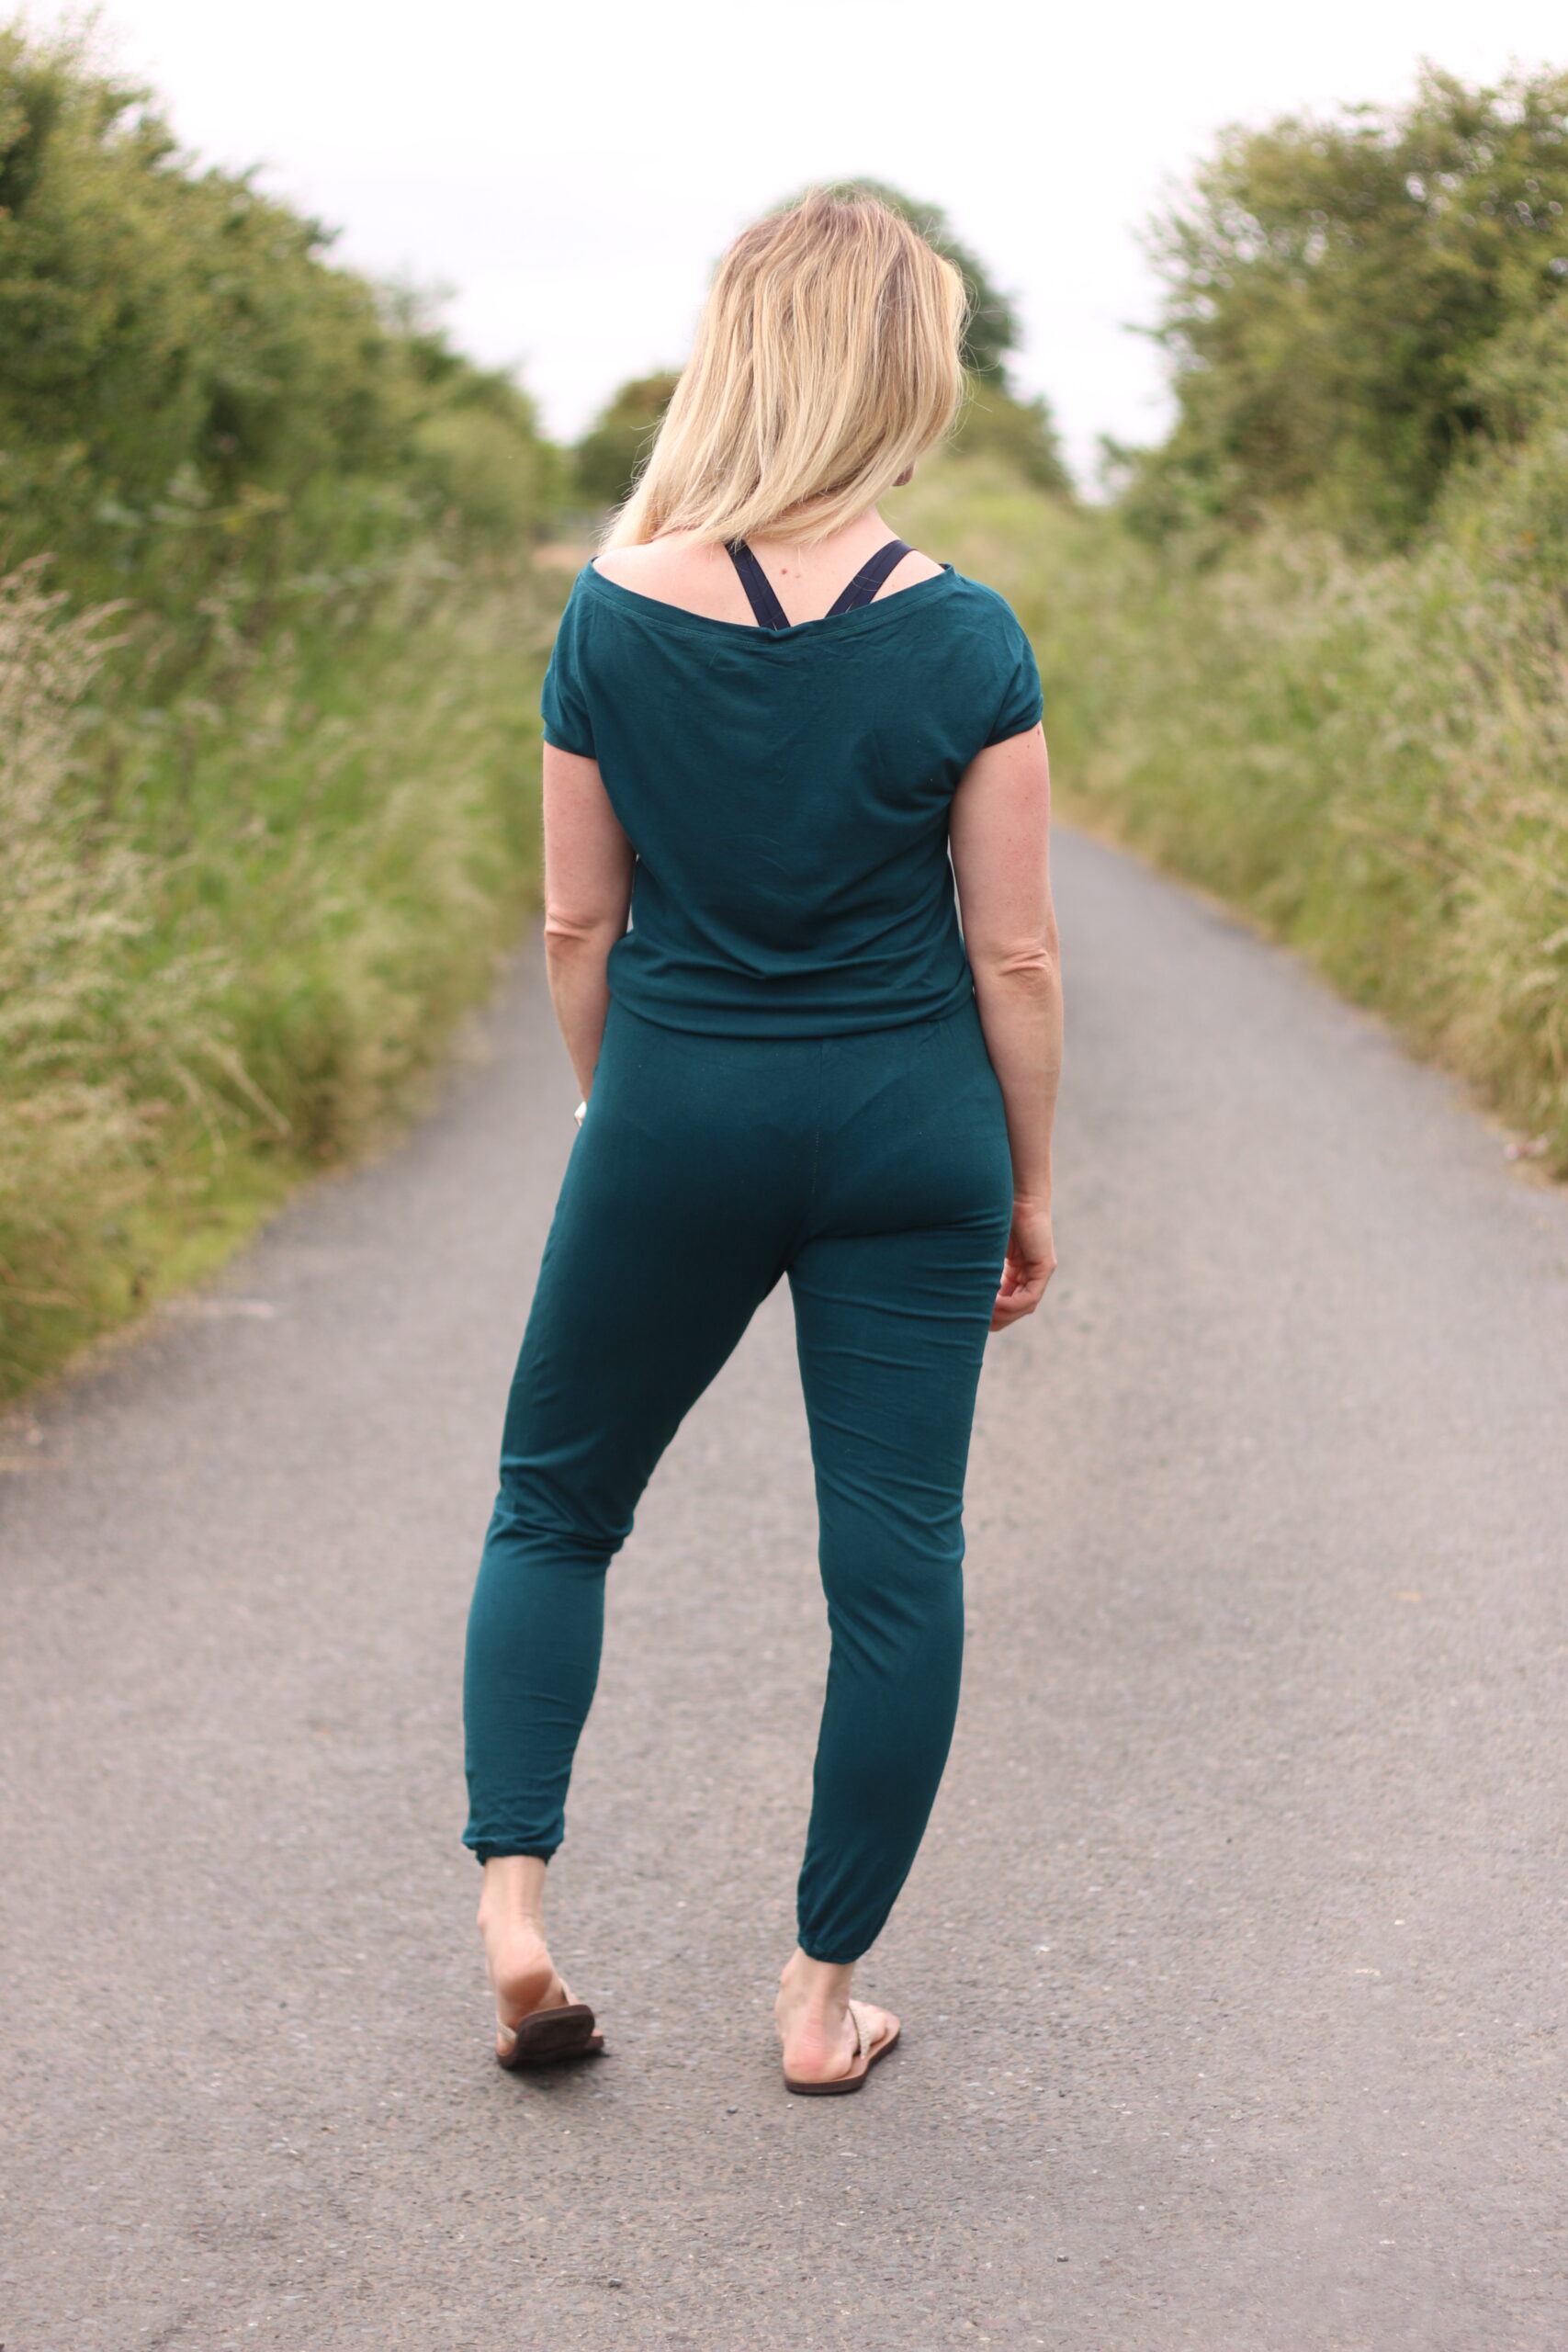
Awhile back, years back even, there was an ad floating around Facebook for an off shoulder pants romper. I of course am a huge romper fan as only one piece of clothing, so no matching to do, and pants! Winner. Around this same time, the Bellevue Off Shoulder top had been released, so obviously I had to make this look happen, and did! I made this out of a thick ‘deluxe’ viscose jersey and it is love. I promised after making it that I would share how it came to be, so naturally I waited a couple years to get to it and here we are today.
Getting Started
Let’s get started!! You will need both the Bellevue Top and Bayside Romper patterns. For my first go, I did pants length on the romper but today I’ll be making a shorts version. It doesn’t matter which of the Bayside romper BOTTOM options you choose however, this tutorial will work for all. Begin by choosing which bottom (dress, shorts or pants, plus pockets of not) and cut out the pieces you need for that.


Mashing The Front Bodice
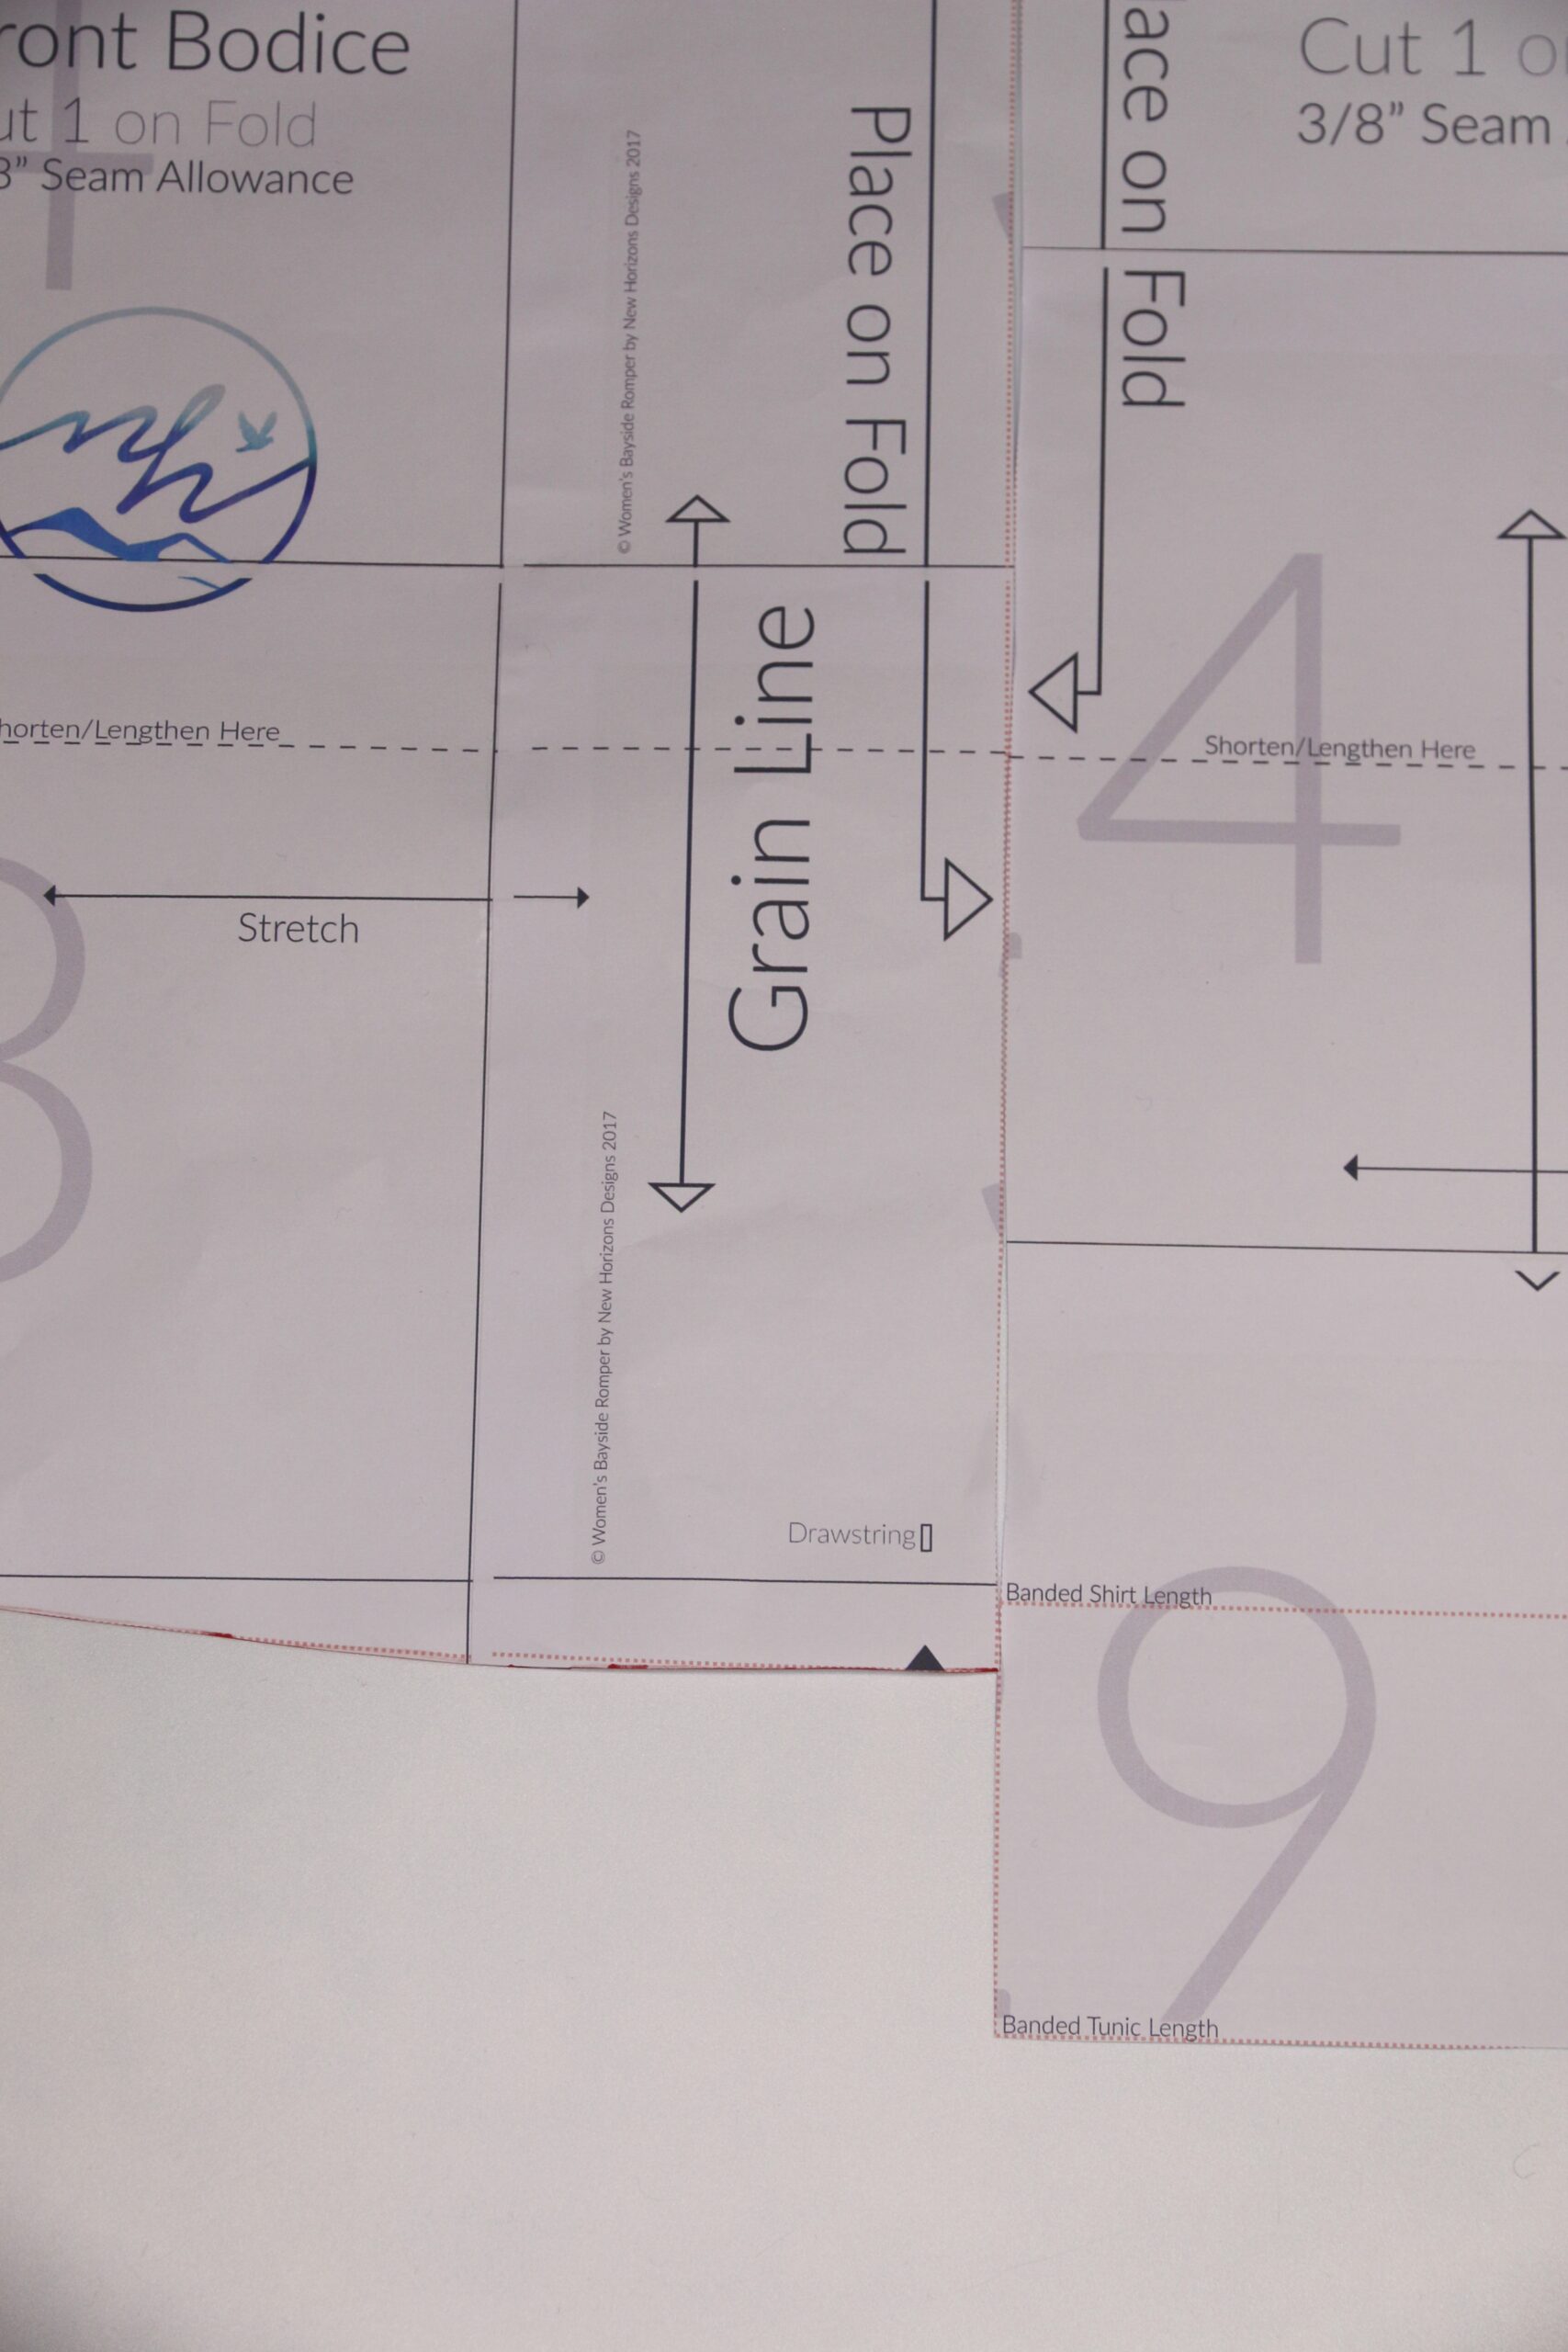
For the top, we will have to mash the Bayside top and Bellevue top to make sure the romper goes together nicely. Now usually, when I’m mashing two top patterns together, I would match the top of the shoulder or bottom of the armscye as a starting point, but since the Bellevue is an off-shoulder dolman, it has neither of these reference points so this will not be an exact science, and that’s okay. As we are looking for a slouchy look anyway it does not need to be completely perfect. You do however want to make sure you will have enough height in your top portion to ensure that your romper fits your torso loosely and also that the bottom of the Bellevue matches the same shape as the bottom of the Bayside so that when we go to sew the top and bottom together, they match. My word of advice is to err on having a little extra height if you’re unsure here as it is better to have it blouson over the bottom MORE than not enough.
For simplicity’s sake, I’ll use the lengthen/shorten lines on each to mash them together. You might choose to add just a little more length than that and cut an inch or so below that line on your Bellevue top, but I found this works well for me. Cut along both of those lines, and tape the bottom of the Bayside to the top of the Bellevue, matching along the folded edge. Then use extra paper to ‘fill in’ the side with a gentle curve.


Back Bodice
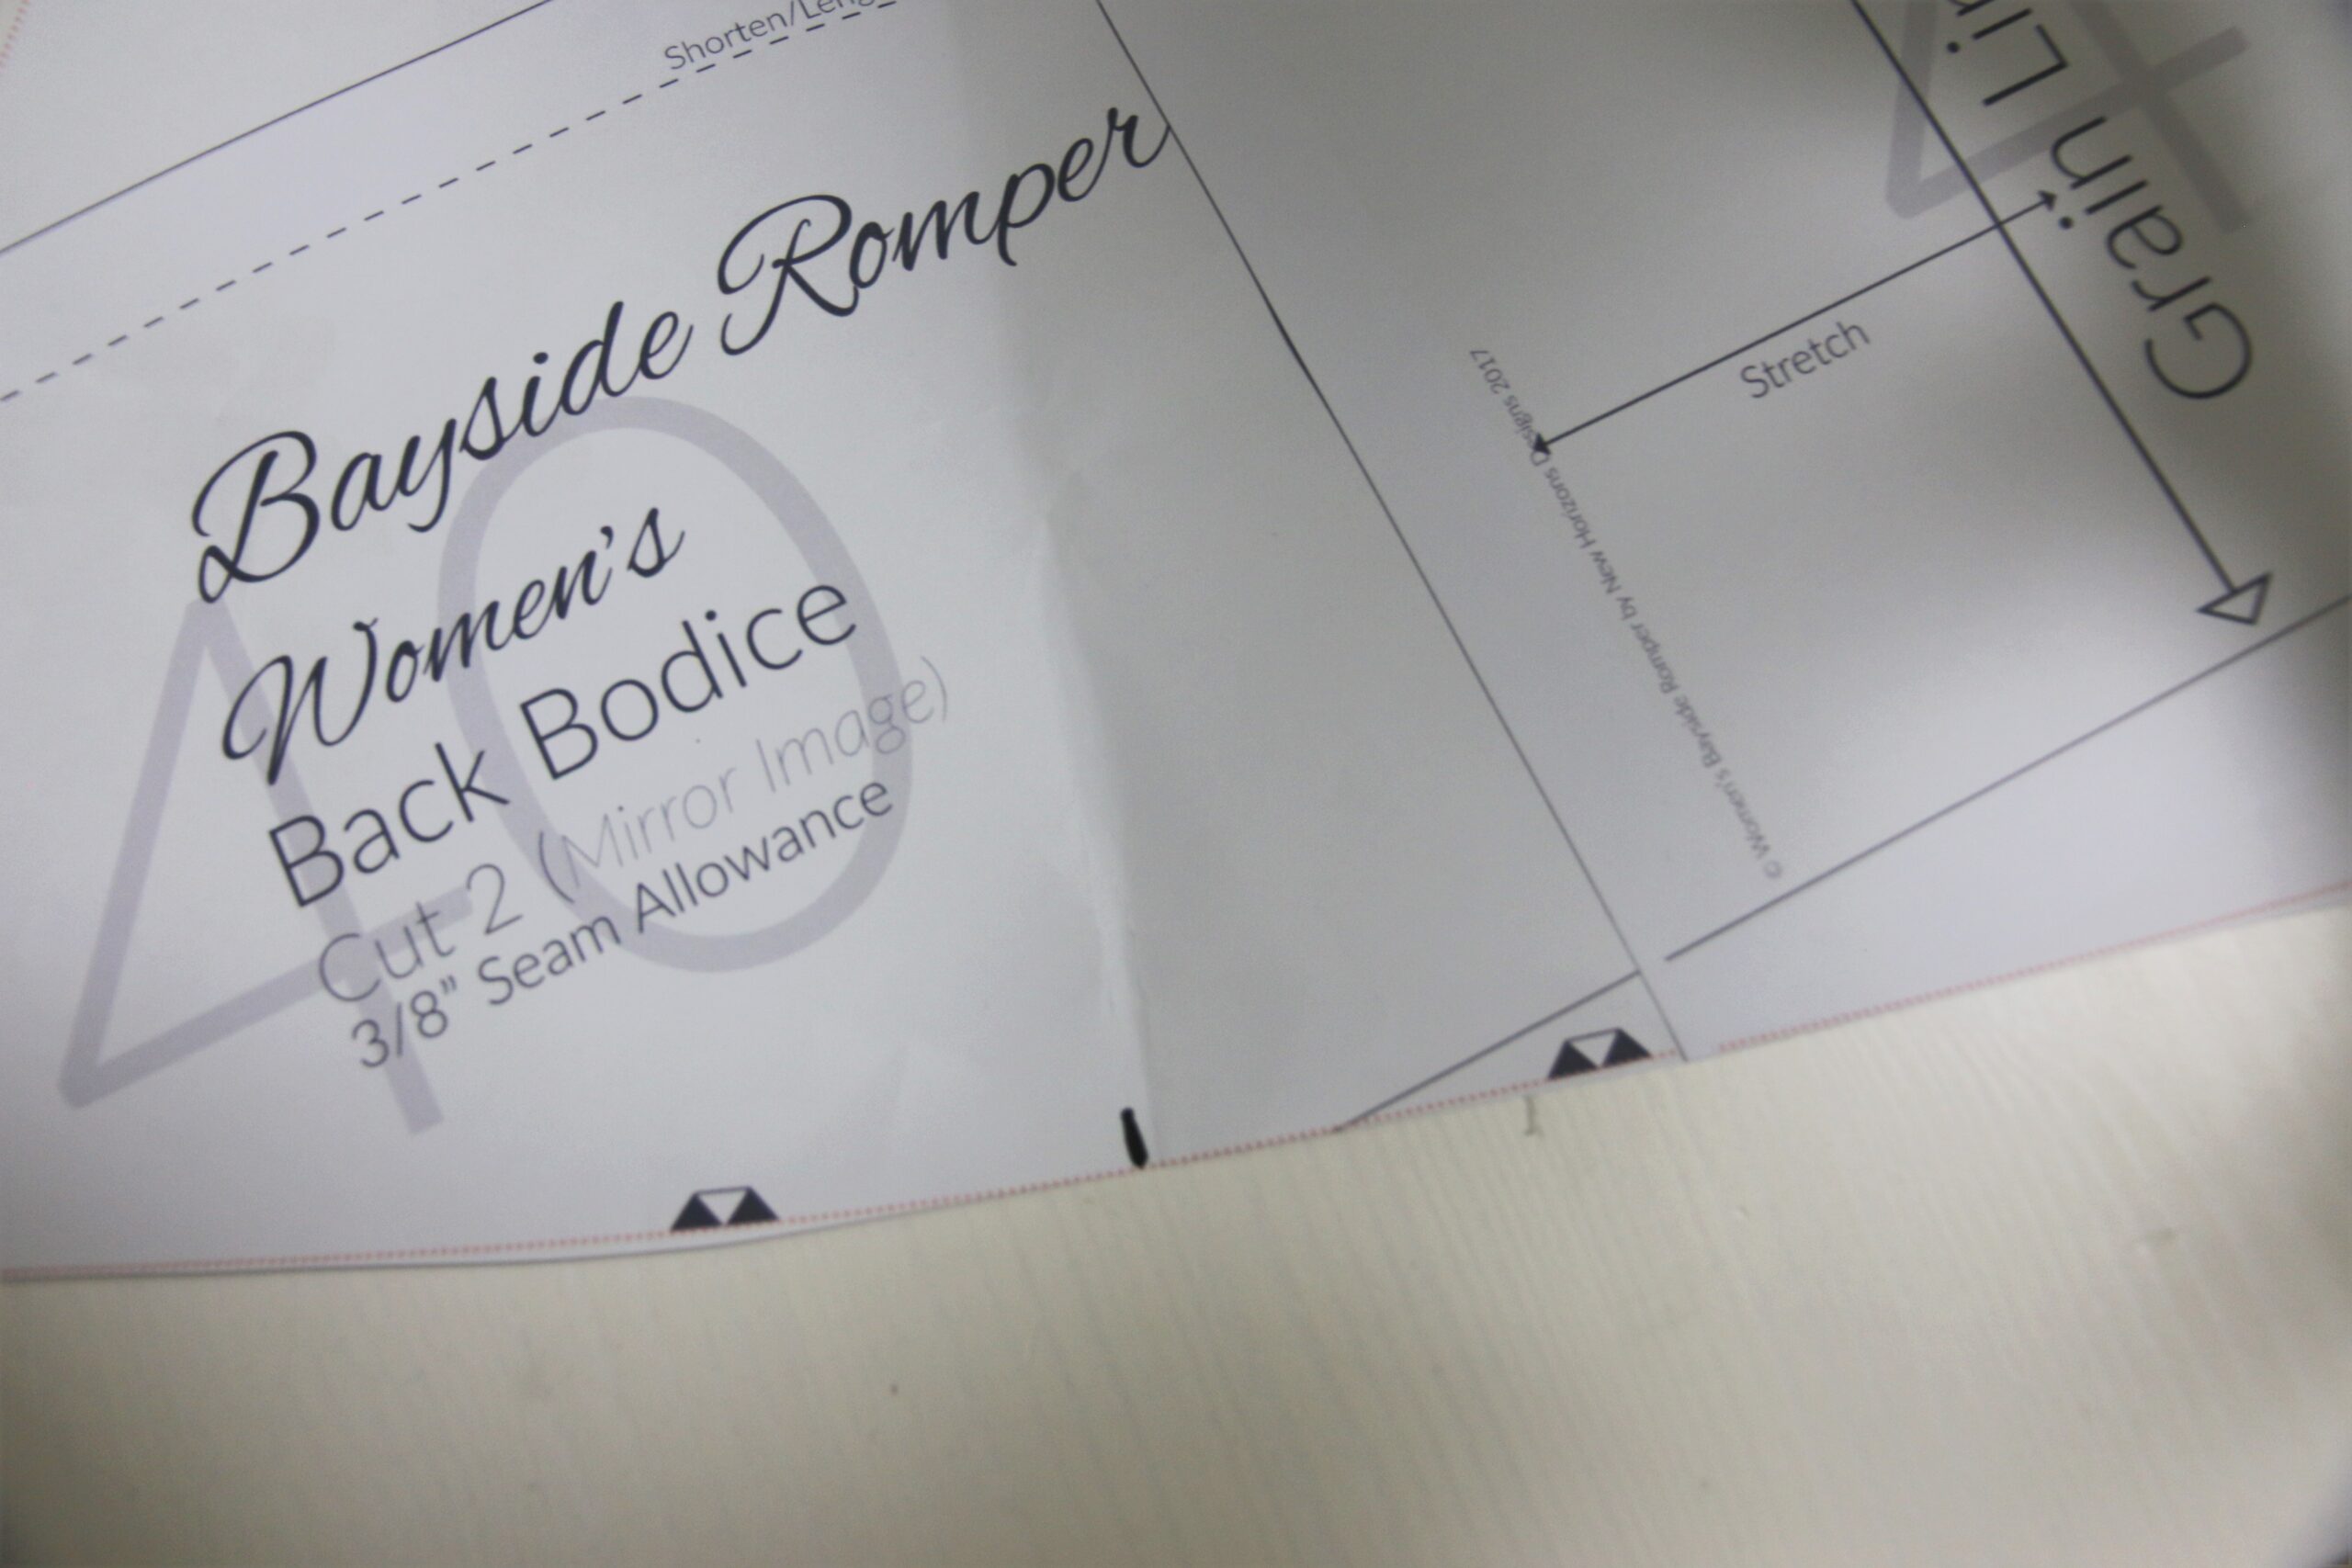
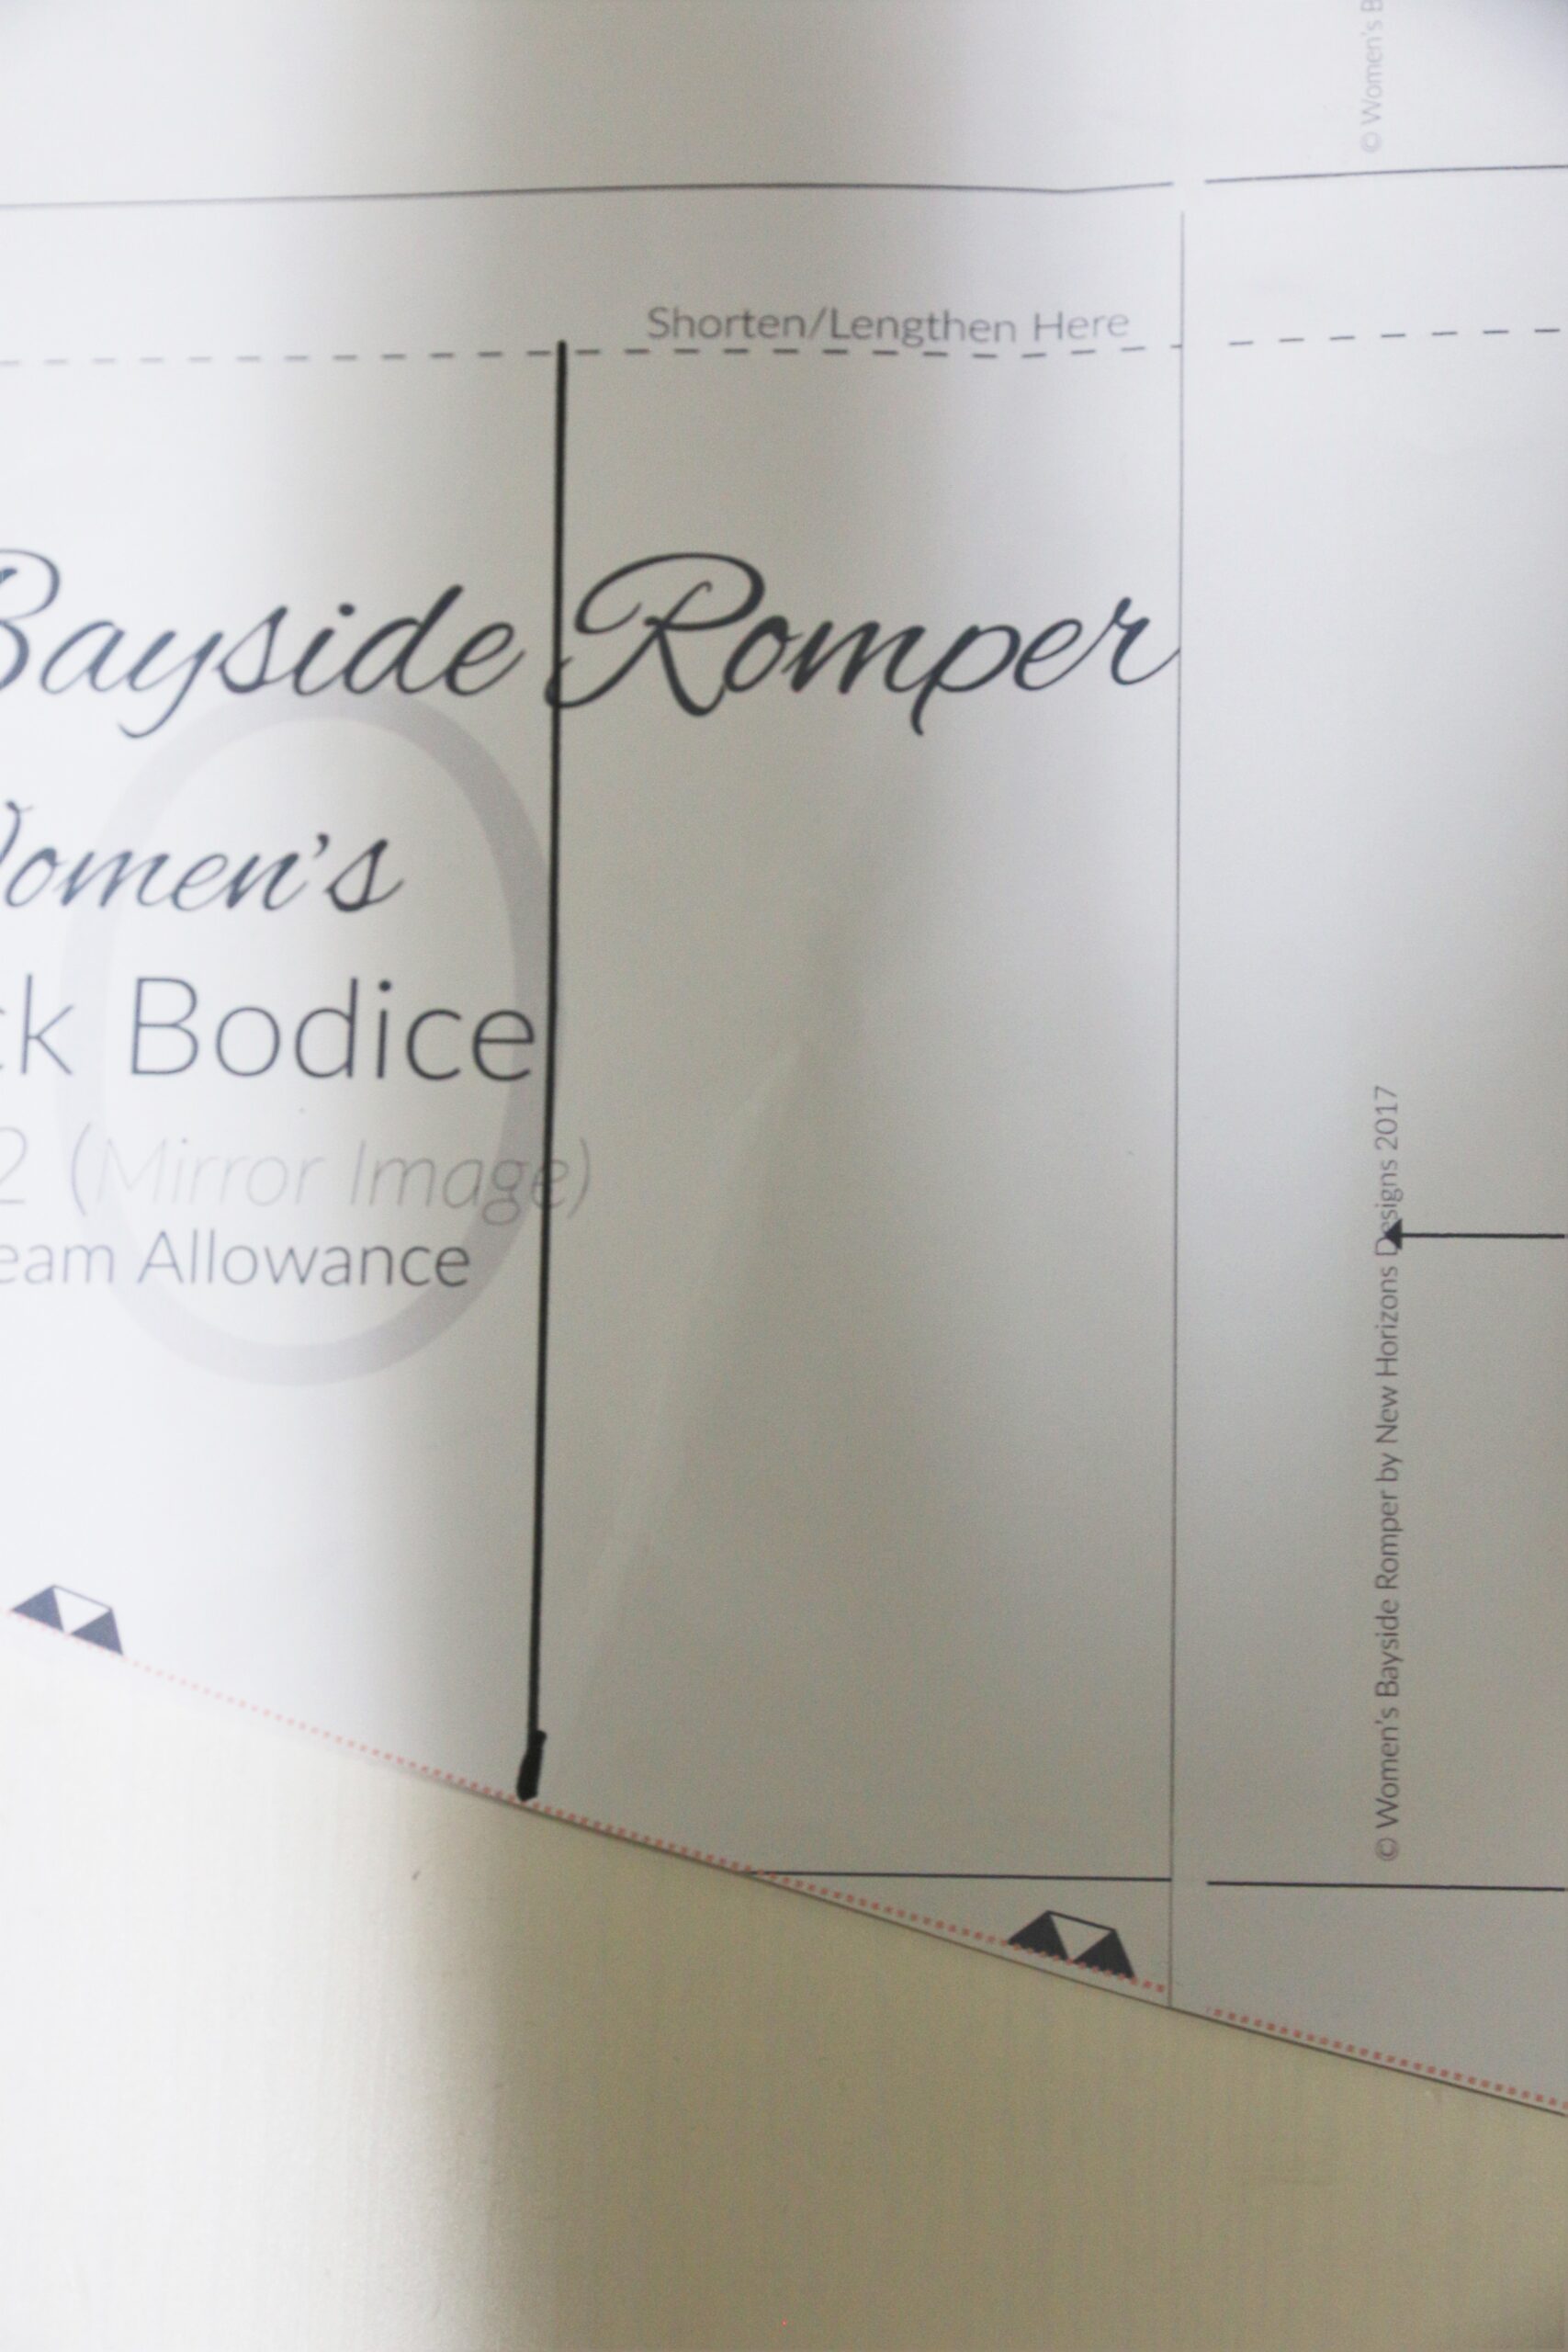
For the back, you will need the bottom portion of the Bayside romper back bodice as well as the top portion of the Bellevue top bodice. You first will need to find the center back on the Bayside bodice as it’s a crossover back and not cut on the fold like the Bellevue. Halfway between the double notches, or if you fold the piece in half to match the bottom, is the center back. Mark that with a little line. Connect that point to your lengthen/shorten line at a right angle. Now, cut along that line (that is now your center back line) and the lengthen shorten line, and attach that to the lengthen shorten line at the bottom of your Bellevue bodice. Once again, you will need to smooth that side curve out.
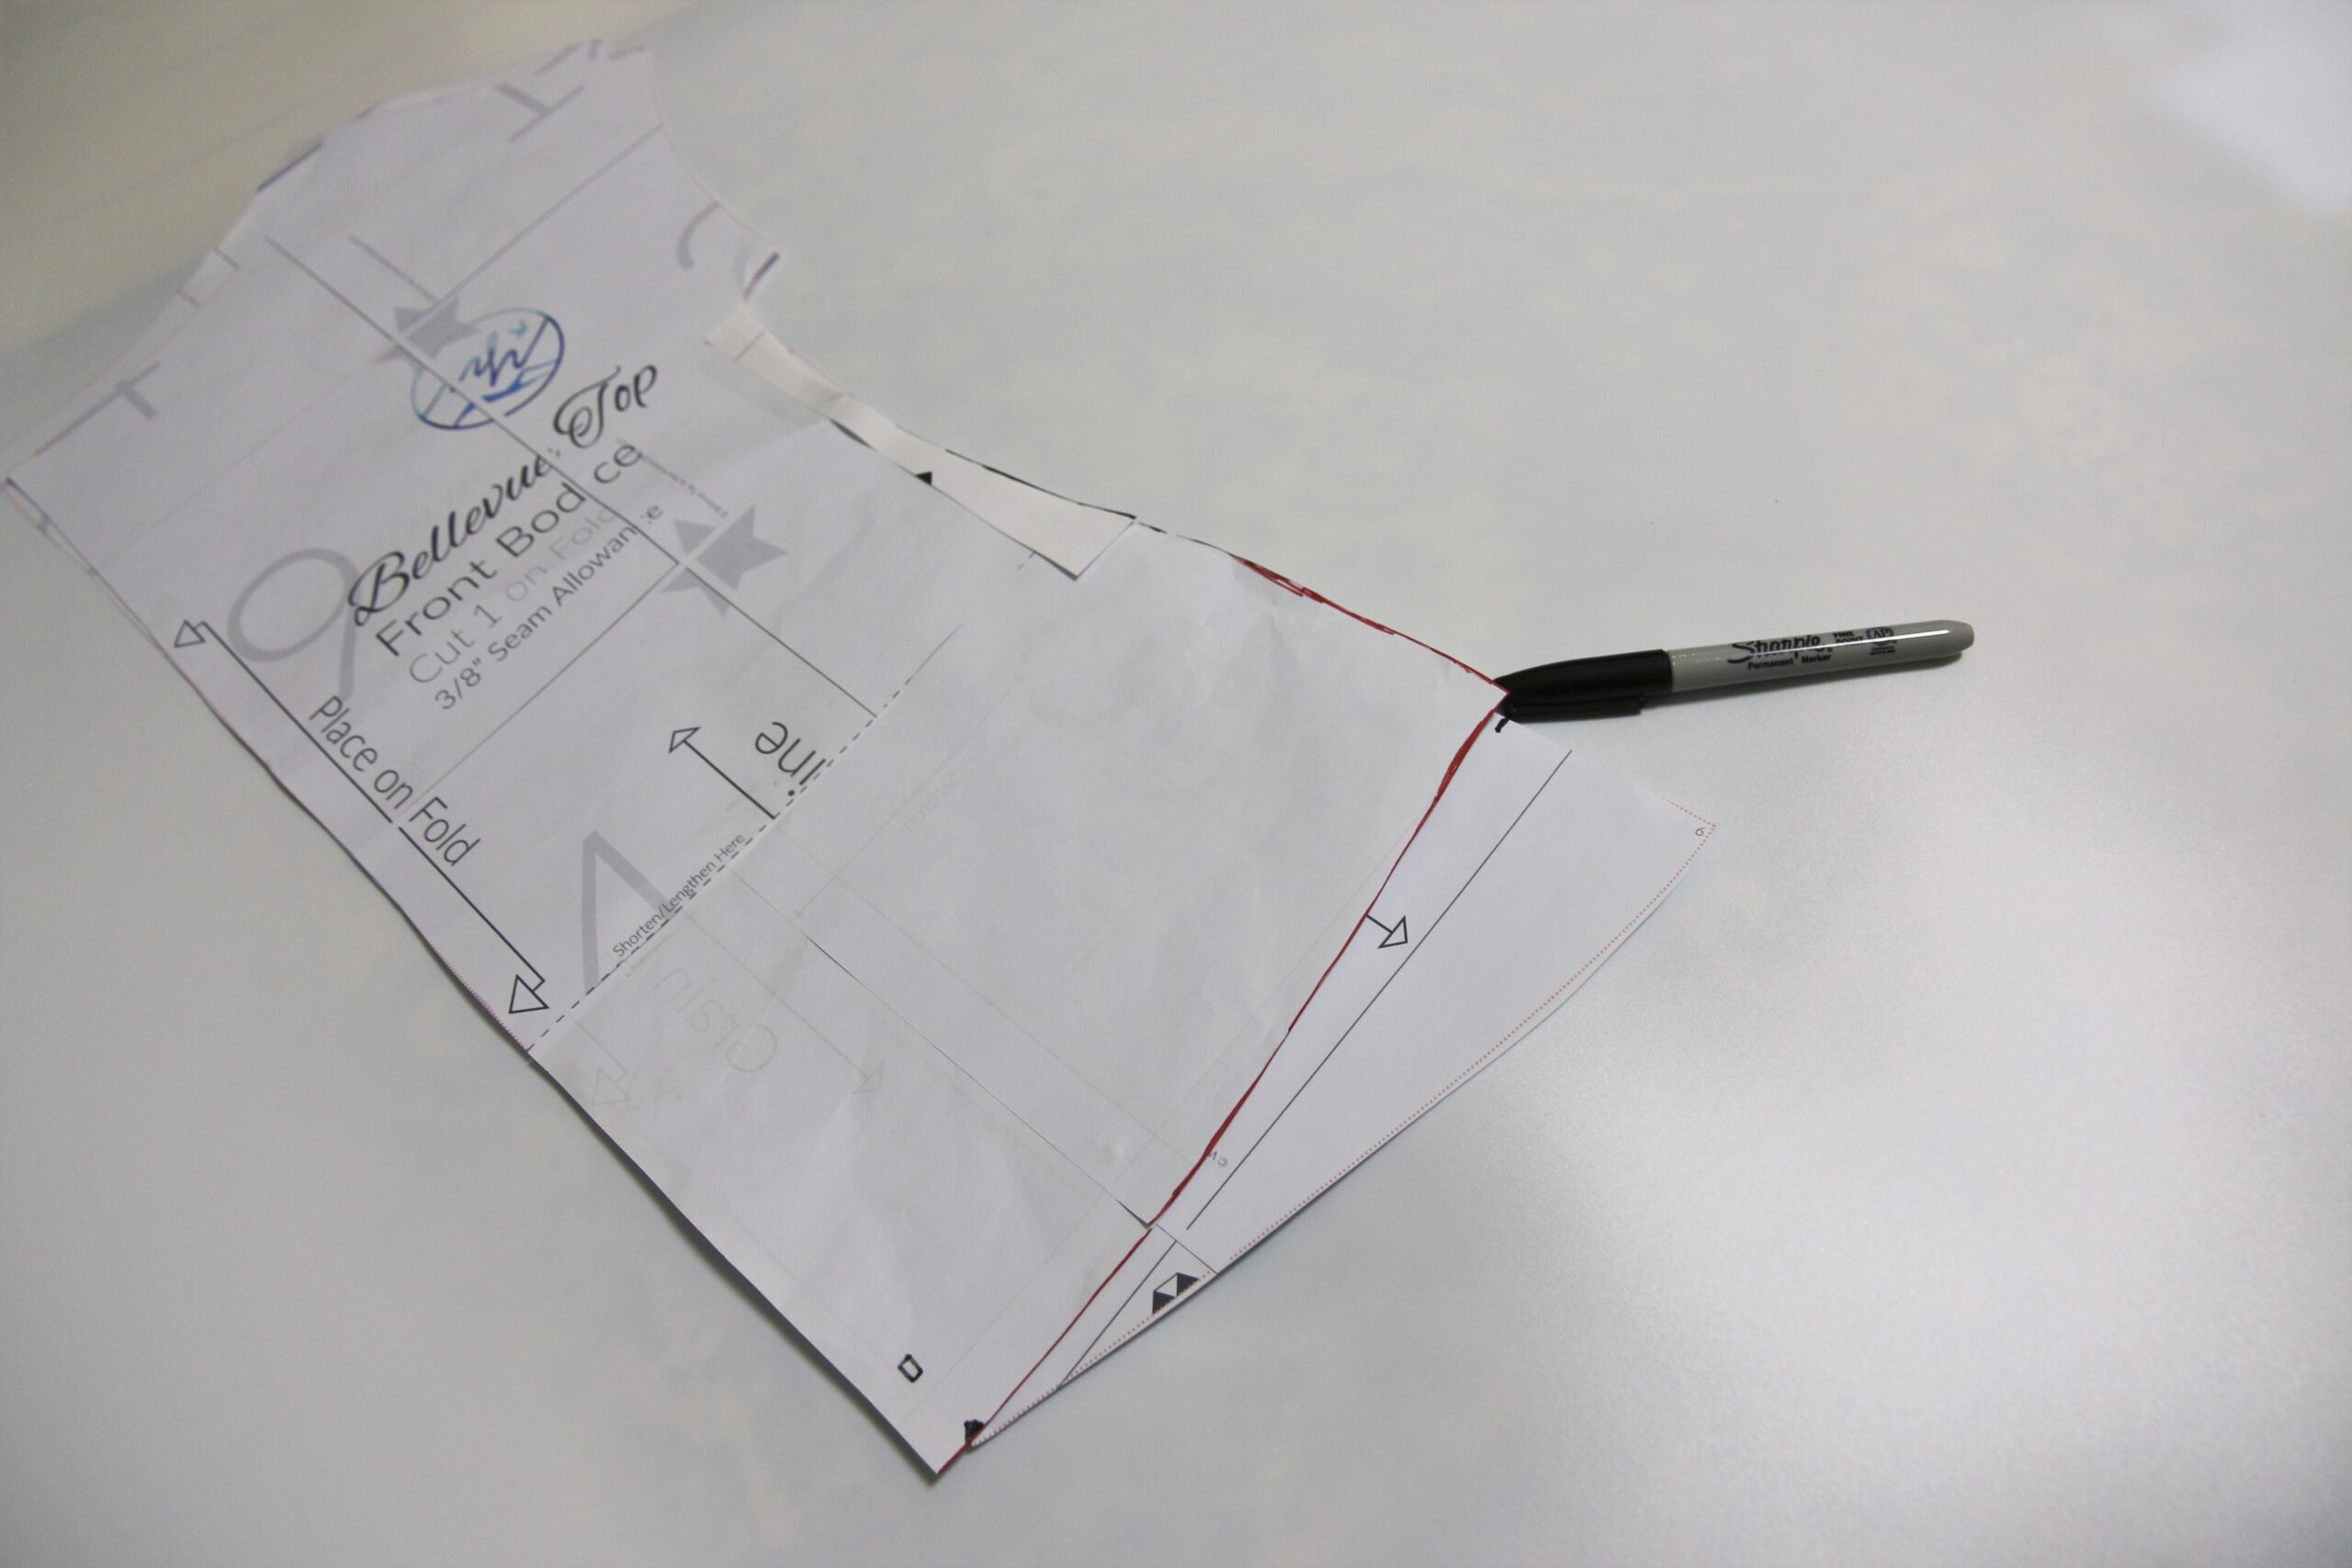
Because the crossover bodice bottom is shaped to help the crossover fit properly, we will have to alter the curve on the very bottom of this piece slightly. Lay your front bodice piece over your back bodice piece, matching the bottom of the armscye and mark the bottom of the front on the back piece so that they have the same side length. Cut the portion below that mark off, having it gently curve UP towards the center back about a half inch. Don’t forget to move those notches as well!
Sewing The Romper
You will also need the neckband piece from the original Bellevue, and arm bands.. Alternatively, you can choose to add sleeves I suppose, I haven’t tried it with them but it would still work (just be a tad more difficult to get in and out of).
You will have all the pieces for your chosen bottom portion, and then a front, back and neckband for the top plus sleeves or armbands.
As far as sewing it together, you will follow the directions for both patterns individually. Sew the Bellevue top according to the pattern, stopping before you hem. Also, sew the Bayside bottoms together according to the pattern. When you go to attach them together, follow the Bayside instructions (be very careful that you’re sewing the BACK of the Bayside to the BACK of the Bellevue, and FRONTS to FRONTS. The Front of the Bellevue will gently curve down at the bottom while the back is straighter/curves up.
Happy sewing!! Don’t forget to share your creations in the Facebook group or tag us on Instagram 😊