Sewing the Maui Cami Binding
By Katelynn of Sewing from Scratch on YouTube
*some links are affiliates 🙂
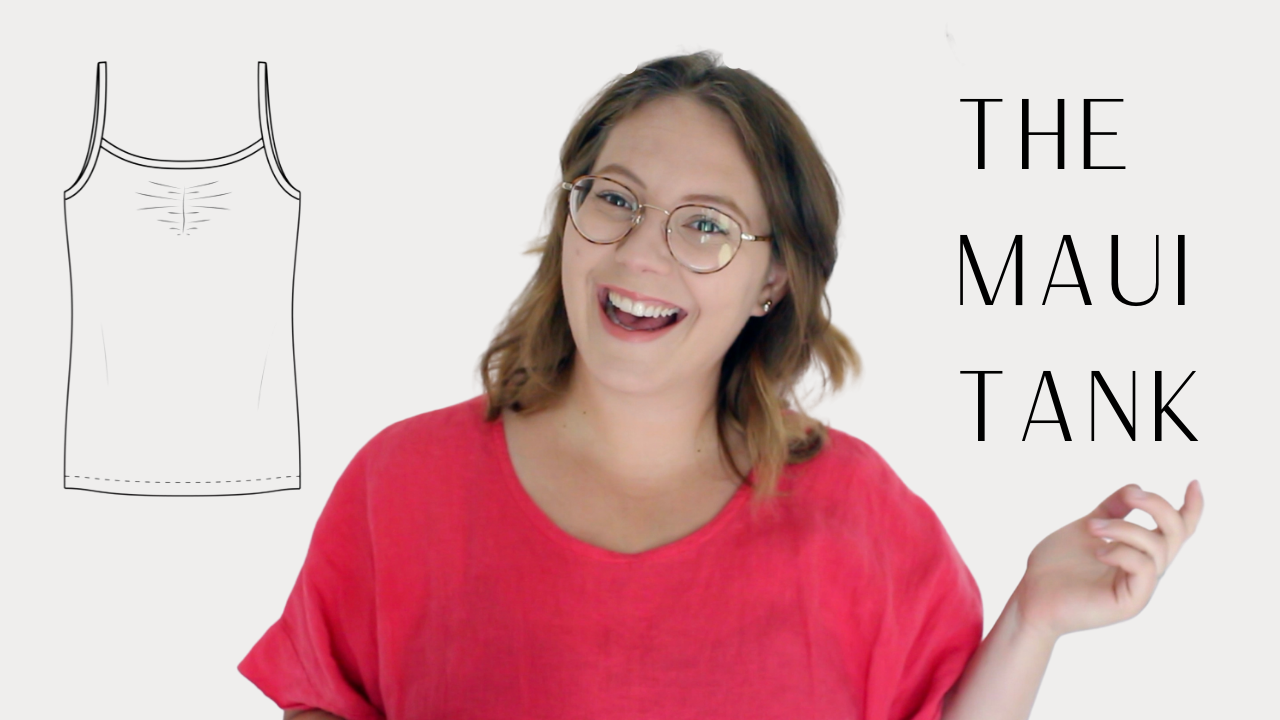
Hey friends! Today we’re going to be looking at the Maui top pattern, including a close up of how to sew that tricky binding – it’s easier than you think!
If you’re more of a visual learner, like me, check out our YouTube channel for the matching video tutorial on this work horse of a pattern.
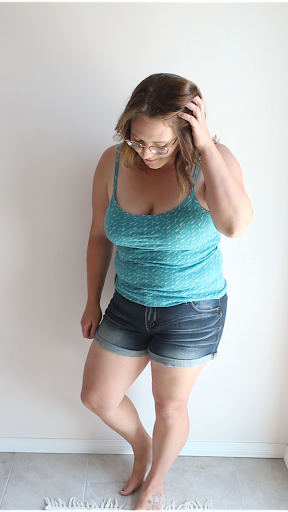
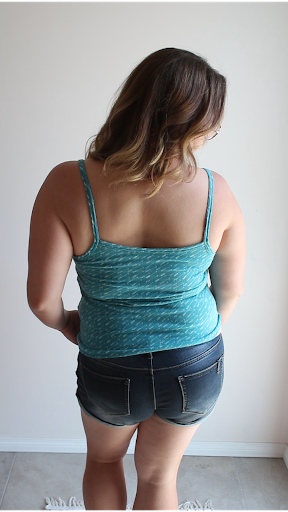
Speaking of, let’s chat about the Maui. This is a close fitting knit top great for those hot summer days or as loungewear. In true Pattern Niche fashion, there’s loads of options. You can make this either as a standard tank with wider straps and bands (this also has a racerback option) or as a spaghetti strap cami with binding all around the neck and arm openings. There’s also an option for a built in shelf bra and a fun little ruched bust detail. For my version, I’m choosing the shelf bra cami without the bust detail.
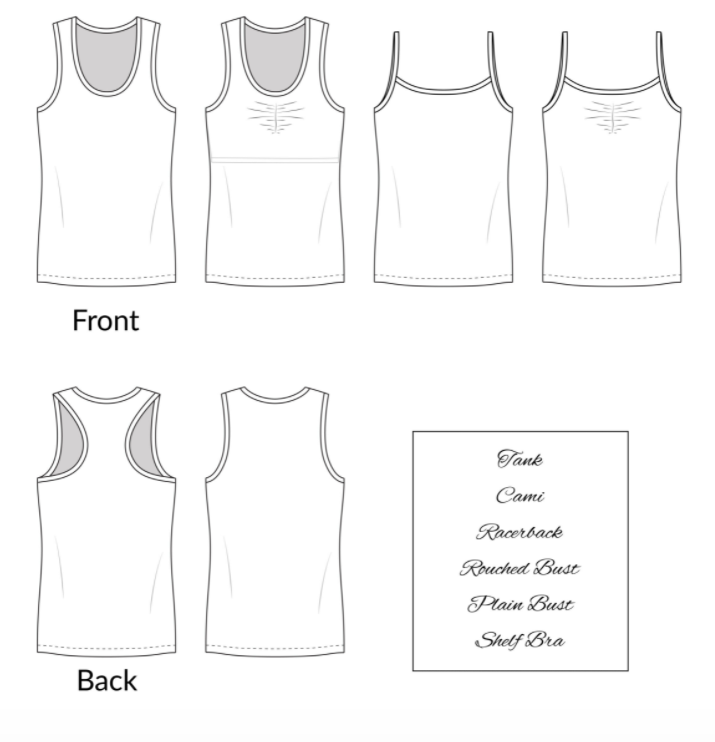
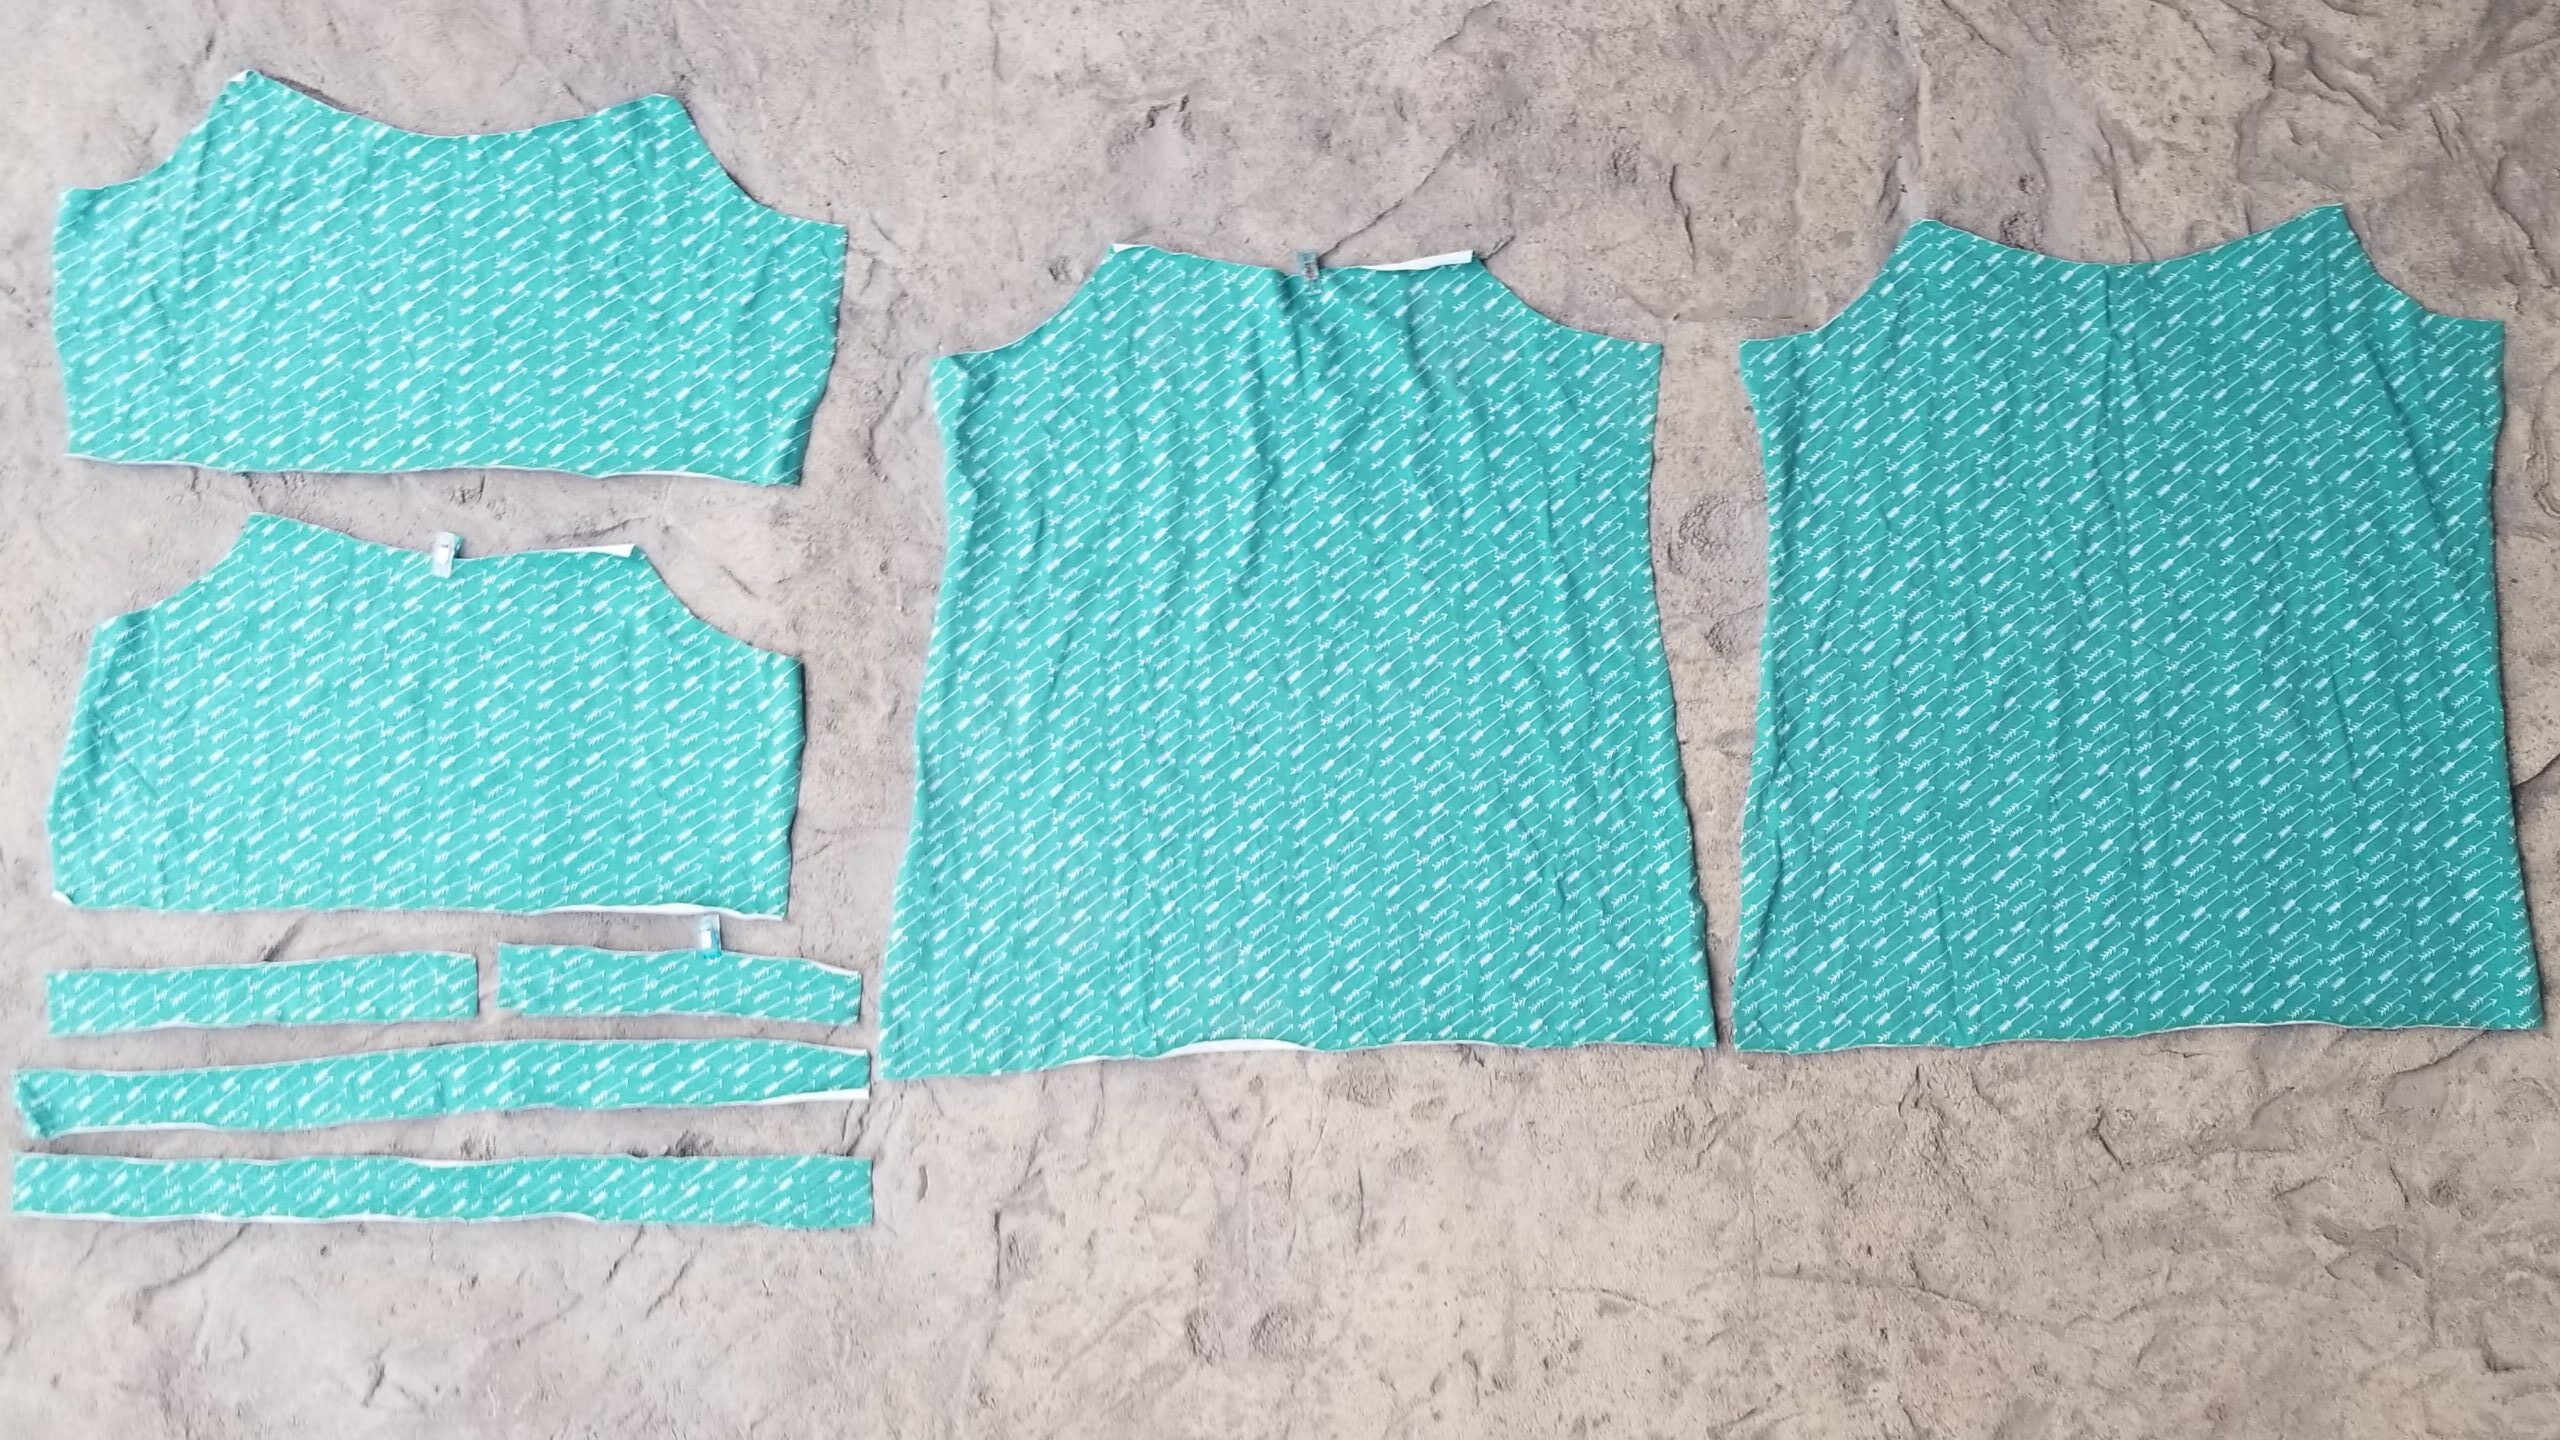
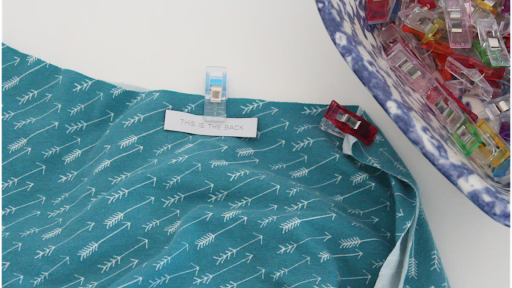
The pieces I need for this top are the front & back shelf bra, front & back binding, 2 arm bindings and the front & back shirt. Because the front & back of this design are so similar, I like to mark my back pieces with a blue clip. This isn’t fool-proof, but it works for me most of the time. You could also use a safety pin or some washi tape to keep things straight. You’re also going to need some elastic if you’re making a shelf bra. The pattern calls for ¾” and I think that’s the perfect size, but if you only have ½” on hand, that will work too.
If you’re not making the shelf bra version, you could go ahead and add the bindings first, before sewing the side seams. Personally I don’t prefer this option because of how it finishes in the armhole, but that’s something you’ll have to decide for yourself. Adding the front & back bindings ahead of time would be easier, though.
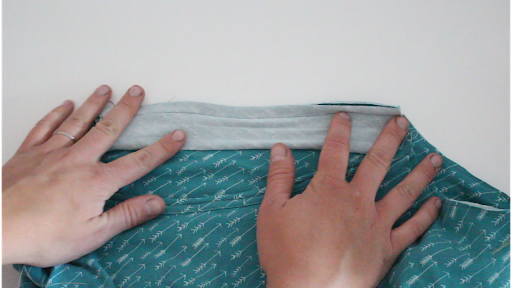
Now, if you are doing the shelf bra, or want your binding to encase everything at the end, you can go ahead and sew up the side seams of the front & back, as well as the front & back of the shelf bra. Add your elastic to the wrong side of the bottom edge of the shelf bra. You can fold it under and topstitch now, or wait until you’re topstitching the bindings in place. I’m choosing to wait til I switch threads over, but in the end I could have done it now.
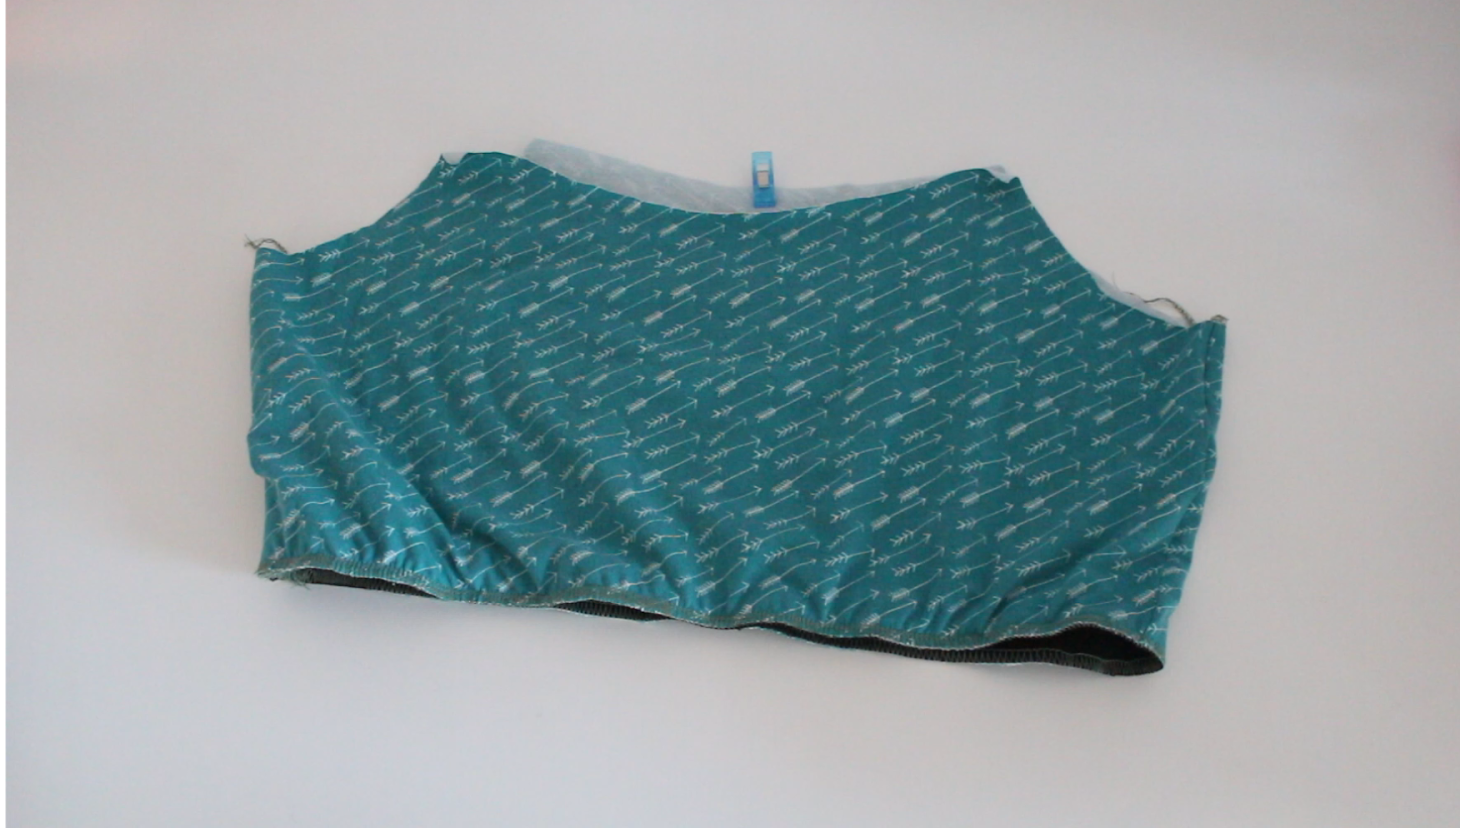
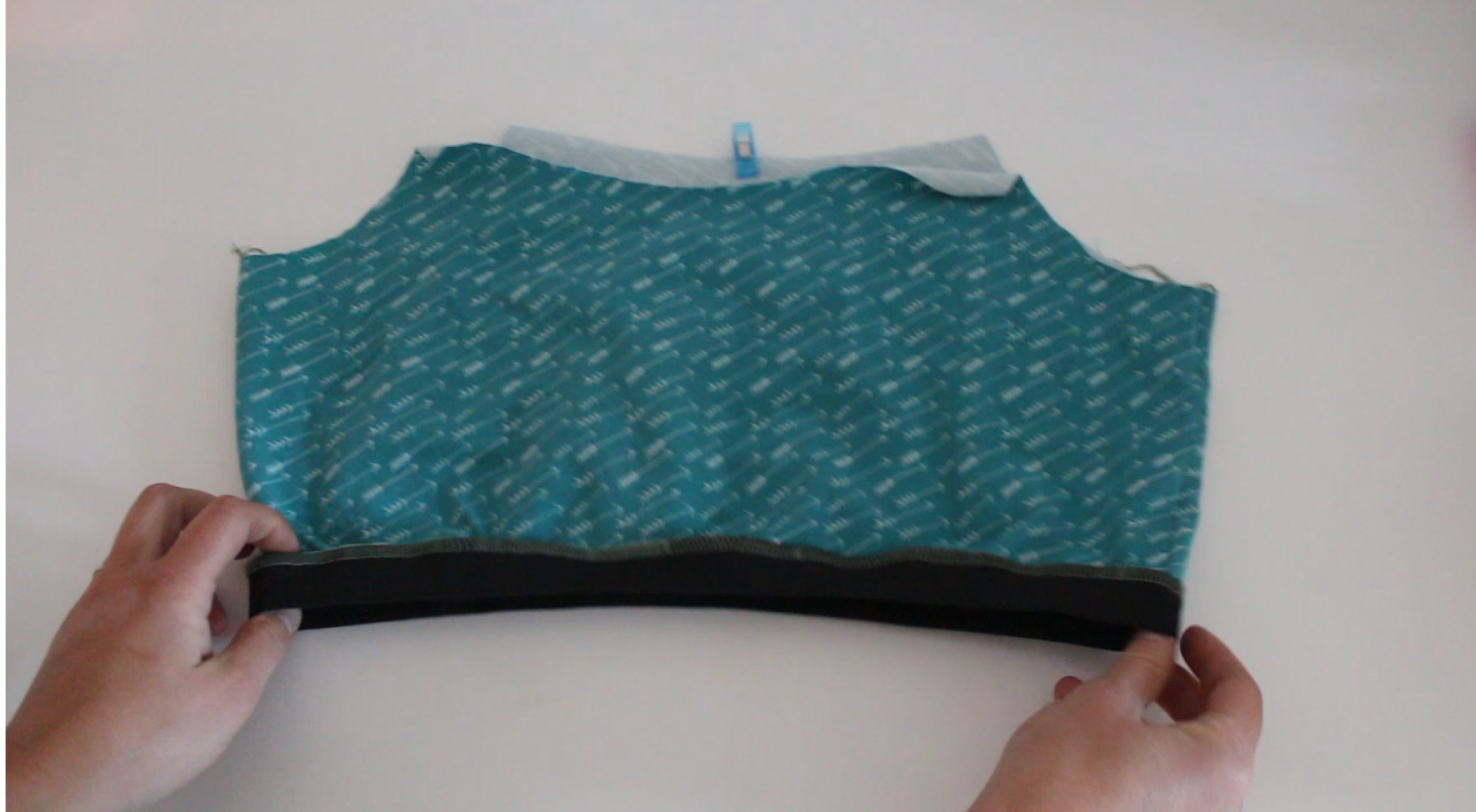
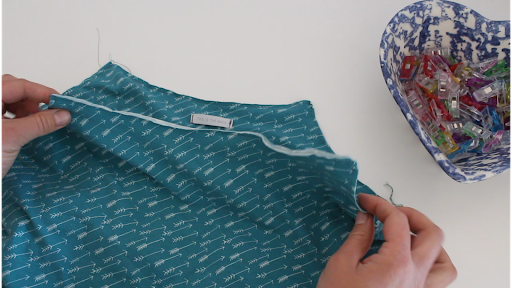
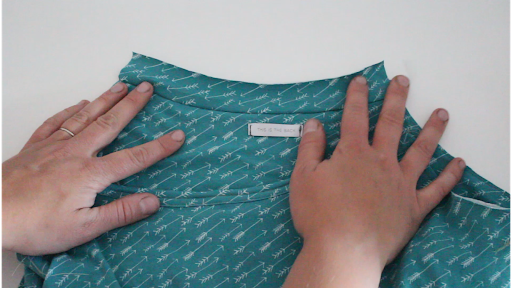
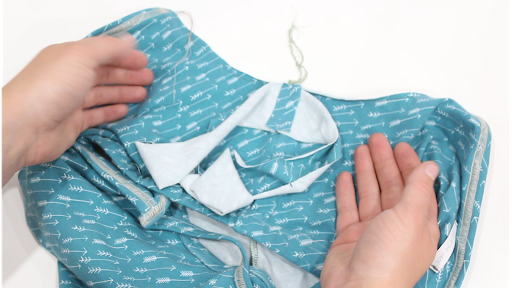
We can then go ahead and slip the shelf bra lining into the main body and baste the top edges together around the entire cami. The key here is to make sure those edges are aligned as close as possible to perfect, and to not stretch out the neckline as you baste or stay stitch. I also decided to add a tag in here at this point.
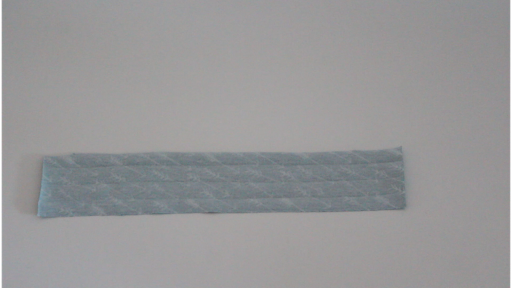
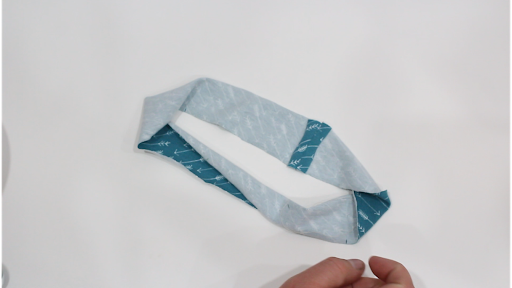
Ok, once we have the bodice done it’s time to add the binding! I like to pre-press mine so that it’s ready to go when I’m sewing it on. This will become especially helpful when we do the straps. To do this, press your piece in half hot-dog bun style, then fold each side in to meet the center crease. You can then fold it all in on itself again and press to hide those raw edges. Essentially you’re making a double fold bias tape. Repeat this with all binding pieces.
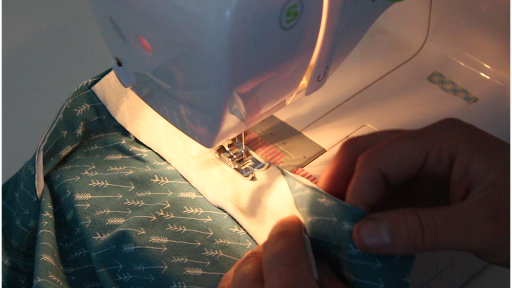
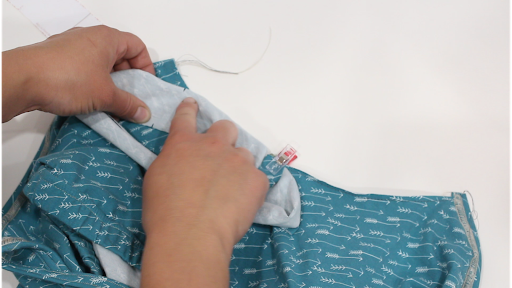
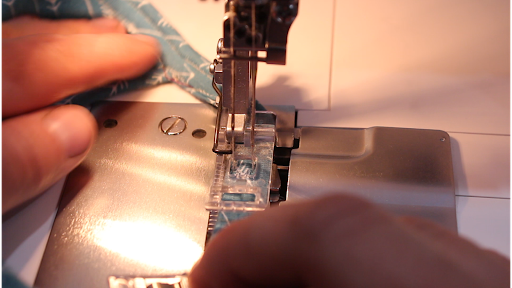
Starting with the front or back, take your unfolded binding piece and place it on the inside of the shirt, aligning the raw edge of the binding to the raw edge of the top. The short ends will line up with the points of the bodice. Start at one short end and sew in the first crease (⅜”) all along. You’ll need to stretch the binding slightly to fit the shirt.
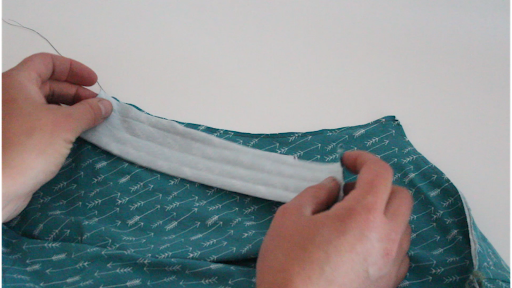
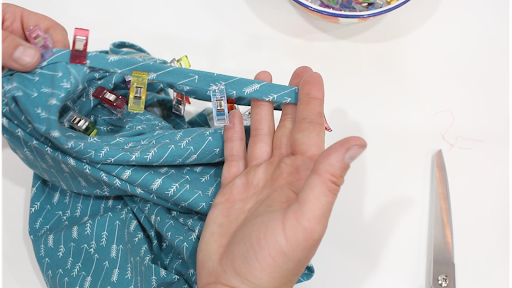
Next flip the binding up and away from the inside of the shirt. Your pre-pressed creases will allow it to naturally fold over the top and tuck into itself. Make sure the back side is smooth, flat and not bunched. Again, this is easier if you pre-pressed. You also need to ensure that the front fold is covering your first stitches. Clip this in place and edgestitch it down. I’m using my coverstitch, but a twin needle or single needle with stretch stitch works great, too. Take your time, go slow and keep that folded edge lined up to a specific point on your presser foot to get a nice even line. Repeat with the remaining front or back.

The armholes are attached in the same way, however there are a couple things we need to add. Firstly, we need to connect them to themselves to form a loop, after we press to form the double fold creases. I’m using my sewing machine to do this in an effort to reduce bulk, but you could use a serger if you want.

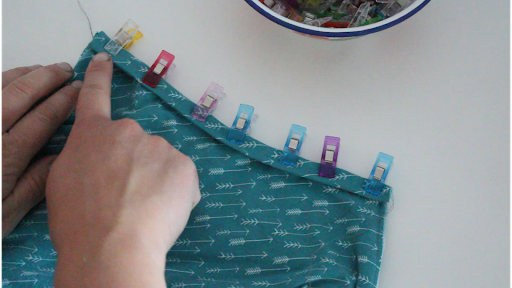
You’ll notice that there are notches on the pattern piece for the binding. Be sure to have those marked on your fabric. One notch is for the front bodice and the other is for the back since the back is slightly longer than the front. They’re marked on both sides, so you’ll need to be careful that you’re lining it up properly. Start by sewing just where the binding attaches to the top.
Now we fold it all in just like we did with the front and back bindings. When we get to the strap portion we continue to fold it in and clip along. The key here is to keep those folded edges lined up. Finish by edgestitching the entire arm strap loop.
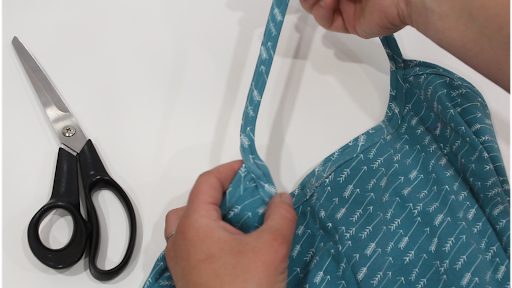
All that’s left to do is hem it and you’re done!
This is such a great casual pattern and a super quick sew. With all the variations you’ll be able to make a drawer full of Maui tanks in no time! The hardest part is deciding which to choose first!