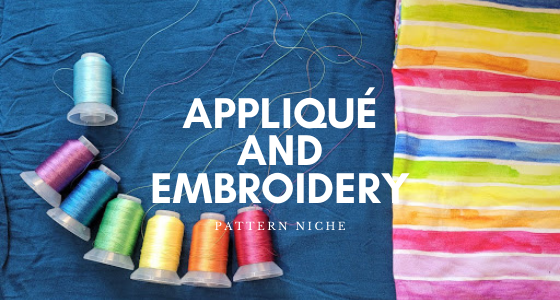
Hi! This is Amanda and today I’m going to show you some fun ways to add a little something extra to your sewing projects by adding appliqués and embroidery!
Appliqué
First up is applique! I really love using applique to make custom decorations that have nice texture, to use up scraps, or to show off a really neat fabric!
There are tons of free patterns you can find by searching “free applique” on the internet, which you can print or project, and it’s also fun to sketch your own! If you are sketching your own, keep in mind that you will be cutting it out twice, and then sewing around it, so I prefer to keep my outlines fairly simple, and leave room for the border. A slight bit of asymmetrism will give your applique charm and uniqueness! That’s what I go with anyway!
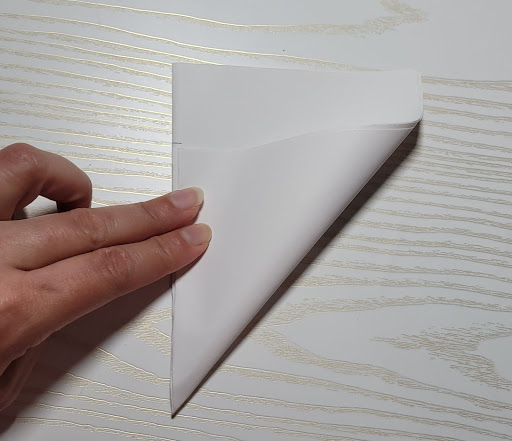
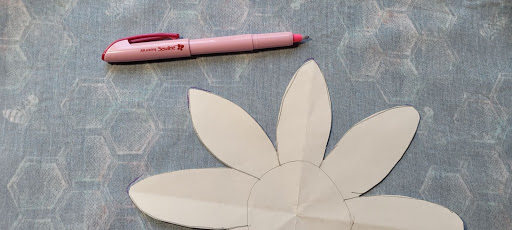
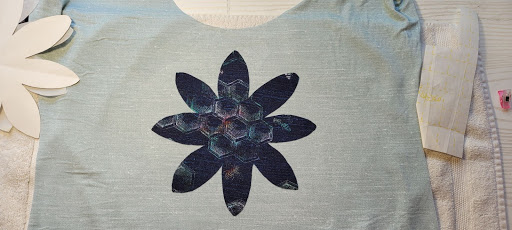
For this project, I decided to use this great honeycomb and bee fabric as an applique on a sage green textured solid. I thought a flower would be a perfect shape for it! I could have found a free flower shape, but I decided to free-hand a daisy shape. To keep the overall shape symmetrical, I folded a piece of paper into eighths and cut out a circle. I marked a central circle and the width of the petals, and then drew each one individually.
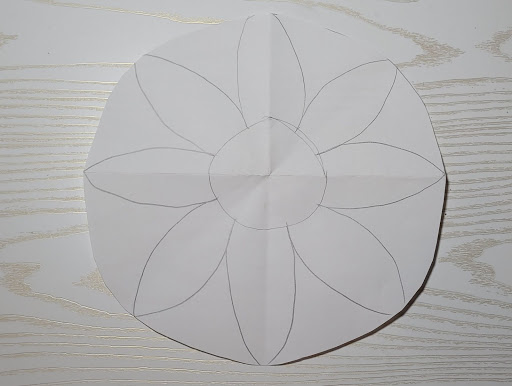
If you wanted a more perfectly symmetrical flower you could draw one petal and trace it for the others!

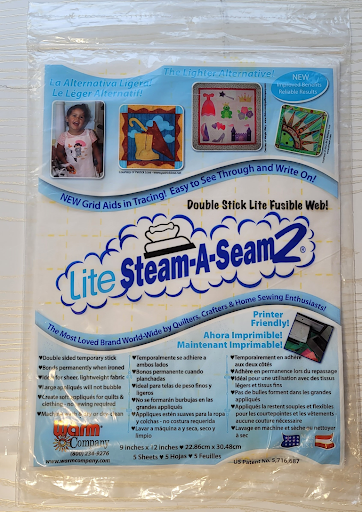
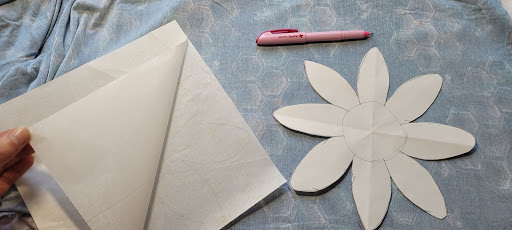
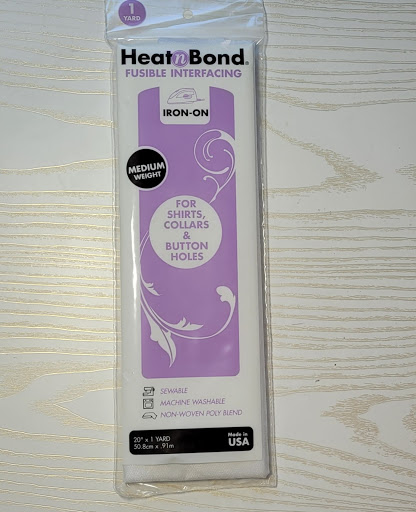
This is the interfacing I use for appliqués, it’s widely available online and in stores.
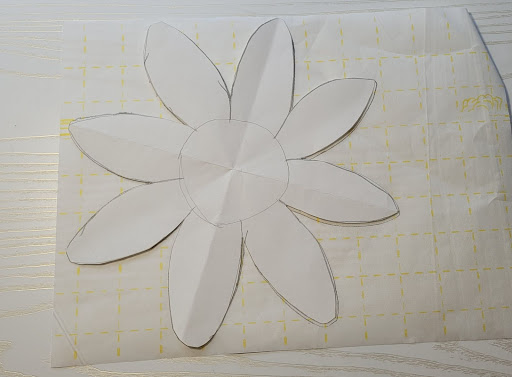
Place the interfacing with the grid-marked side up, trace the applique shape onto it, and then cut it out. Note that your final applique will be reversed from this shape!
Preparing your Appliqué
Prepare your applique fabric right side down, and press flat to smooth any wrinkles.
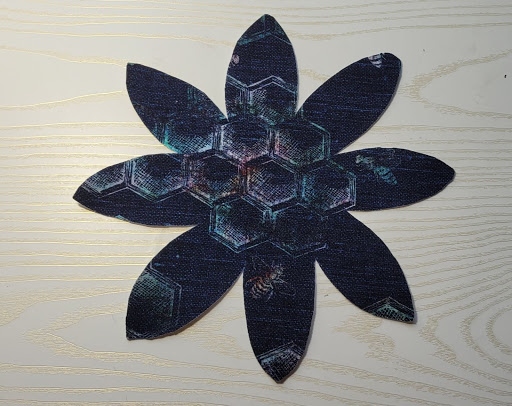
Since I did not plan to draw another circle to differentiate the middle of my flower from the edges, I wanted to place it so that the shapes on the fabric would suggest a circle in the middle. I used an evaporating pen to mark exactly where I wanted to place my appliqué.
Peel off the backing of the applique shape and press it firmly to the wrong side of the fabric. Cut out the shape using sharp fabric scissors or rotary wheel.
Placing the Appliqué
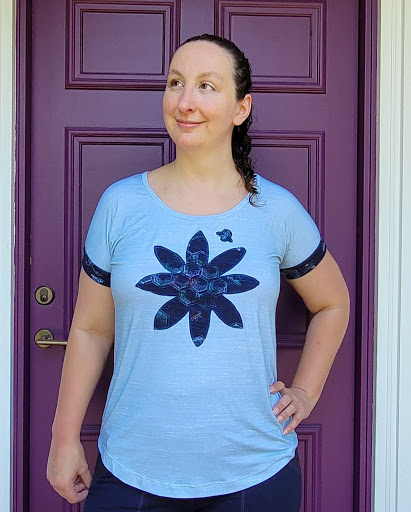
The base shirt I chose to do this applique on is the Dublin Dolman, one of my favorite shirts, so to determine the placement I simply put one on and held the appliqué shape up to my shirt, and measured how far down from the neckline I wanted to place it. Appliques usually look best much closer to the neckline than you might expect! For large ones it’s generally only a little over an inch down, for smaller ones 3-4 inches.
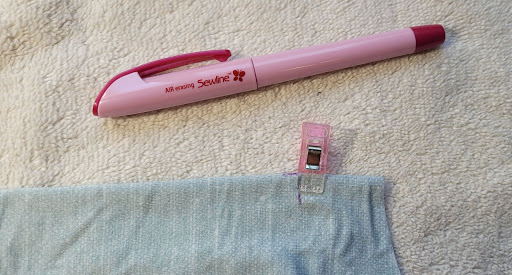
I marked the center of the front of the shirt and the distance down to place the applique with an evaporating marker. Press the shirt front so the fabric is smooth, and peel and stick the applique in place. For more complicated shapes, like this flower, do one petal at a time!
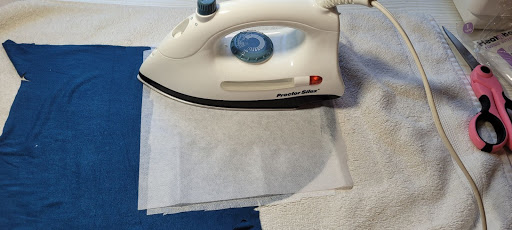
Once the applique is in place, press firmly for 20 seconds over the entire shape, following the package directions.
Finishing the Appliqué
Finally, I like to do a small zigzag to ensure the edges of the applique stay secure. I used a stitch length of 1 and width of 4. Another option to finish the edges is satin stitch, which gives a slightly raised edge. I just personally prefer a zigzag. Sew around the edge of the applique with your chosen stitch, and then press a final time!

I chose to add a small bee coming in to land on my flower, and I have a fun and unique summer shirt!
I have used this method often, and it can make some really cute sets! I really like to use it to highlight a cute print or to add fun design to a shirt.
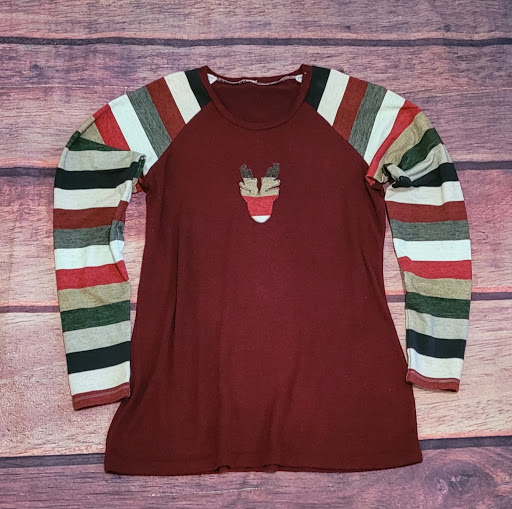
Riviera Raglan with reindeer applique
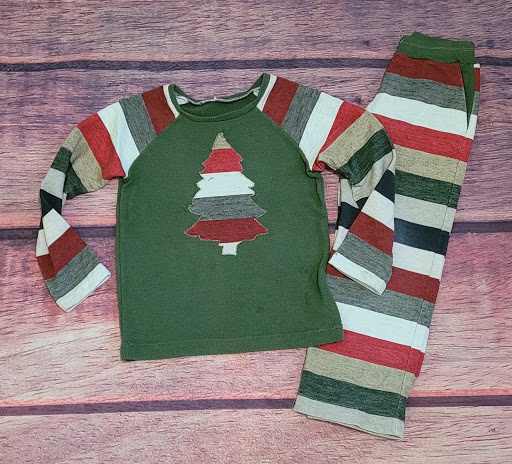
Streamline tee and 11th Hour pants with tree applique
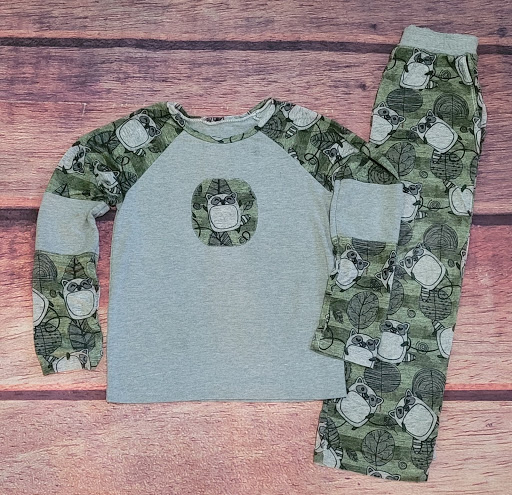
Streamline tee and 11th Hour Pants with cutout shape applique
Embroidery
Another way to add a fun detail to a garment is with embroidery! This method is a bit more equipment-intensive since it does require an embroidery machine, although it would work with hand embroidery as well!
Most embroidery machines come with preset patterns, and there are many more available online! I like Embroidery Library and Urban Threads as good sources for patterns, and both sites allow me to ensure both the file type and pattern size will work with my embroidery machine.
Embroidering on knits does require interfacing, and for this reason I generally prefer to embroider on pockets, where the interfacing and back of the embroidery won’t be against my skin. For a small pattern, it’s not too bothersome, but it’s definitely a consideration when choosing an embroidery pattern.
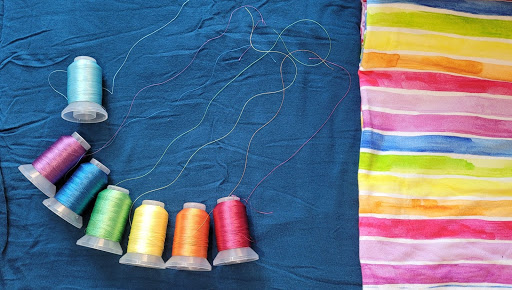
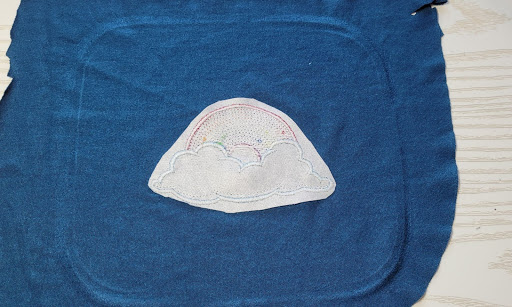
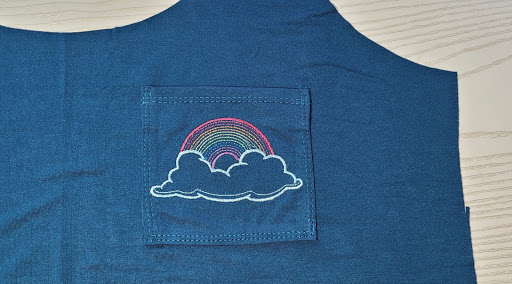
For June and summer, I chose a cute rainbow pattern to embroider on the pocket of the free Key West tank! Each pattern from Embroidery Library comes with a printable sheet describing the colors needed, but I choose slightly different colors to coordinate with a rainbow stripe fabric for the bands.
Preparing for Embroidery
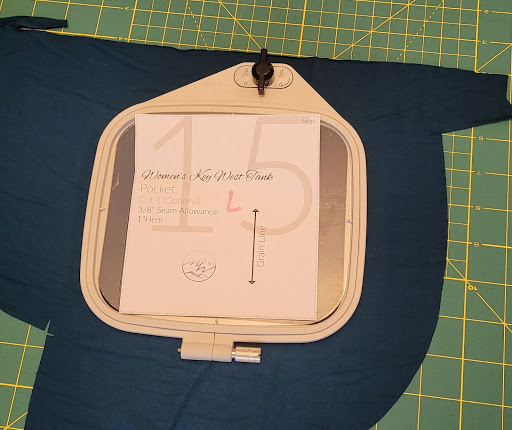
Each embroidery machine has specific hoop sizes. Since the Key West pocket is smaller than my smallest hoop, I used scrap fabric larger than my hoop to embroider, and cut the pocket out afterwards.
With the right side down, I pressed the fabric scrap so it was smooth. For embroidering on knit fabrics, I use two layers of this knit interfacing.
Cut it to size and press for 15 seconds for each layer
Embroider
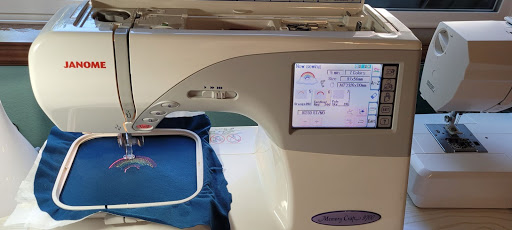
Place the fabric scrap into the hoop and follow the directions in the embroidery machine’s manual to load the pattern and embroider it. Use a stretch needle in the embroidery machine for knits!
Peel back the interfacing from the back of the fabric scrap to the edge of the embroidered area and carefully trim it to size.
Cut out your Pattern Piece
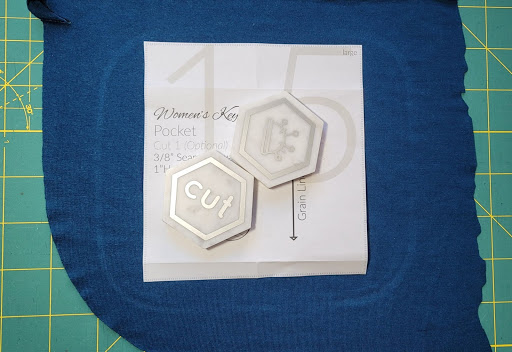
Place the pattern piece over the embroidery, ensuring it’s centered, and cut.
For pockets, I fold the edges over, press, and then unfold and secure with wonder tape. I then use another layer of wonder tape to hold the pocket to the garment while I top-stitch it in place.
It’s amazing how a small detail can add so much!
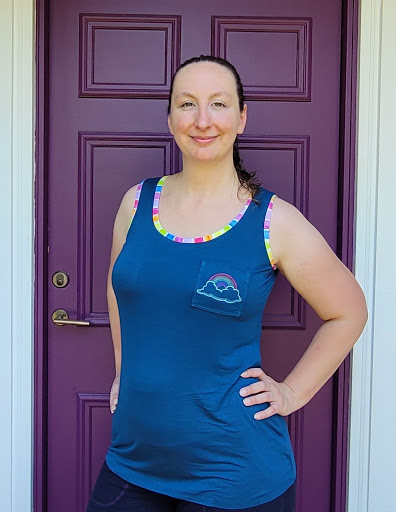
Embroidery can add such a fun accent to a garment!
Other Examples
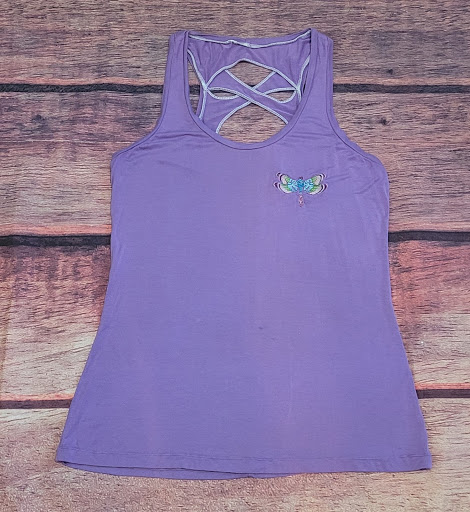
Athena tank with Blue Rose Dragonfly in Watercolor
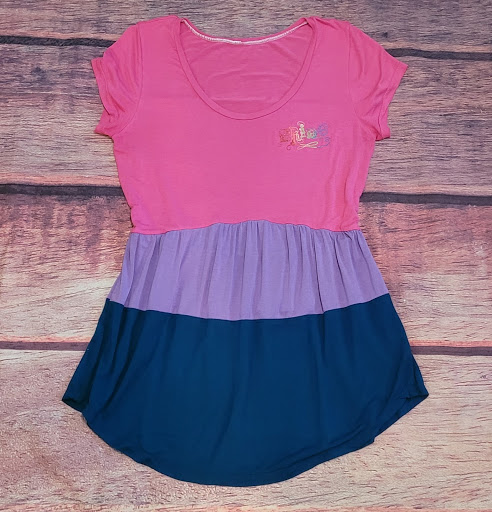
Color-blocked Melbourne with Pride
One of my favorite things to embroider is the back pockets of pants or shorts!
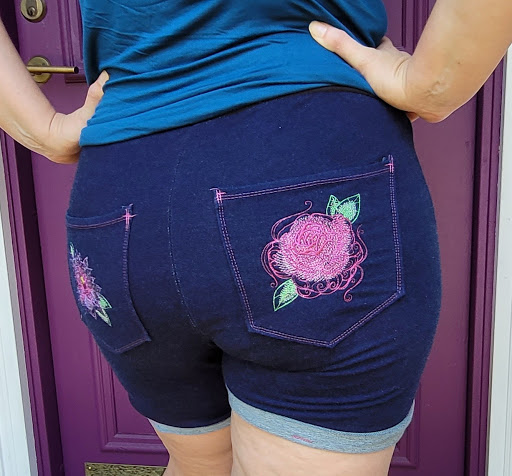
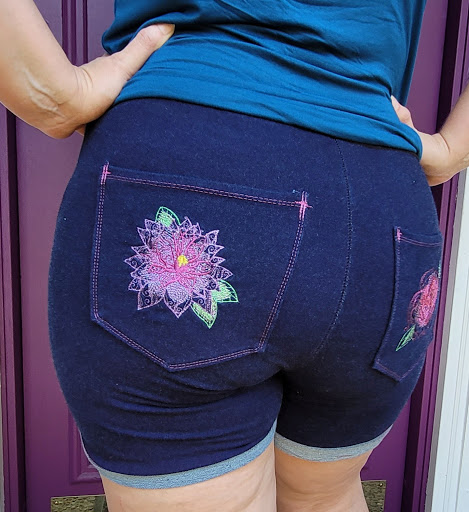
Portlanders with back pockets and rolled hems, Spring Magic – Peony and Woodland Magic – Clemetis Andromeda
Have you done any appliques or embroidery? Or do you have any ideas for a pattern you’d love to make? I’d love to see it if you have!