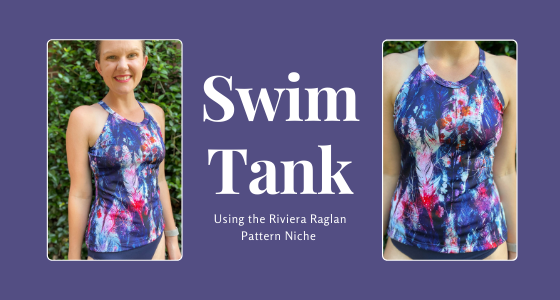

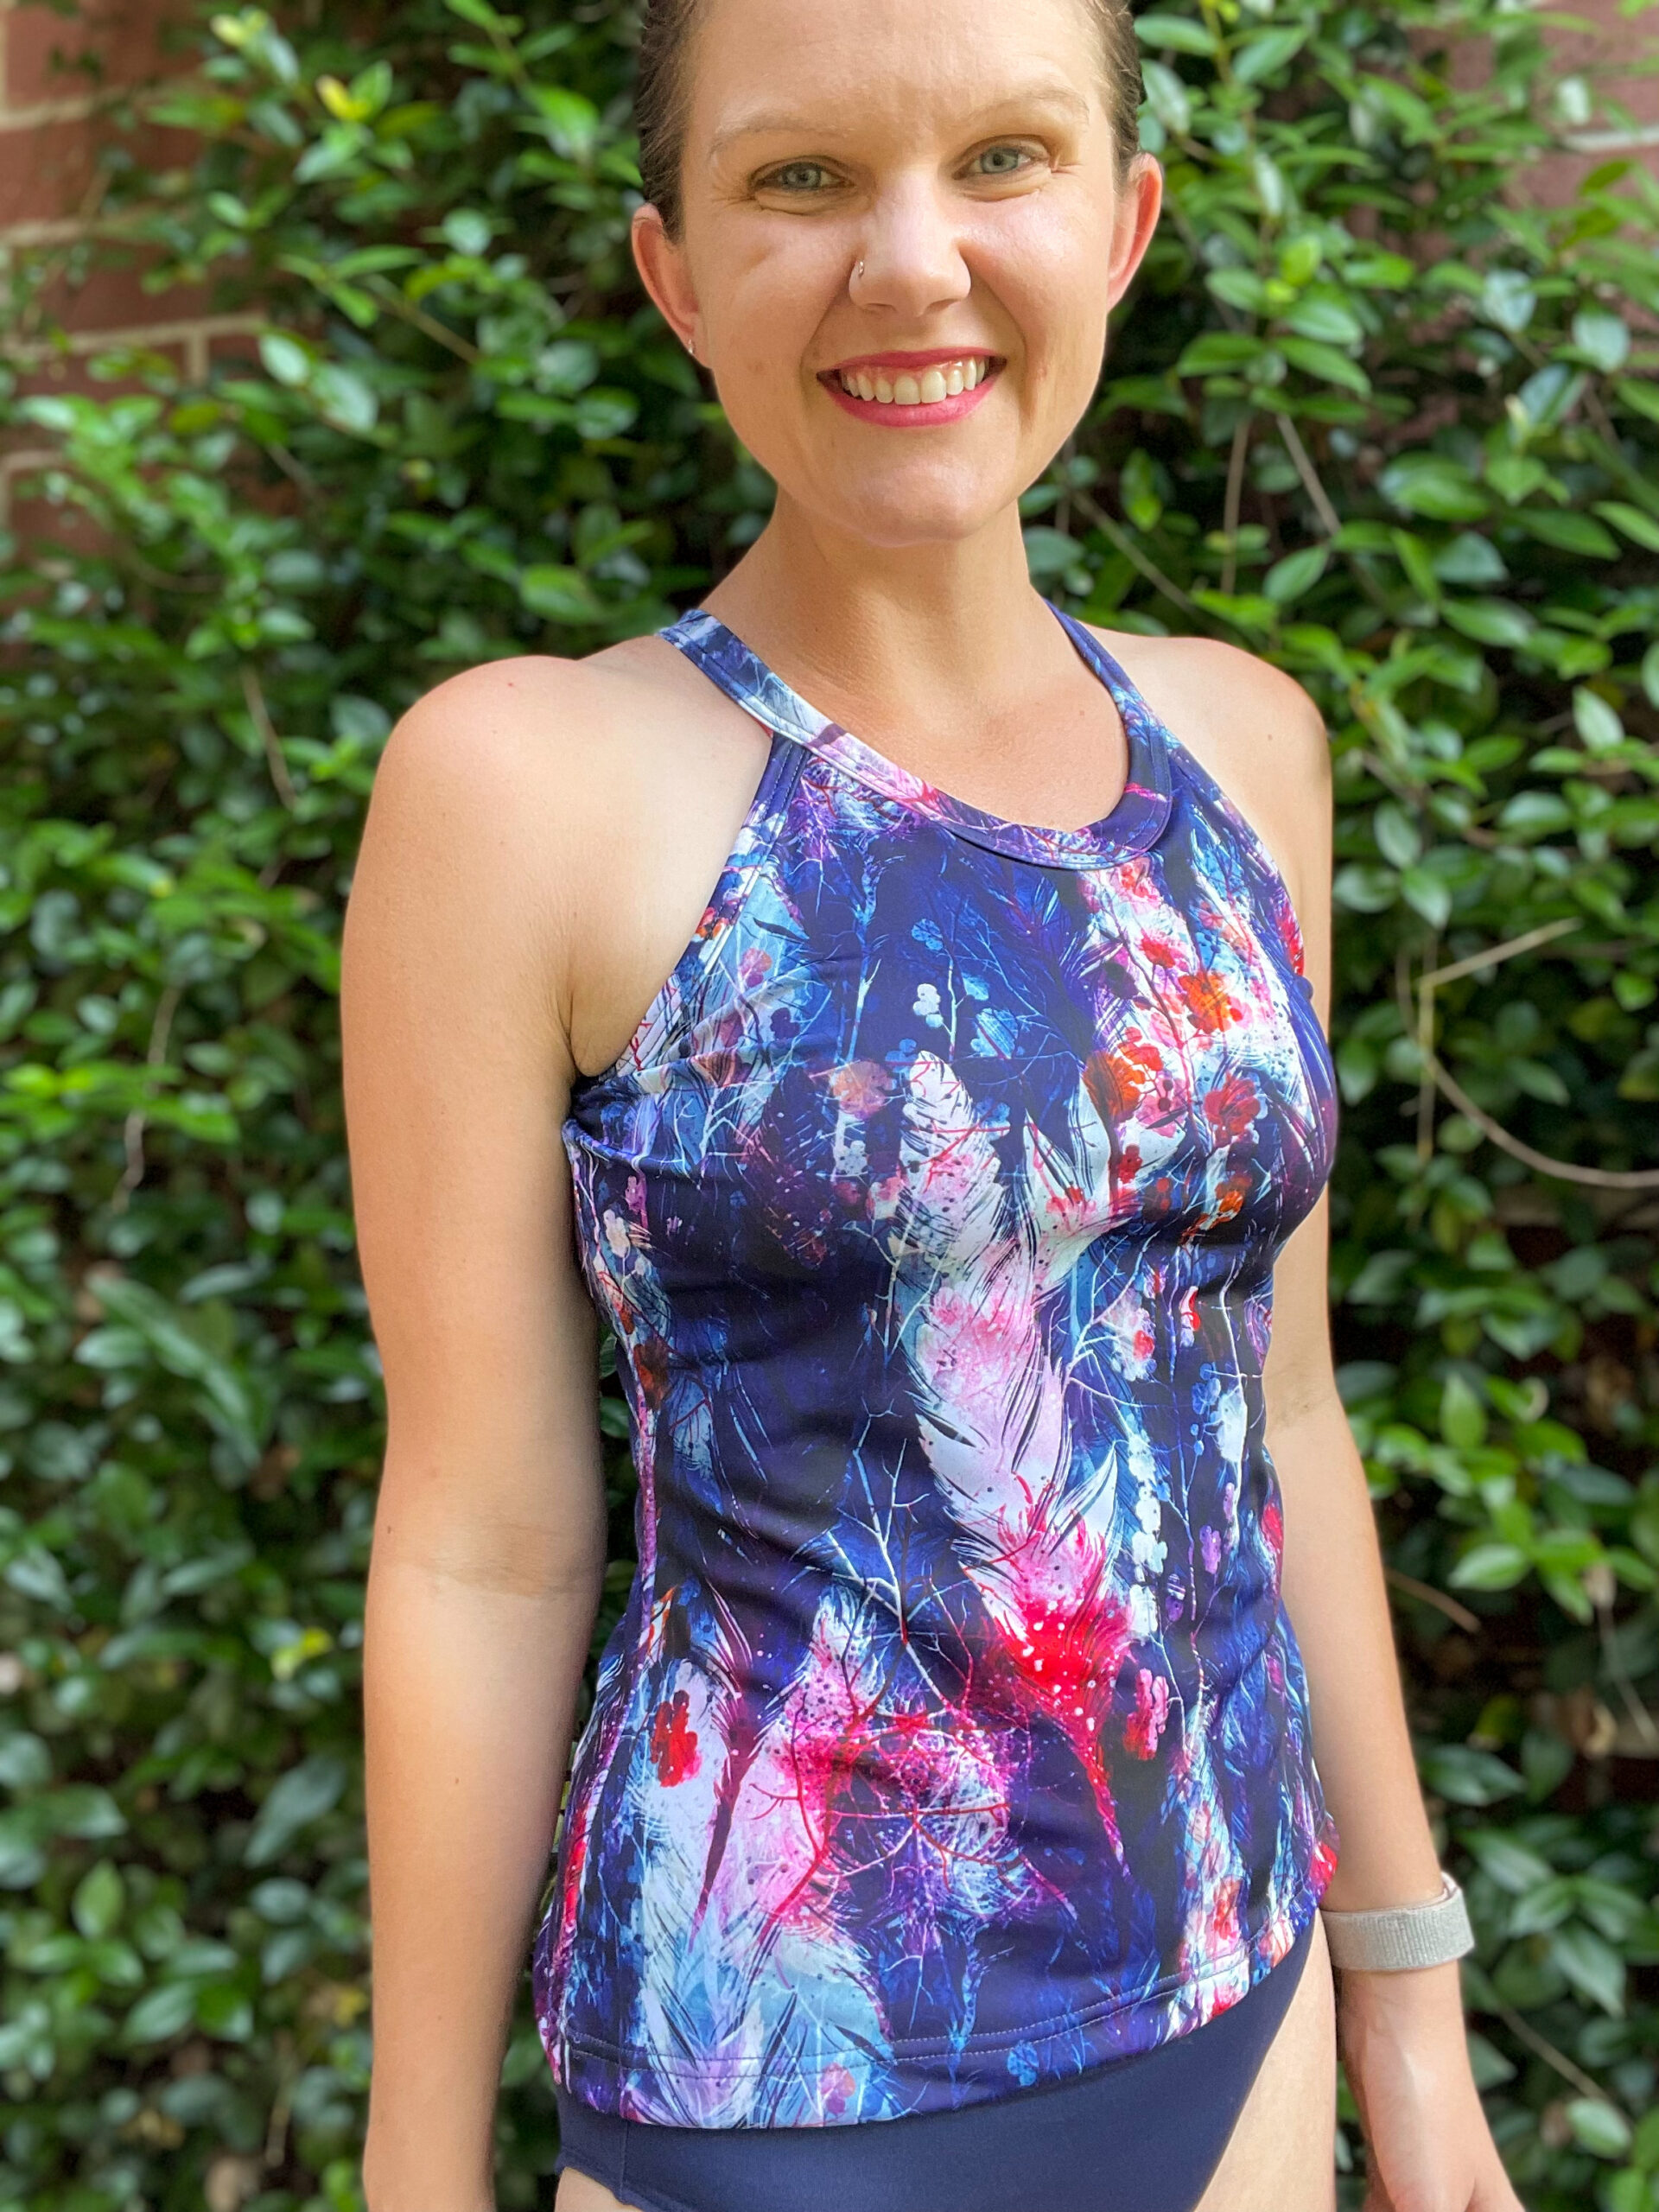
Hey everyone! Teal here. I’ve been sewing up swimsuits like left and right this summer, so I was super excited to figure out how to make a swim tank from the Riviera Raglan pattern. Some swim tips: you can use regular elastic, but swim elastic will hold up better in the chlorine and saltwater. When sewing swim, make sure to use a stretch needle if you are using a sewing machine. Ballpoint needles will skip stitches on swim fabric. I suggest size 90/14. If you have a serger, I highly recommend using it to construct this piece.


Supplies list:
-swim fabric of your choice
-Stretch needle
-1/4” swim elastic (optional but highly recommended)
(optional for built-in crop bra)
-lining fabric
-1” swim elastic
Cutting out the pieces
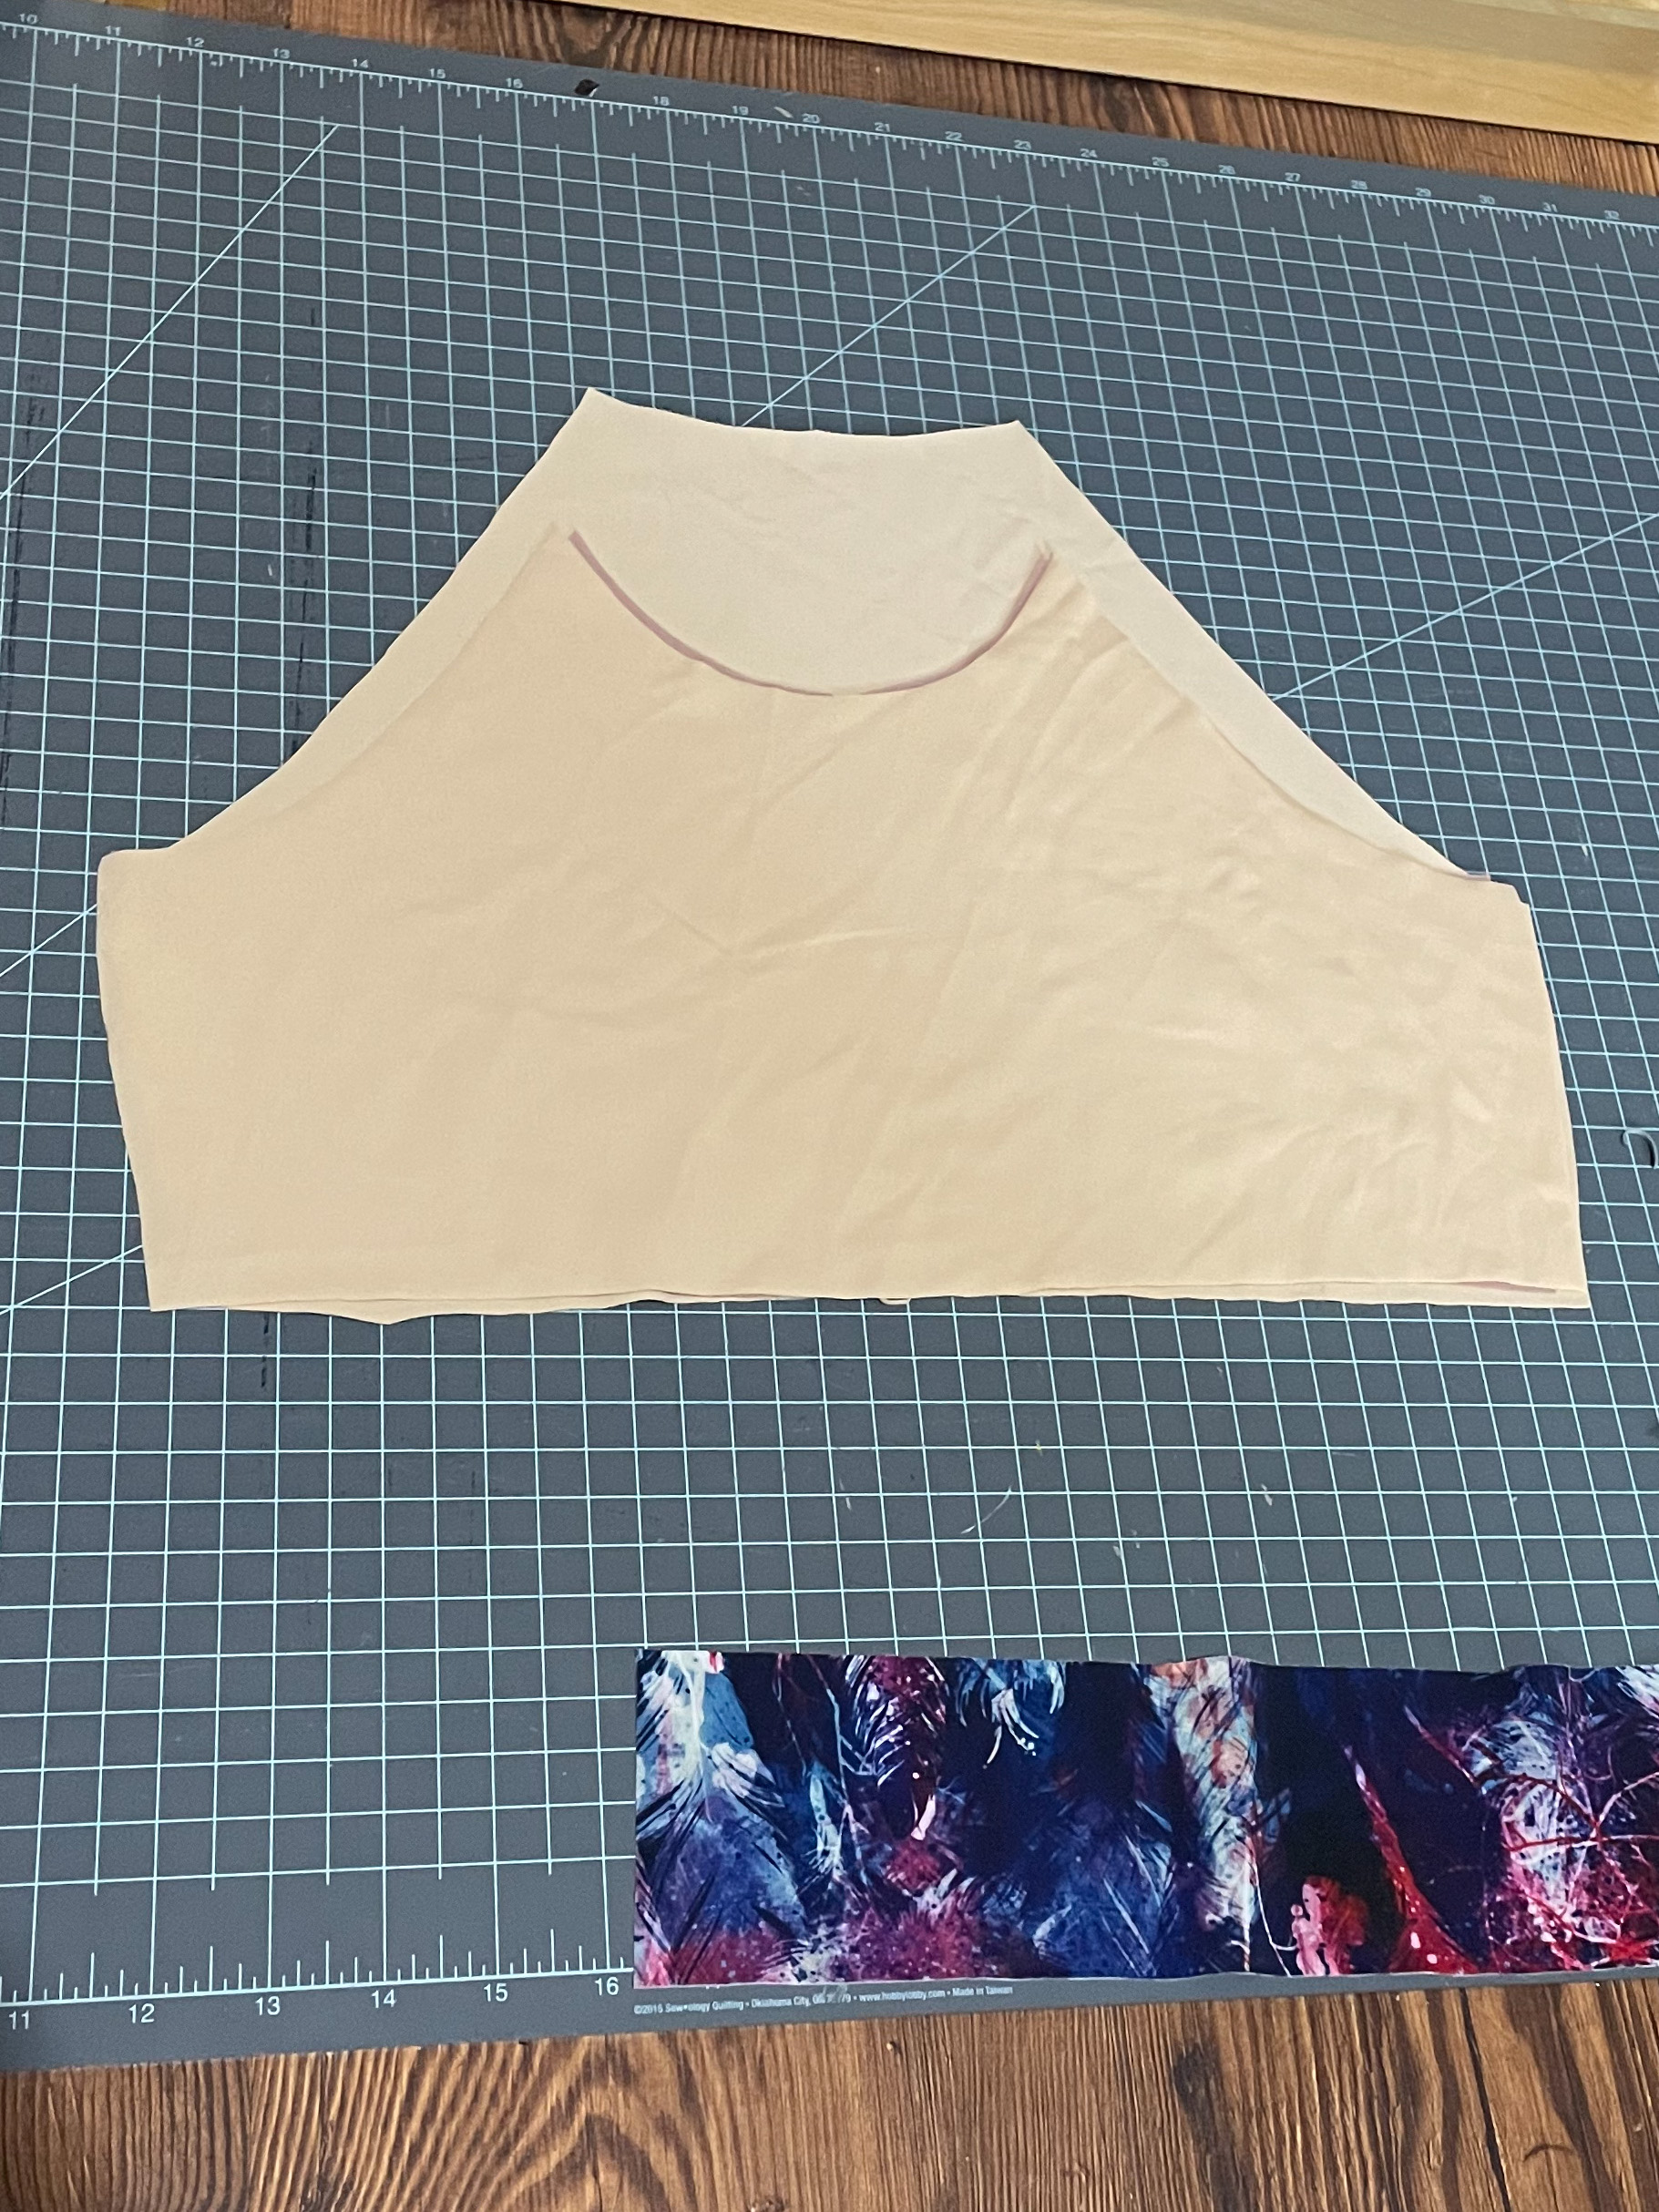
I started by seeing how my measured size fit in the Riviera Raglan and then decided to size down one for the swim top so it would fit a little tighter. I cut out one front piece, one back piece, and one neckband out of my main swim fabric to start.
I used the same length for the neckband but cut it 3” wide instead of 2.” We will use double fold binding for the neckband, so multiply whatever width you want your finished neckband to be by 4 to figure out how wide to make it. I wanted my neckband 3/4” wide, which is why I decided on 3 inches. The neckband will be 1/2” wide if you use the included piece. I cut 1.5” shorter than the “hem band” cut line on the pattern piece for the tank so it would hit right at my hips.
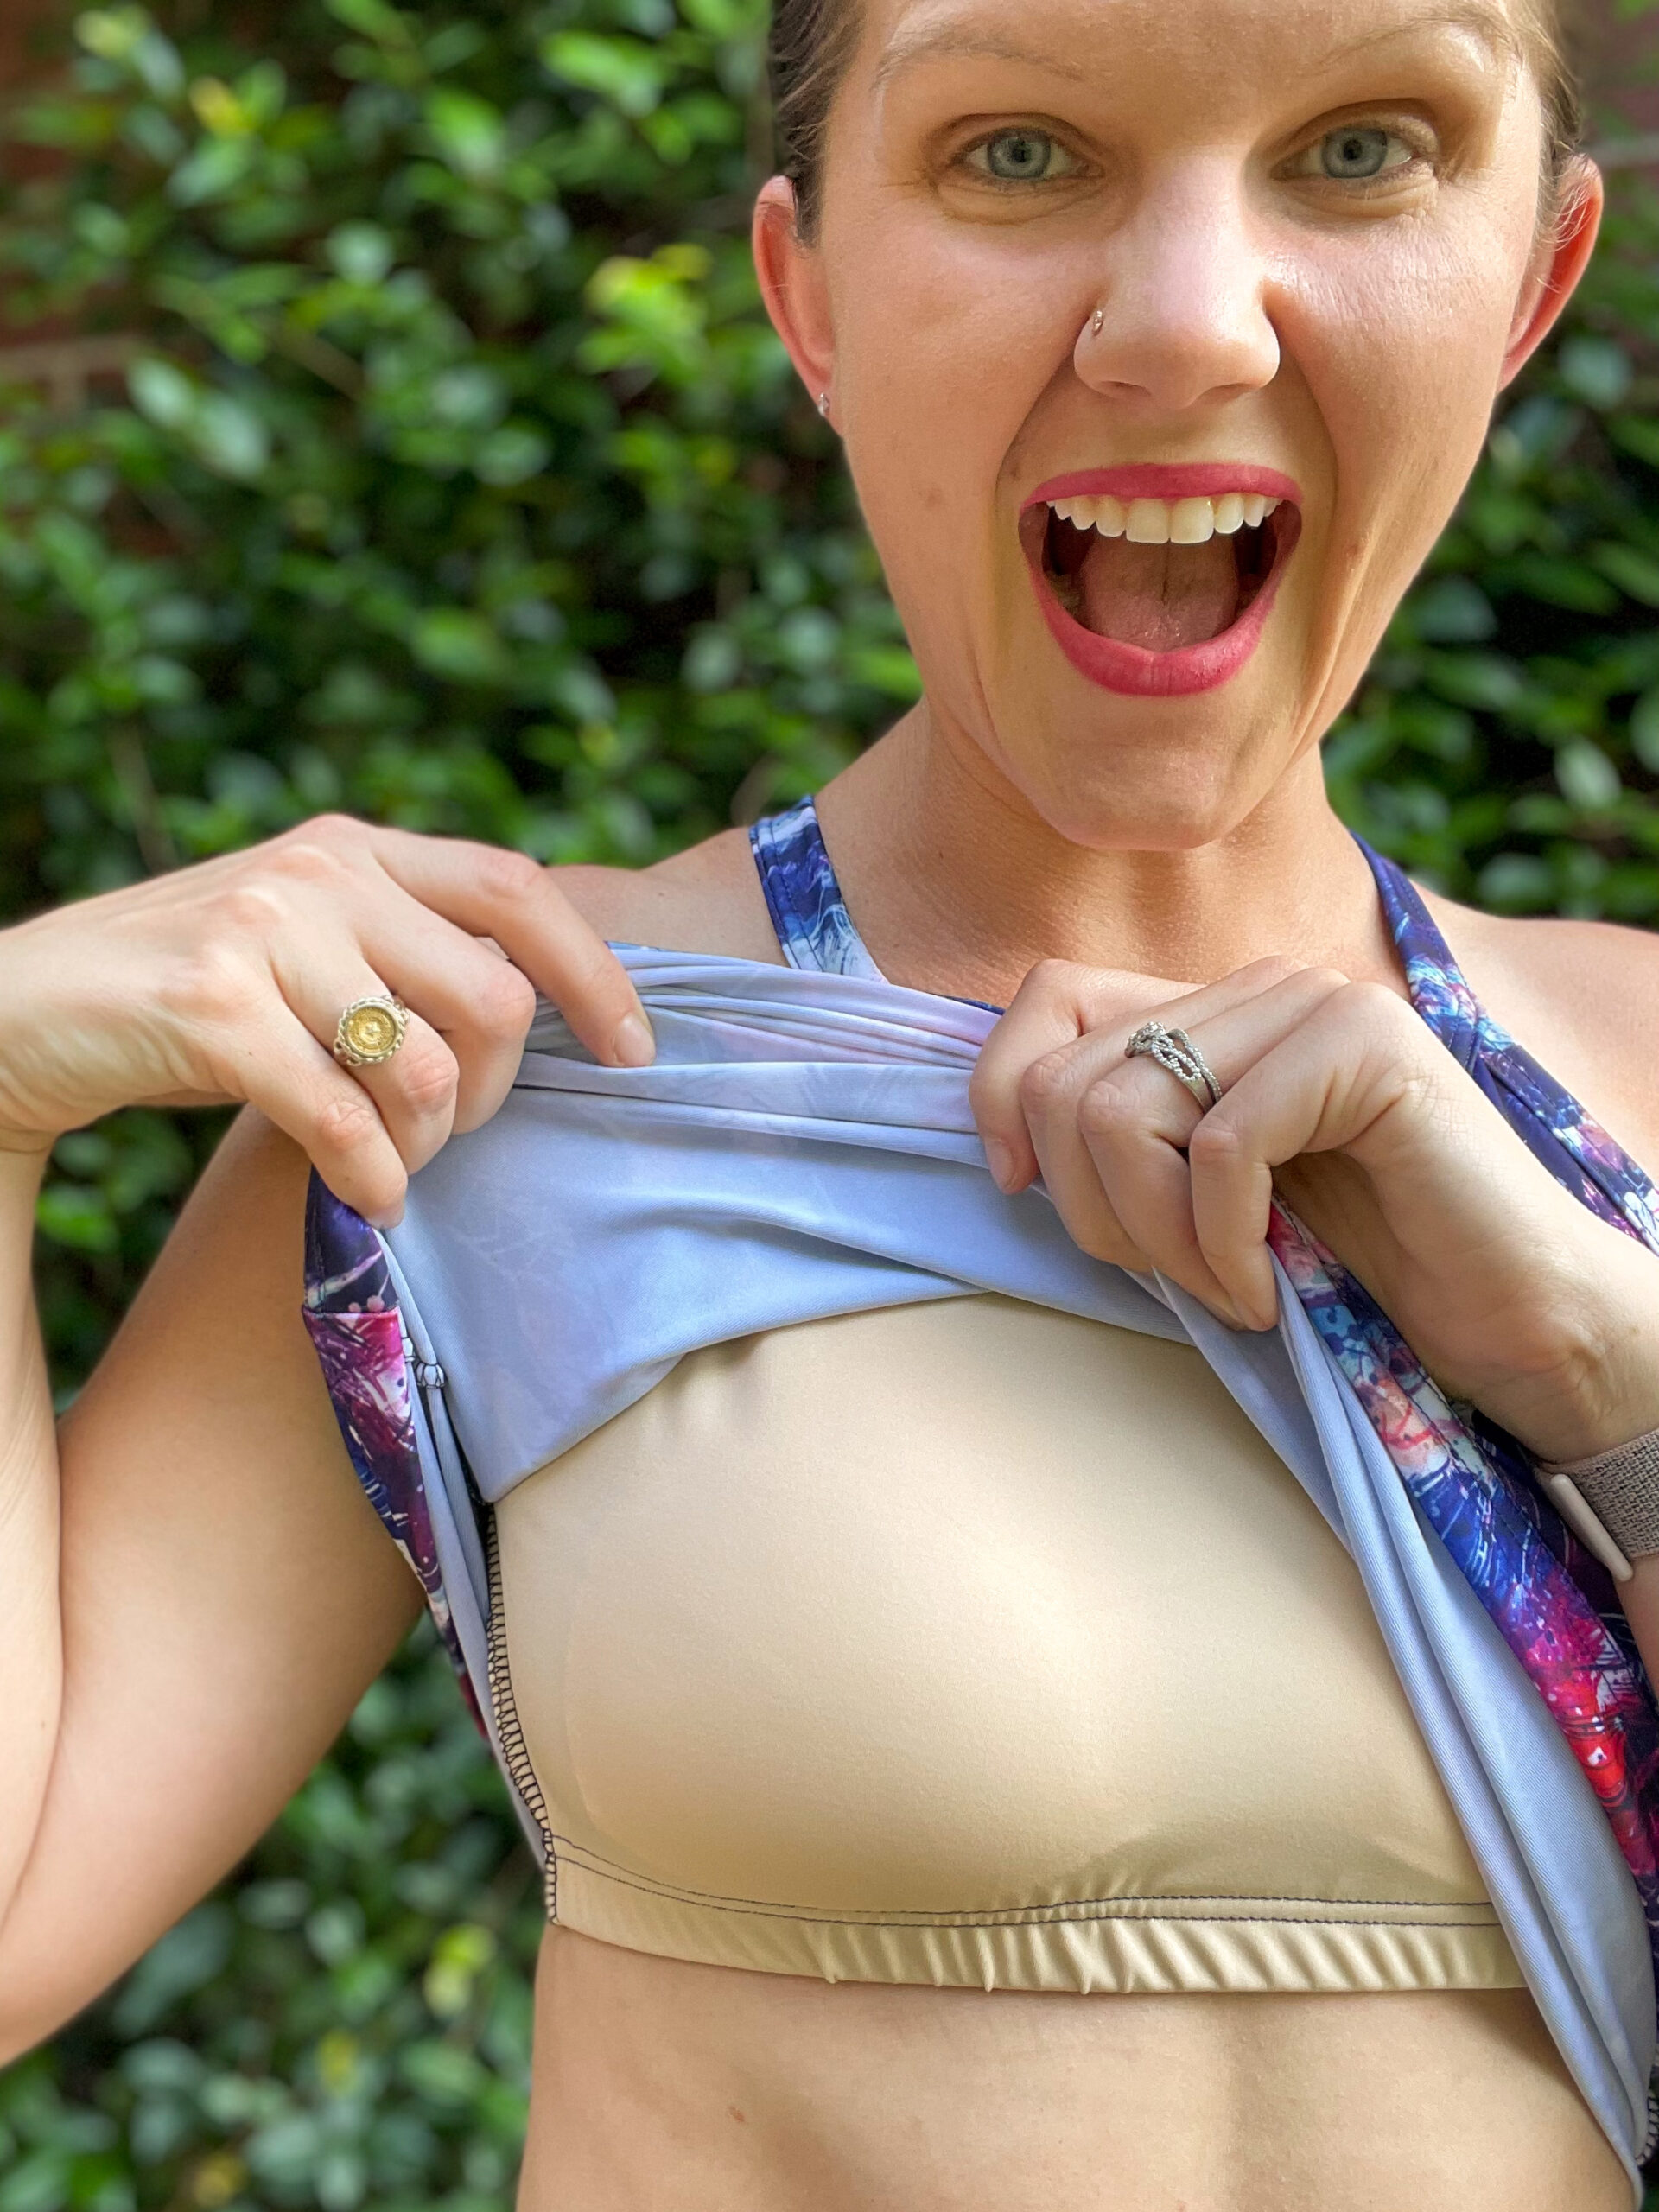
I also decided to add a built-in bra to this so I would feel supported and could add in padding if I desired. You can eliminate the inner layer and make just the tank or omit the extra front cropped piece if you don’t want to add padding. For the built-in crop, measure from your armscye down to where you want the crop band to end and then add 1”. I wanted my band to end 4.5” below the armscye, so I cut the top and back pieces at 5.5” under the armscye. Cut two pieces of the front if you want to add in padding.
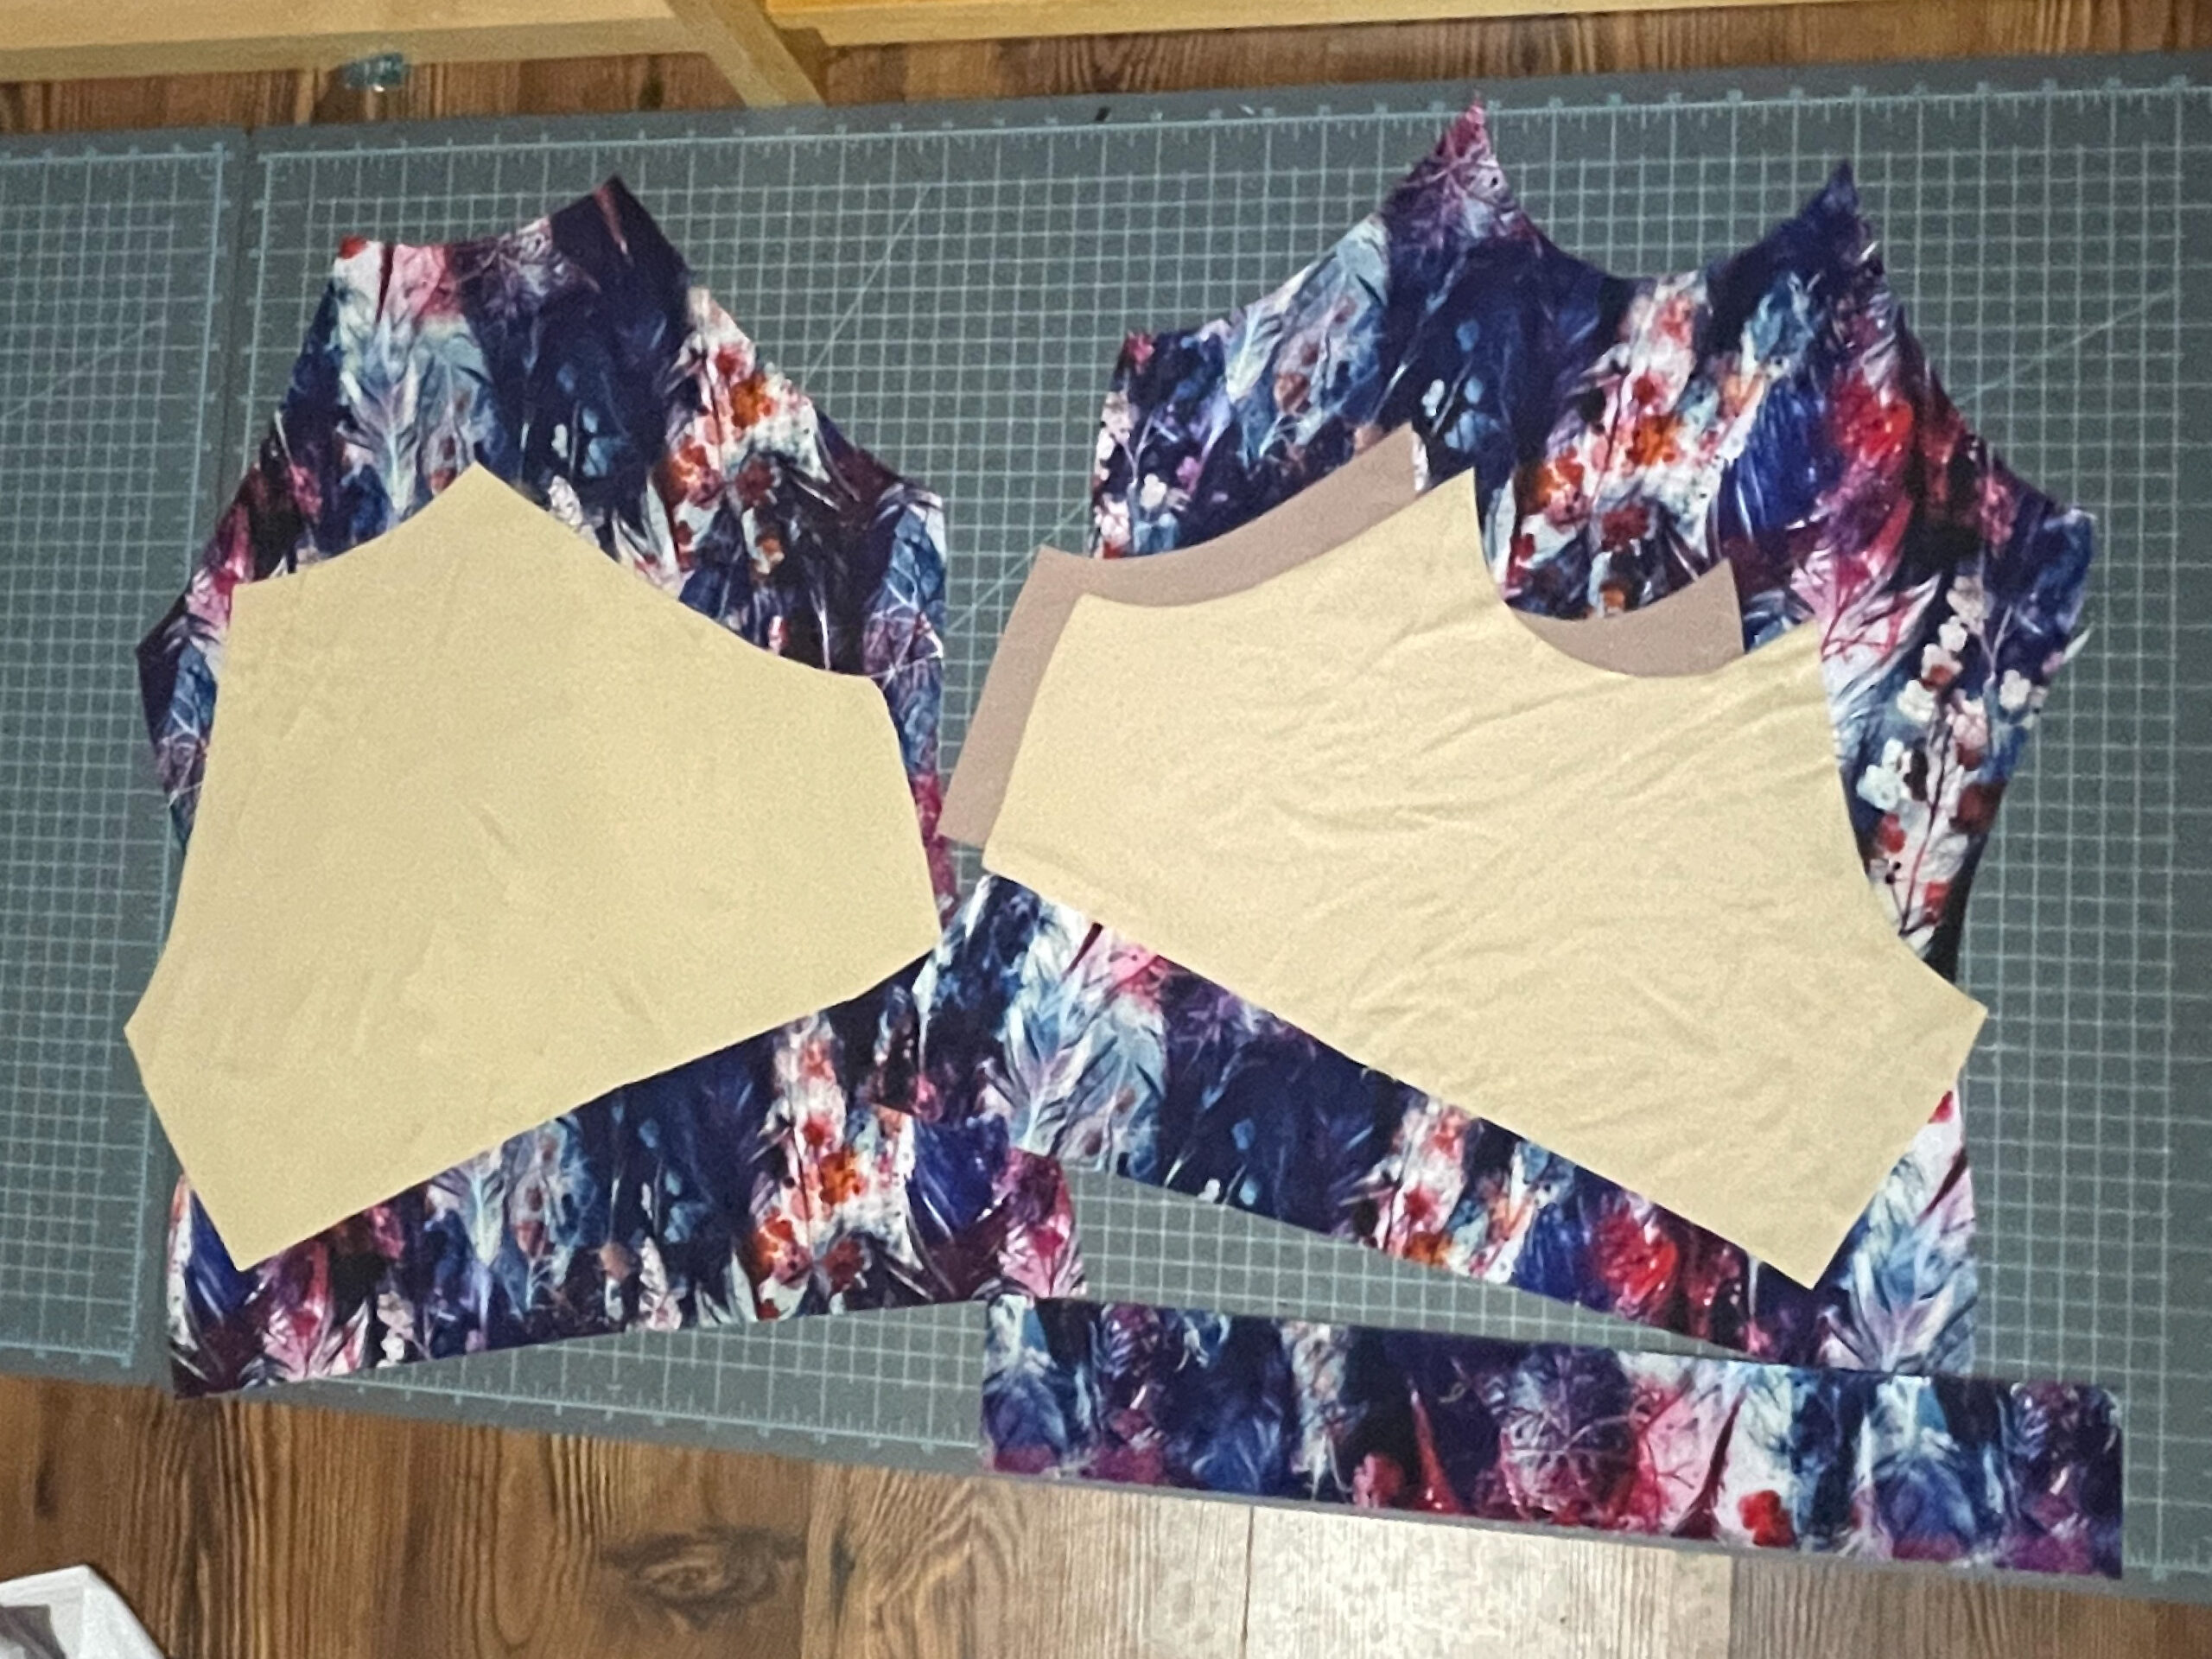
Carve out a semi-circle in one of your front pieces.
Sewing the tank
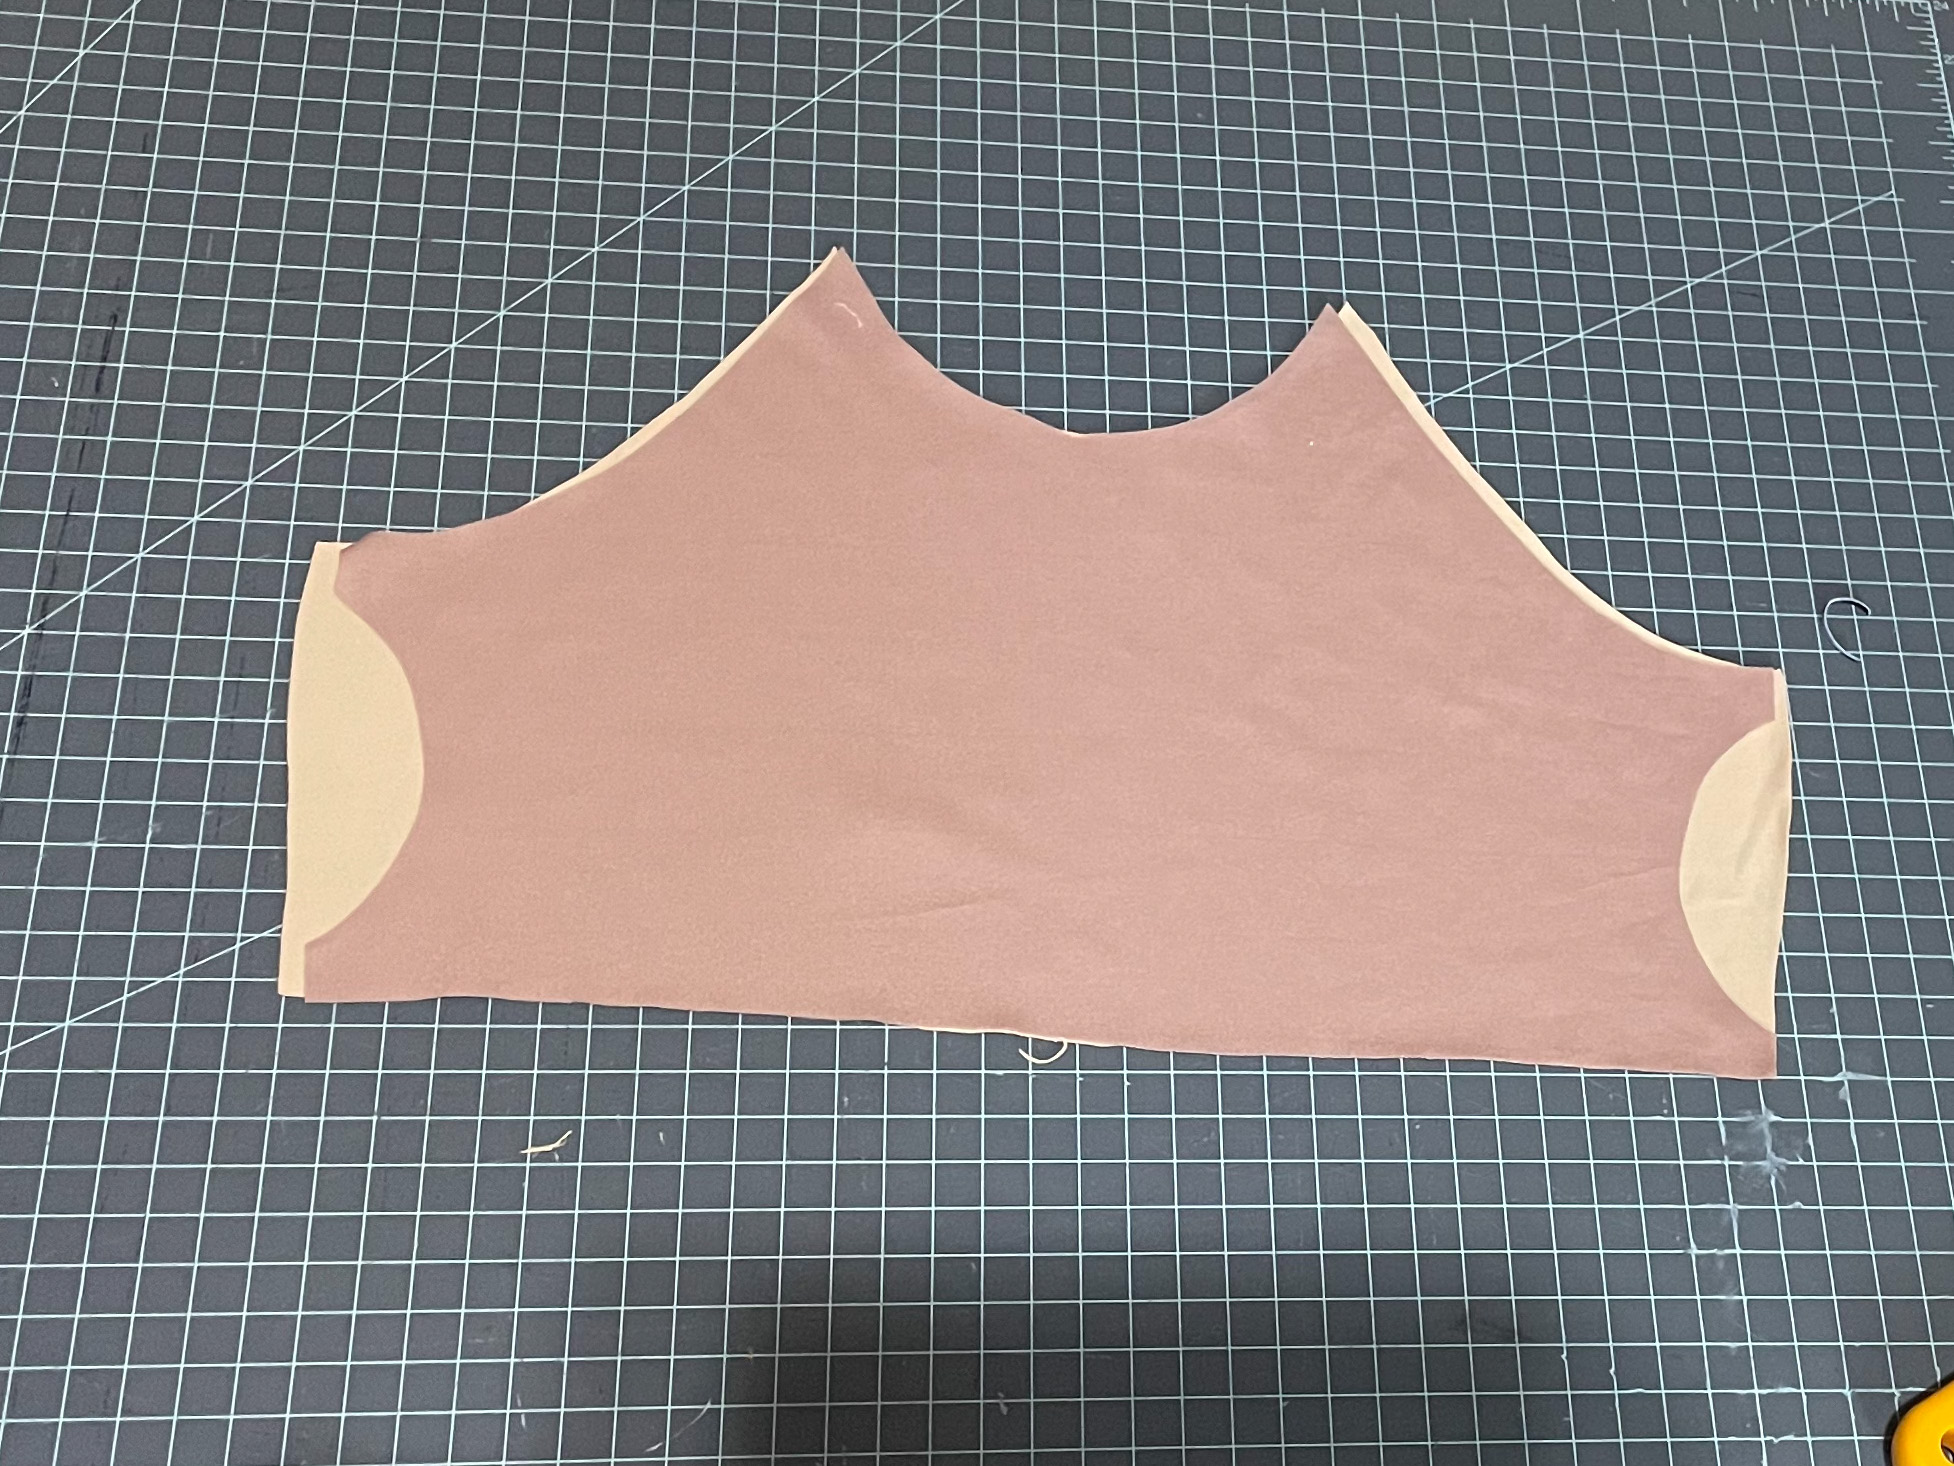
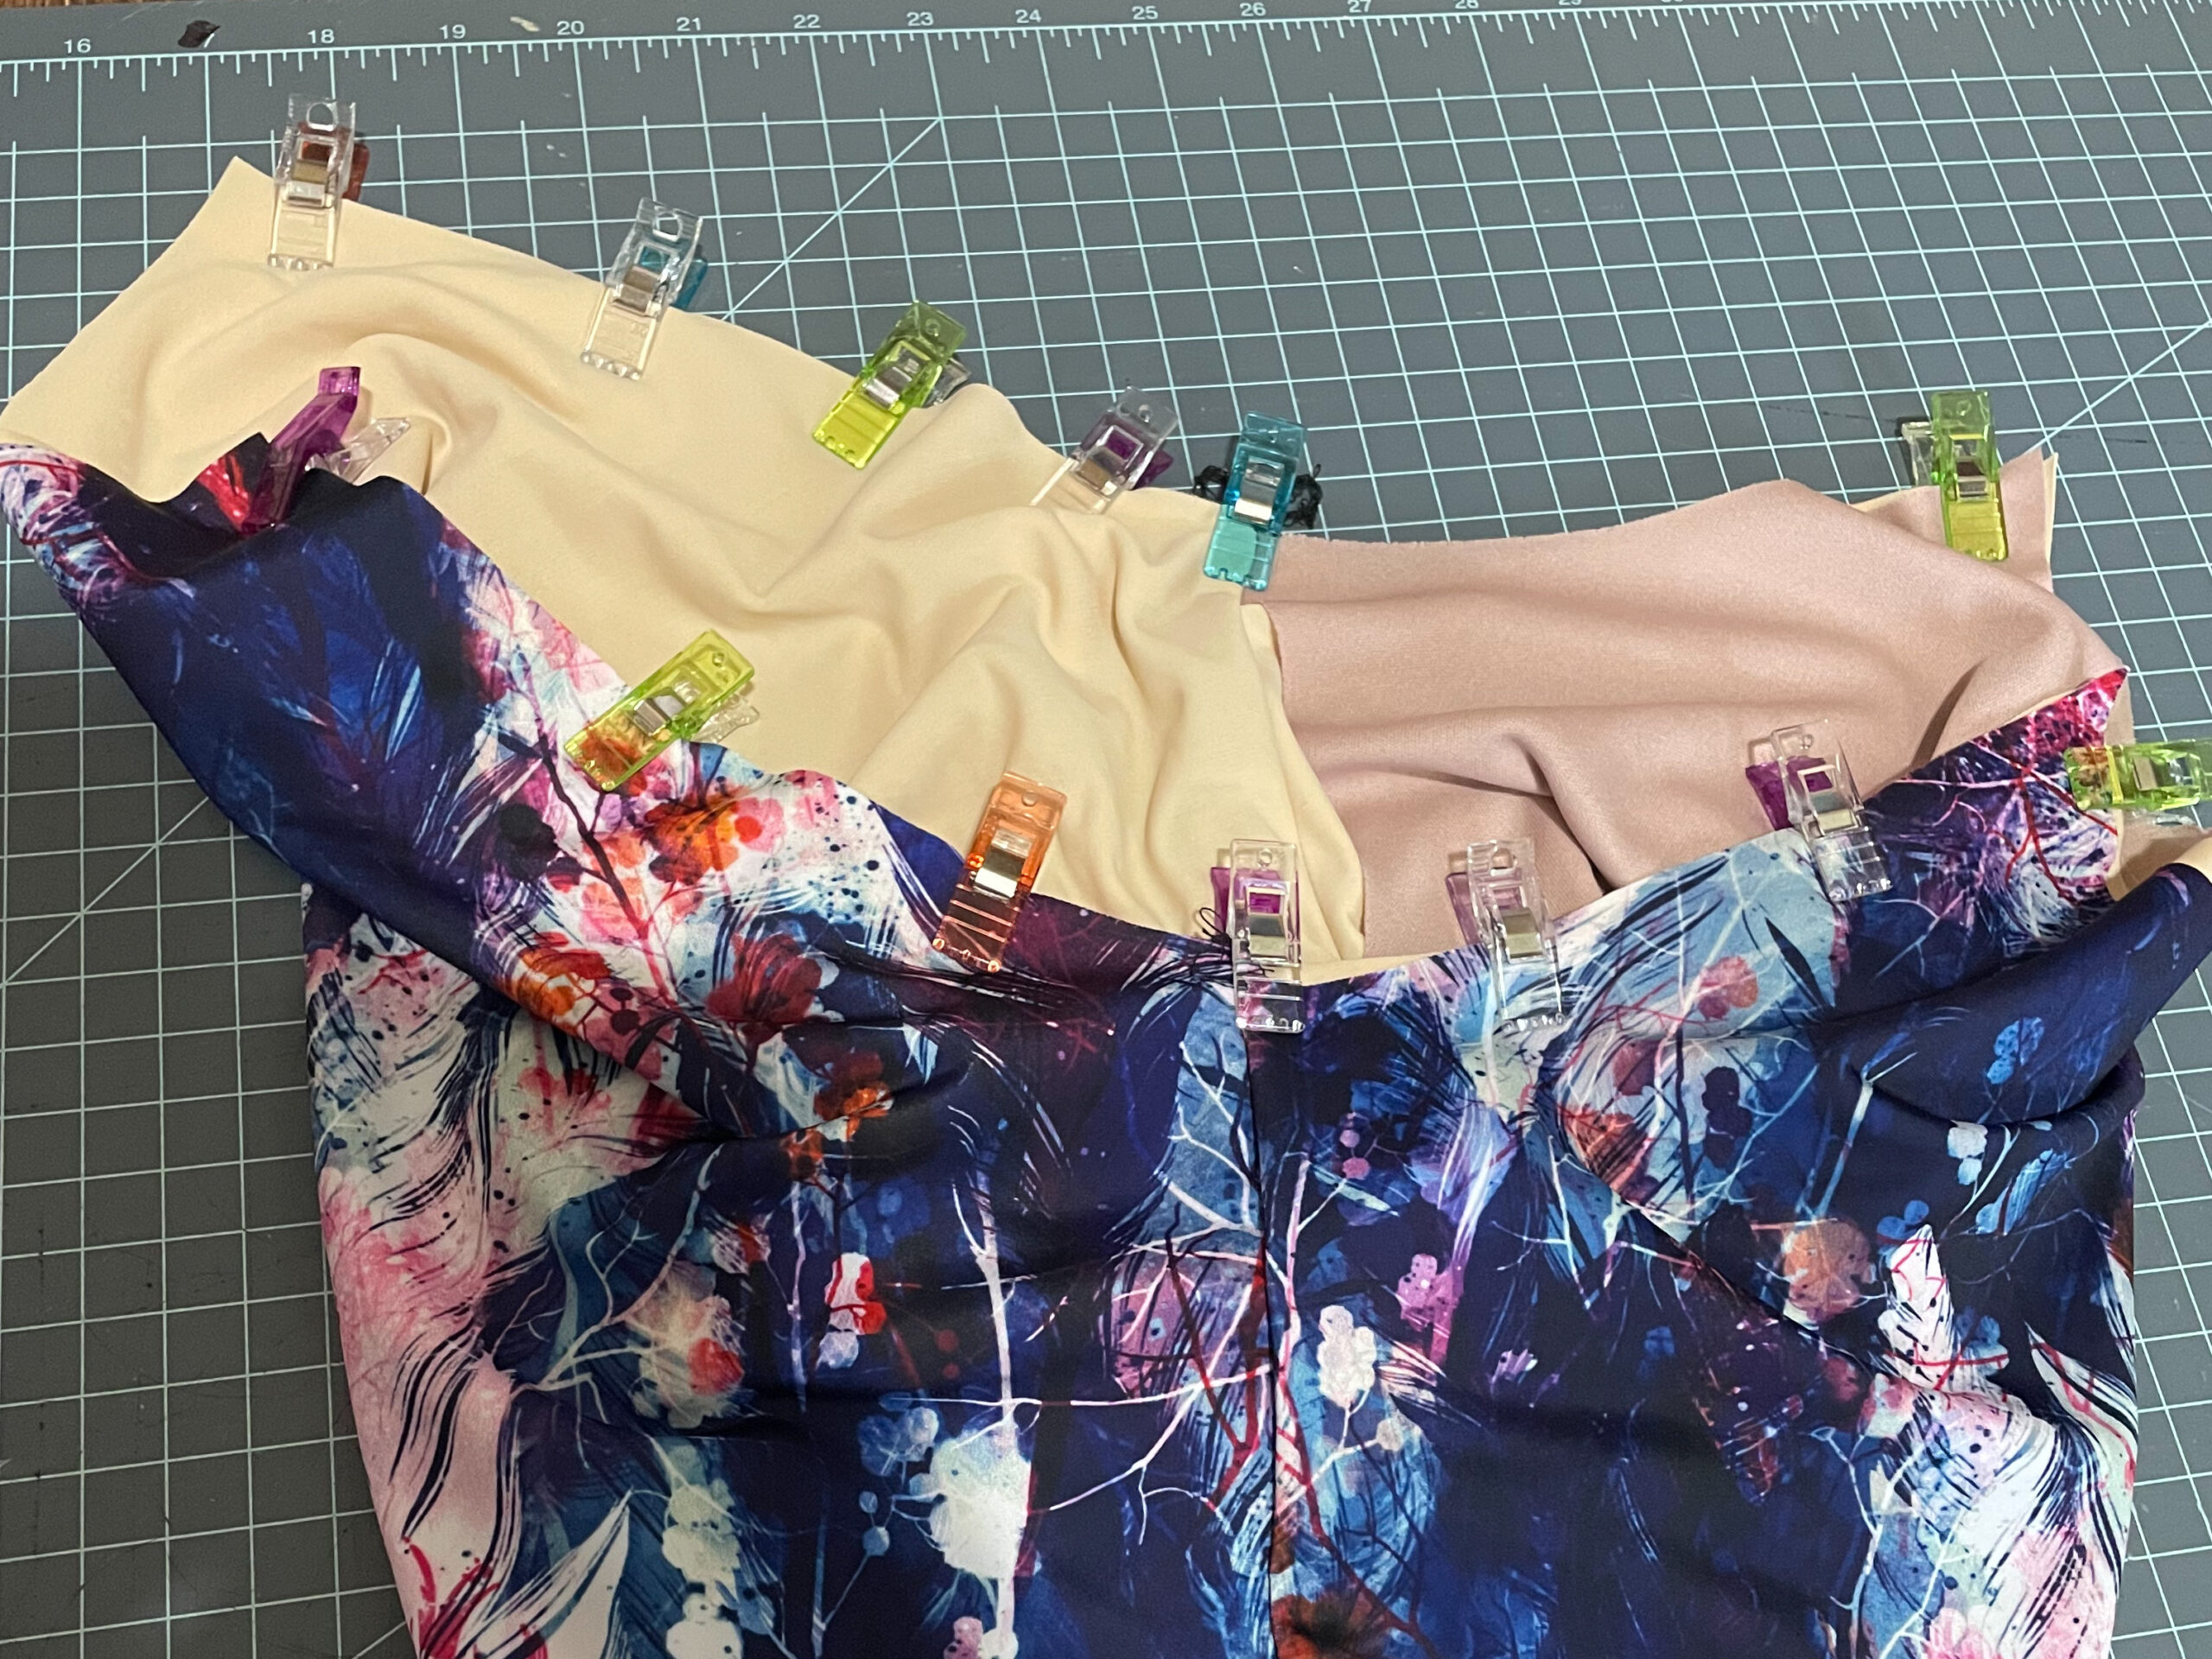
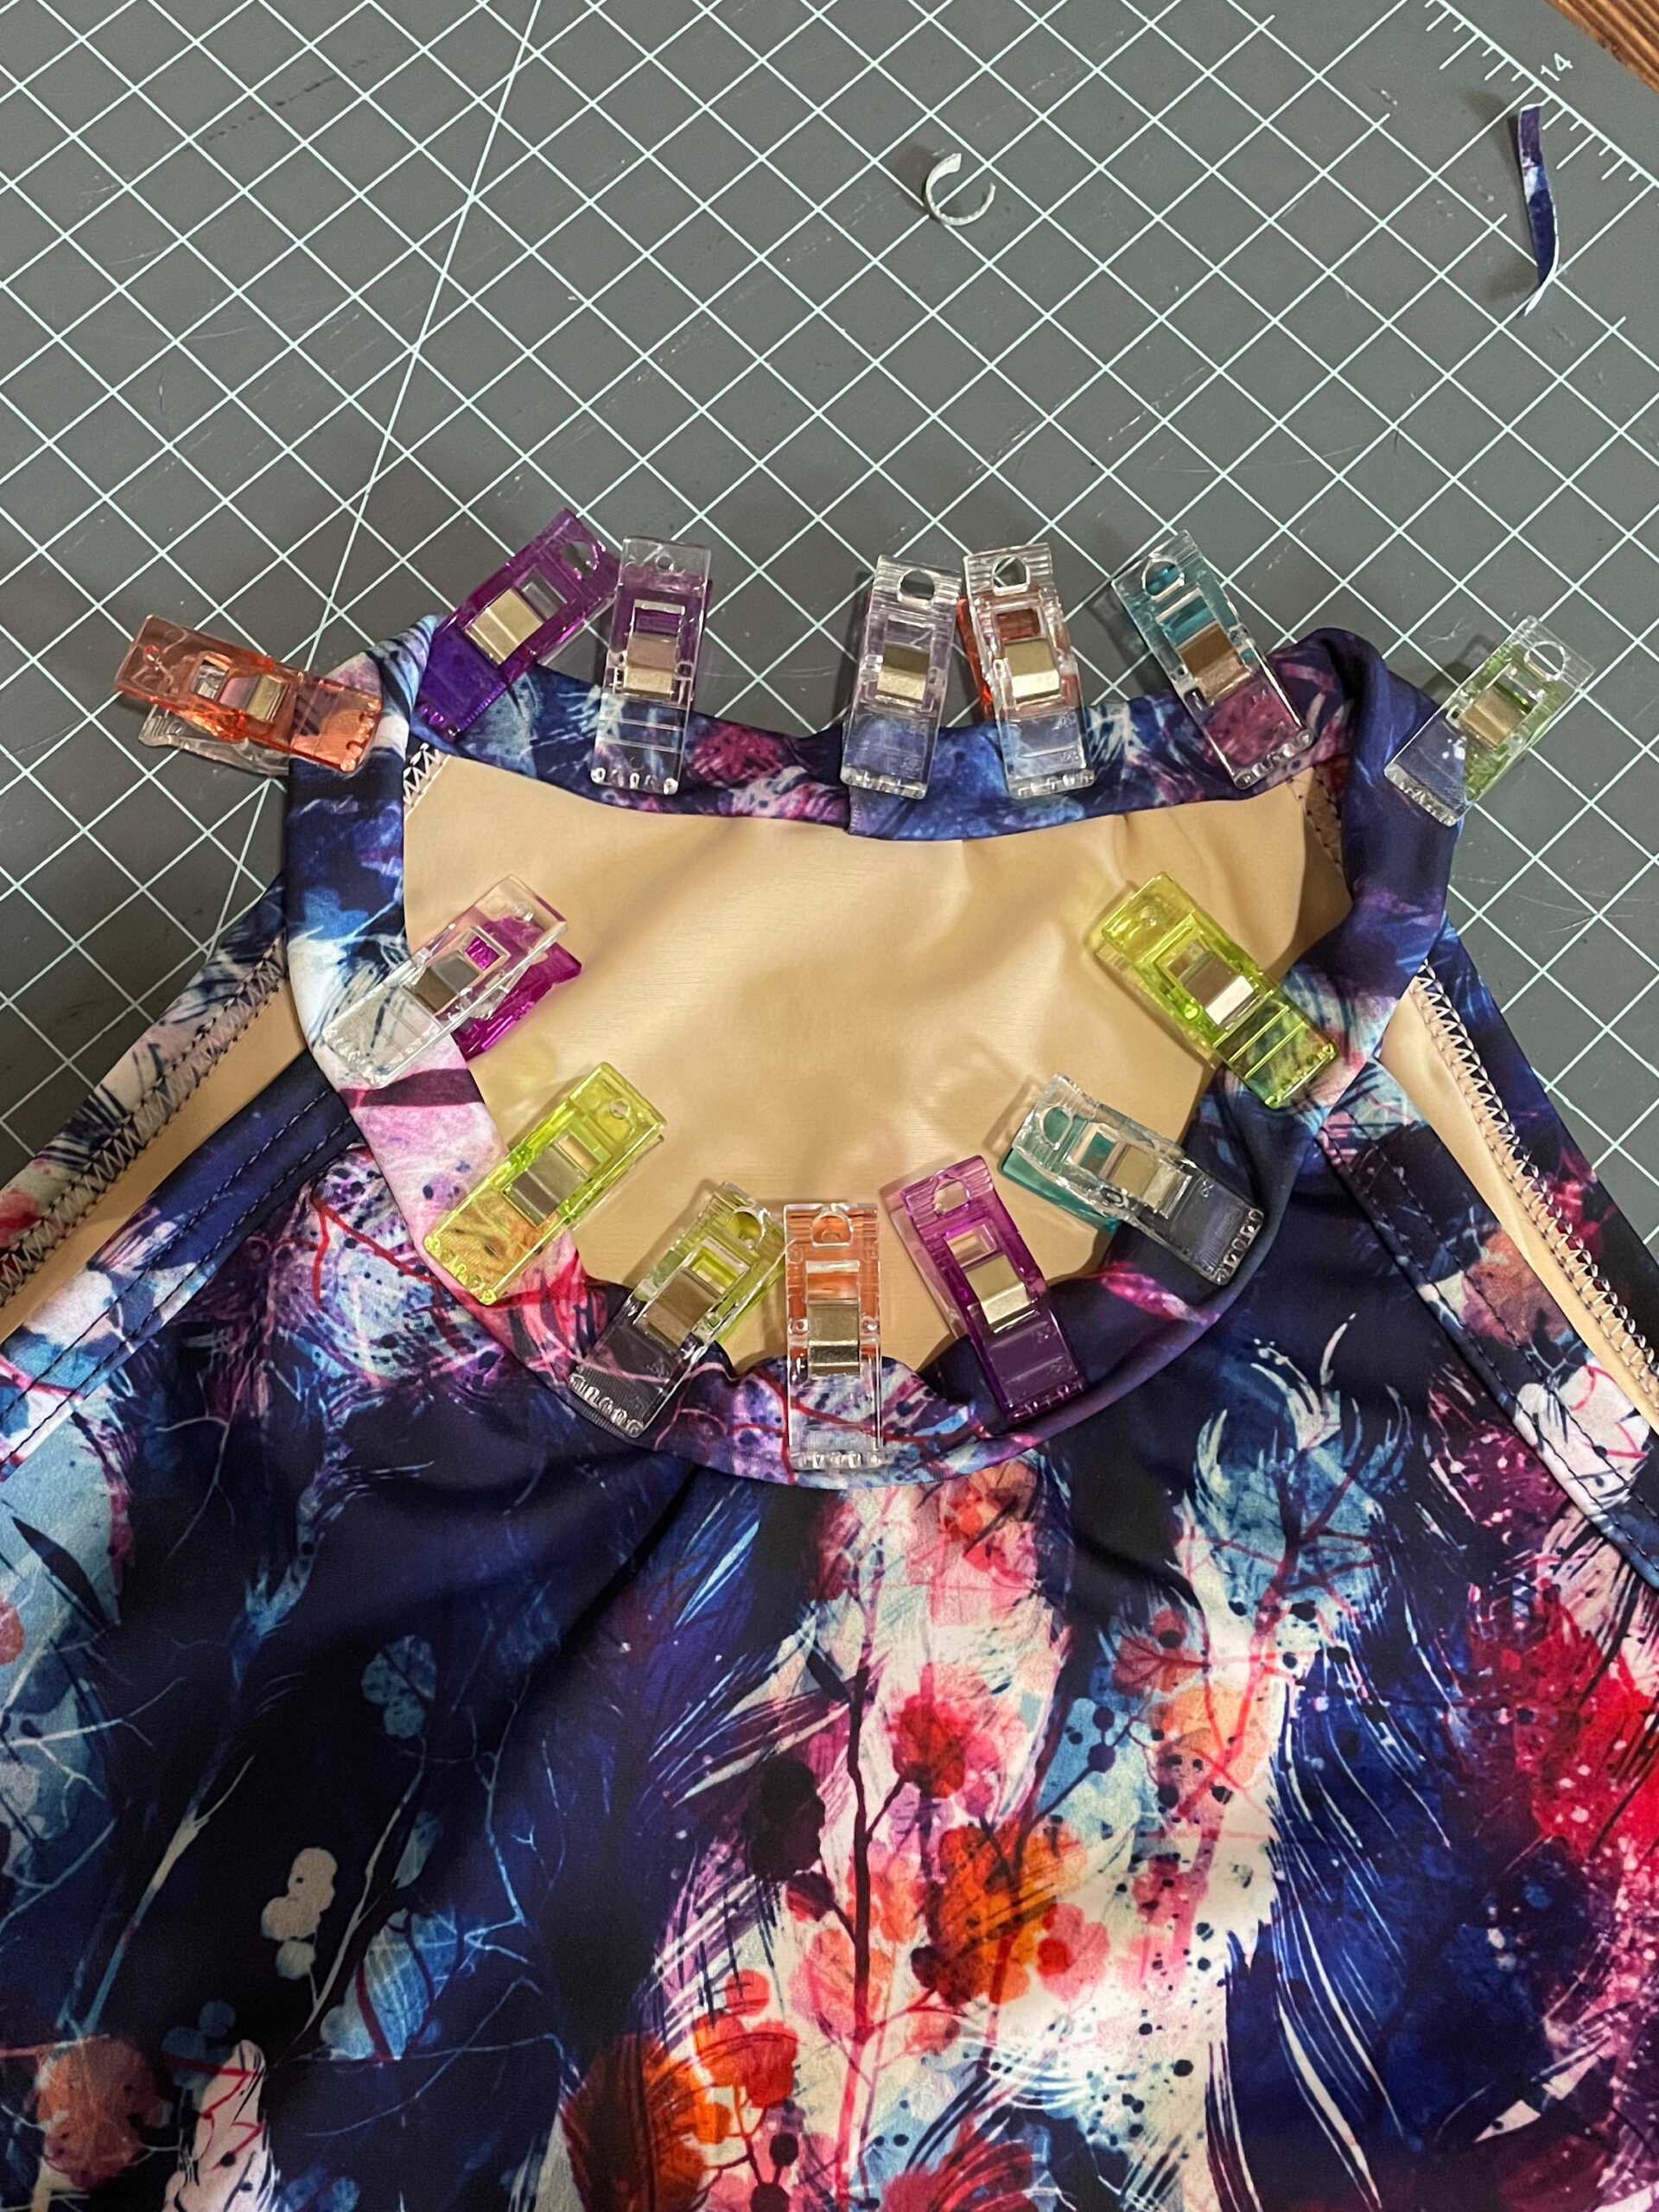
Layer your back liner piece right side up, the cut-out liner piece right side down, and the solid liner piece wrong side up.
Sew the sides with a 5/8” seam allowance. This gives the bra a little more negative ease for better support. Sew the tank pieces right sides together. I’d suggest using 5/8” seam allowance from the armscye to the waist area and then finishing with 3/8”. Trim seam allowance if needed.

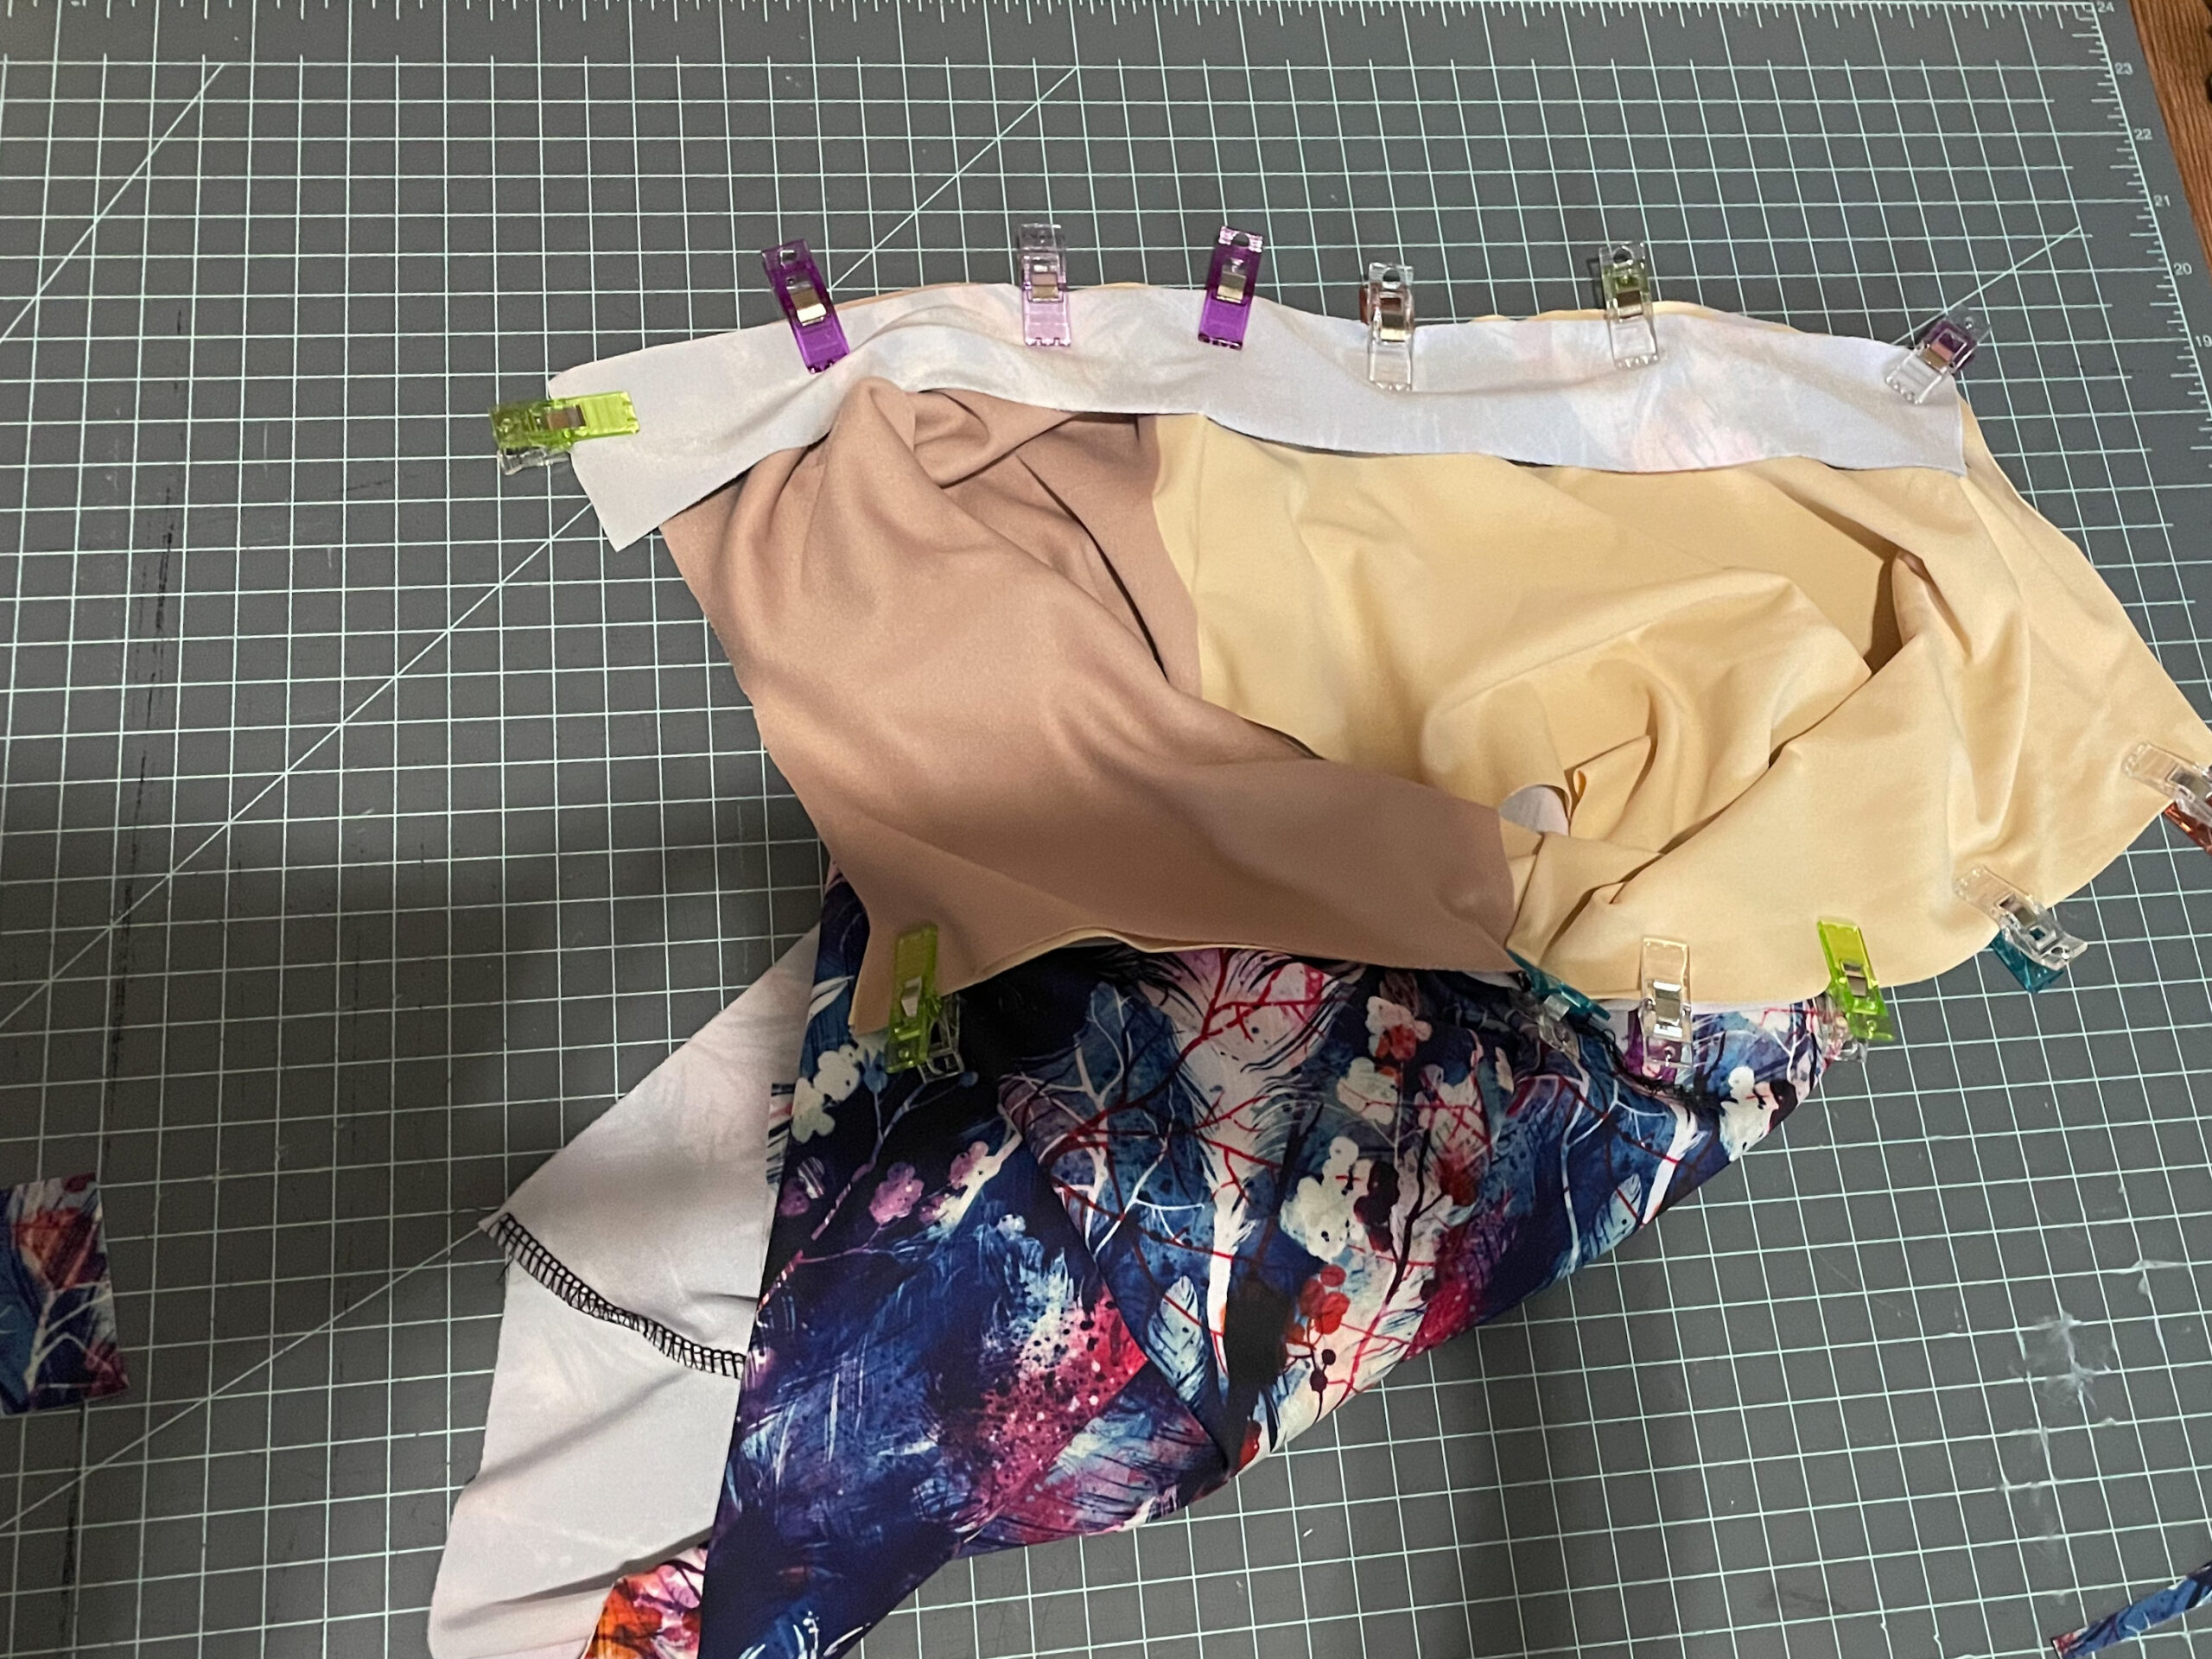
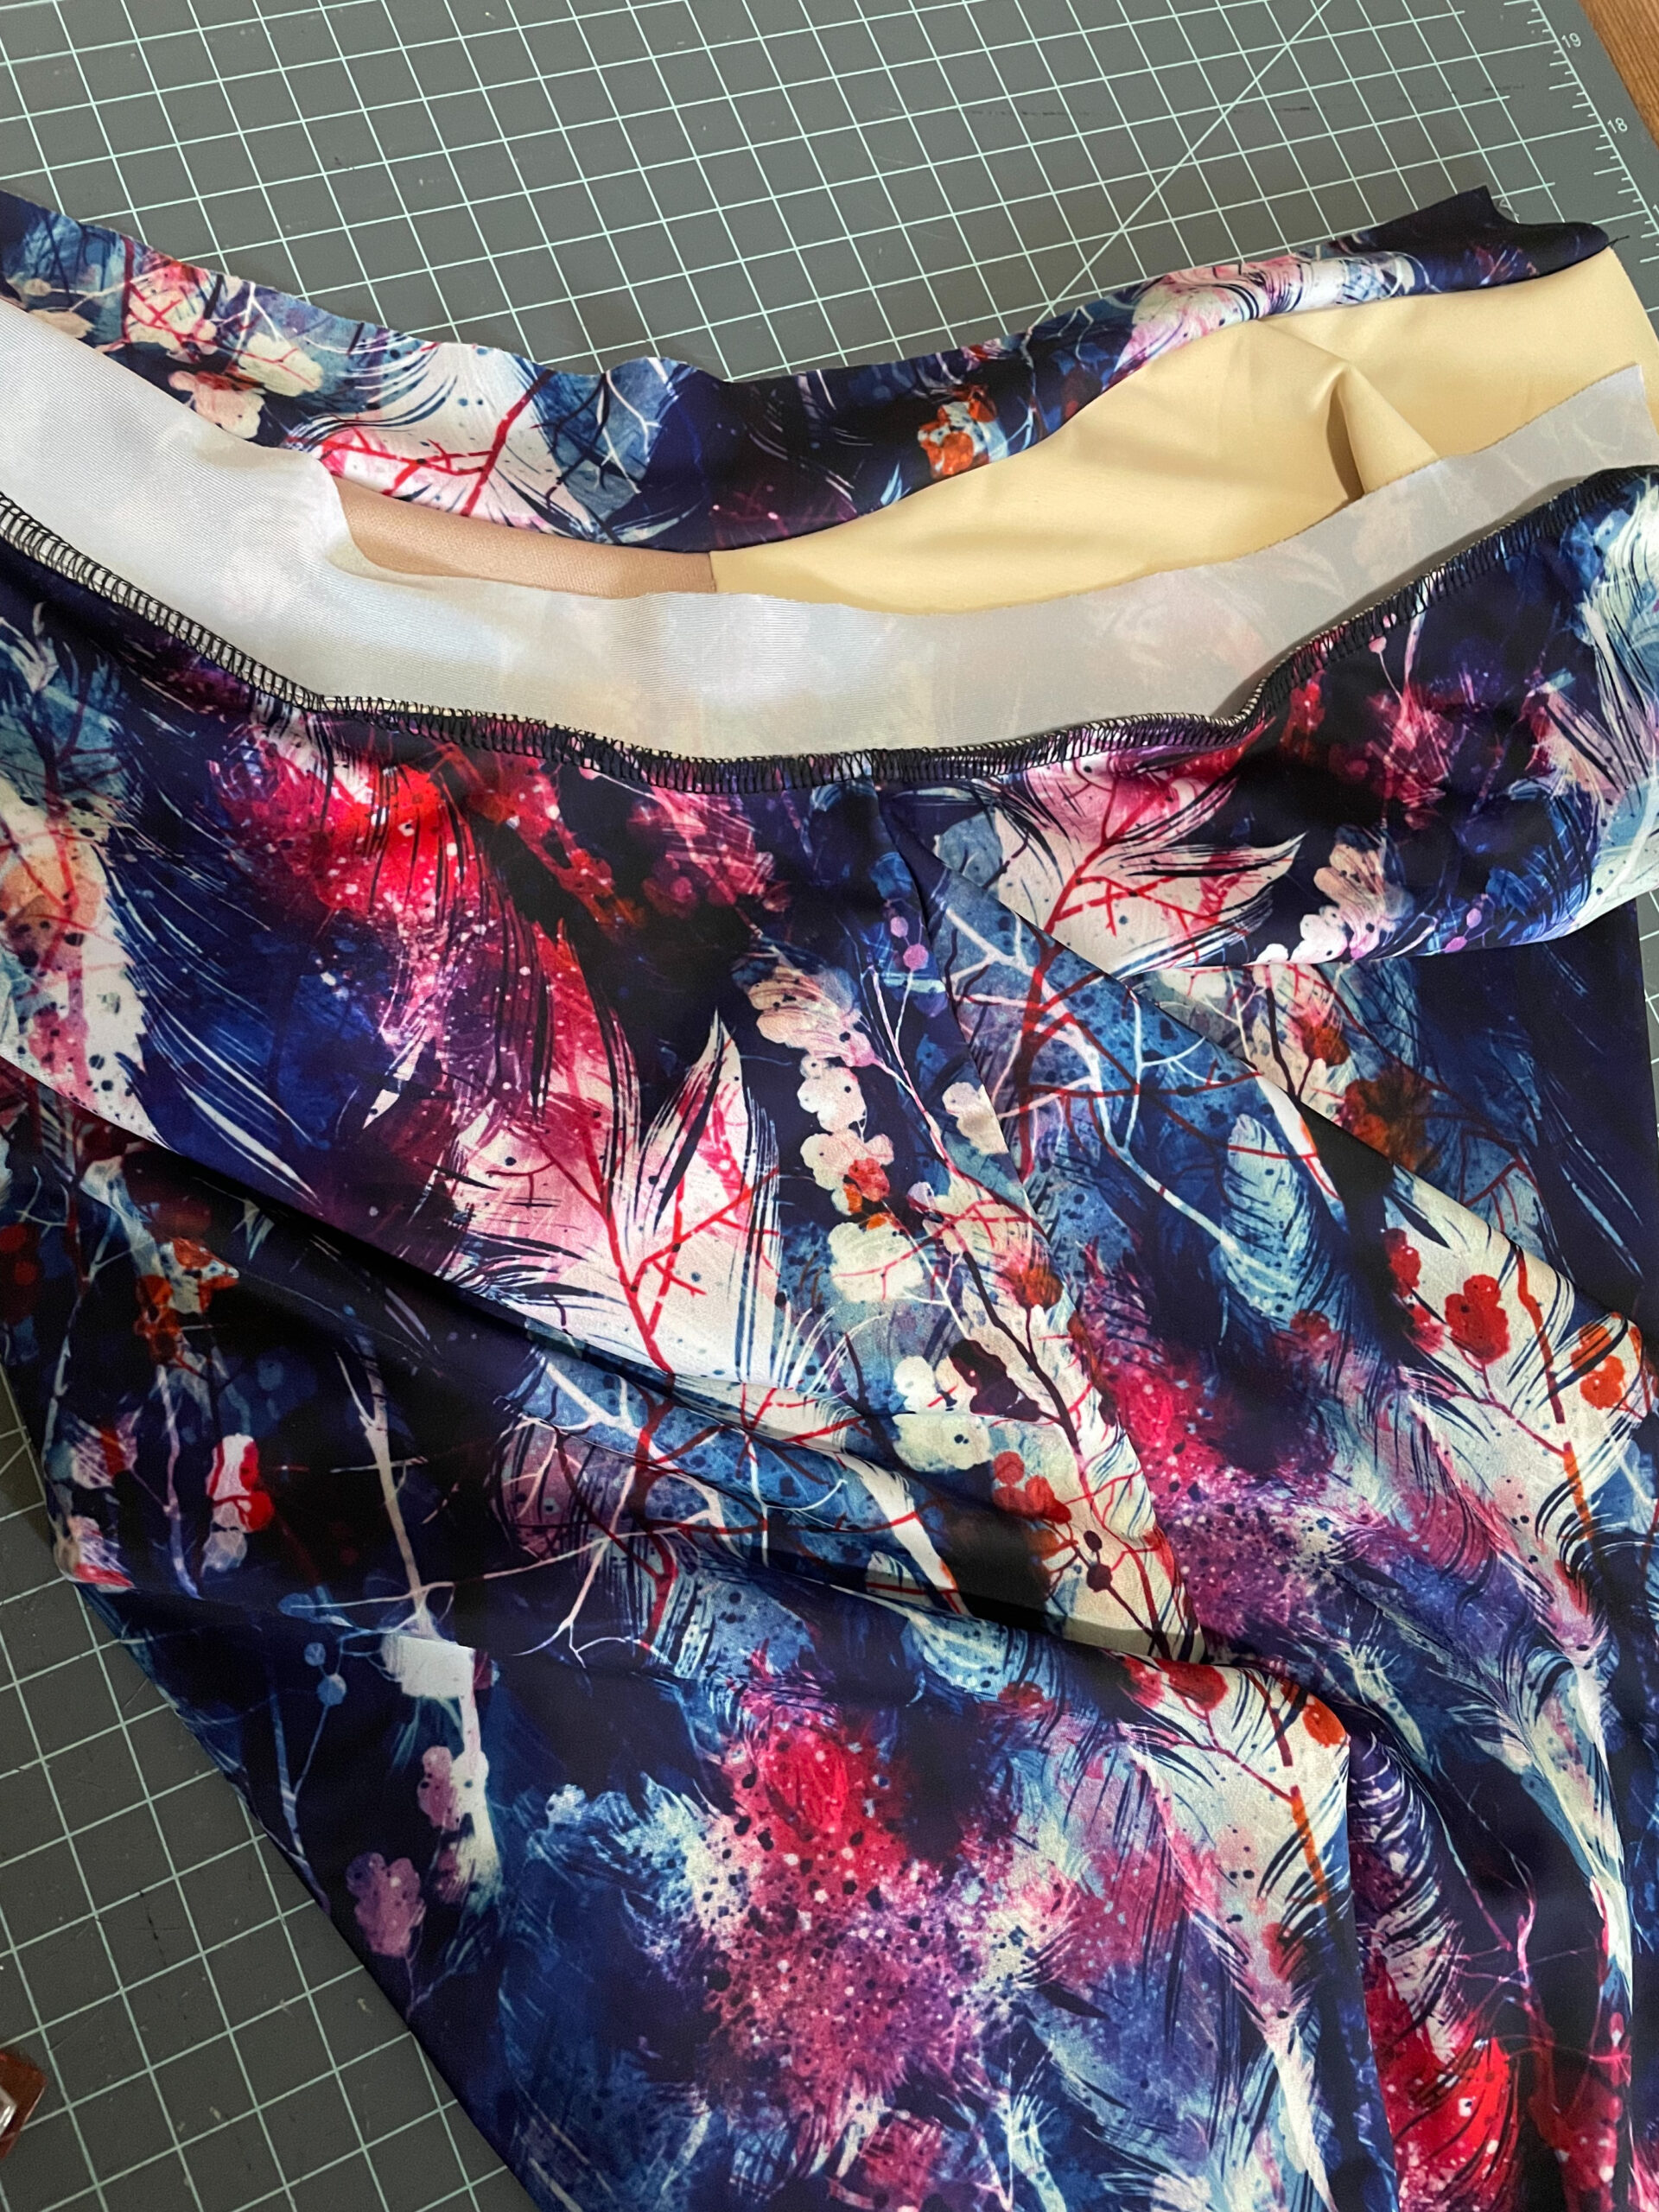
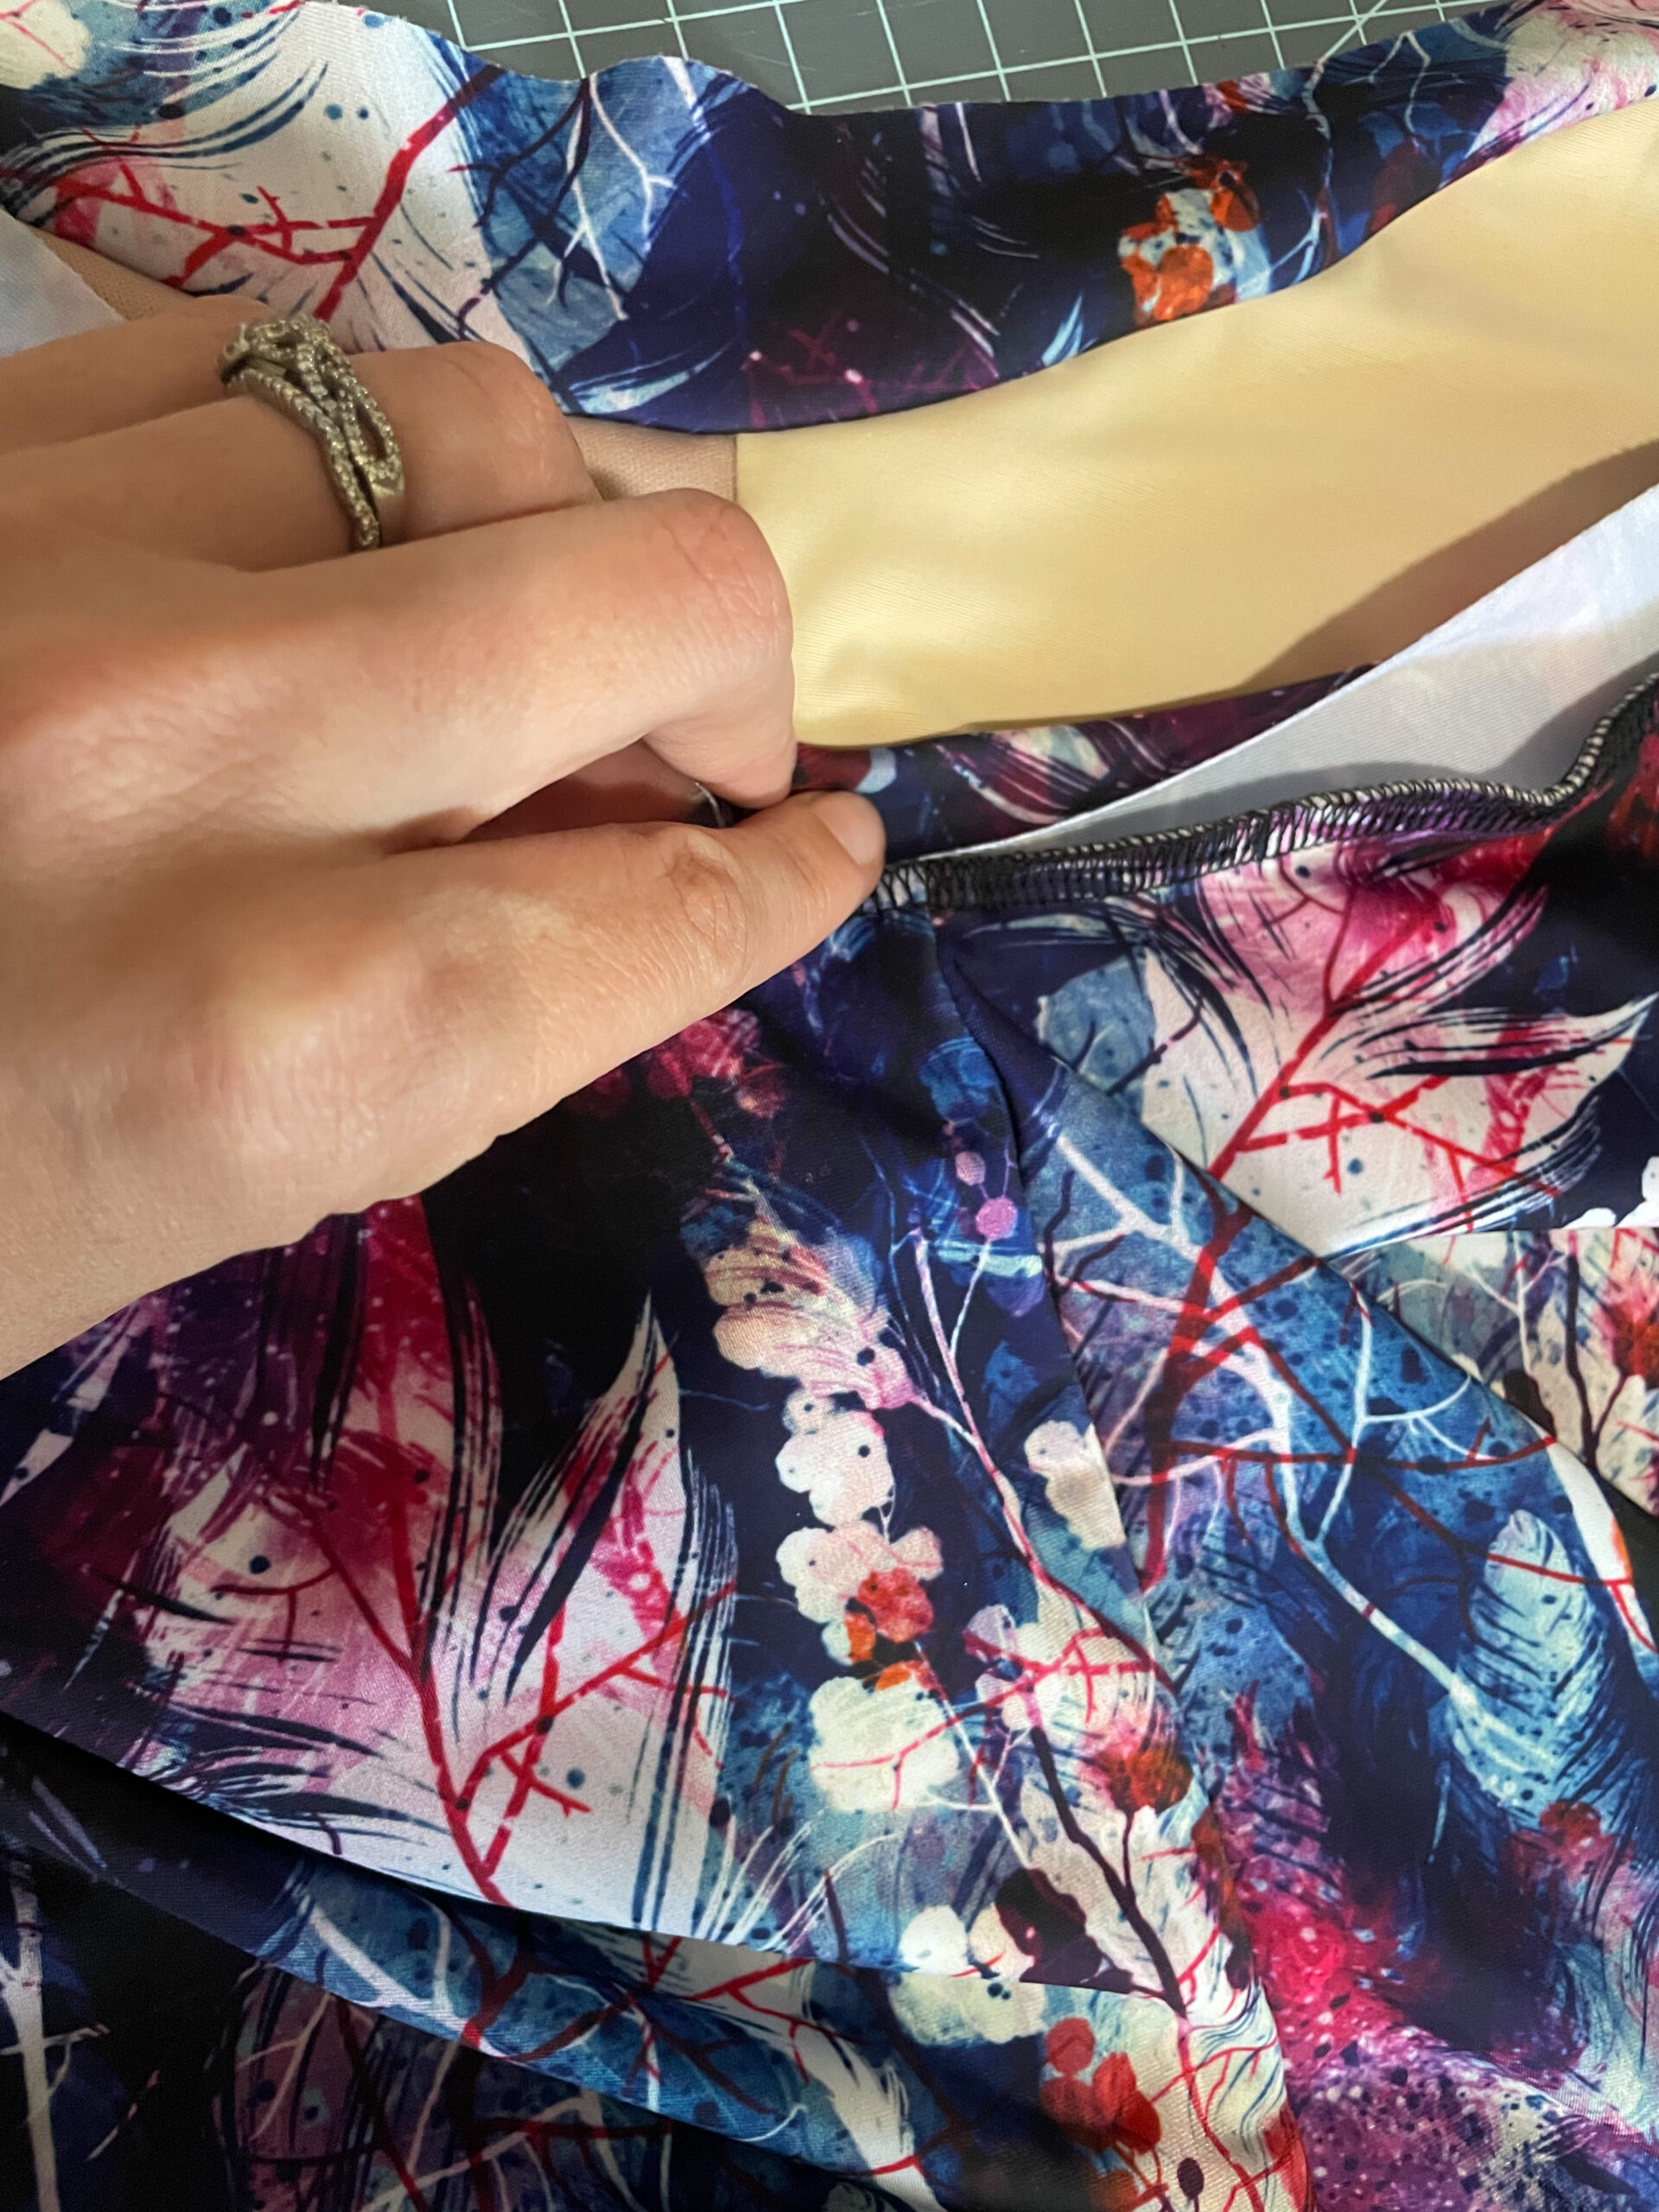
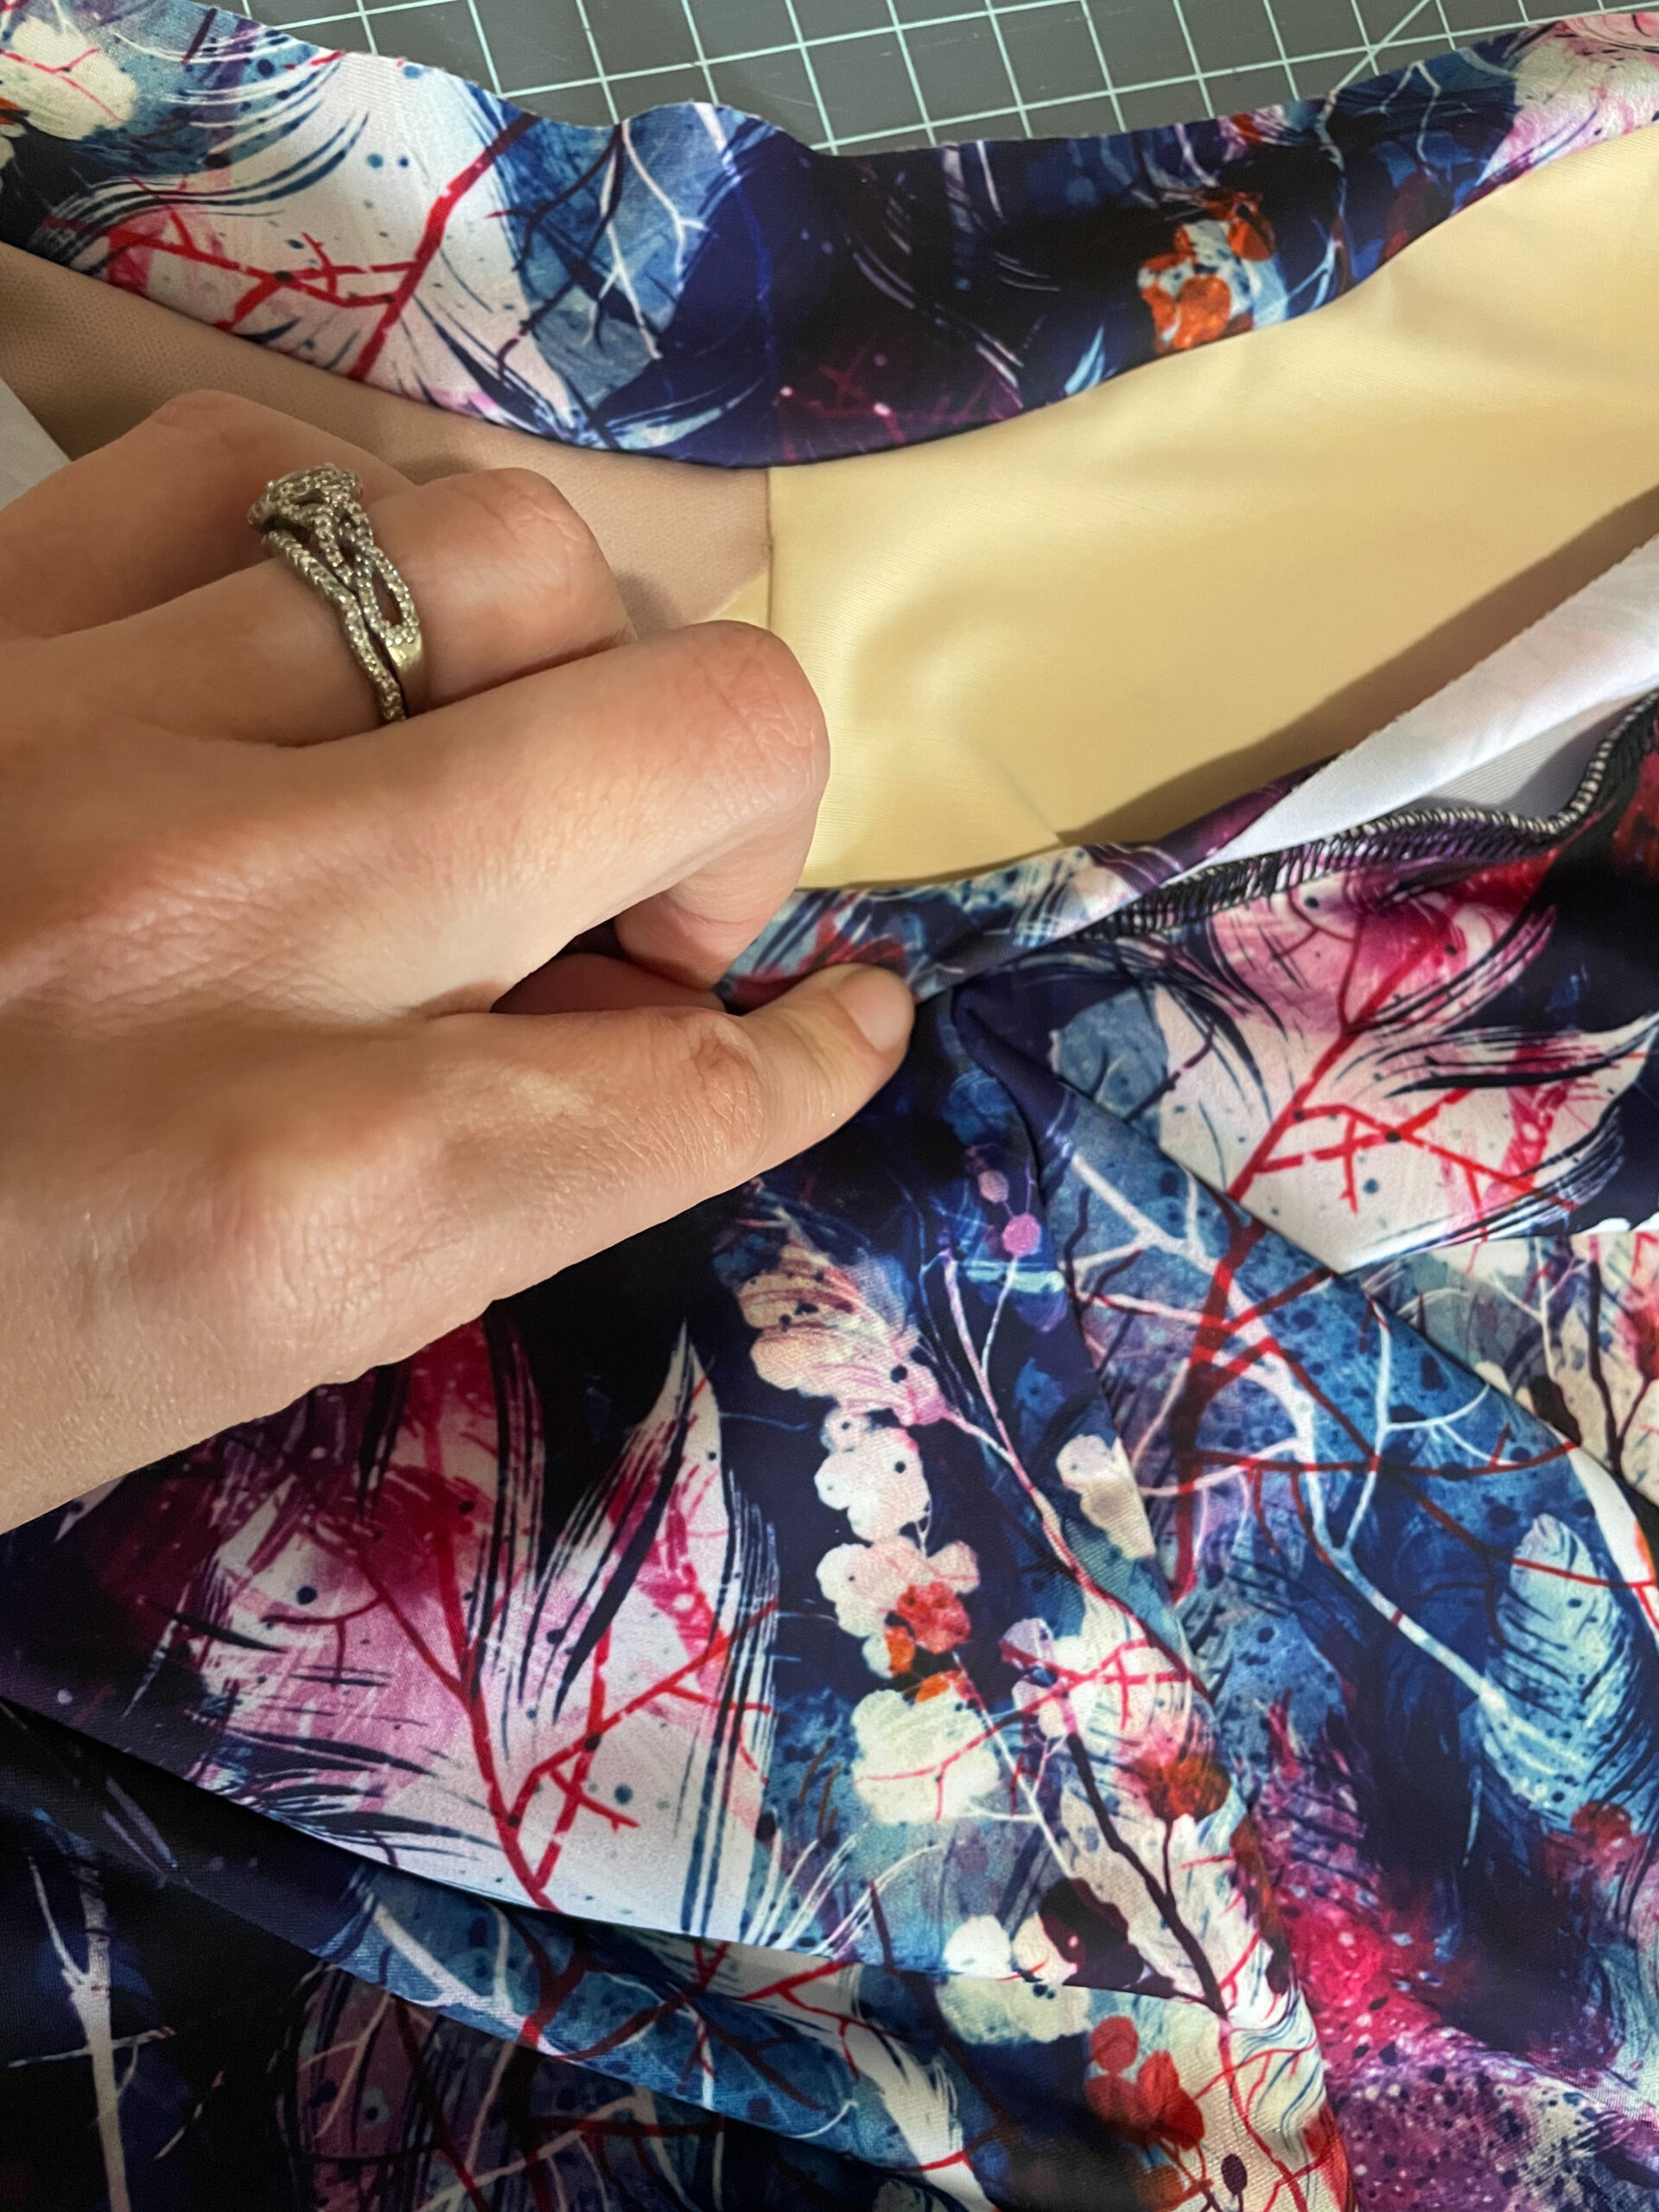
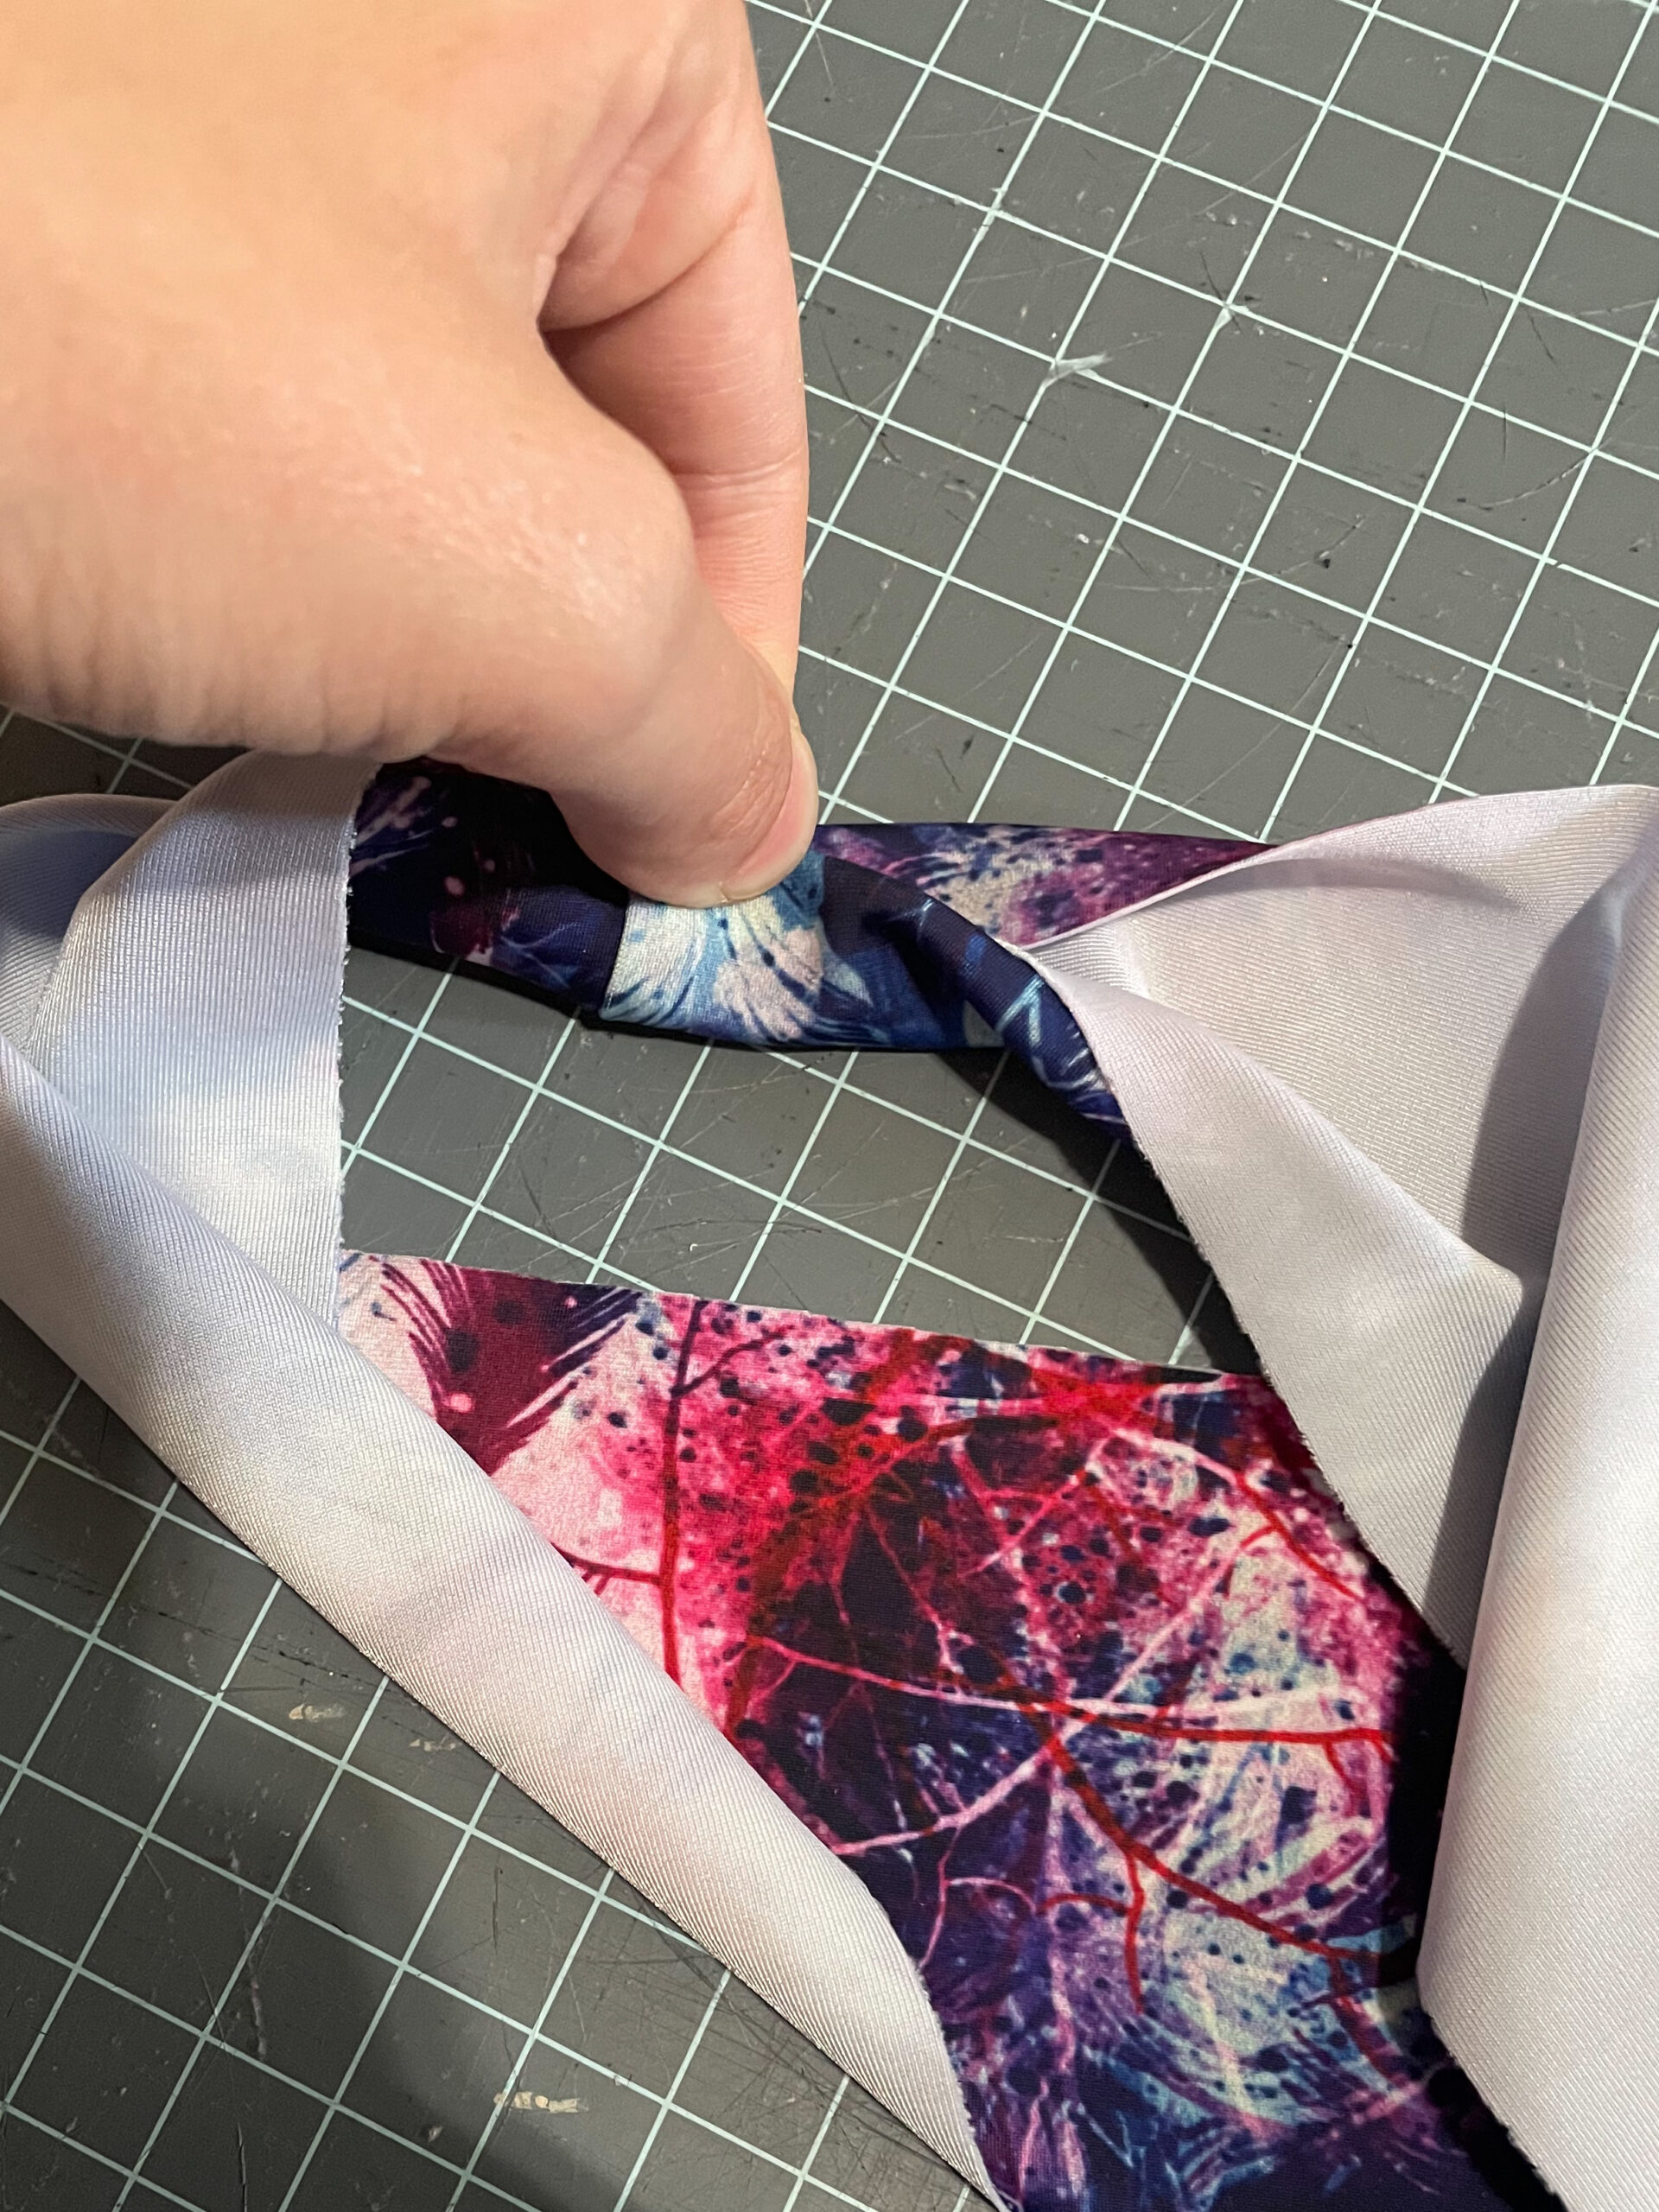
When both pieces are flipped right sides out, here is how they should look. Flip your lining piece wrong side out and then insert it into the main tank. *note: you can add in your bottom elastic before the next step, but I chose to wait until everything was constructed to see if I needed to trim the lining piece before attaching elastic. With wrong sides together, line your pieces together around the top. Pin the armscyes together on both sides.
Binding
Measure the armscye length. Multiply this number by .82 and that’s your binding length! My armscye length was 17”. 17 x .82 = 13.94. Cut two pieces of binding 2” by the length you calculated. for example, my two binding strips were 2×14.
**Armscye length x .82 = binding length**
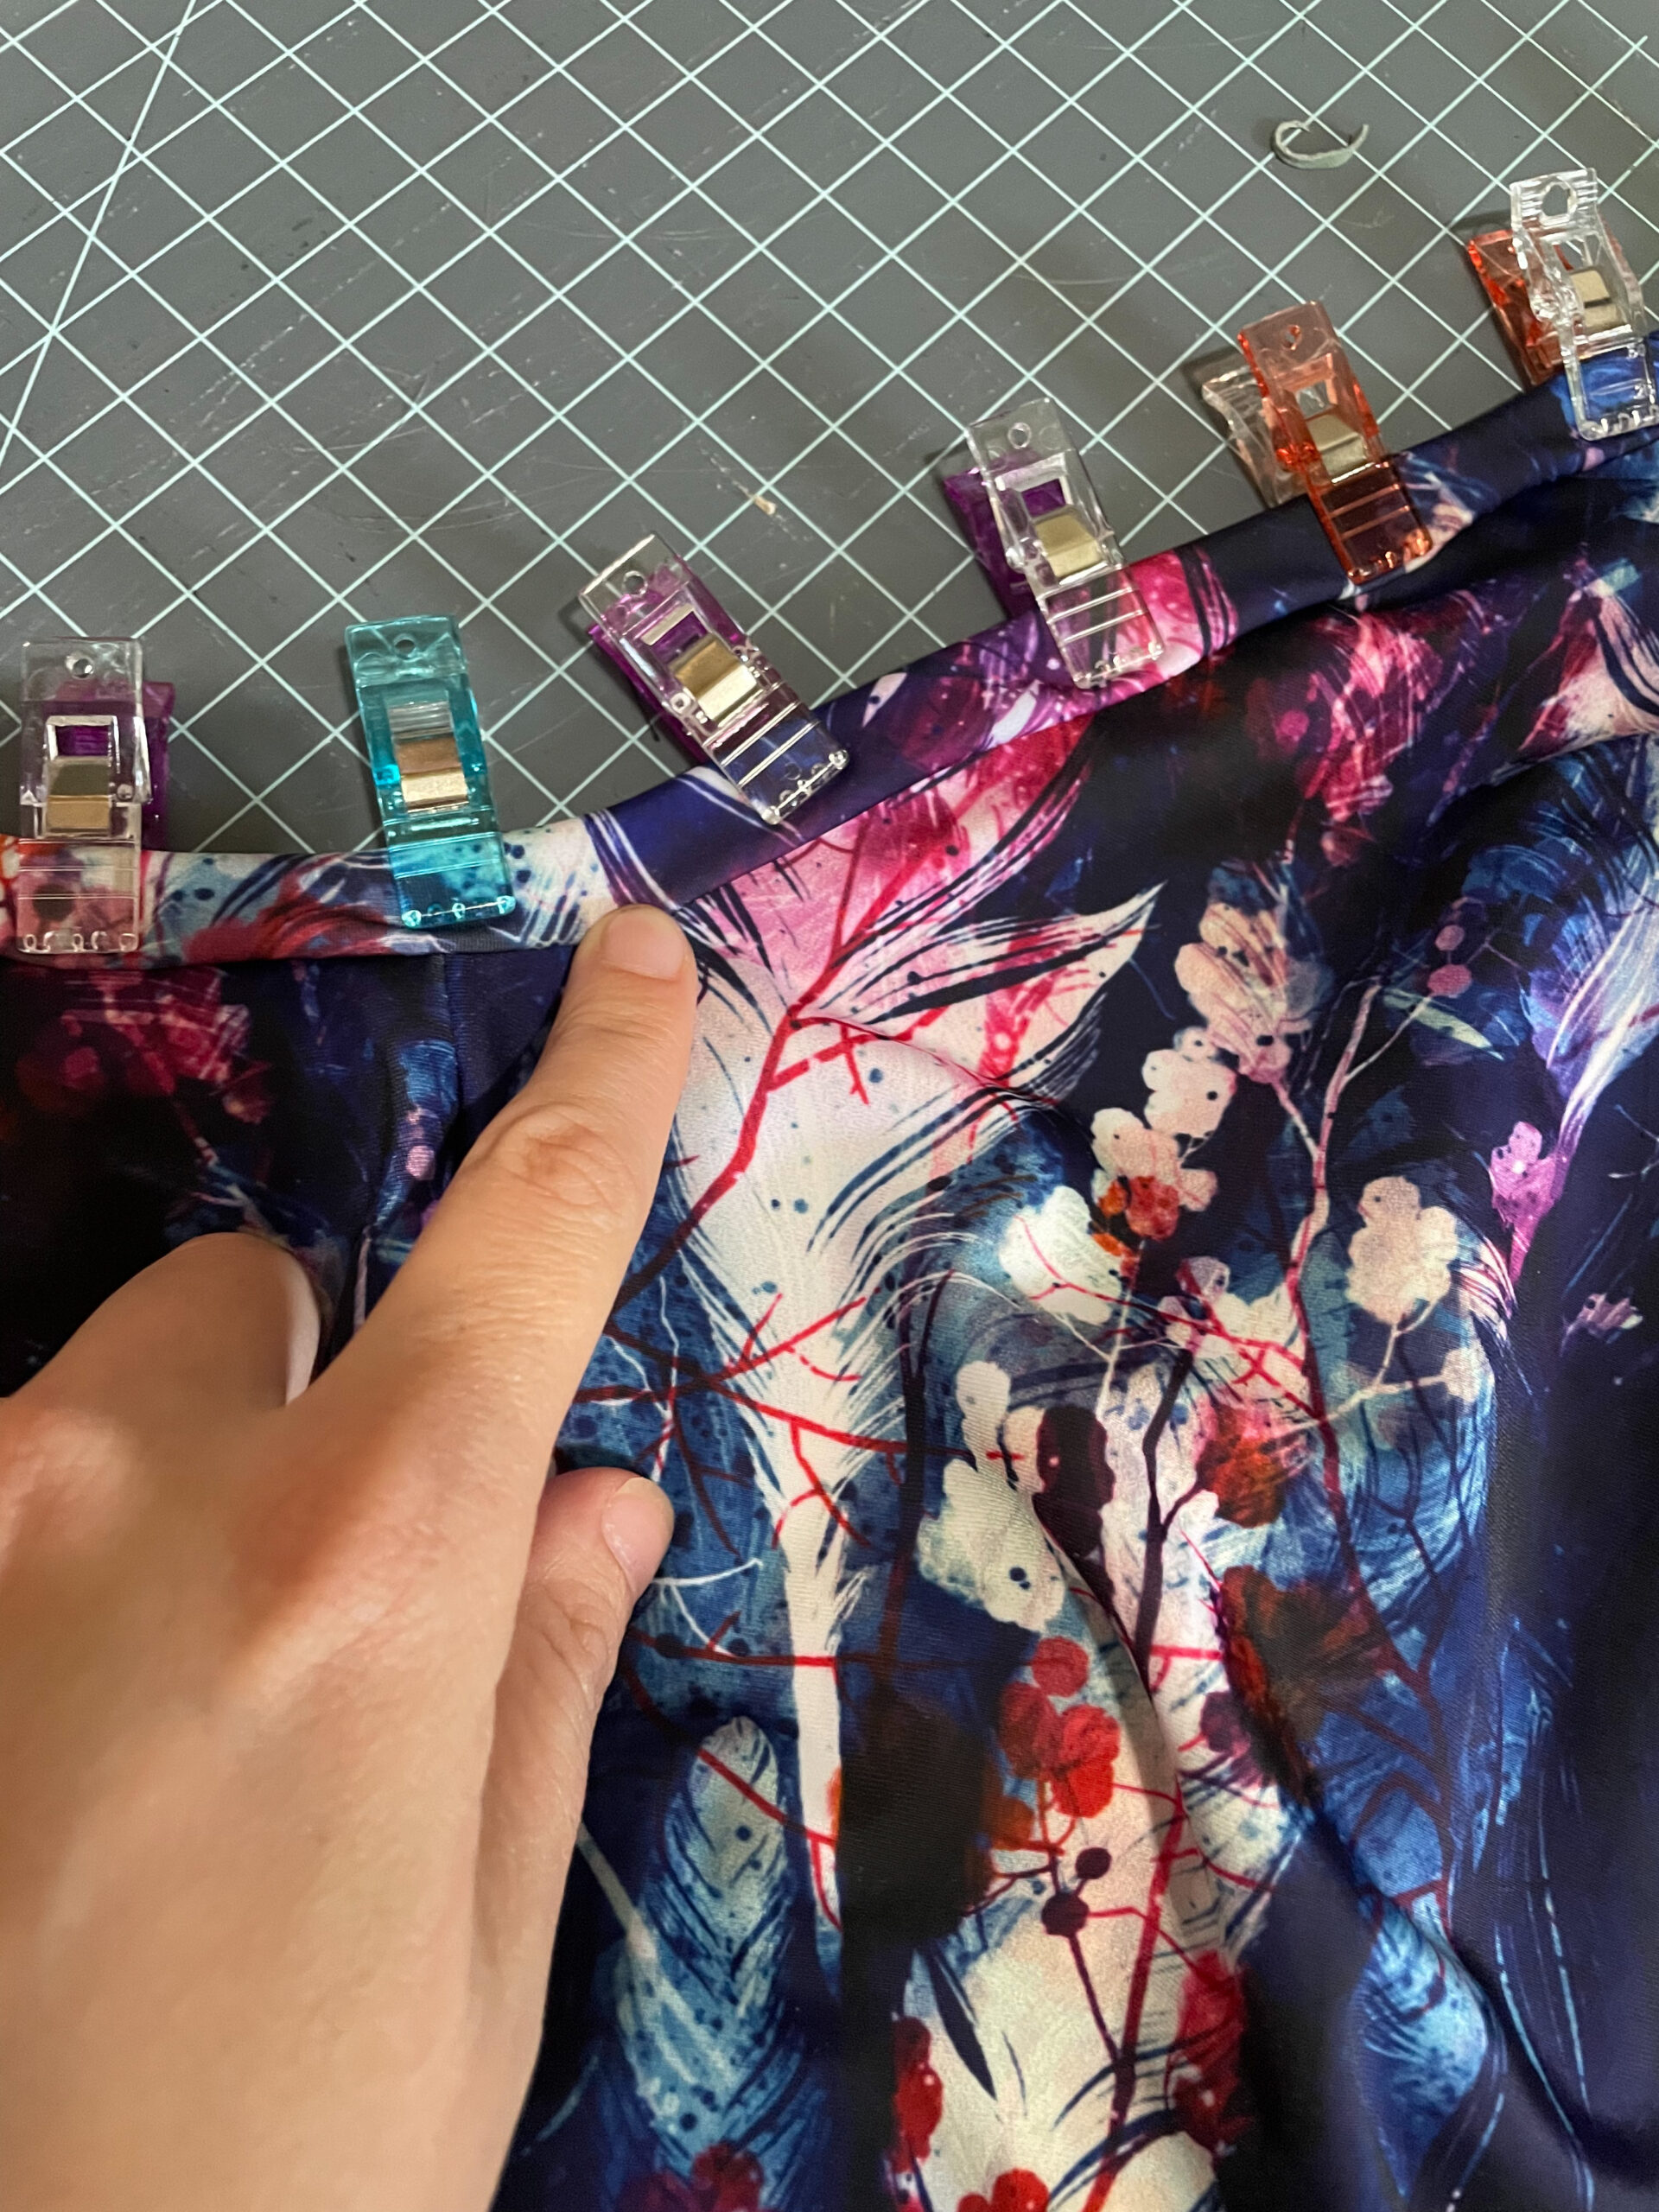
Take your binding strip and with the right side of the binding touching the right side of the lining, stretch the binding to fit the armscye. I recommend doing this by pinning your end points and then your middle points. Then stretch the binding and pin some more. Do this to both sides, then sew the binding on using 3/8” seam allowance. I’d suggest to insert 1/4” swim elastic here as well in a 1:1 ratio. This will ensure your armscye doesn’t stretch out and gape.
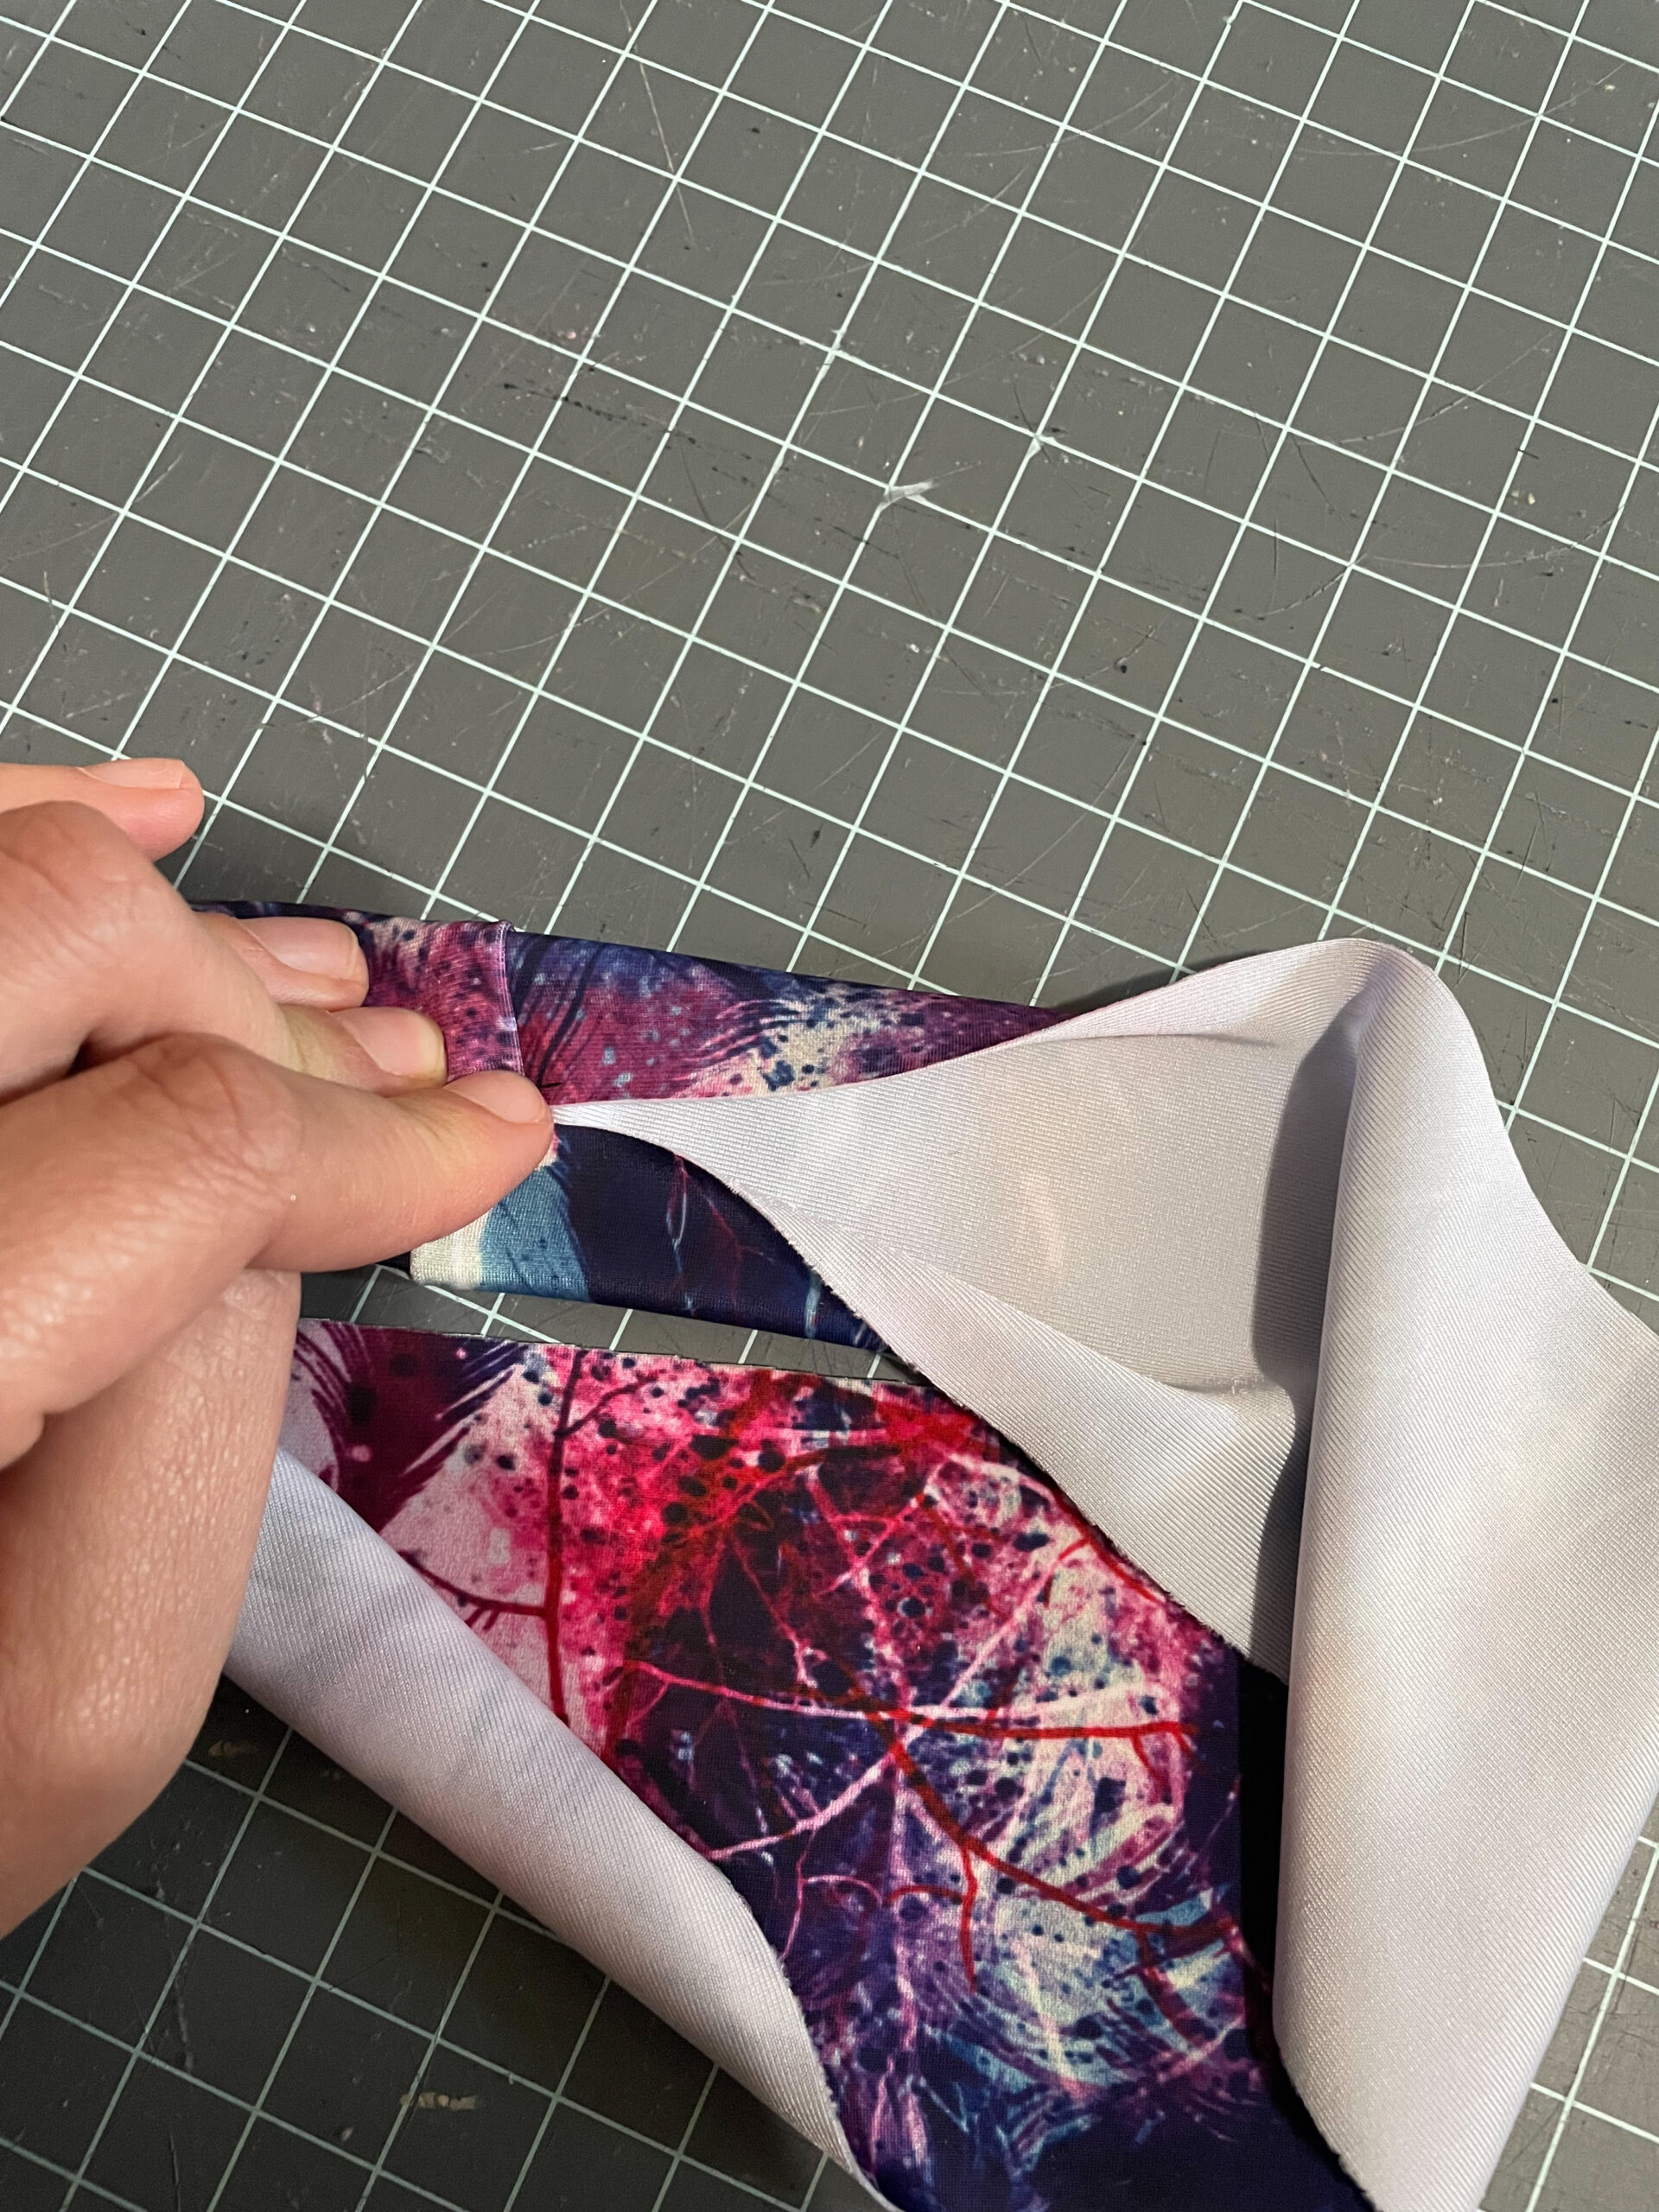
Pull the binding up away from the tank. Flip your seam allowance up, then fold the top of the binding down to meet the top of the seam allowance.
Then fold the binding over.
The top of the seam allowance will be flush with the top of the binding. Pin the binding, then sew with a topstitch close to the inside edge of the binding. Repeat with the other side.

Your tank should look like this.

Attach the neckband
Attaching the neckband is the trickiest part! Take your neckband and sew it together in a loop, right sides together. Then find the half points of the front and back necklines on your tank piece.

You can iron your neck binding if you wish for this next portion. Bring the outer edges towards the center of your binding, then flip your binding toward itself so the raw edges are enclosed. Do this all the way around the loop, pinning as you go.
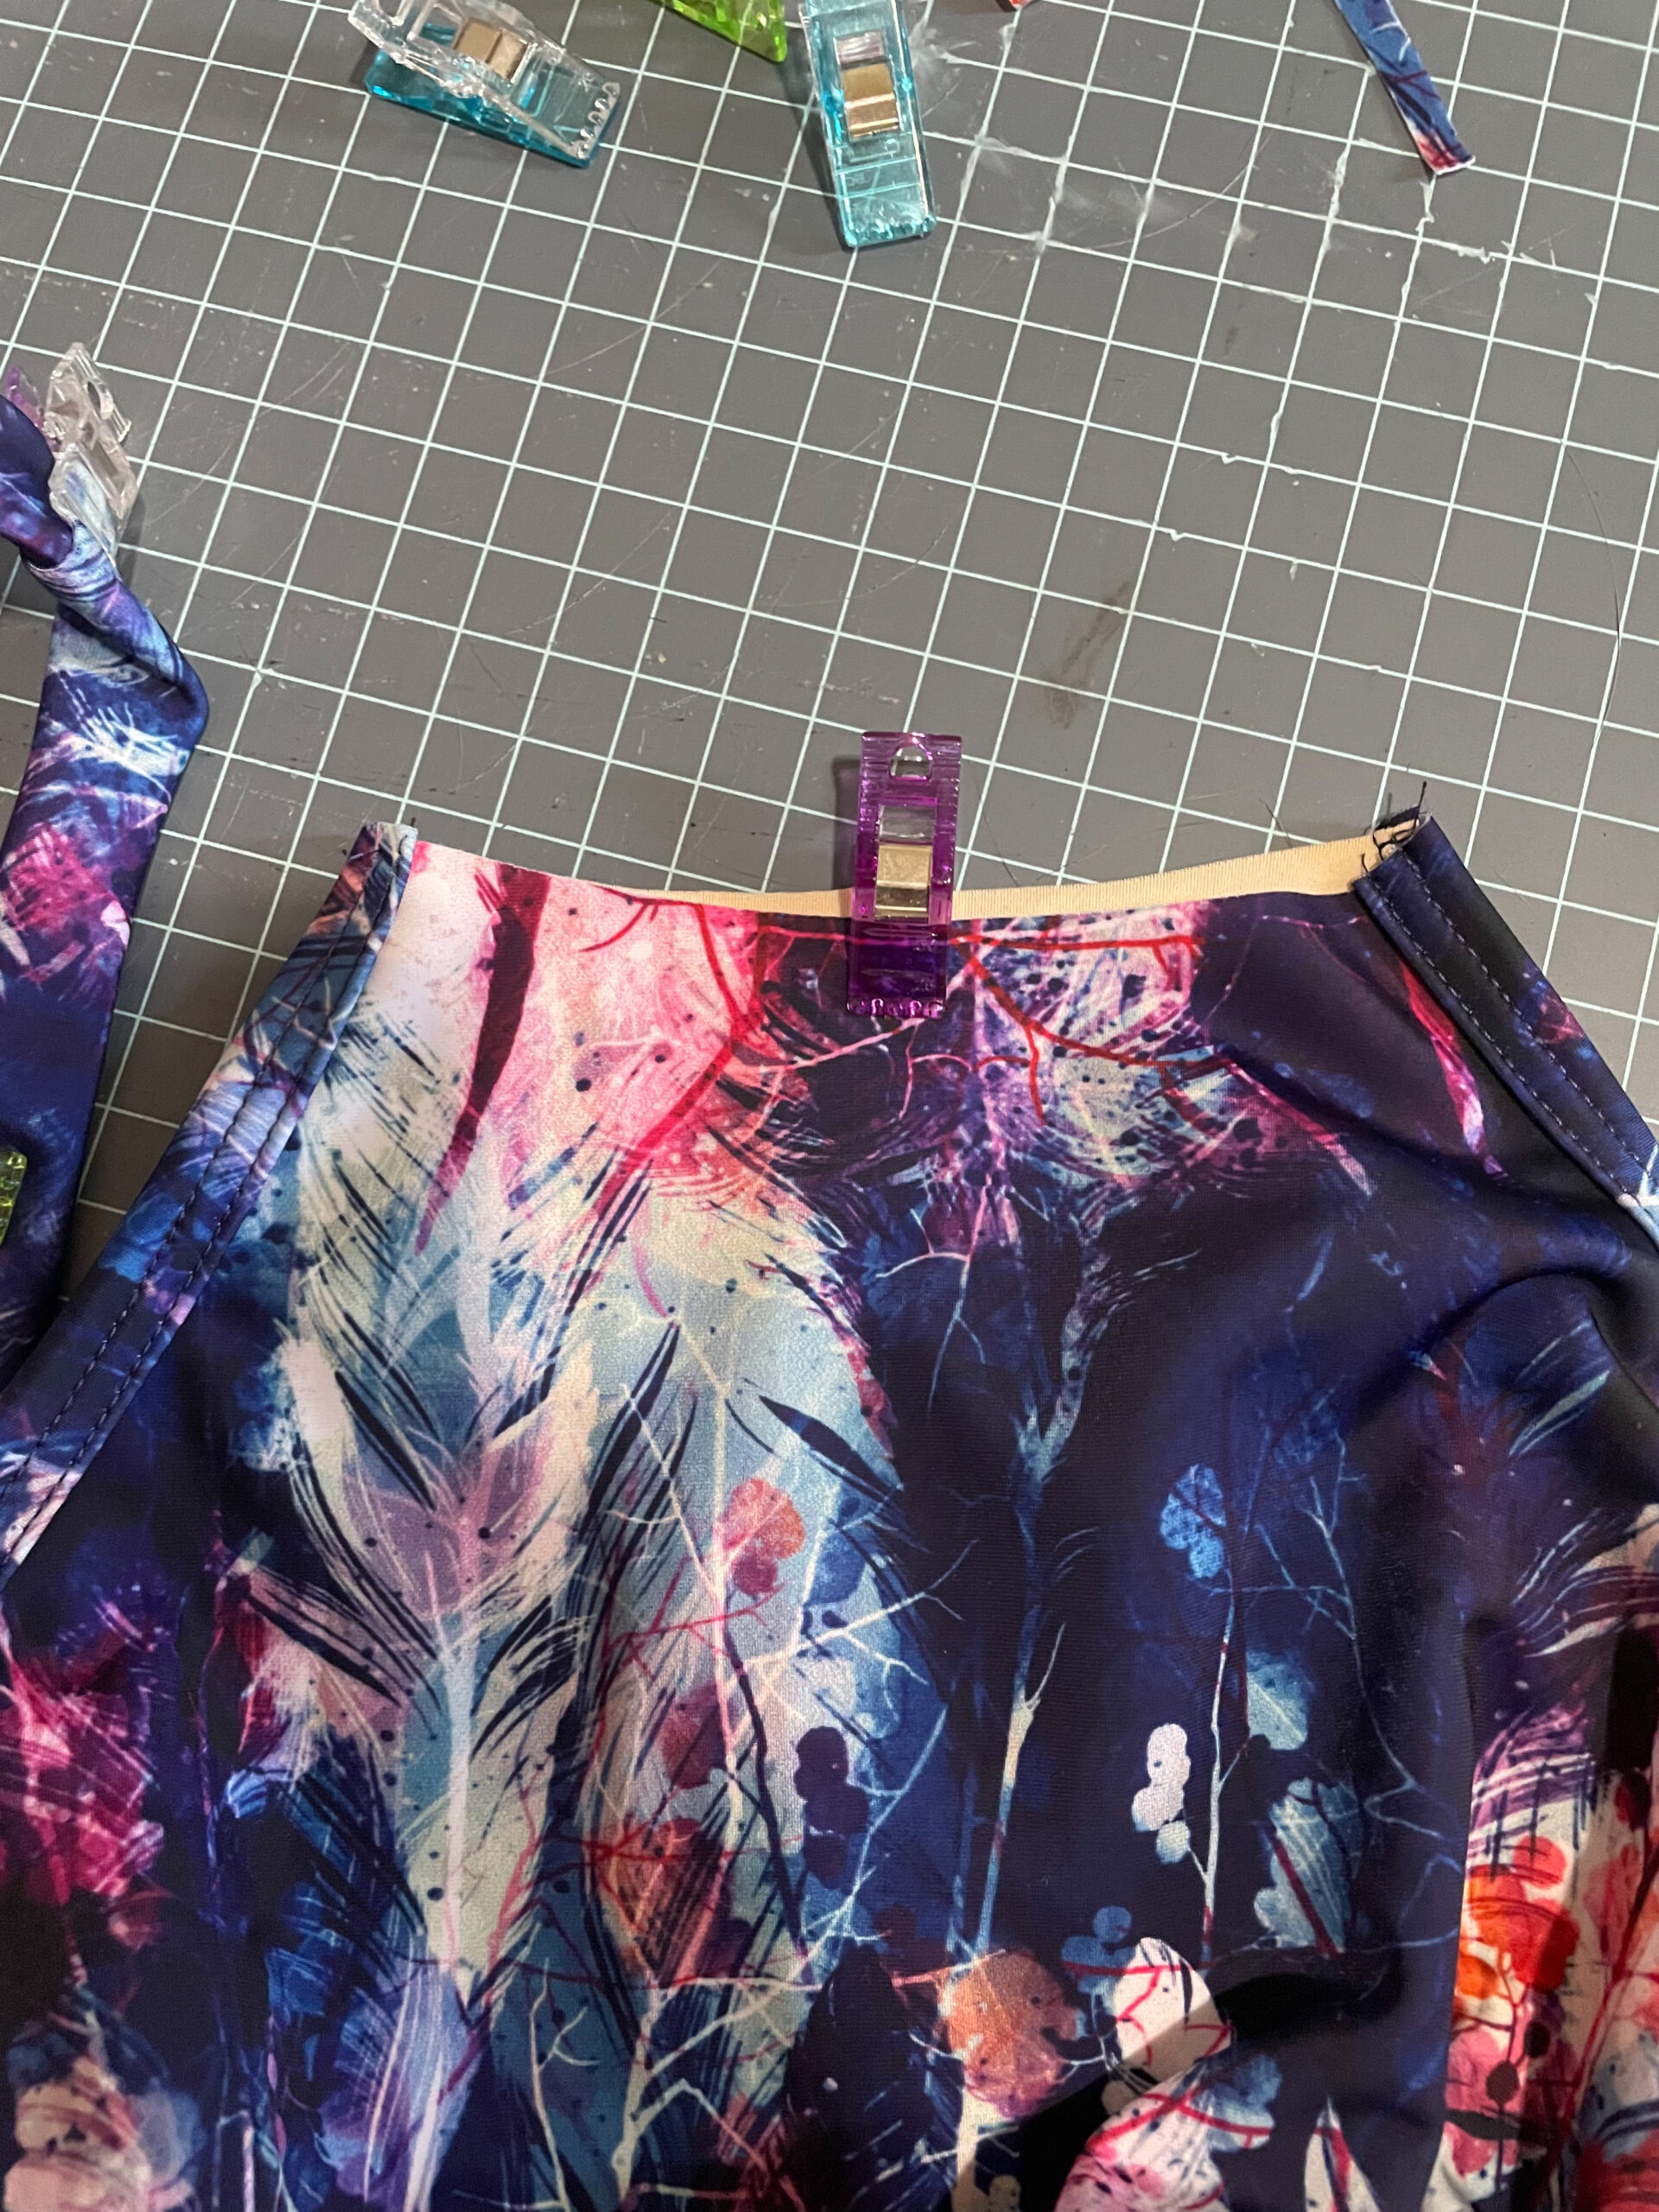
Place the back center seam of your binding on the back center of your tank piece. Open the binding up and press the tank piece up towards the crease of the binding, then close the binding around it. Here’s how it should look from the front and back sides.
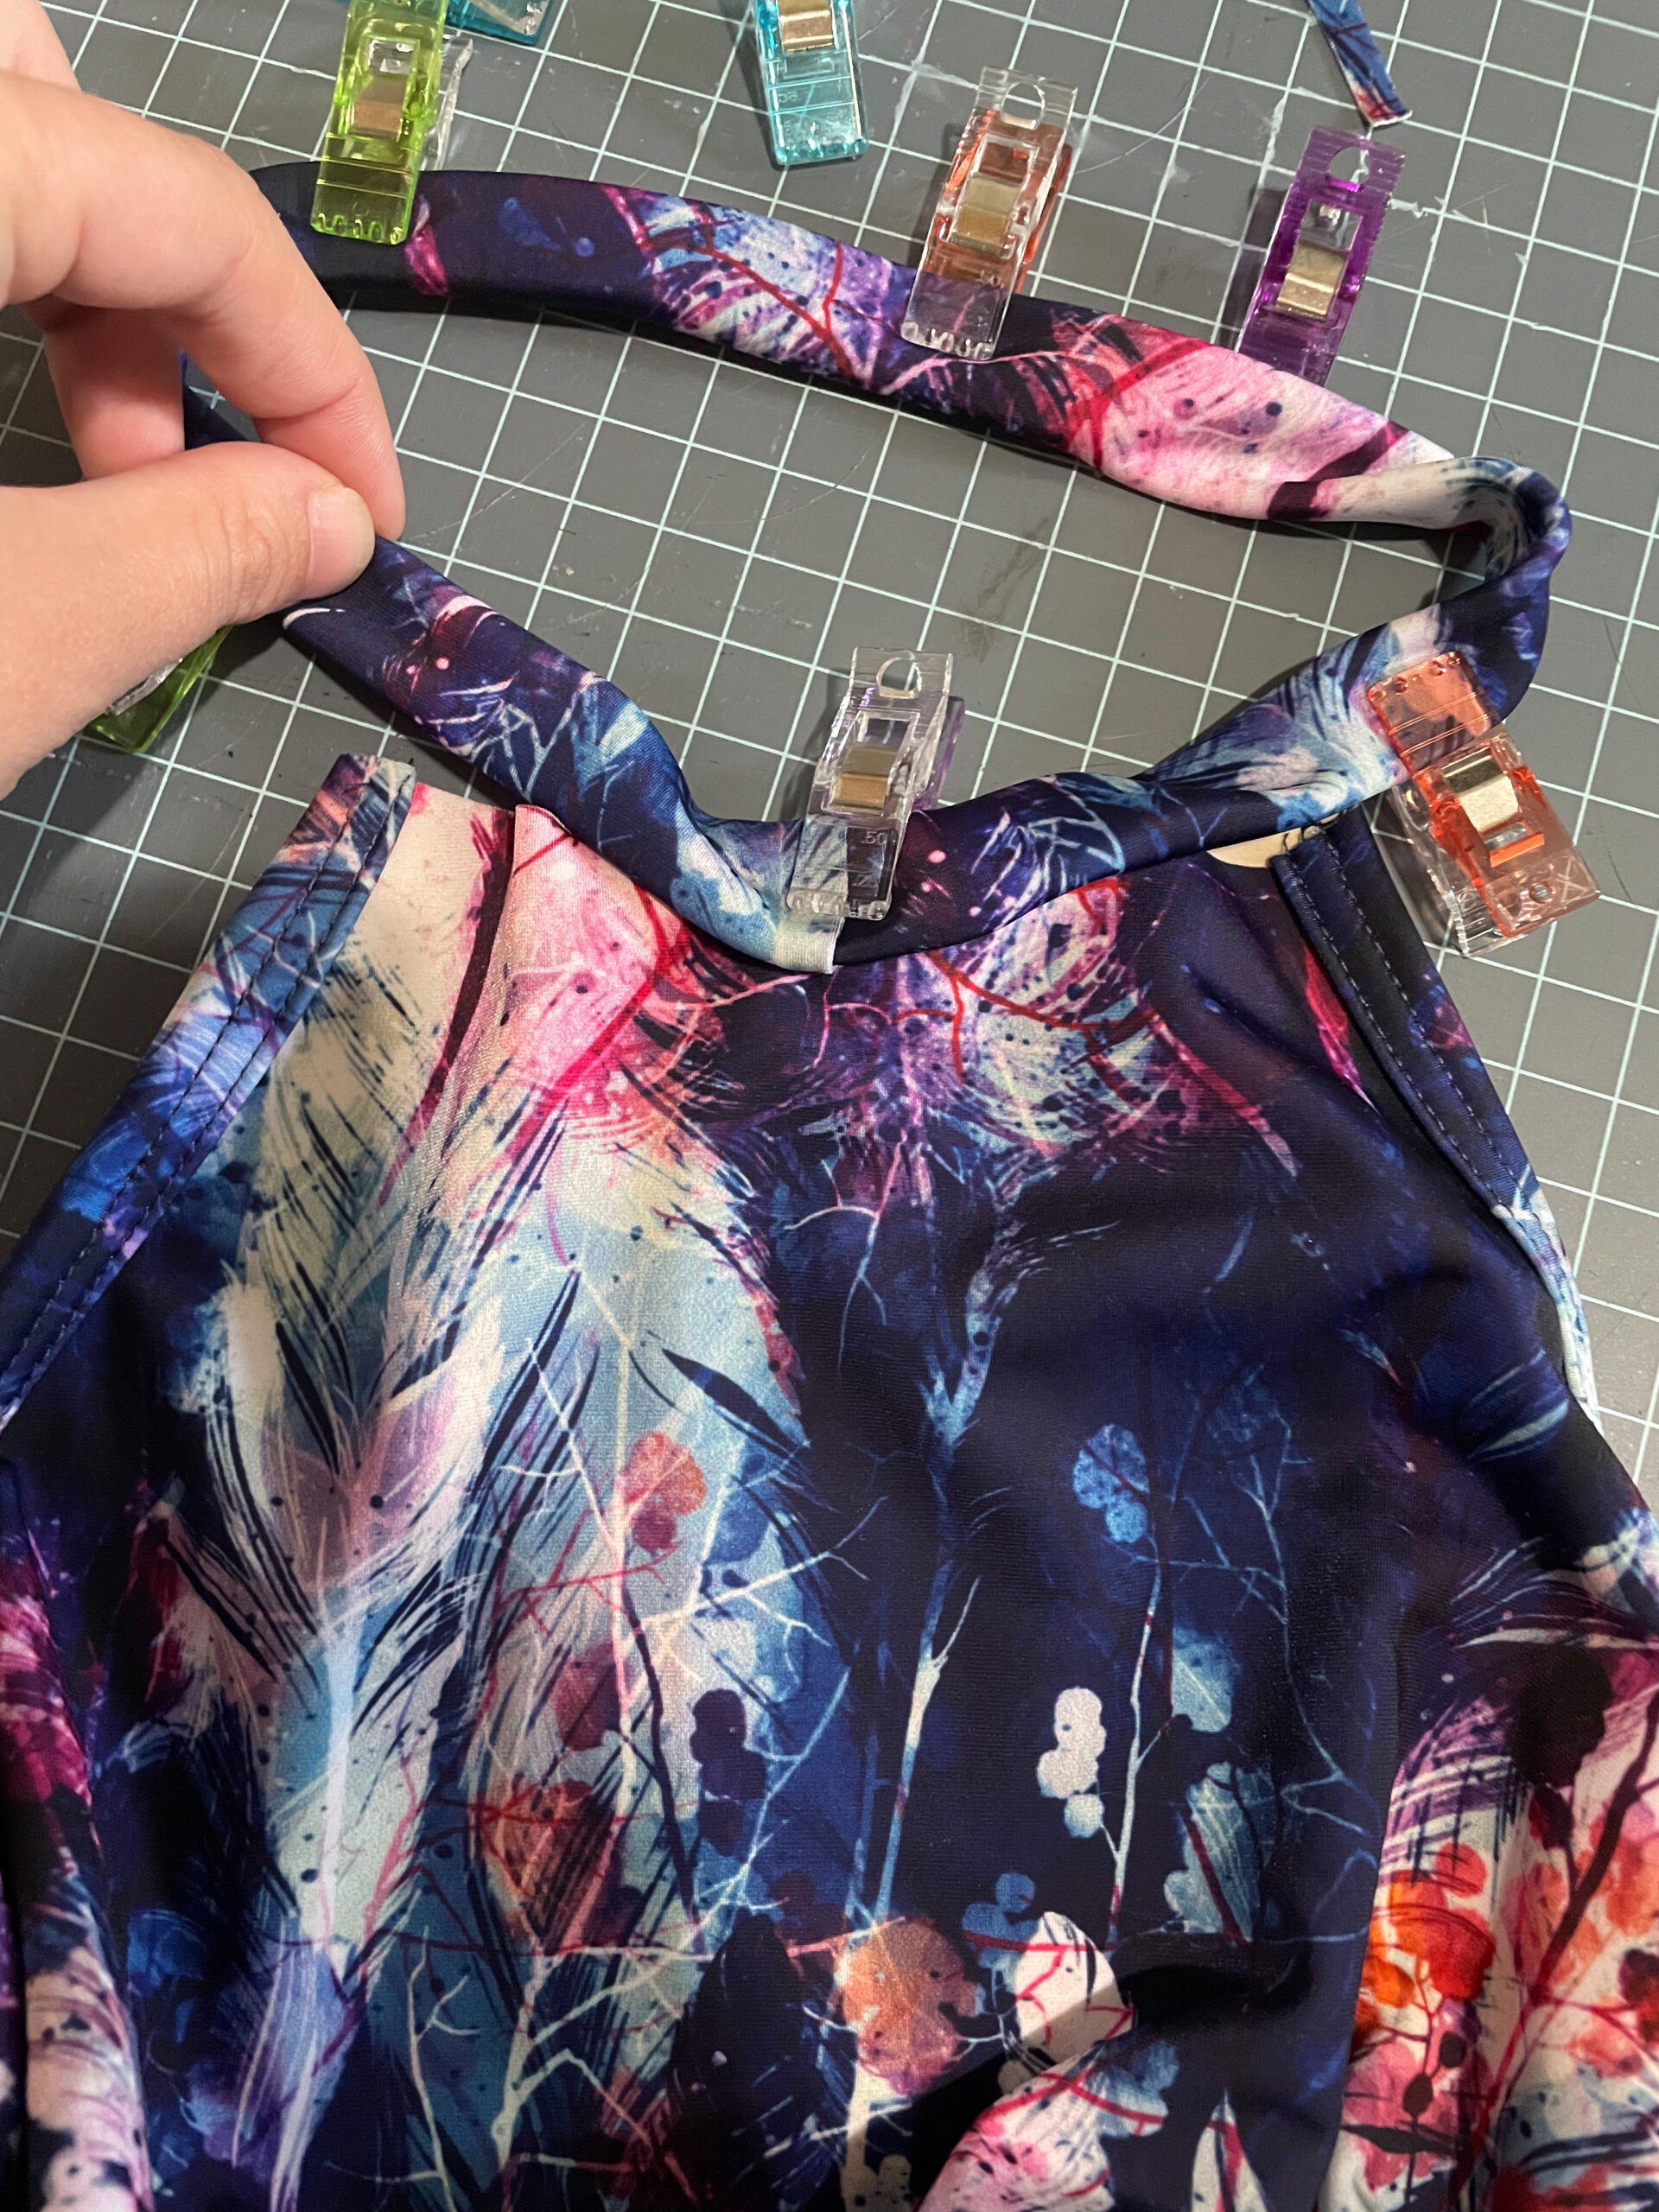

Mark the center point of your binding loop and then attach that to your front middle tank piece in the same manner you did the back.

Continue to take your pieces into the binding, stretching the binding a bit as you go. When you are done, ensure both of the pieces of the binding that are “empty” are the same length.
Topstitch the binding close to the edge. Take it as slow as needed to ensure you catch all the layers!
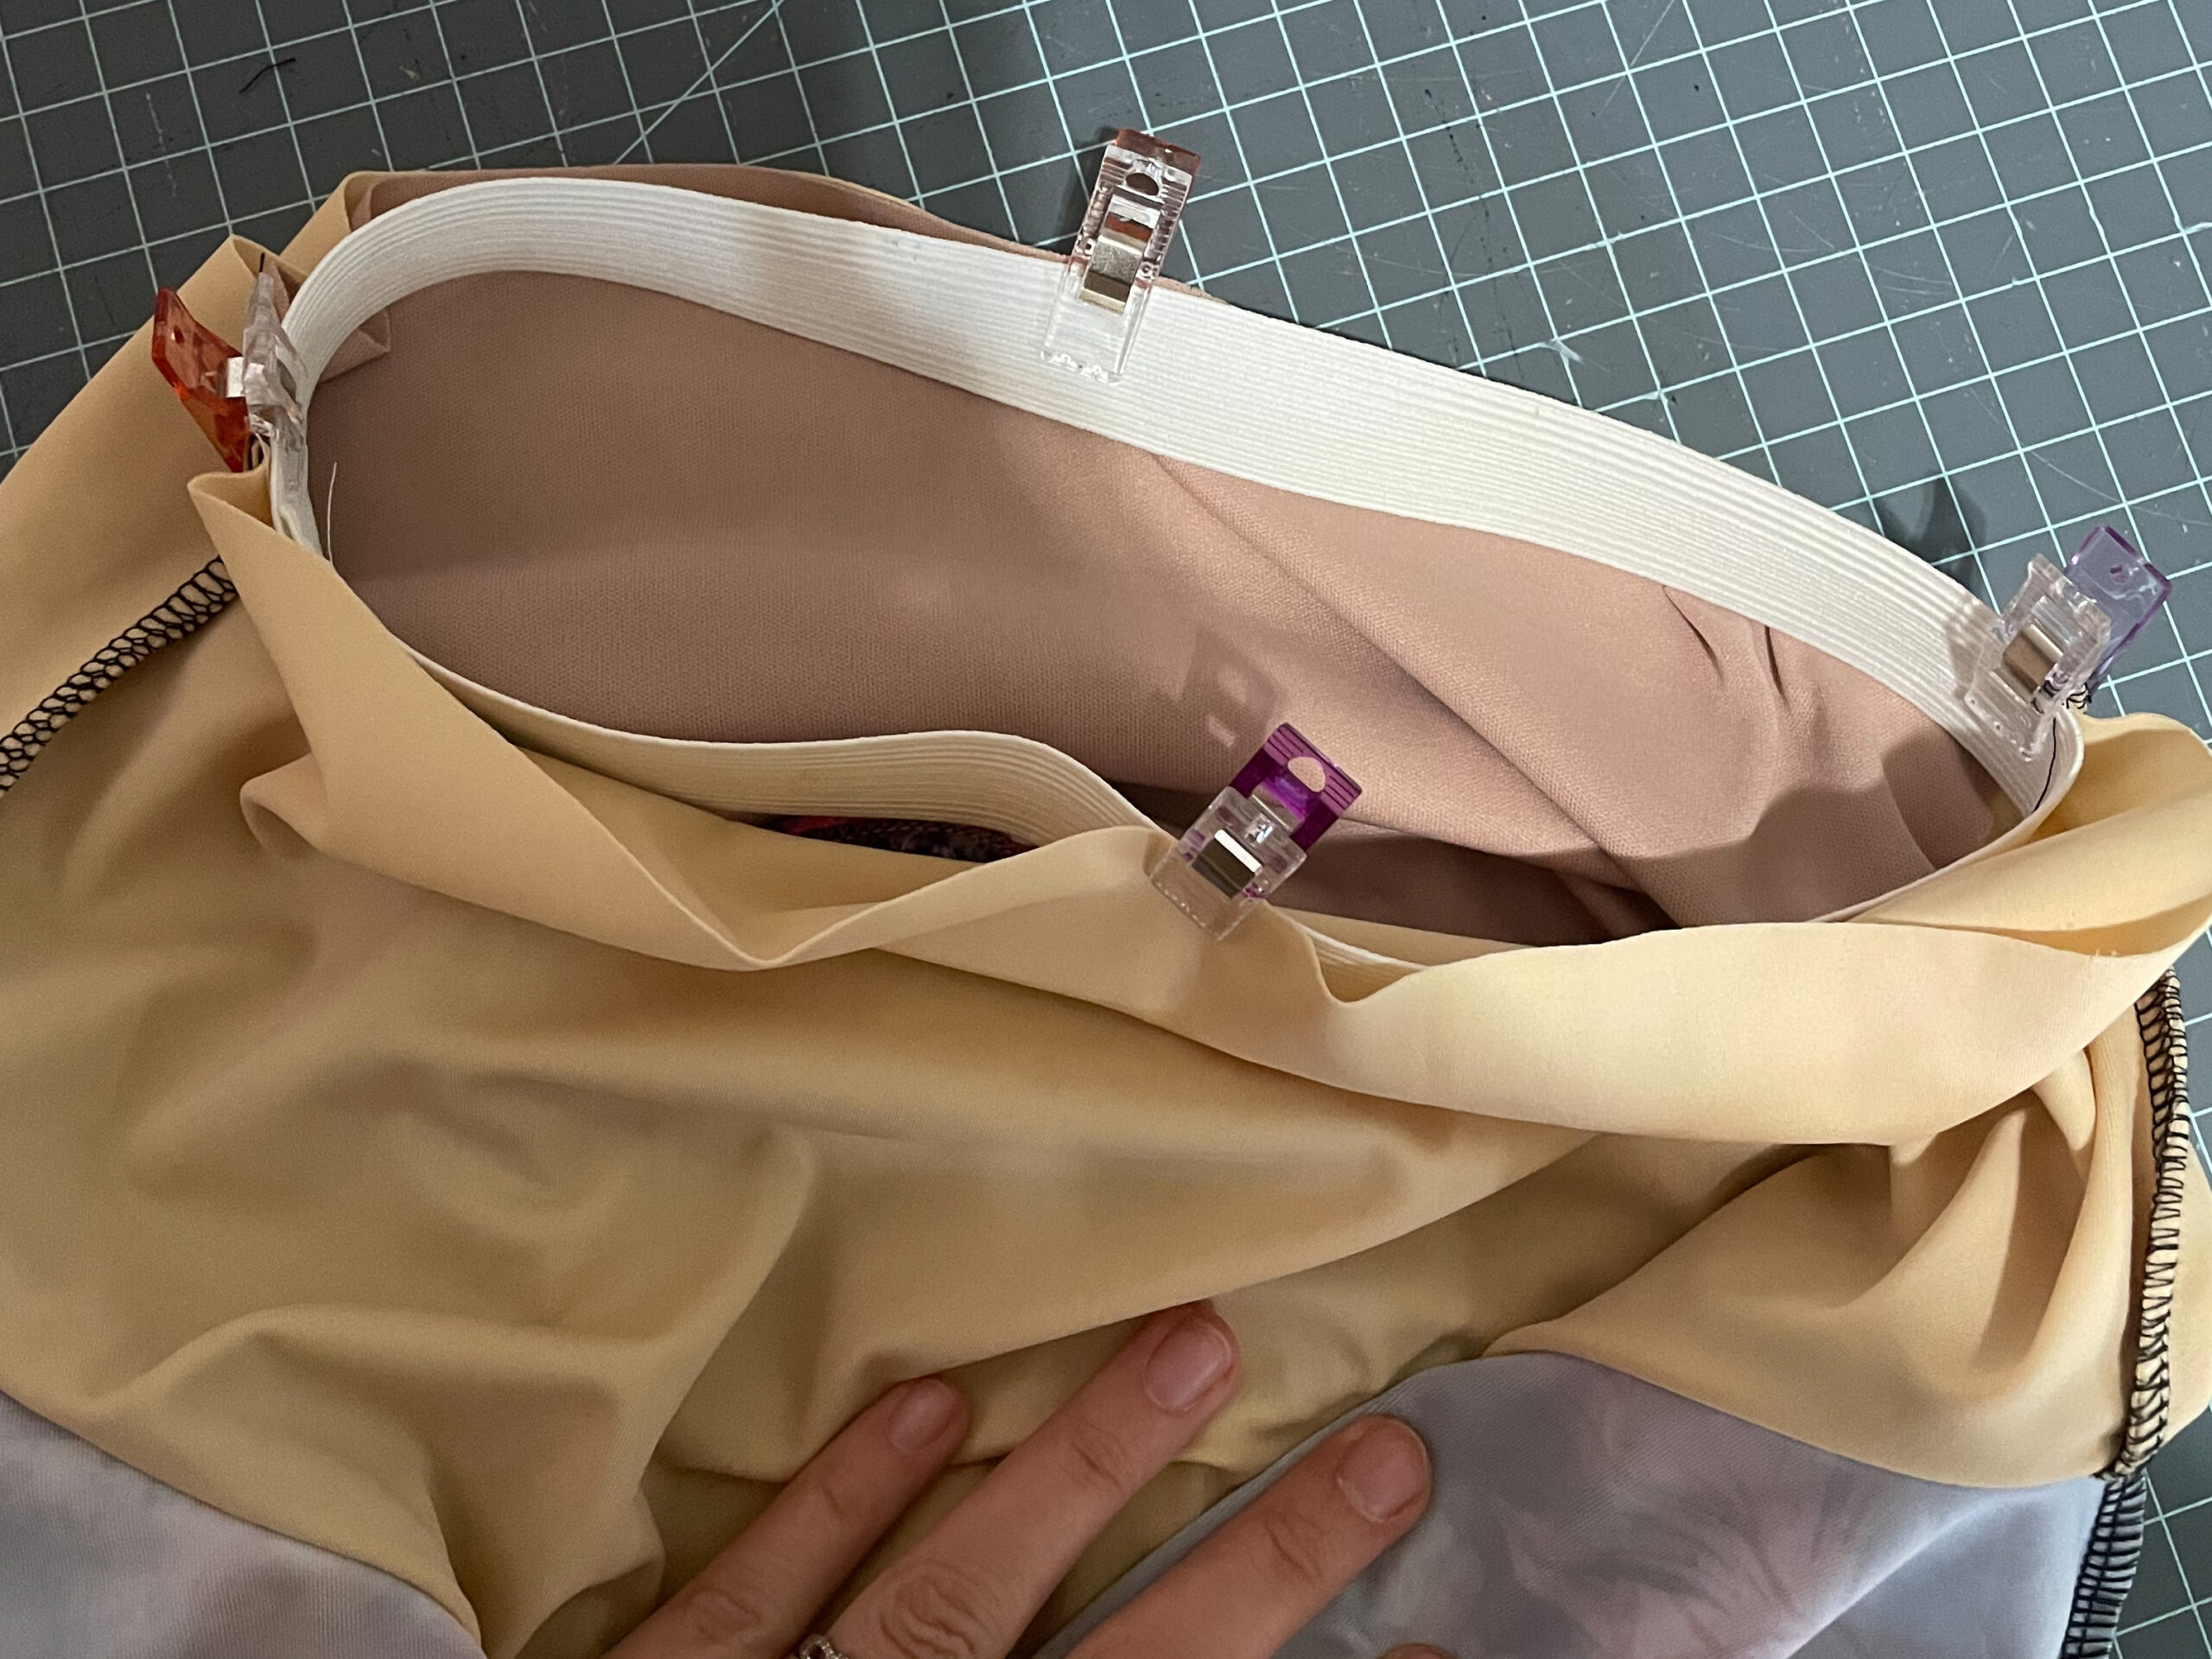
Under-bust Elastic
Measure your under-bust. Subtract 4-6” and then cut out your 1” swim elastic. I like to measure with the elastic before cutting so I can ensure I get a good fit. My swim elastic is much stretchier than the typical elastic I use for underbust bands, so I subtract about 5”. Sew the elastic in a loop.

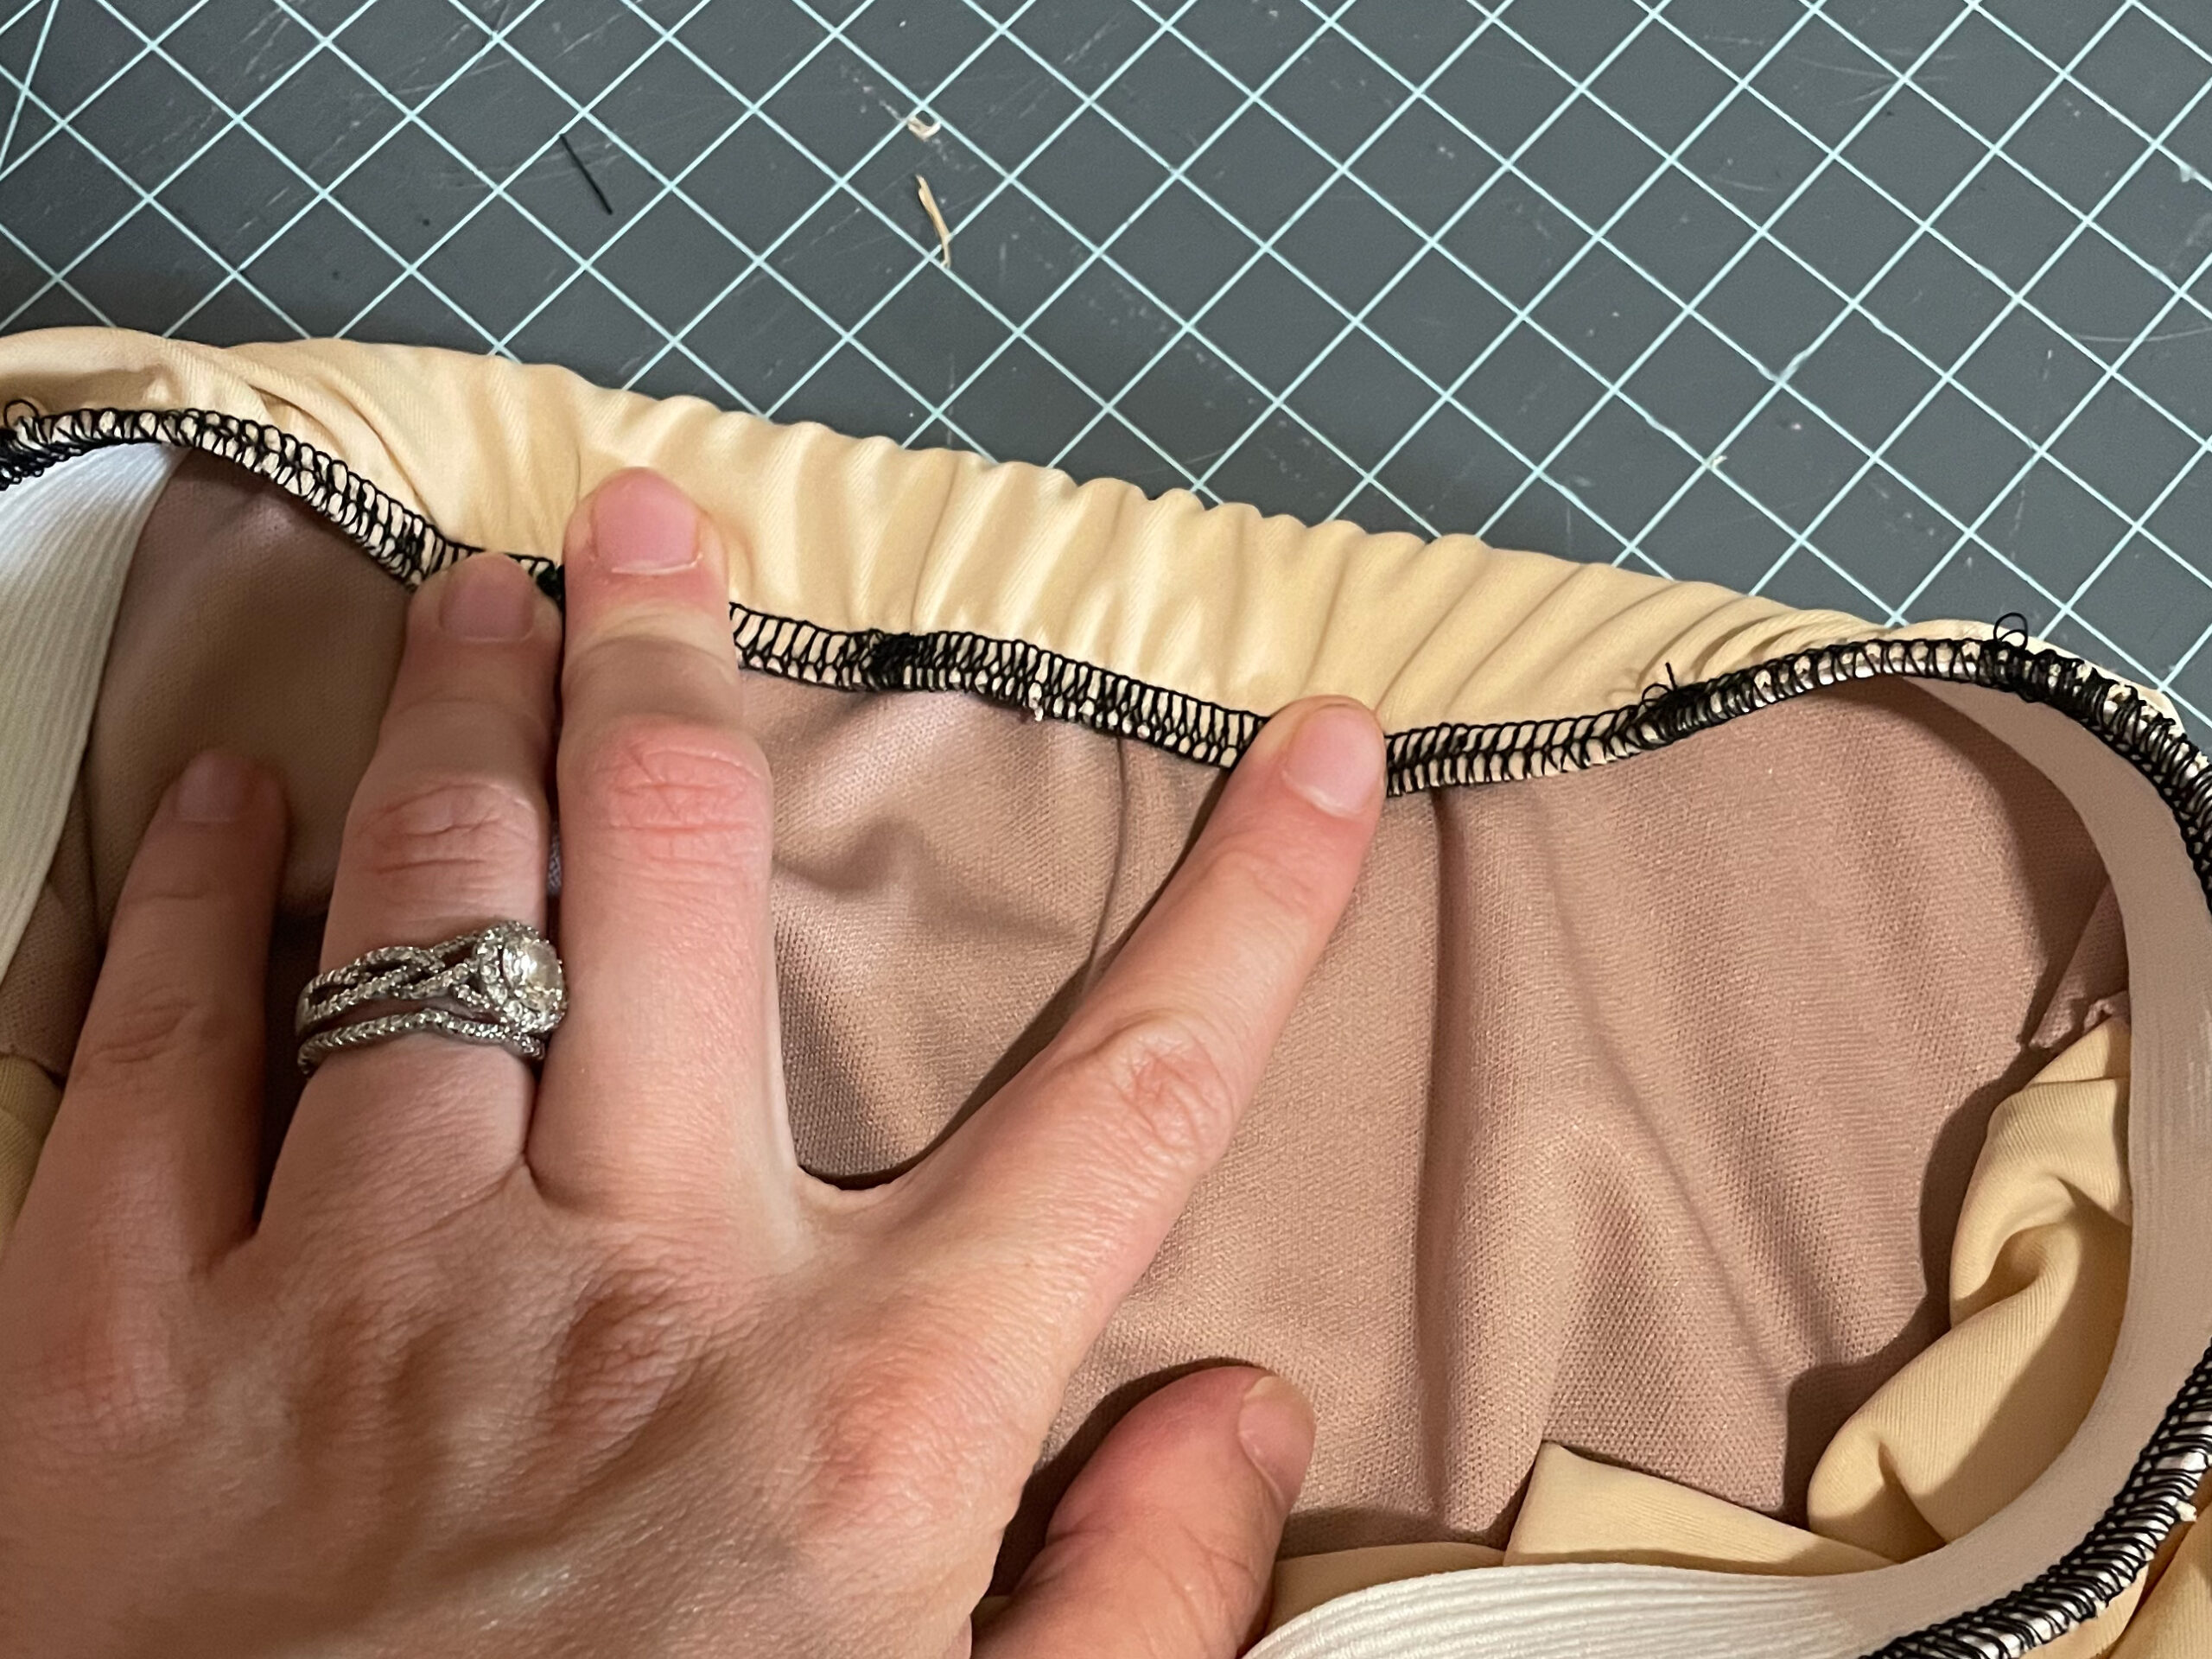
Find the quarter points of the elastic loop and the bottom of the liner piece. Attach the elastic to the inside of the liner, stretching the elastic. I prefer to just serge it on.
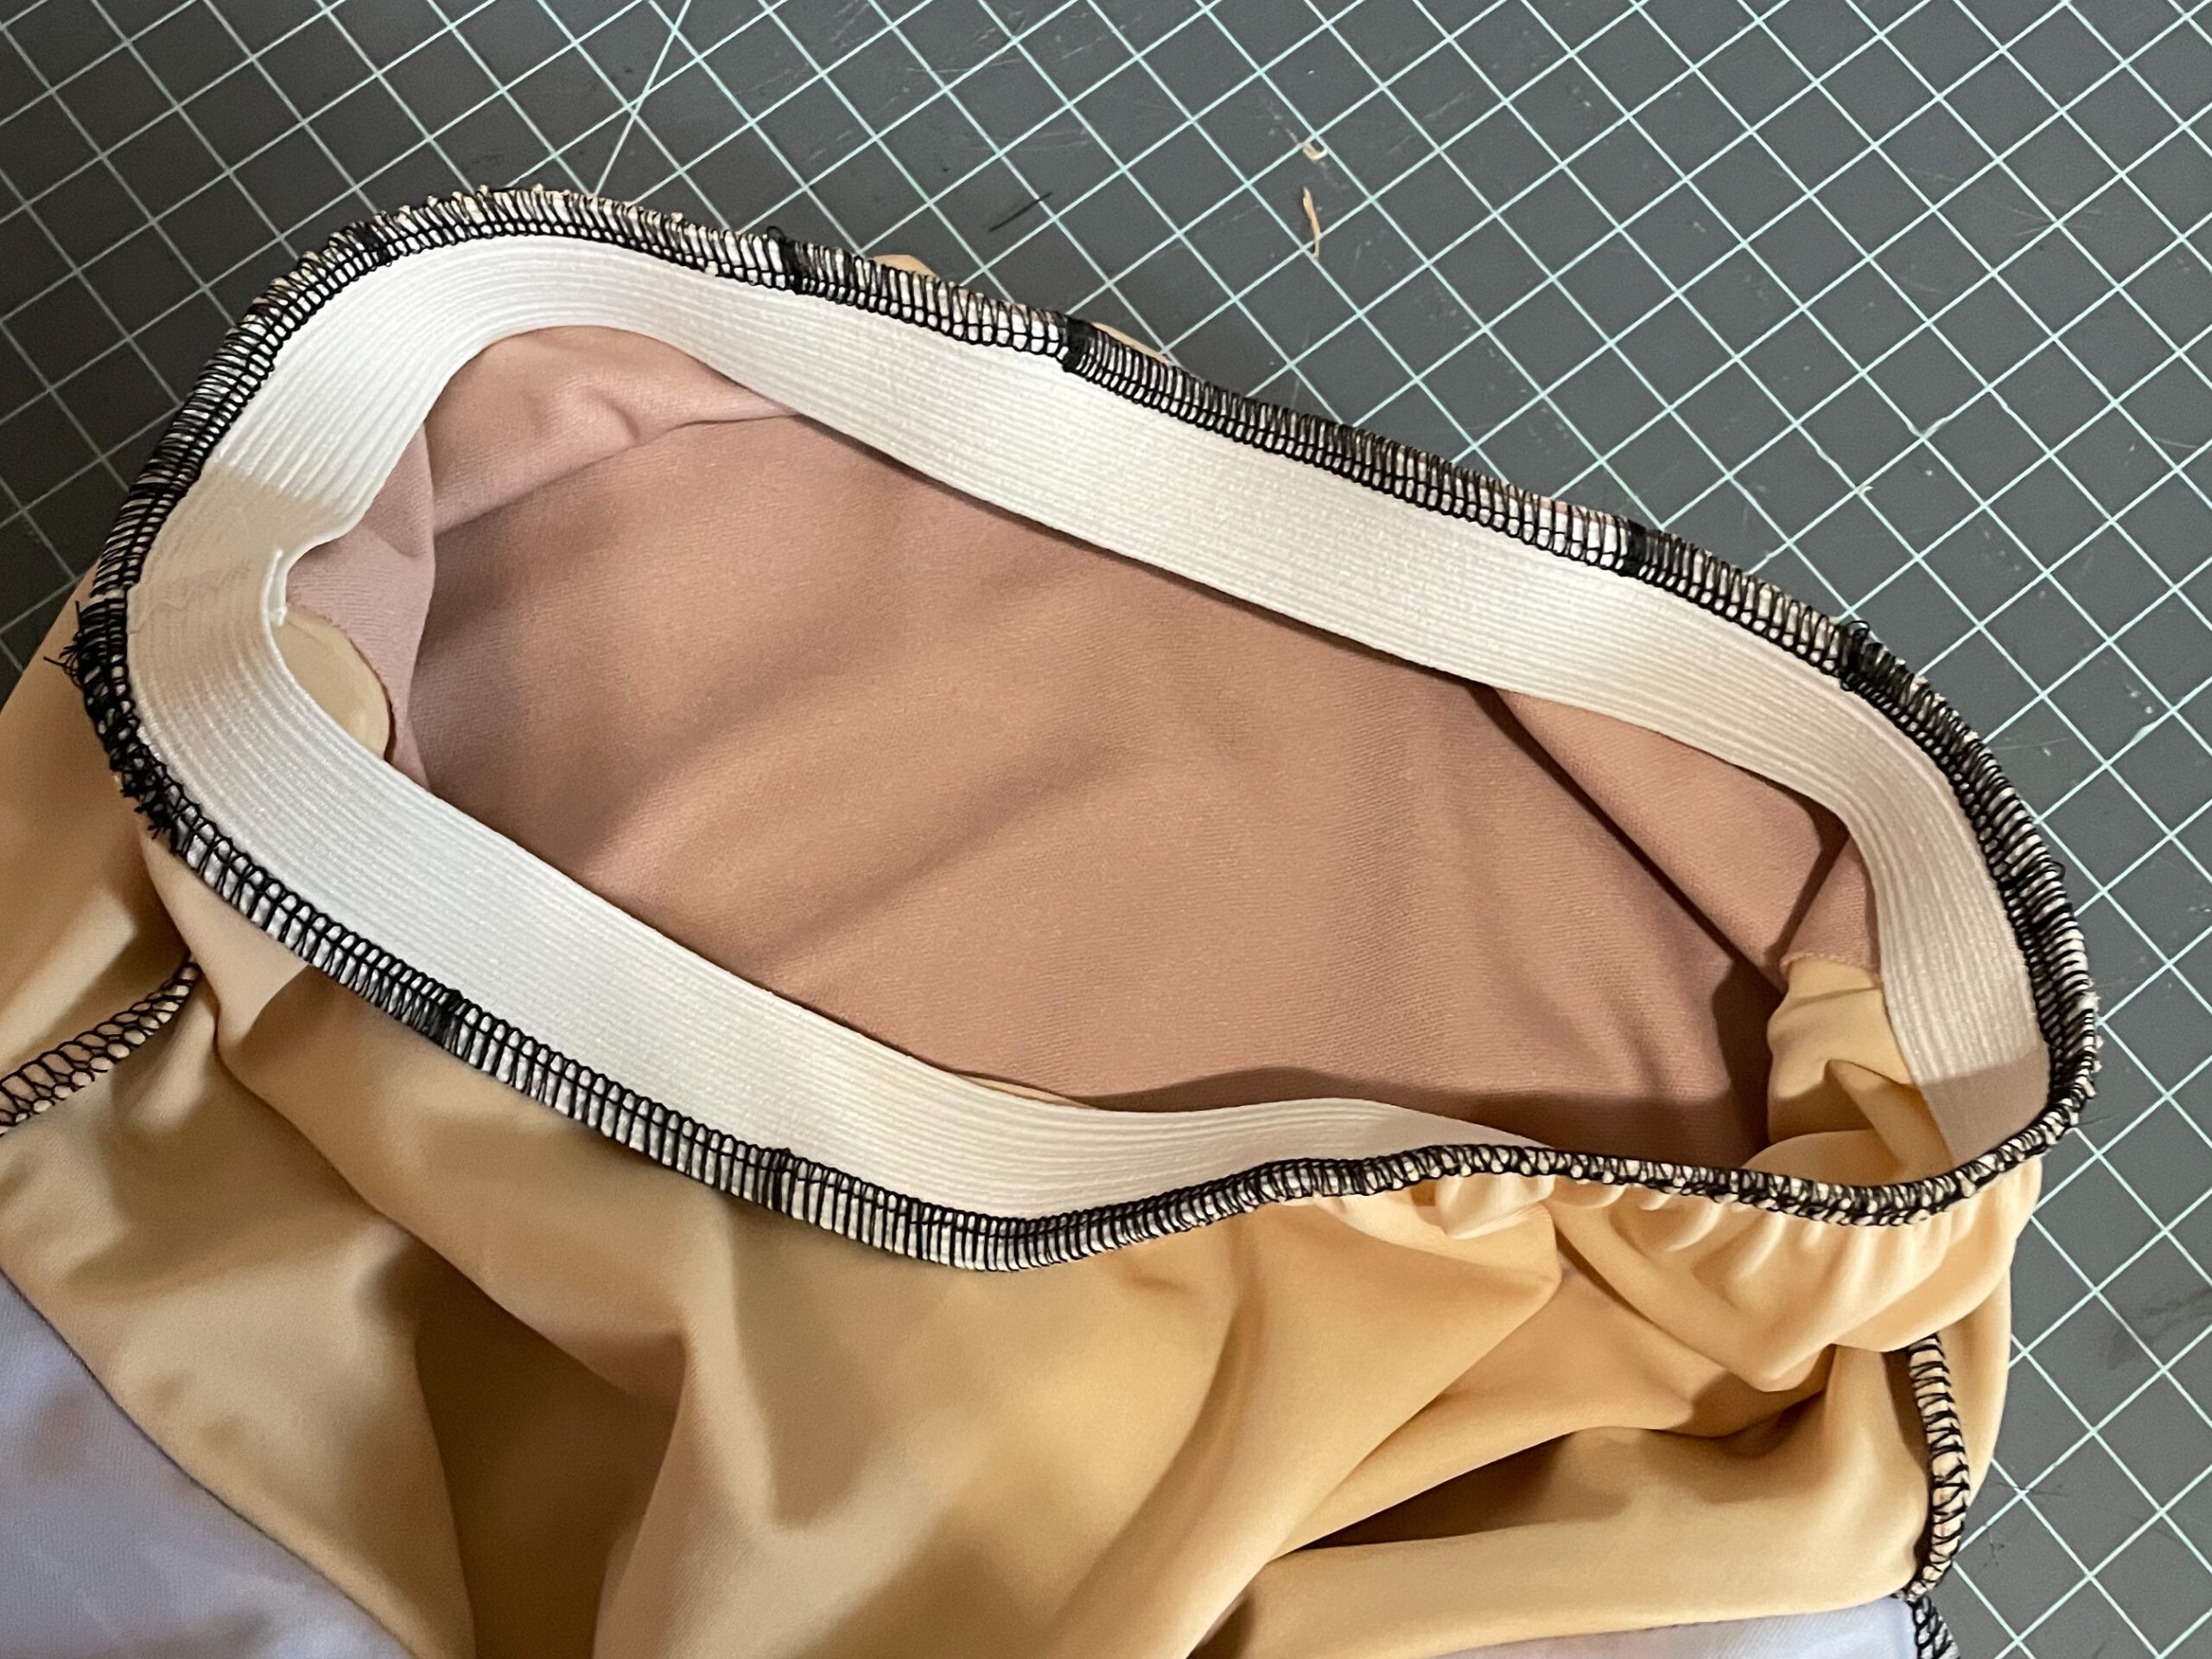
Flip the elastic up and topstitch it into place.

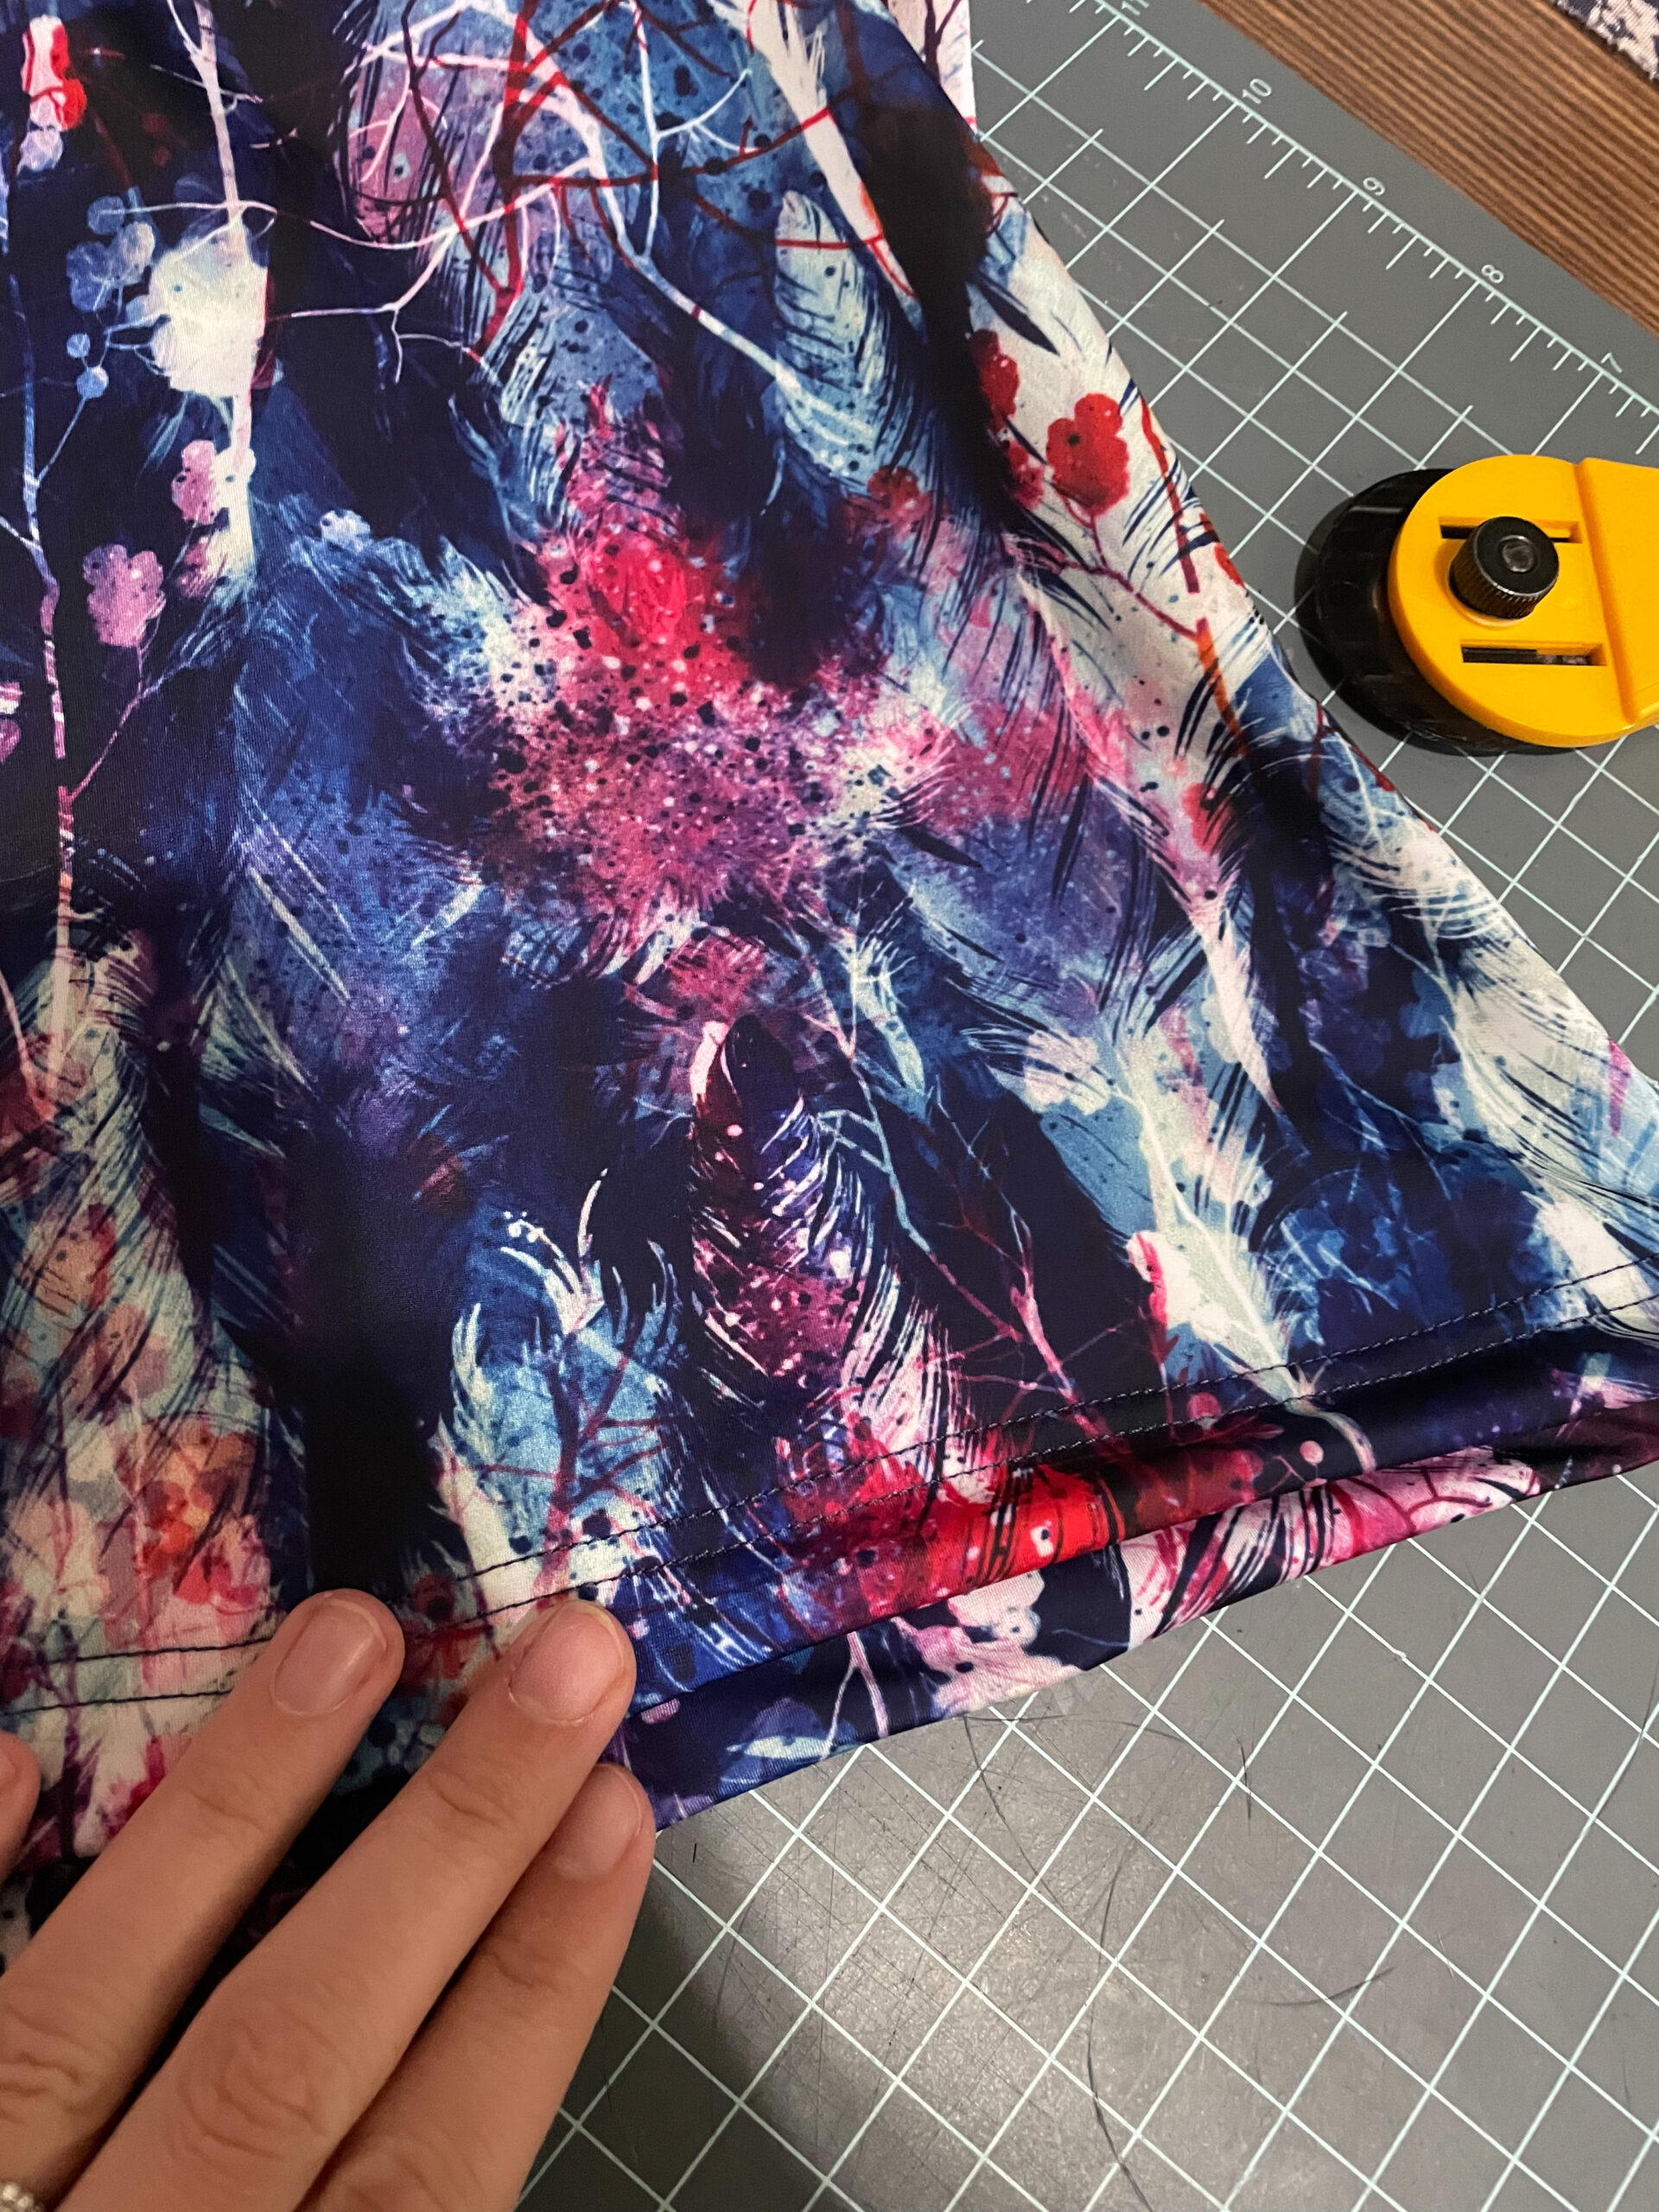
Hem
Finally, hem the tank 3/4”. You are done!
We would love to see your swim tank (or this would make a really cute everyday tank as well) in our Facebook group or on Instagram. #patternniche