Hi, it’s Amanda from DerivingMommyhood and I have a great finishing technique to share—how to sew a mitered corner!
Mitered hems are a great way to make your sewing look a little more professional, and can also be amazing to reduce bulk along your hems. I love using them for things like the Vermont Cardigan, Tanacross Cardi or the Kauai Coverup, or anywhere I have two hems meet but once you get the hang of them, you’ll be adding mitered hems to everything!
A mitered corner is just a corner that meets at an angle, rather than your usual 90-degree corner. As a former math teacher, I love throwing a little bit of math into my sewing. But no worries, I won’t be quizzing you on Pythagoras here, it’s really simple. And this technique works for any fabric.
Supplies Needed
First you will need an iron, marking tool, scissors or a mat and cutter, and it’s helpful to have a tool to push corners. Also, you’ll be using just your basic sewing machine with a straight stitch. Even for knit fabrics, I use a straight stitch on my sewing machine as opposed to a stretch stitch because there will not be any strain on this seam that will have it require stretch.

Getting Started
If you’re using fabric that needs the edges finished, go ahead and serge those raw edges first, or at the end I’ll show you this with a double fold. Now, take your fabric and press in the hem allowance for both sides you plan to miter. Usually, it would be the front opening for example and the bottom hem, but I’ll be showing you on this basic rectangle here. It doesn’t matter what those hem allowances are, and they do not need to be equal. I’ve pressed the bottom hem here up about one inch and the side is pressed in about a half inch.
Finding Points A, B, and C
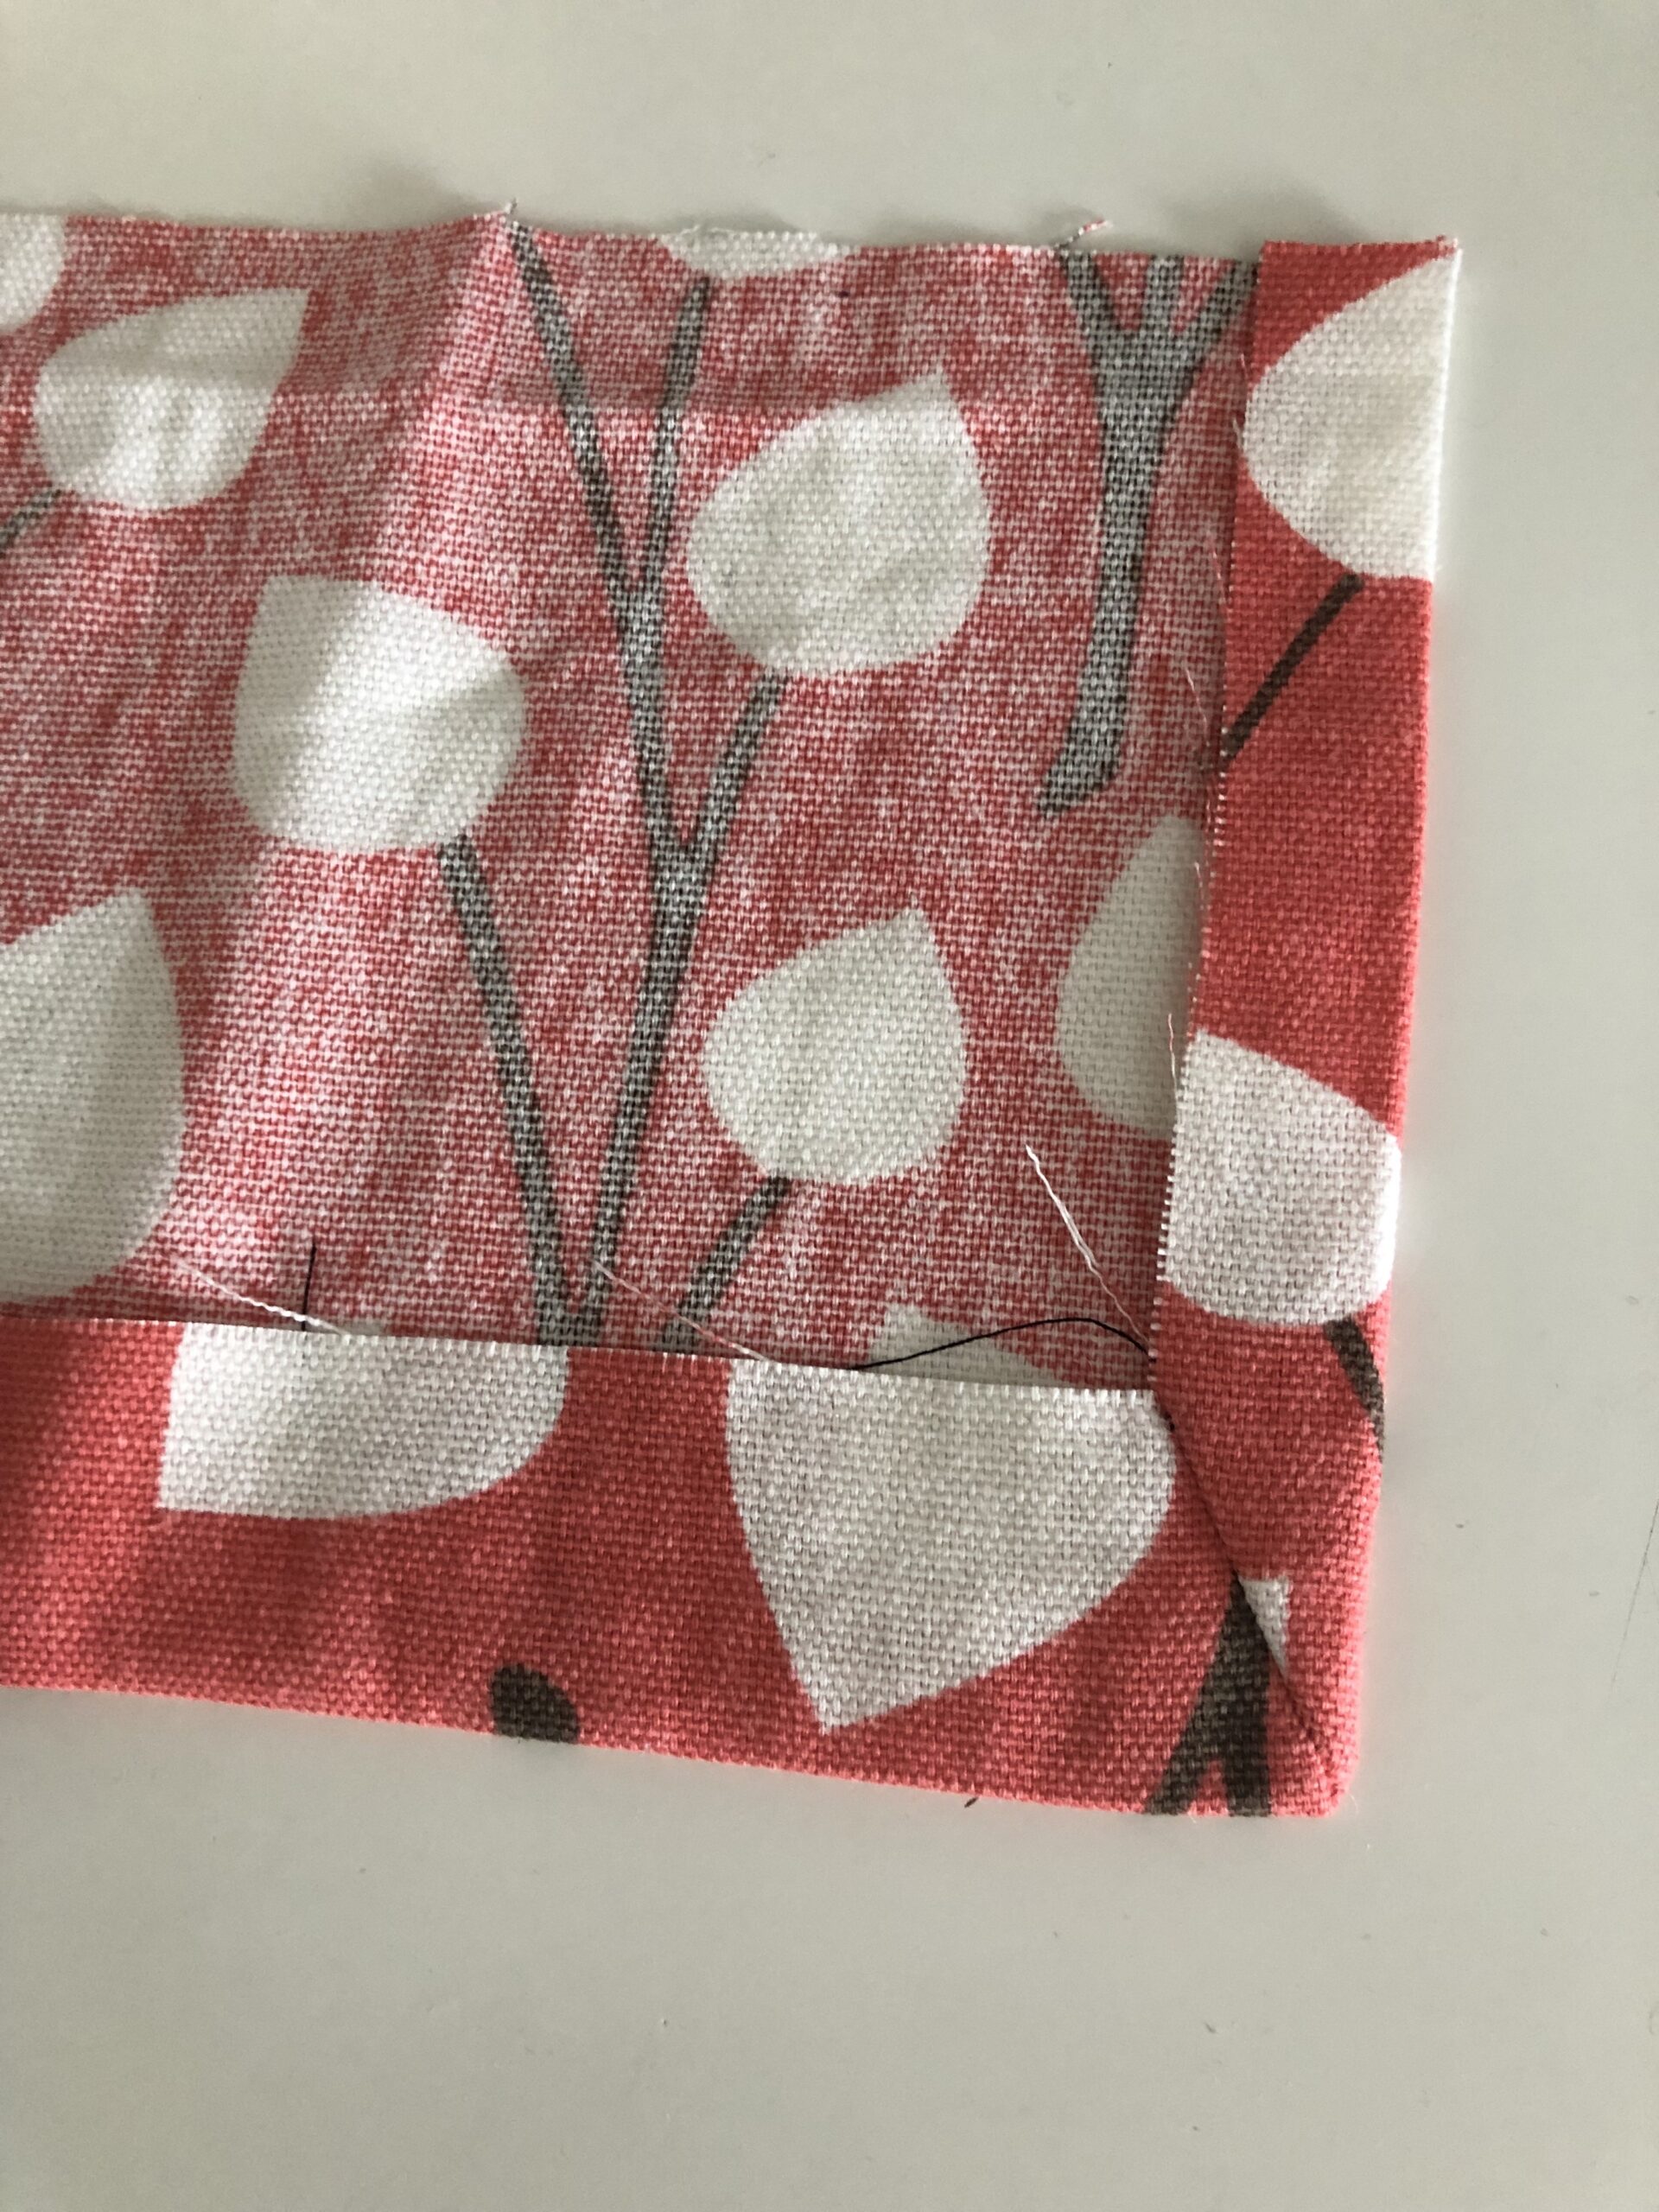
Unfold the bottom hem, and just fold in the side and mark where it hits along the bottom, we will call that point A.

Next, unfold the side and just fold up the bottom and mark where that hits, I’ll call that point B.

Last, you will mark where your two folds intersect, and I’ll call that one point C. You would use your favorite marking tool for this, just marking the very edge, but I’ll use a sharpie so that you can see it nice and clearly here.

Sewing Mitered Corner
Now turn your project right side up, and fold to match up points a and b right sides together. You’ll draw a line that connects points A&B to point C, and carefully sew along that line.
You can check to see how it will look now by turning it right side out, the only reason it would not be correct at this point is if you didn’t match the points well or stay to the line.
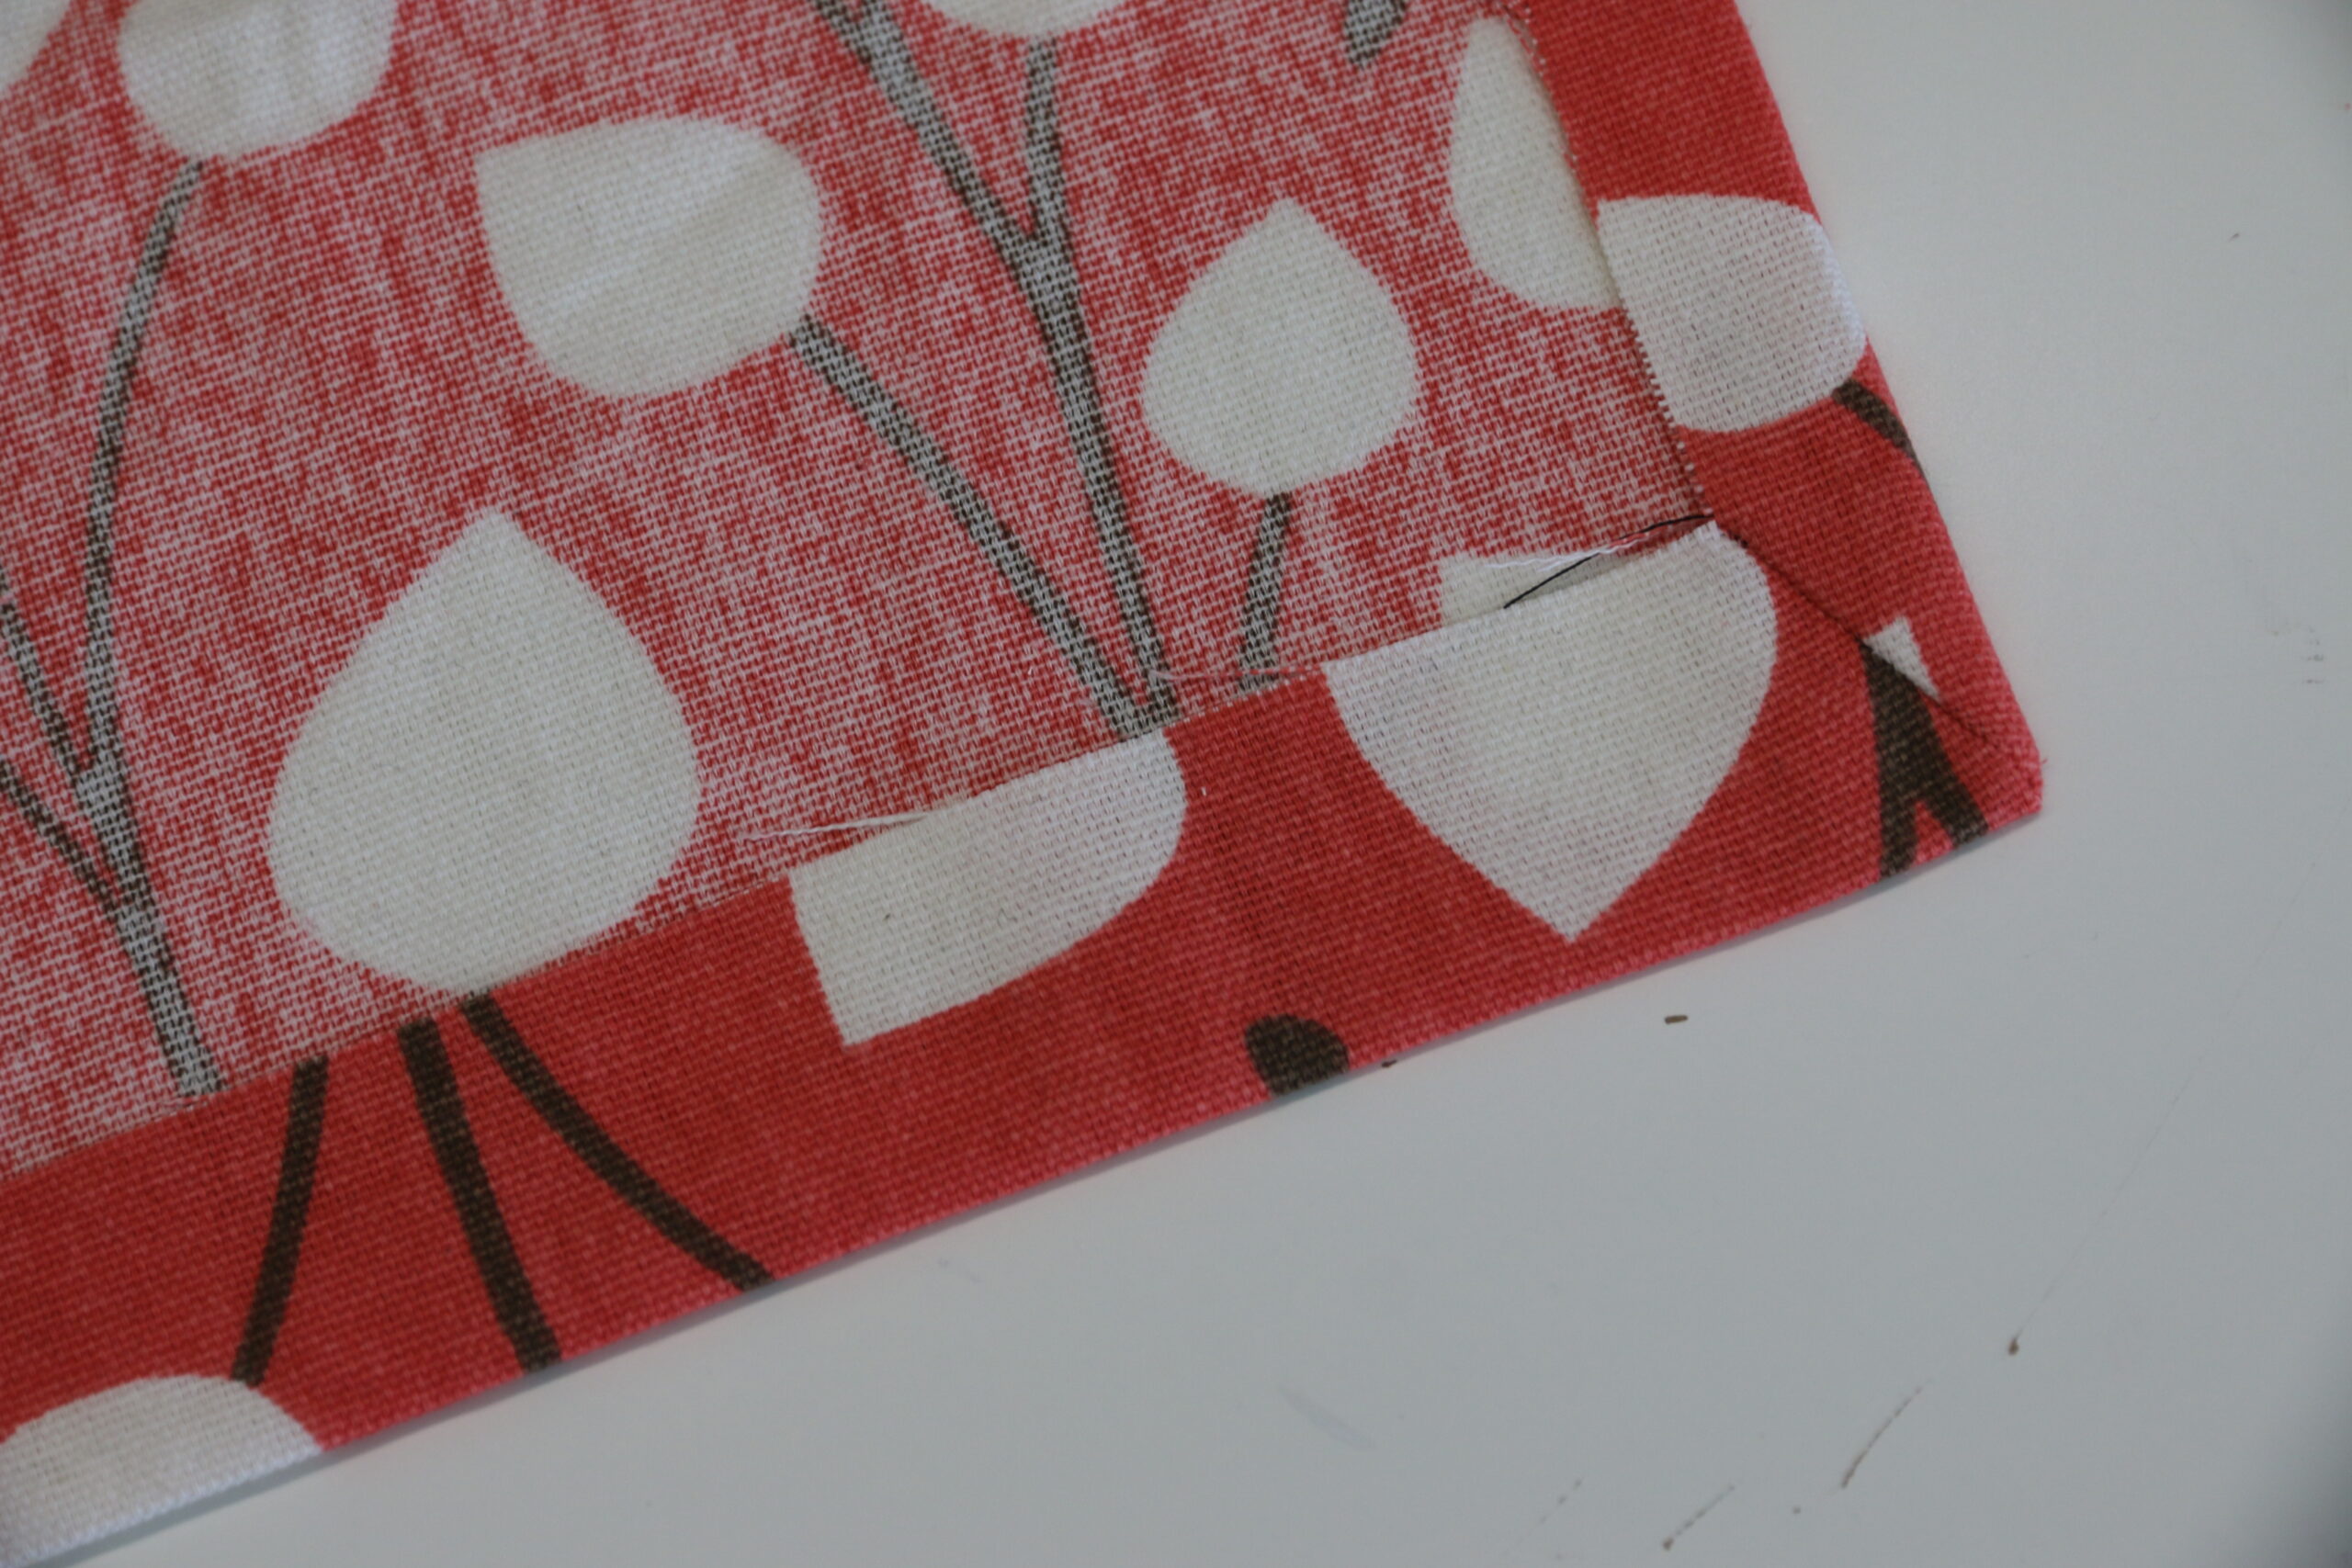
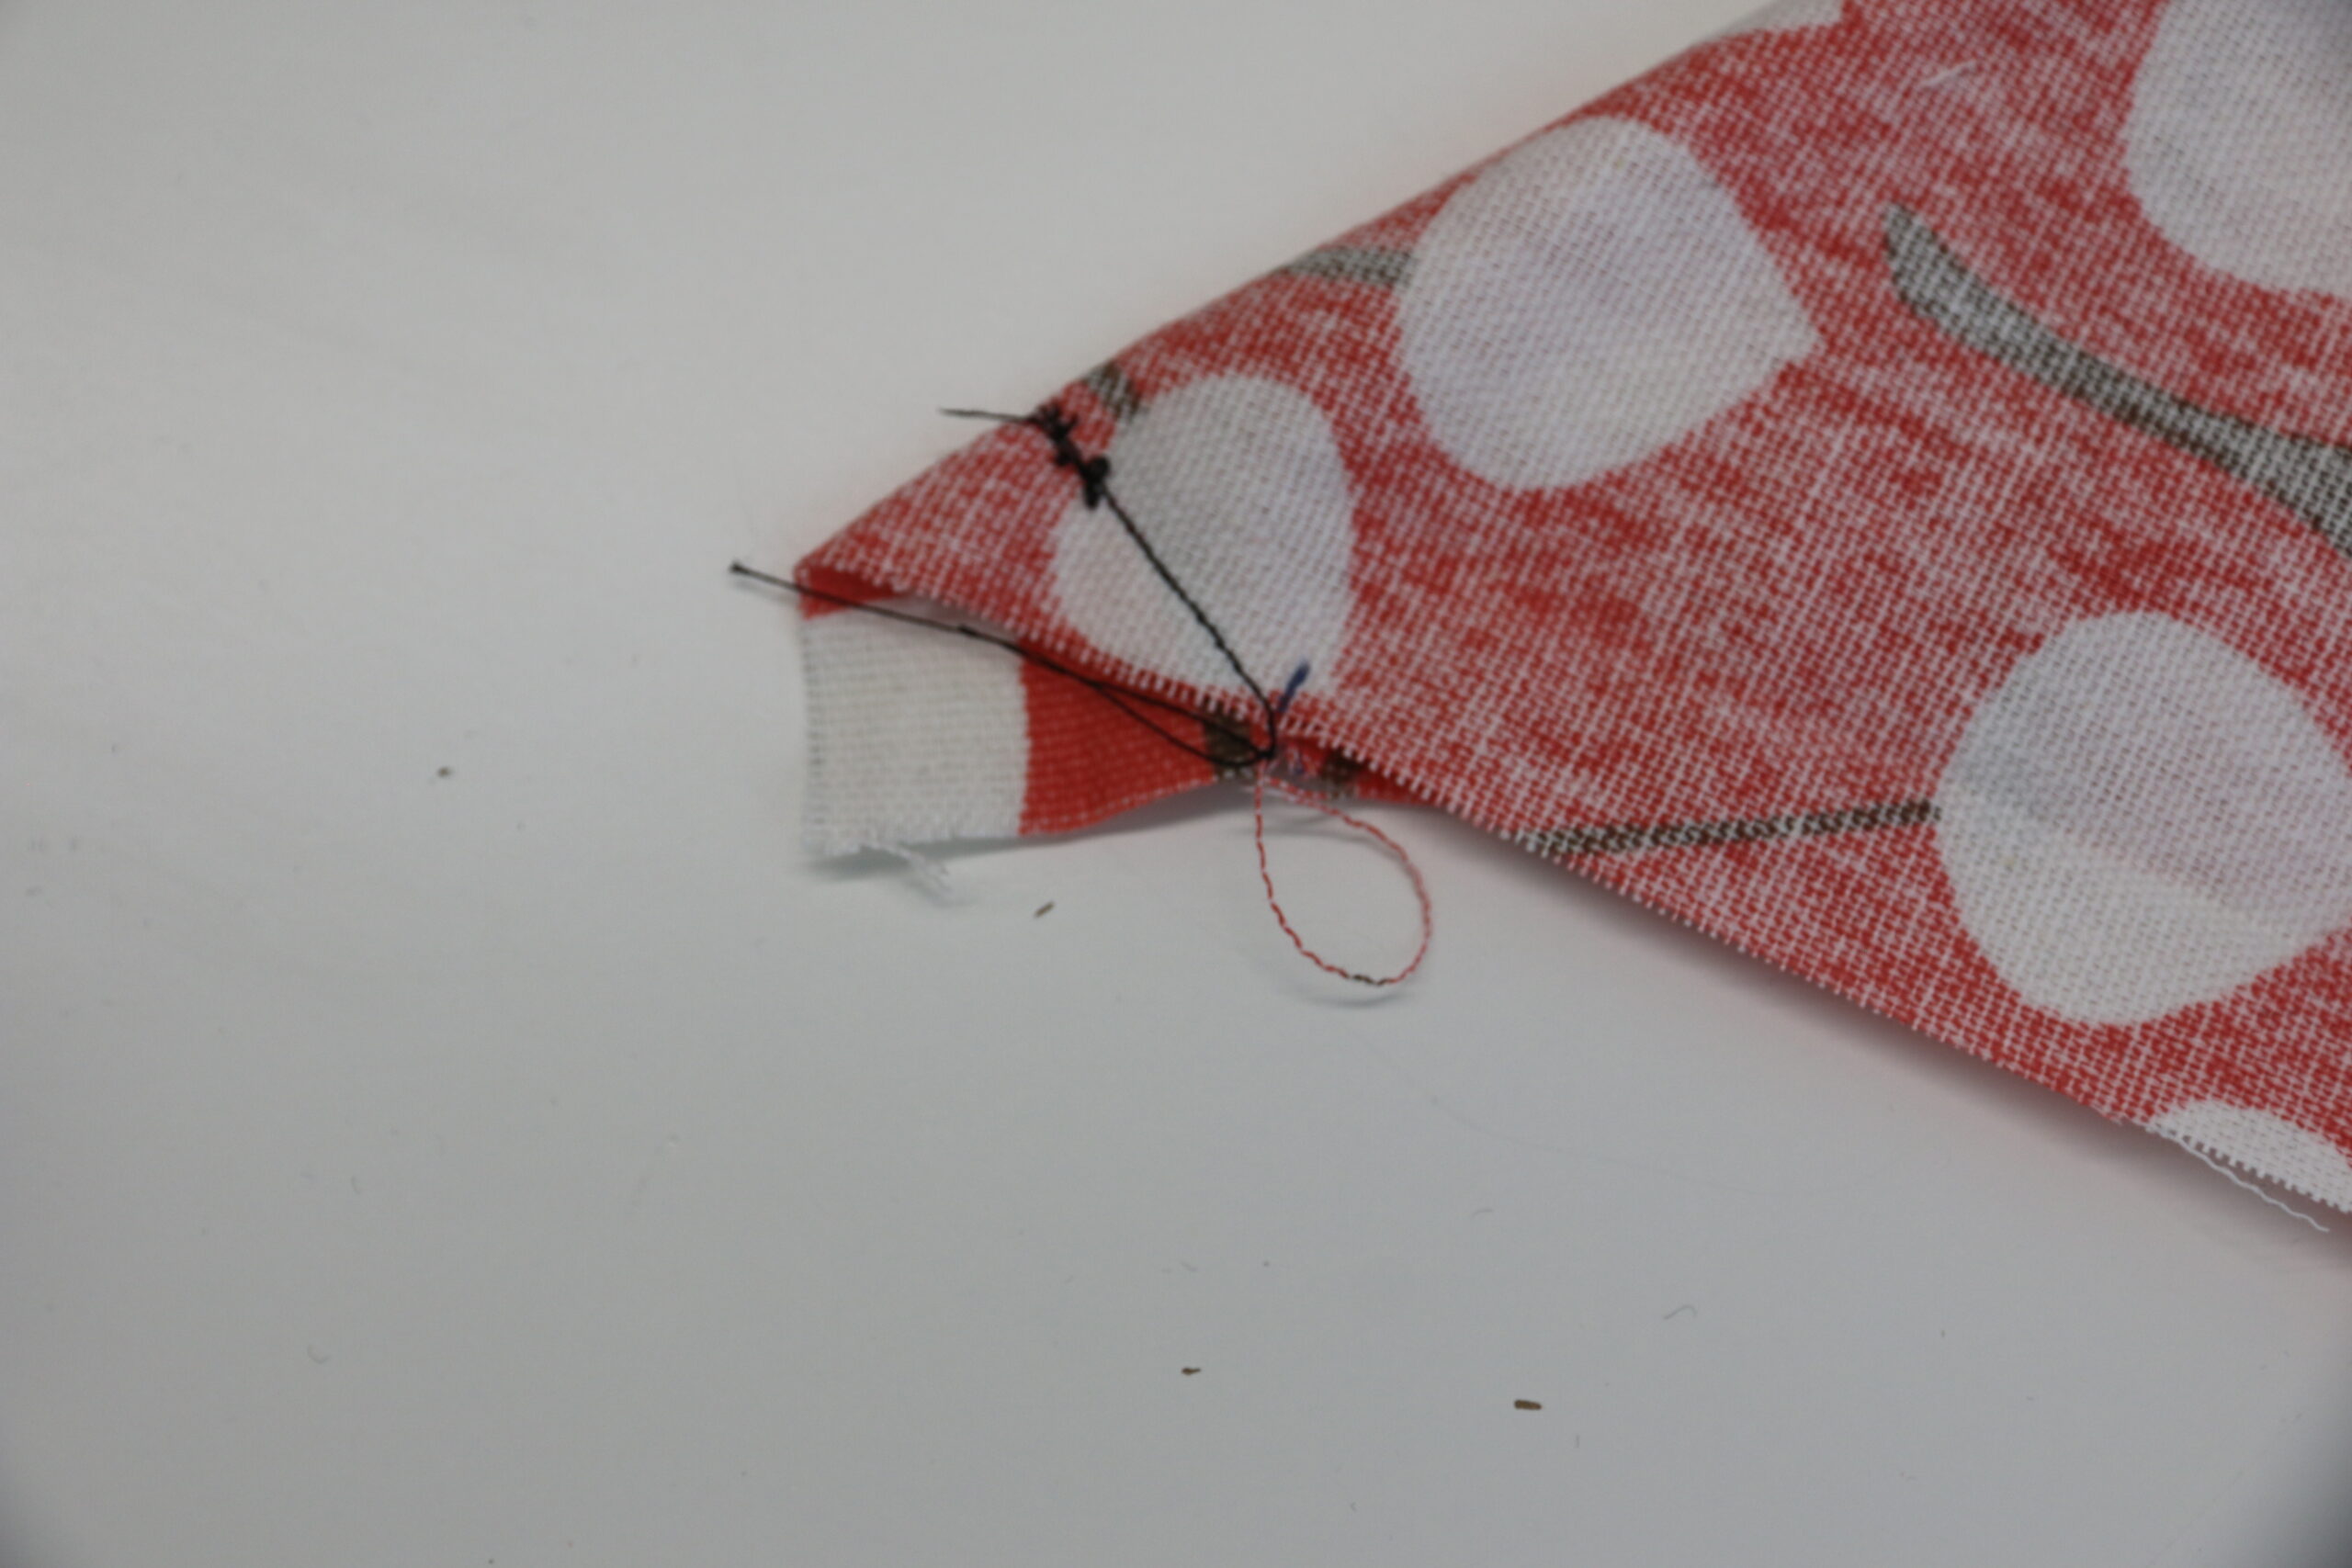
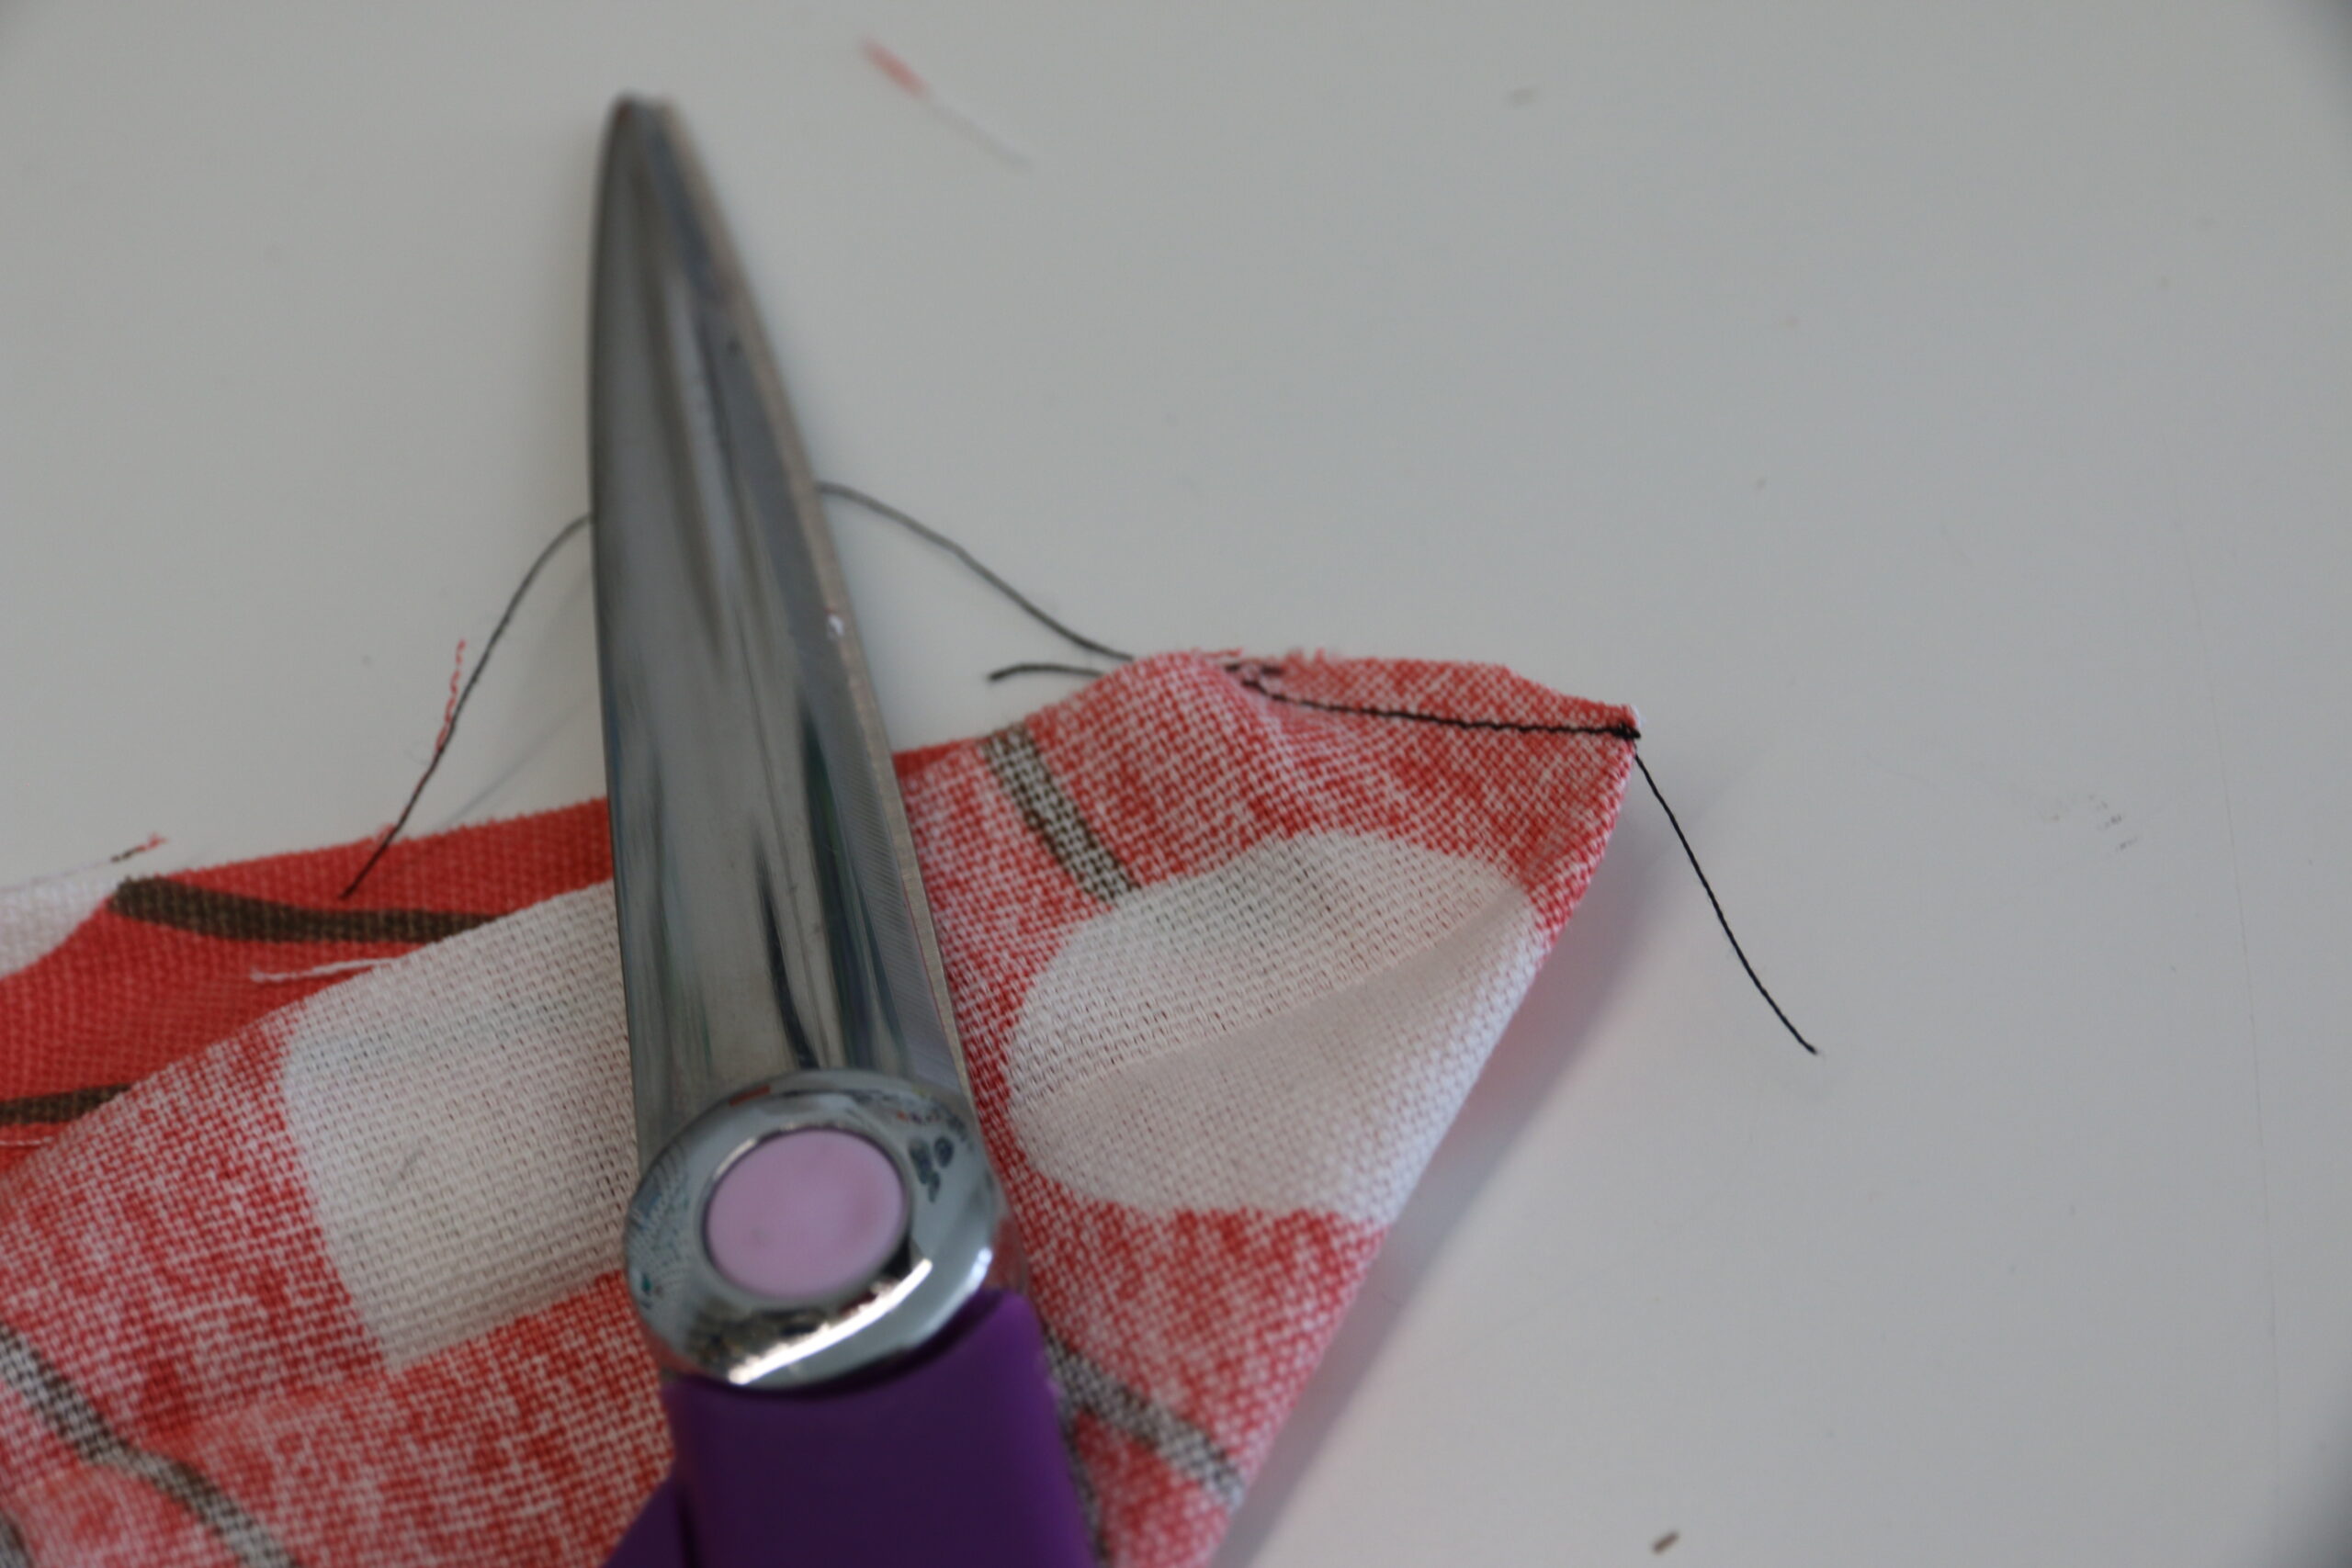
With it turned wrong side out again, go ahead and trim the seam allowance to about ¼” and trim off the corner, being very careful to not cut through your stitches. Now use your favorite point turner to gently push the corner out, and press!
Hem
Last, you’d hem like normal along the two edges, going around the new corner you’ve made. One quick note about that though…. usually with woven fabrics you’d use a double fold to encase your raw edge. If I were using this technique with woven fabric, I would do a double fold along those two hems or finish your raw edges first. The method is exactly the same, you would just have your bottom and side be a folded edge rather than raw.

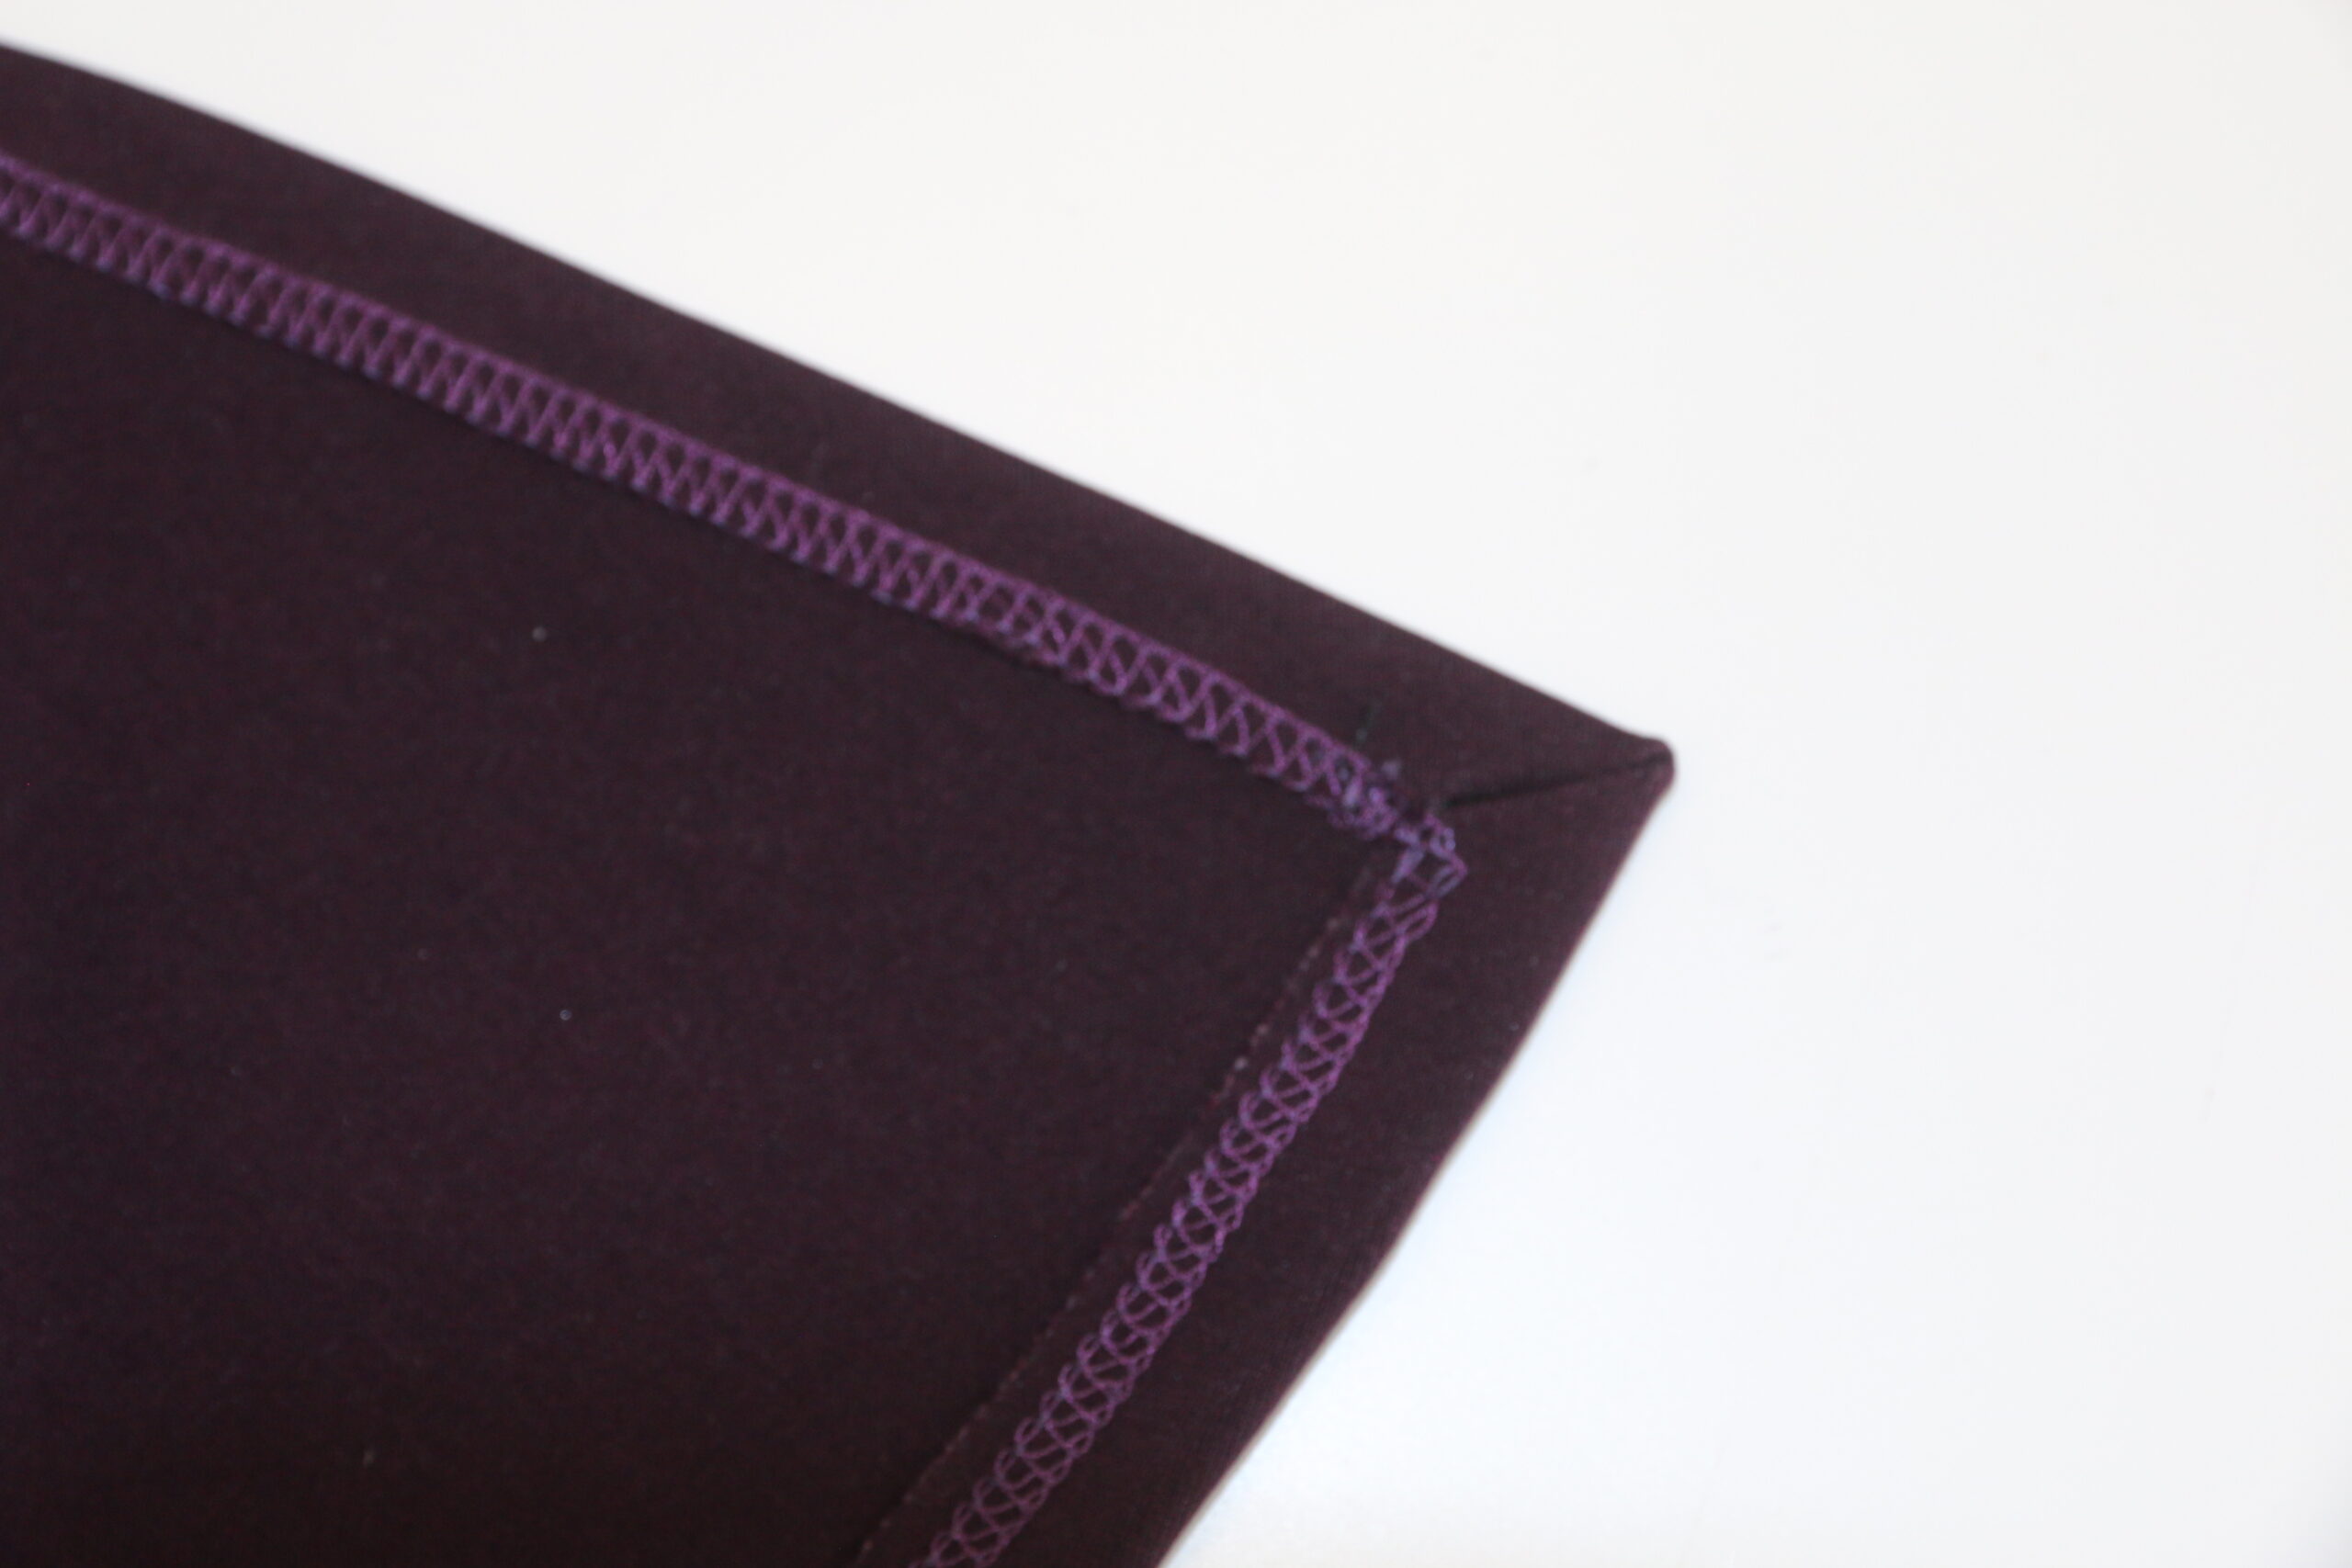
I mentioned earlier that it works on knit fabric as well. Here is an example of a mitered corner on a garment I made.
Happy Sewing!!
Check out our Facebook group and Instagram #patternniche


This Post Has One Comment
This video was so helpful. Now how I know how to fix those ugly corners I had in my garments. Thanks!