You may or may not have seen Cheryl’s giant pocket hack on the Tami Revolution Double Hoodie in our Facebook group. We loved the idea so much we asked if we could bring it to our blog. In just a few easy steps you will have a nice big pocket for your Tami hoodie and a way to change up the look with fun color blocking possibilities.
Making your pocket pattern piece
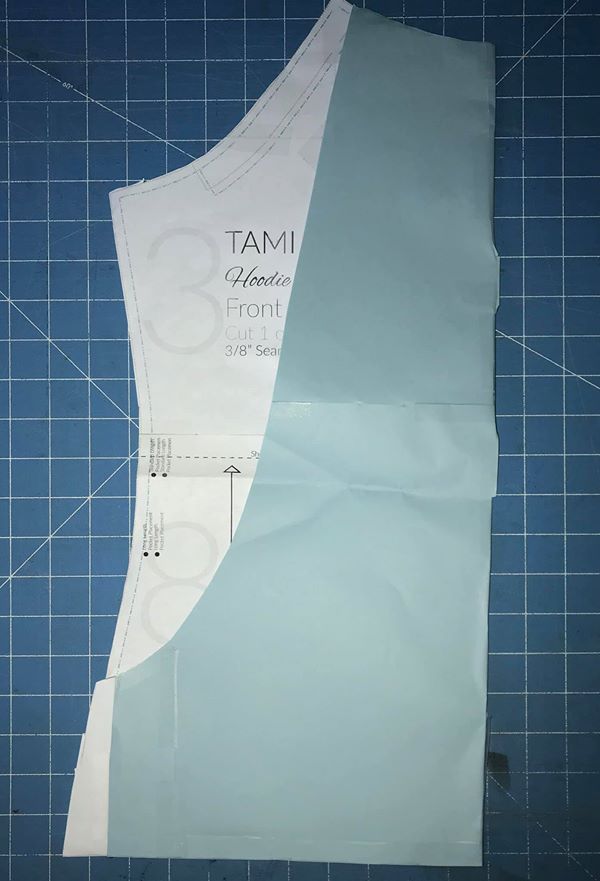
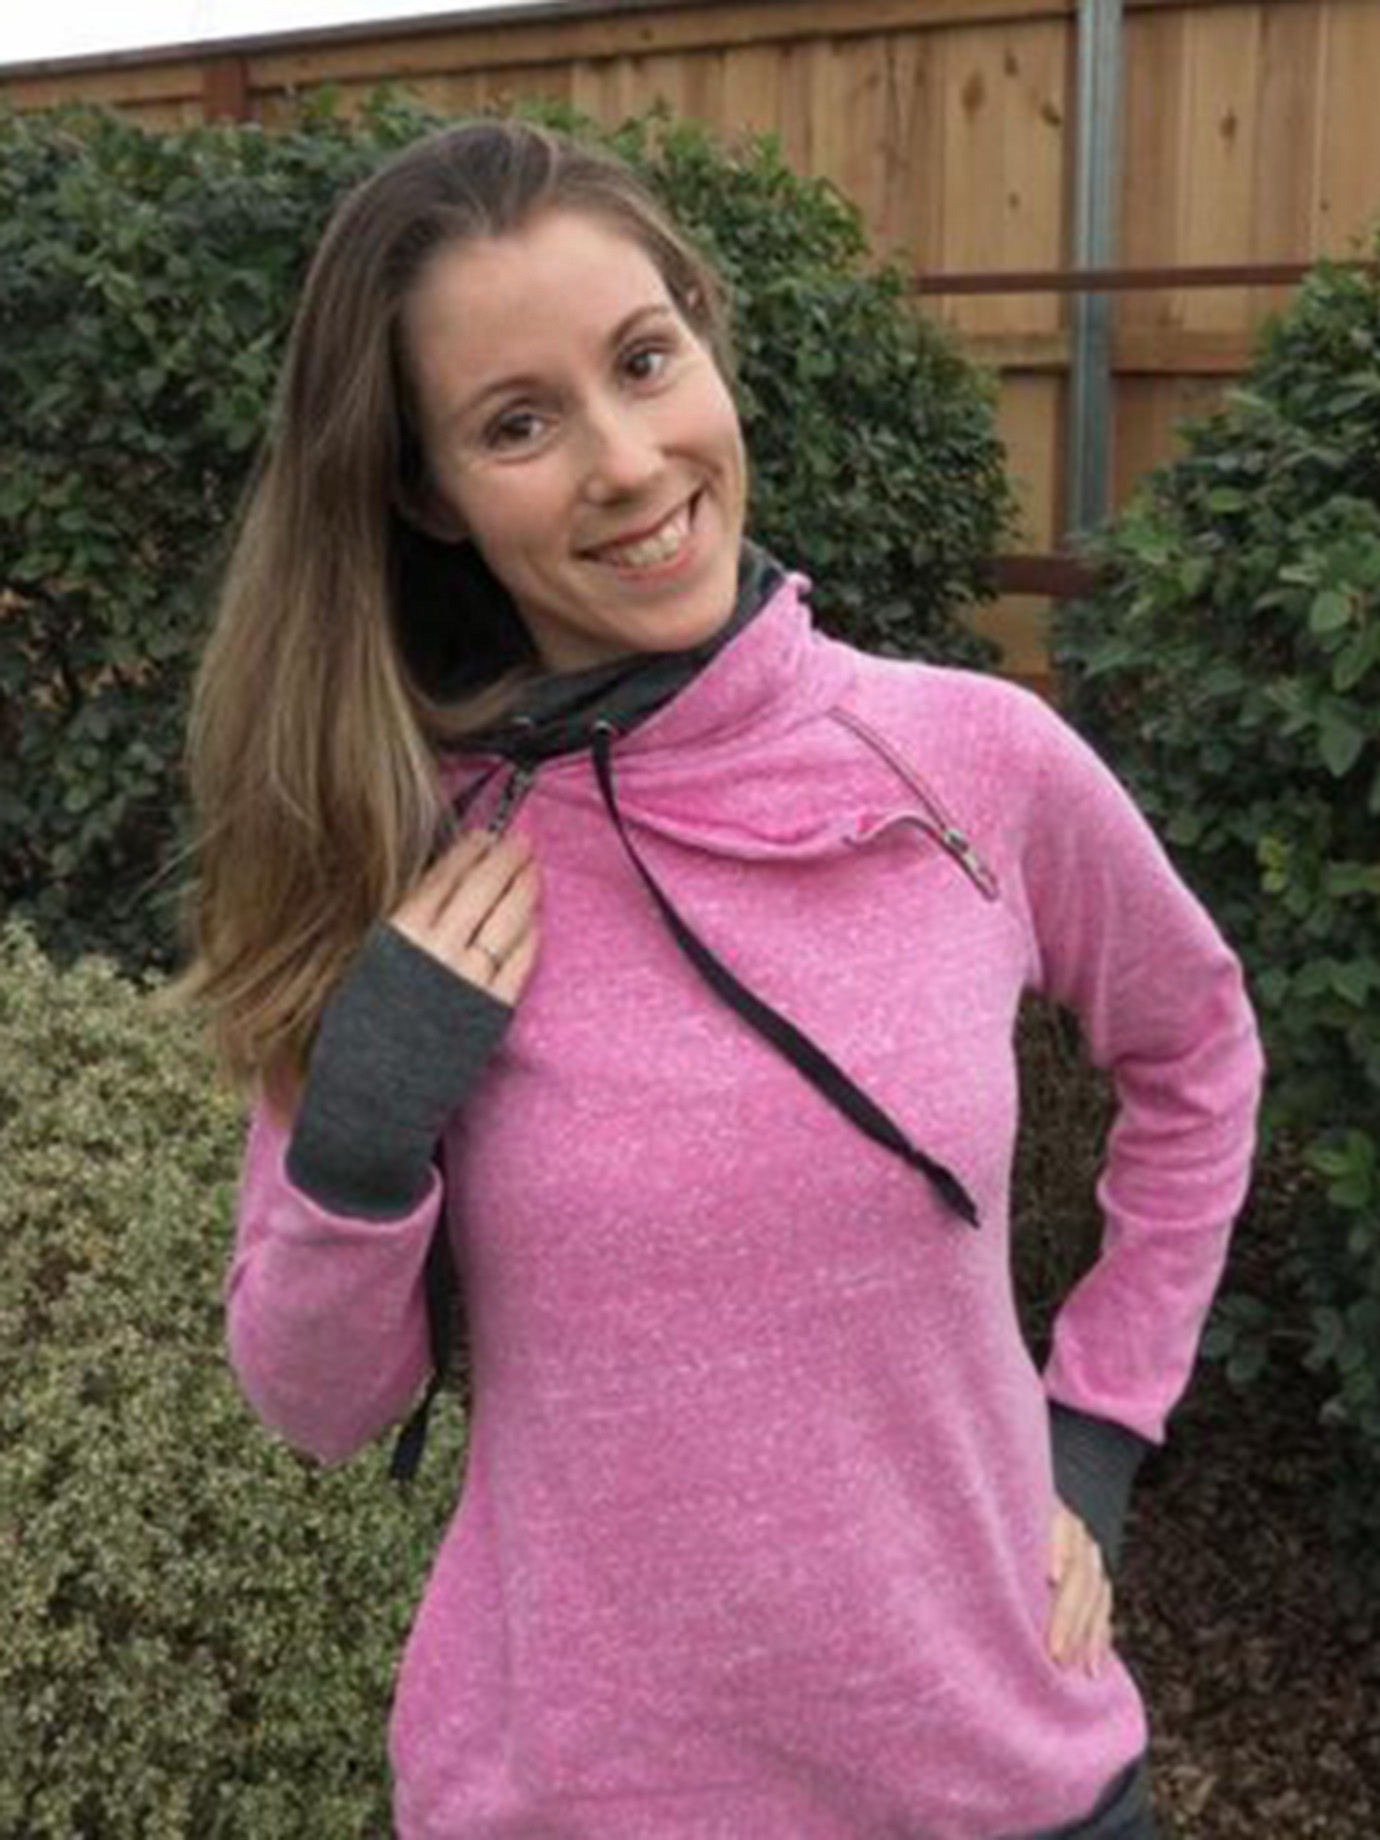
The first thing you will want to do is take your front bodice pattern piece and either trace or print a second one so you can easily make changes for the pocket piece. What I did was look at the inspiration pic and decide where I wanted my pocket to be and how big. Then cut it out using the front bodice pattern piece as you guide for the sides and neckline. You also need to cut one front bodice piece as usual.
Hemming the Pocket
Once you have your pocket cut, hem the edges from the top of the shoulder to the top of the pocket.
Attaching the pocket
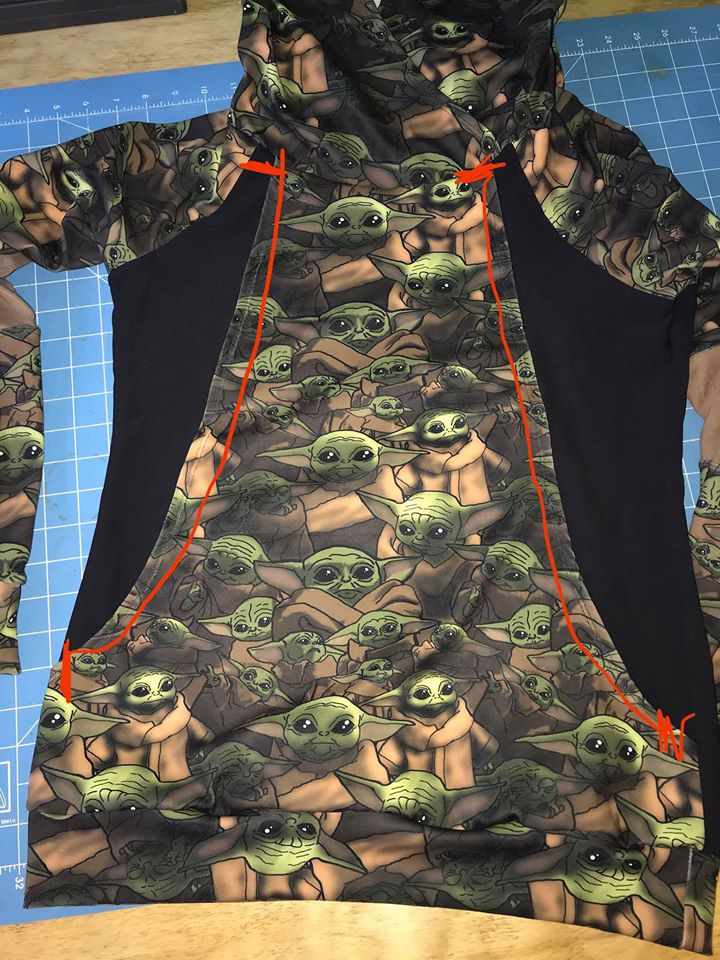
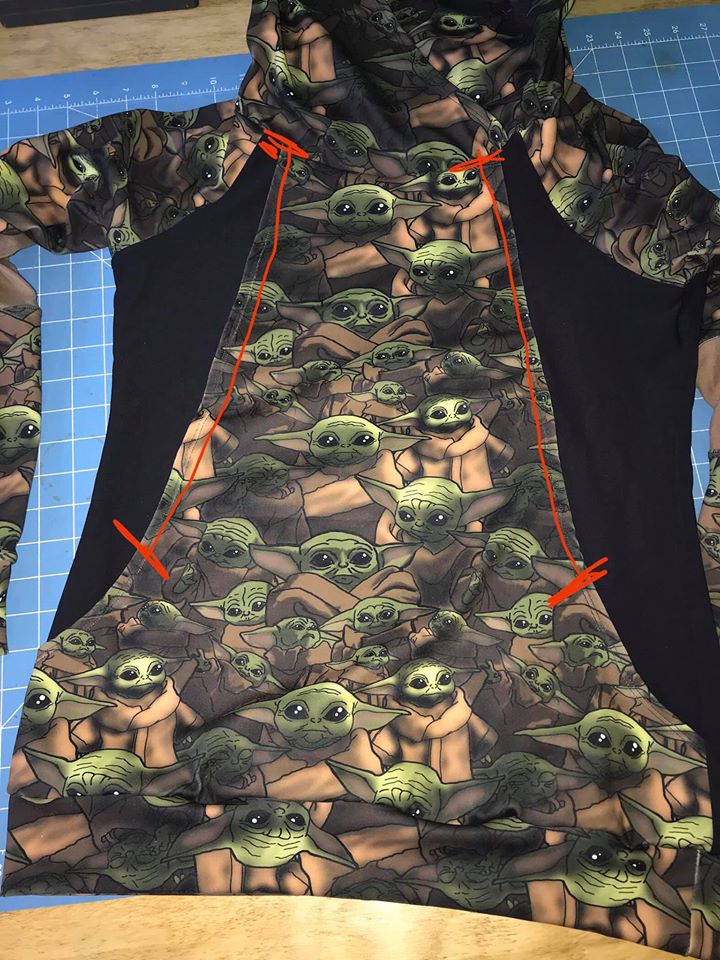
Lay the pocket on top of the front bodice and lined it up in the center of the front bodice. Make sure you place the wrong side of the pocket piece to the right side of the front bodice. Then go back to your coverstitch or sewing machine with a stretch stitch (this is where a clear foot comes in handy!) and stitch from the top of the pocket piece to the top of where you want your pocket to be.
Finishing the Hoodie
From there sew the shirt as usual, making sure to catch the extra layers when serging the sides and bottom.
Voila! A giant pocket that you can basically do with any shirt pattern that fits you well!


