Hi there! I’m Bri from The Lilac Needle and today I’m going to share a few tips on how to take final photos of your beautiful makes! Now I’m using the term “Final” photos which is a common term in the pattern testing community, but these tips can be for anyone who just wants to share their projects!
To start: Finishing a garment!
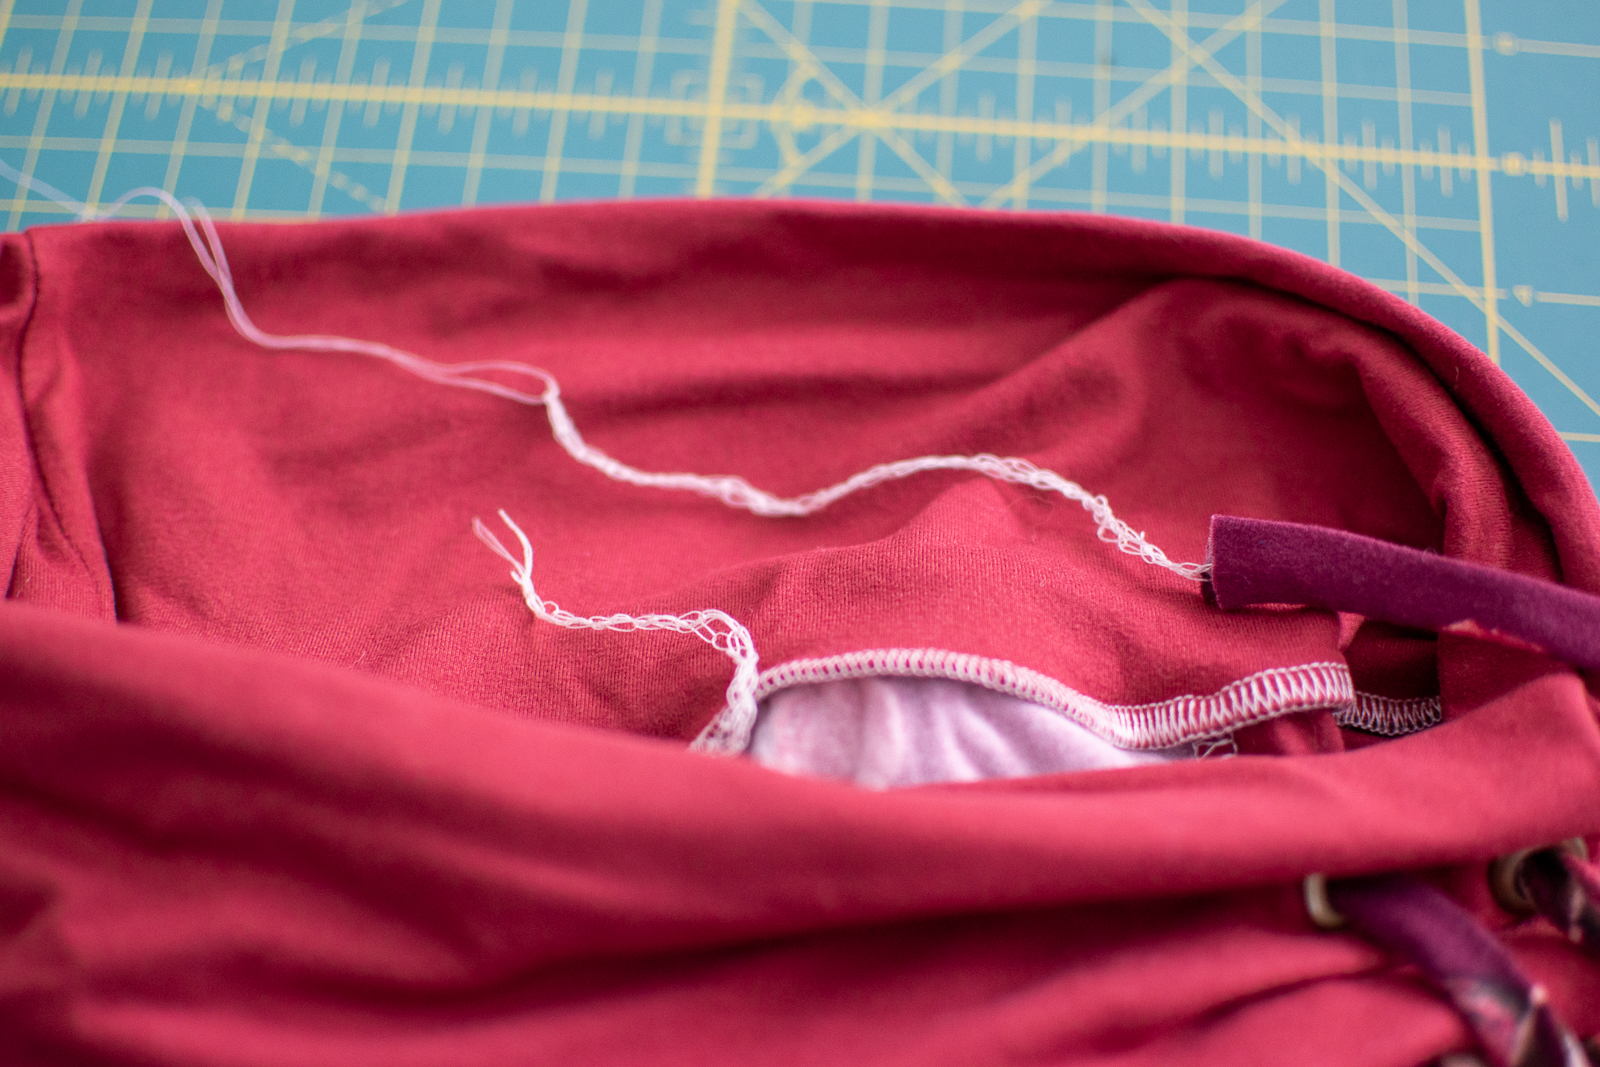
Before we can take final photos, we first need a finished garment to model! Usually what I like to do after finishing something is to go over all the seams again with a press session. This also provides a great opportunity to make sure there are no hanging threads or serger tails that need to be tucked away or trimmed. Why is this important? While it might seem minor, you might find an amazing shot you took, only to realize that there is a serger tail sticking out. This can be easily edited out, but it is much easier to remove them before taking photos.
Now, let’s look at three key areas to focus on when wanting to take “final” photos.
Location – Lighting/time – and posing. While these are not all encompassing and there are certainly many other tips and tricks, I find these areas to be the main focus going into a great final photo.
Location
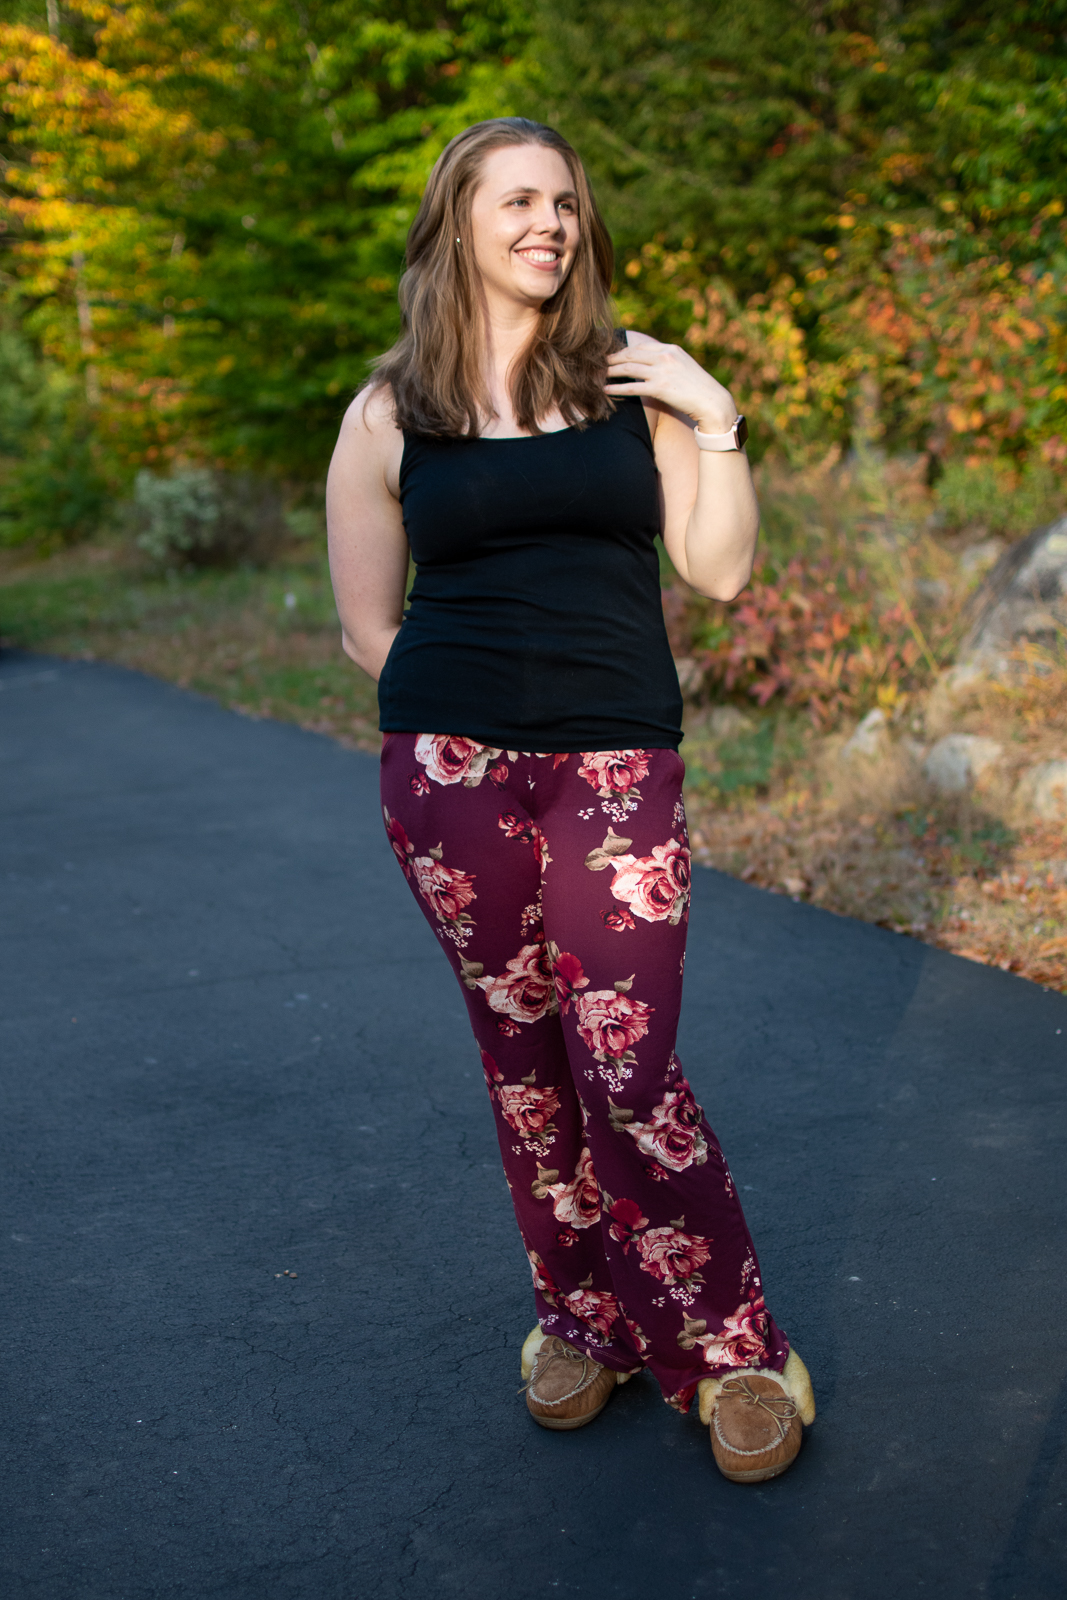
When taking photos you want to be mindful of the location. Specifically, you want to find a space that has great natural light and is uncluttered in the background so as to not take away focus from your garment and you. Ideally if you are able to take outdoor photos (depending on the garment) you should. Being outside I find also gives the best opportunity for natural light. While you can get great shots indoors with natural light, it usually takes a bit more creativity to get the shot you are looking for.
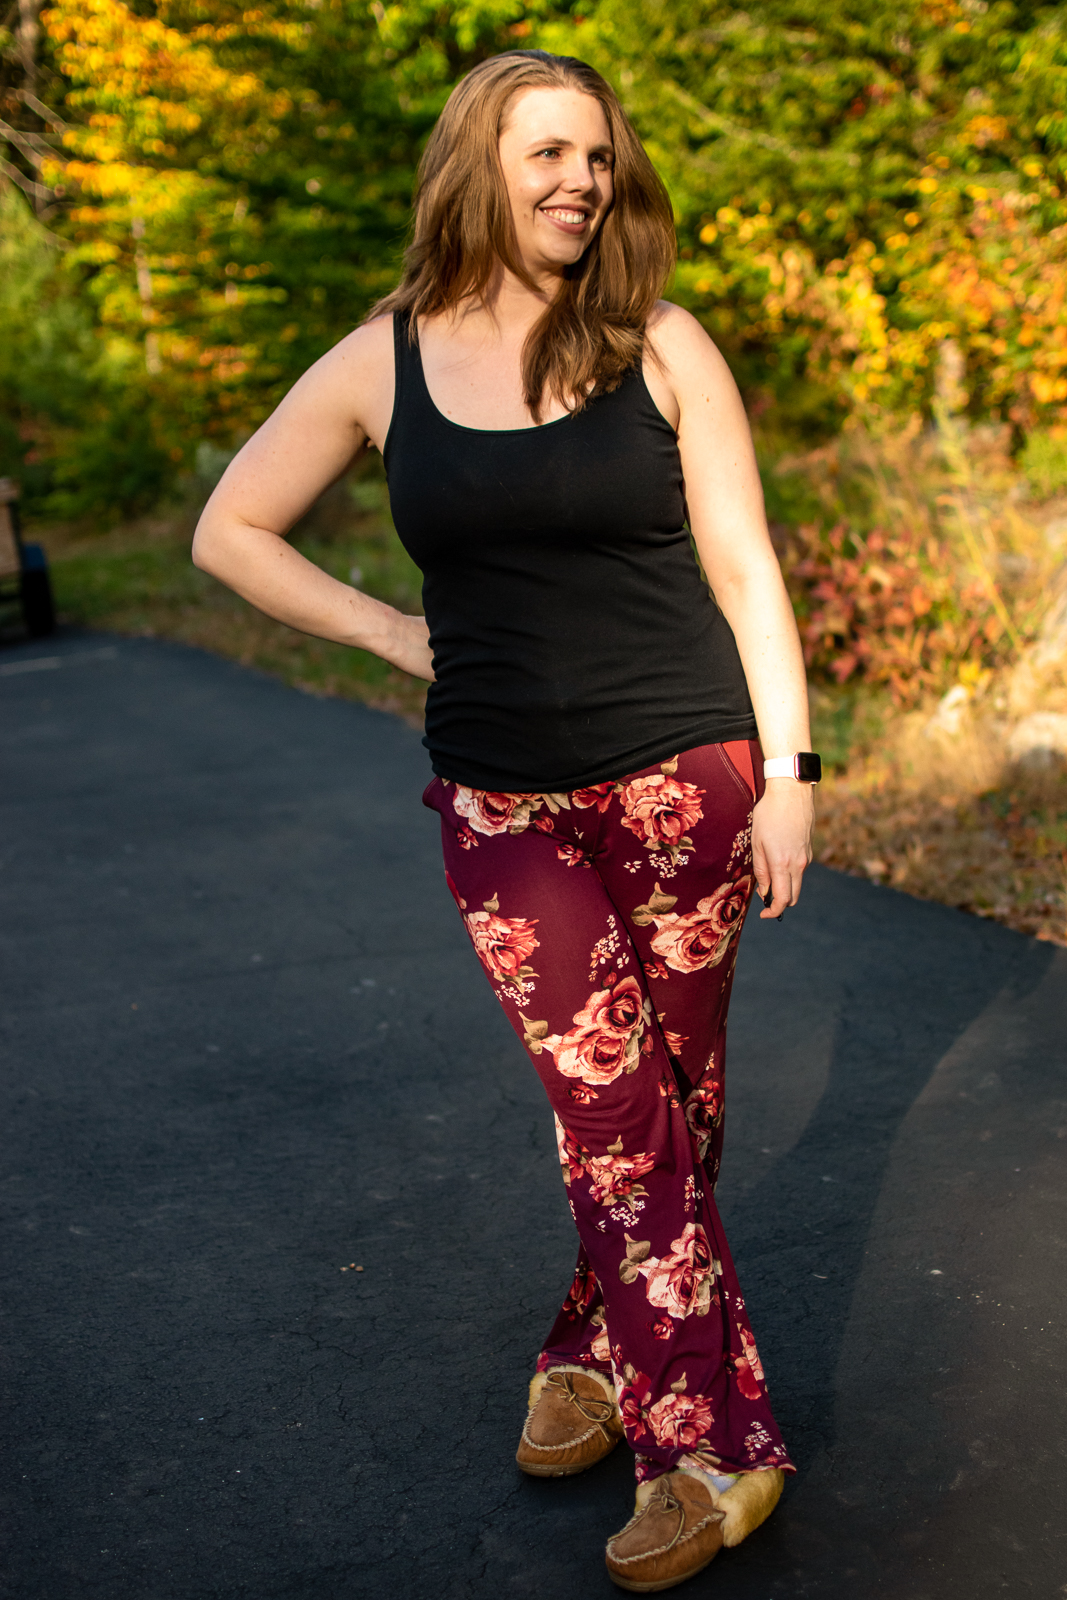
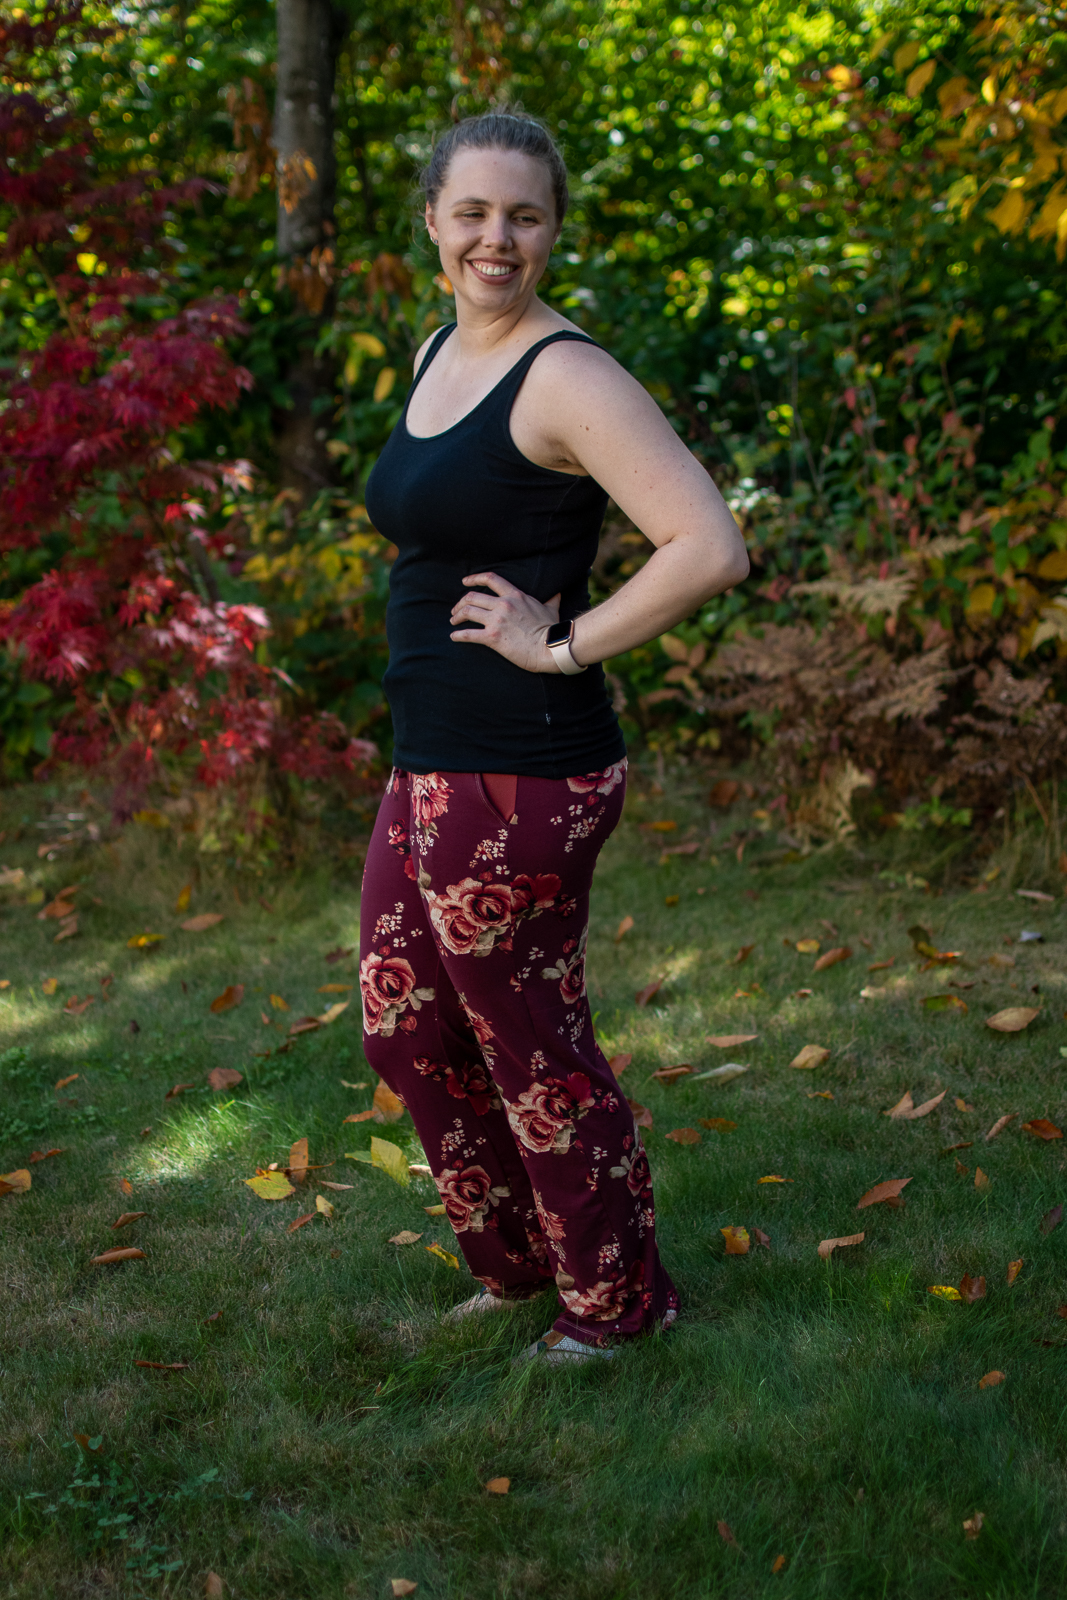
These photos were taken at same time of day.
With location, you also need to consider what is in the background. Reason for this is you may have something that people are drawn to in the background before your garment. Depending on if you use a camera or your phone, it also might make focusing a challenge as now the lens has to pick between two things I typically take my photos outside in my yard or driveway as it does have some character, but nothing so prominent that it detracts from what I am trying to share.
Here is an example of an uncluttered vs cluttered background

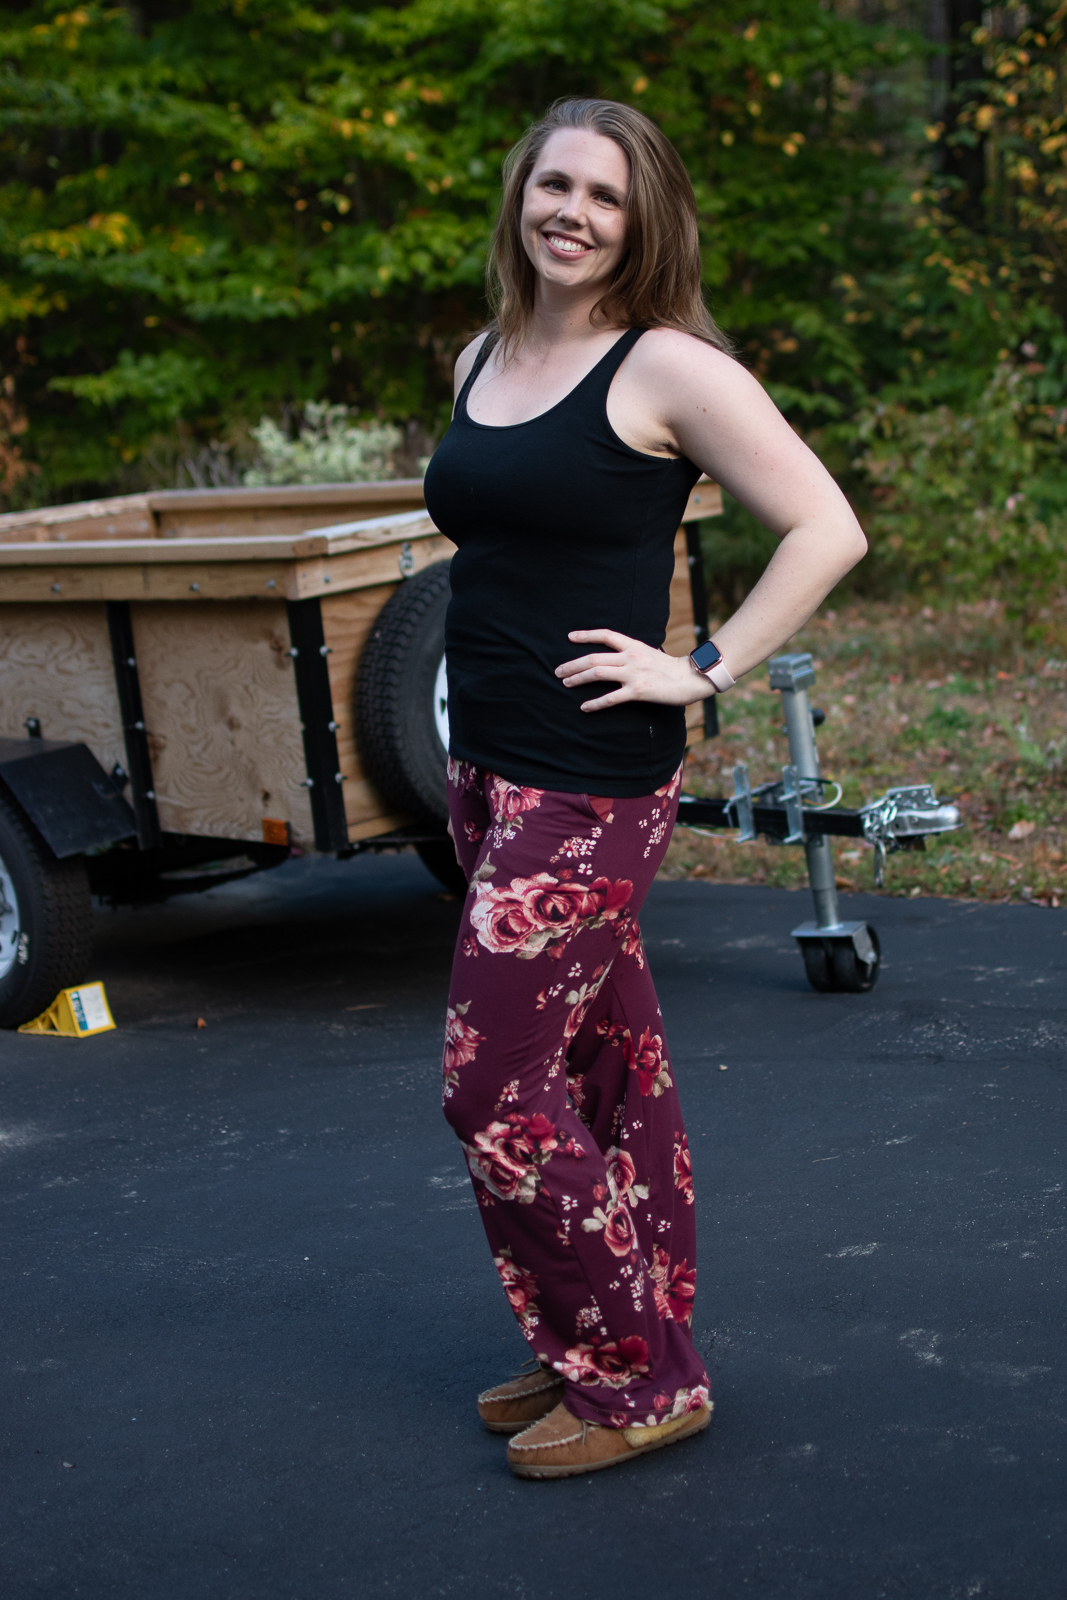
As you can see, I have a trailer in the background which not only can take away from the picture, but also can make focusing a nightmare.
I find keeping a good distance (think at least 10 or so feet) between myself and the background always gives me the bokeh look (blurry/out of focus background) which helps to accentuate whatever I’m wearing!
What if it is raining, or I don’t have an ideal outdoor location?
I have seen so many beautiful images done indoors as well! The similar rules apply where you don’t want a cluttered area or background and poor lighting (discussed in the next section). Finding a space that is filled with natural light and is not busy (just a blank wall or neat area of the house) will also give you some amazing pictures.
Light and Time of day
Natural light is by far your best friend in terms of getting a photo that requires little to no editing. However since you are relying on mother nature to provide the light, you have to plan ahead a bit to determine when to take your photos.
You may have seen the term “Golden hour” before which refers to the last hour of sunlight before sunset. This time is great because the sun is not directly above you causing over exposure, and also leads to some great natural filtering. You can also get a similar effect (though not as golden) in the hour after sunrise as well, I just happen to like sleeping in.
What if I can only take pictures in the middle of the day?
If you take your photos in the middle of the day, the sun will likely be right above you and result in a massive amount of over exposure (see below for example). Sometimes though, this really is the only free time that pictures can be taken, and the best way to utilize this time is to find and use shade.
Tip: By full shade, try to get both yourself and the camera in that shade which usually can be achieved under some trees. If you can only do one or the other, set yourself up in the shade, and on your camera or phone you can adjust the exposure settings prior to shooting to compensate for the overexposure

Taking photos and posing
Now for the fun part, it’s time to take pictures! Once you have decided on the where and the when, you can get set up to have a photoshoot! I have grown to really love this part in the process because you can really get creative in how your photos are composed. I would recommend making sure you have at least 15-30 minutes for the shoot, as you may need to adjust settings in your phone or camera such as exposure or aperture(for the blurry background effect) for a few takes before finally getting into the flow of things. Here is a quick look at what I have set up whenever I am about to have a photo session:

(optional) You can see that I have a chair in the group of my photo taking tools! This is so I can have my phone or speaker available to play music! Not only does this make taking photos more fun, it also has resulted in some great candid shots that were happy accidents. It also really helps to put you at ease and may induce dancing while taking photos which is so much fun.
Taking The Photo
If you do not have a friend or family member to help take pictures, you can absolutely take your own pictures by using the self-timer feature on your camera or phone. Alternatively, you can use a remote (there are plenty on Amazon for both phones and cameras!) which gives you a chance to hide (or throw) the remote when posing. I find this to be quicker for me to get more photos, but for the longest time I was using the self timer on my camera with no issues.. Another setting that is super helpful is multi-shot mode. There are some cameras and phones that can be set to take a shot at intervals, negating the need for a remote. All photos in this blog post were taken with a remote which I either hid, or threw out of the shot.

Posing: Posing is going to be different for everyone, and will ultimately also depend on what type of garment you are trying to photograph. A few pieces of advice I can give here are:
- Look at pinterest (or your favorite sewing groups) for posing inspiration. Simply typing in “Hoodie posing” will help give you some ideas.
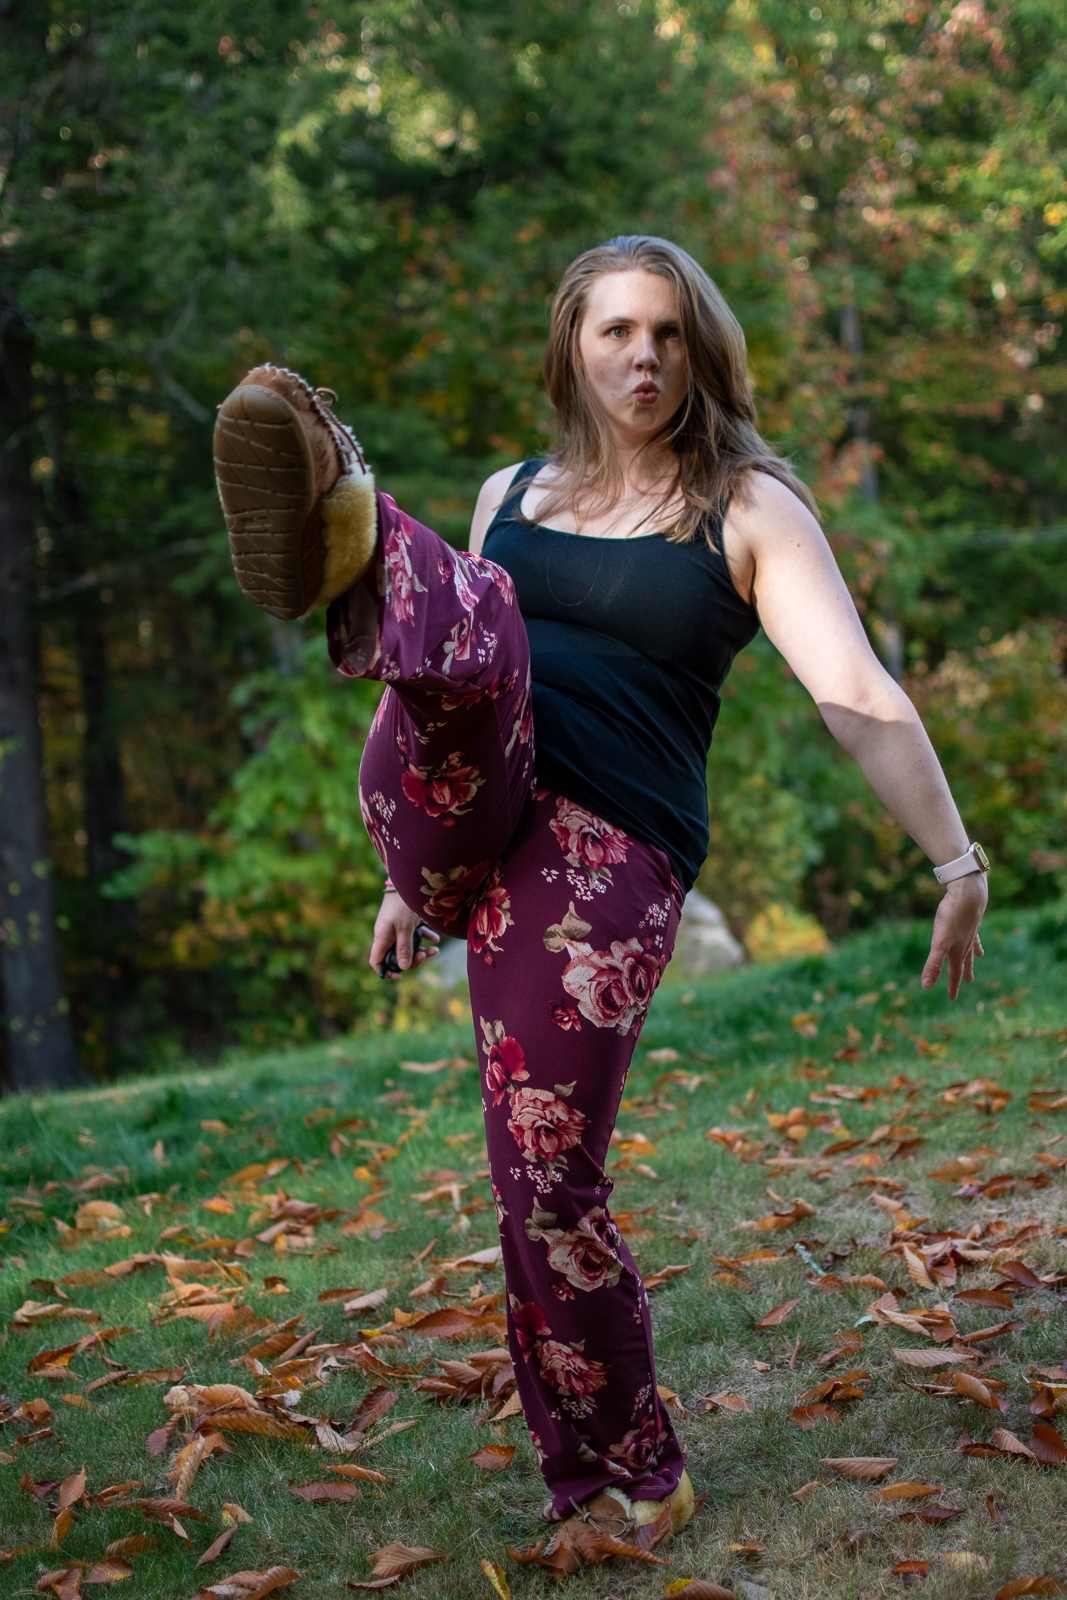
- Try different and sometimes weird poses. At the end of the day, you might end up with a handful of great photos, and a lot of not so great photos. This is NOT a bad thing and sometimes those different poses may result in your favorite shot. You can try jumping before the shutter goes off, try to capture movement in the shot, and even dance to music!
- Try different facial expressions with your poses. Smile, stare off into the distance, have a blank expression, have a silly expression, look into your light source, the possibilities are endless and you will enjoy reviewing the photos later. Doing this gives you variety.
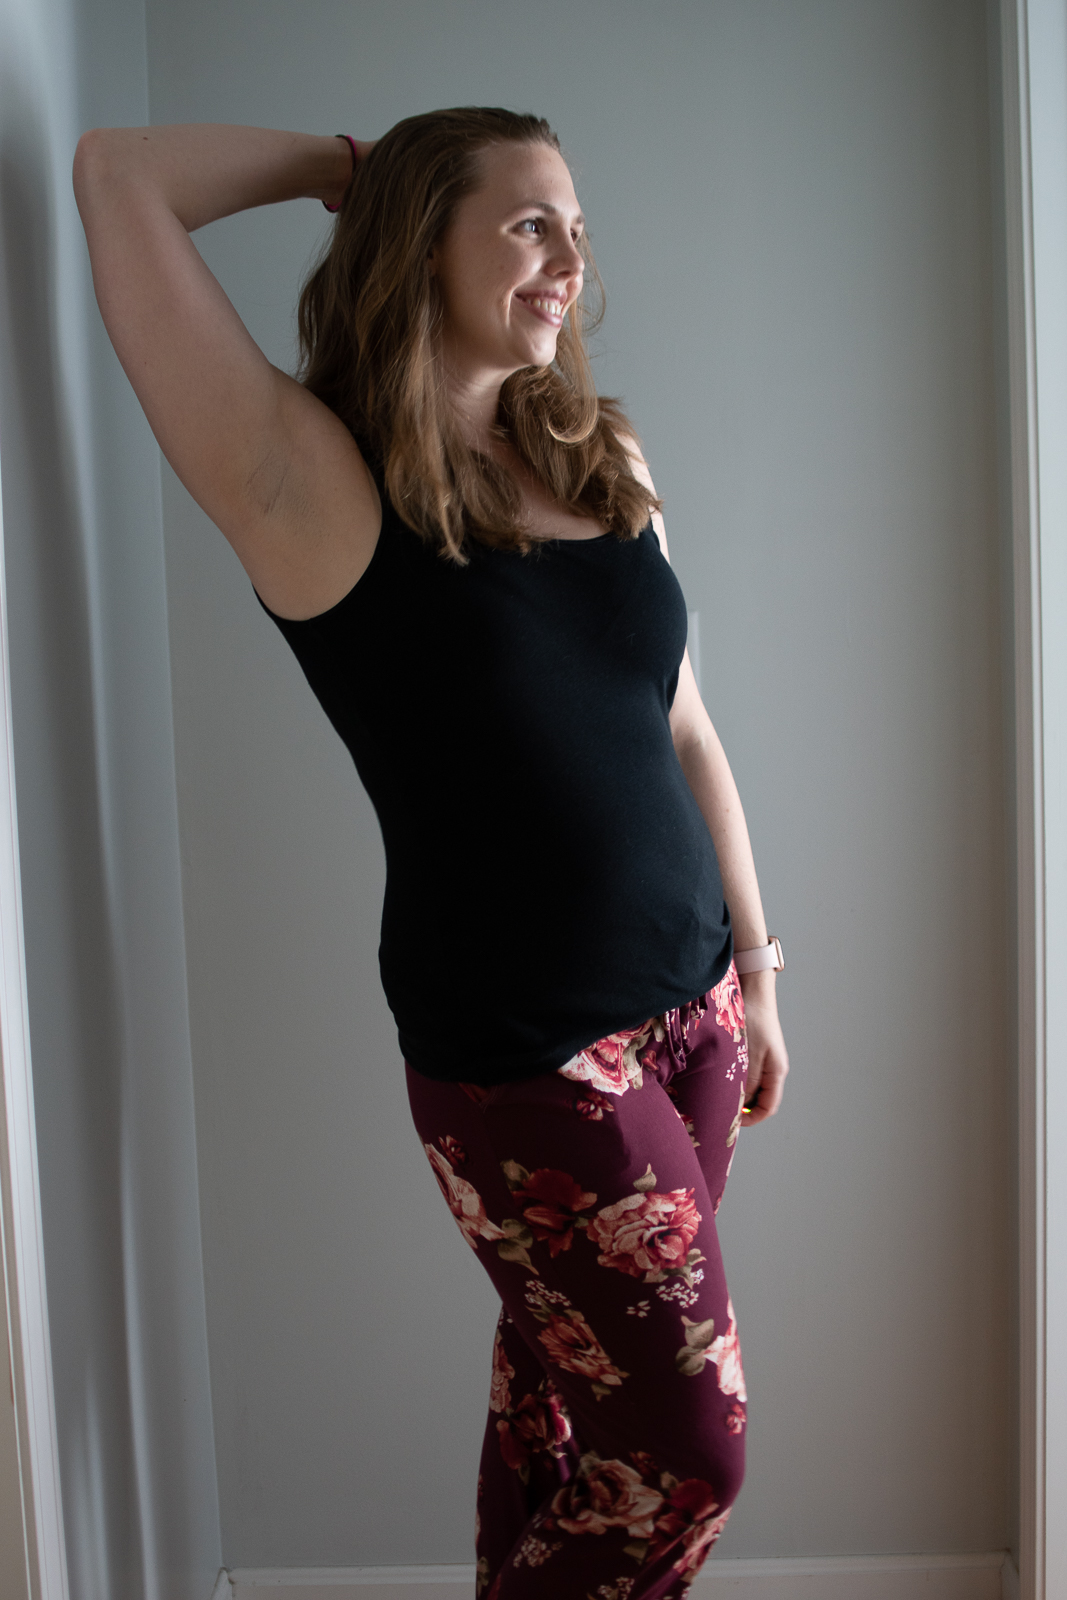
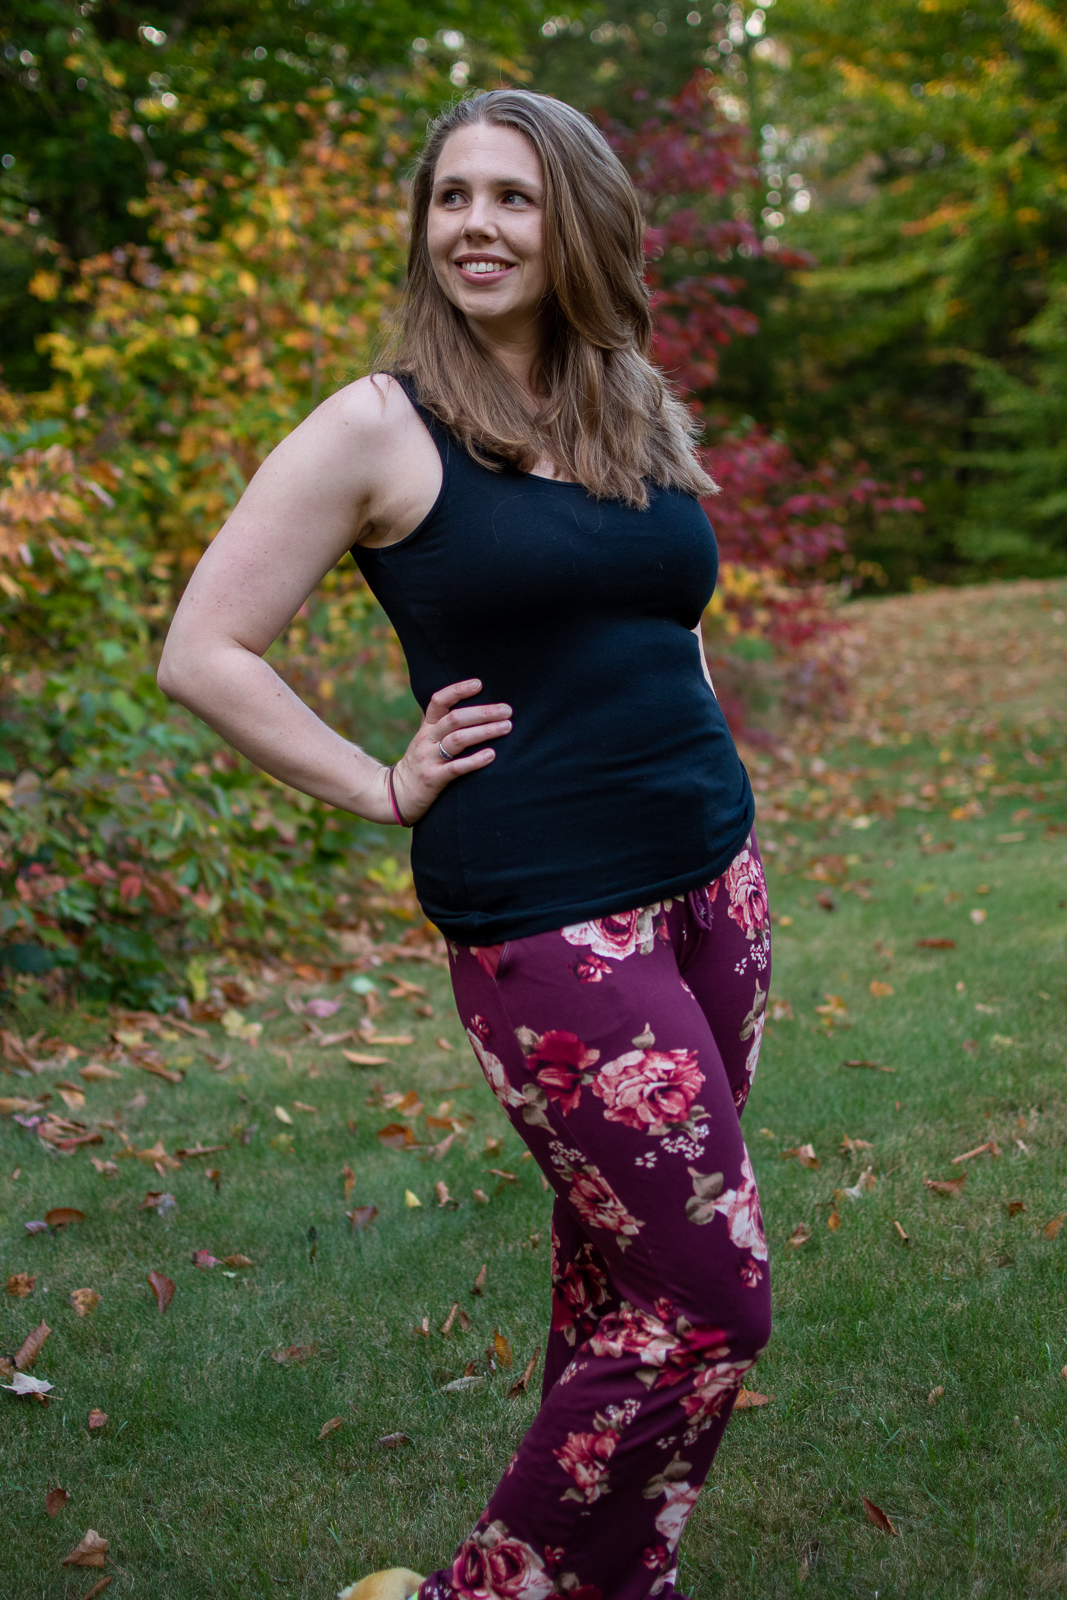
Focusing: Focus on the garment, not your face. While this seems like an odd piece of advice, you have to remember what it is you are trying to share! I can’t tell you how many times I had the camera focus on my face and was a great shot, only to realize it what I was wearing was blurry making the image not usable. When setting up the area on the screen for “where” to focus, make sure it is going to be where your garment is, not your face. You’ll notice that these two images look fairly similar, but the first photo has the pants out of focus! It is a very subtle difference, but if that image opens on a larger screen it becomes much more obvious.
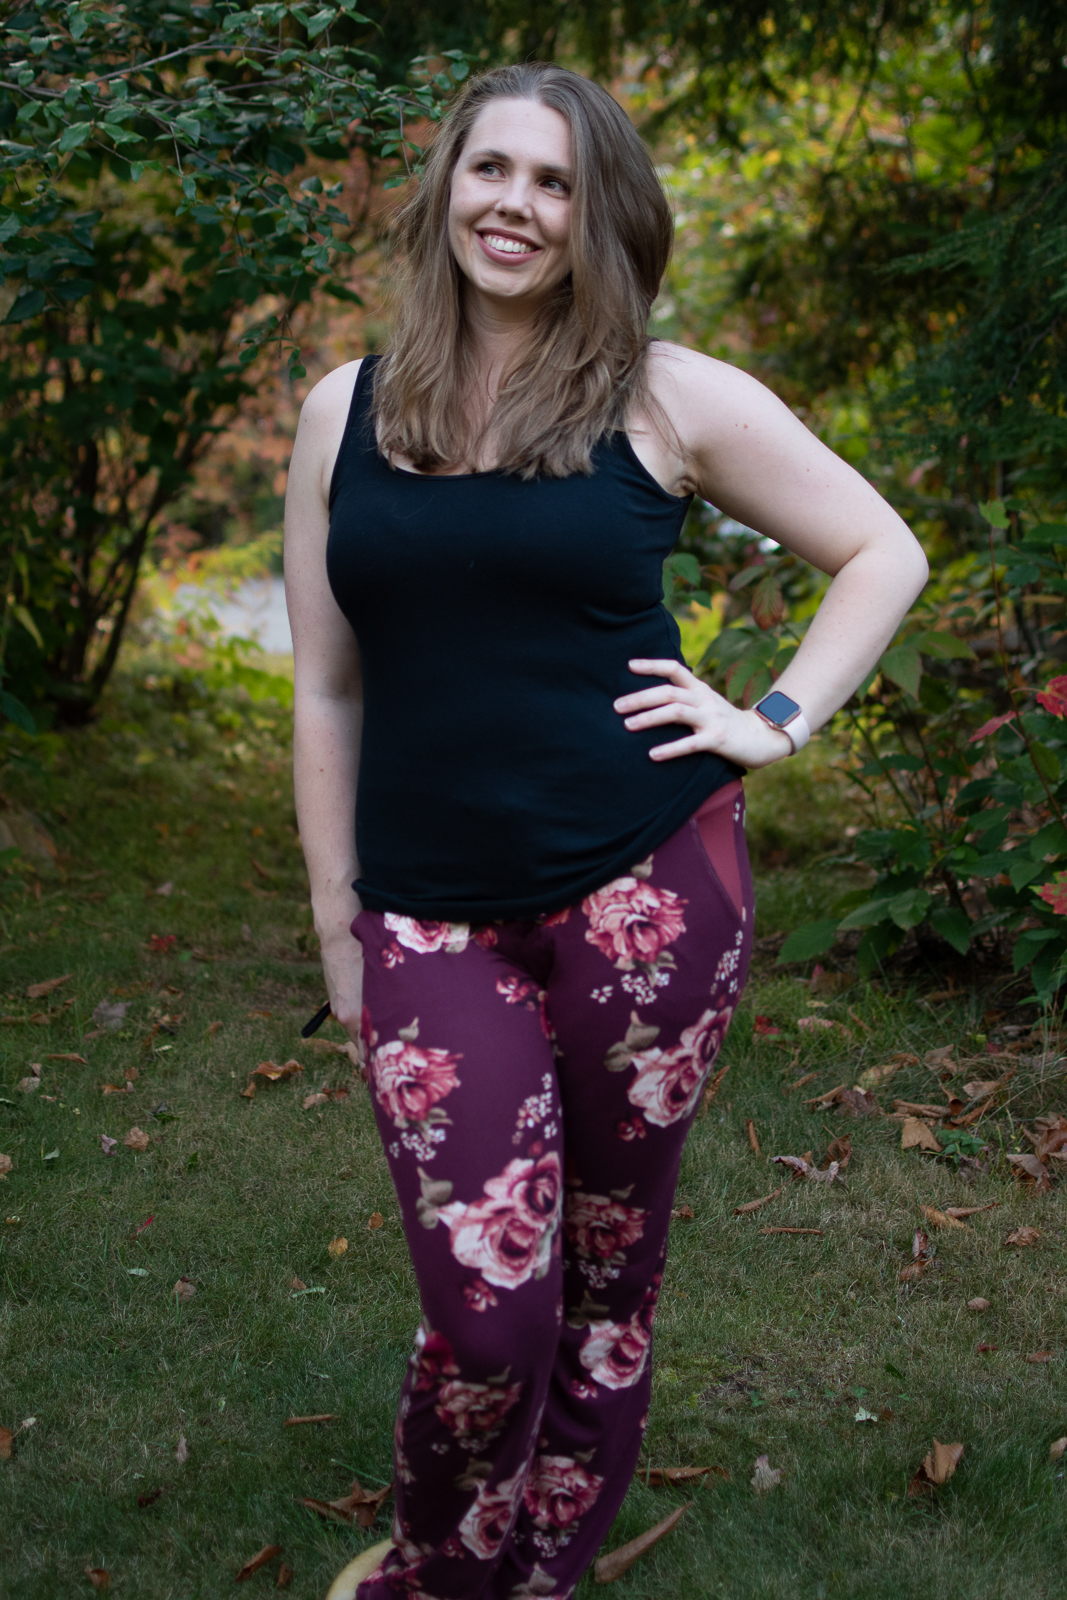
Face Focus
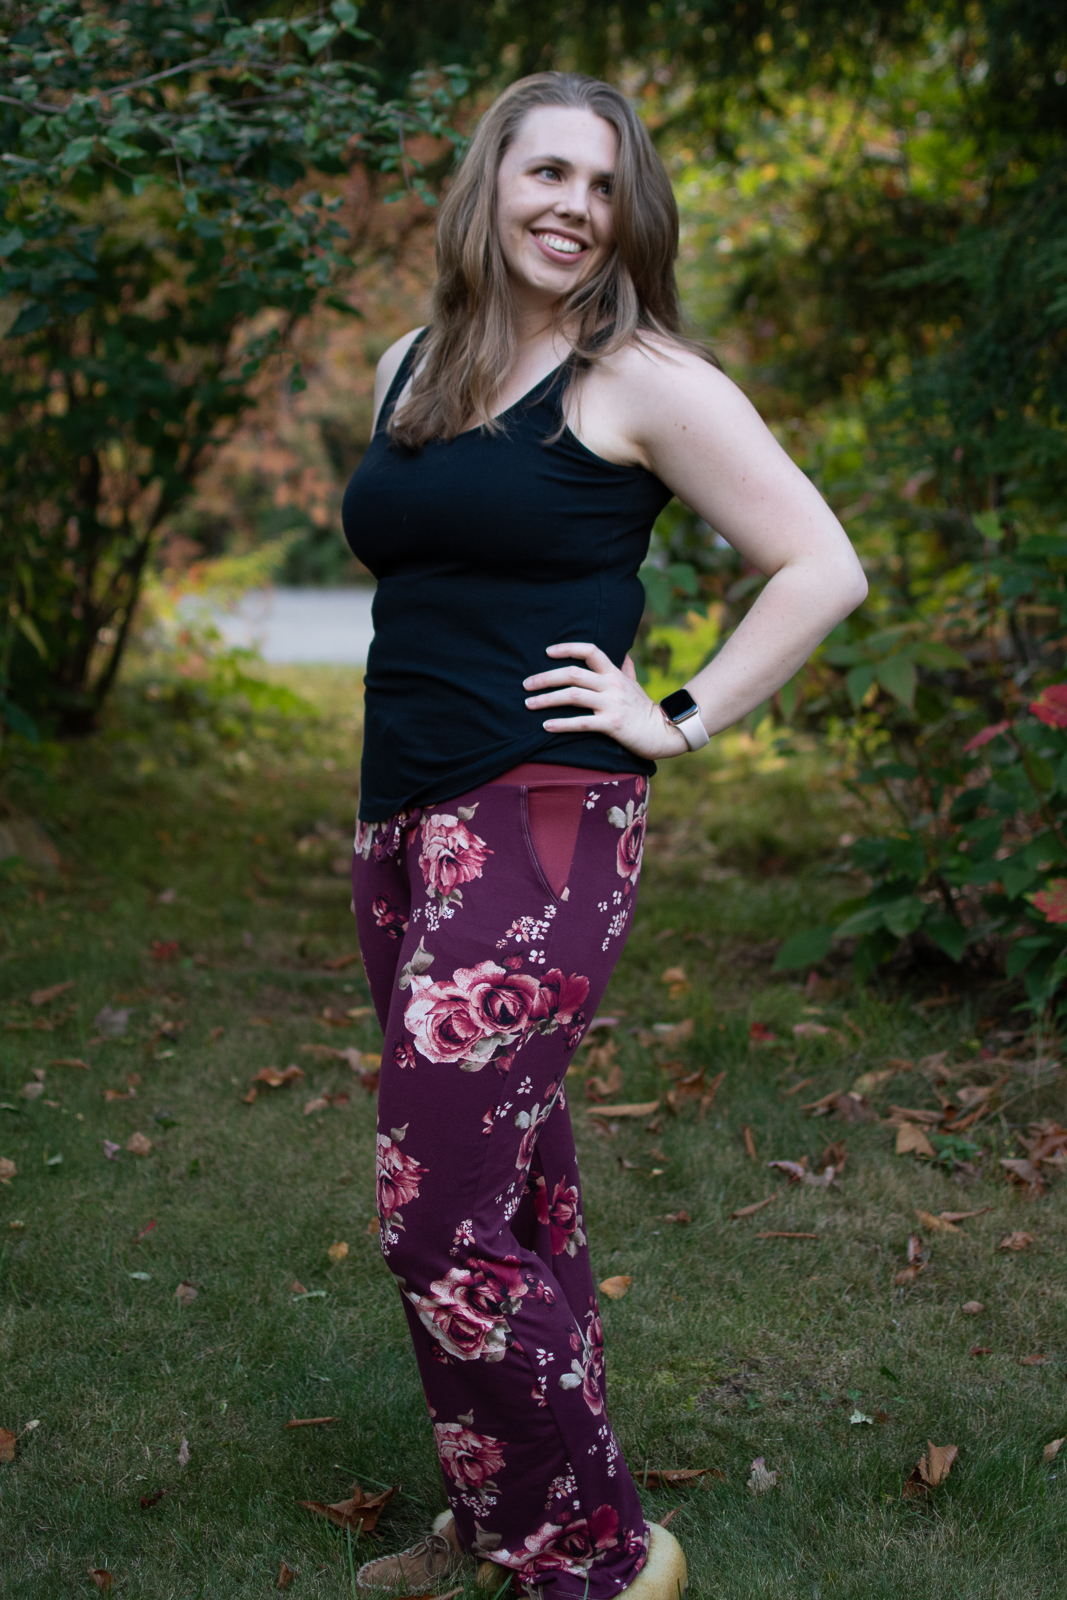
Garment Focus
Review: Take a bit of time to review the photos you are taking in the middle of the shoot. If you are using a self timer, every time you go to reset the countdown is a great opportunity to review your settings. Not only will this show you if you need to adjust settings further, but also you may find a pose that you want to re-attempt that was out of focus, or paired with a facial expression that does not match what you were looking for. A quick look never hurts.
And finally, the biggest piece of advice I can give is HAVE FUN! It will come through in the photos and who doesn’t like having fun? You may just end up with an unexpected gem.
And that’s it! It’s very easy to take final photos of your projects that look great! Have fun and I can’t wait to see what you make!
In case you are curious, I hacked the portlander pants with a NHD blog post on inset pockets!
We love seeing all of your beautiful photos so make sure you head over to our Facebook group or Instagram #newhorizonssewing to share your final photos with all of us.