These days, going out to shoot photographs of my sewing is becoming increasingly difficult. With the lockdown and movement constraints, staying home to photograph my sews has become my new norm. With apartment living and a lack of pretty spots in my home to photograph at, I had to resort to the most uncluttered place in our humble home, the floor. Flat lay photos became a necessity. I started learning how to hone my skill at this new method. Let me walk you through one such flatlay.
Choose what is going to be the hero in your picture
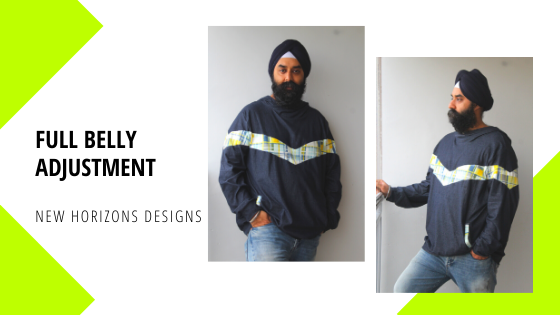
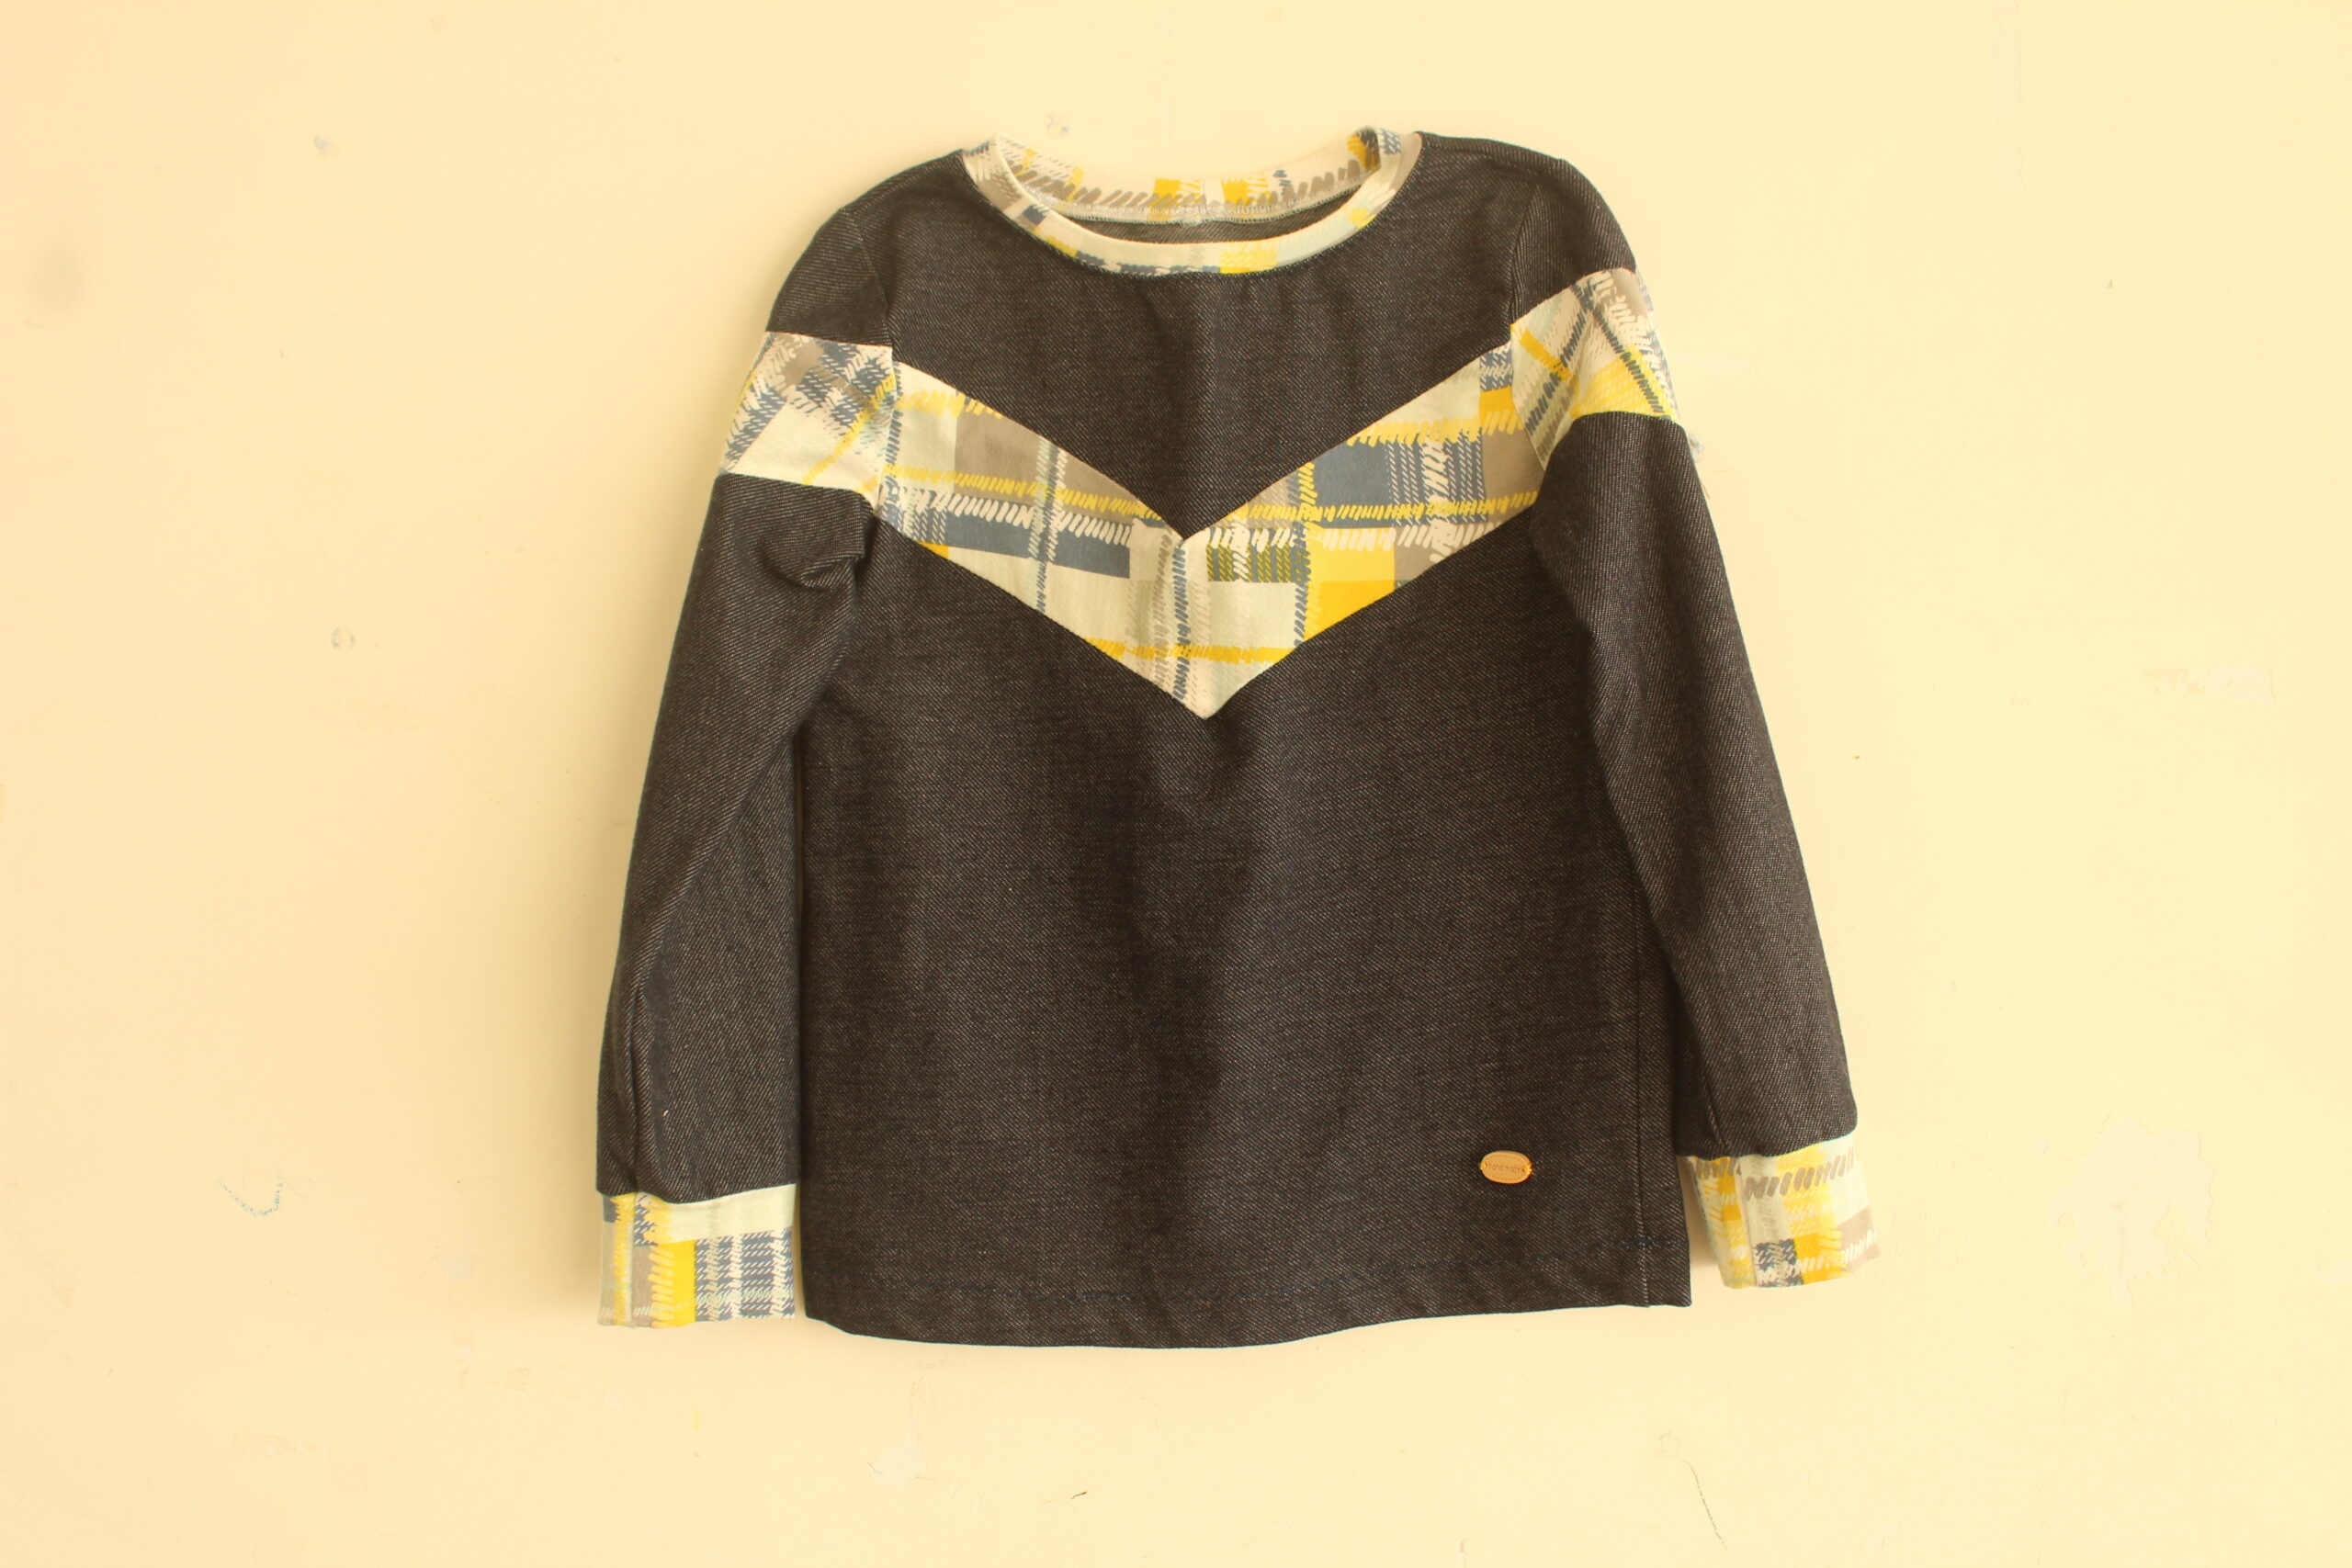
Start by choosing the central focus of your photograph. What is it you want to showcase? It can be the entire garment or just the details of which. This will form the central theme of your picture. I am working with the Elevation hoodie that I sewed for my son. Now that this is chosen, lets build on the story.
Pick a backdrop.
Your backdrop needs to be a surface that can showcase your hero. Think of it as the canvas on which you are going to paint this picture. You would want to pick something neutral so it doesn’t compete with the other elements in your photograph. Some ideas include a wooden table/floor, a blank wall, a solid coloured sheet or a table top.

I will be photographing this on my sofa. Its got a rigid, taut surface that will not show any puckered lines. (I will be showcasing an alternate flatlay shot on the cream coloured tiled floor for visual contrast at the end of this tutorial)
Choose your props
The props serve as your supporting actors. Props are so versatile that they allow your picture to be painted in any number of ways.
If I sewed the Bayside Romper, I might pair it with a pair of sunglasses, flipflops, a nice straw hat, a matching straw tote and maybe some beach sand scattered off to one side near my footwear. These props tell me I am all set for a walk down the beach.
If I was to take that same romper and pair it with espadrille wedges, a nice chunky necklace and a sling handbag, I’m ready to hit the mall. Plan the story you are telling and choose your props accordingly. When in doubt, hop onto Instagram and #flatlay for inspiration.

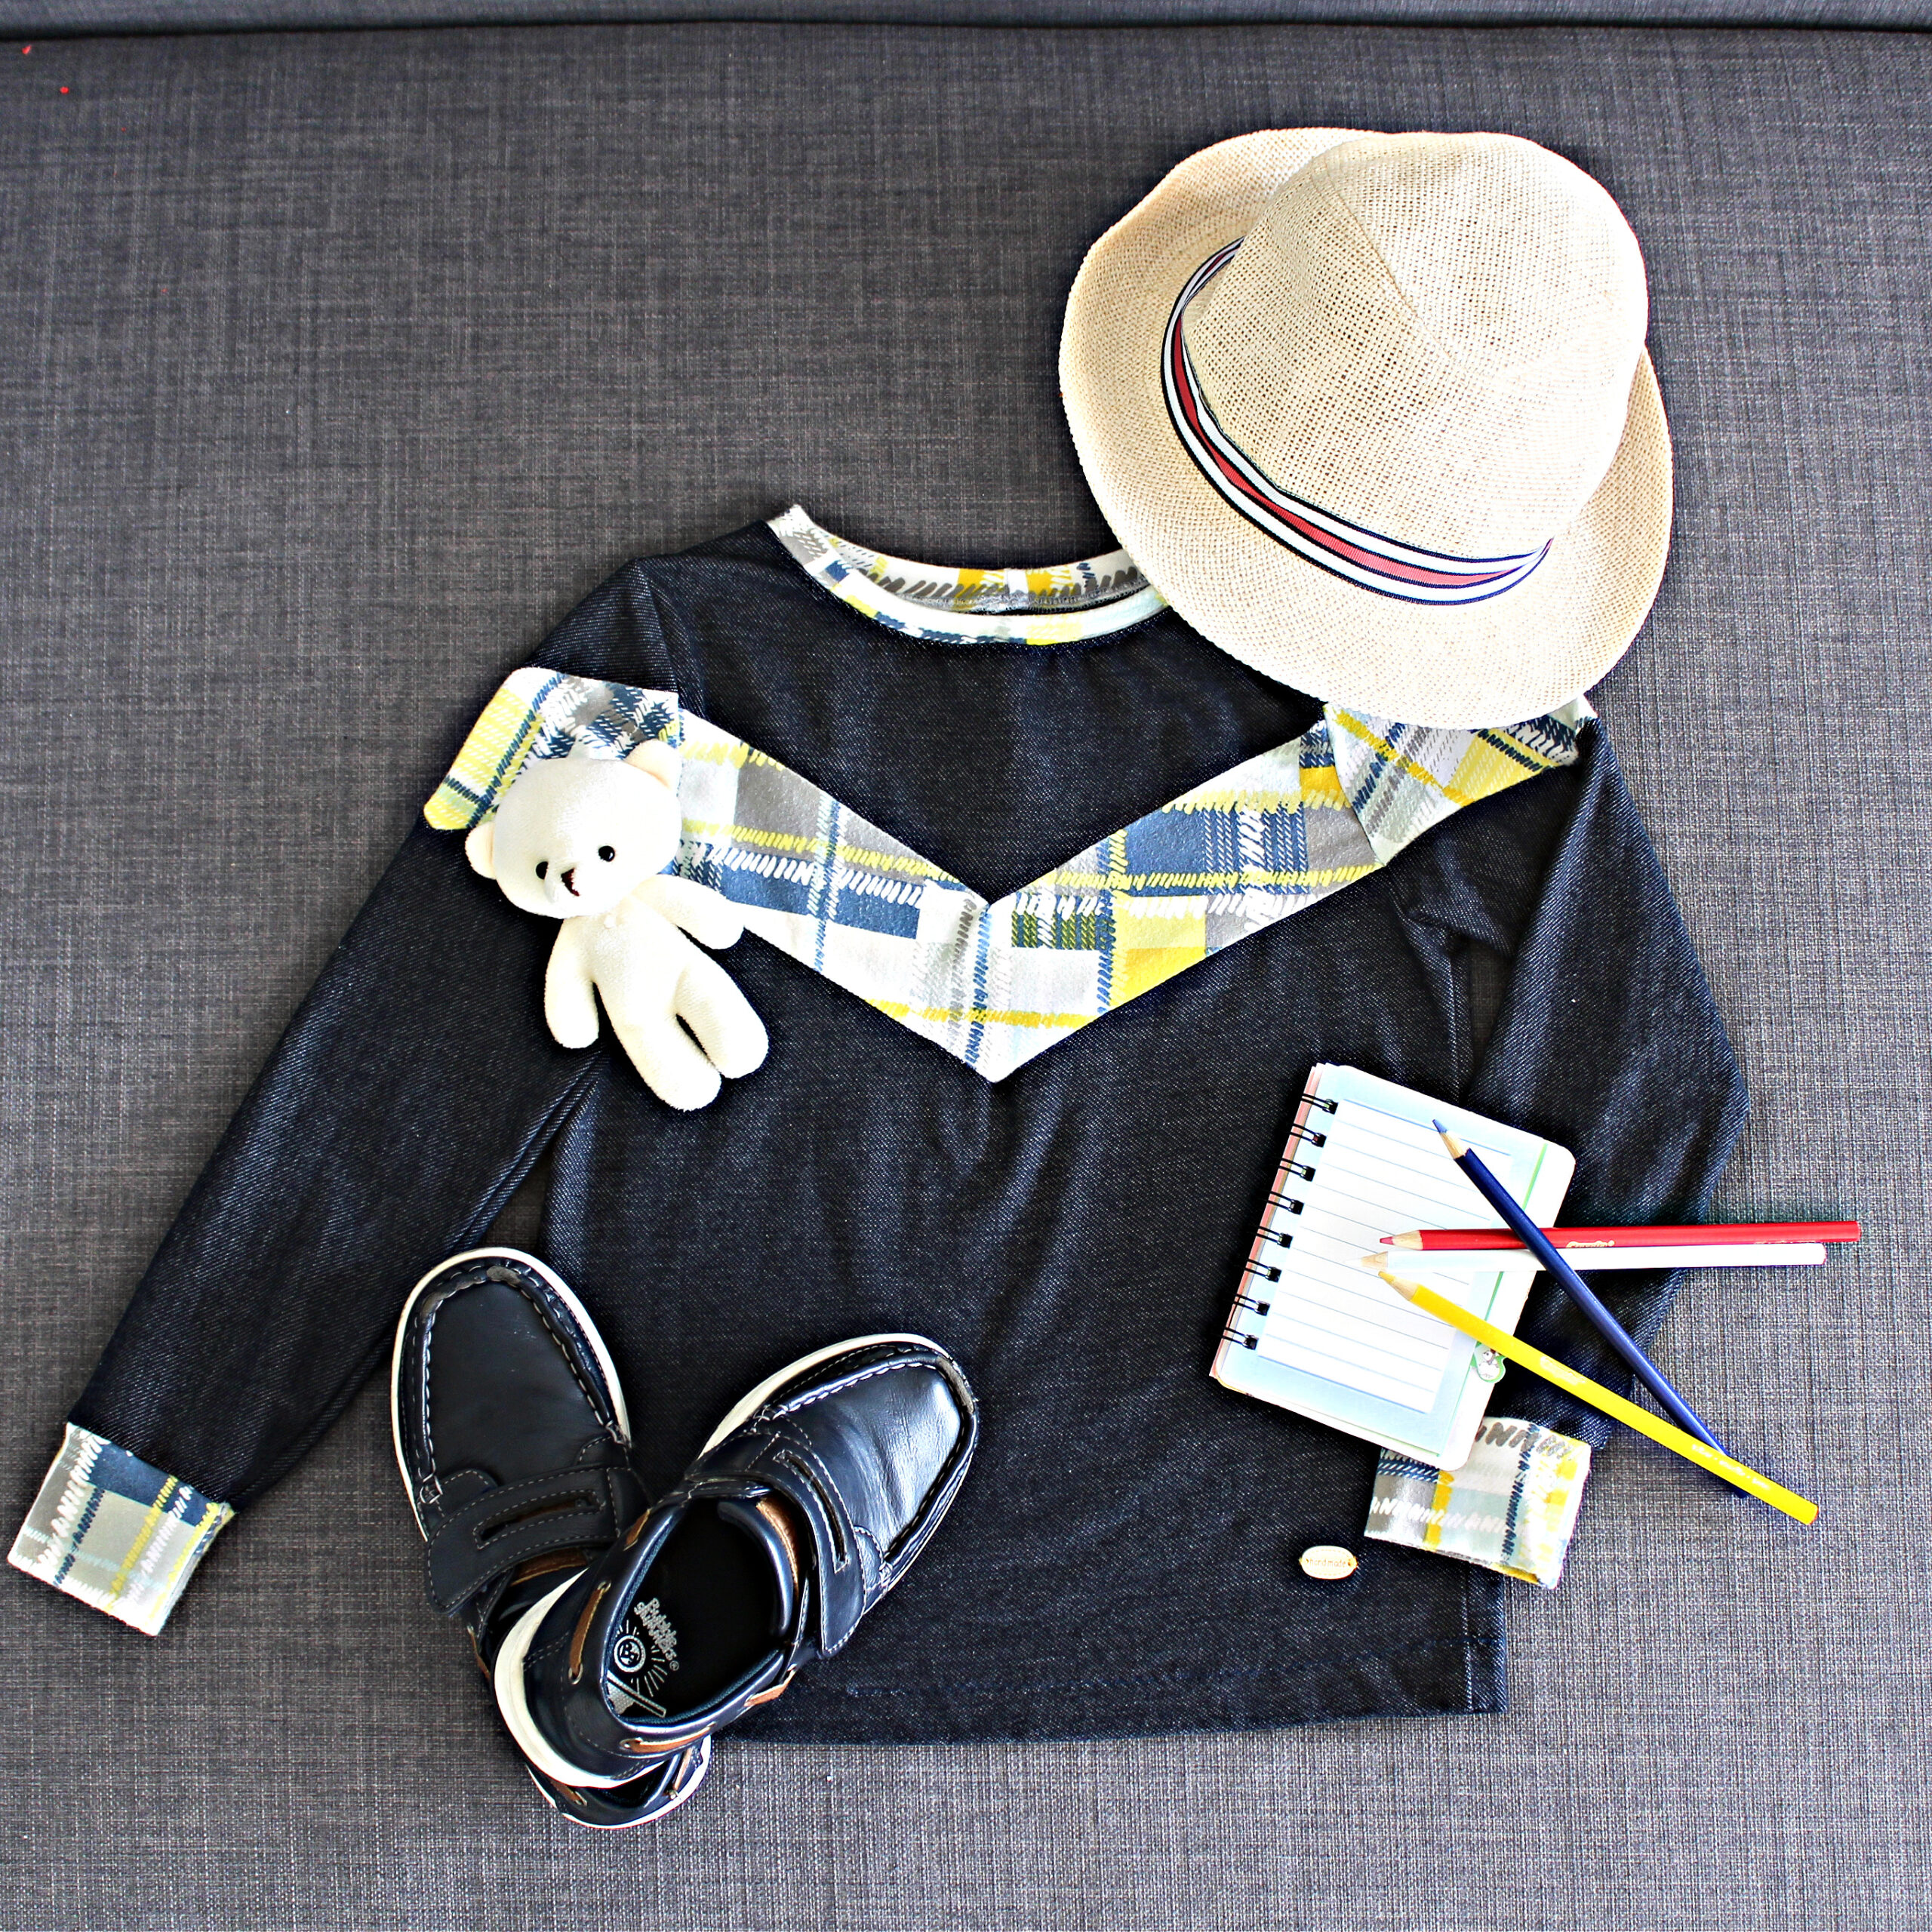
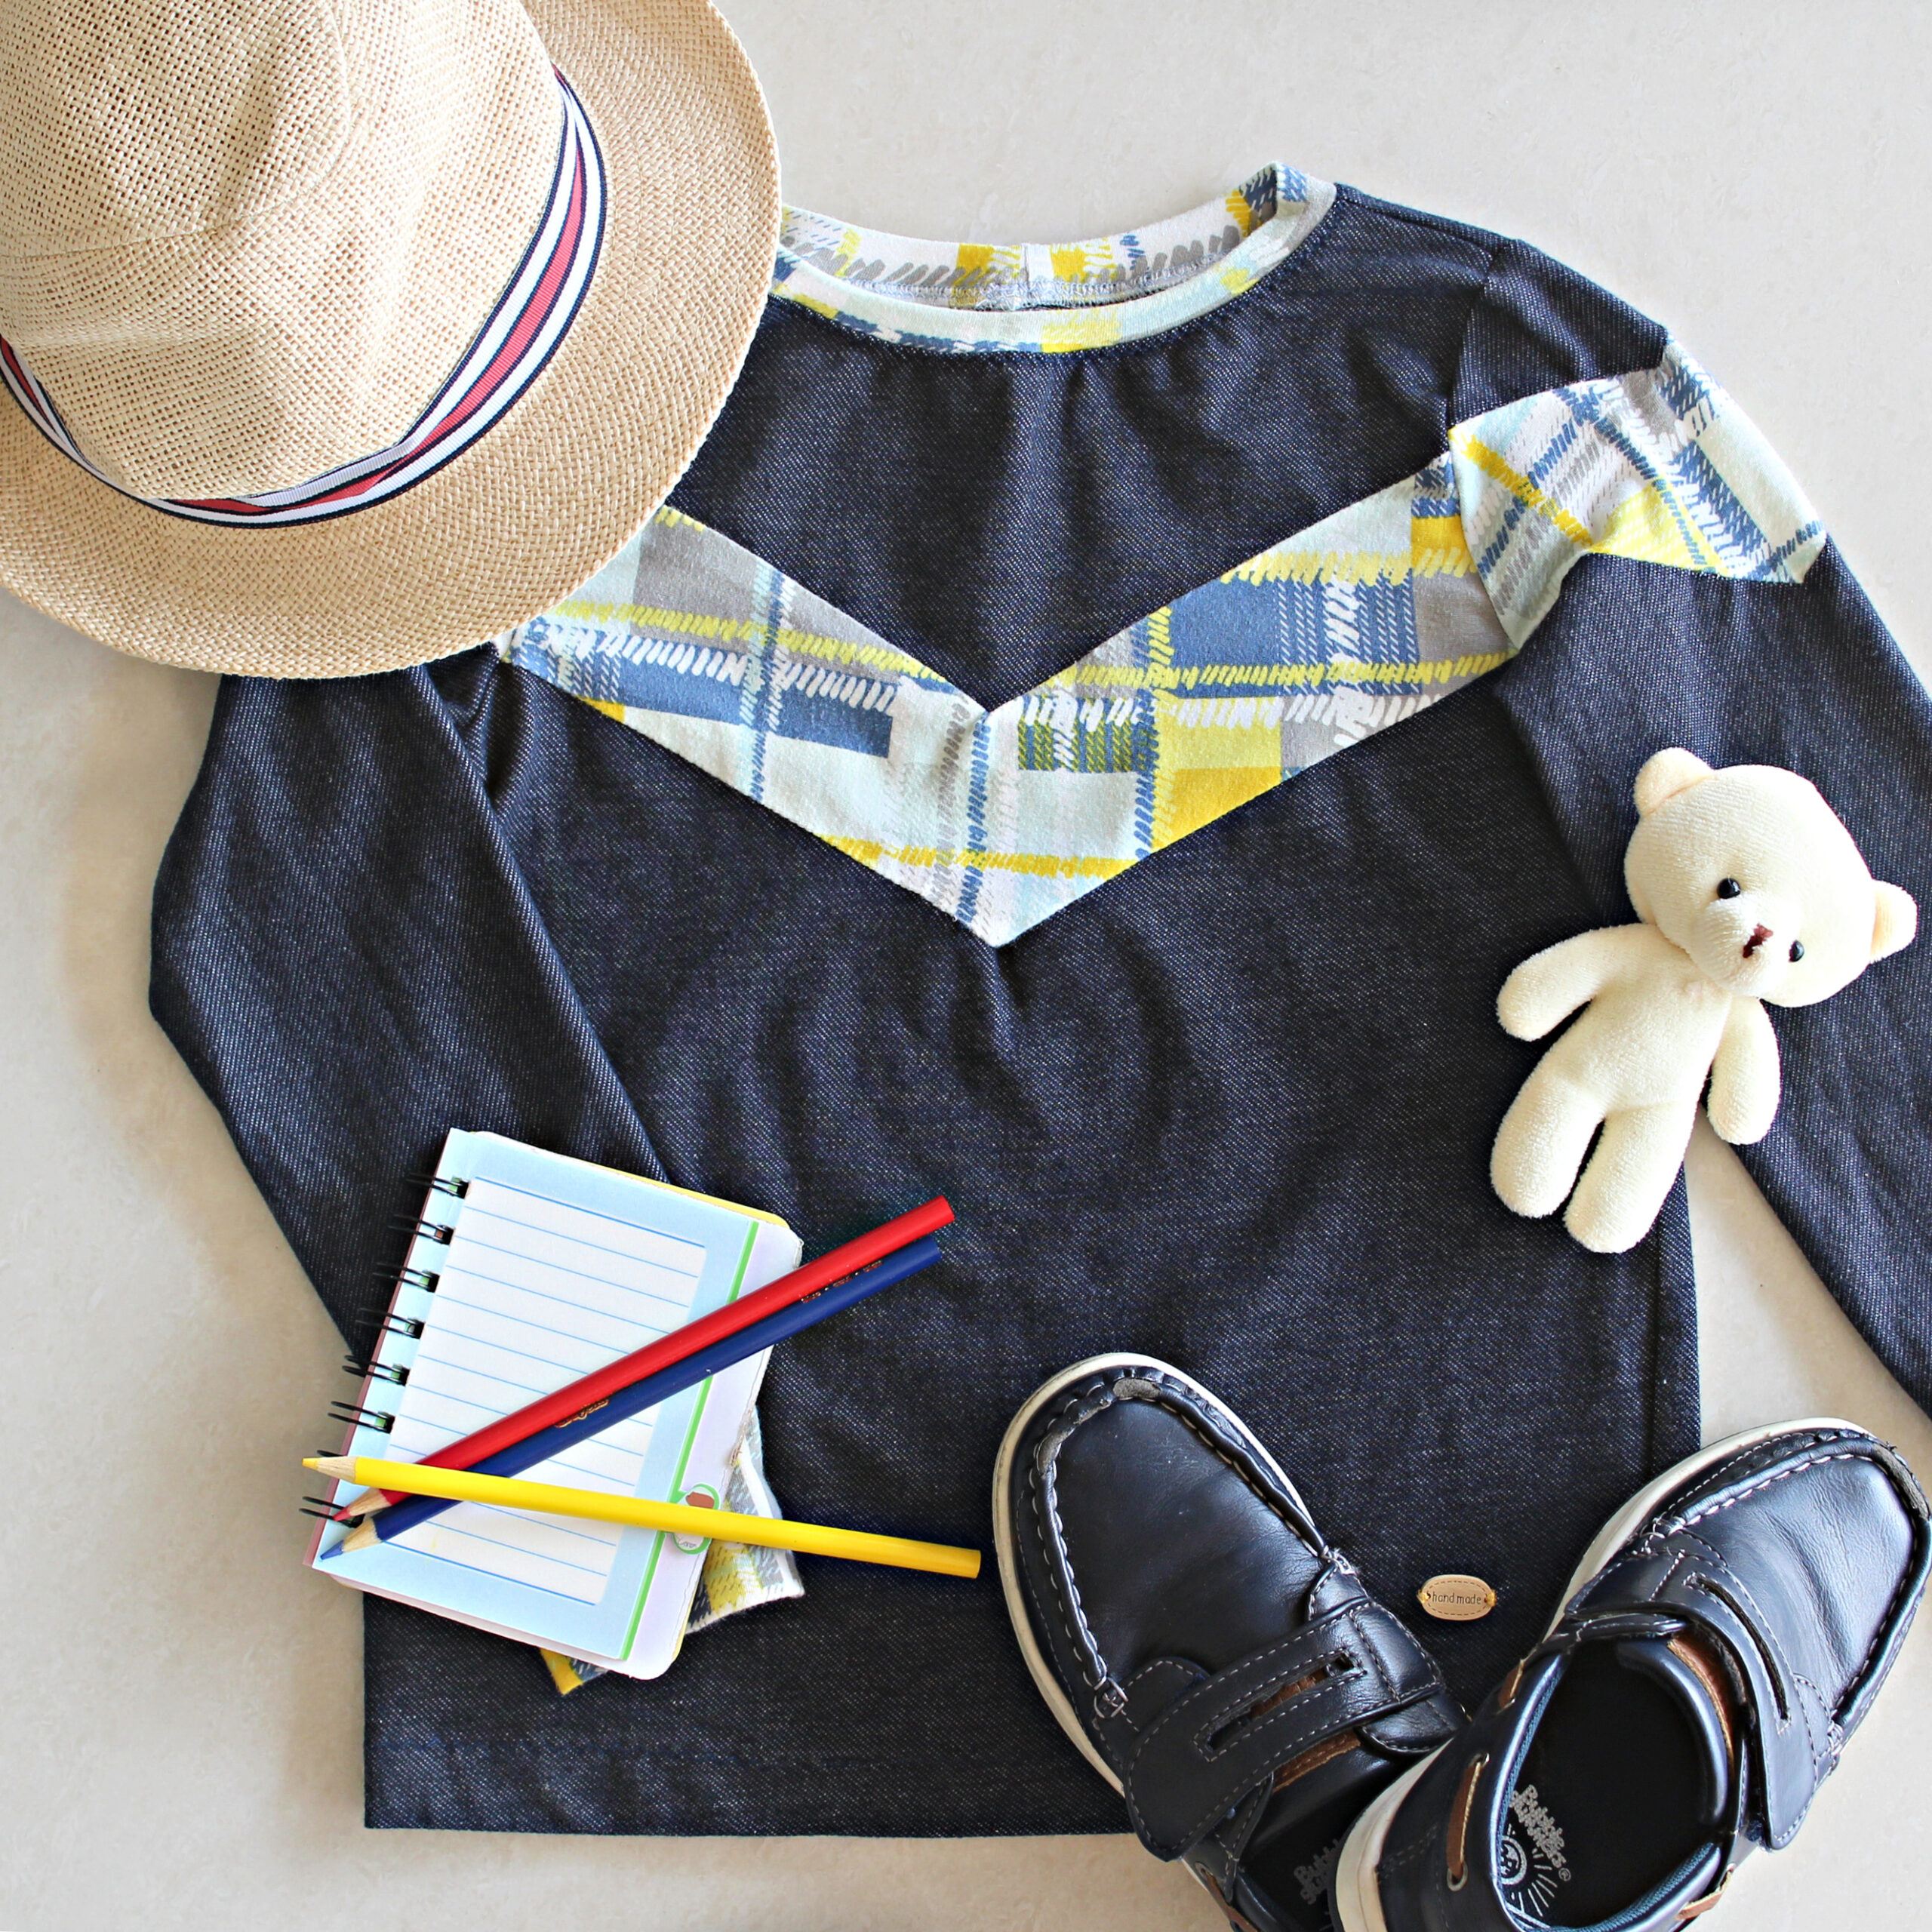
In this picture, I shall be using these four items. I want the picture to reflect playful and preppy vibes. I also made sure that my props fall into the same colour palettes as those in the garment. Choosing something overly contrasting might distract from your hero item.
Lights, Camera, Action!
Lighting is a supremely important element to consider because it can make or break a great picture. Choose a spot with a good flood of natural light but not one with direct sunlight which would end up casting harsh shadows across your elements.
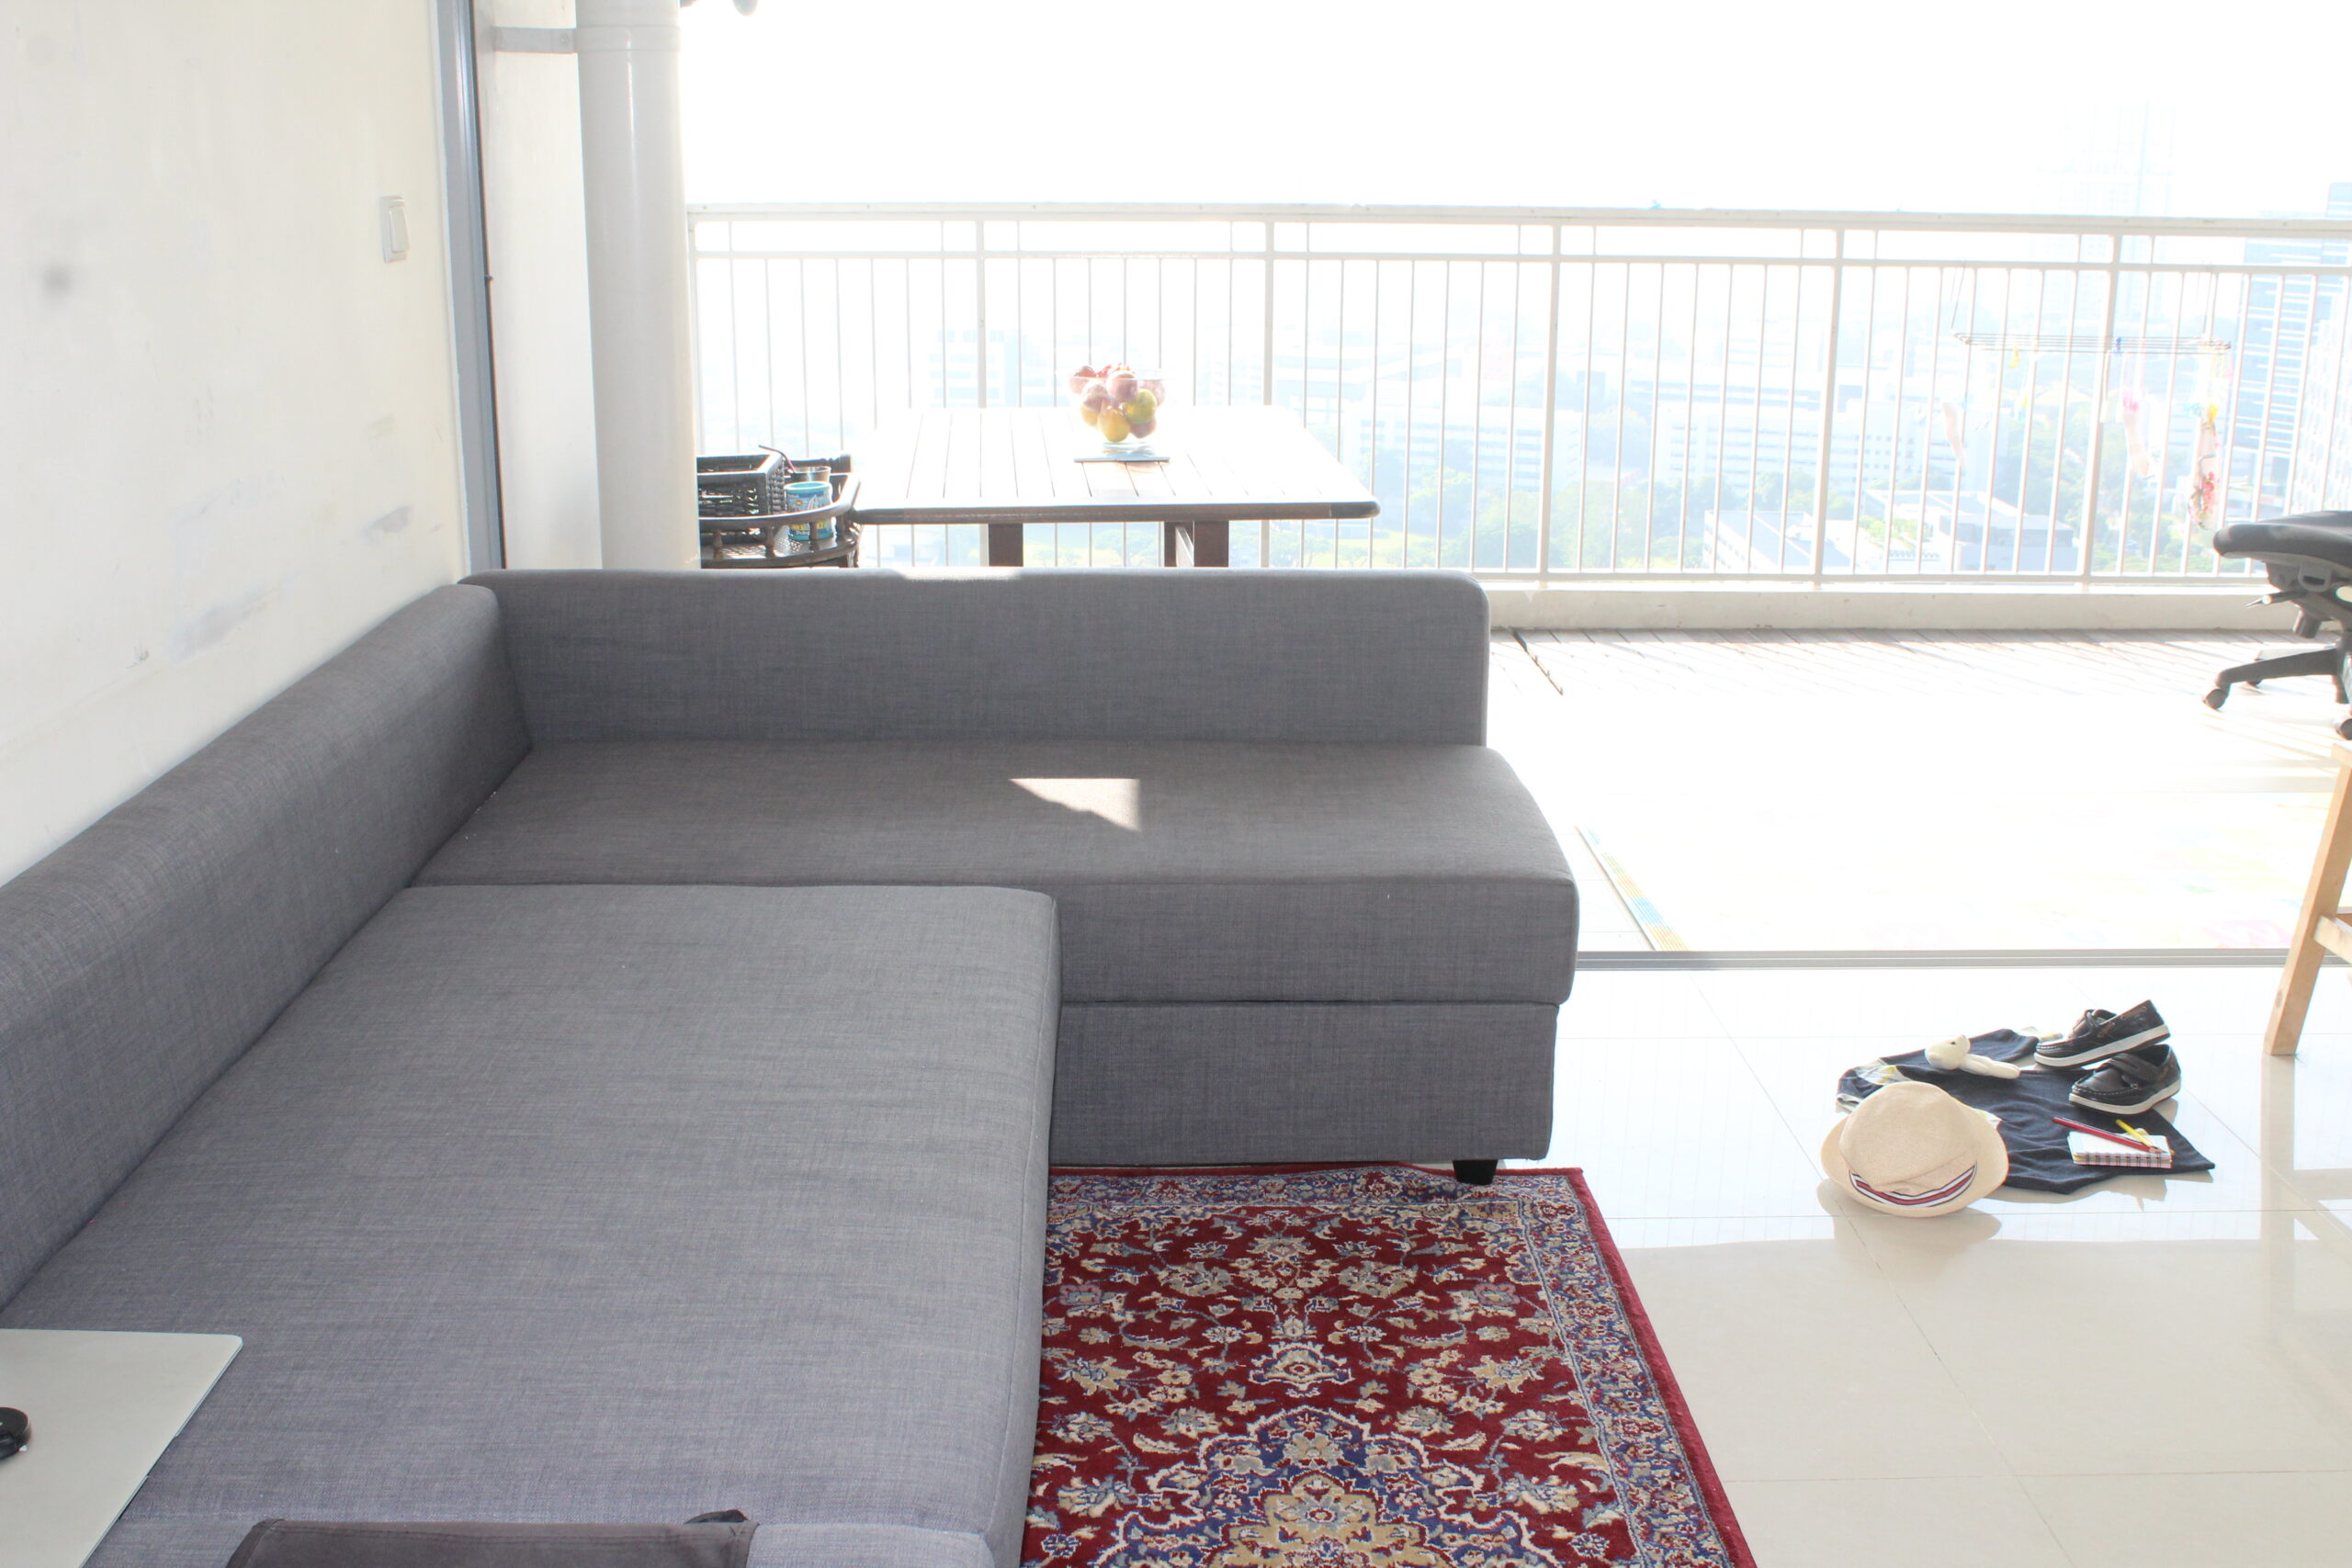
This is my living room! I have my flatlay set up on the couch and as you can see in the balcony beyond, there is a flood of natural light coming in. As I shot this sequence in the morning, the sunlight in the balcony is too harsh and would cast shadows that would be difficult to edit out. When I shoot in the afternoon, the balcony becomes my go-to location because of the wide open space and ample amount of natural light. Check out my set up on the floor at the feet of the couch. That’s where I set up my second flatlay shown below.
Vantage point
I find it helpful to get on top of a chair or step stool and position myself directly over the flaylay. In saying this, just check that there isn’t a light source above you (ceiling light or skylight) as you hovering above your flaylay will cast a shadow on it. My best flaylays have resulted from me being 90 degrees perpendicular to my layout. This gives the viewer the impression that they are looking straight at the items.

There I am, perched on a stable wooden bench, trying for a perfect shot.
For visual contrast, here is a flatlay against a cream background. I can’t decide which one I like better. Let us know in the comments which one you like better.
Flatlays are a lovely way to showcase your sew. It wasn’t easy for me at first but as with anything in life, practice makes perfect. Keep trying and you will be churning out better flatlays before you know it. If you do post your Pattern Niche sews on Instagram, don’t forget to hashtag us @patternniche @patternnichedesigns so we can all marvel in your beautiful creations.