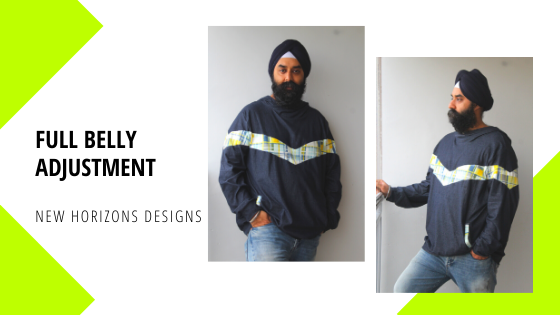
Welcome back to our blog! Today Kiran is going to give instructions on doing a full belly adjustment using the Elevation hoodie.

When shopping for Ready-to-Wear garments for my husband, we often encounter a recurring problem. Its either too tight around the mid-section or too loose at the other parts, when we try a larger size to accommodate the belly.
I thought sewing his clothes would solve the problem but was disappointed until I learnt I needed to full belly adjustment to make the patterns fit right. Great news is, it’s surprisingly easy to do.
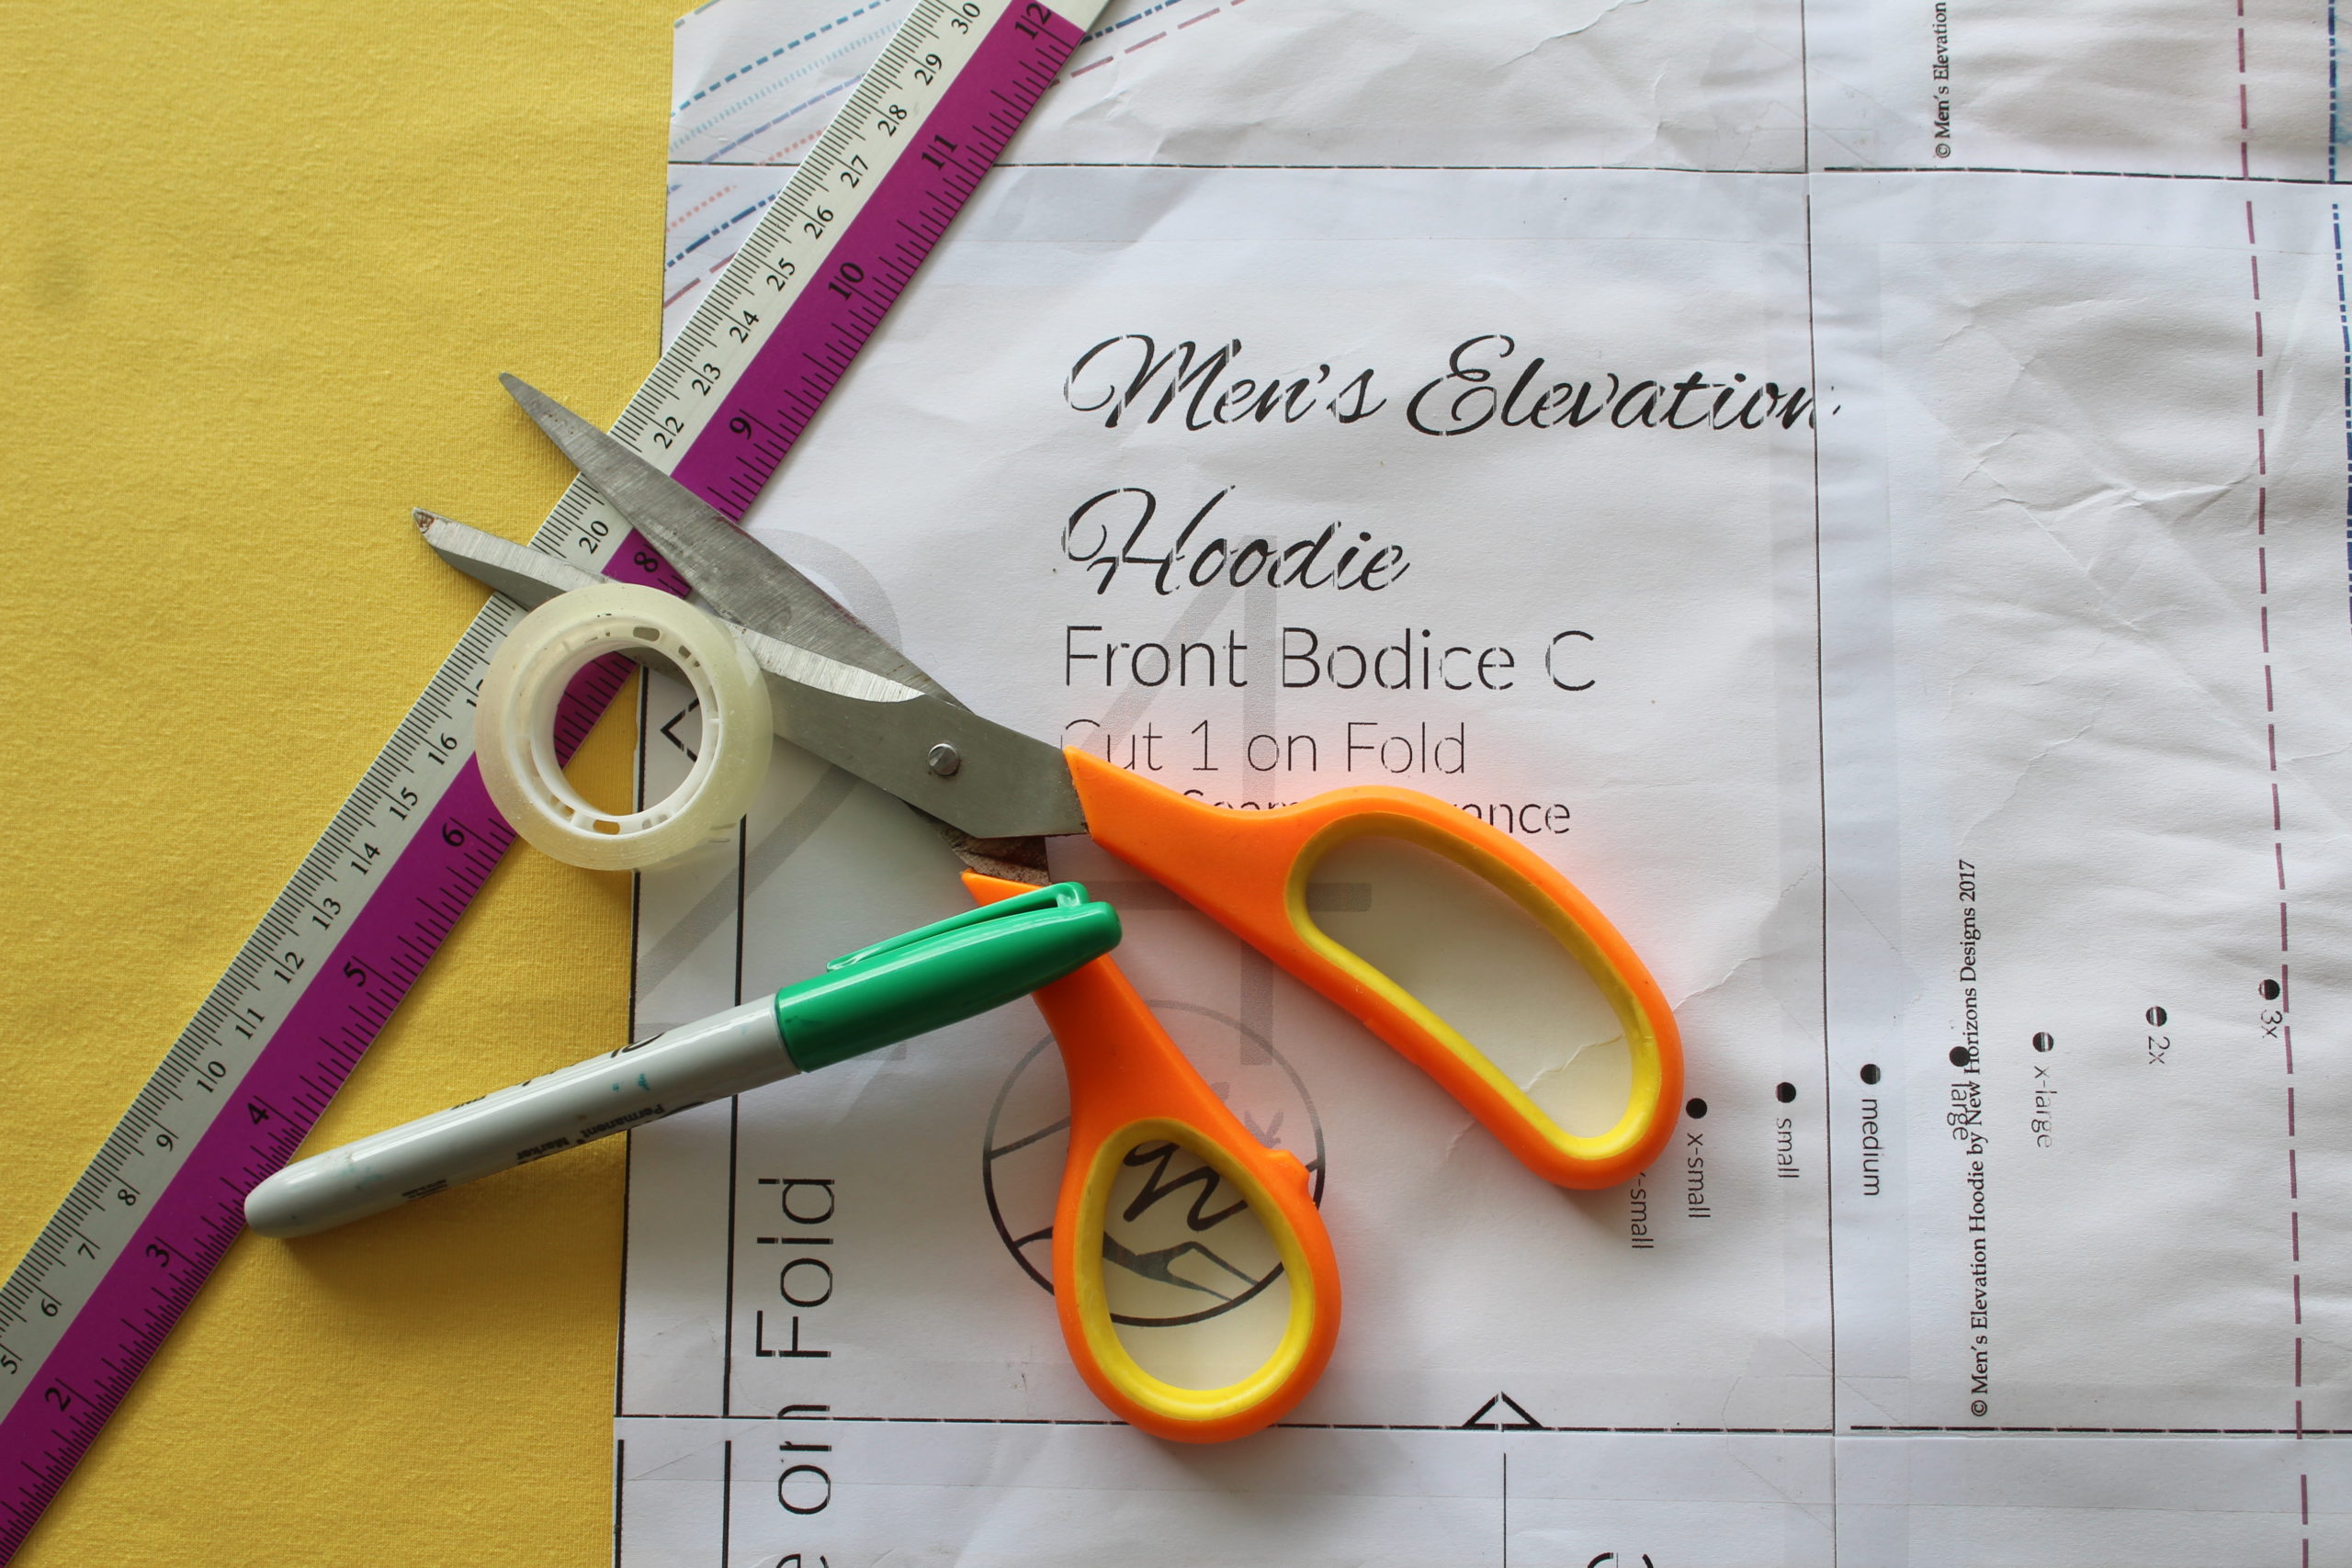
Supplies
Here is what you will need to make this magic happen:
- The Elevation hoodie “front bodice C” pattern piece
- Sticky tape
- Marker
- Ruler
- Freezer paper
Making the full belly adjustments to your pattern
Making a Full Belly Adjustment means adding some space (and sometimes length) to the front of the garment. As such, here is what we need to do.
Marking your pattern piece
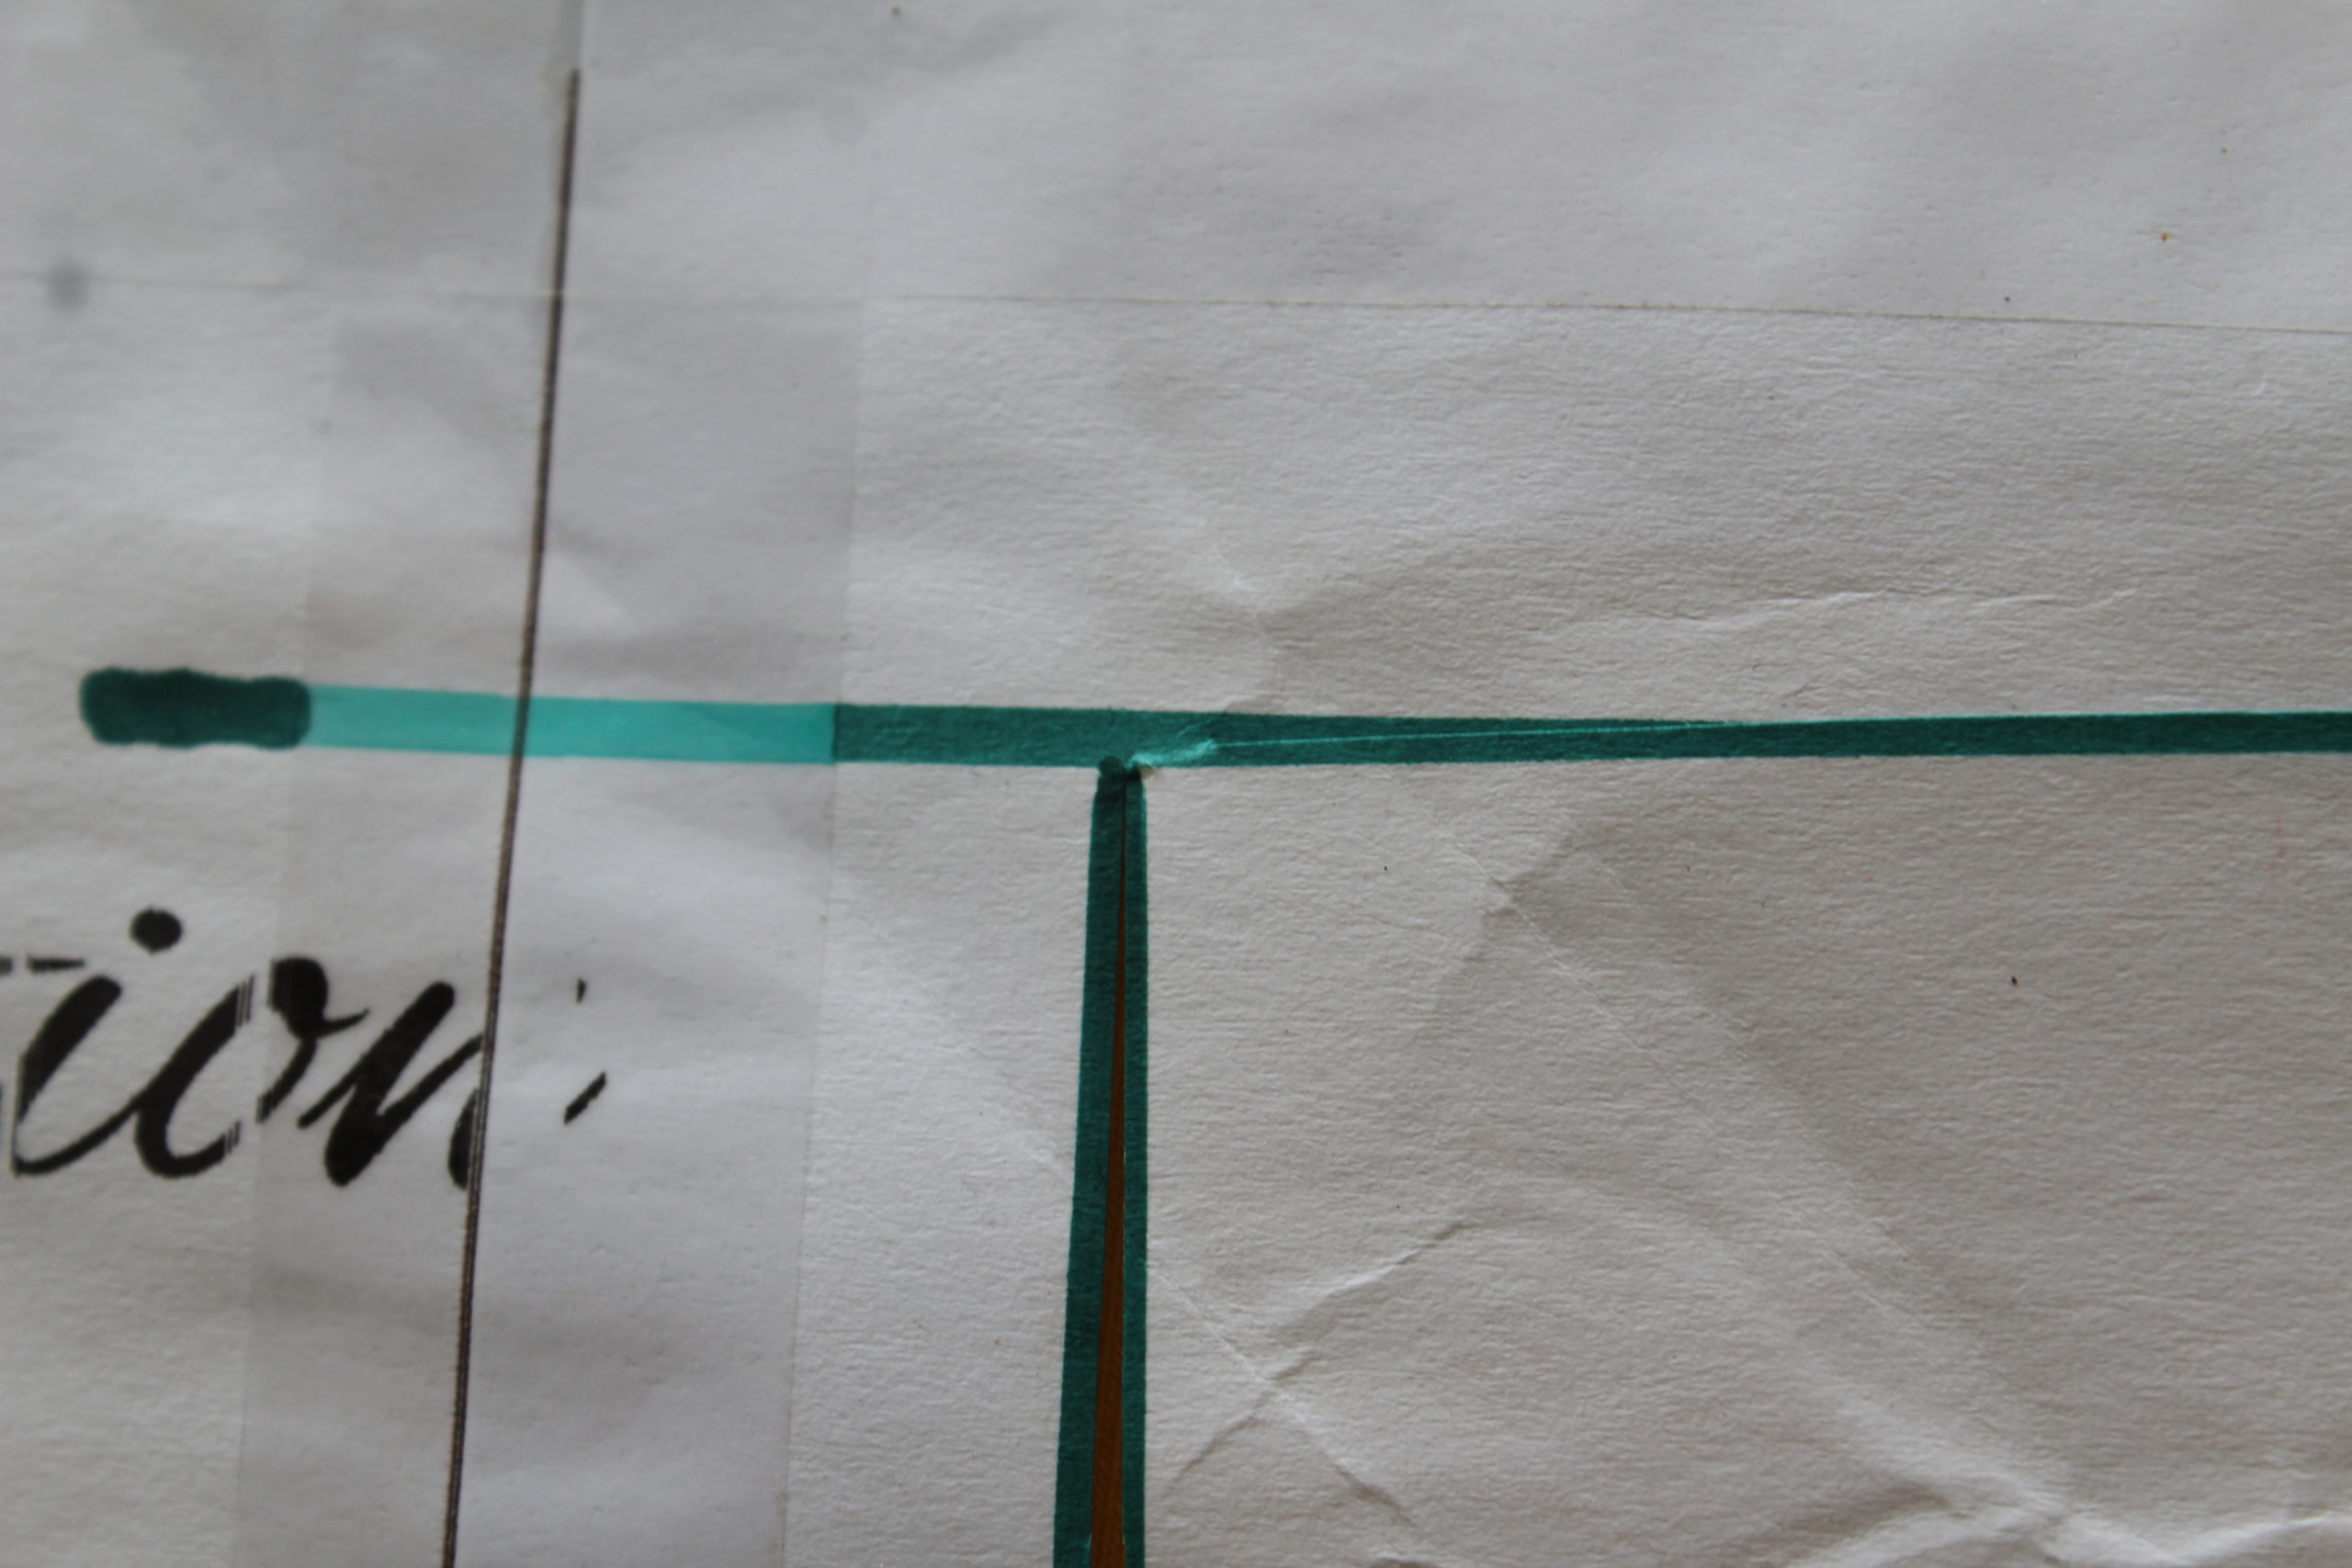
1.You could choose to use either your actual pattern piece or a traced version of the Men’s Elevation Hoodie pattern. At the widest point of the chest, draw a line running from the side seam, across the chest. This line runs perpendicular to the grainline marking shown in the pattern piece and stops at the fullest part of the chest.
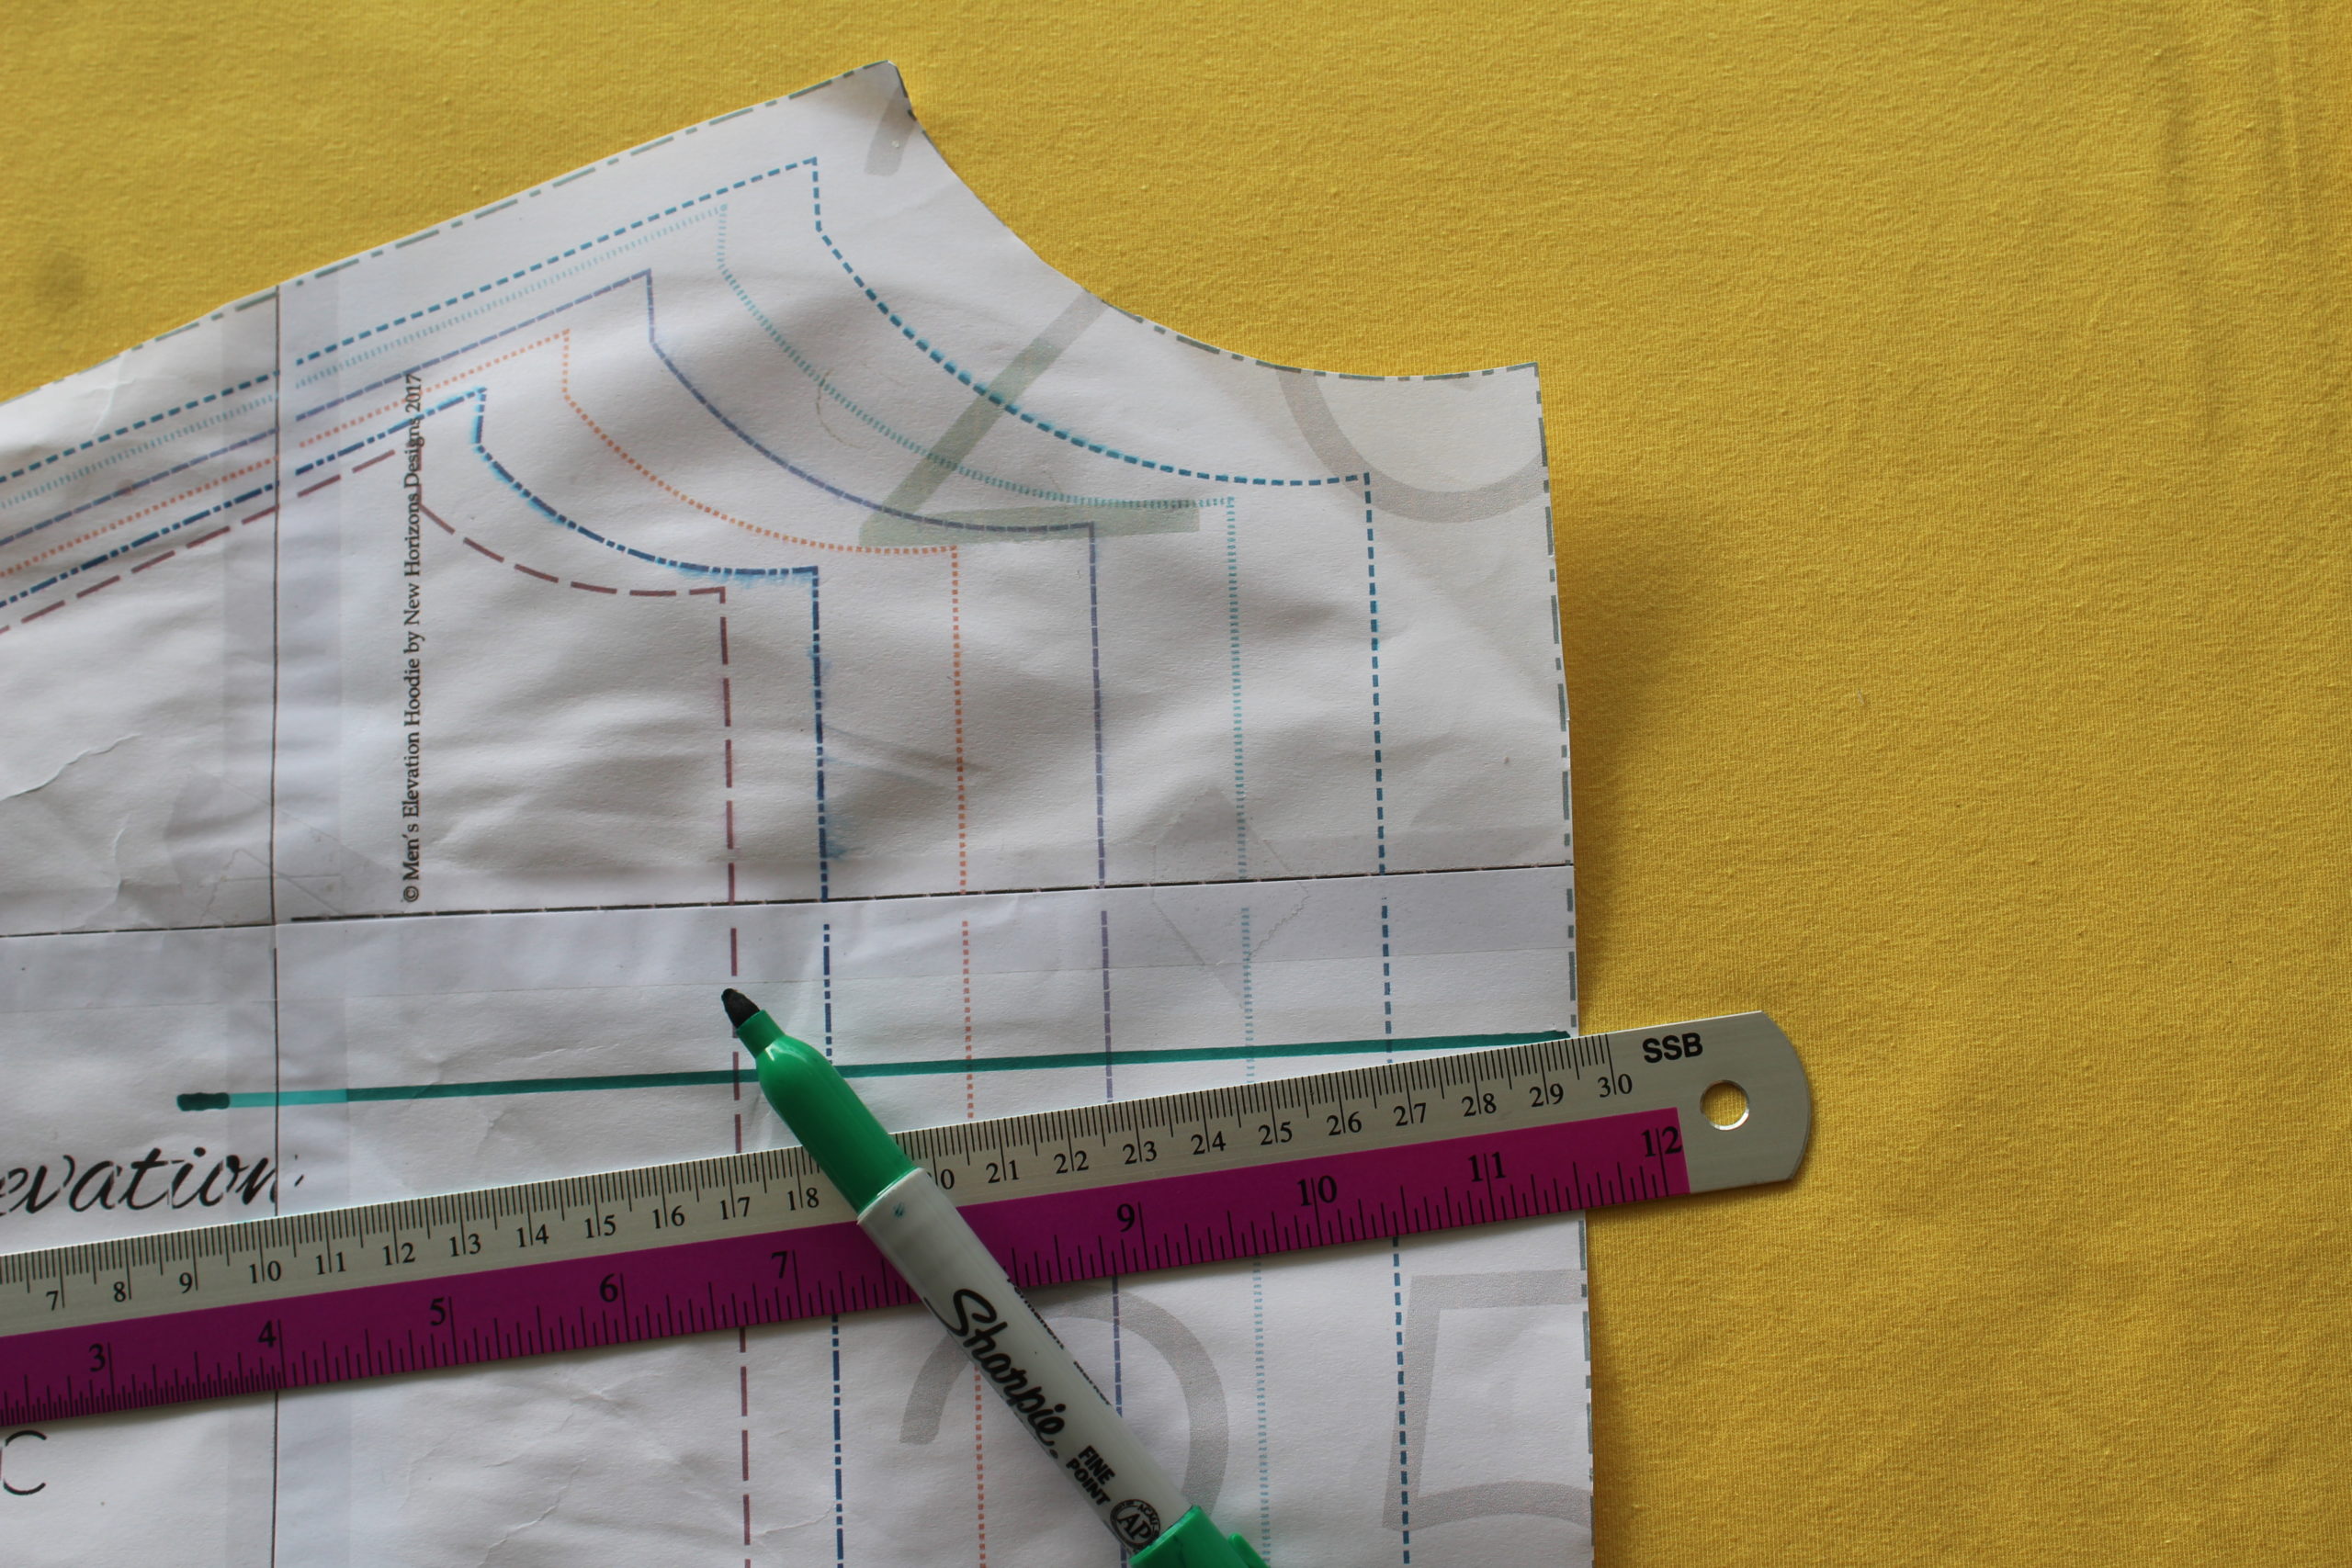
2.From the tip of this point, draw a line straight down towards the hem of the pattern piece. This line runs parallel to the grainline marking on the pattern piece.
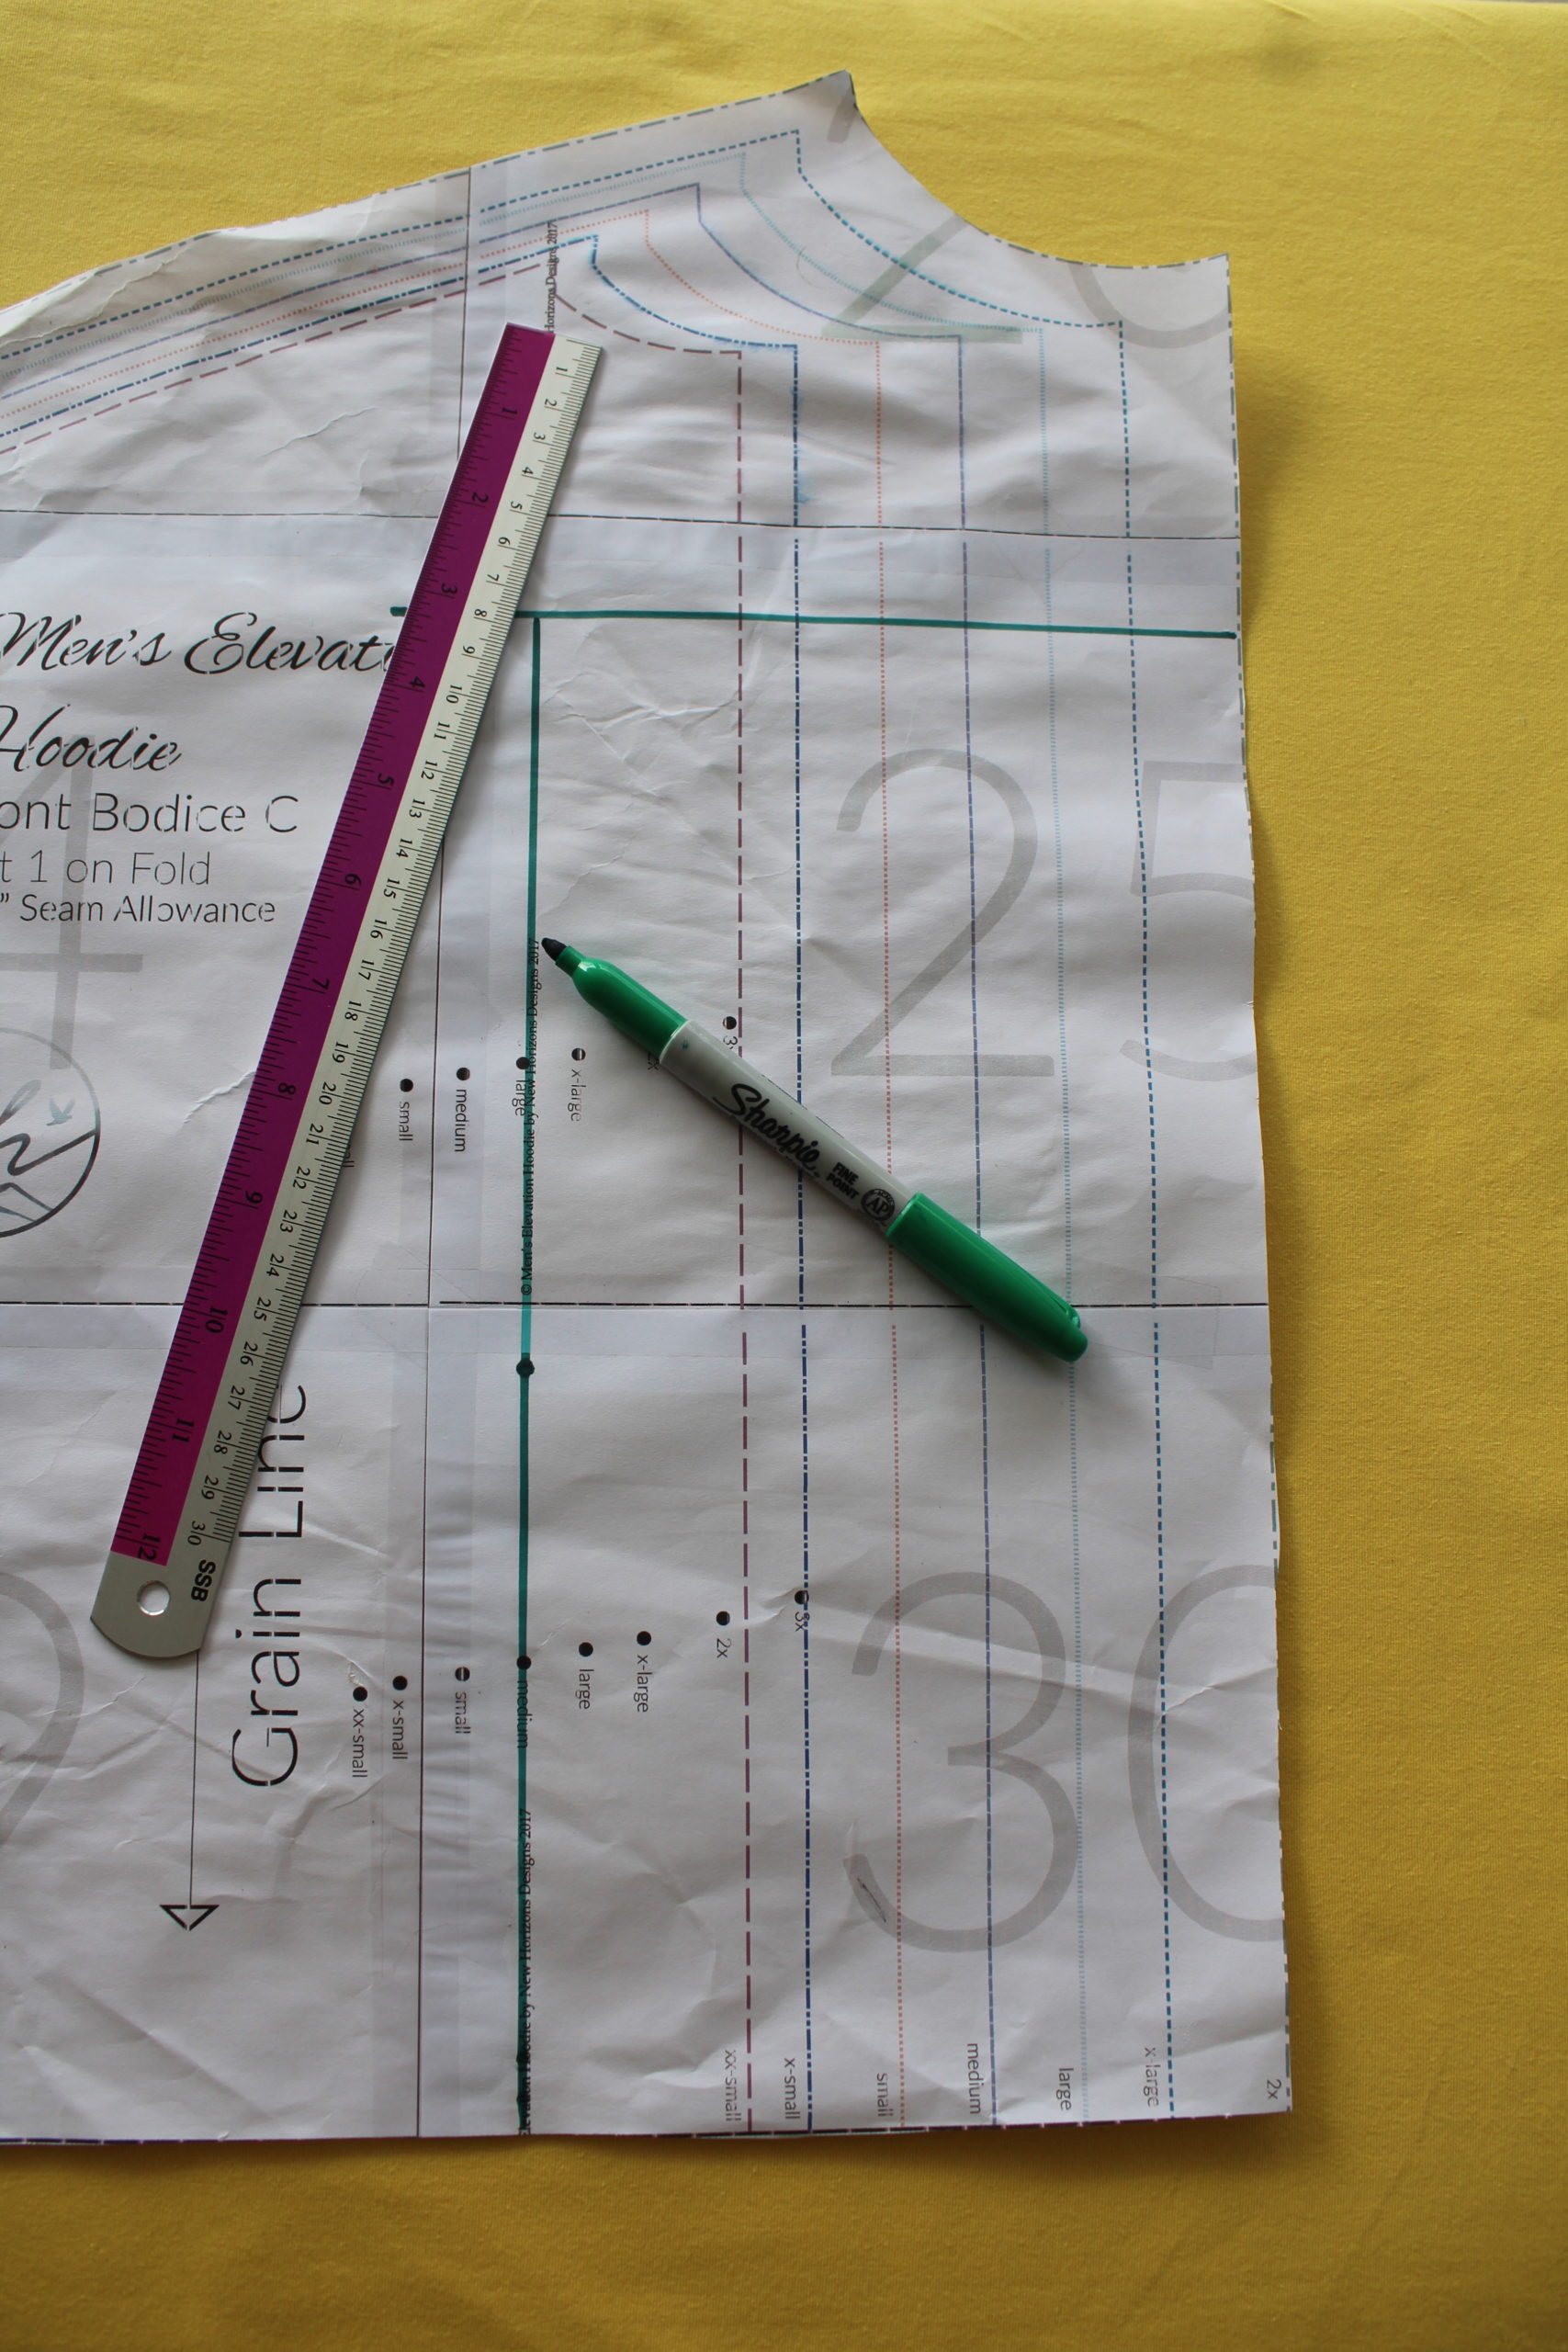
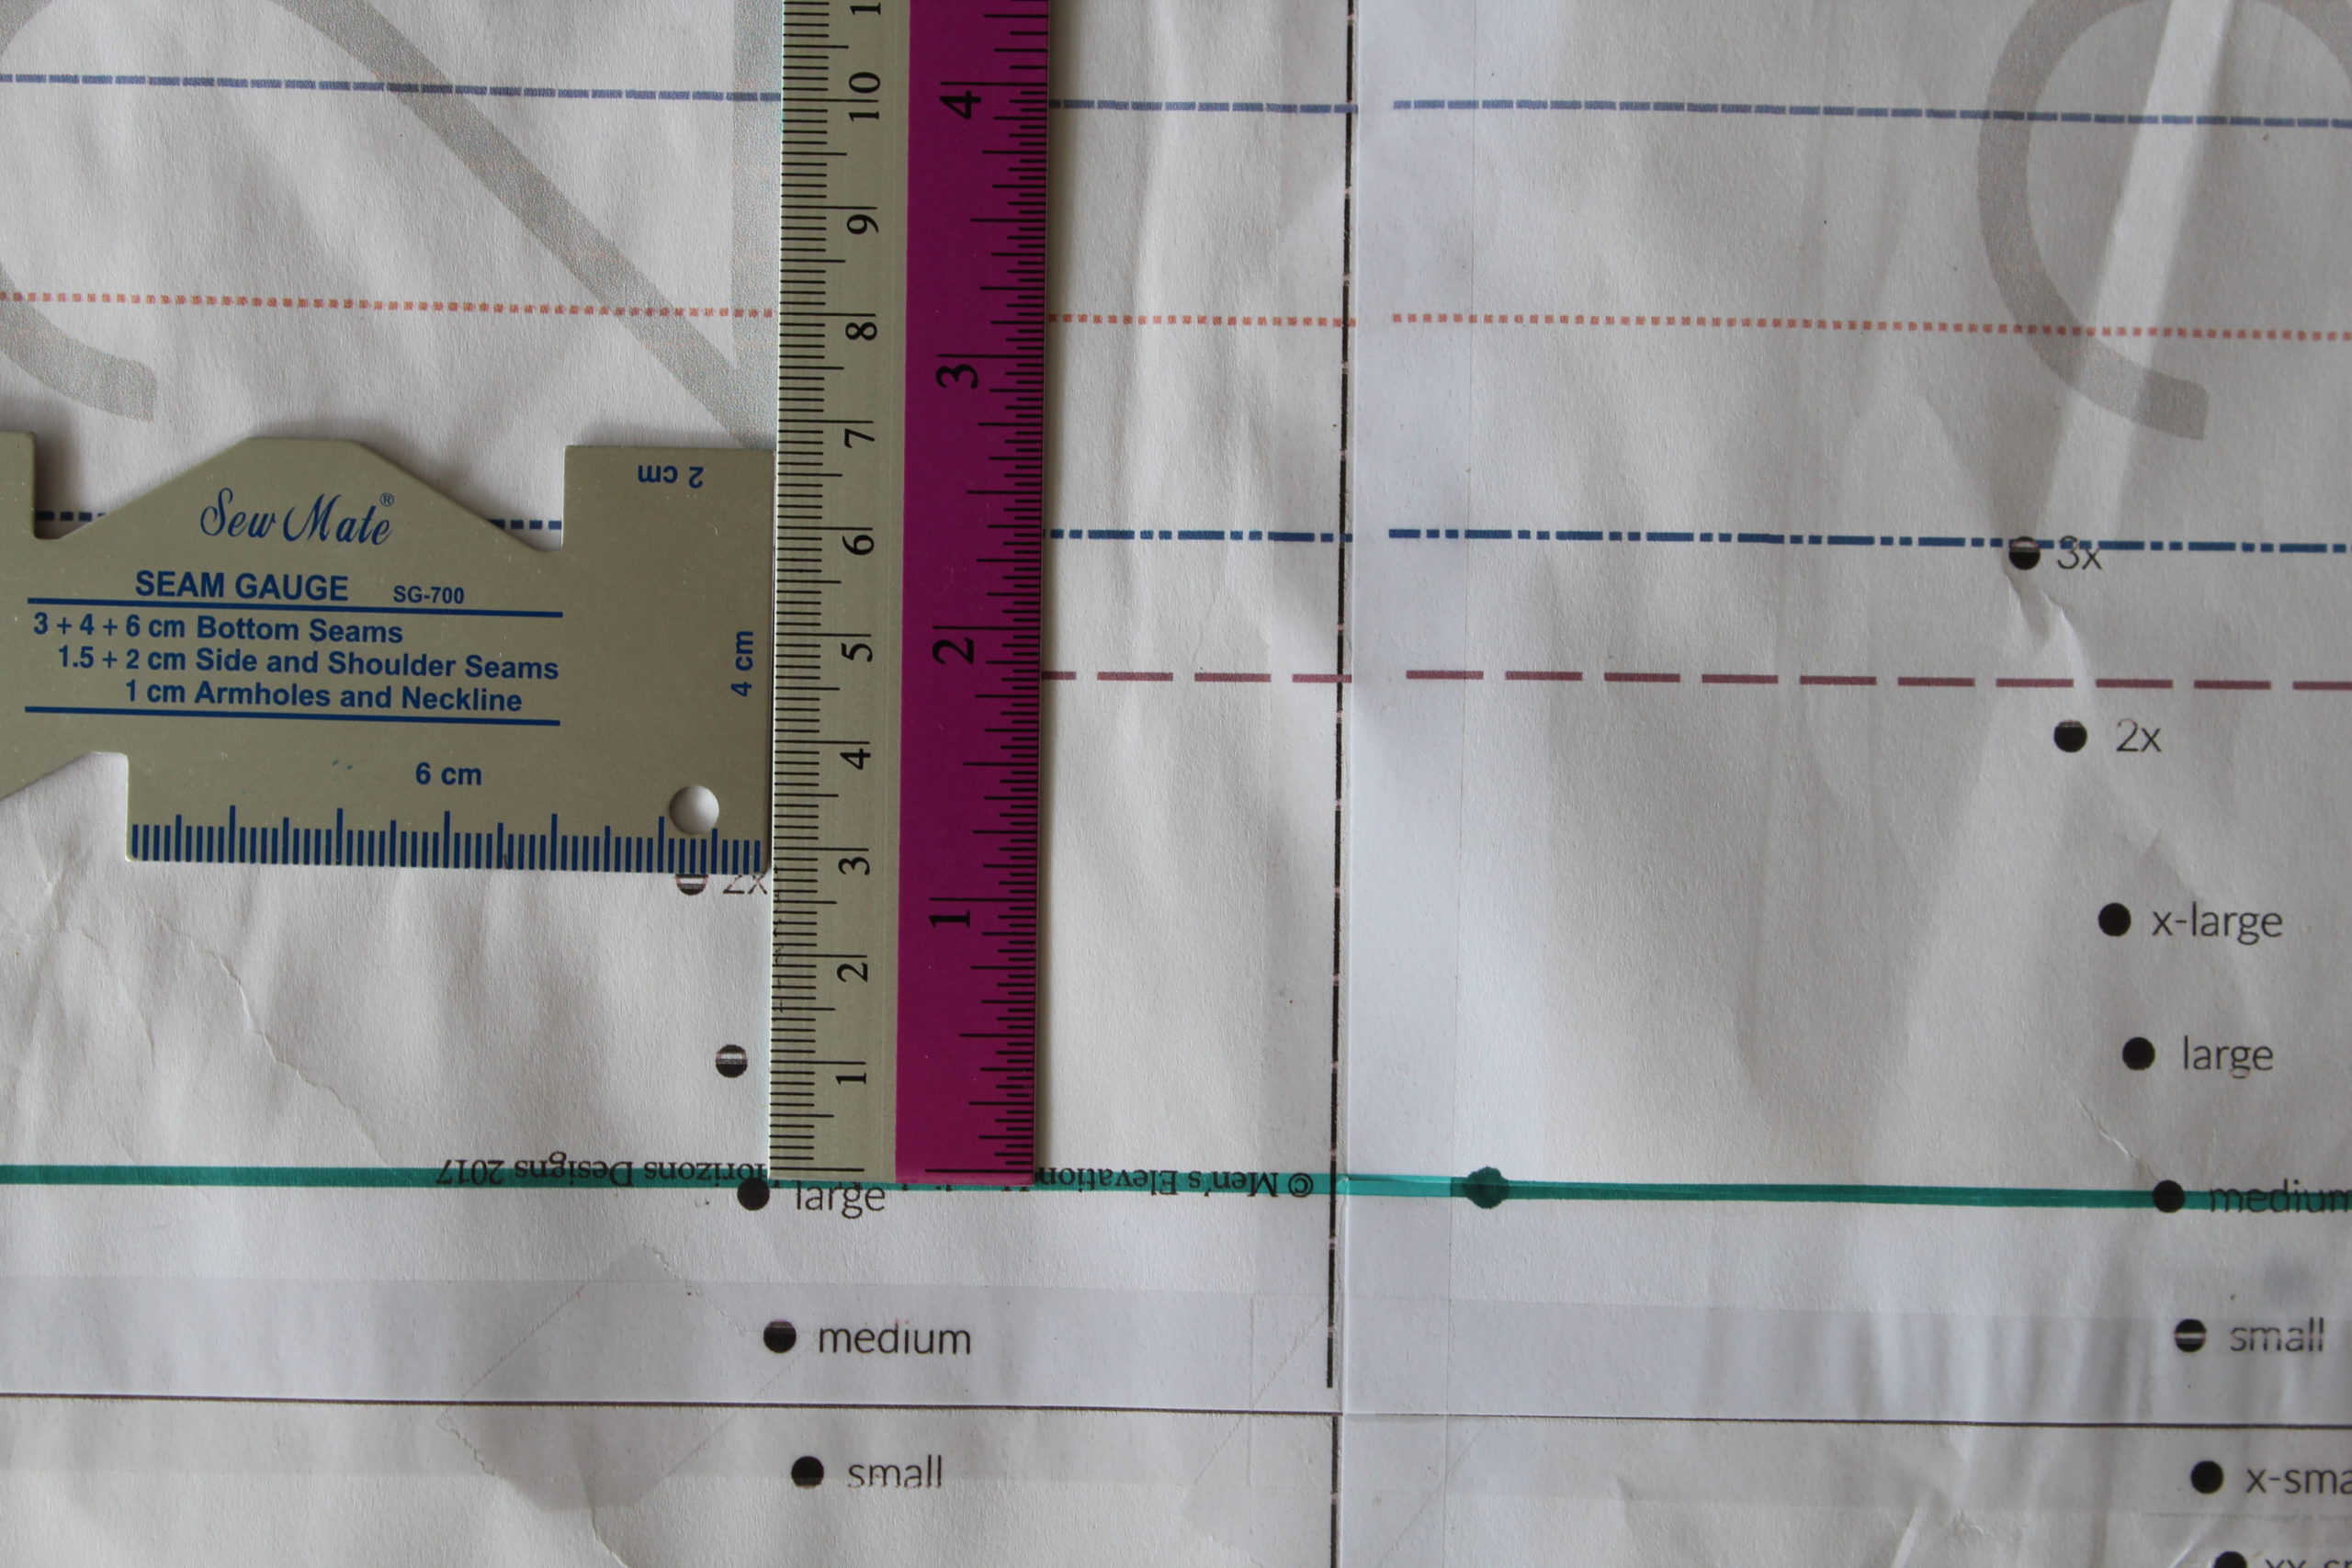
3.Before we make our cuts into the pattern piece, if you are sewing the pocket option, you will need to measure the distance of your pockets from a static point on the pattern piece.
In this case, I am slashing the pattern near the large size upper pocket marking and the medium size lower pocket marking. I measure the vertical and horizontal distance from these two points to my husbands’ size pocket marking (in this case, its 2X)
Jot these measurements down because you will need to recreate these points when you are done with the full belly adjustment.
Tip: If you’re sewing a smaller size, a good static point would be the grainline marking found on the pattern piece.
Cutting and shifting pattern
4.Cut upwards and across towards the intersection point of these lines, leaving a tiny hinge uncut at the very tip of this intersection. This will be our pivot point for the full belly adjustment.
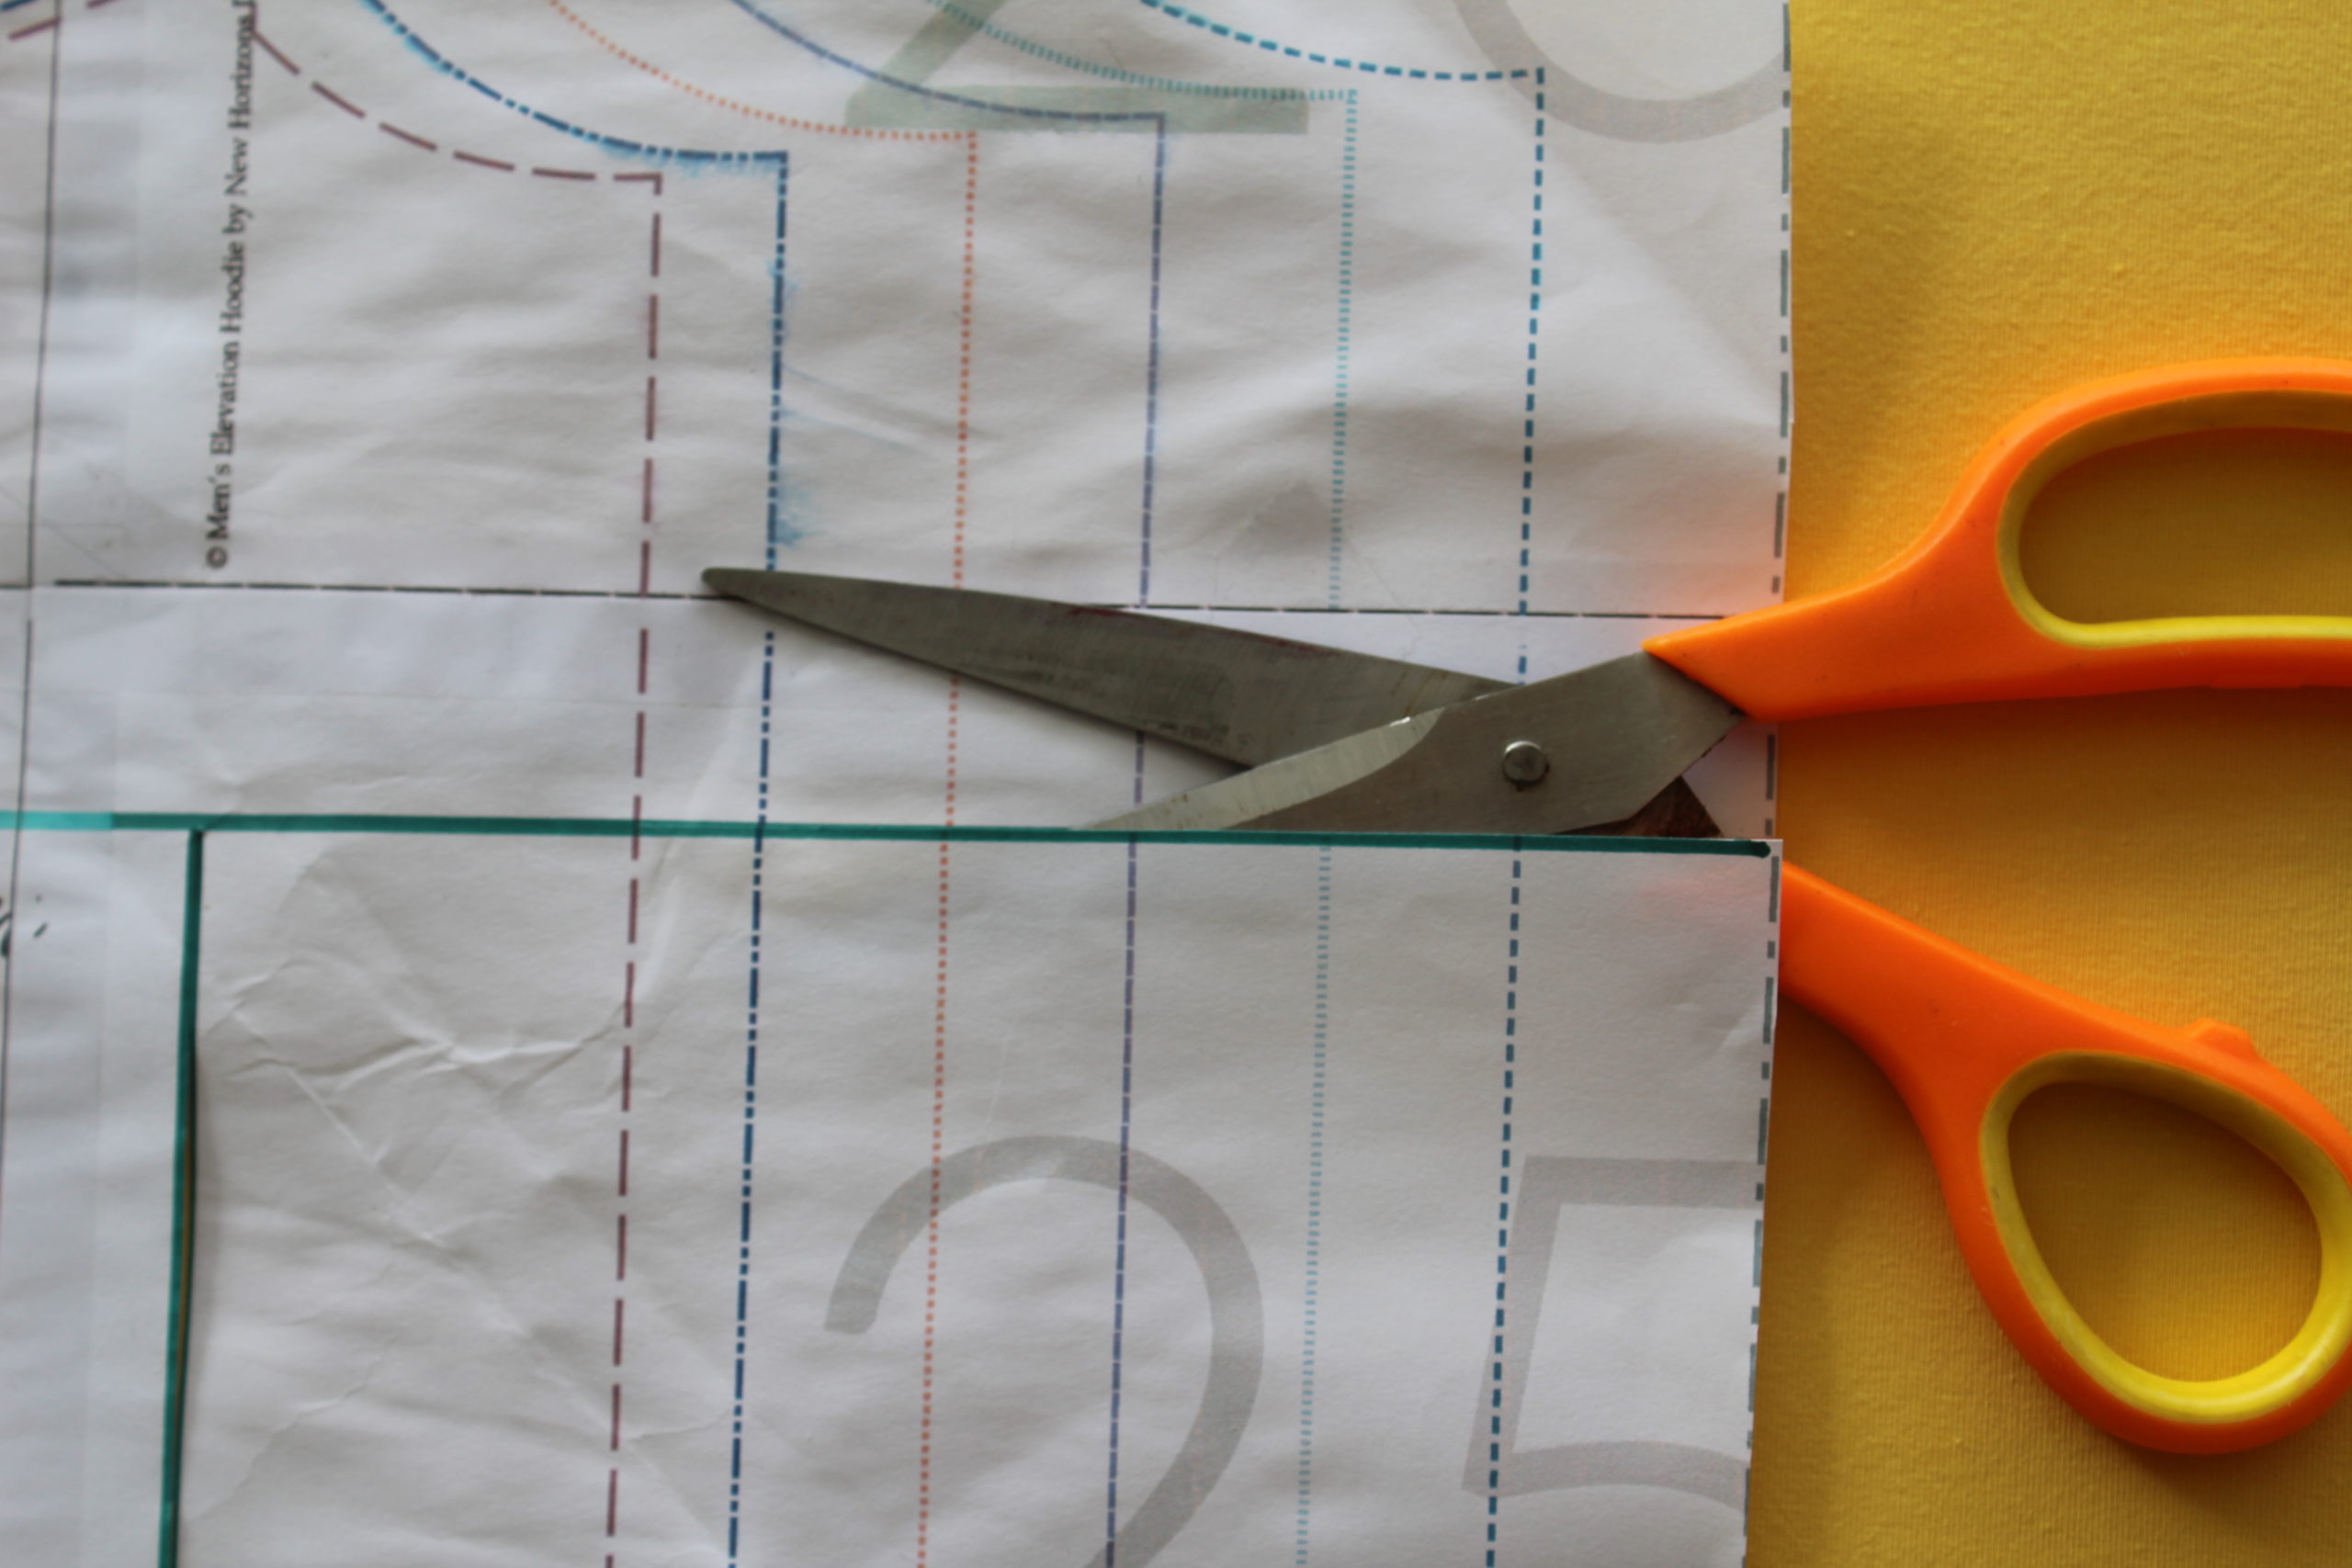
5.Slide your freezer paper underneath the pattern piece (illustrated here with yellow craft paper) Line up the hem of the pattern piece with the straight edge of the freezer pattern as this will help us recreate the hem of the new pattern piece later.
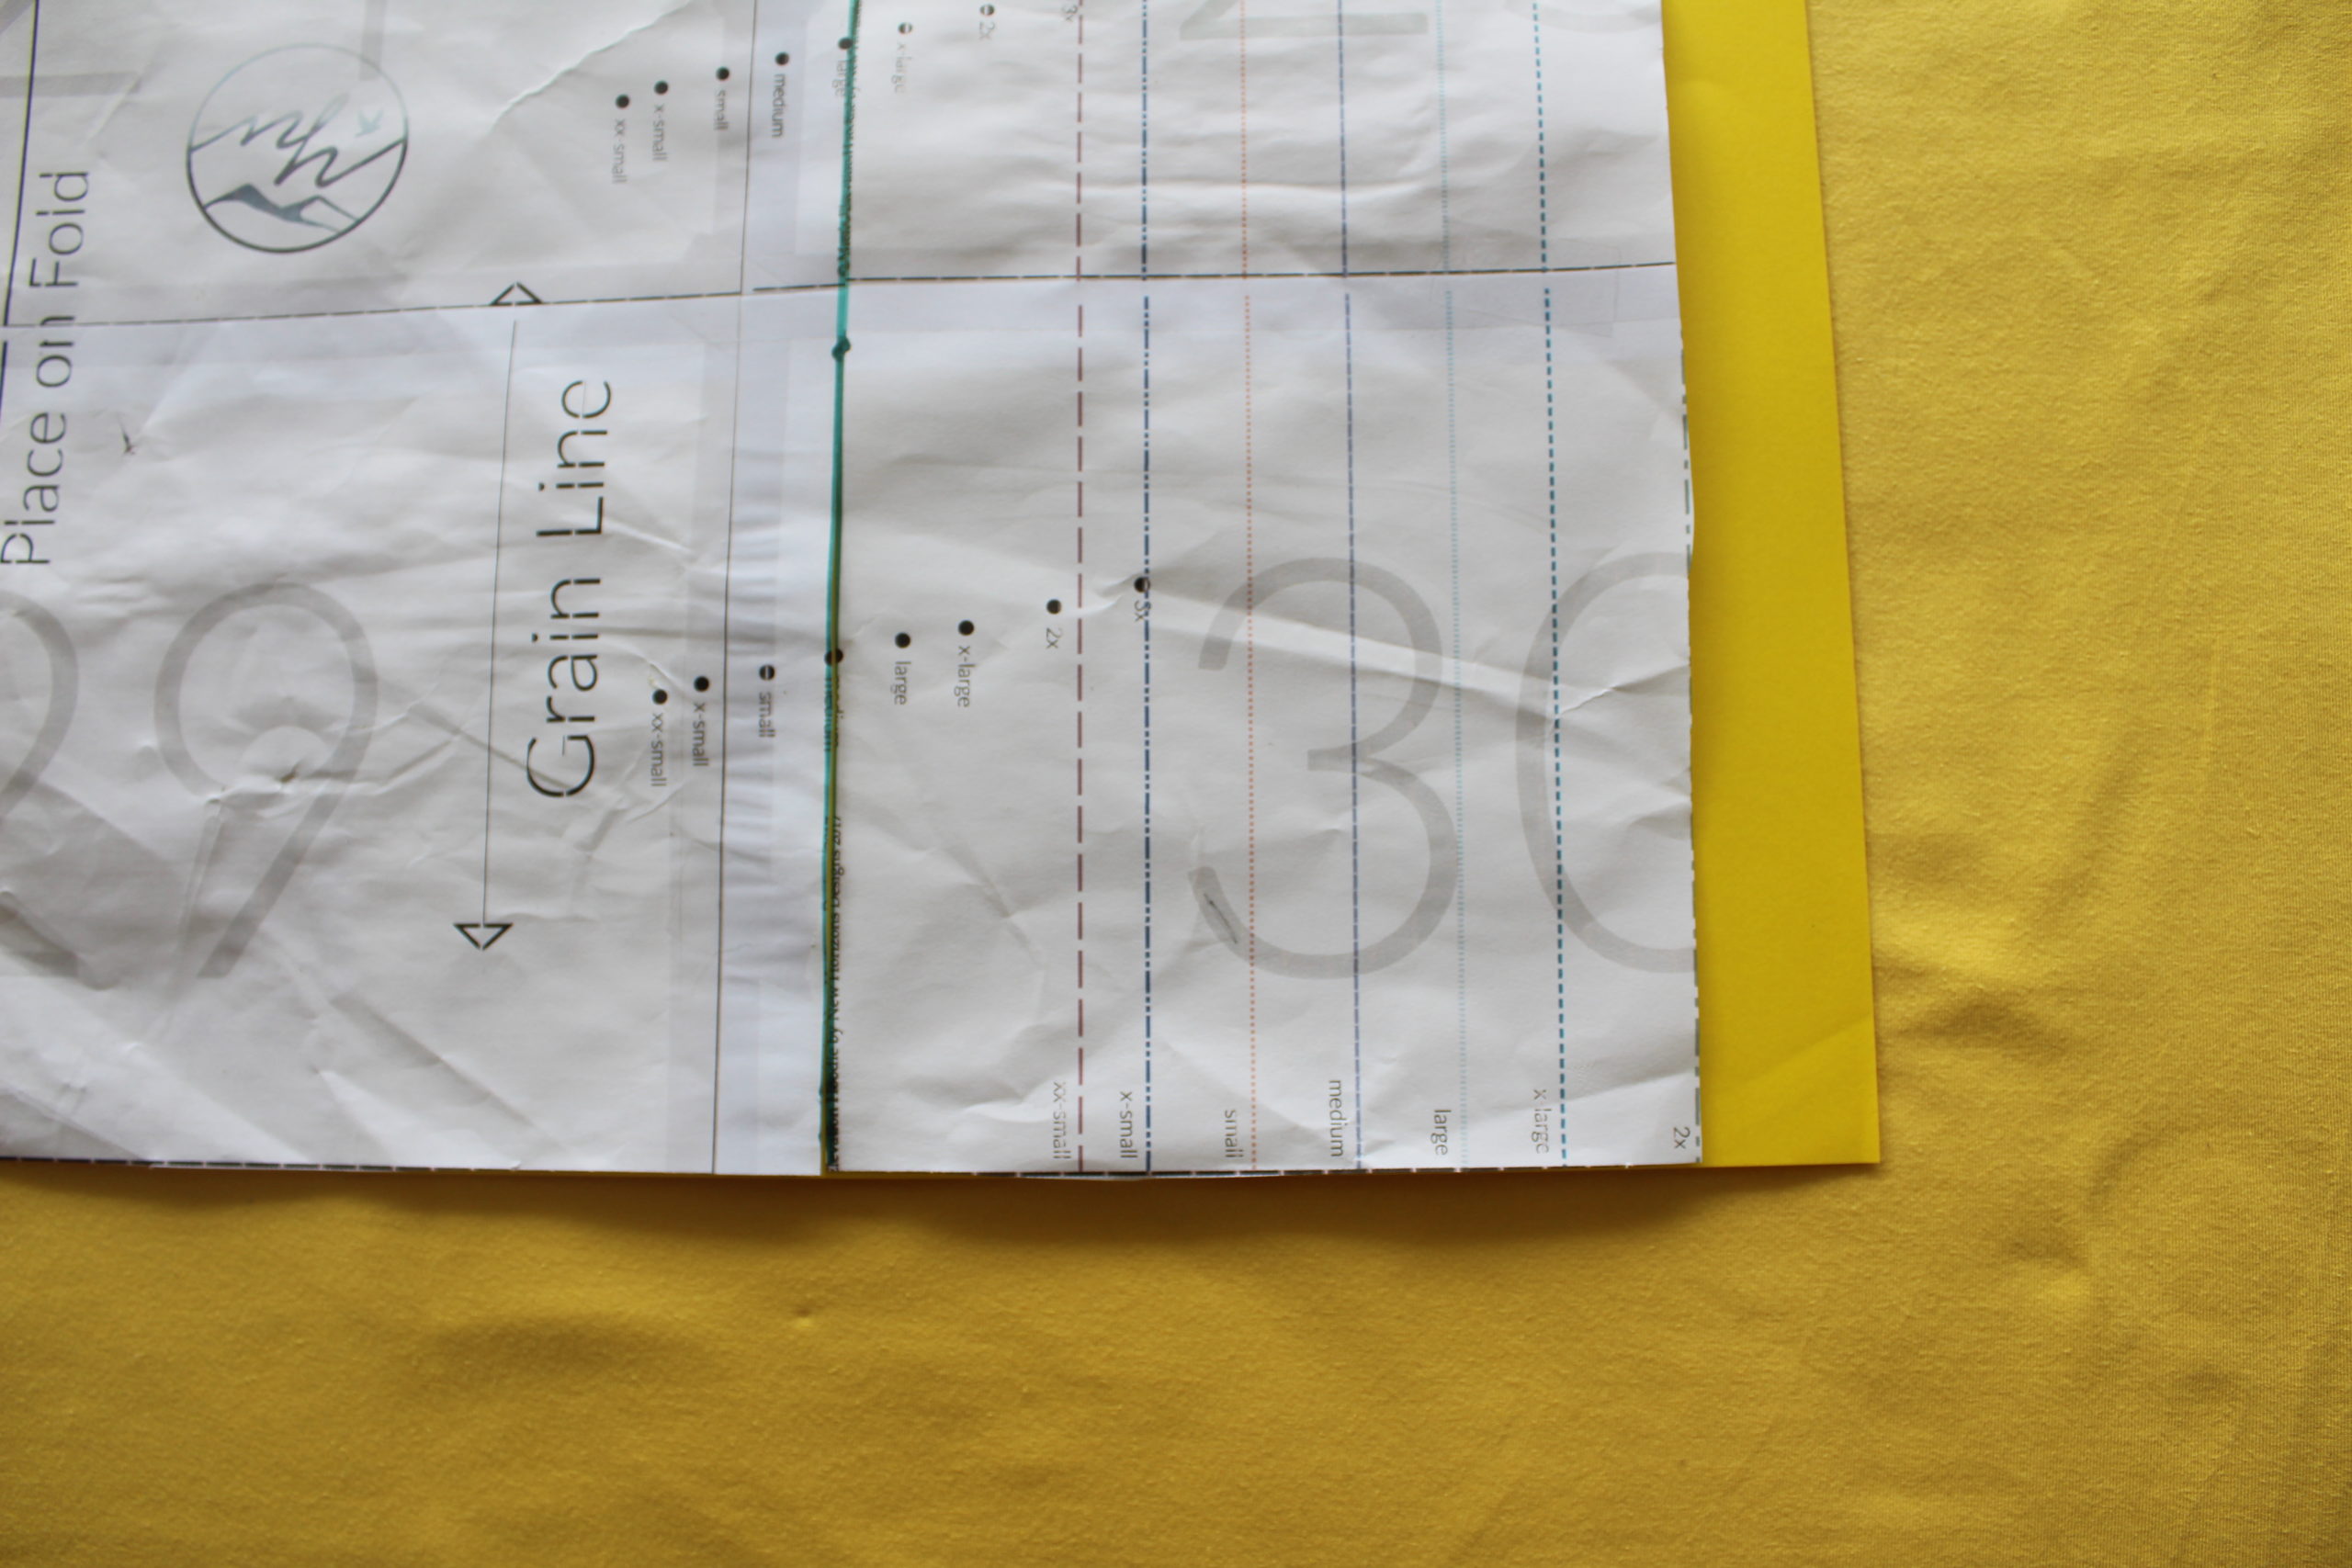
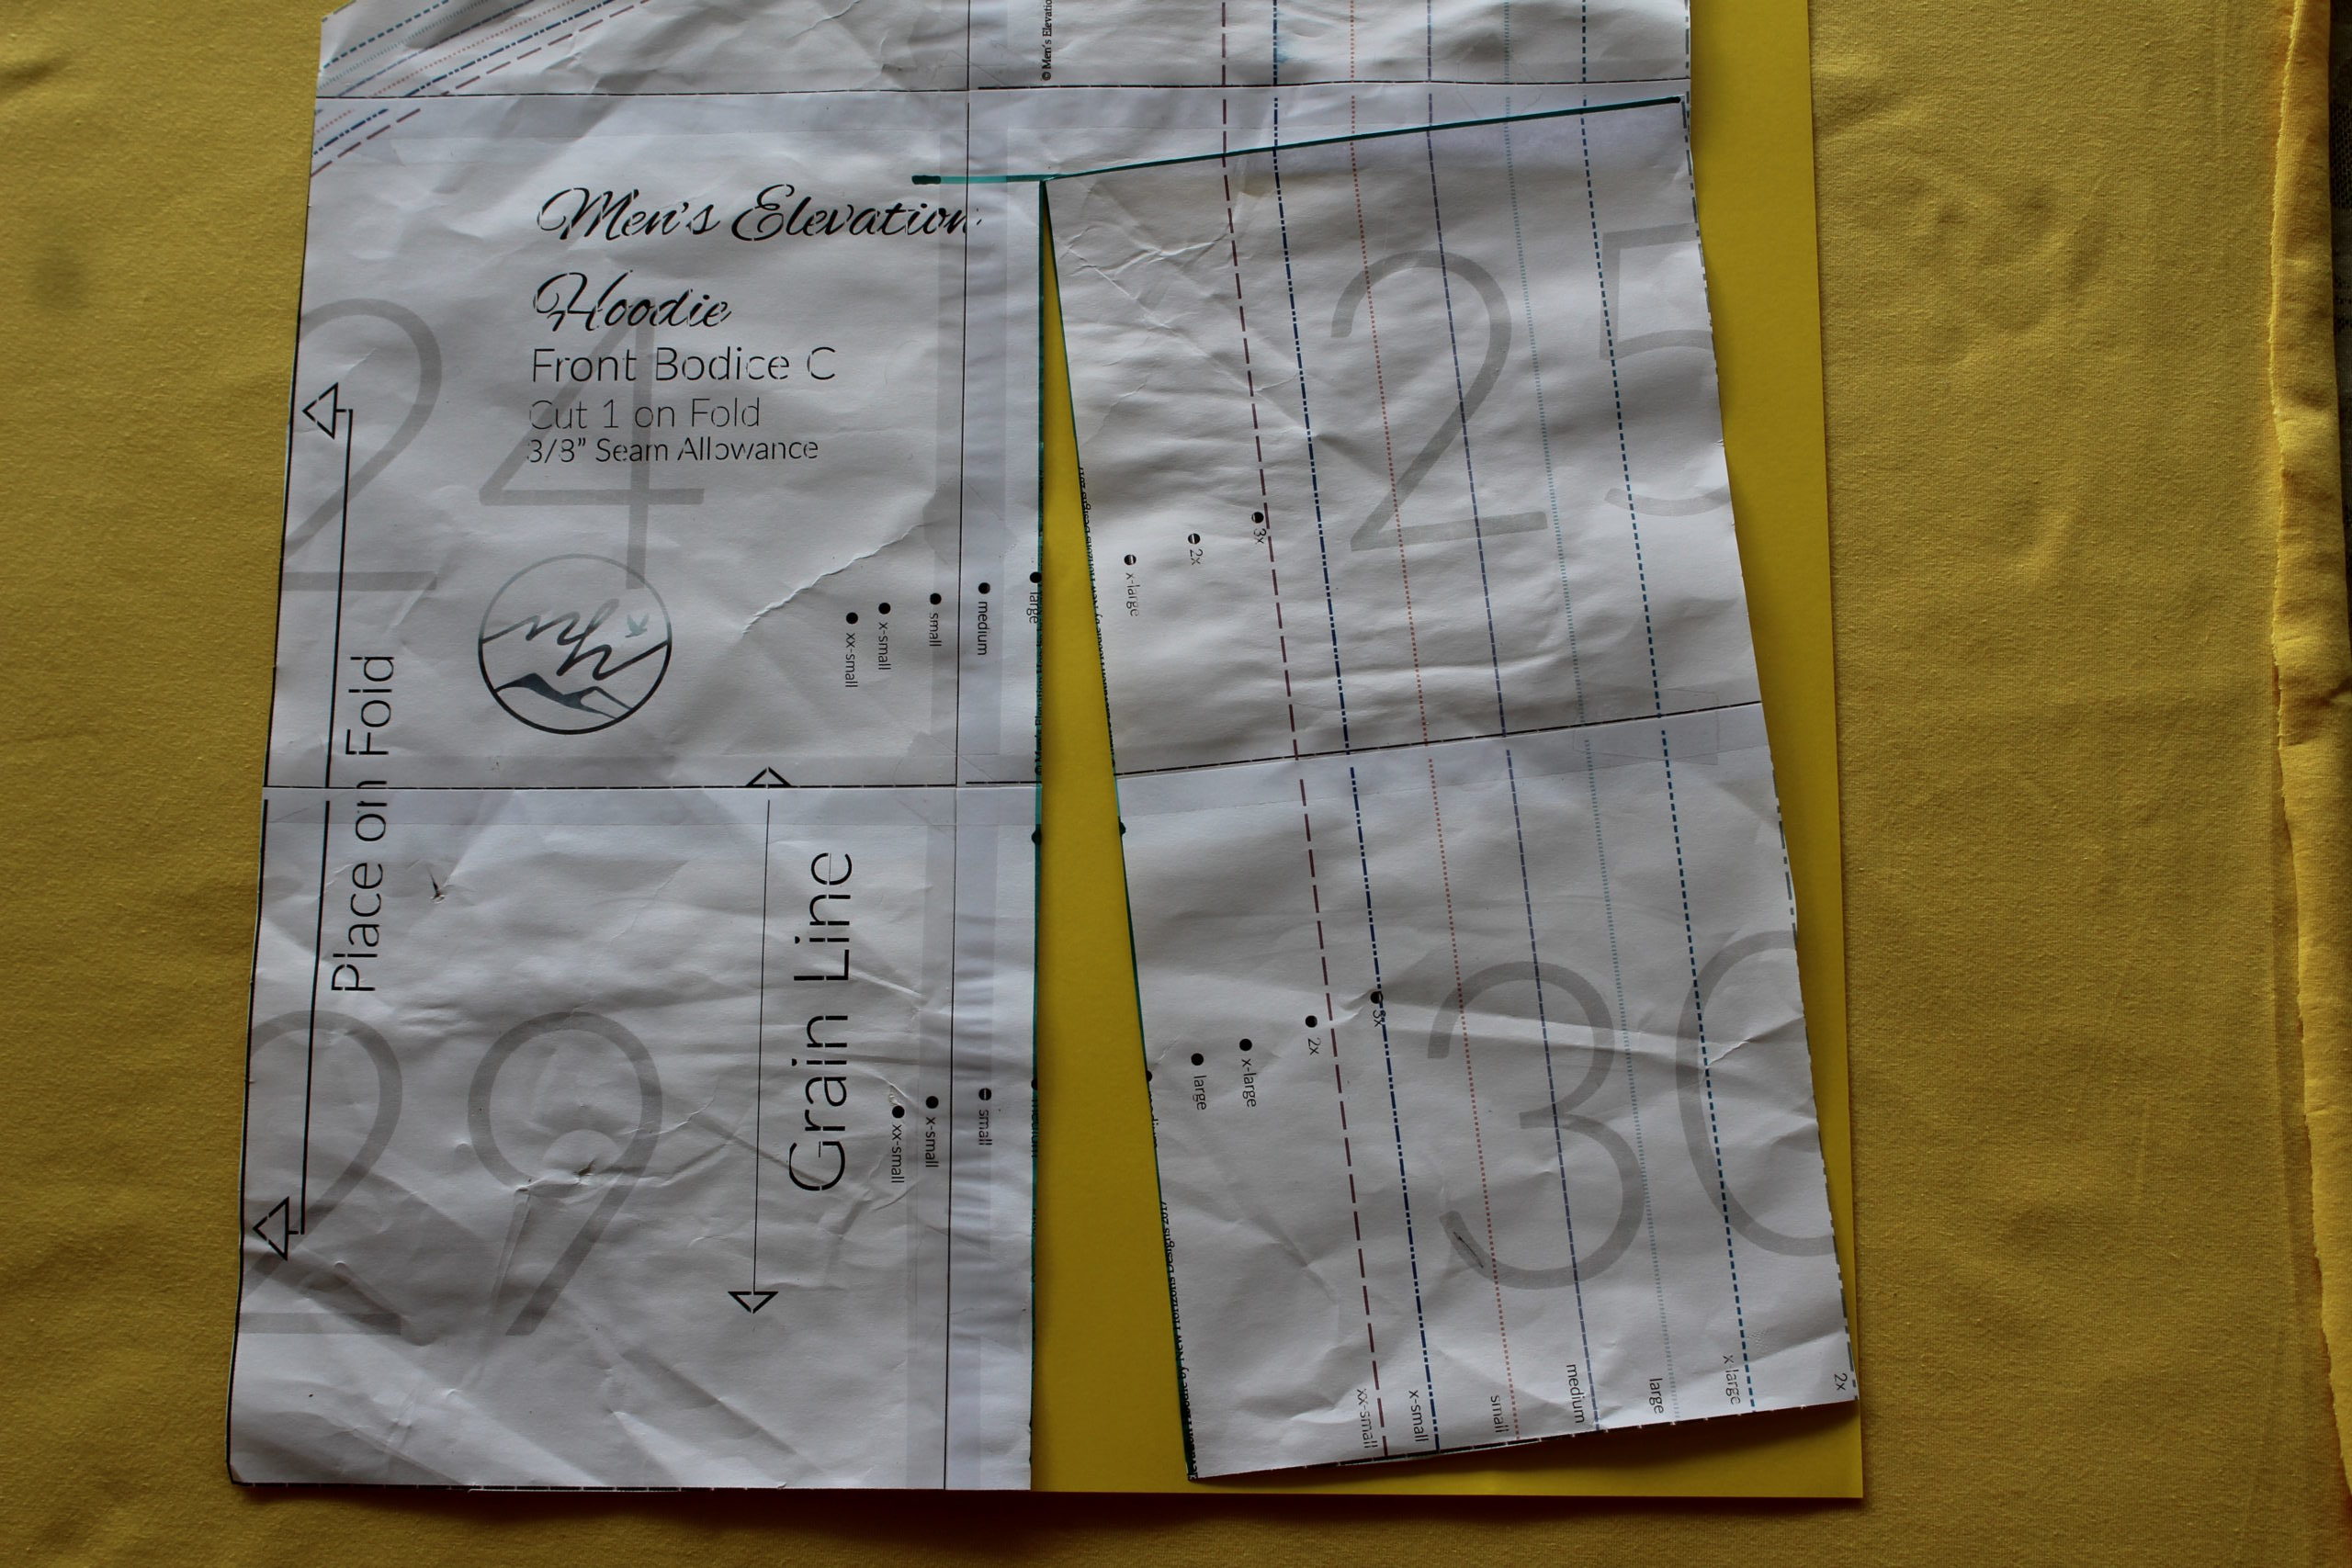
6.Gently ease this cut section outward (towards the side seam) to gradually increase the amount of ease in the midsection. You will see the space in the midsection of the pattern piece start to widen. Tape this cut section down with either freezer paper or butcher paper to create your new pattern piece.
We are now going to smooth out the lines and lengthen the displaced side seam.
7) A.Using the length of the unaltered pattern piece, draw a straight line across to the sew (pivoted piece) to square off the hemline. (If you used the flat edge of the freezer paper, you just need to extend this straight onwards)
B. Smooth the line of the side seam

8.You will need to alter the length of your front bottom binding. I calculated the length of my front pattern hem and multiplied by 0.8 to get my new front bottom binding length. The length of your back binding will remain the same as no changes were made to that pattern piece.
Note: For gentlemen with especially round bellies, additional length may be required. To do this, in addition to the full belly adjustment, add extra length to the hem of the pattern piece to allow for more coverage of the midsection area.
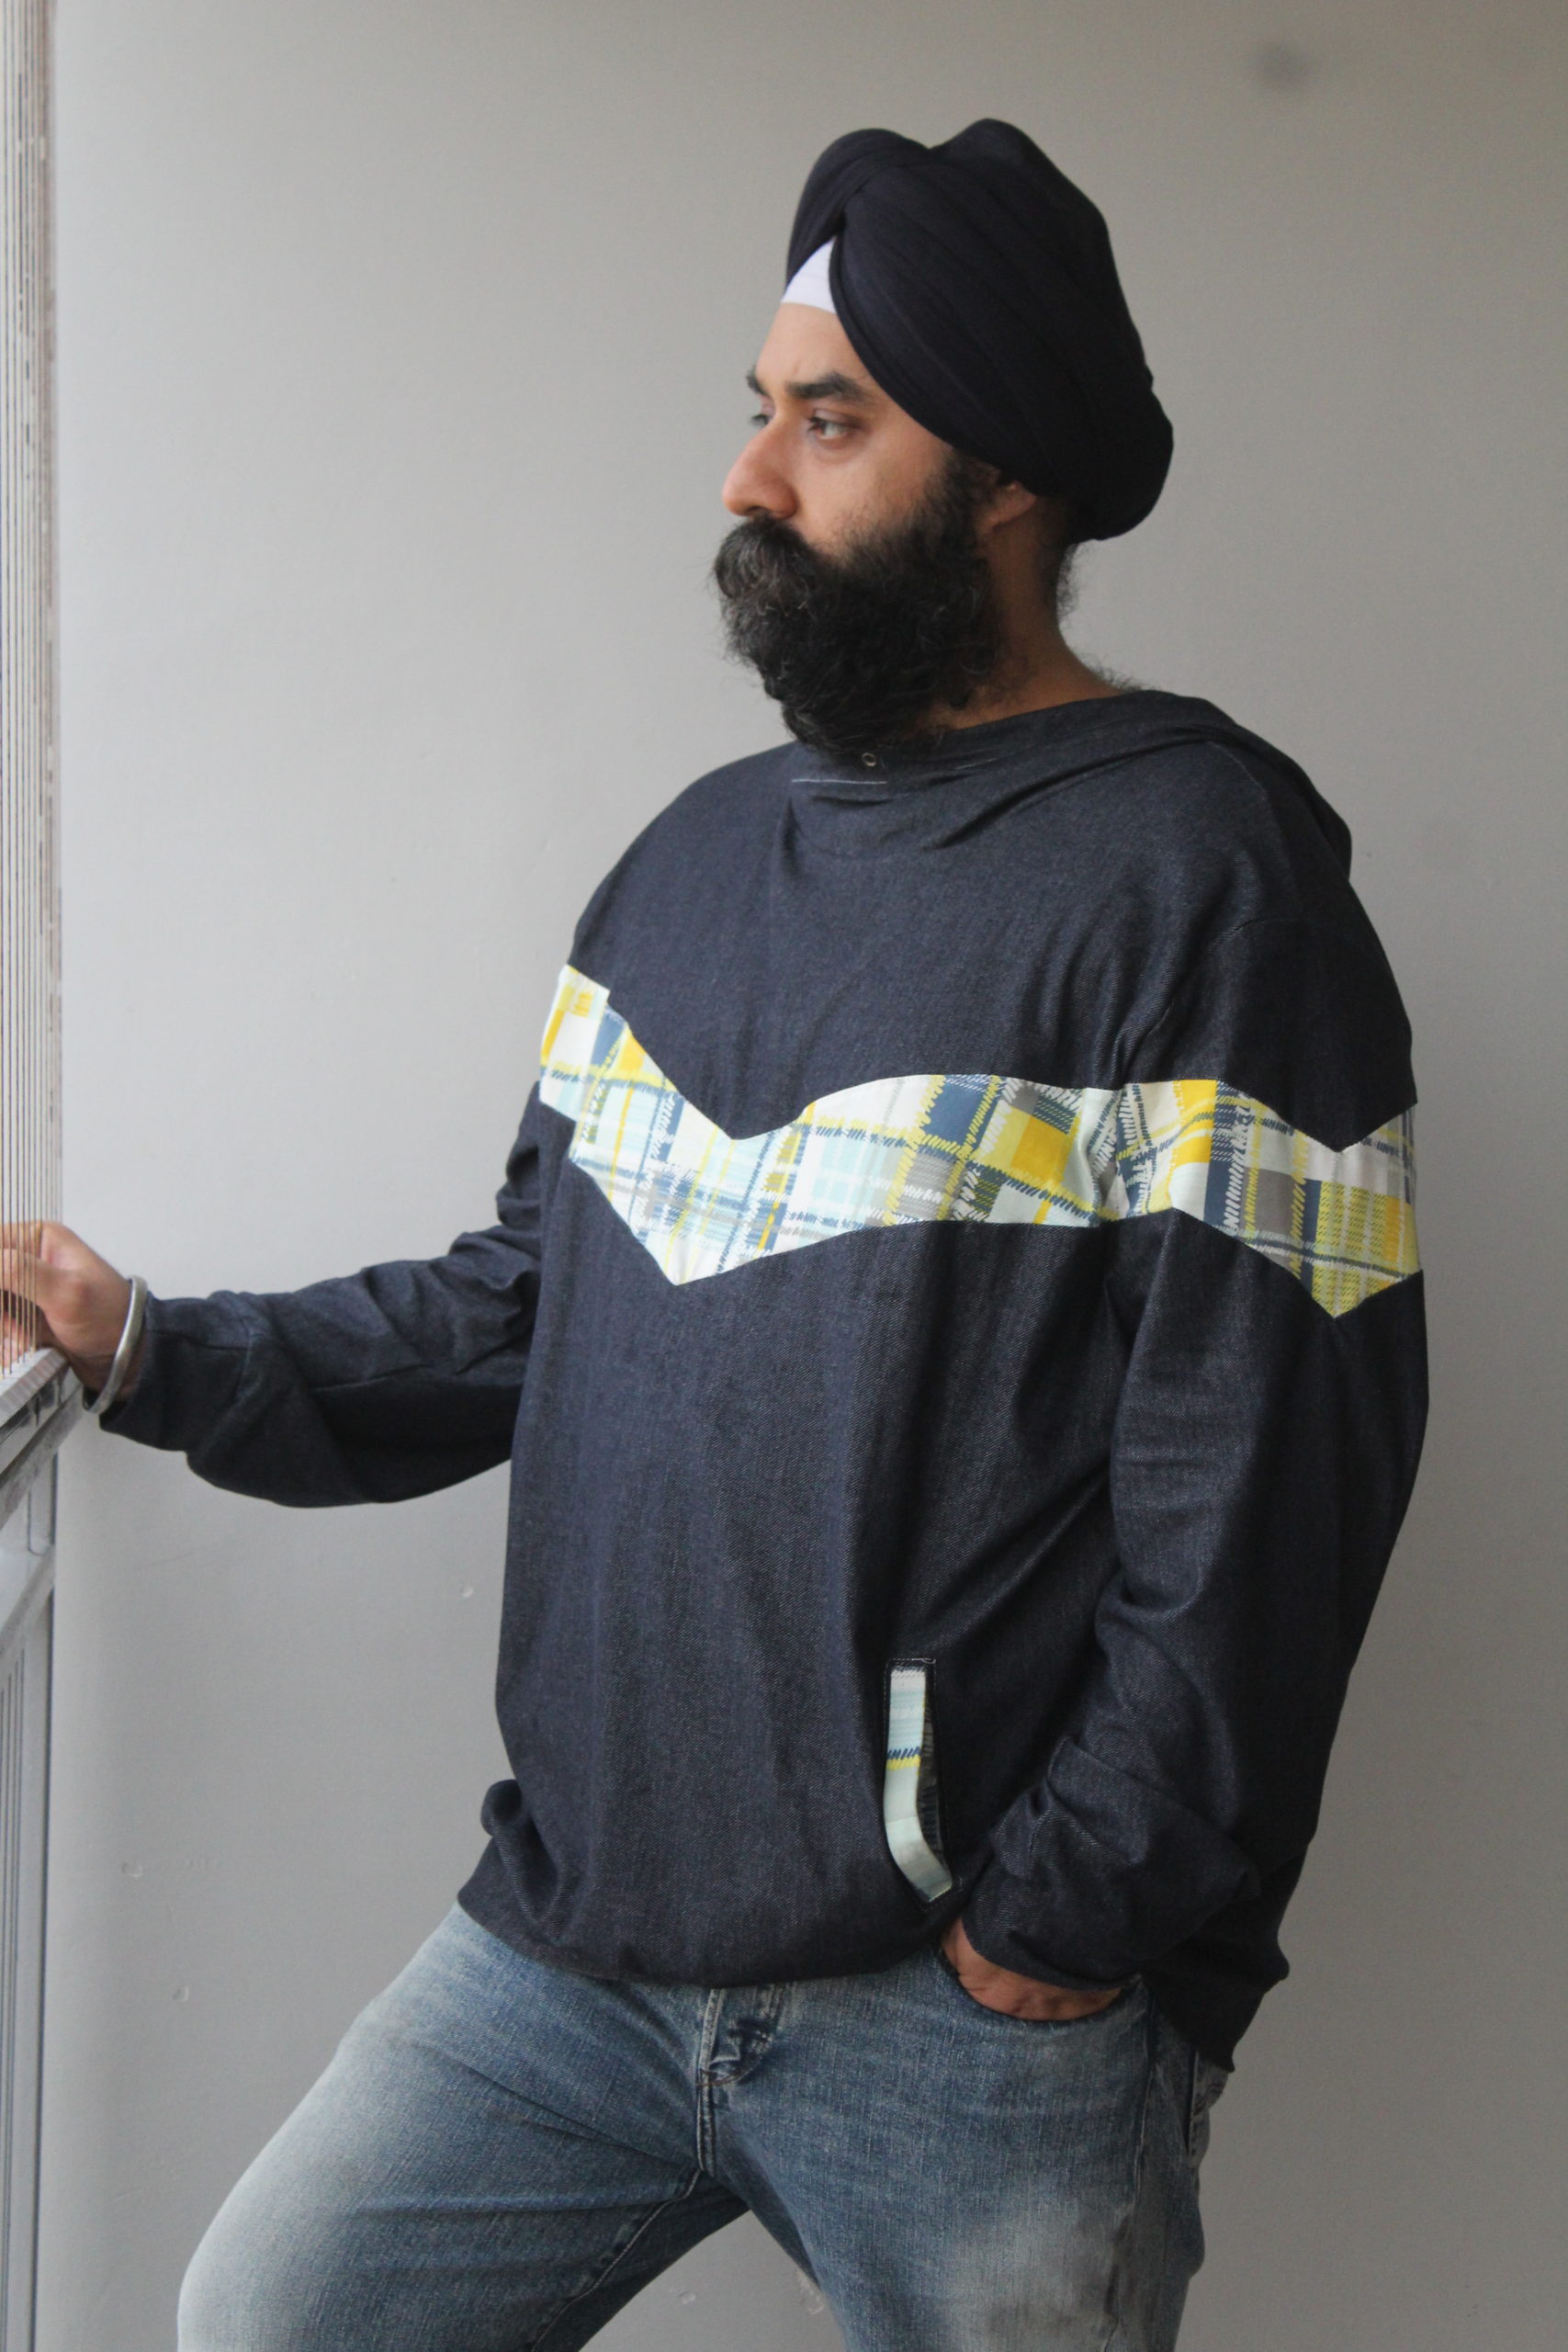
As promised, a quick and painless way to ensure a better fit for your gentleman. Now he can enjoy a better fitting garment <3
Finished product!