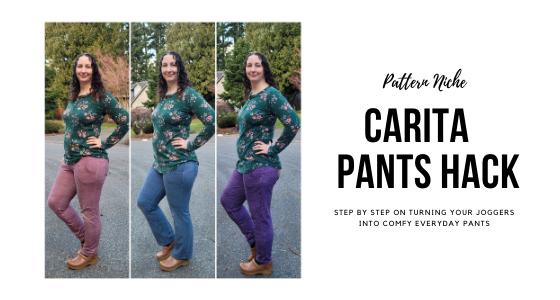
Darcy, from SewBeeloved, is with us today showing her Portlander Capri Hack with three different looks!
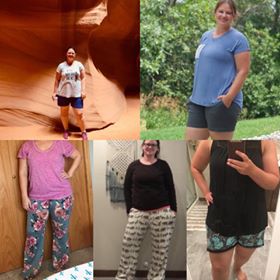
The Portlanders have been a favorite pattern of mine for a long time. I have made the pants, shorts and even my own version, capri! A collage to prove my Portlander love!
I loved the shorts and pants version so much that I knew I needed to make a capri version. Since the Portlanders flare out after the knee I was unsure if I should taper in or if I should just cut off at the length I wanted the capris to hit. I decided to experiment with the easiest method first. This tutorial will explain the very basic method to make your Portlander Pants into capris. Make sure to read to the end, I will show you a few different finishes for completely different looks.
Fabric Choices:
Since the Portlander Pants pattern requires 35% stretch a variety of fabrics can be used. All of my fabric came from Surge Fabric Shop.
Fabrics I have used for Portlanders:
Several different types of french terry, ponte, sweatshirt knit, stretch gauze and liverpool. I have not used it but know that it would also work: cotton lycra, variety of athletic fabrics, brushed poly and bamboo spandex. If the stretch % is not sufficient for the waist band, either make the waistband larger to accommodate the lack of stretch or choose a different fabric for the waistband that has enough stretch.
Portlander Capri Tutorial
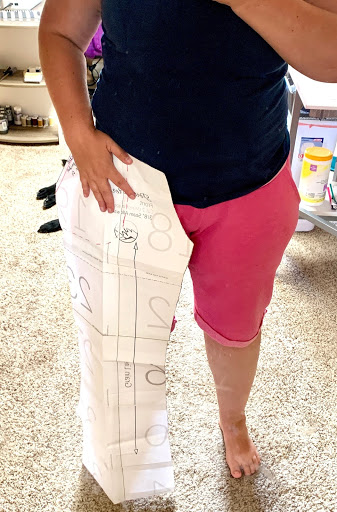
Step ONE:
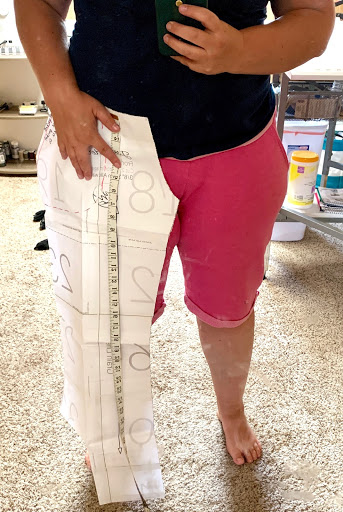
Hold the pattern piece up to your body, matching up the pattern crotch curve with your actual crotch curve.
Step TWO:
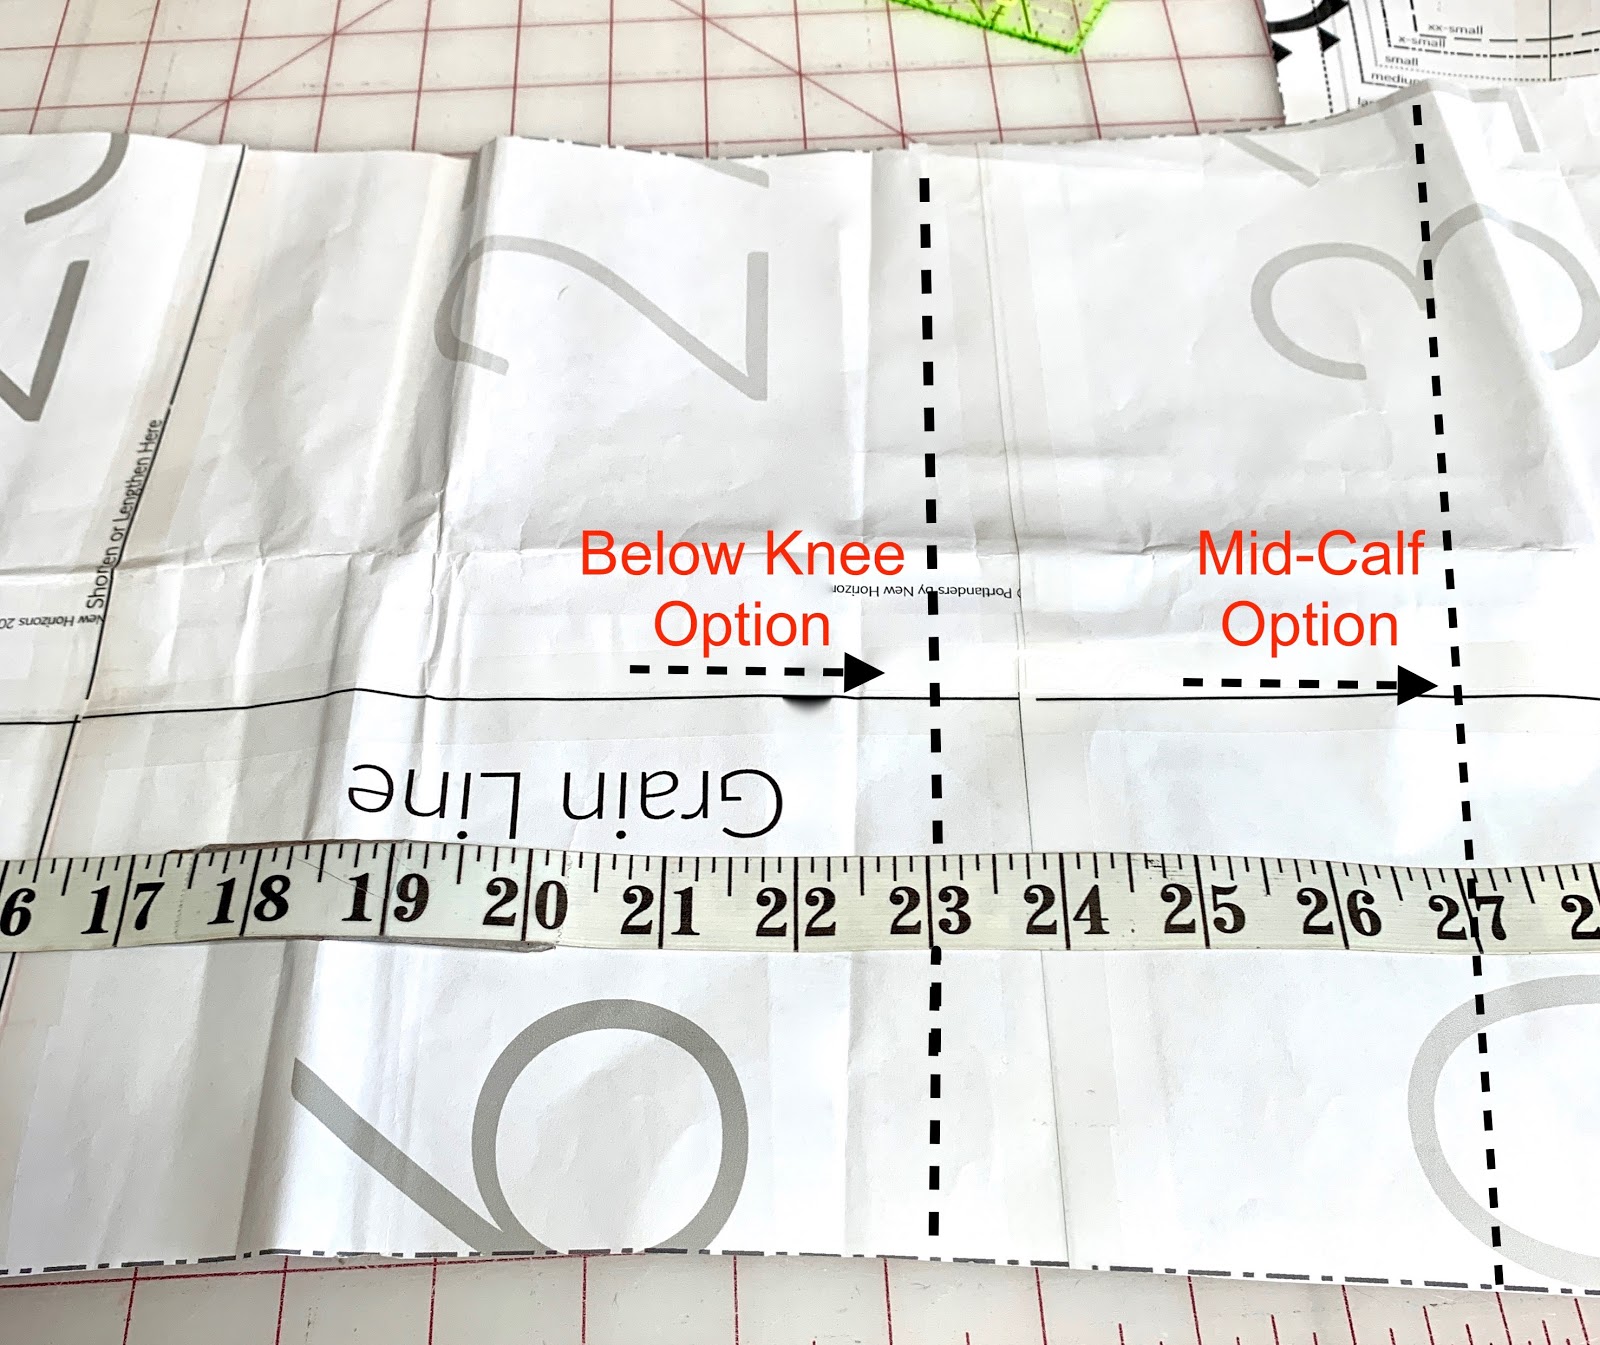
Use either a tape measure, yardstick or eyeball it and decide the length you want, taking the measurement from the top of the pants. I am 5’5” with a 28.5’ inseam. My measurements will most likely be different from yours, so make sure not to skip this step. For me, my preference was at 22” from the top of the pants, I then added 1” for the hem allowance, making it 23”. Remember, it is always better to make them too long than to cut too short.
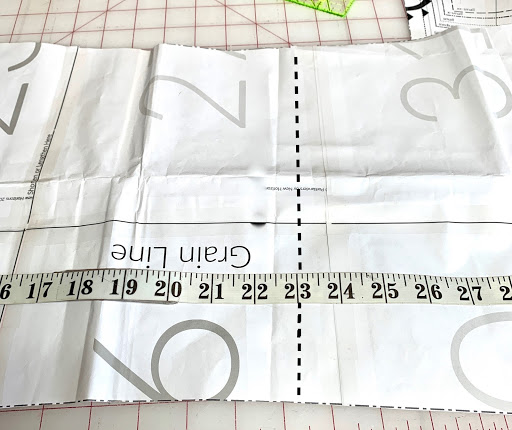
Step THREE:
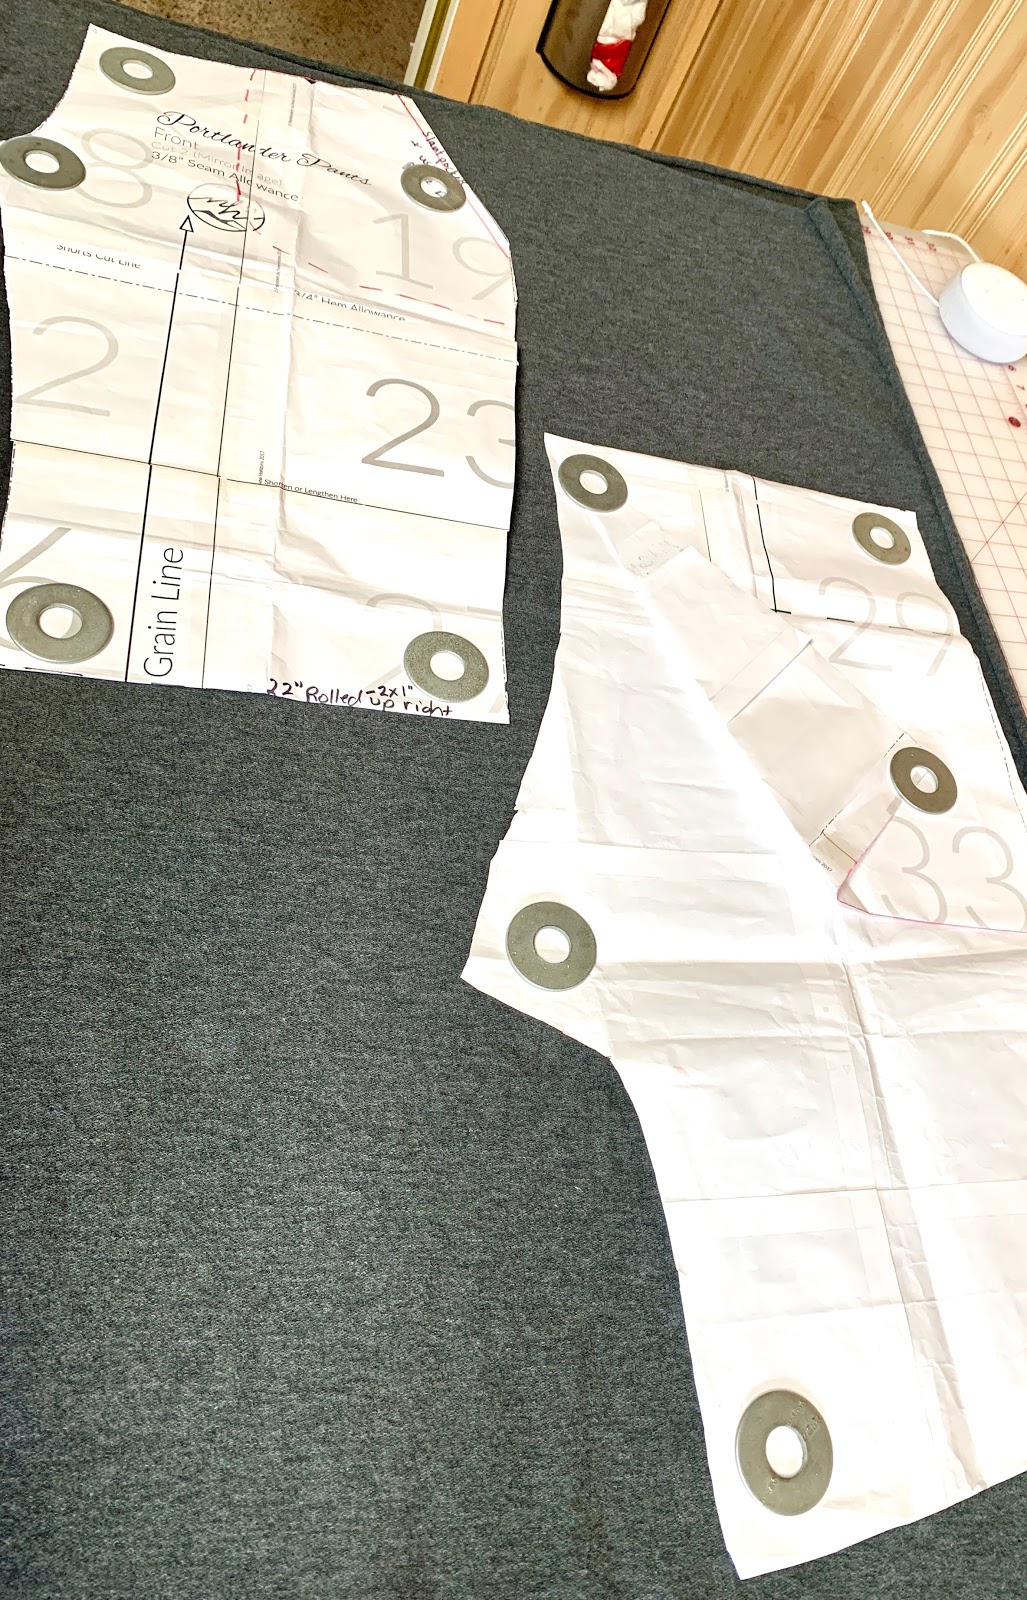
Once you have decided how long you want your capris to be, transfer those markings to your pattern piece. I have it labeled on the picture with a black dotted line.
Step FOUR:
Overlap the front and back pattern pieces (shown with the dotted black boxes). You will want your front pattern piece laying face up on top of the back pattern piece. You will transfer your markings to the back pattern pieces at the correct length. The front and back rises are different so we can’t just measure 23” on the back leg pattern piece.
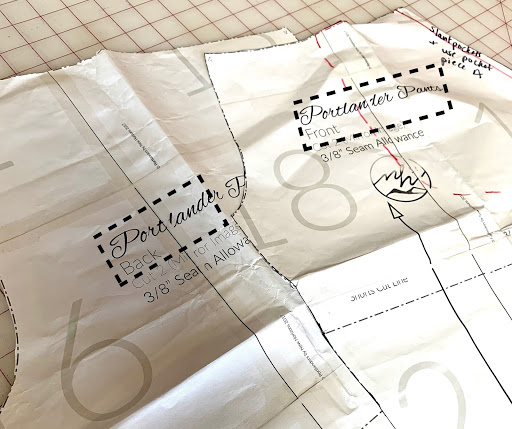
Step FIVE:
Since the rise is different from the front and back leg pieces, you need to make sure to line up the crotch curve on the front and back pieces. I have it indicated on the pictures with a black dotted arrow.
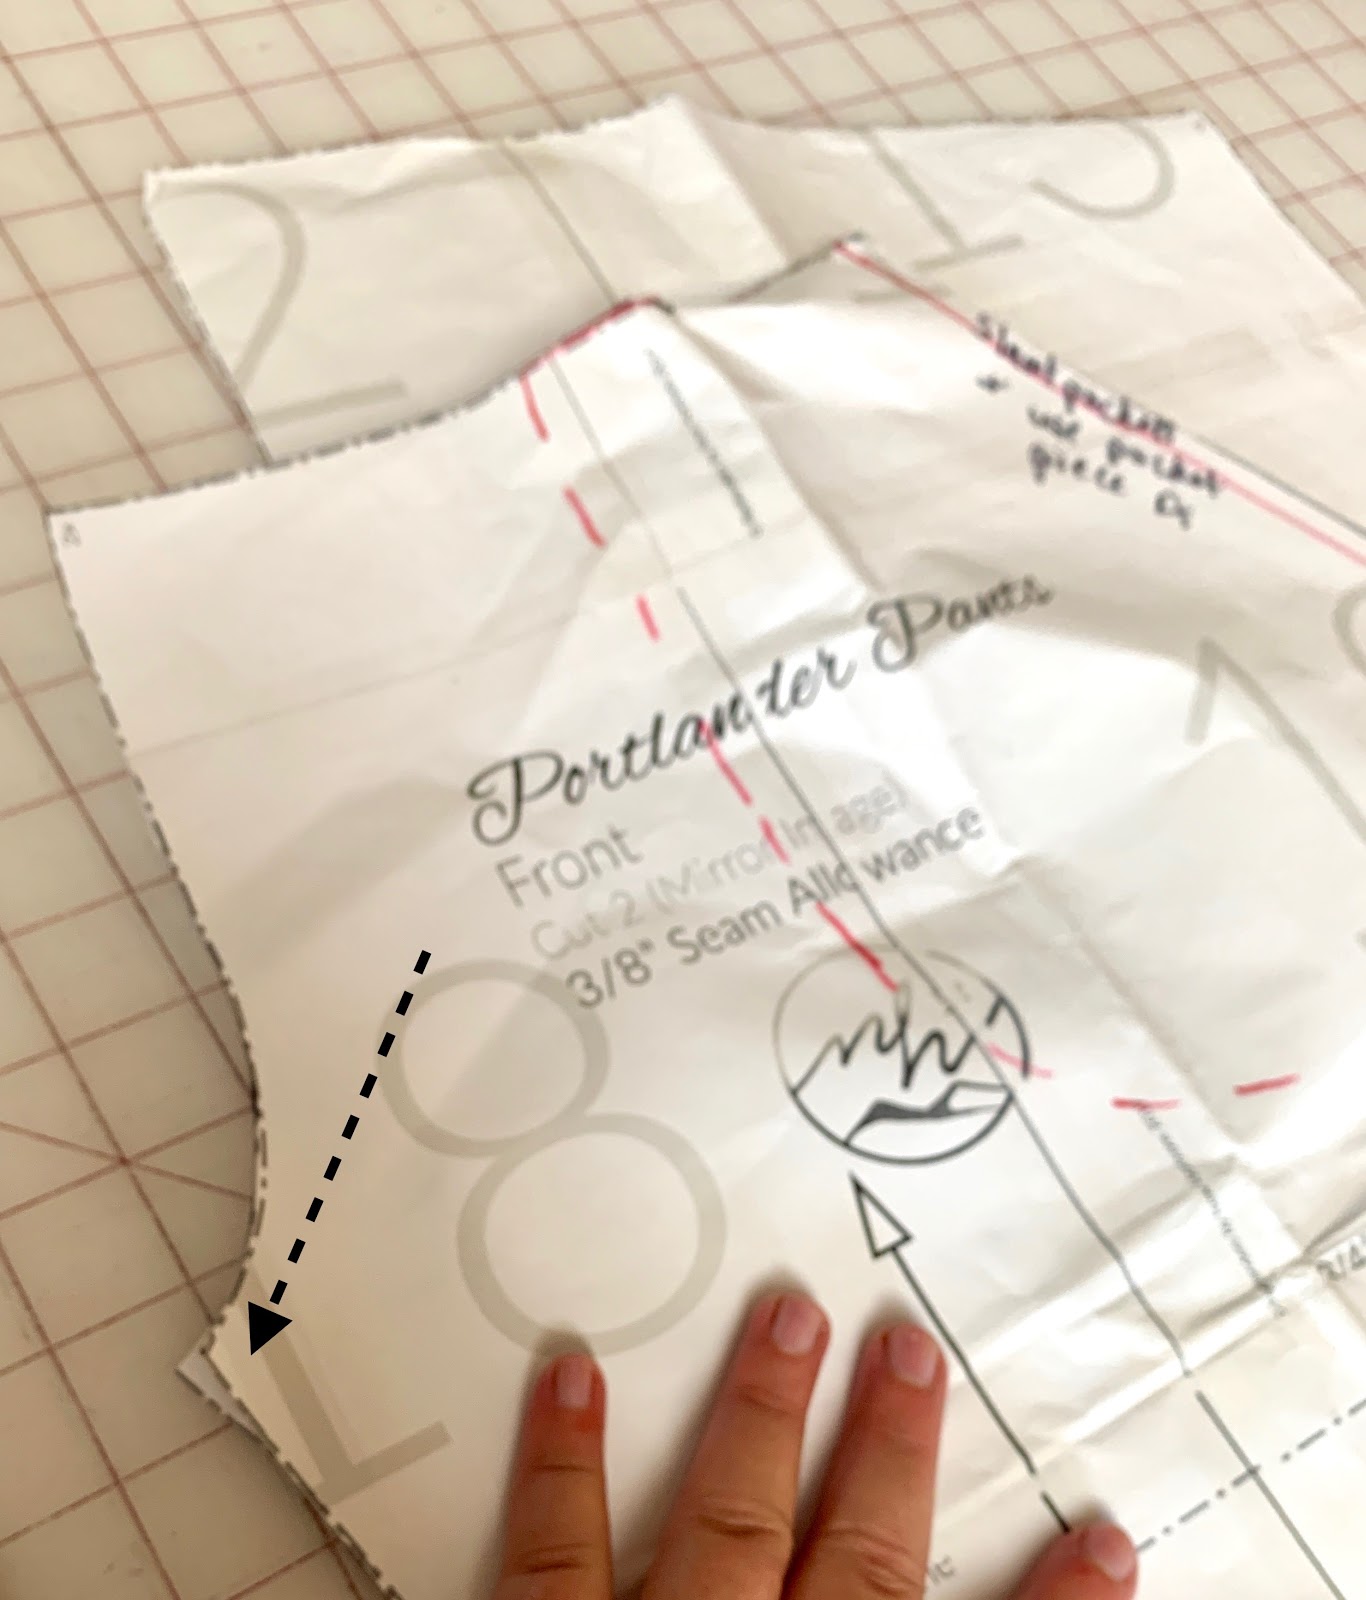
Step SIX:
Transfer the markings from the front pattern piece to the black pattern piece. I have it pointed it out with a black dotted arrow.

Step SEVEN:
Cut your fabric. Since I still use my Portlander pattern for pants as well I fold the pattern piece up. I diagonal fold as if I were wrapping a present so I don’t accidentally run my rotary blade over any paper. To save on fabric I flip my back leg pattern piece face down so I can save as much fabric as possible. If you’re plus size like me, you’ll most definitely want to do this as well.
Step EIGHT:
Sew your pattern pieces together as per the Portlander instructions. It’s the exact same assembly, just at a shorter length. For this pair of capris I chose to do the slant pocket from this blog post: https://patternniche.com/portlander-pants-inset-pocket-tutorial/
Step NINE
To finish the capris, hem the Portlanders, making sure to fold under 1”. I prefer to finish the bottom of the pants with a serged edge before using my sewing machine to finish hemming. This is my preferred method: https://sewbeeloved.wordpress.com/2018/06/10/the-faux-coverstitch-tutorial/
Now let’s talk about some of my makes!
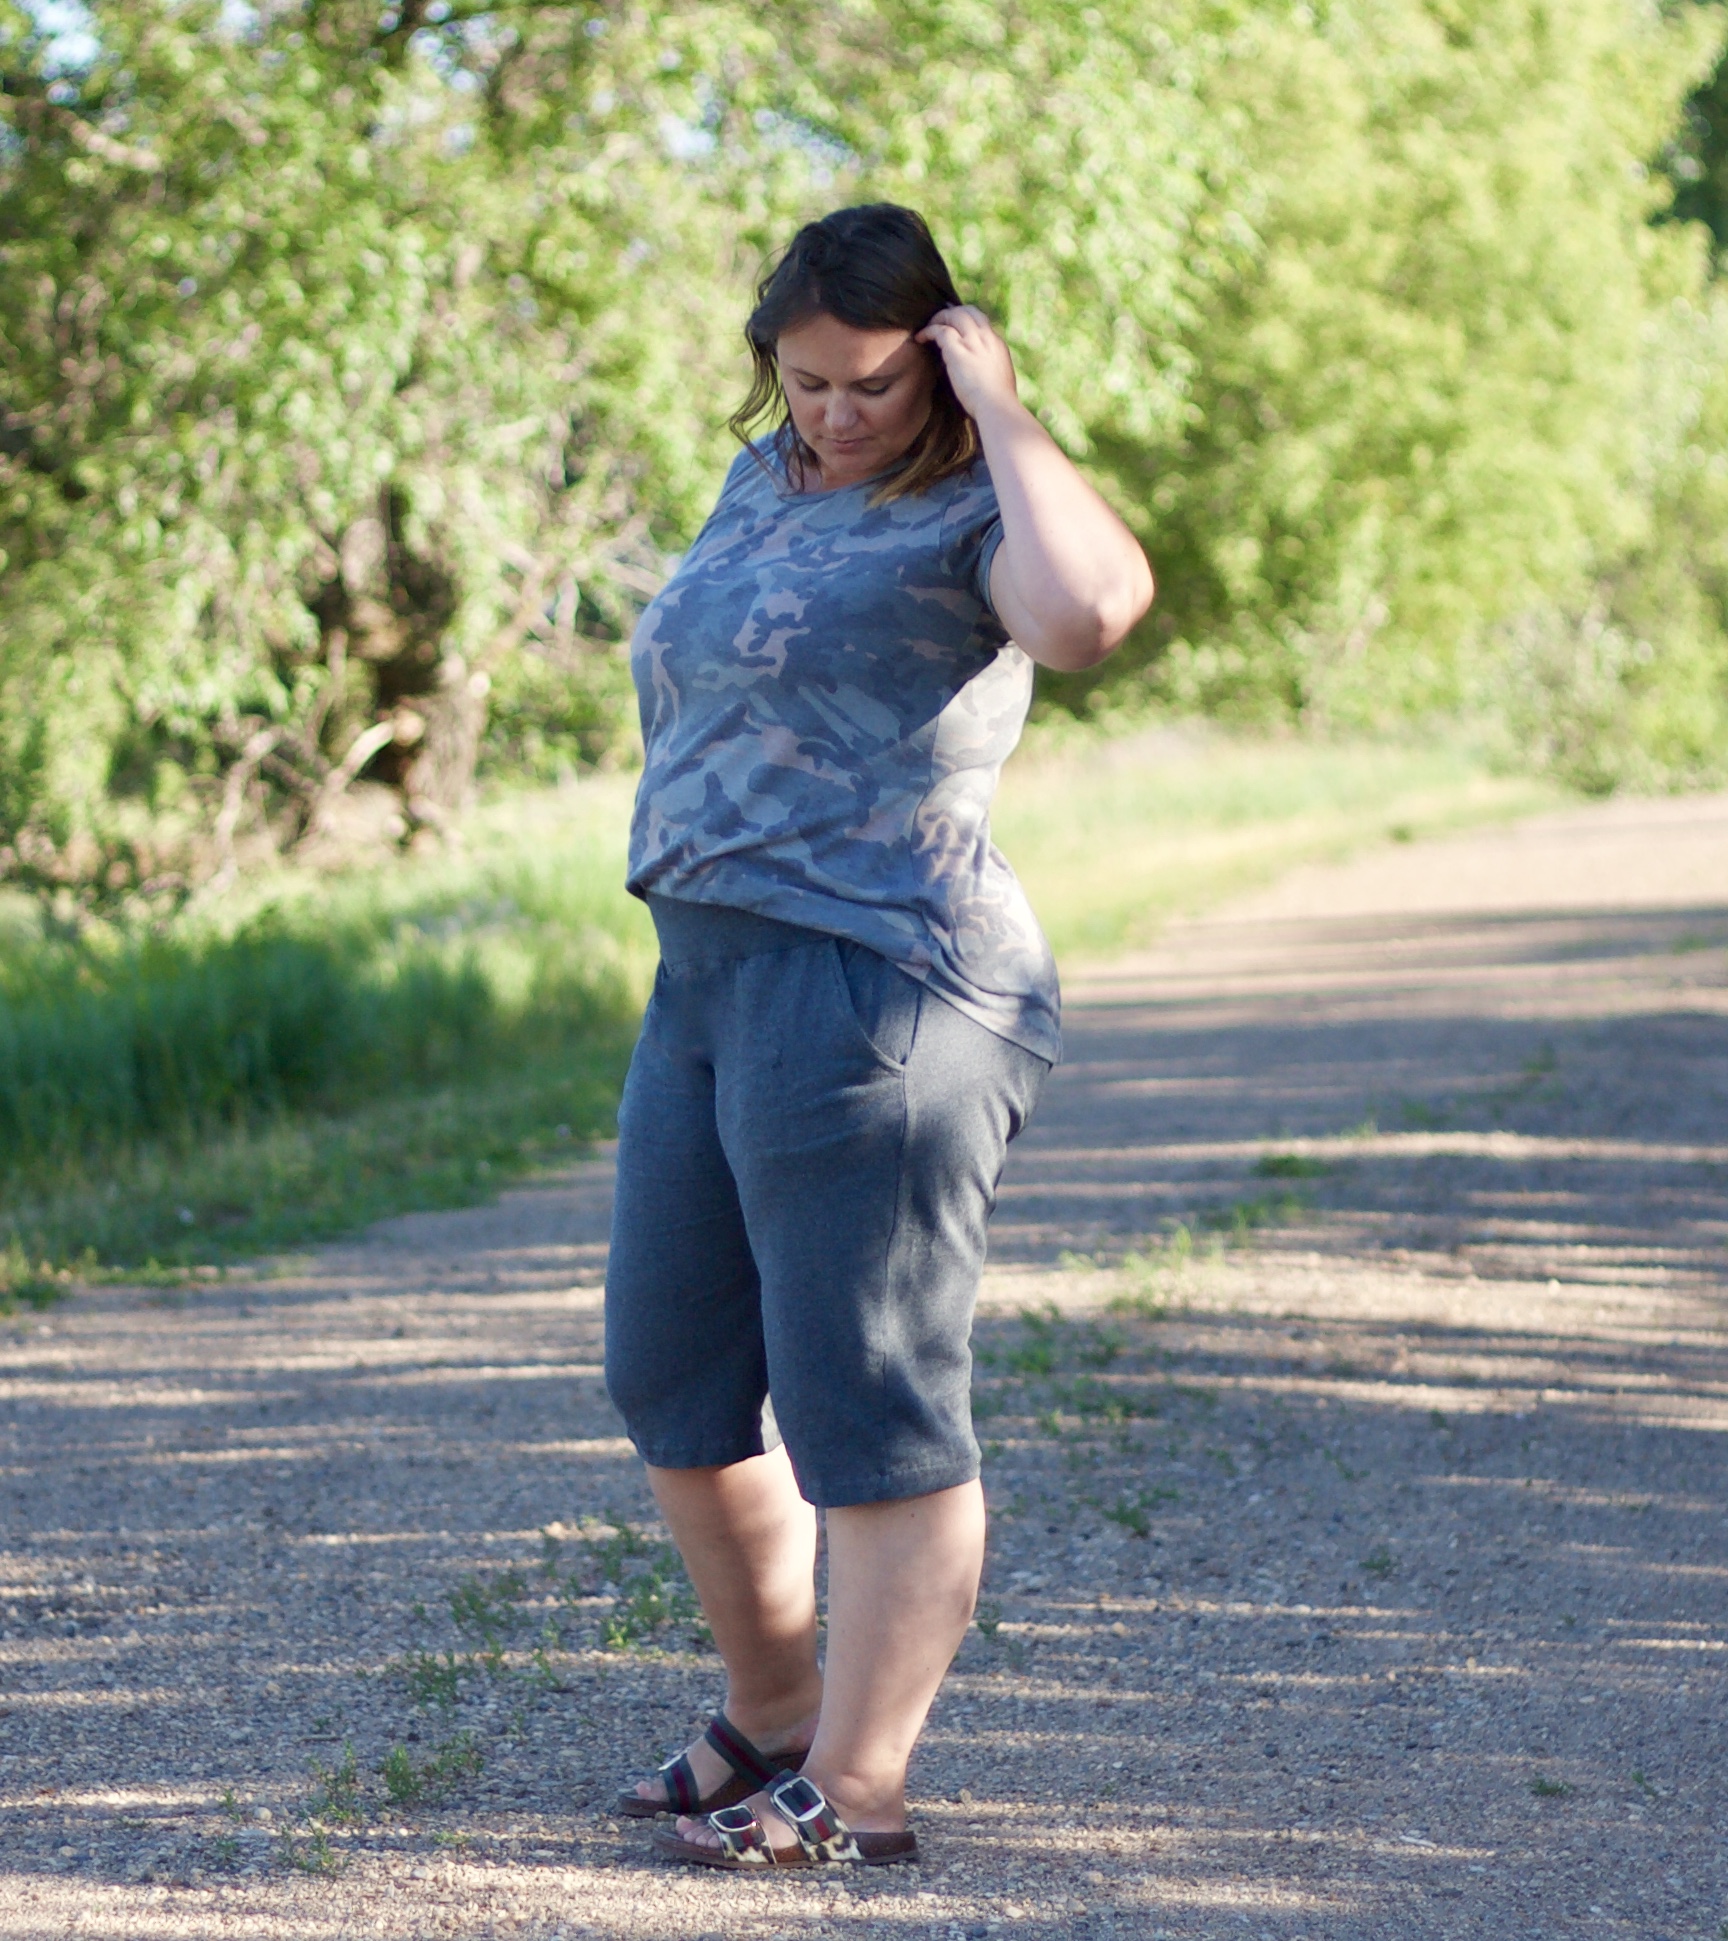
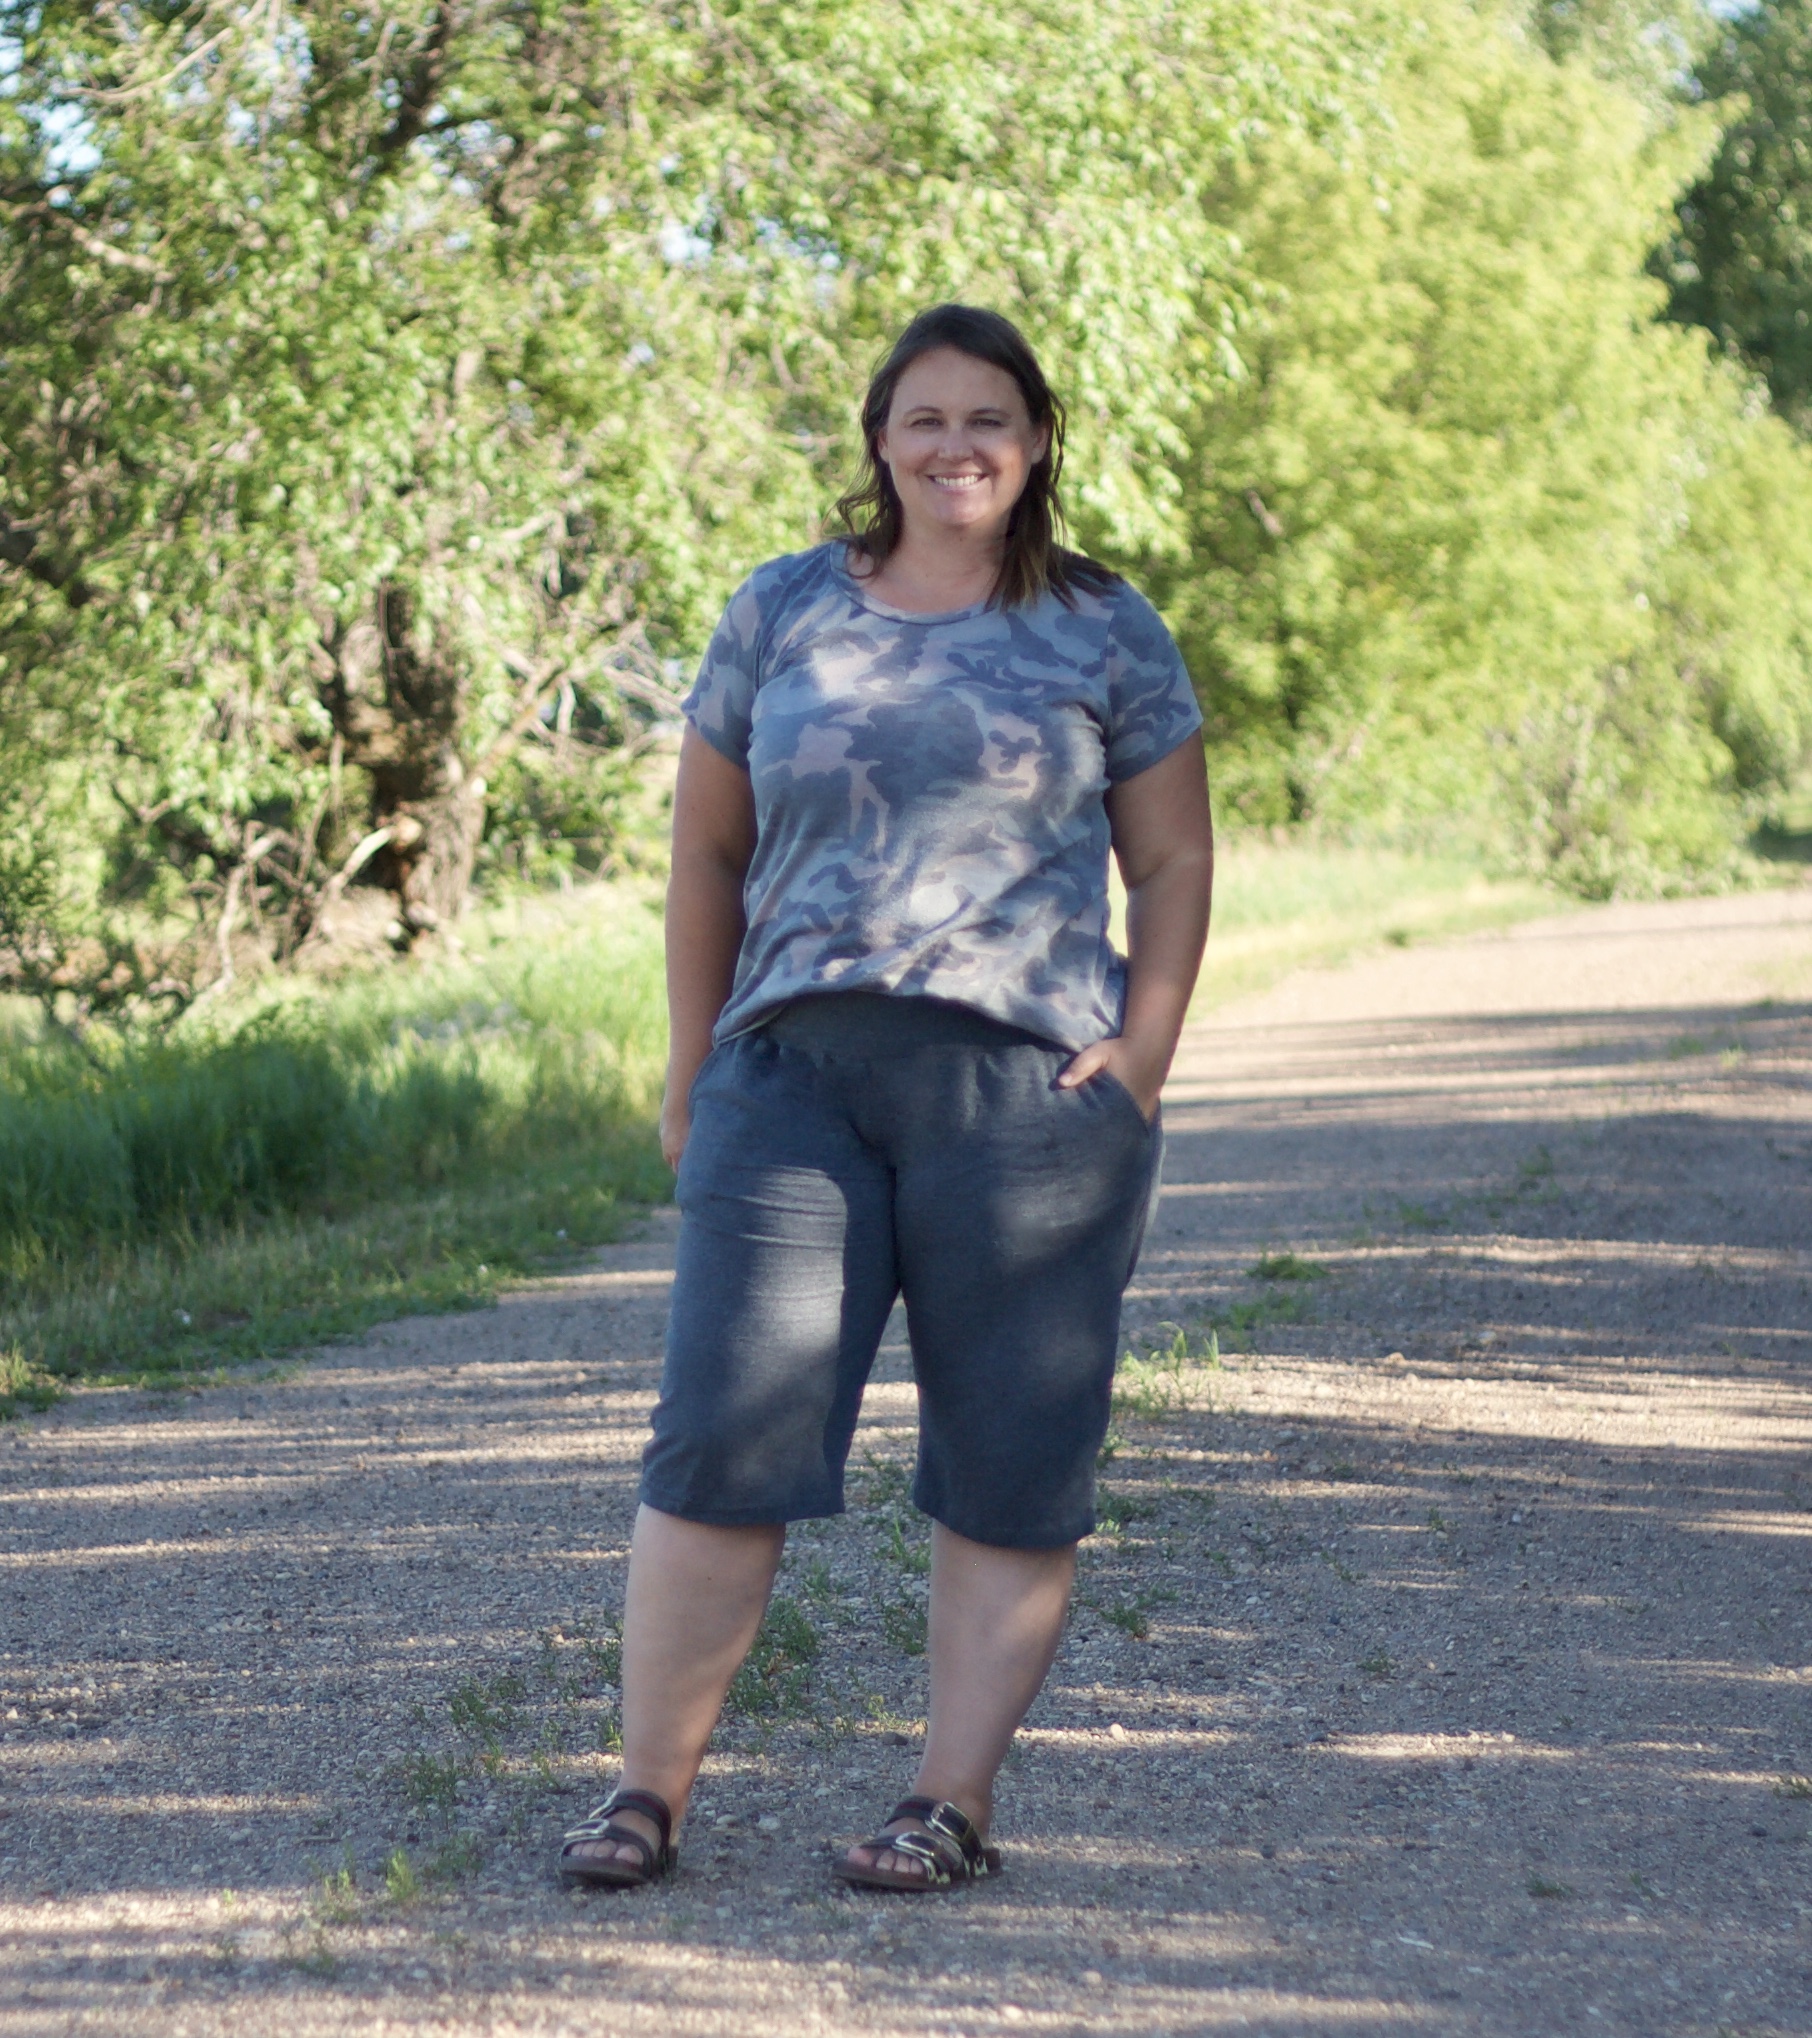
Charcoal Gray Capri Pants
The two-tone charcoal gray capris were made exactly as this tutorial. I made these from my all time favorite fabric, cotton spandex french terry. The color I ordered is currently sold out but there are still lots of other colors here.
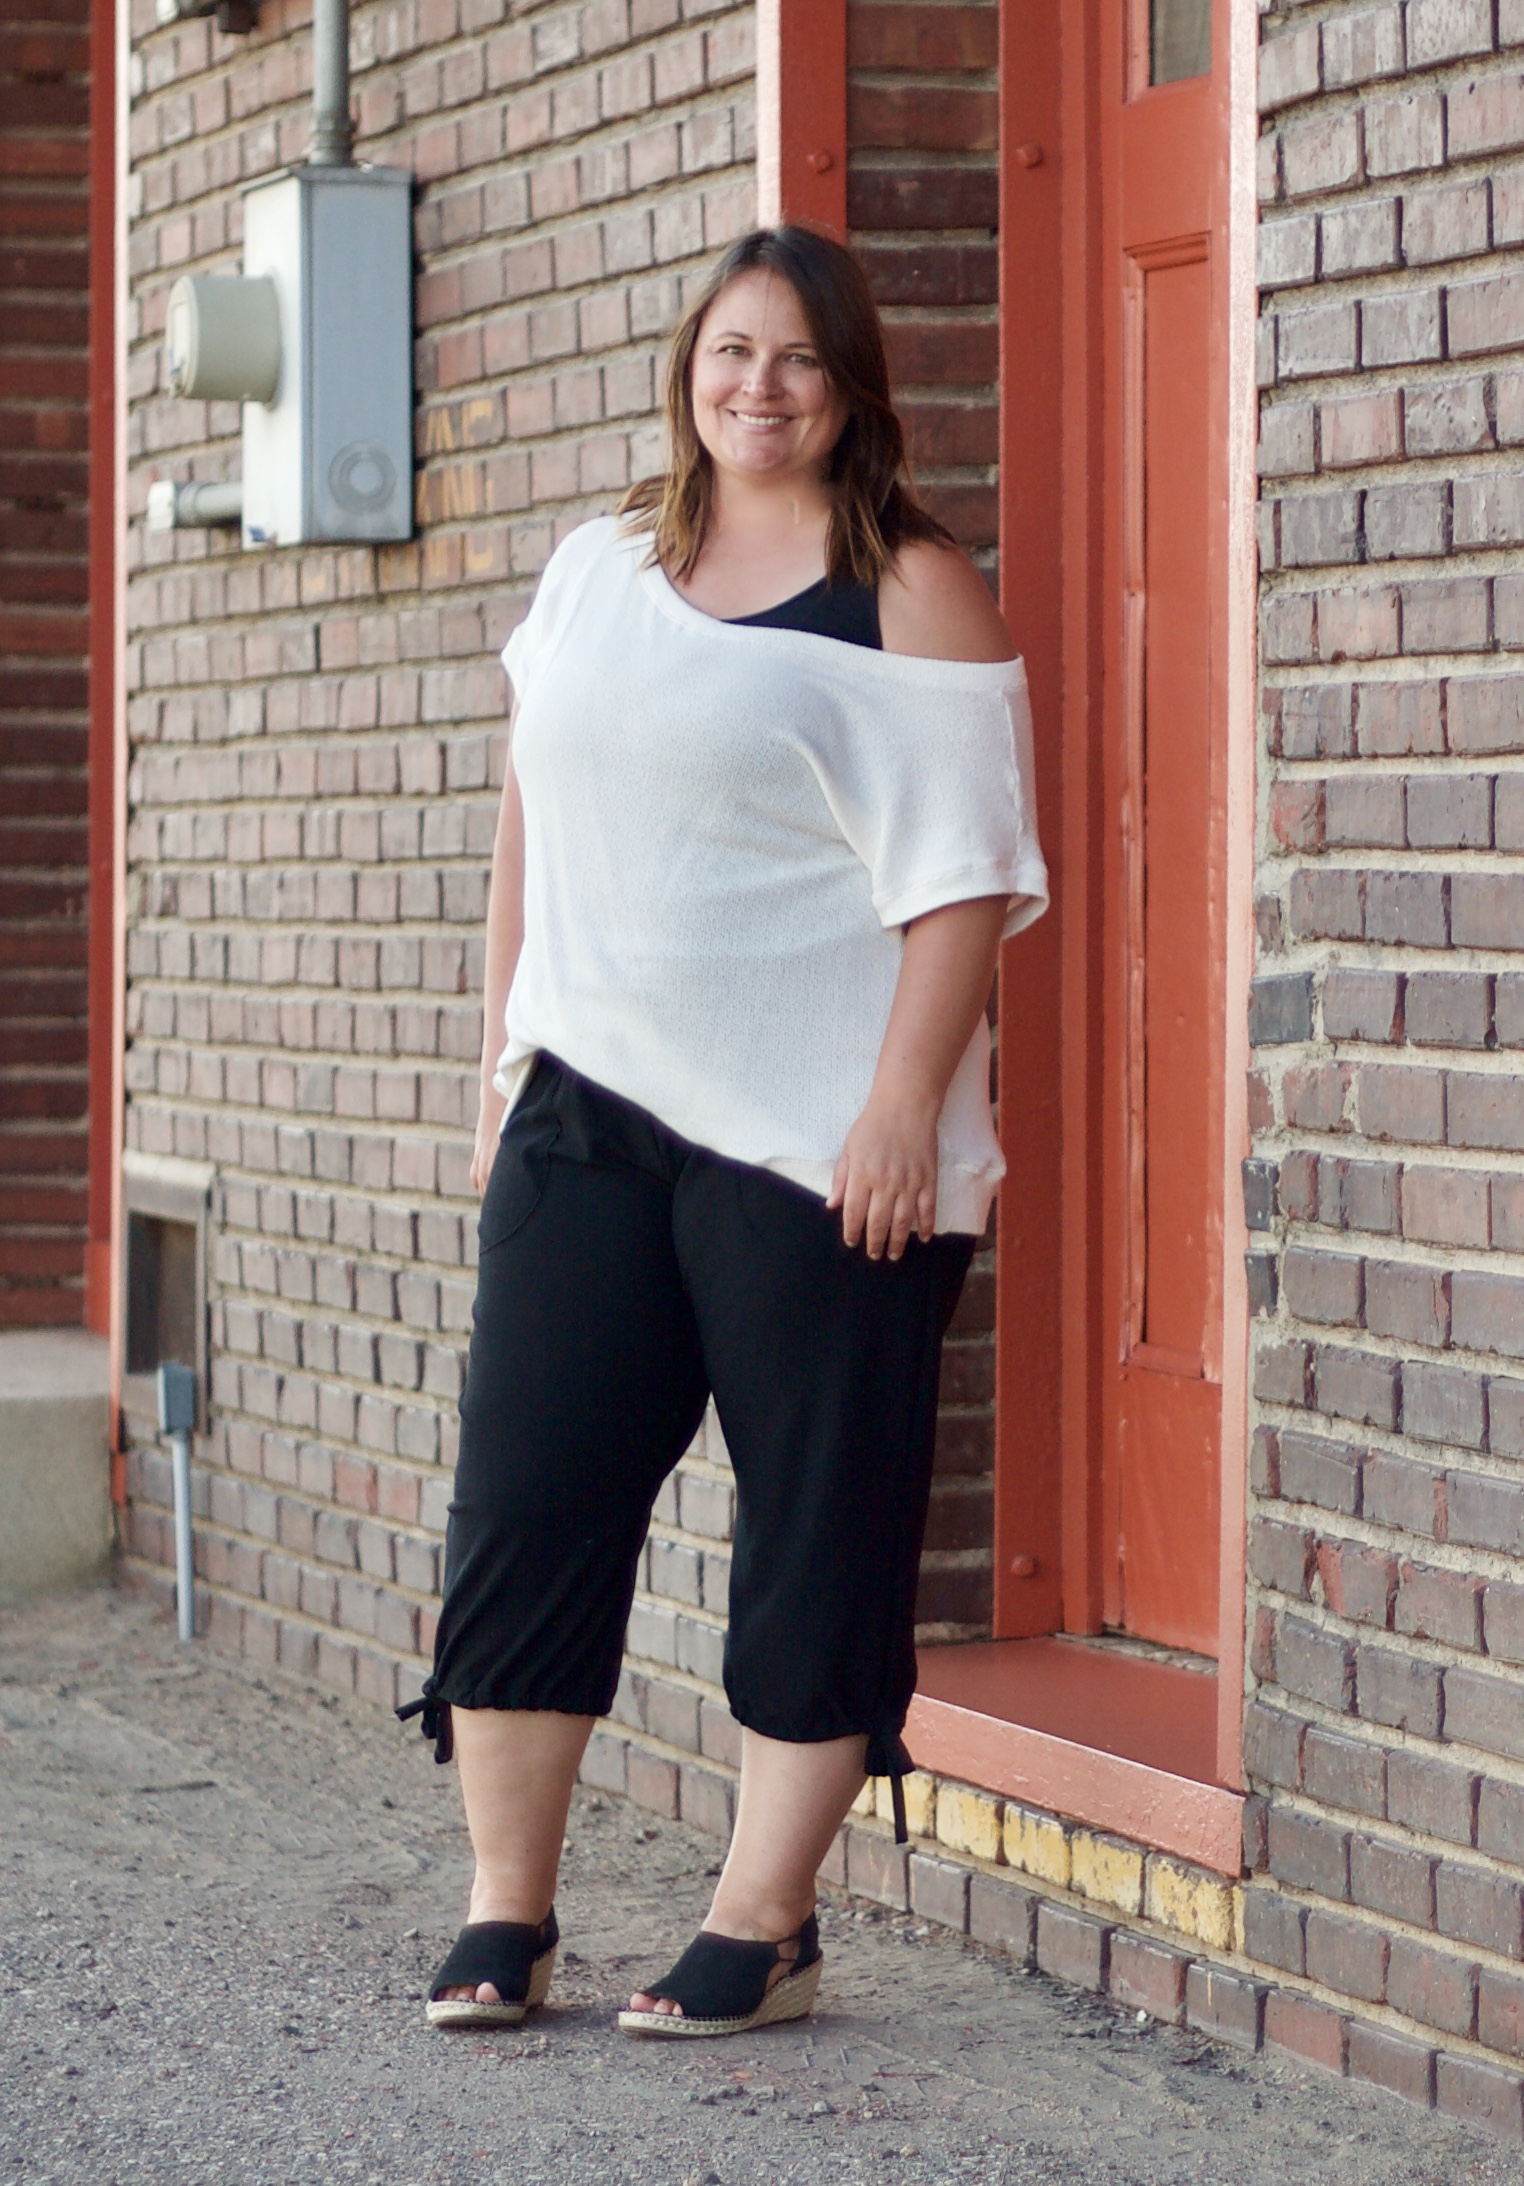
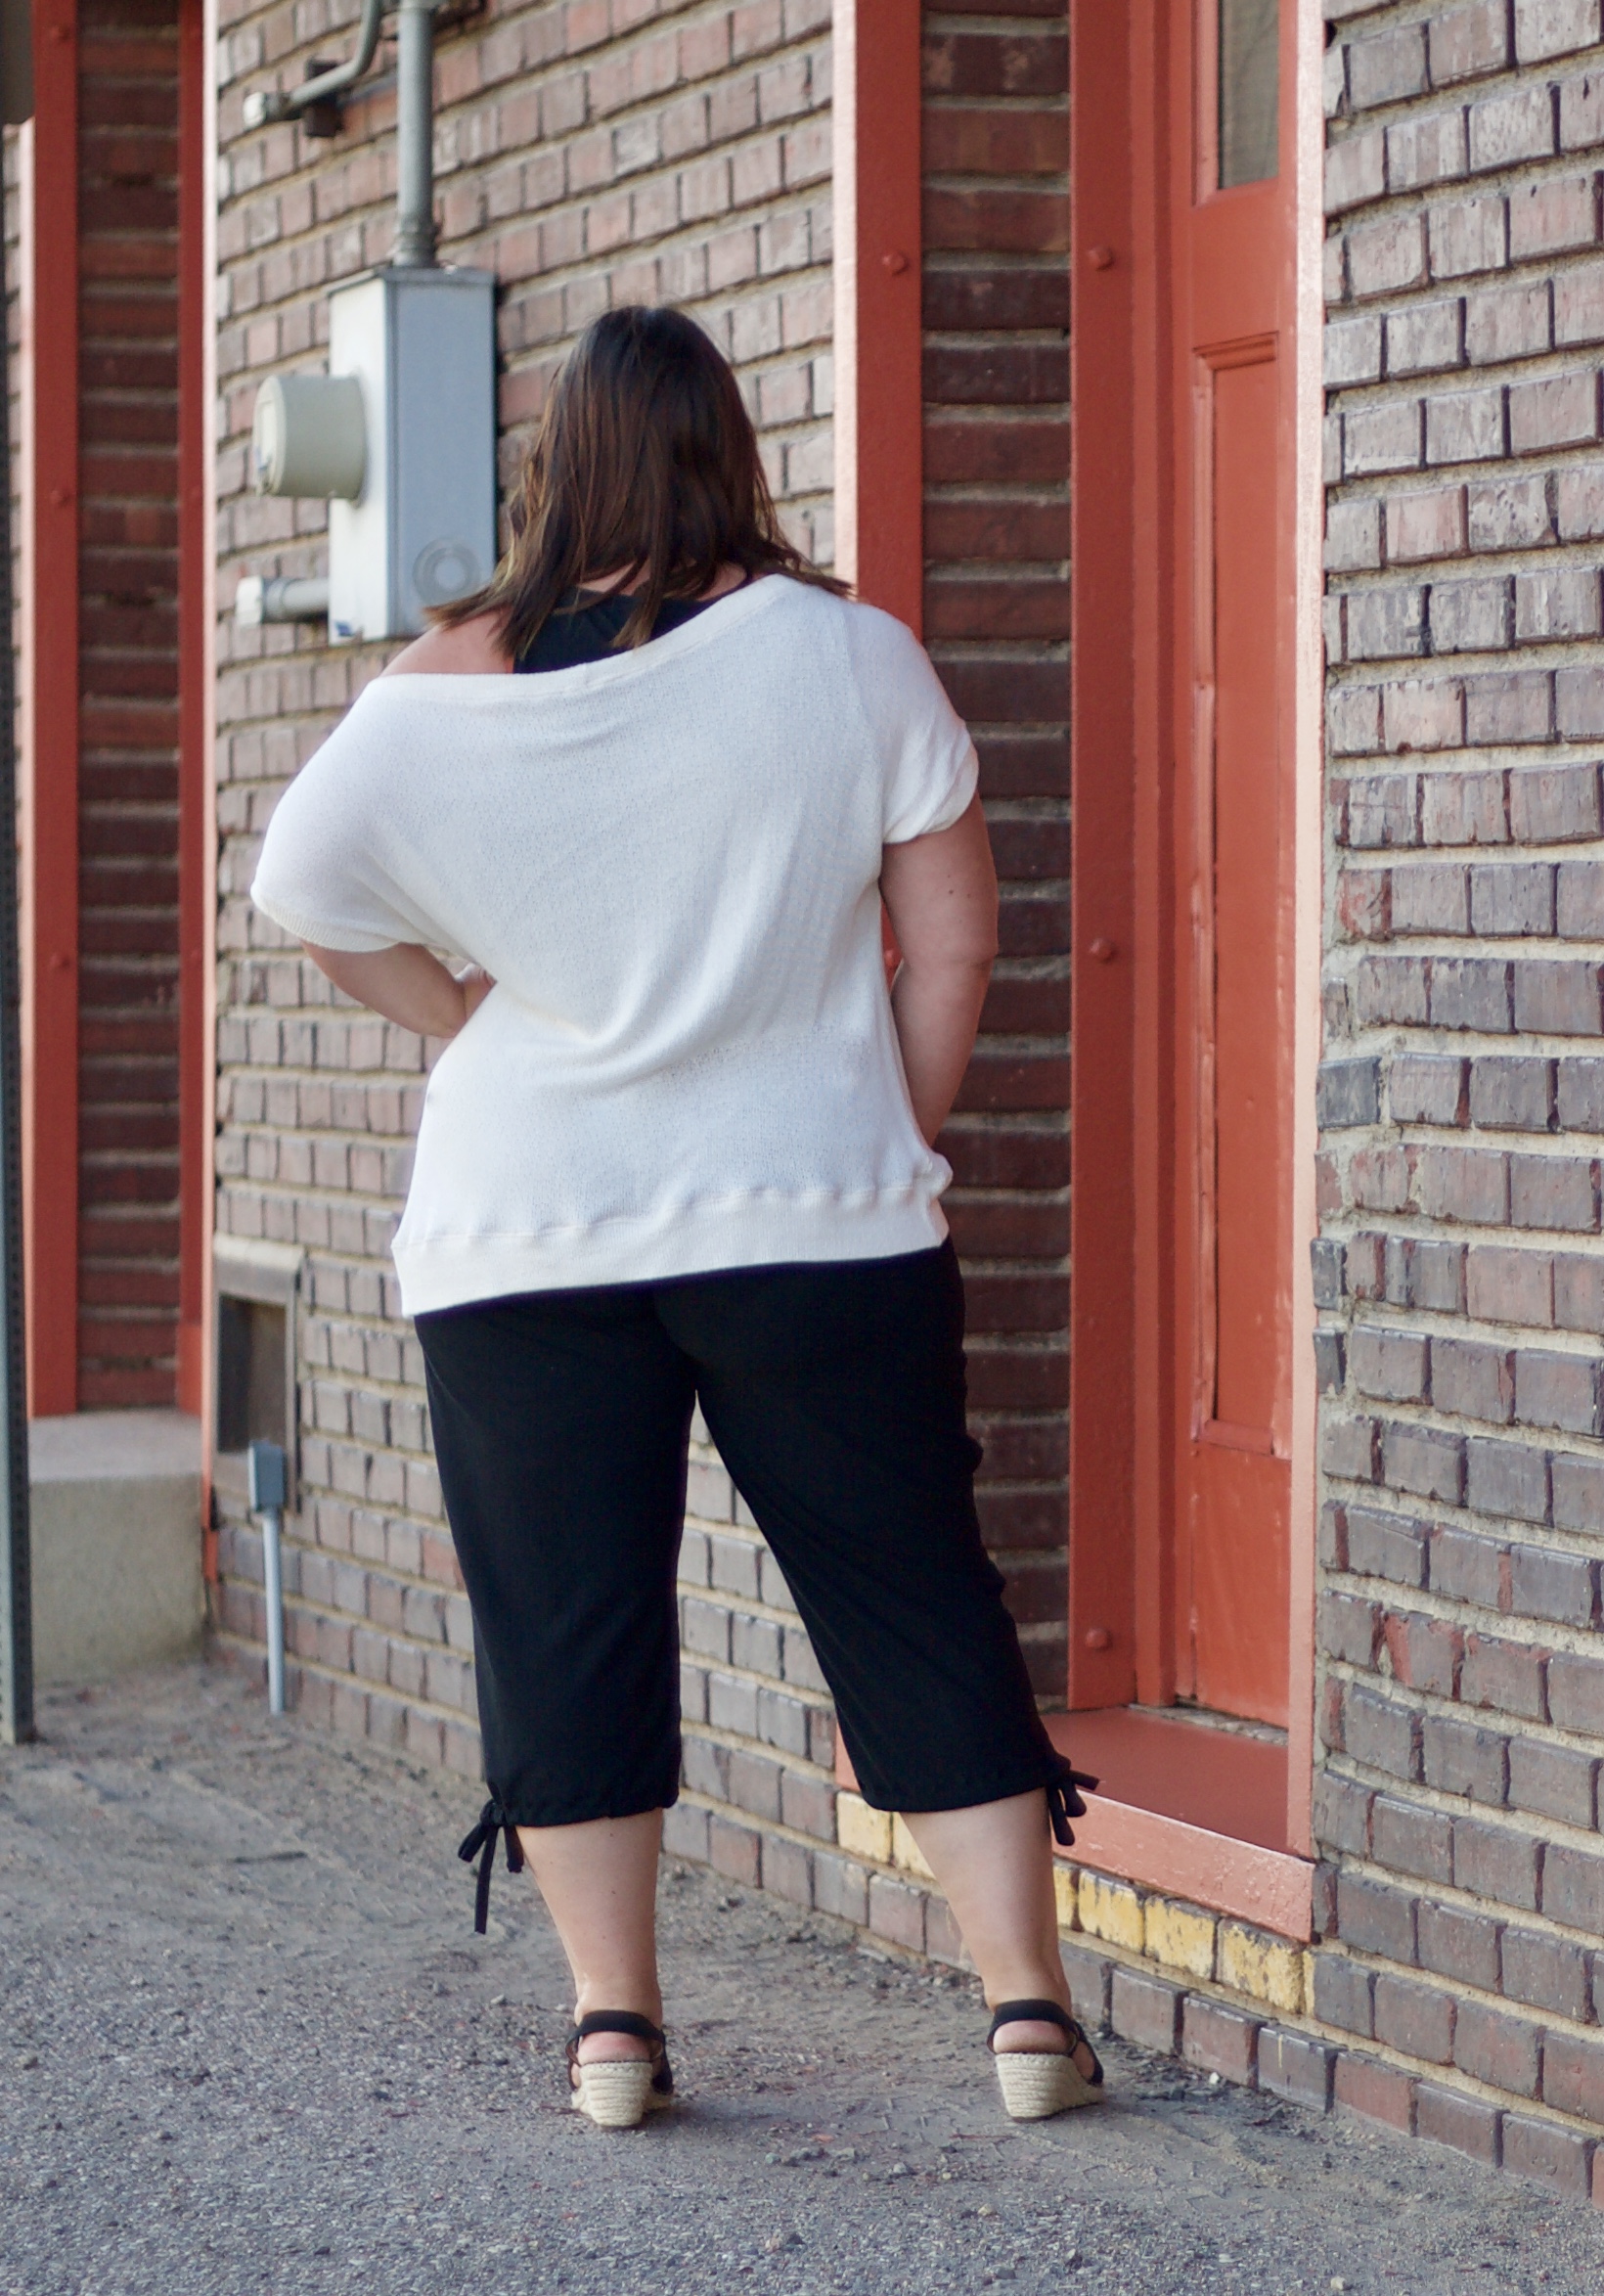
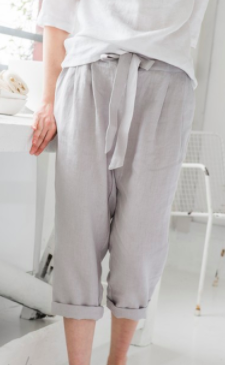
Black Capri Pants
The next pair of capris I made were inspired by the picture below. I chose the Cyprus Stretch Gauze from Surge Fabric Shop.

I knew that I wanted these to be a little longer than the charcoal pair, so I added 4” to the dotted line on my pattern piece. I wanted it to hit at mid calf, instead of right below the knee.
The assembly of the capri is identical to the tutorial above except the final hemming step. You will live a 1-1.5” inch opening in the hem to accommodate the ties. Fold the bottom up 1” and hem around the pants. Start at the outside of the pant (marked by a red x on the picture below), sew with a sewing machine or coverstitch around the whole pant leg stopping at the next x. Make sure to lock your stitches at the start and stop x’s. You want to make sure to leave 1-1.5” opening to insert the tie.

Leg Ties: Cut two strips of fabric 2×24 inches. The length is determined by how long you want your ties, wrapped around your calves. Fold your cut fabric strip right sides together, sewing lengthwise, creating a tube. Turn the tube right side out. This is my favorite method to pull long skinny tubes right side out. Here
Finish the edges so it does not unravel. Once you have turned both ties right side out, attach a safety pin or bodkin to the end to work your 2×24 tie through the bottom hem of the capris. You will pull the tie out on the other side and tie in a bow or leave loose. It’s up to you and the look you are hoping to accomplish.
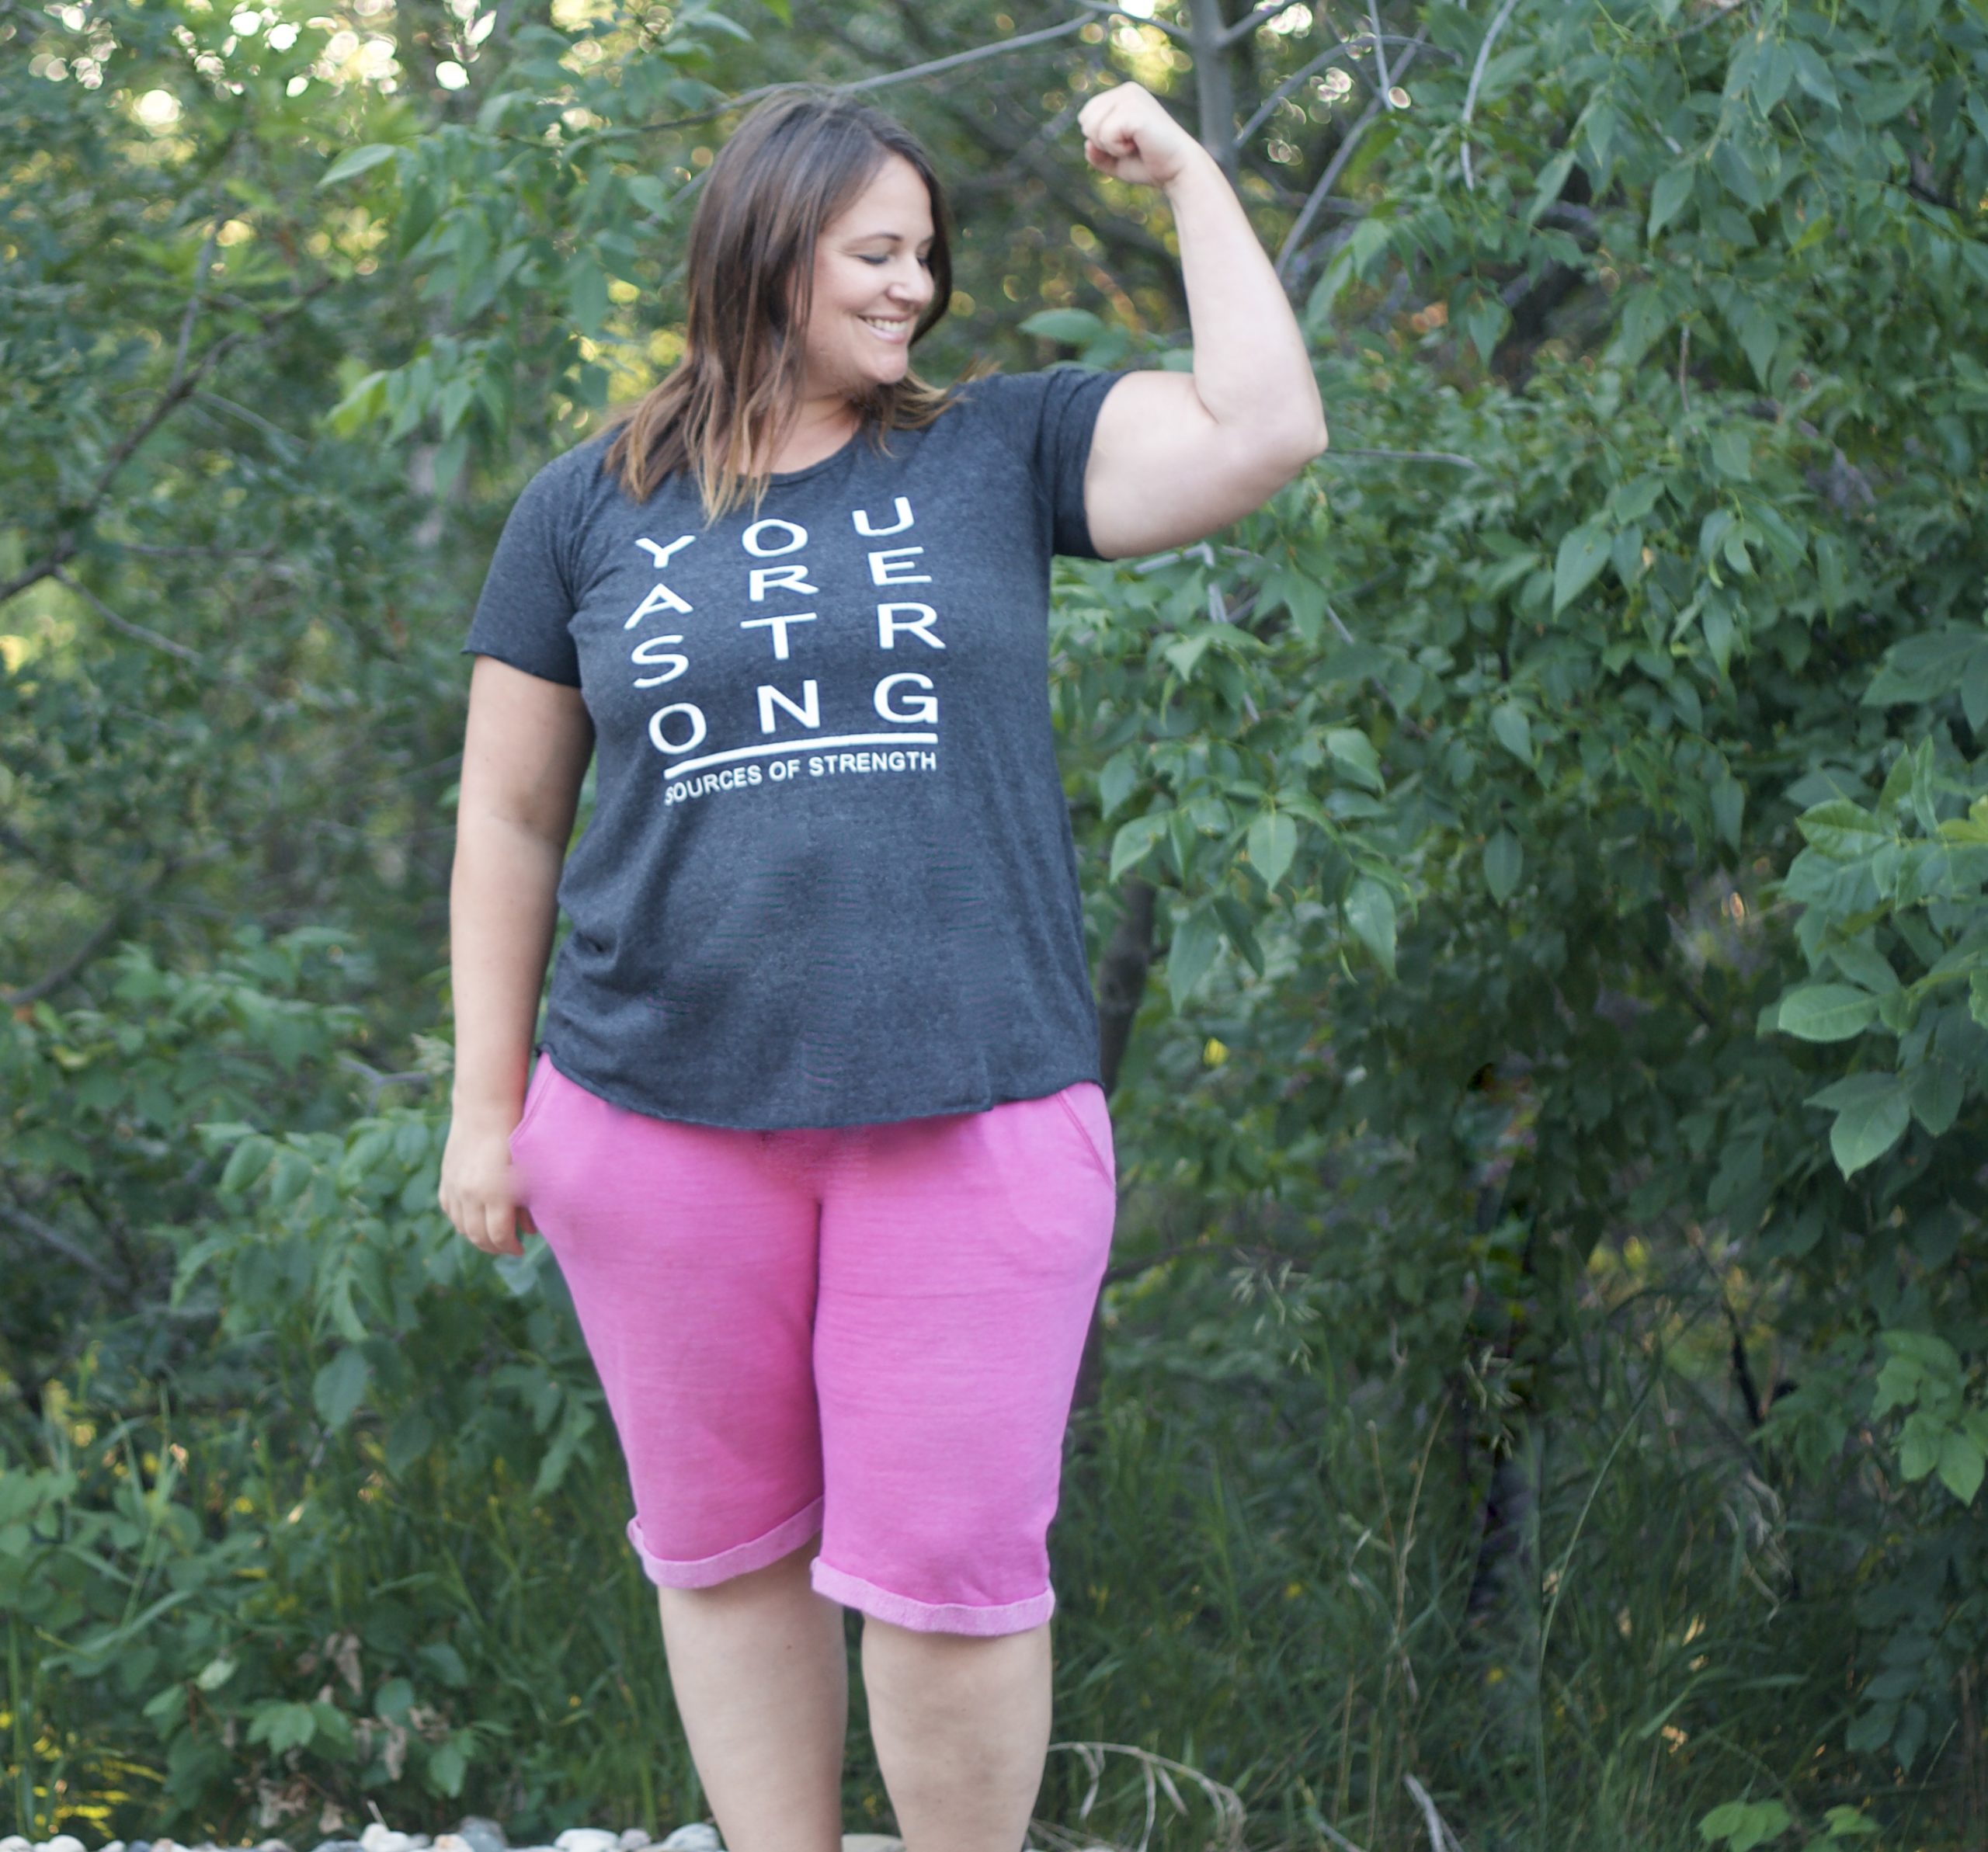
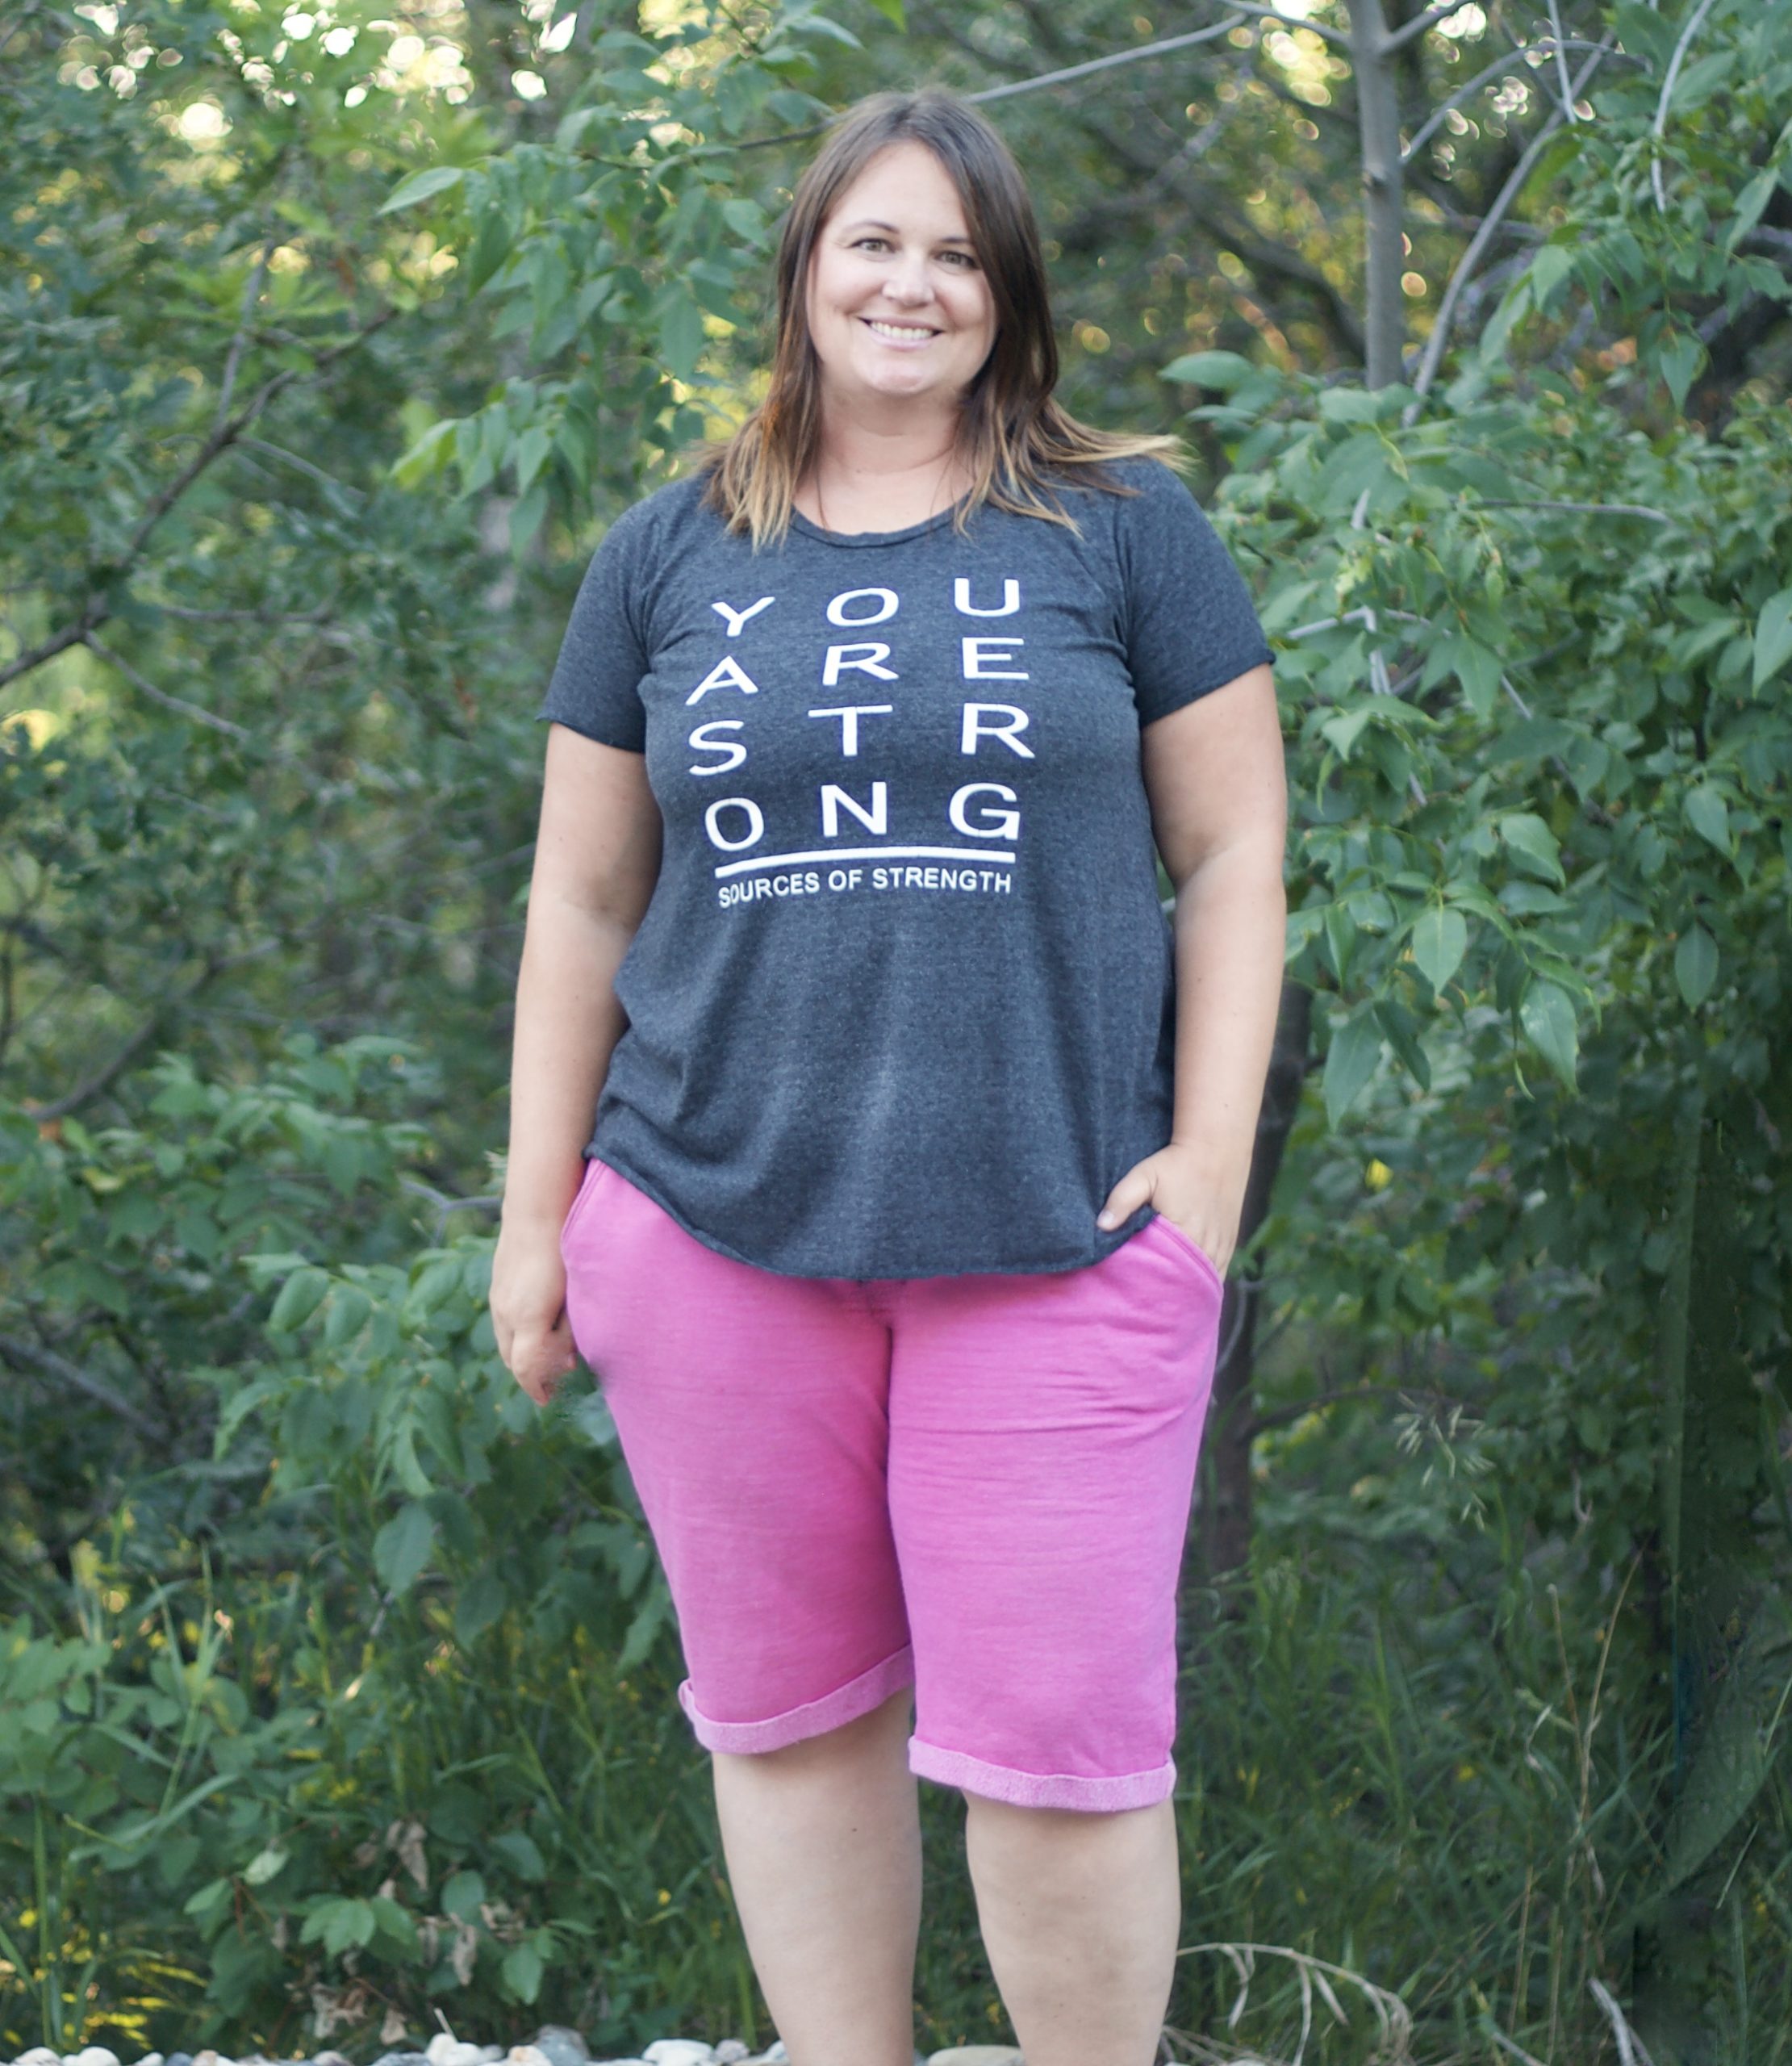
Pink Capri Pants
The next pair of capris are in a hot pink sweatshirt knit. These are a double fold hem capris. Cut at the mid-calf cut line and fold up 1” two times. Sew a small seam at the two side seams to anchor it in place and prevent it from unfolding.
I have one more style of capri pants on deck, I just ran out of time. Here is my pinspiration. I have a wonderful rust colored linen look knit fabric all washed and ready to be cut into.
Thanks for reading! I hope you are inspired to make your comfy pair of Portlander Capri Pants.
<3,
Darcy
Feel free to follow me on IG
Make sure to share your new Portlander Capri pants in our Facebook group or on Instagram #newhorizonssewing