Niagra Top & Dress Sew Along
Written by Kate of Sewing from Scratch
Hey & welcome! Today we’re going to sew up a dress (or top), step by step. This pattern comes in kids sizing and adult sizing. If you’re looking at sewing up Mama-and-me versions, check out the savings on this bundle!
The Niagra is a fabulous scrap buster but it does have some features that could be intimidating to new sewists, which is why I chose it for a sew along. Things like gathers, buttons & plackets, linings and curved hems can be SCARY! I’m here to tell you anything is doable if you just break it down into manageable pieces. After all, that’s the way to eat an elephant, isn’t it?
If you’re still feeling nervous about including allllll the tricky bits, you can change things up a bit to suit your comfort level. For example, you can omit the placket completely. If you wanted to do a neckband, you’d also be able to skip the lining. Or, to avoid the curved hem, go ahead and straighten that bottom line out for a super quick job, just be sure to measure the length and compare it to the intended wearer’s body measurements.
Oh, and one last thing. If you’re more of a visual learner (I know I am!), we have a video for this tutorial right here.
Now, let’s make a Niagra. I’m not going to go into much detail for taking measurements, grading, using pdf patterns or projector help in this post, because we do have detailed content on each of these topics. Check out our YouTube channel for that!.
However, there are a few points worth mentioning. First off, and possibly my most favourite thing about pdf patterns, is to utilize the layers function to isolate only the size or sizes you’re going to be using. This saves a crazy amount of time & frustration. Also take note of the little diagrams on the pattern pieces for neckline and sleeve options.

Secondly, try to decide as much of your options ahead of time to minimize printing. So, if you’re doing a sleeveless, shirt length, crew neck, you can save quite a few pages.
Lastly, let’s chat materials. This pattern was designed for knit fabrics with at least 25% stretch and the yardage will vary depending on size and options. Keep in mind that the lining does not need to be the same as the main fabric, and you could do some really fun colour blocking with the bodice style lines, making this a great scrap busting project!
You’re also going to need a small amount of interfacing. A good rule of thumb is to match the weight of your fabric. So if you’re using a nice, light-weight jersey, you’ll want a lighter weight interfacing.

If you choose to construct a front placket, you’ll also need some buttons or snaps.
Now with that all out of the way, let’s get on to making our dress or top. Go ahead and cut out your pattern pieces and your coordinating fabric pieces. Keep in mind the bodice is lined, so you’ll need 2 of each of those pieces. Be sure to make notches where necessary, and it might be helpful to put a pin or clip on the back pieces to easily distinguish them, since they are similar to the fronts.
Here’s the pieces you’ll need:
-2 front bodice
-2 back bodice
-2 plackets
-3 interfacing
-back skirt
-front skirt
And, the buttons or snaps
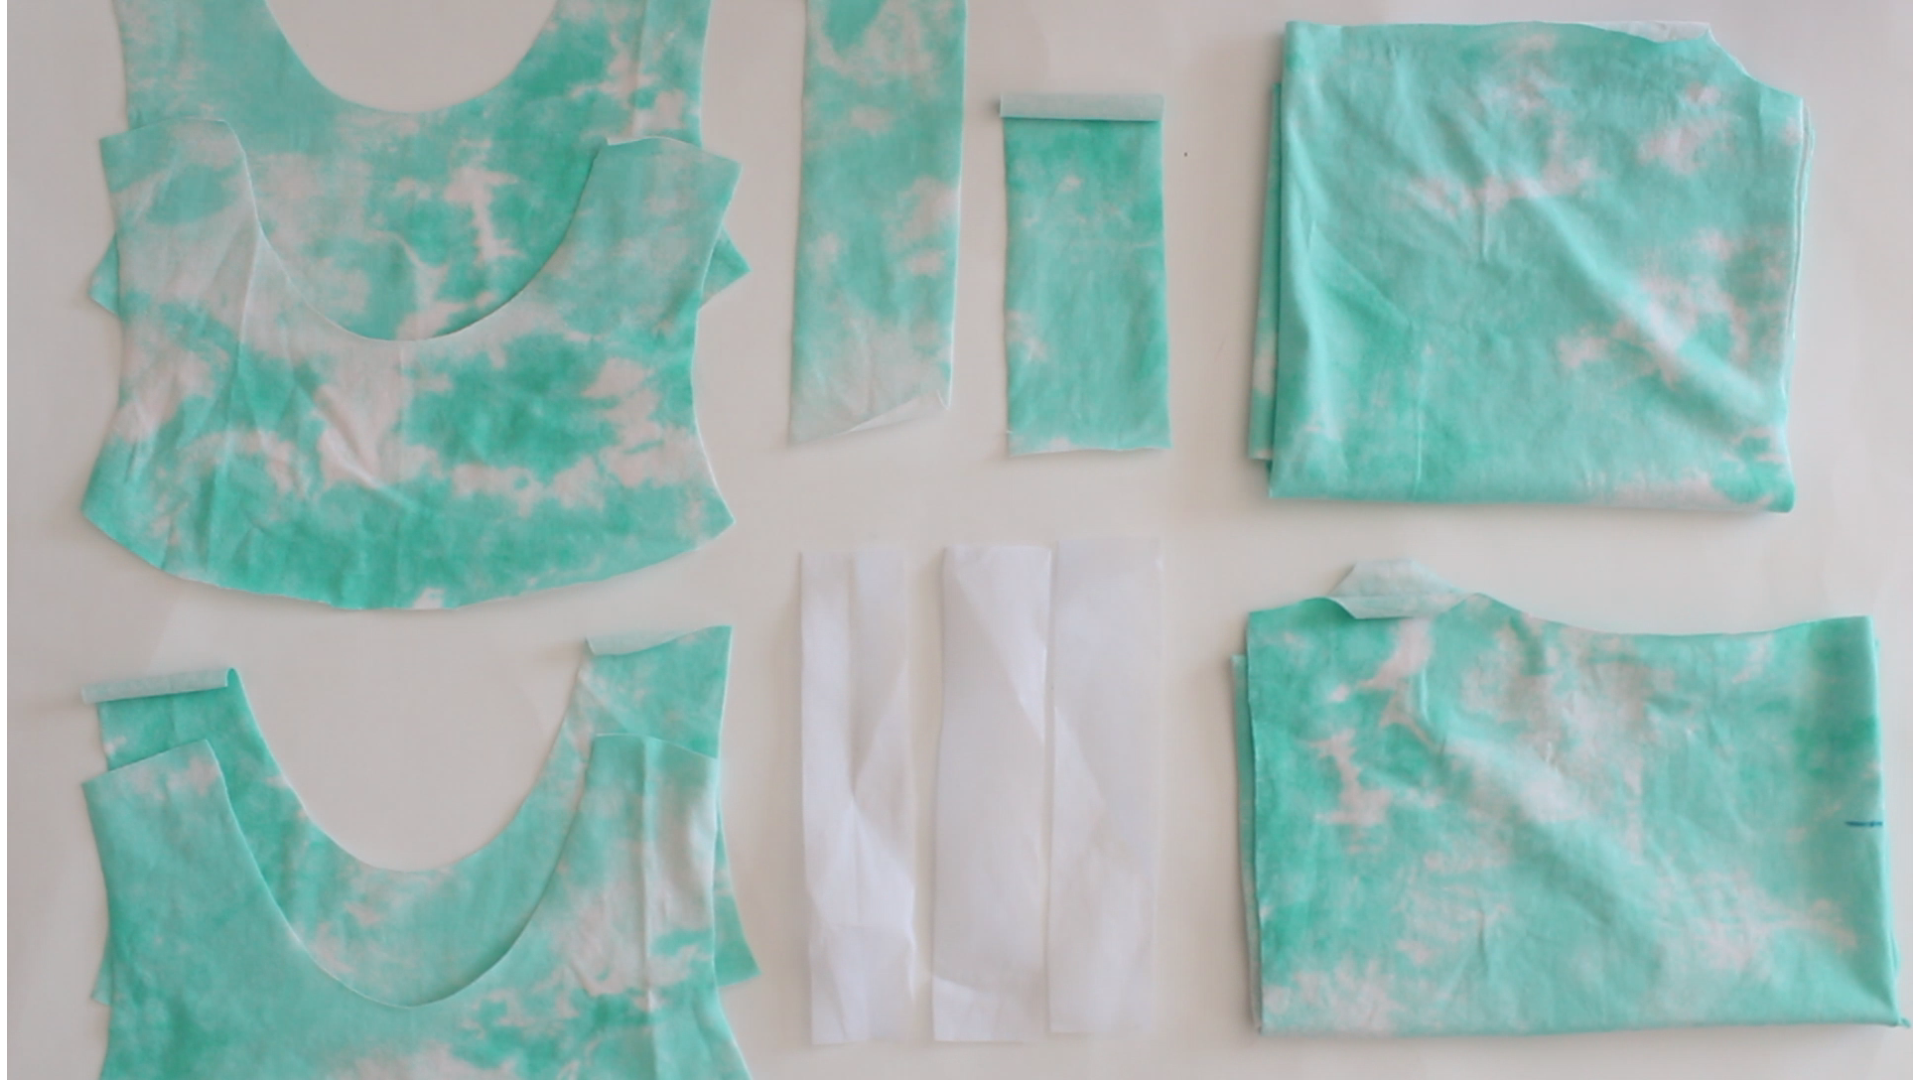
If you’re not doing a placket, you won’t need those 2 fabric pieces, interfacing, nor the buttons.
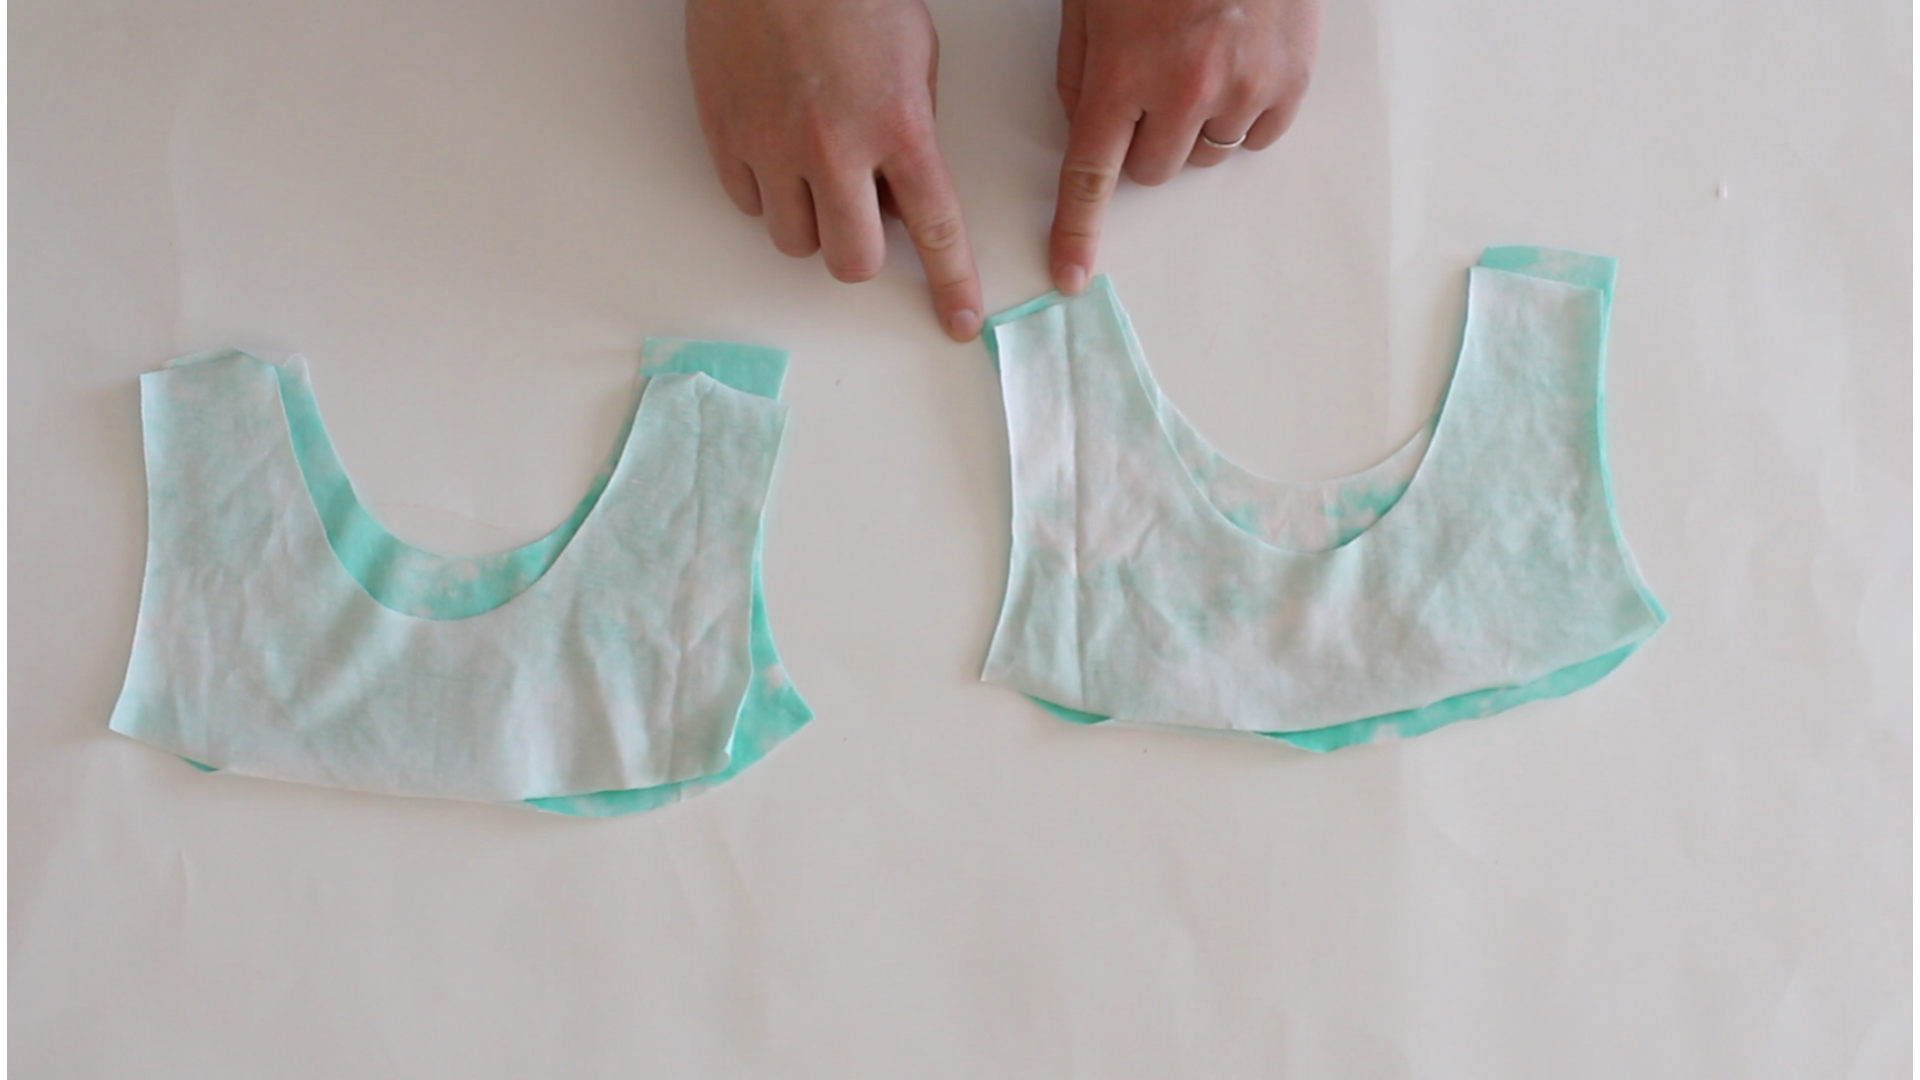
Bodice Yoke Pieces
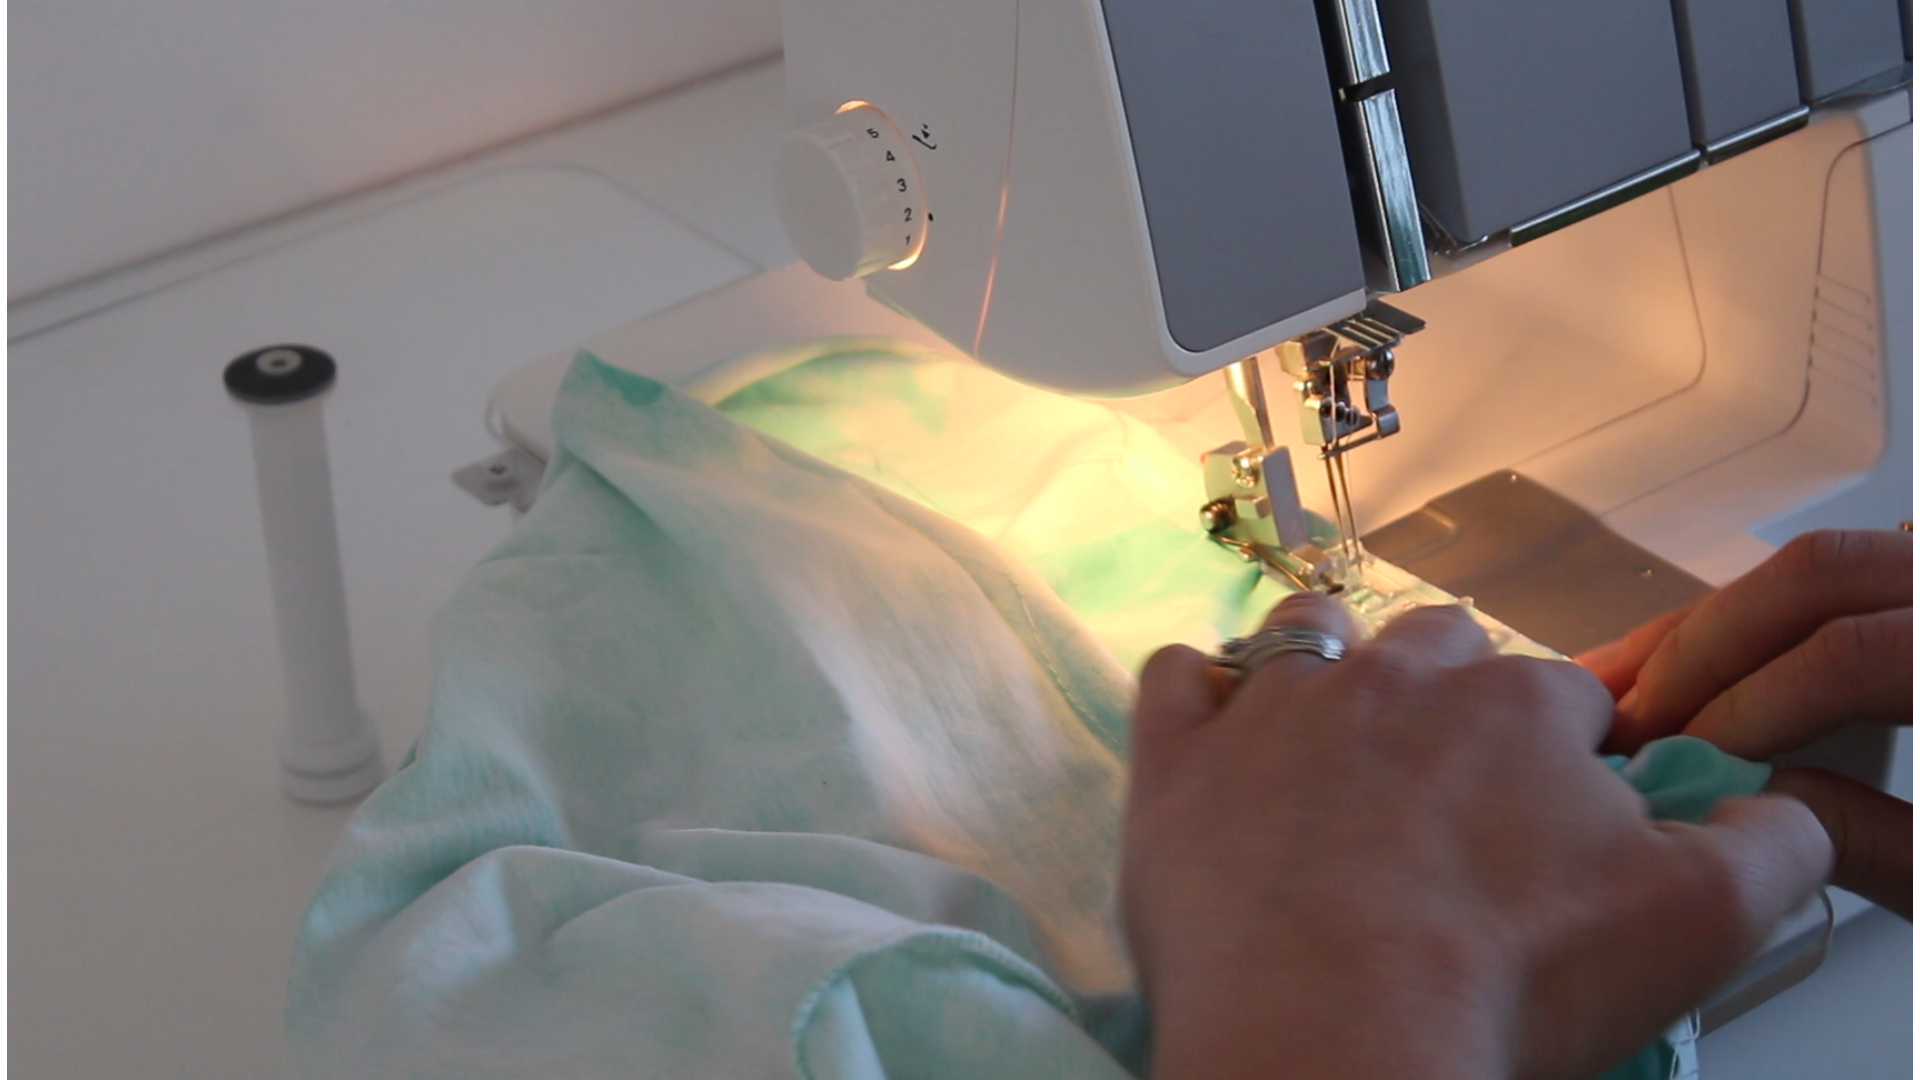
Alright, let’s focus on the bodice or yoke pieces. We’re going to take the outer or main front and attach it to the main back at the shoulder seams, right sides together. The seam allowance throughout this pattern is ⅜”. I’m using my serger, but a zigzag or lightning bolt stitch works, too. I like to press the seams to the back. Repeat this process with the lining pieces. If you’re using the same fabric for main & lining, you don’t need to be too particular unless there’s a graphic or print that you fussy cut to be on the front or something.
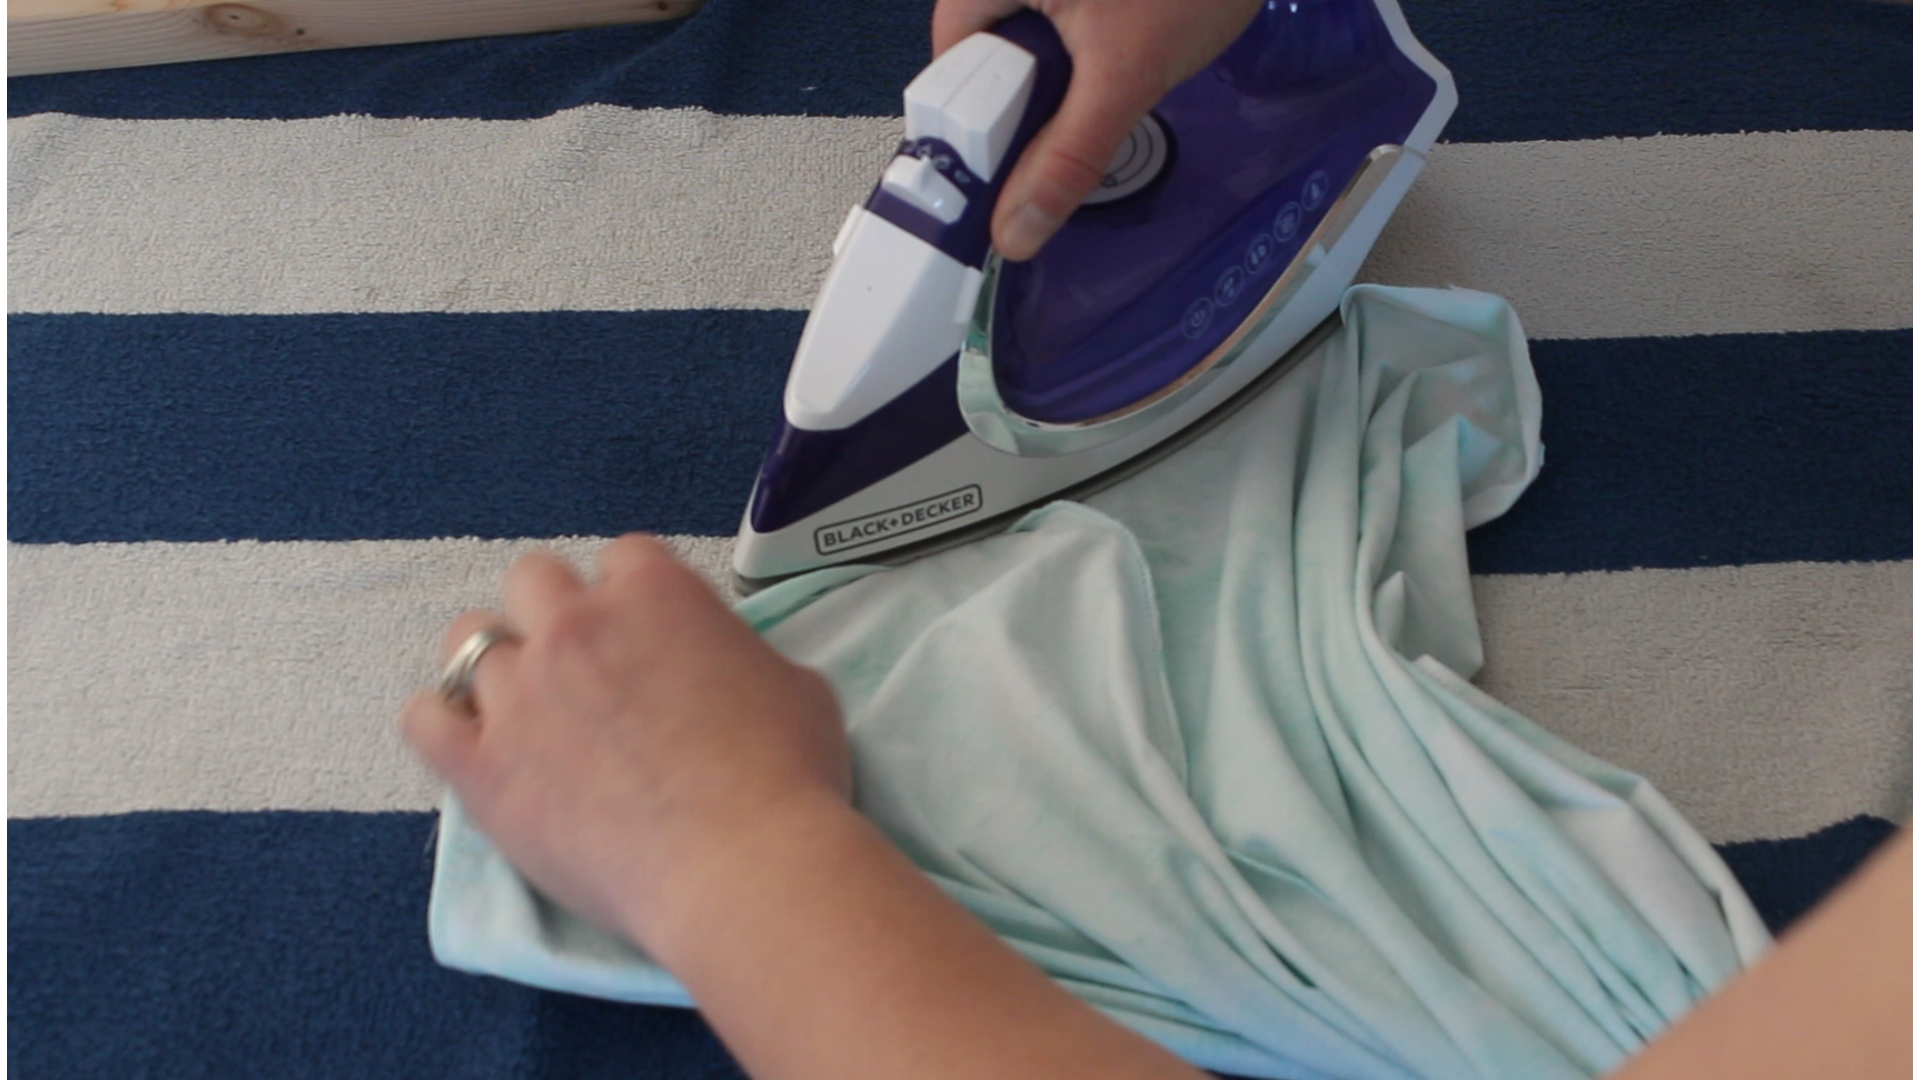
Next we’re going to attach the two units together along the neckline. Place them right sides together, making sure backs are together, and fronts are together, and stitch around the neck opening. Lay it out flat and press to finish.
Ok, now the fun part. We’re going to sew these arm holes using a burrito method. With your bodice laying flat, main fabric facing up and lining facing down, start rolling up one long edge. Continue rolling past the neck opening until you’re about 1” from the other edge. Now pull the lining from the bottom of the unrolled edge and bring it around the roll and over the top to touch it’s partner main fabric, right sides together.

Match the shoulder seam and each end of the armhole then serge or stitch together.
Here’s your burrito! Pull it right side out through one end and repeat the process with the other side and press everything nicely.
Constructing the Skirt
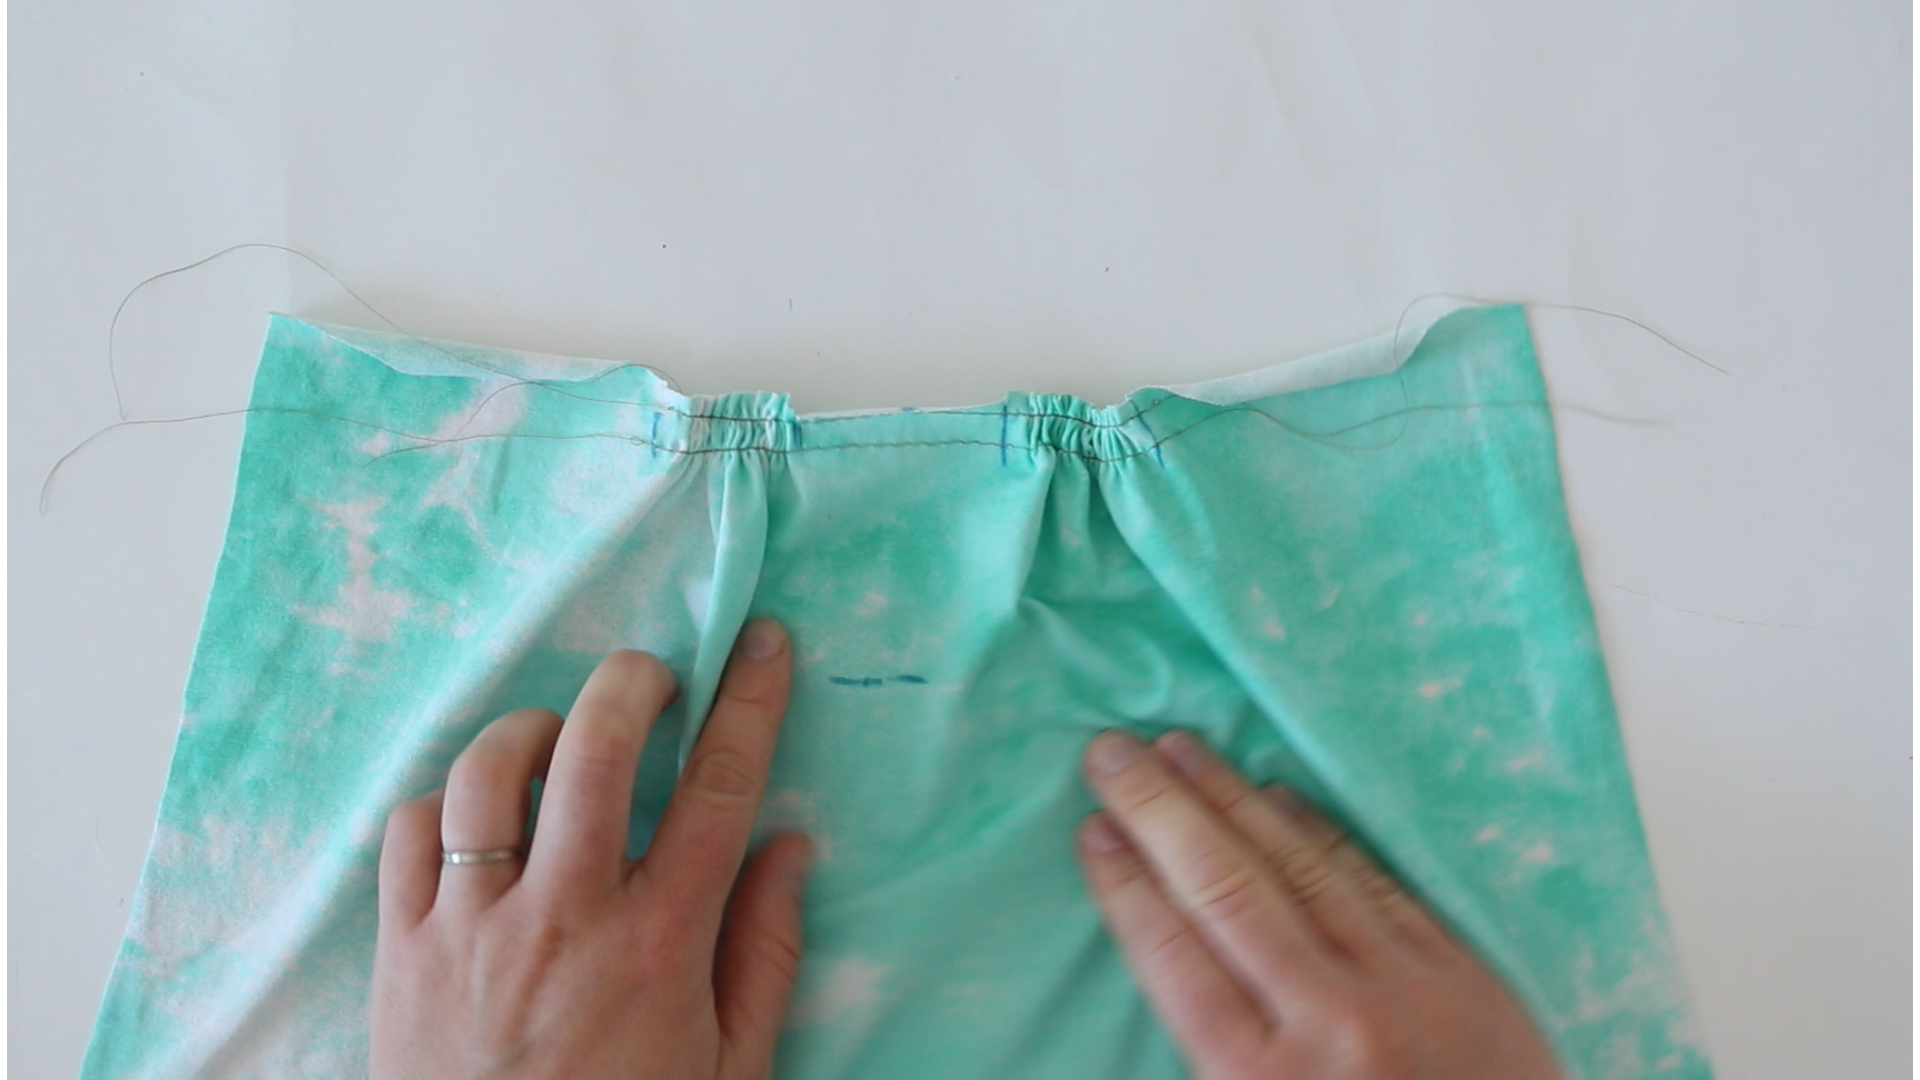
Time to construct the skirt. We’ll start by gathering. This pattern has great notches to align everything, but if you wanted to mark the center point go ahead and do that. It’s part of my fool-proof gathering technique! Run 2 rows of long basting stitches between the 2 notches on the back, and the 2 outermost notches on the front. I like to put one inside the SA and one outside for a really nice finish. Since the SA here is ⅜”, I ran my first line at about ¼” and the second at ½”.
Gather the skirt pieces. For the front, we’re only going to gather on the left and right. Since we’re doing a placket, we’ll leave the center flat. If you’re not doing a placket, gather the entire length.
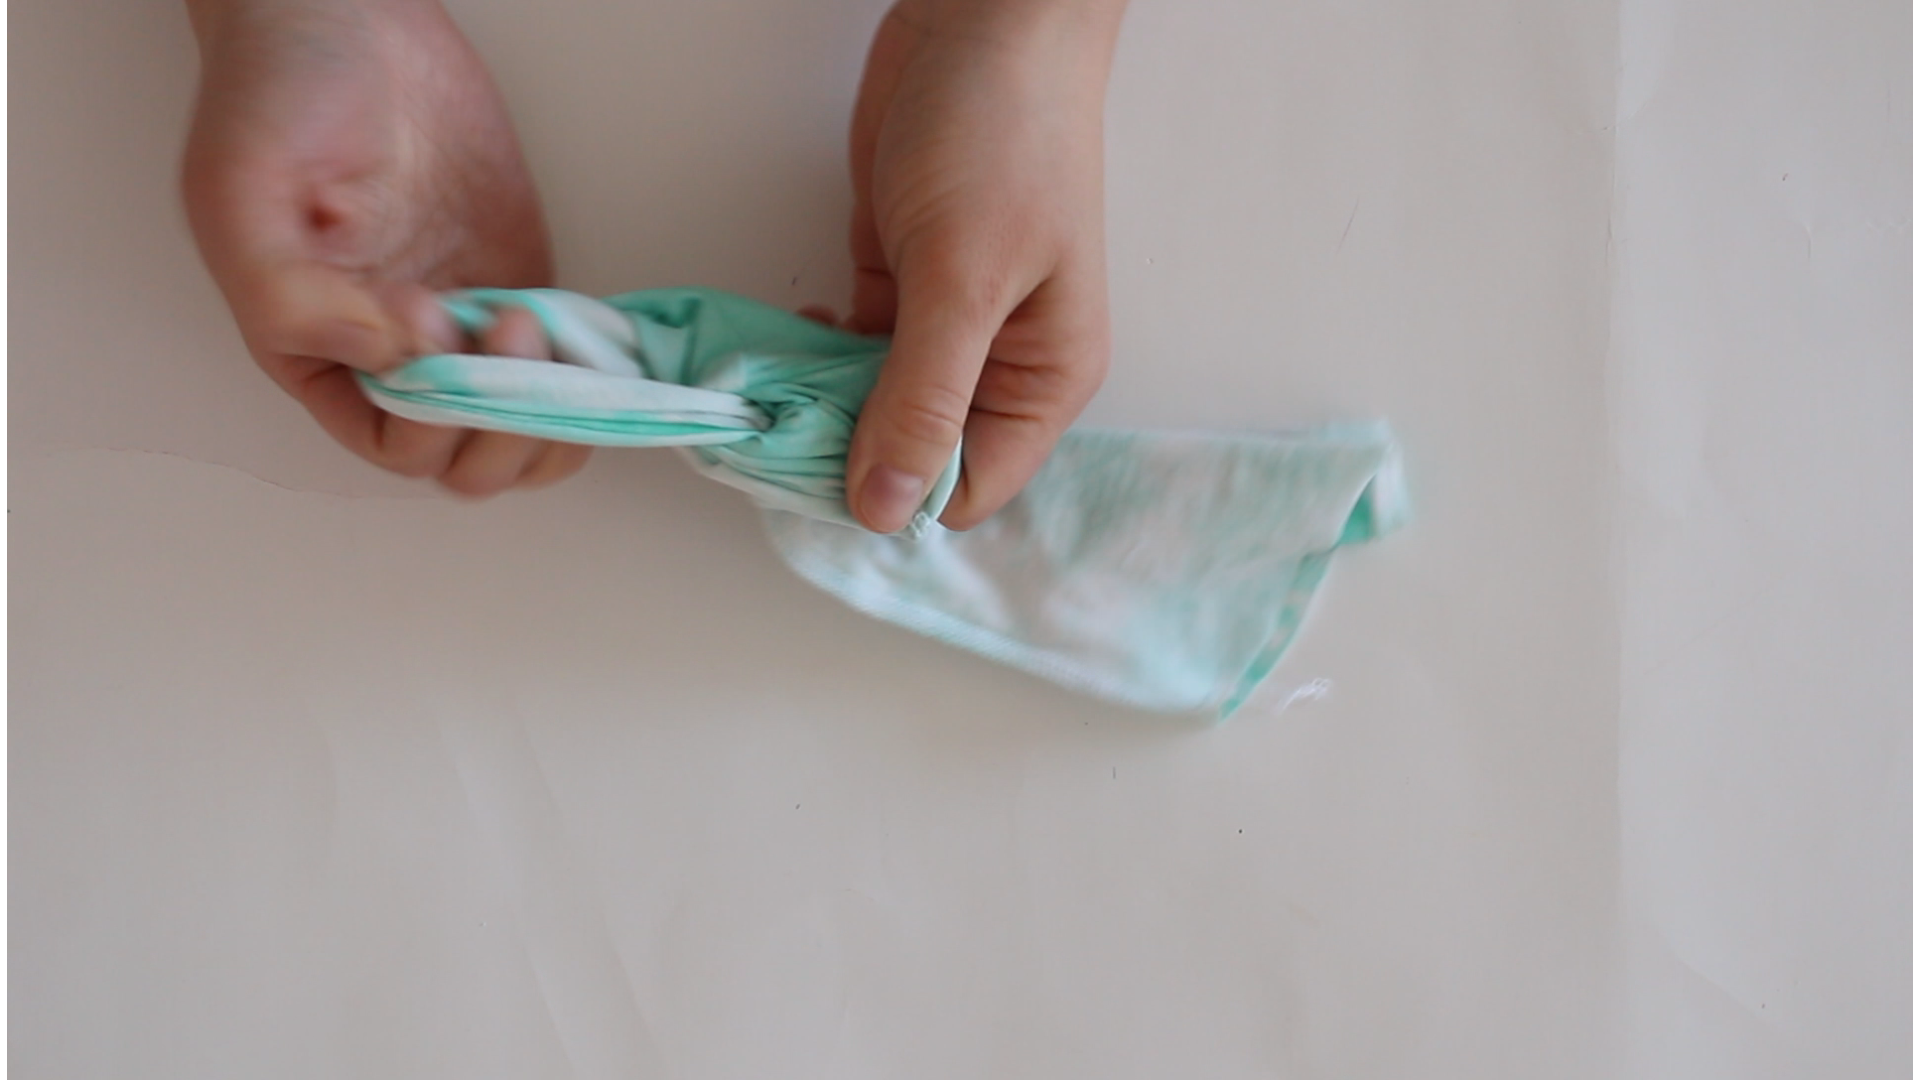
Stitch the skirt pieces together at the side seams, RST and then do a tiny ⅜” hem along the armhole. I’m using my CS, but you can use a zigzag stitch or twin needle, too.
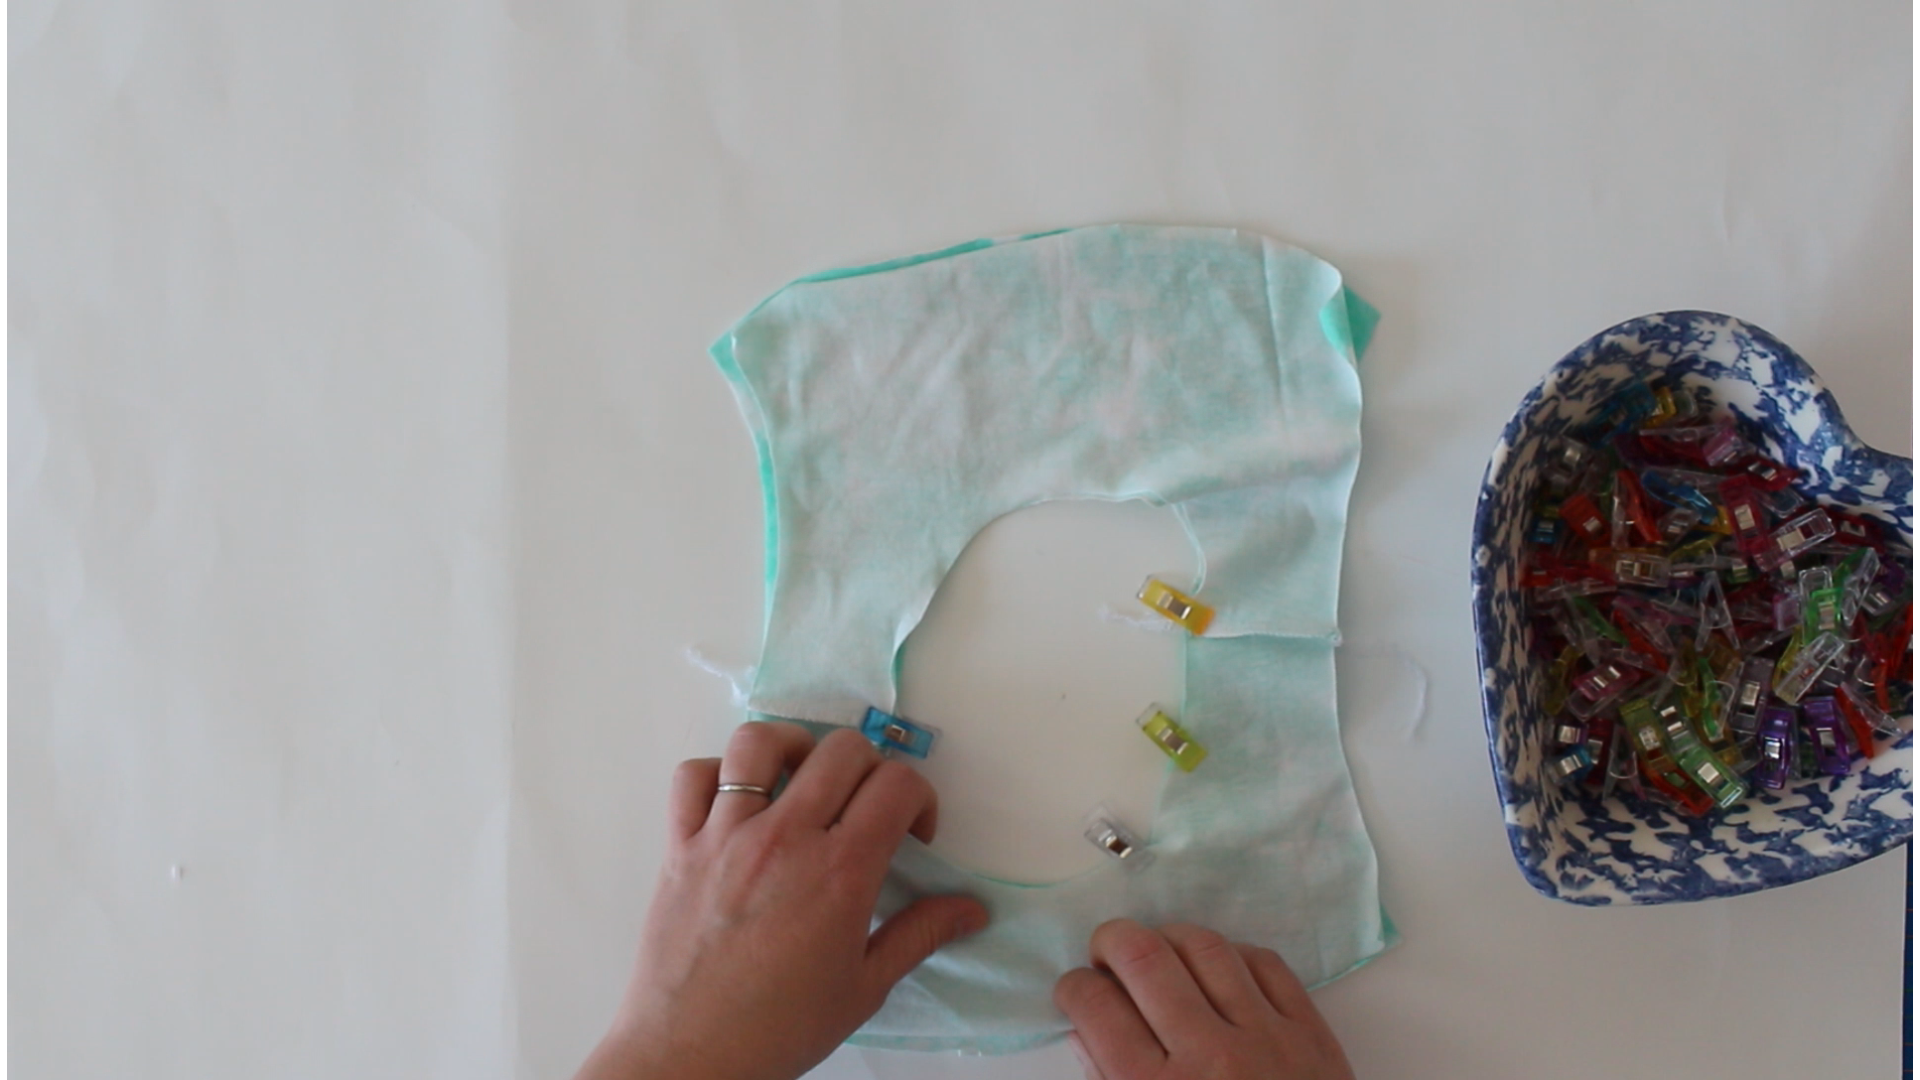
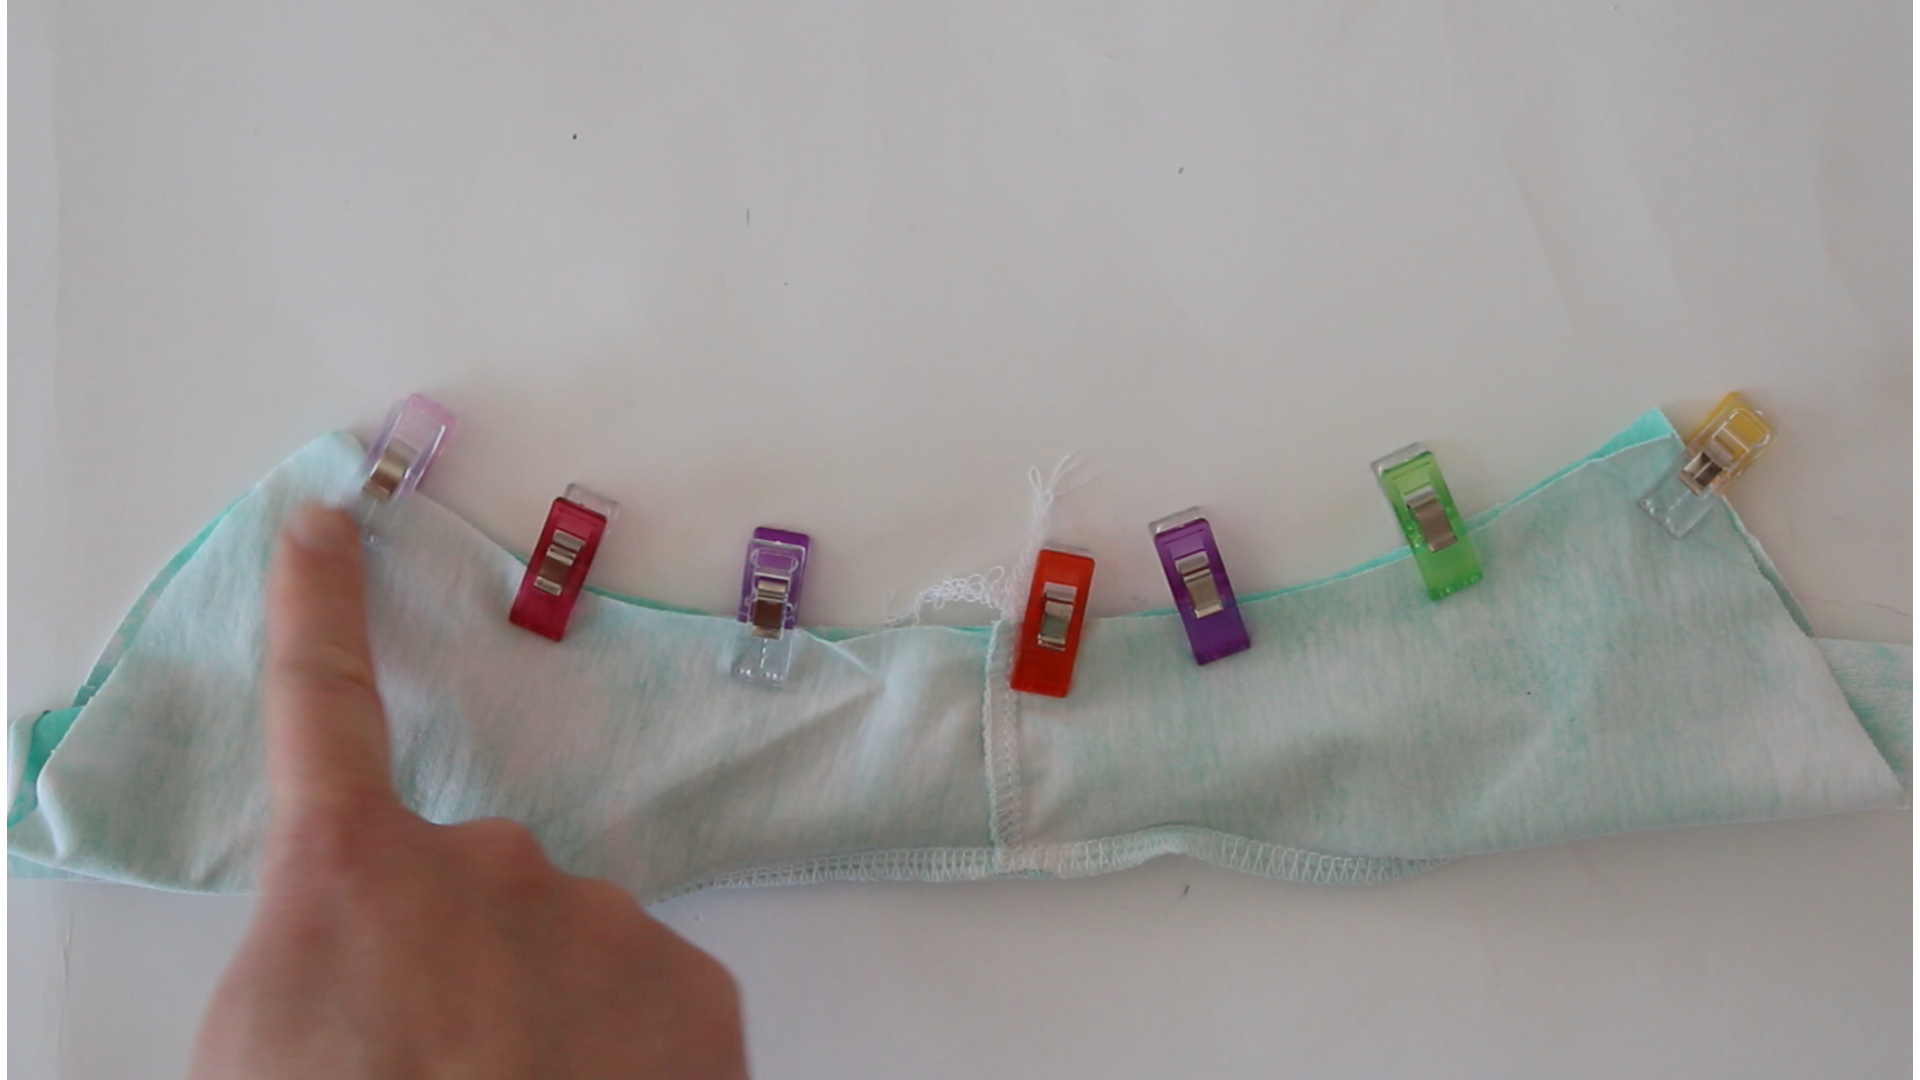
The next step is to connect our pieces. With the bodice right side out and the skirt inside out, slide the bodice into the skirt, RST, making sure back is to back and front is to front. Match notches and seams and use tons of clips to get those gathers even and flat. Stitch the front together, and the back together and press the seam down toward the hem and then do a small tack stitch to hold the seam allowance to the underarm.
Sewing the Niagara Placket
Ok. Placket time. If you’re not doing a placket, you can skip ahead to the hemming step and then your dress is complete! But. For those of us wanting the Henley look, let’s whip this up.
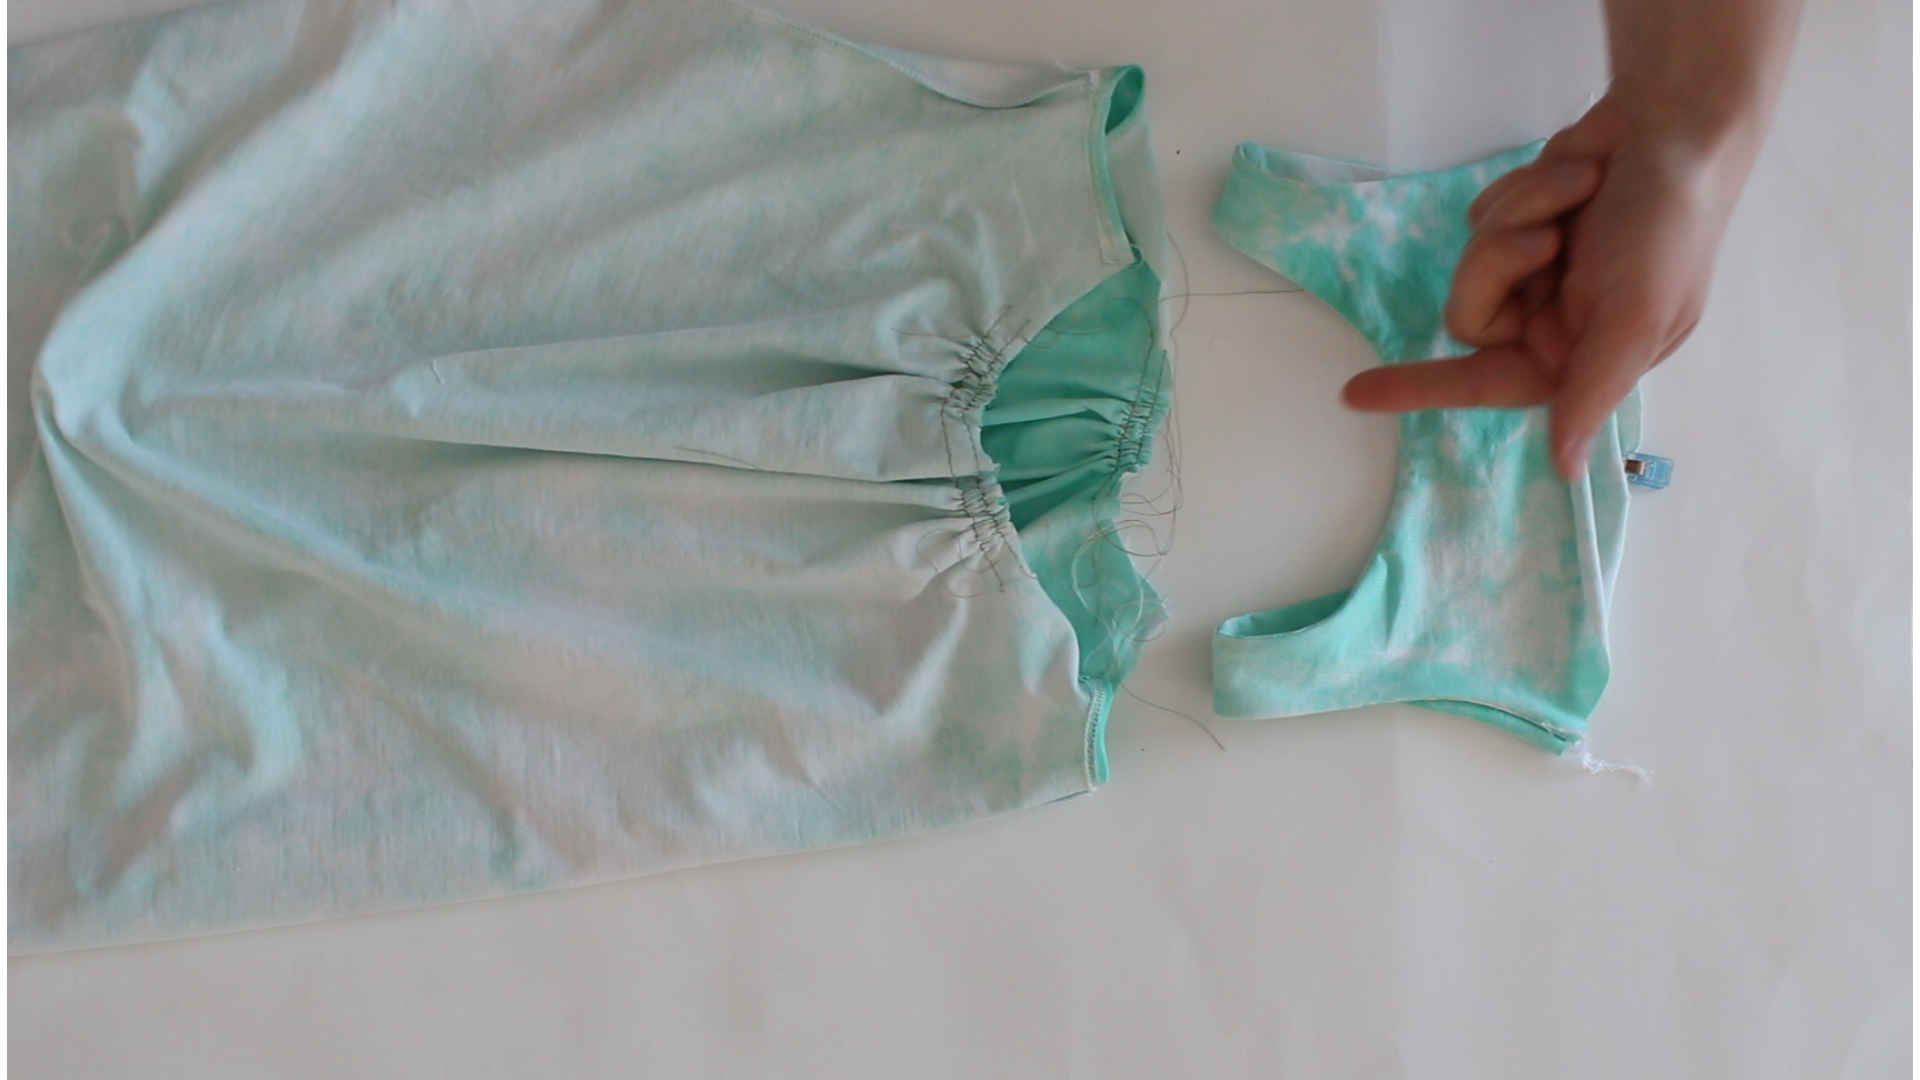
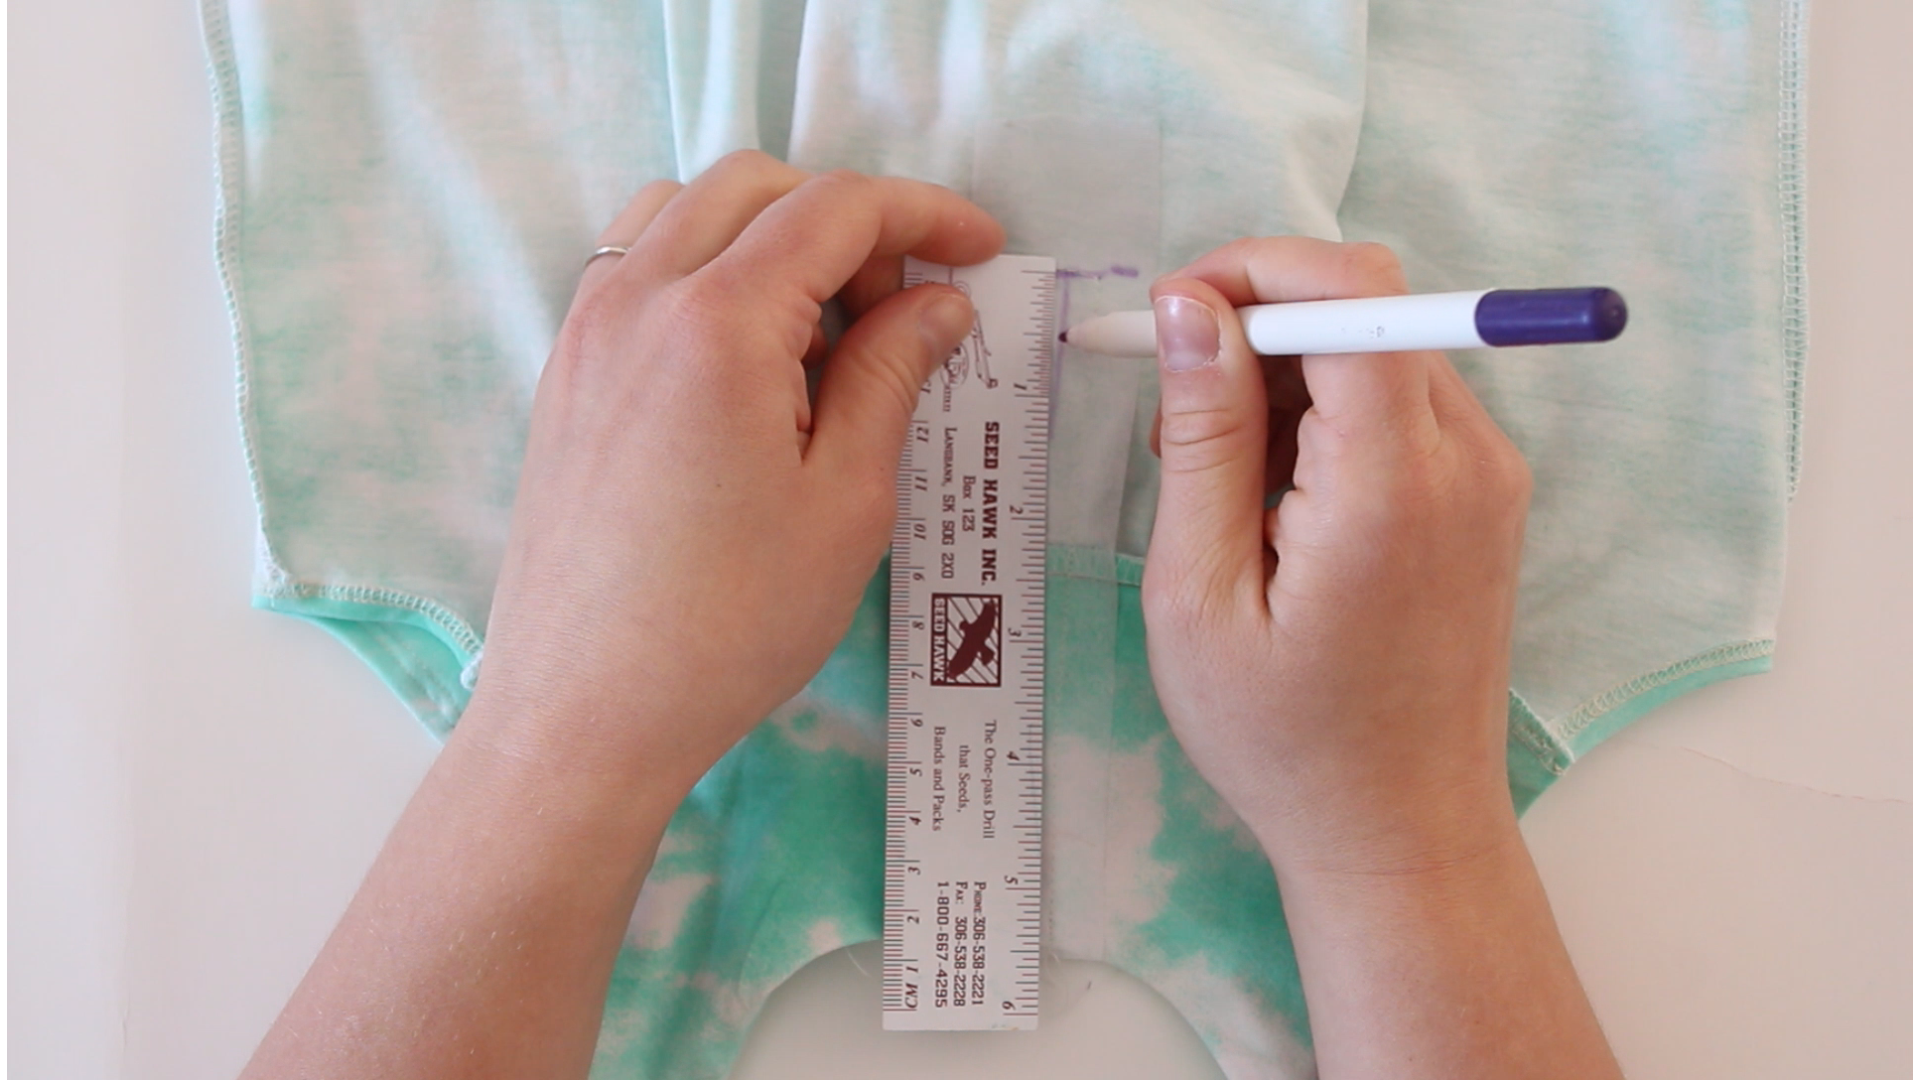
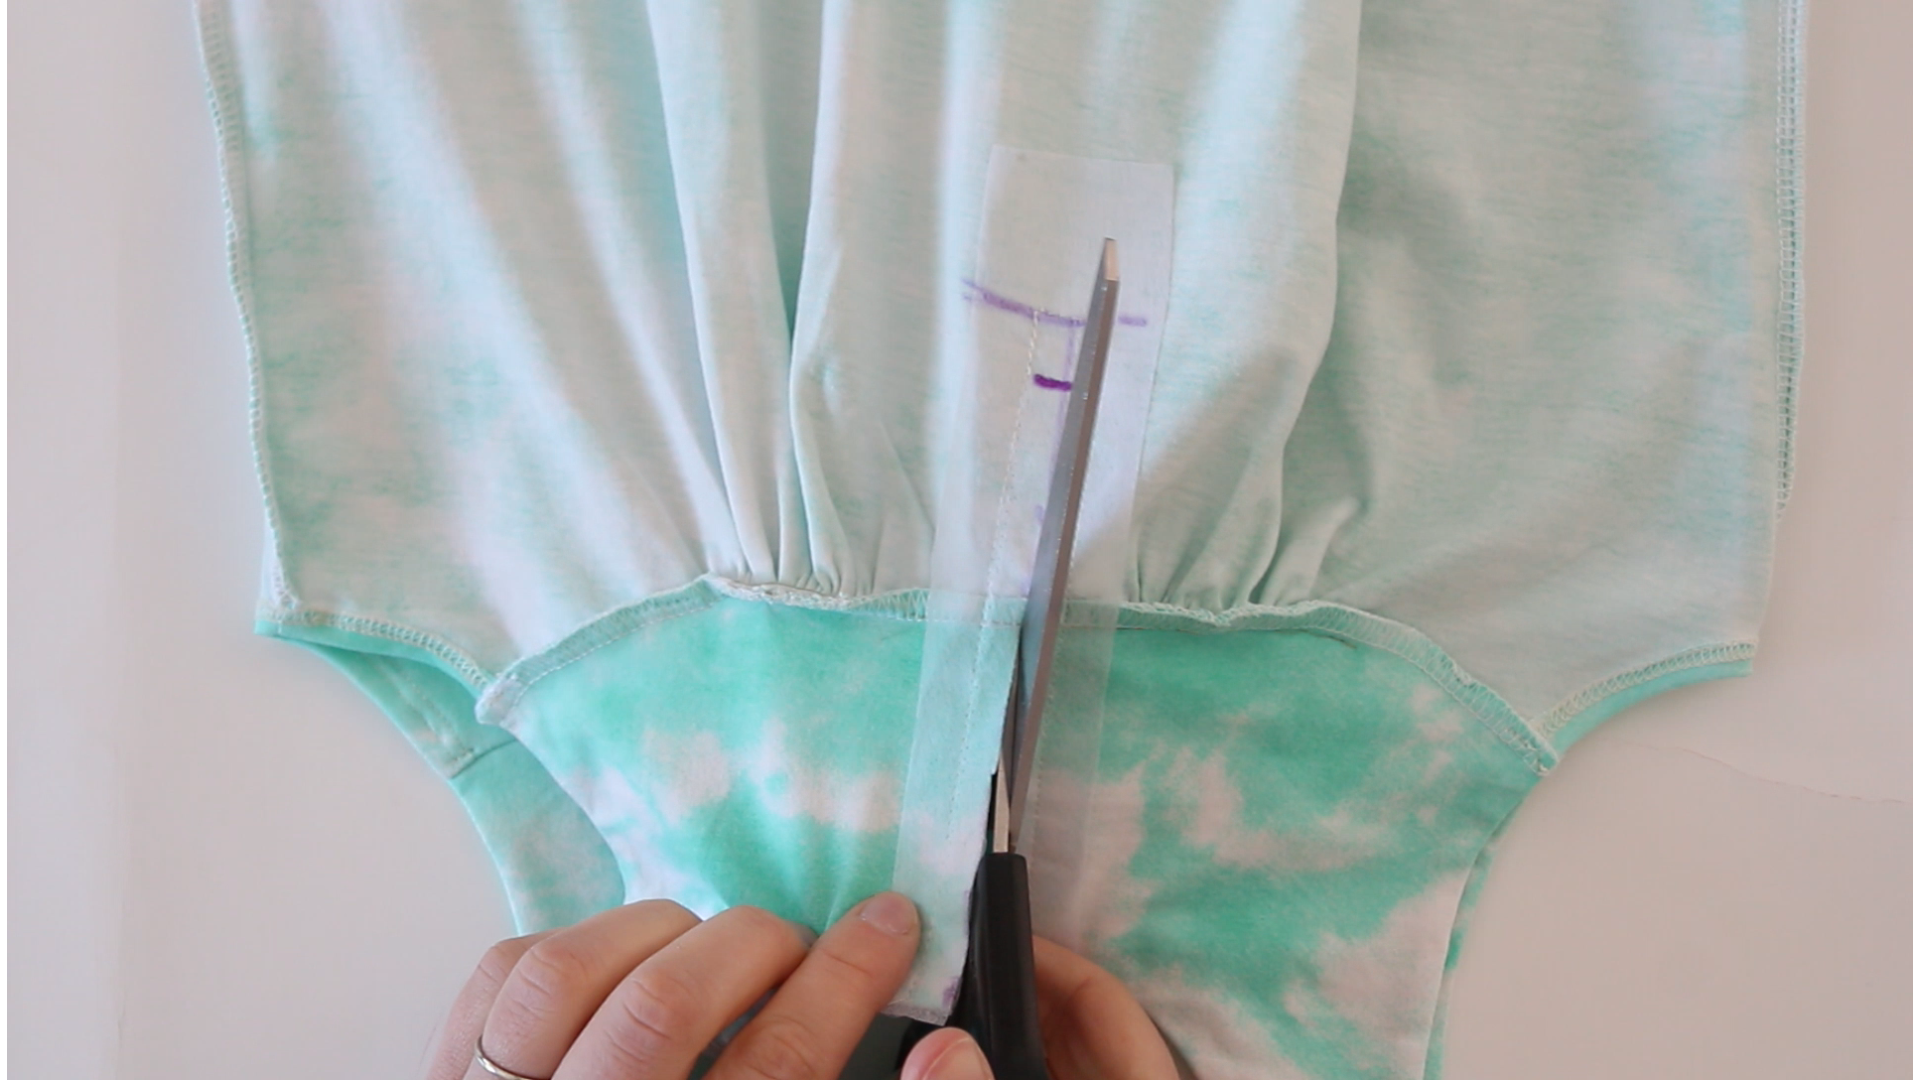
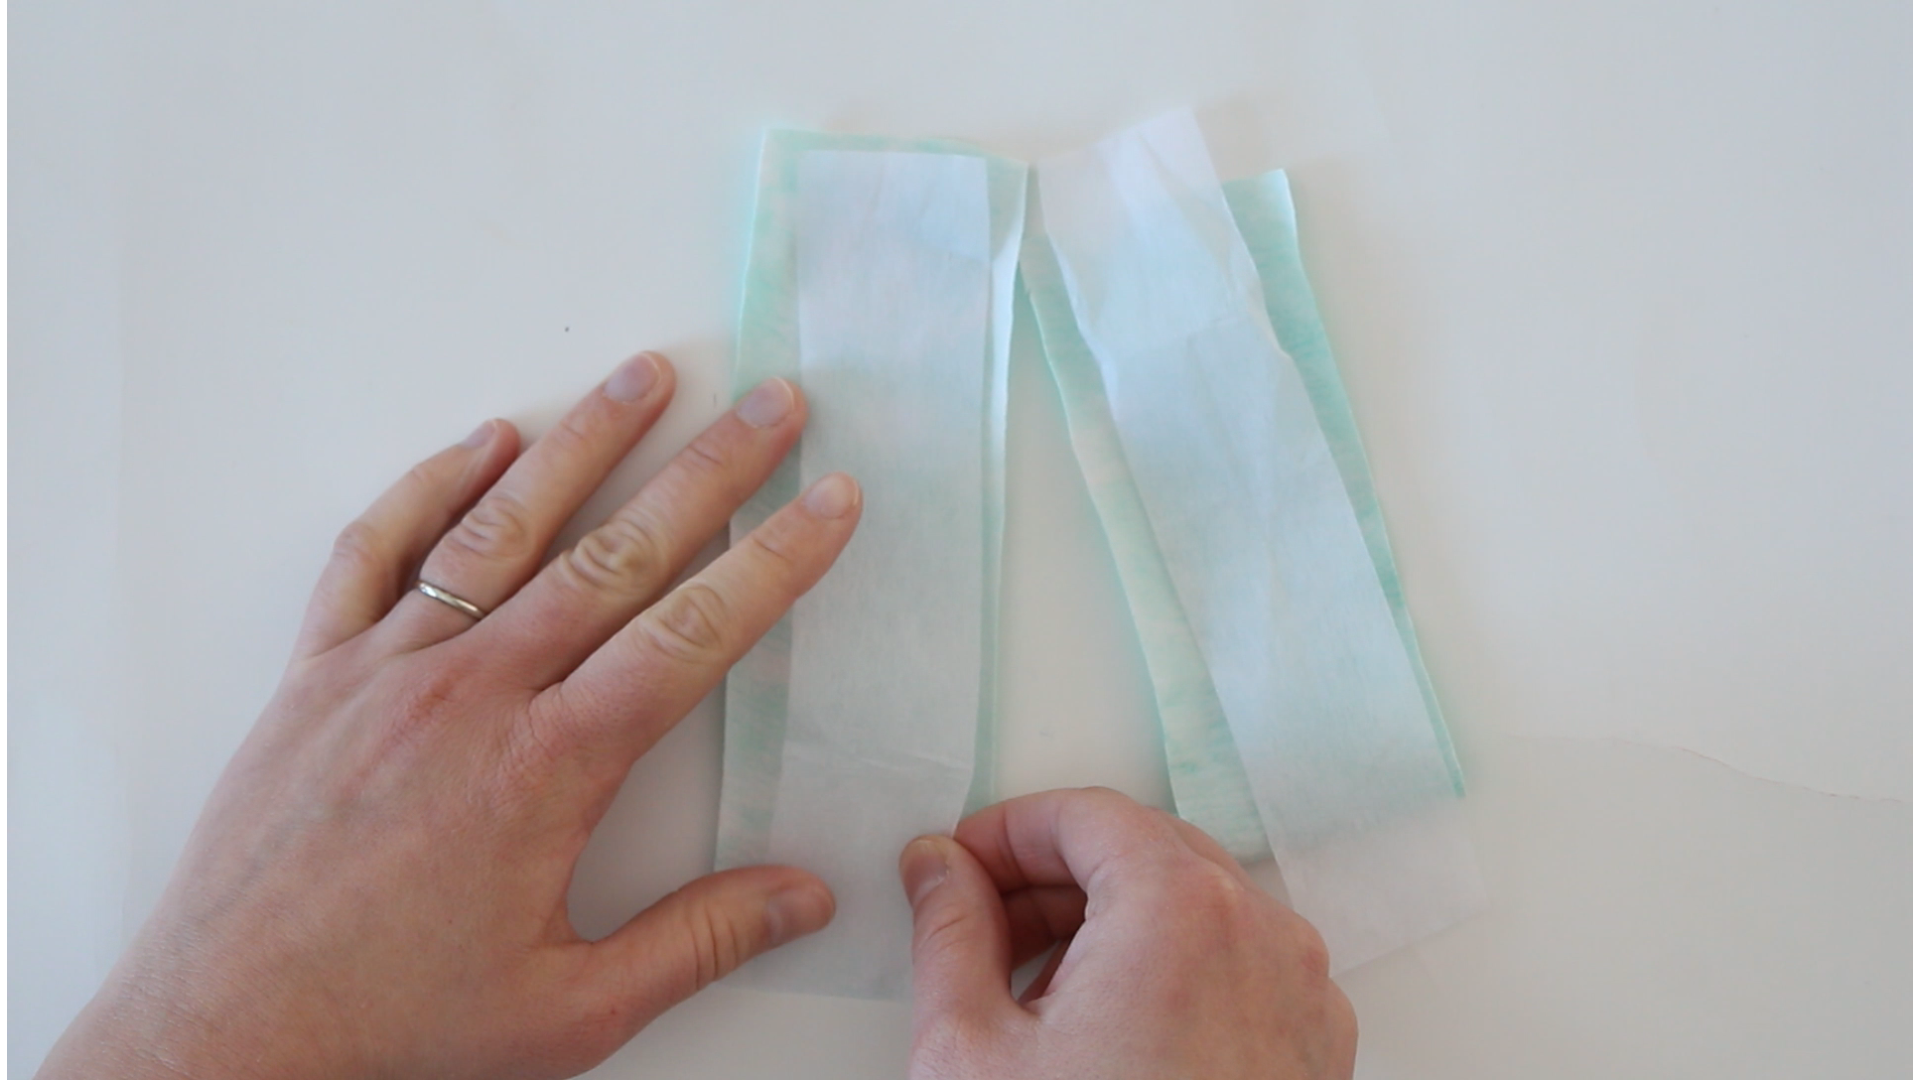
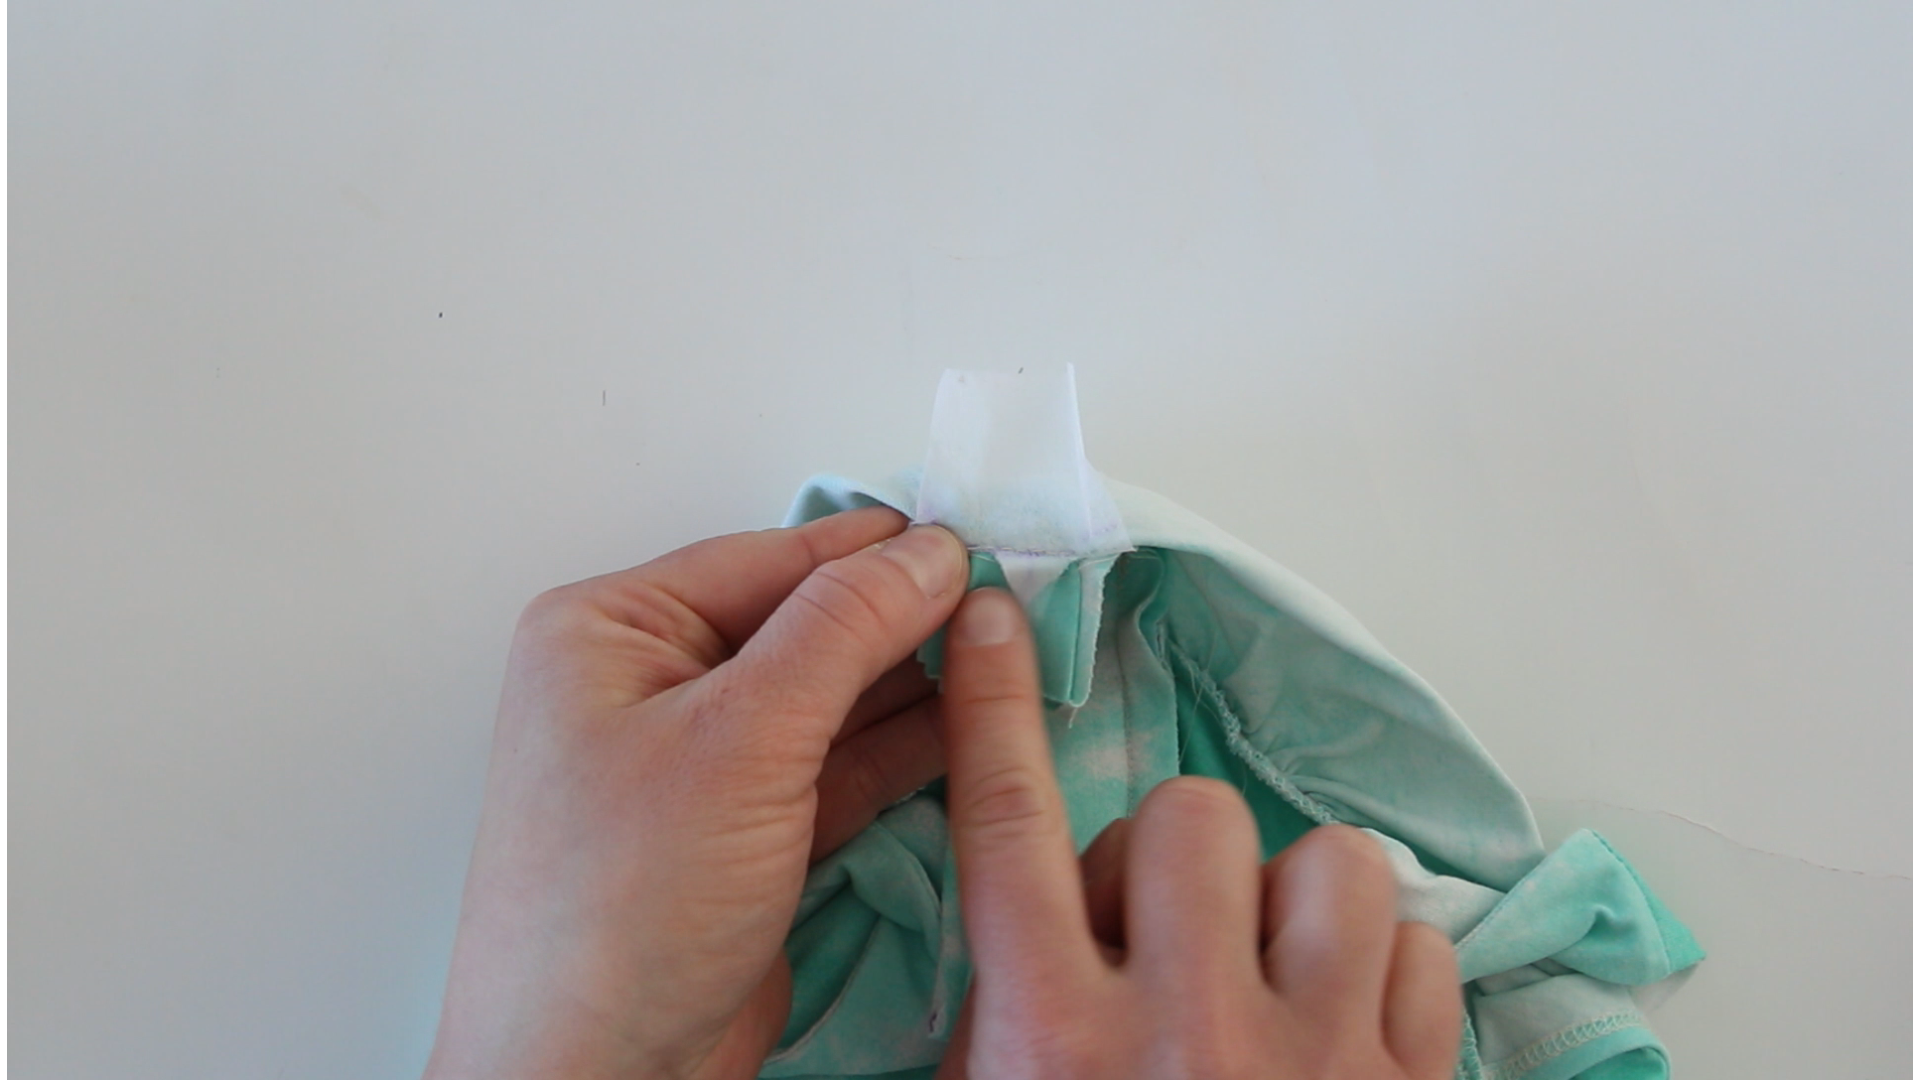
Step 1 is to fuse one strip of interfacing to the center of the dress and then draw and cut a line down the center of your dress. Fold it in half, RST, to mark 2 center points on the reverse of the front of your bodice, and use the mark on the pattern piece for the bottom of the placket. Draw the straight line down to the placket mark and stay stitch outside of those lines, staying ⅜” away on either side, as well as the bottom. Next we’re going to slice it open. Yes, this is terrifying. Measure ½” up from the bottom mark and make a new mark. Cut from the neckline down to this new mark, and then from that mark diagonally to each corner of the bottom of the placket, being sure to not snip through the stitching. Set this aside for the time being and grab your two placket rectangles and remaining 2 interfacing pieces.

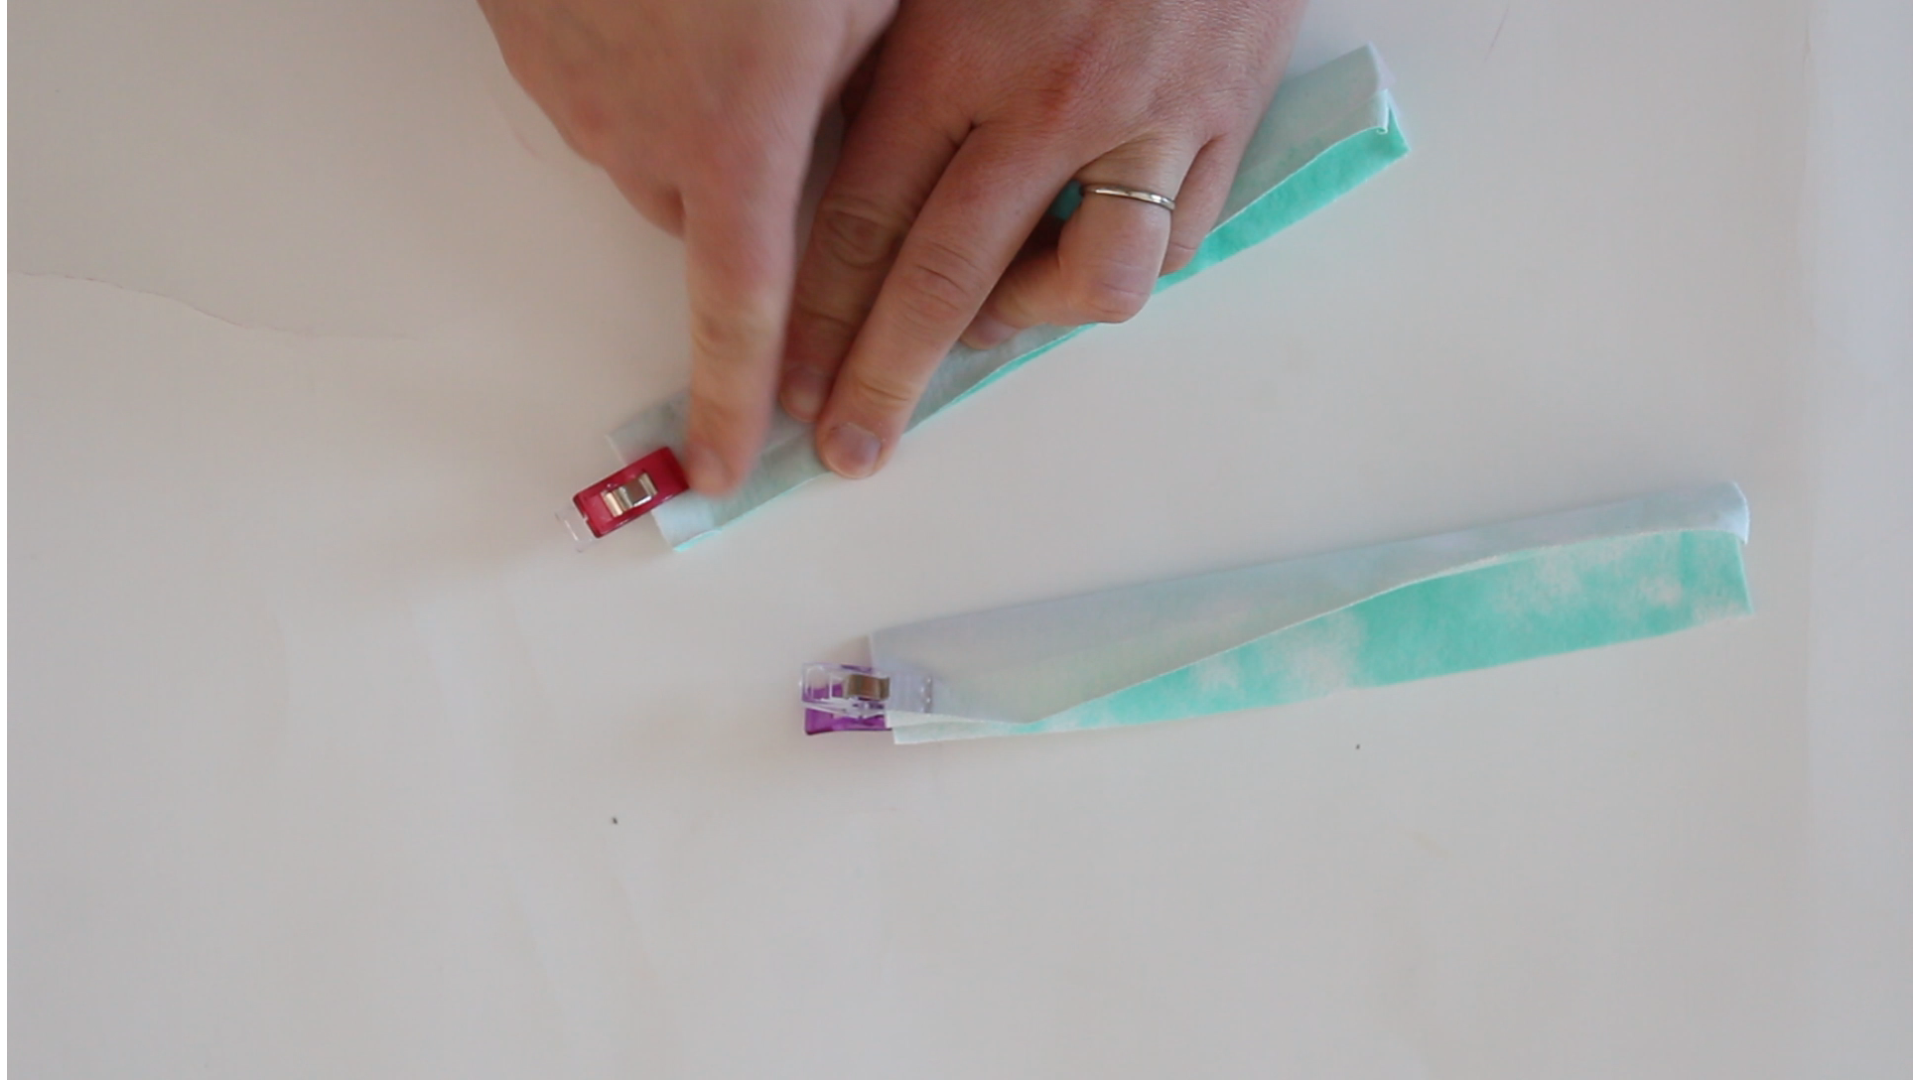
Fuse the interfacing to the wrong side of the placket pieces. Now fold each piece in half to align one long edge on top of the other, and stitch down one short side. I’m doing this step on my sewing machine for a crisper corner. Snip the corner off of each piece, being careful not to cut through stitching and turn right sides out. Press flat.

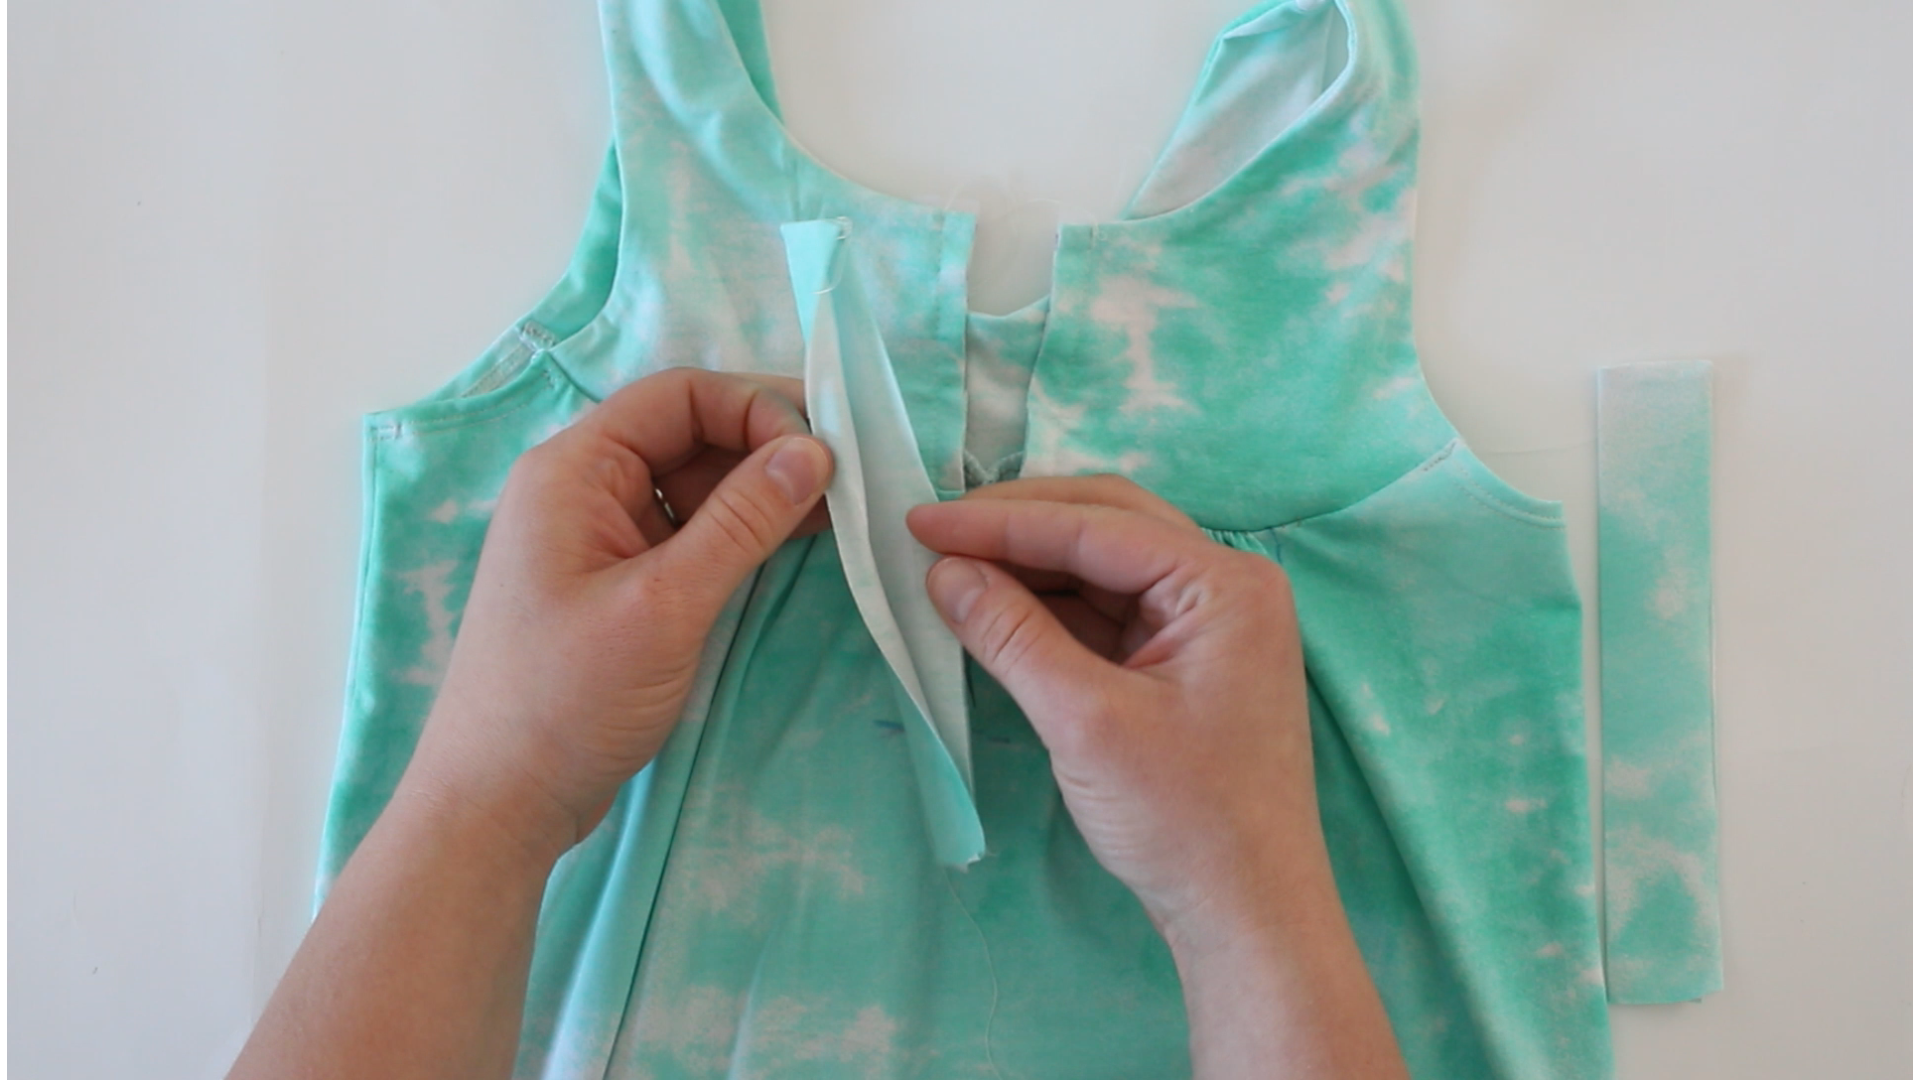
Now let’s attach these to the bodice. Align the long raw edge of the placket with the cut we made earlier. The finished, seamed edge of the placket should be along the neckline, and the open edge at the bottom. The folded edge of the placket will be closer to the side seam. Clip in place and then stitch it down overtop of our original stay stitching lines, from the back side of the front bodice. I used the lightning bolt stitch on my sewing machine. Repeat with the second placket piece.

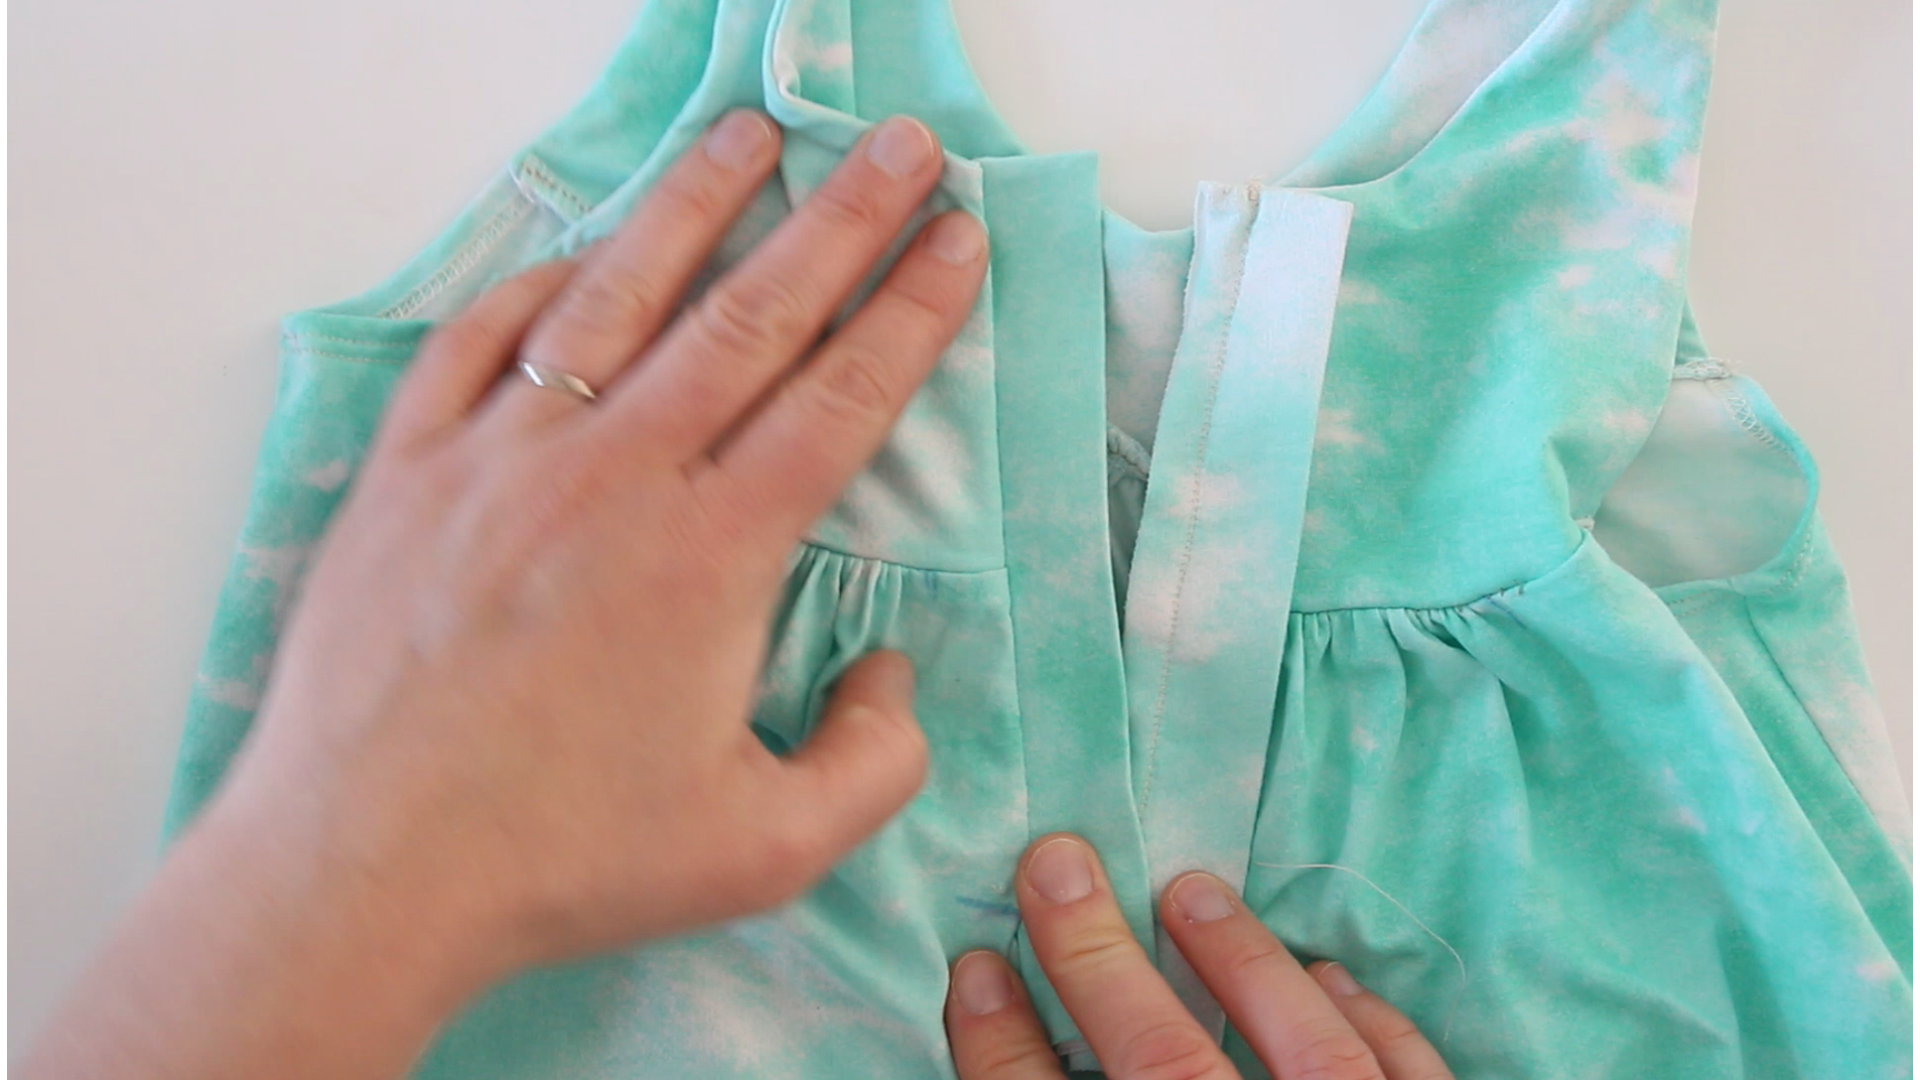
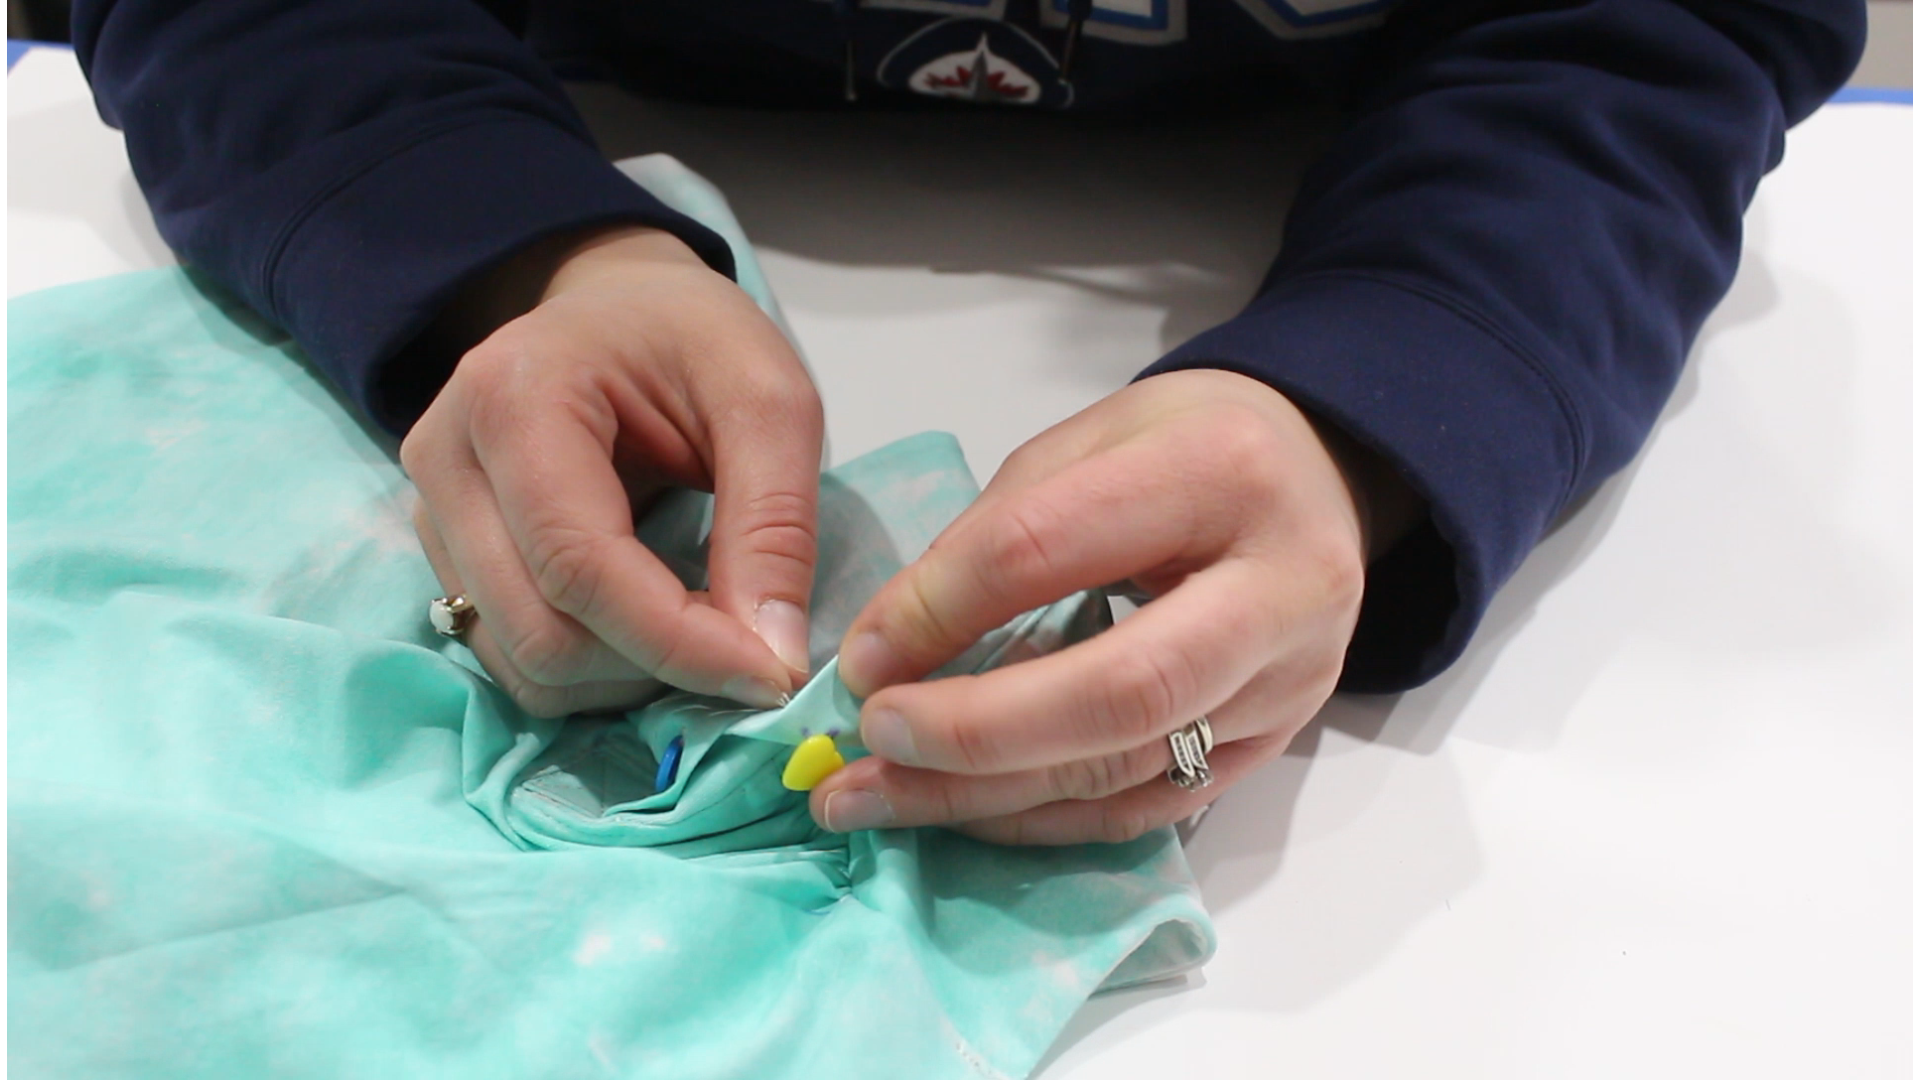
Flip the plackets open so the seam allowance is folded to the inside, as well as the remaining fabric on the bottom of the plackets. Overlap the plackets so that they are aligned nicely with the wearer’s left side placket on top. They should not extend past the stitch line. Pin or clip in place
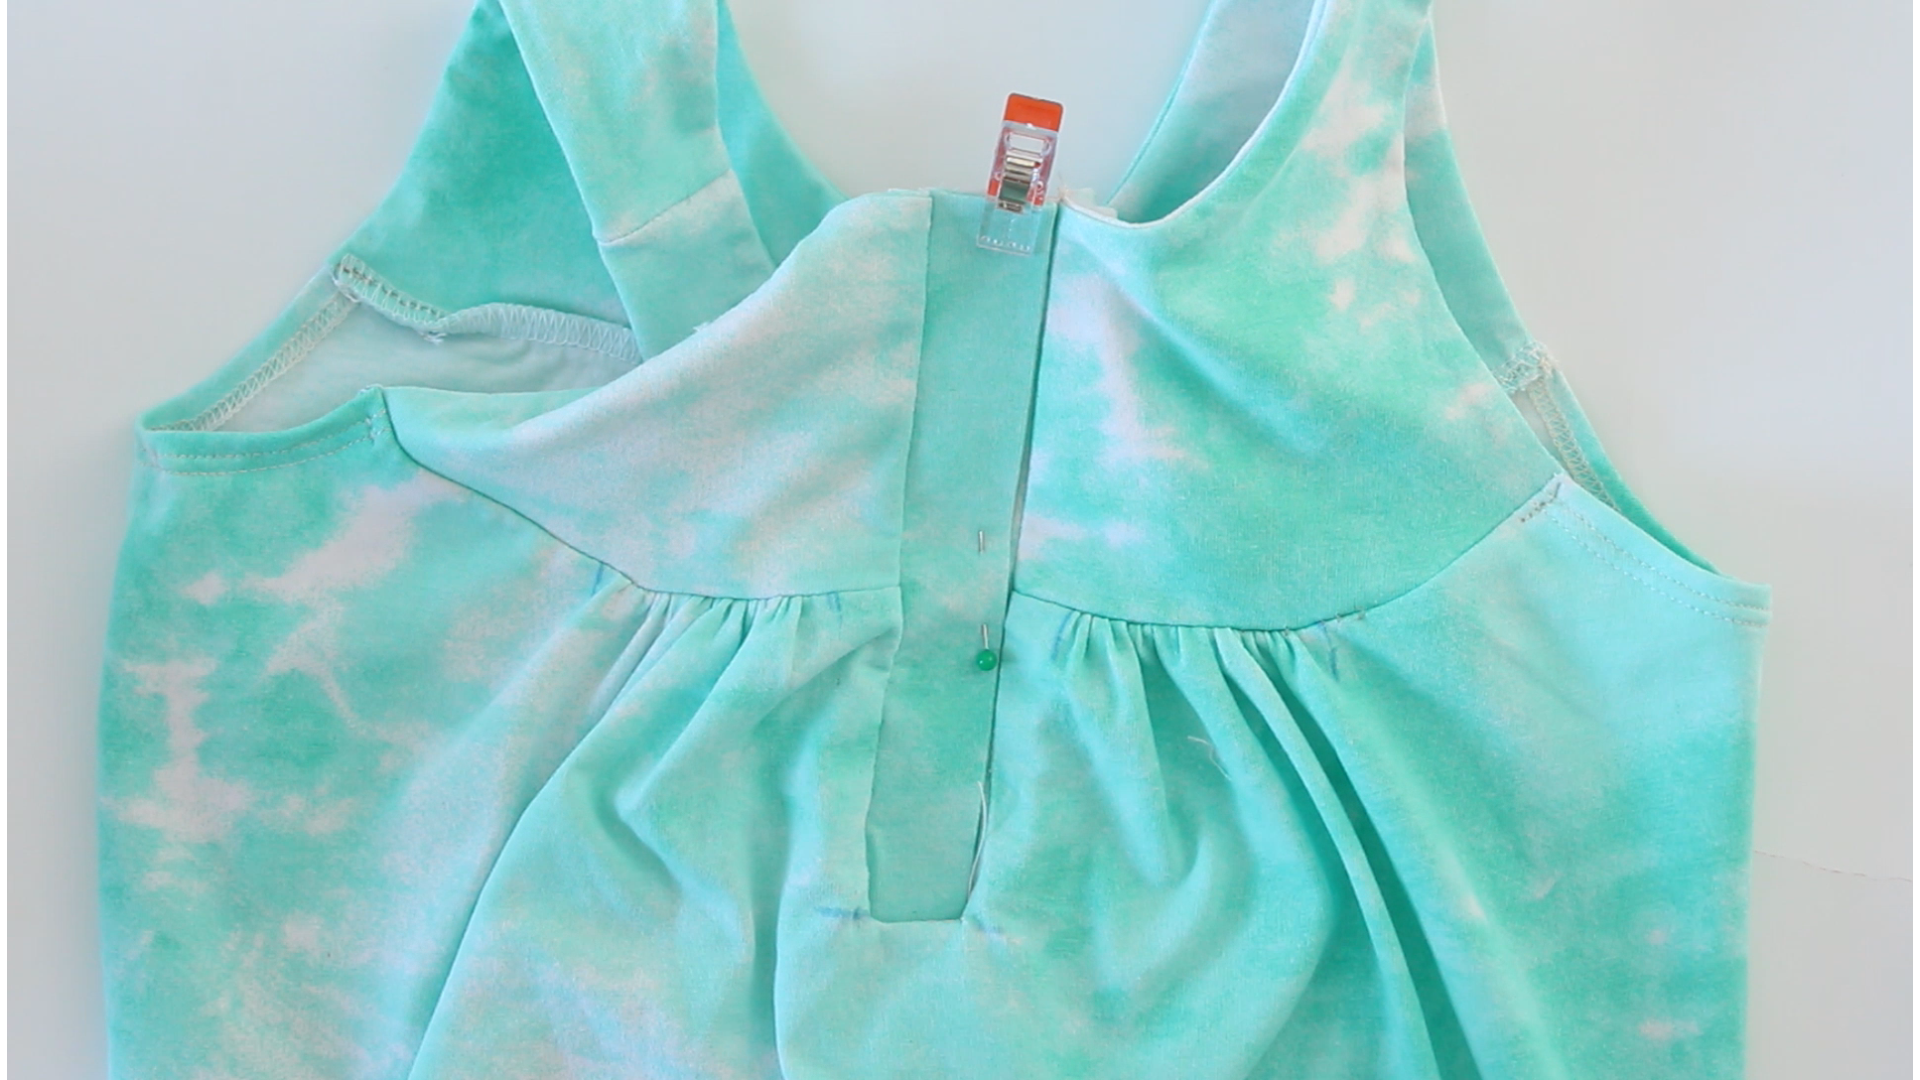
Fold the bottom of the dress out of the way to reveal the remaining little triangle from the original diagonal cutting. We’re going to stitch over that original stitching to secure the triangle piece of the main dress with the 2 placket pieces.
Grade the seam allowances on all 3 sides by trimming down the under layers and leaving the top layer untrimmed. Finish seams as desired.
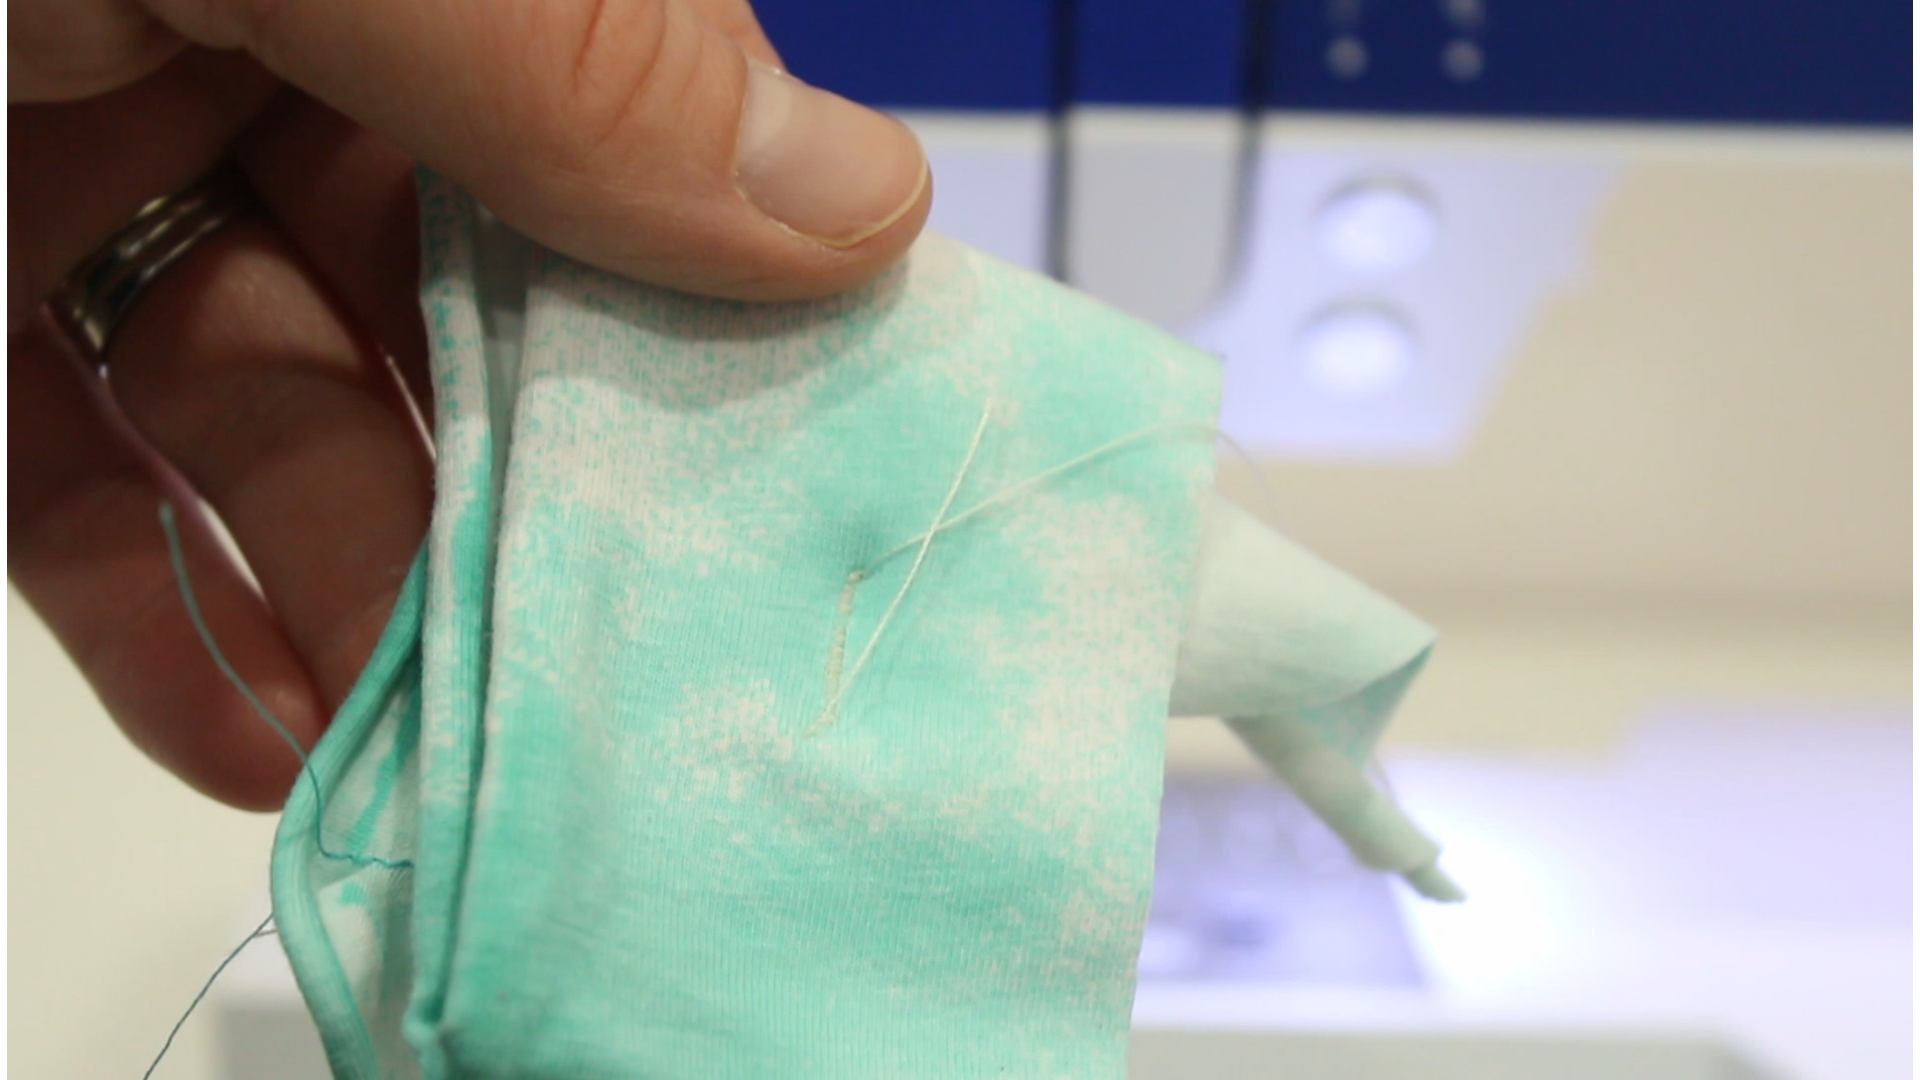
Press the plackets neatly and topstitch around all 3 sides. You’ll also notice that I did this extra square detail at the bottom of the placket. I like that for added stability and to offset the button placement a touch. Add your buttonholes and buttons. I highly recommend doing test buttonholes until you get things set correctly. This is a step I used to skip with major regret as you can see from this first try here.
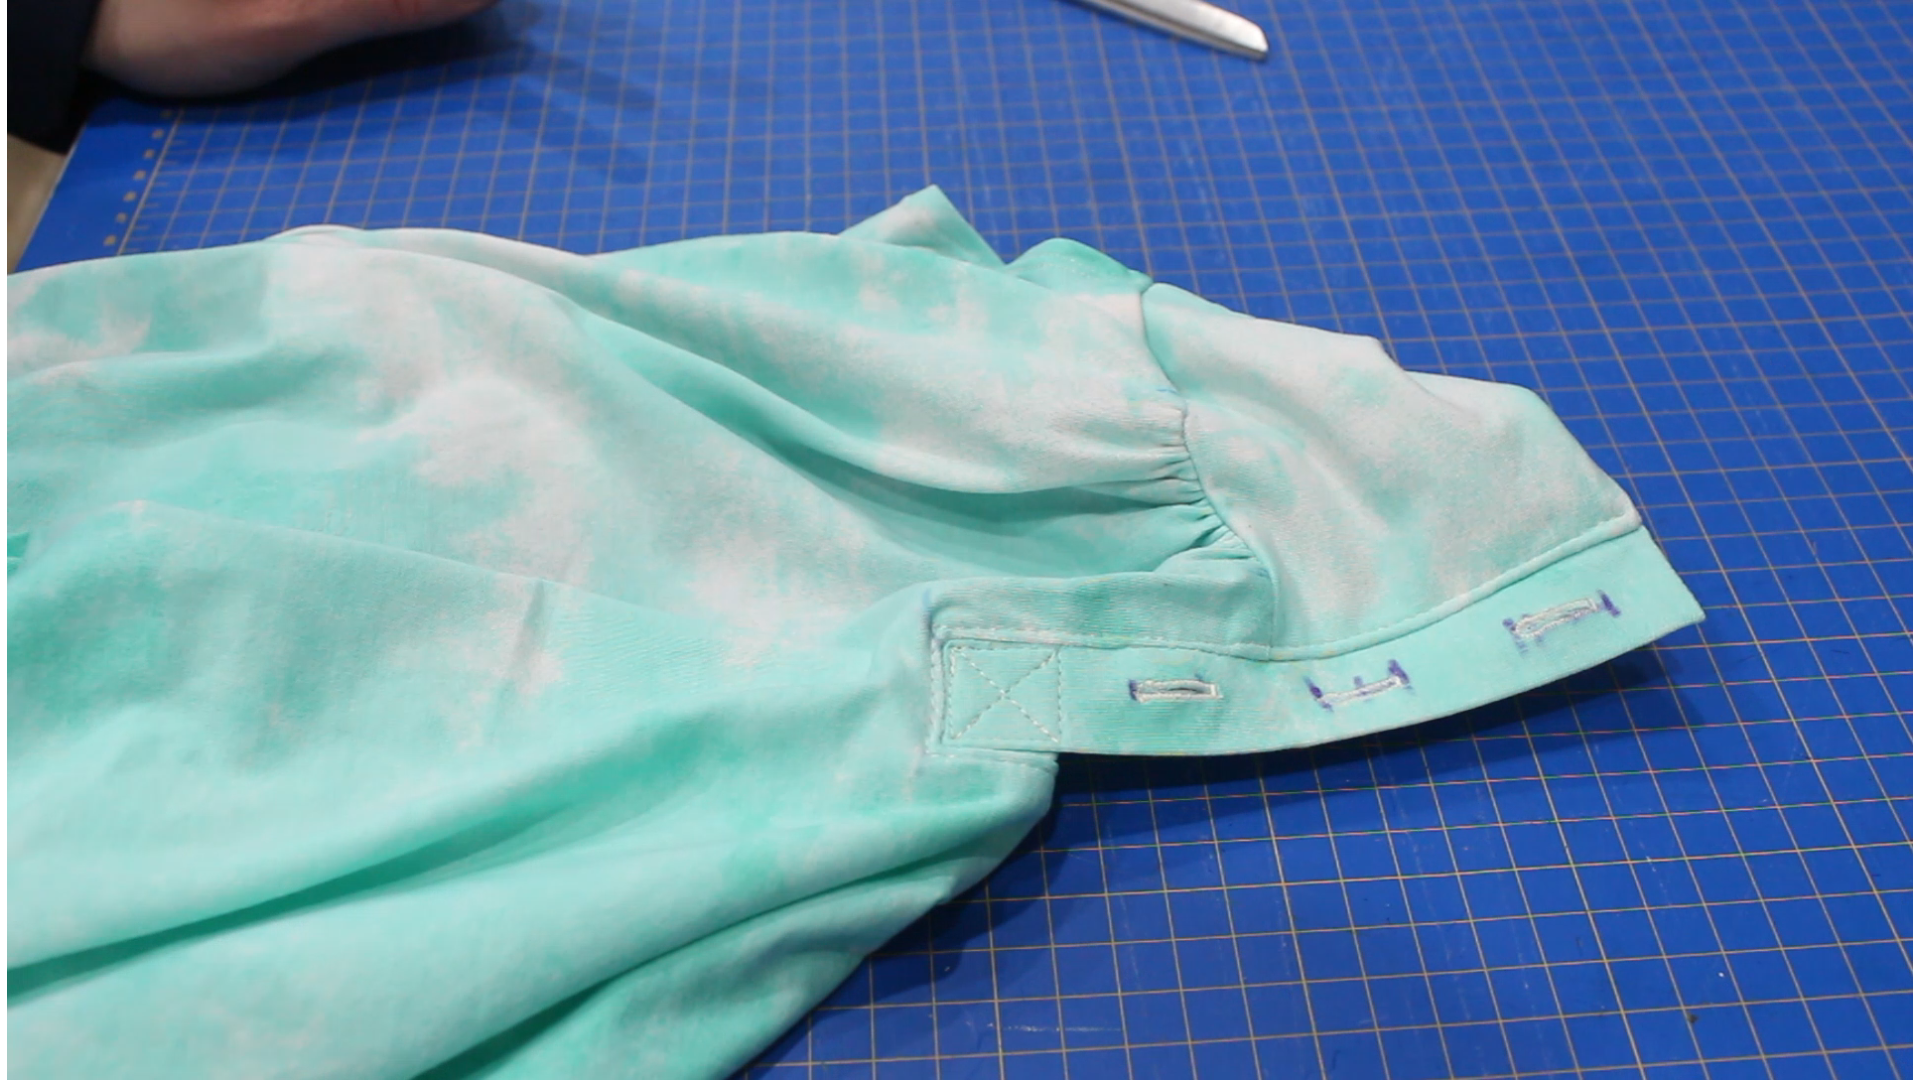
It took me a while to get things right, but once I did, I was off to the races! I chose to do these 3 colourful heart buttons and had to sew them on by hand since they are shanks.

Hemming
Finally, hem your dress! There are a few ways you can finish a curved hem. I have a video for a hem facing on my own channel, but for this tutorial I actually chose to just run a line of basting stitches at the ¾” fold line as a guide for turning and pressing before running it through my coverstitch machine. Because it’s such a gentle curve, I recommend taking your time to mark out the hem, press it carefully and then clip in place to secure as you stitch it down. If you don’t have a coverstitch or twin needle, you can serge the edge ahead of time and then do a zigzag top stitch for a nice finish.
Phew. And that’s it! Admire your handiwork and enjoy your new garment!

Thanks so much for watching, liking, commenting & subscribing. It really does help us out! Bye til next time!