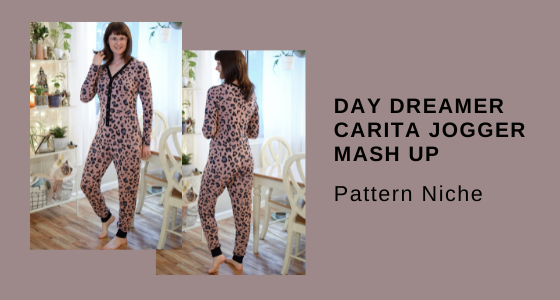
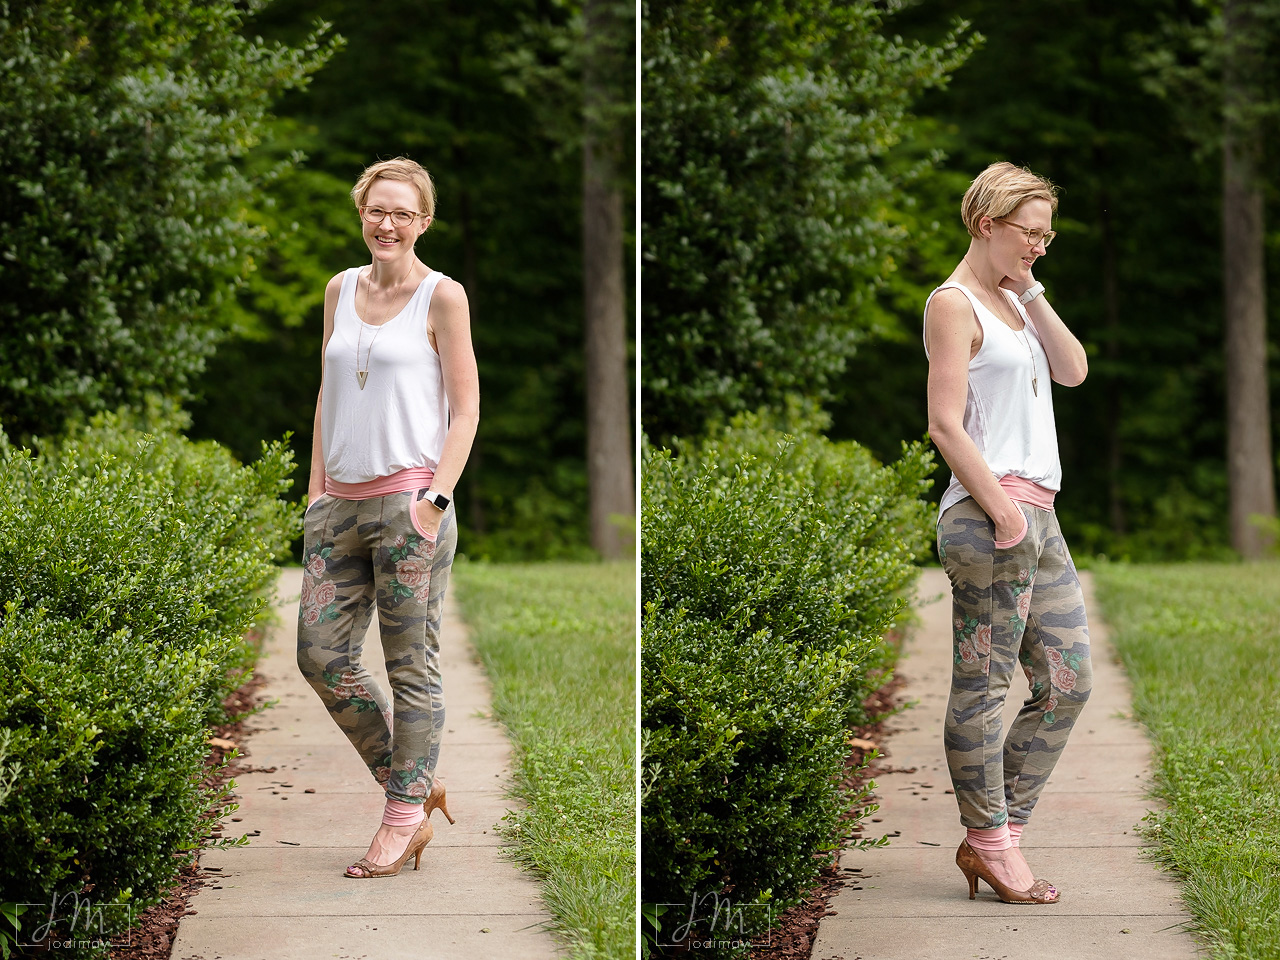
Jodi is on our blog today to show you how fitting slim pants doesn’t have to be scary. In this post she will be using the Carita Joggers.
Would you believe that I had to customize these pants across 4 different sizes? This was not a straight forward grading exercise – and I will explain it fully below. The exact same concepts I’m going to cover below apply if you have small calves (or knees or ankles), I’m just talking about big legs here because that’s the genetic lottery I won. 😉
I had the chance to test the Carita Joggers when they released. Up until then I had kept a safe distance from joggers. Slim legs scare me – and you’ll see why on the size chart in a minute. But Pattern Niche is definitely one of my favorite pattern designers, so I knew I wanted to give these a chance.
Here is the size chart for the joggers:

And my measurements are:
Waist 29” (size 6/8), Hip 39” (size 8/10), Calf 16” (size 18) !!!!
This is not super shocking to me. Finding knee high boots has always been a challenge. Store bought skinny jeans are always too snug in the calf. But it’s a little intimidating to try to adjust a pattern between 4-5 sizes – hence why I have just avoided joggers. 😉
Let’s Talk About Grading
Let’s STOP HERE for a second and talk about grading. Grading is a simple concept and there are lots of good tutorials on grading out there. I’m not talking about my hips being a 10 and my calves being a 12. That would be a simple grading exercise.
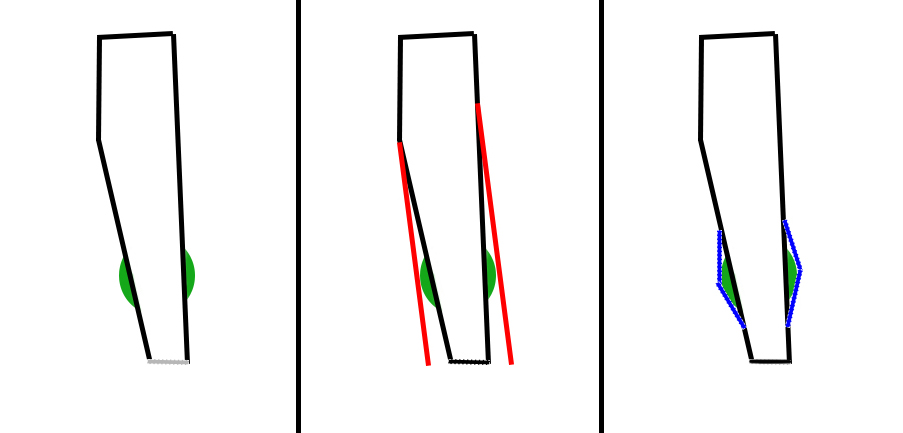
What I needed to do for a proper fit of these joggers was find the correct way to get from a size 10 hip to a size 18 calf for my unique legs. (That is, of course, the point of custom making your own clothes.) Straight grading from a 10 to an 18 was not the right solution for me. Why? Because I don’t have size 16 knees and that’s how a straight grade from hip to calf would have worked out – gradually building out to a size 18 all the way down.
This very rough diagram shows the difference in a straight grade (middle picture), and the grade I need (last picture).
So how did I figure out where to start and stop my grade?
I did this with no pants on when I measured at home and that’s how I’d recommend you do it – to get your truest body measurements. But for the sake of the internet, I’m going to demonstrate in leggings. 😉 Get a soft tape measure and hold it against center crotch and along the inseam of your leg. (This is hard to do while trying to photograph as well, but pretty easy to measure yourself otherwise.)

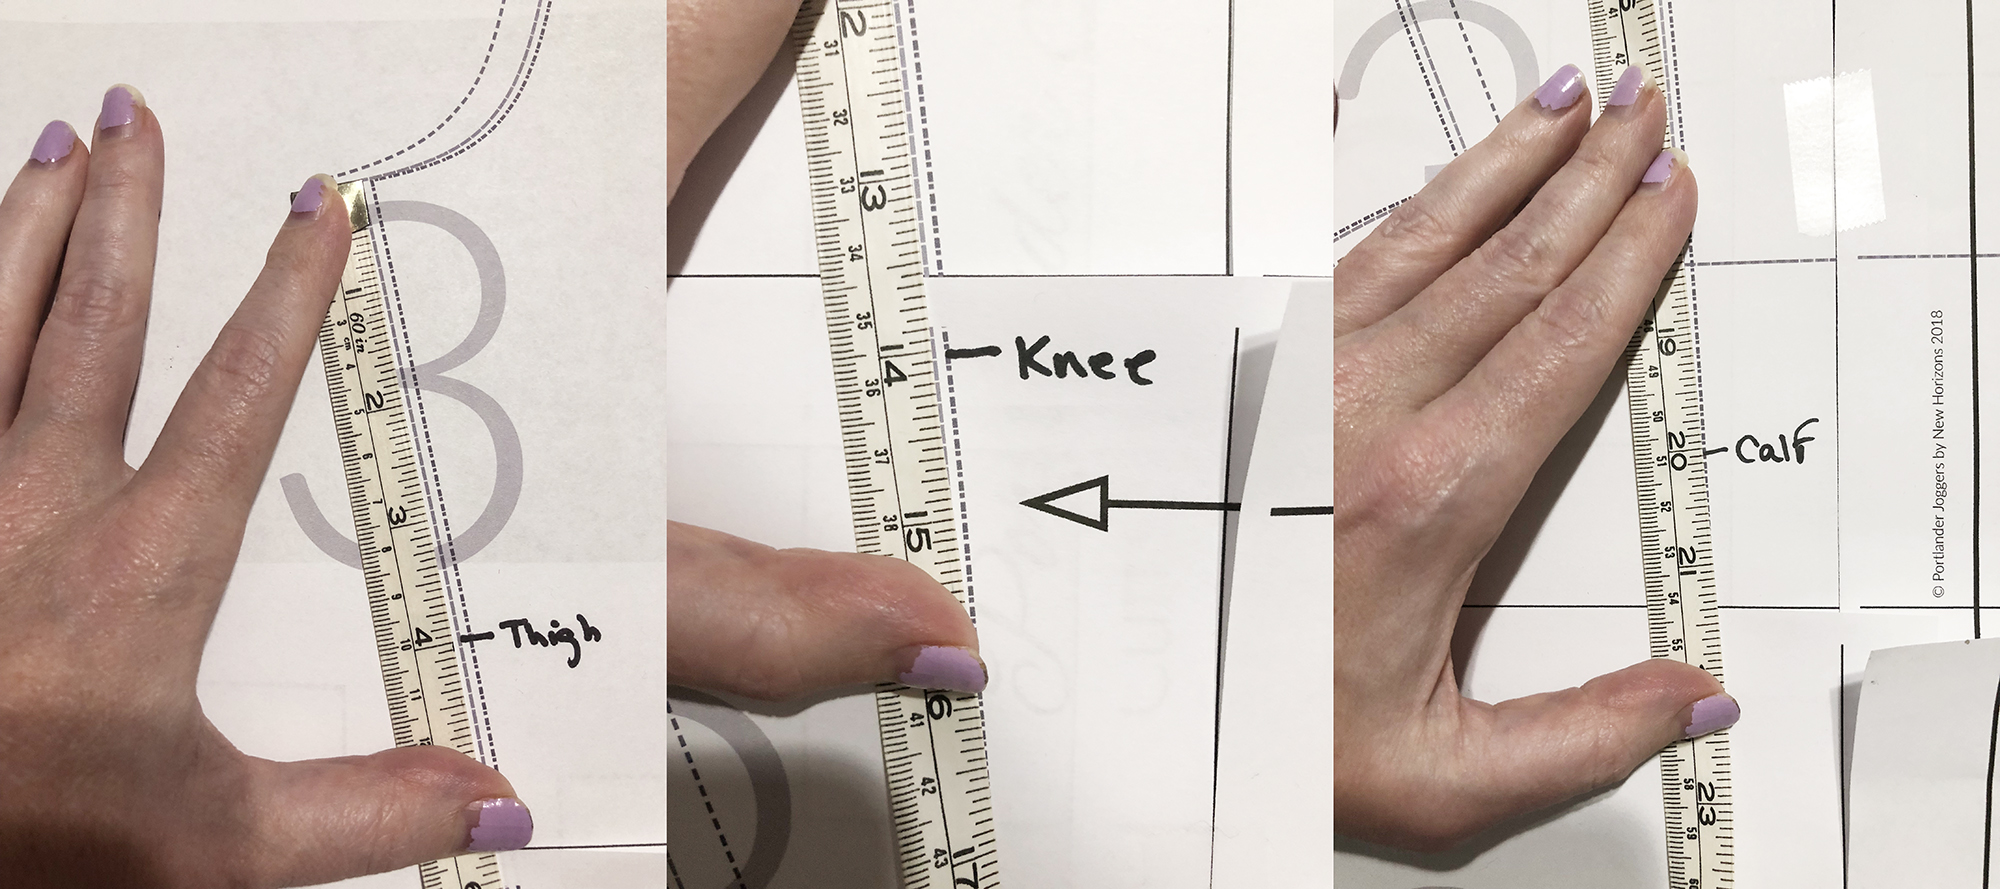
Make note of some of the distances along your inseam (starting at center crotch and moving down your leg). For me, the widest part of my thigh is 4 inches down, my knee is 14 inches down, the widest part of my calf is 22 inches down, and my ankle is 30 inches down.
Now, at each one of those points, take your measurements. (I did not photograph this part, but my measurements are thigh 21″, knee 15″, calf 16″, ankle 9.5″)
NOW we can get started. Grab your pattern. I printed mine to only show the size 8, 10, and 18 layers. Using a measuring tape, mark down the inseam to show where your individual thigh, knee, calf, and ankle measurements fall. (Do this on the front and the back.)
Now math. No groaning allowed. Just grab some scratch paper or write directly on your pattern.
At each of the points you just marked on the inseams of your pattern, measure directly across the width of the pattern and write down that measurement. I wanted to see if my thigh, knee, and ankle would all fit into the size 10 so I measured that size first. (We already knew from the size chart that my calves do not fit the 10 and will need the size 18.) The front and back of pants are not symmetrical, so you need to do this exercise on both the front and the back pieces to get an accurate pattern size. Don’t forget to factor in seam allowance! Total thigh measurement of the pattern = front thigh distance across + back thigh distance across – seam allowances.
For the size 10, this pattern has 22″ of room at the widest part of my thigh, 16″ of room at my knee, and 12″ of room at my ankle. Perfect! We know exactly what we need to grade properly. My thigh, knee, and ankle will all fit into the size 10 so we only grade for the calves. (I probably could have graded into a smaller ankle, but didn’t worry about that because I knew the cuff would cinch the ankle in.)
The thick black line is what my grade ended up looking like for the front leg. I did start my grade just a hair above the knee to allow for a smoother grade line. (This was a tester version of the pattern – ignore the repeating page numbers.)
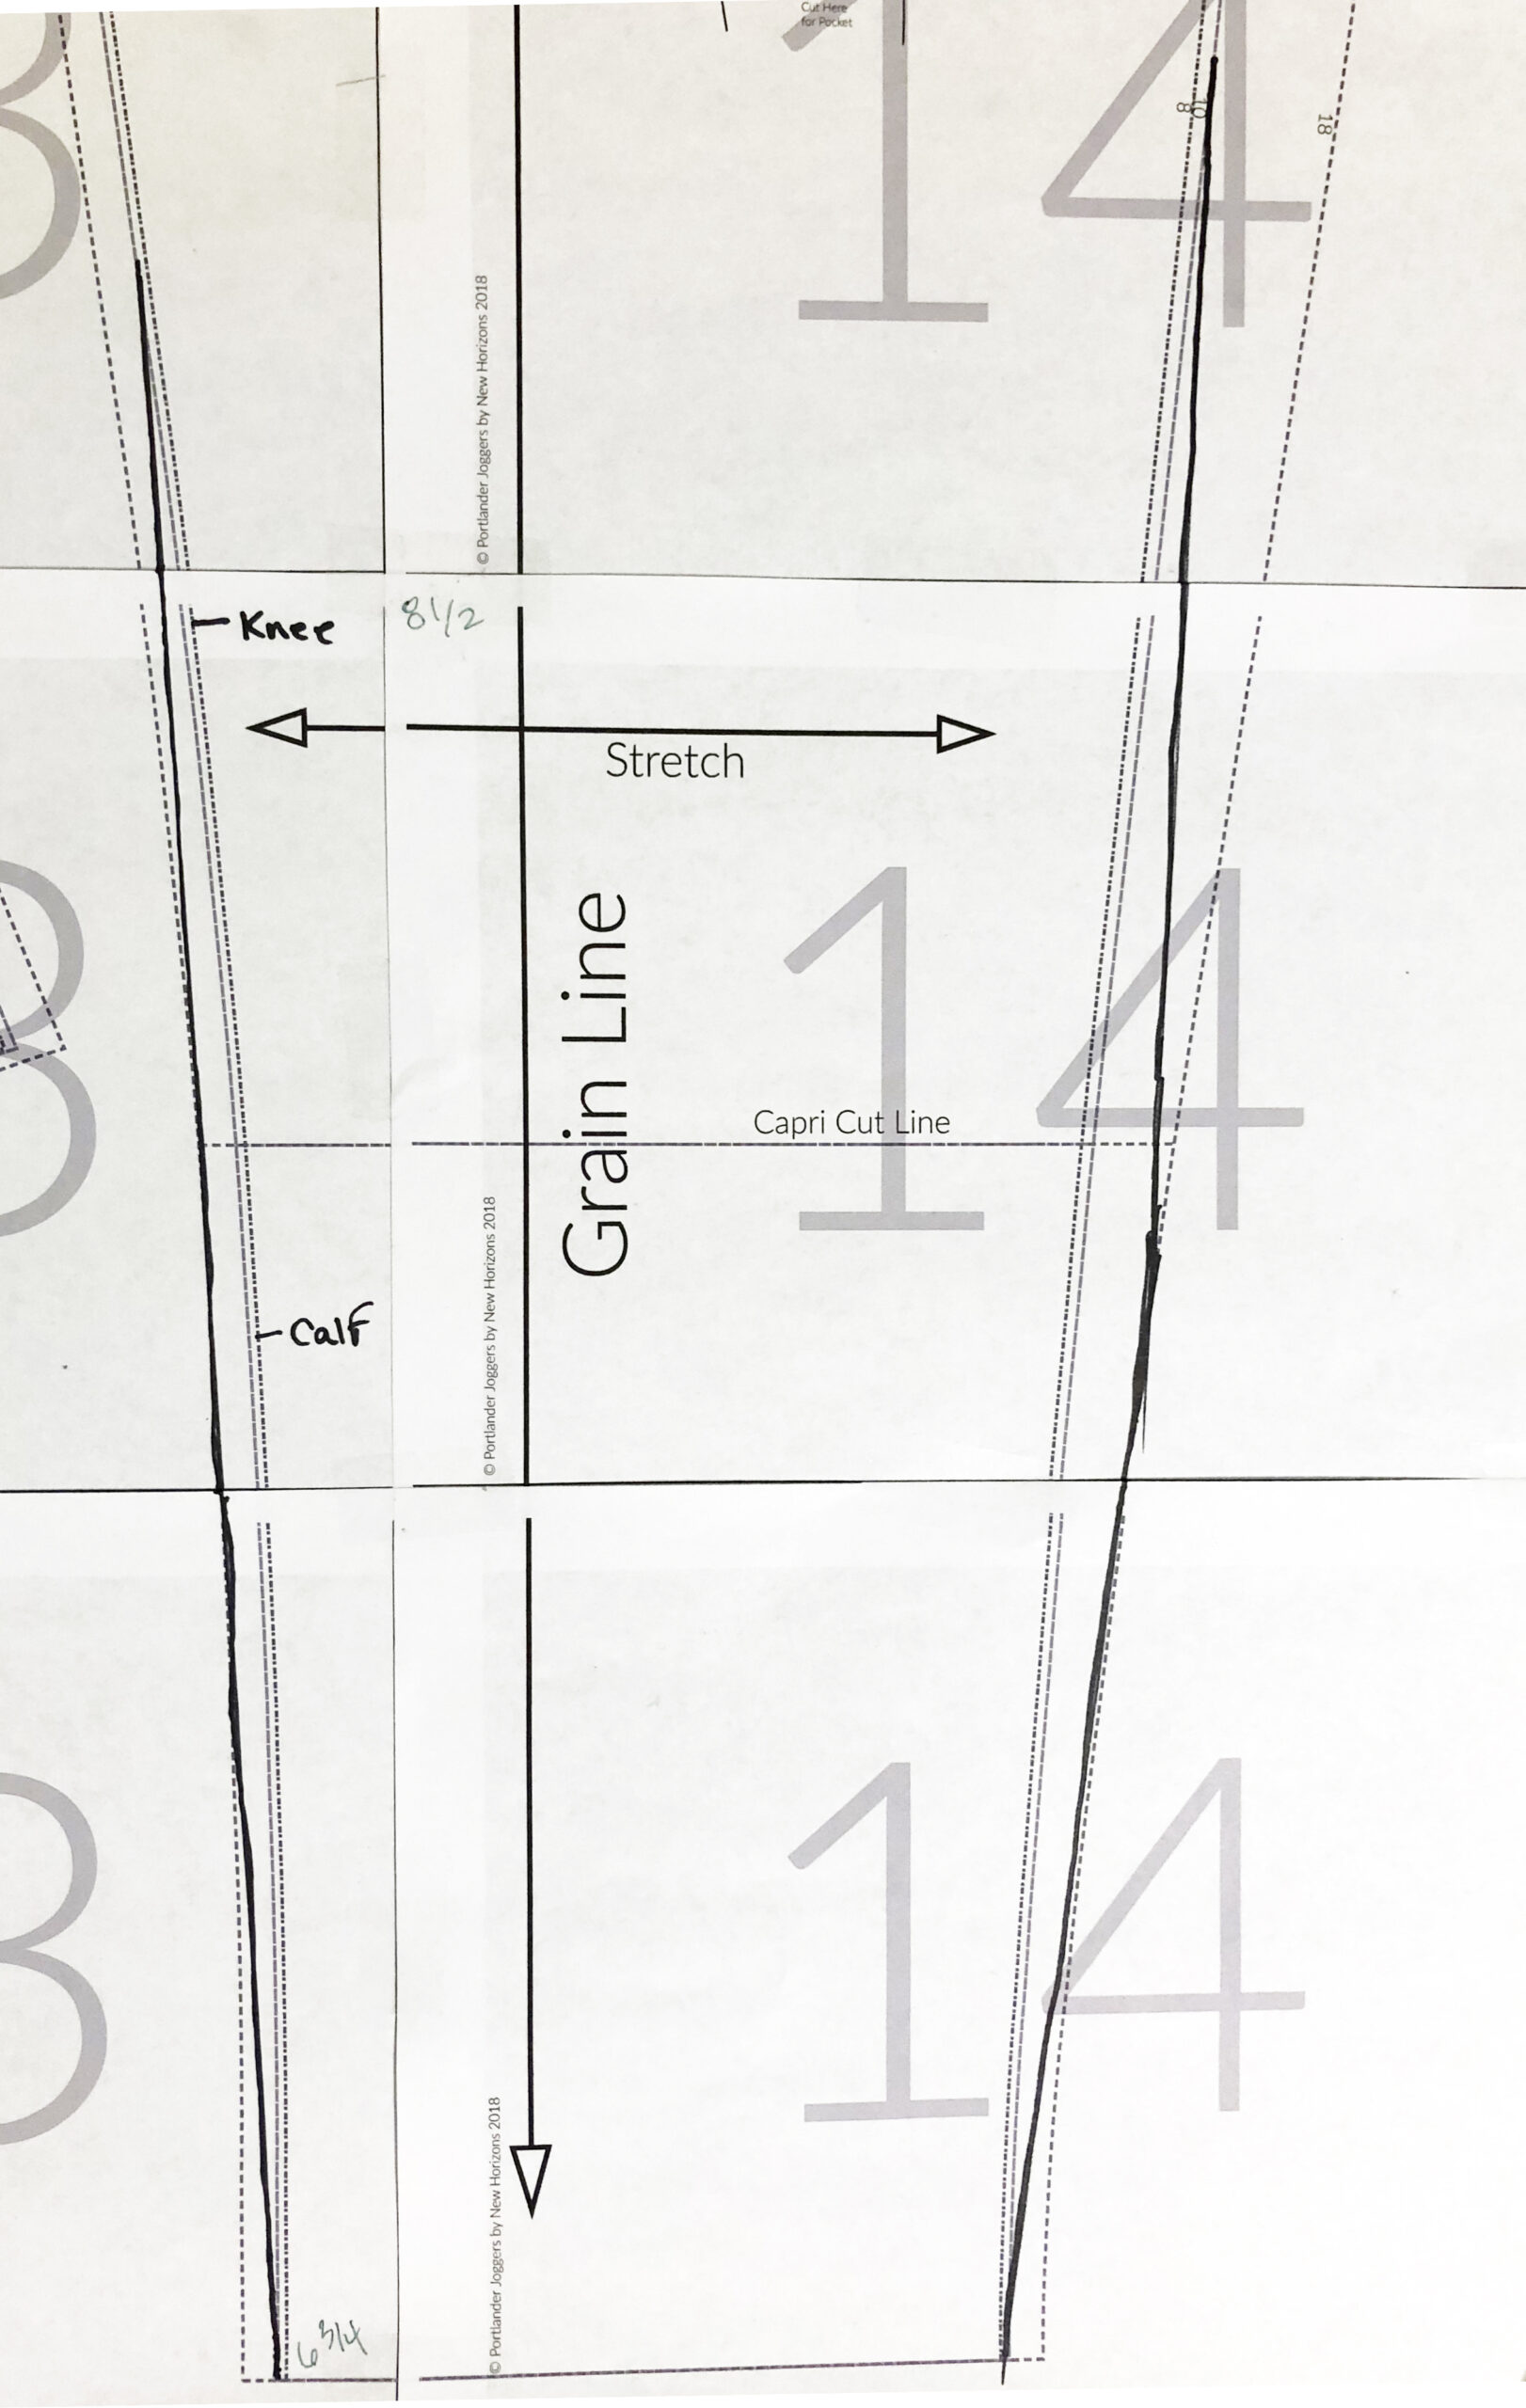
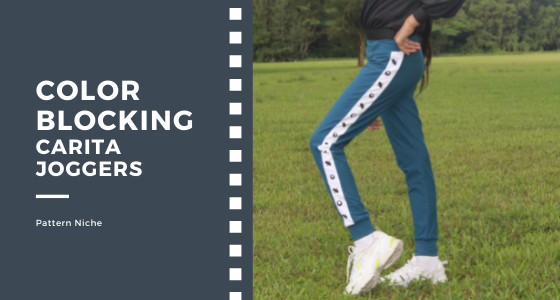
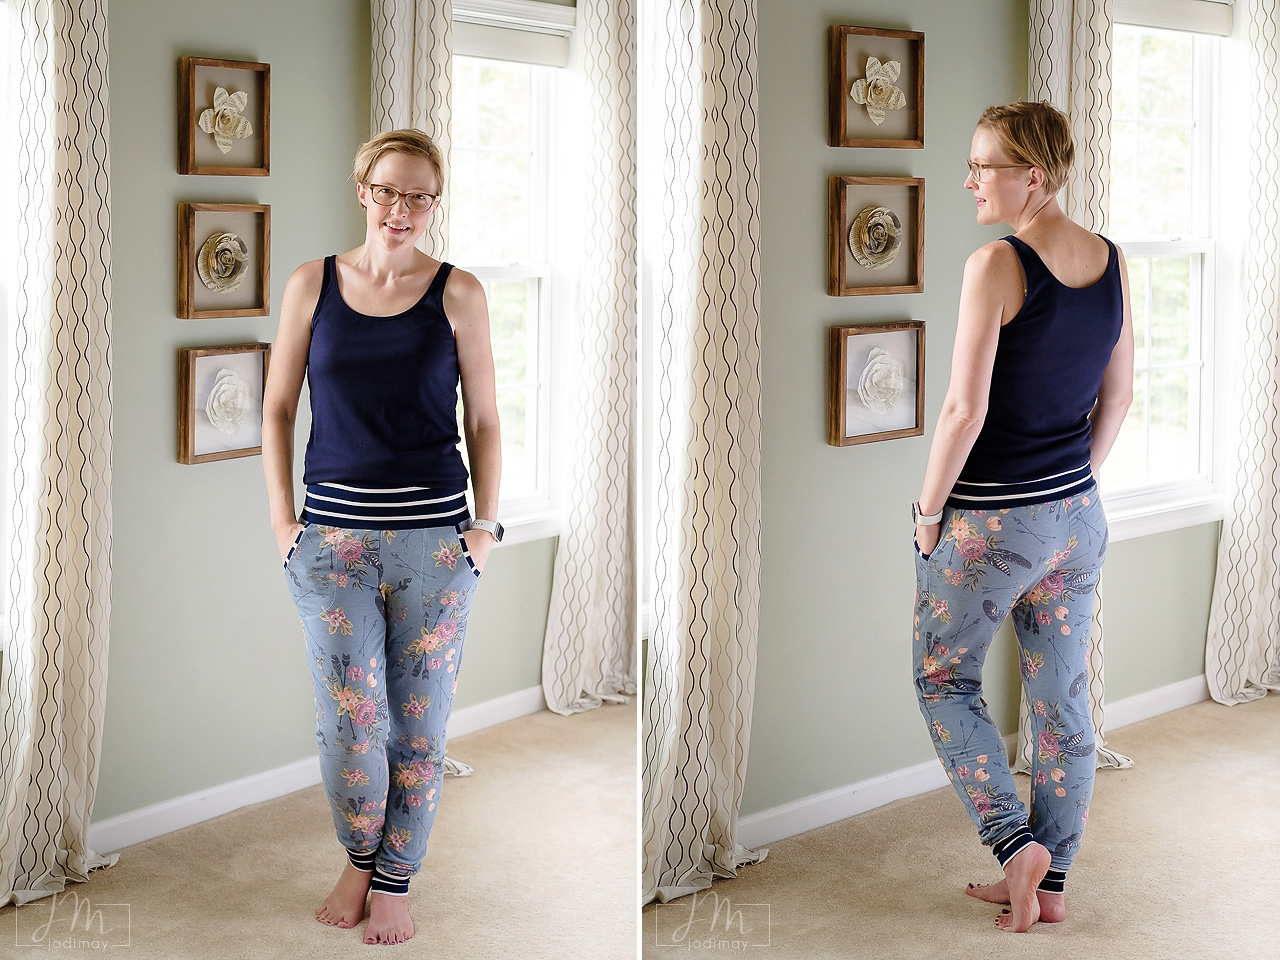
I repeated the same concept on the back leg. Starting just above the knee at a size 10, worked my way out to the size 18 calf and back into a 10 ankle. And here is another version of the finished product. I couldn’t be more happy with the customized fit and ADORE everything about this pattern.
Let me know if you have any questions and thanks for stopping by!
Check out our Facebook group and Instagram #patternniche