Hi! This is Amanda from MeadowSews and today I’m going to show you two ways to line the Summit Peak hoodie! Lining the Summit Peak hoodie can be done in two ways. The first method gives you a fully lined hoodie with a seamless hood. The second makes a reversible hoodie with pocket access from both sides!
Lining the Summit Peak Hoodie with Seamless Hood
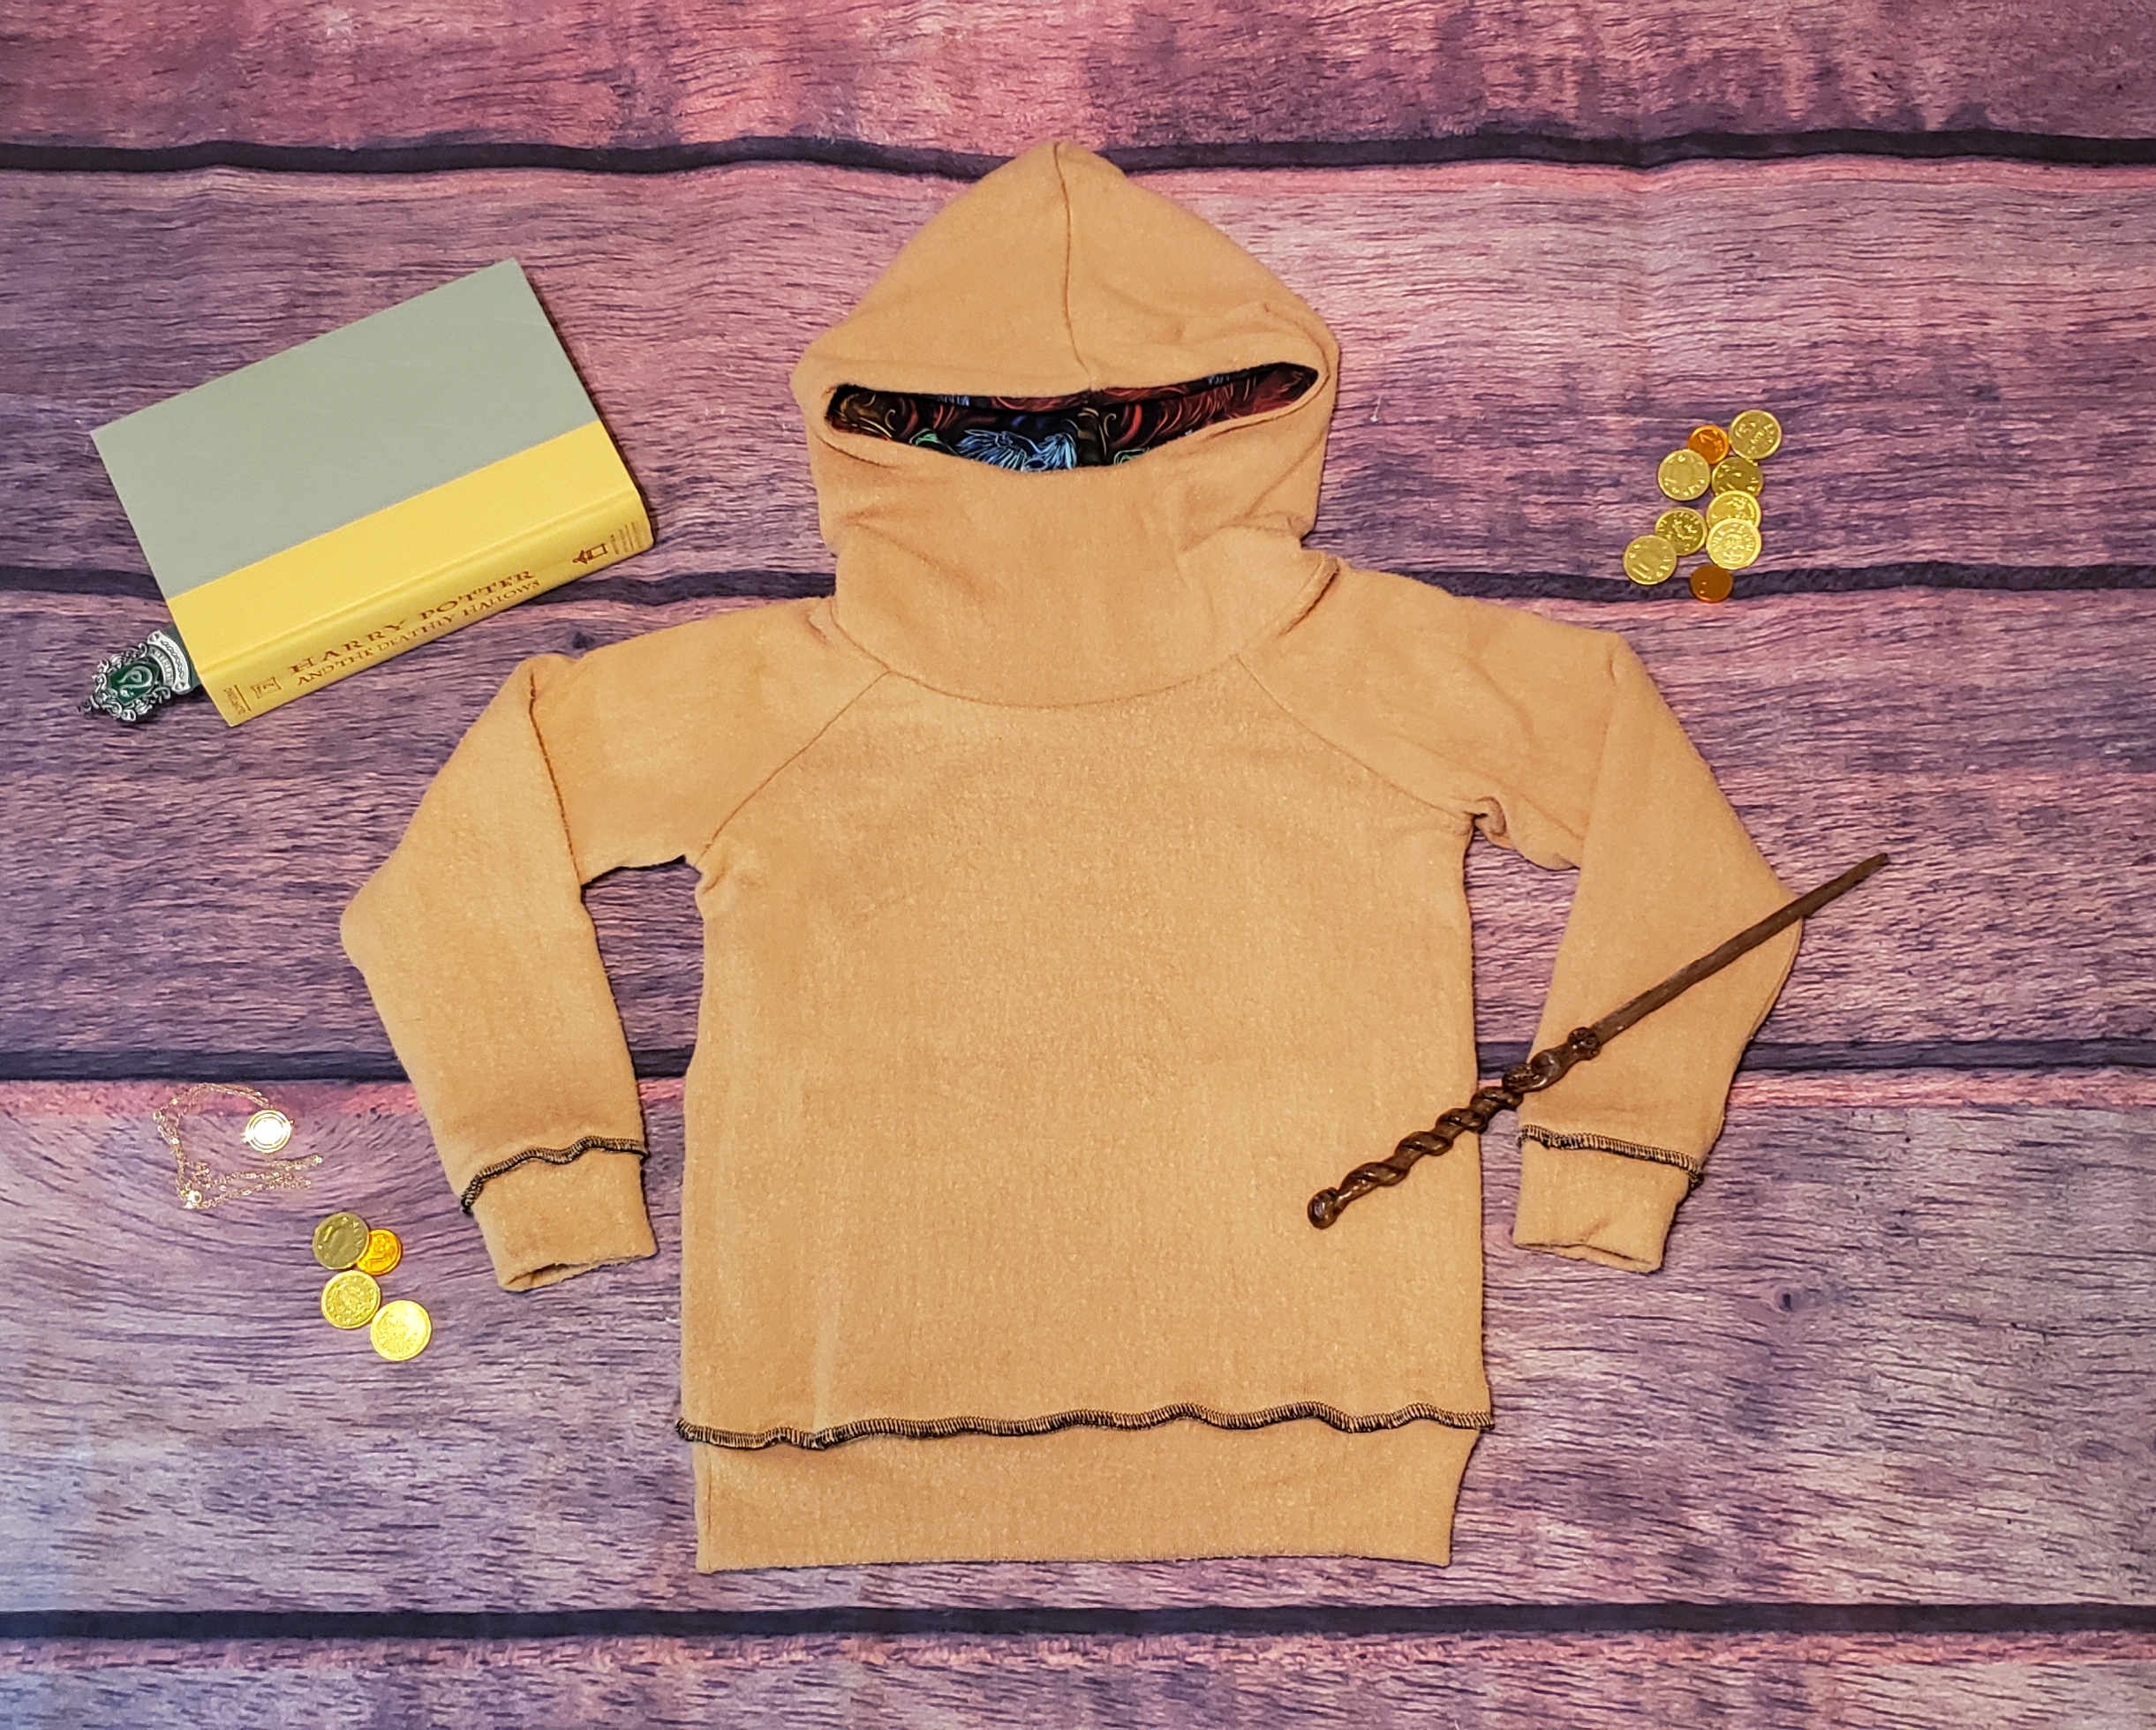
I wanted to line this hoodie because I got this awesome panel and coordinate, but they were only available on a cotton lycra. It needed to be warmer and thicker hoodie for a special kid I know who lives in a cold climate!
Cutting
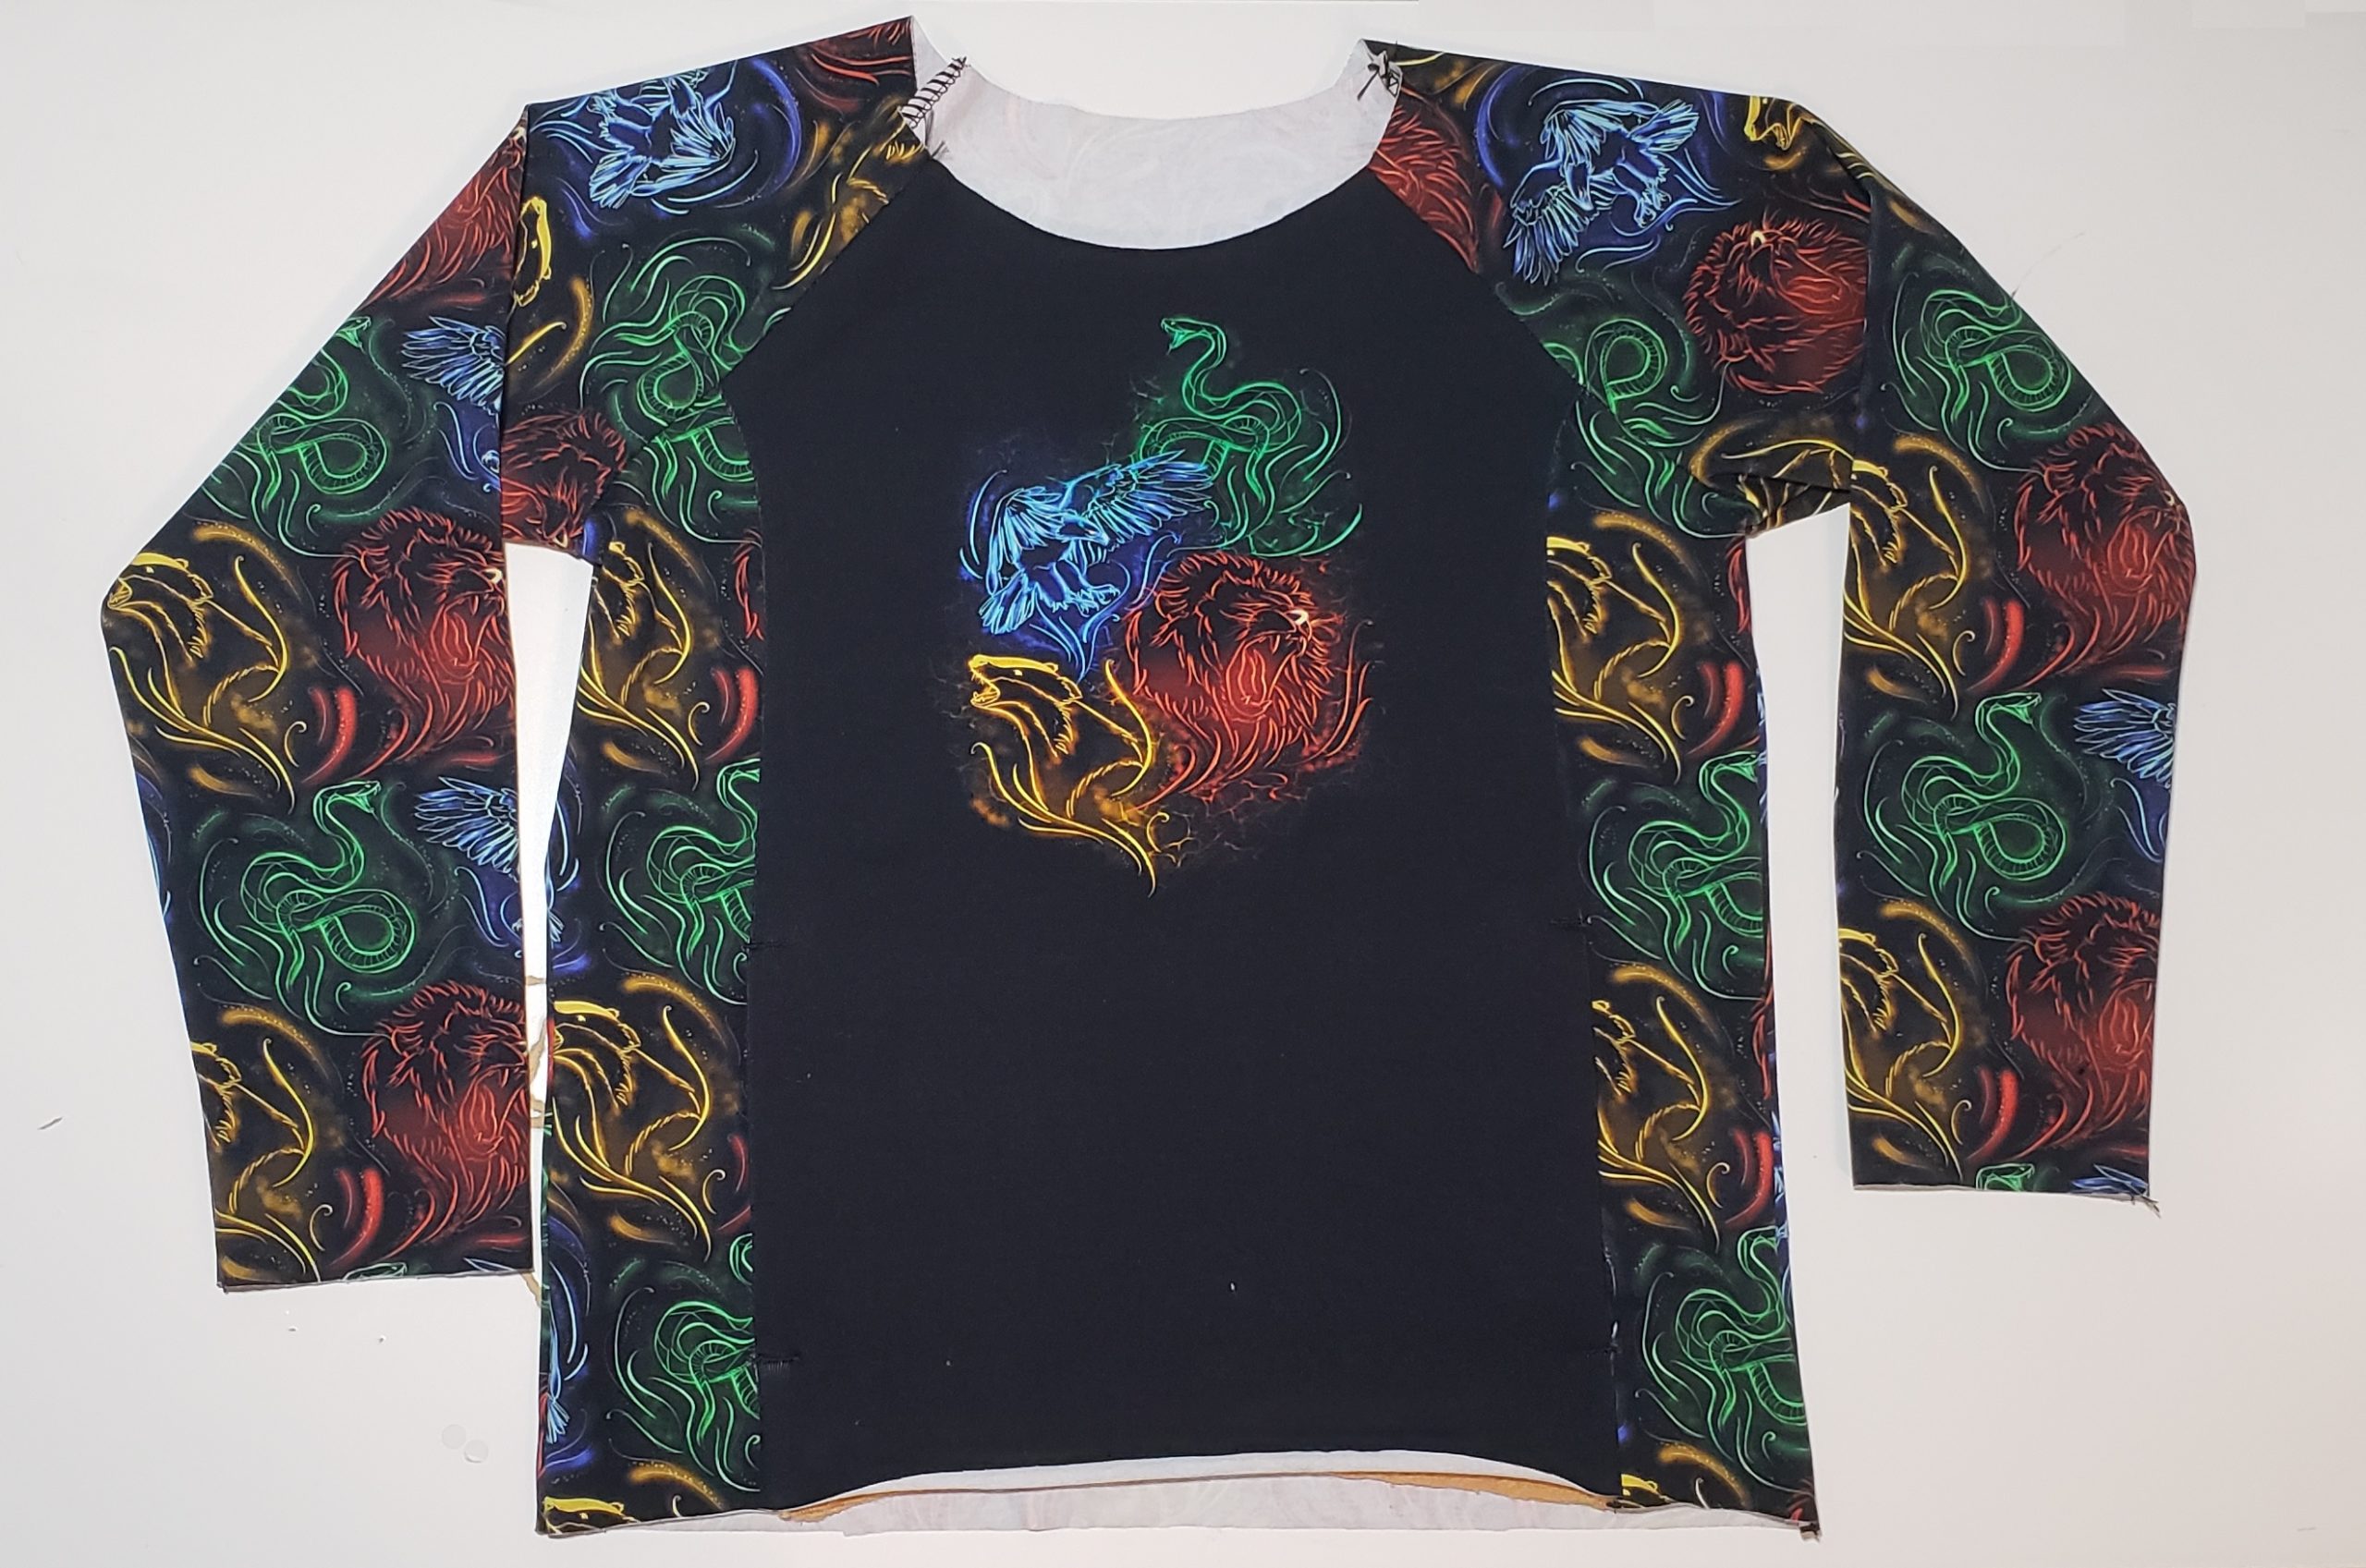
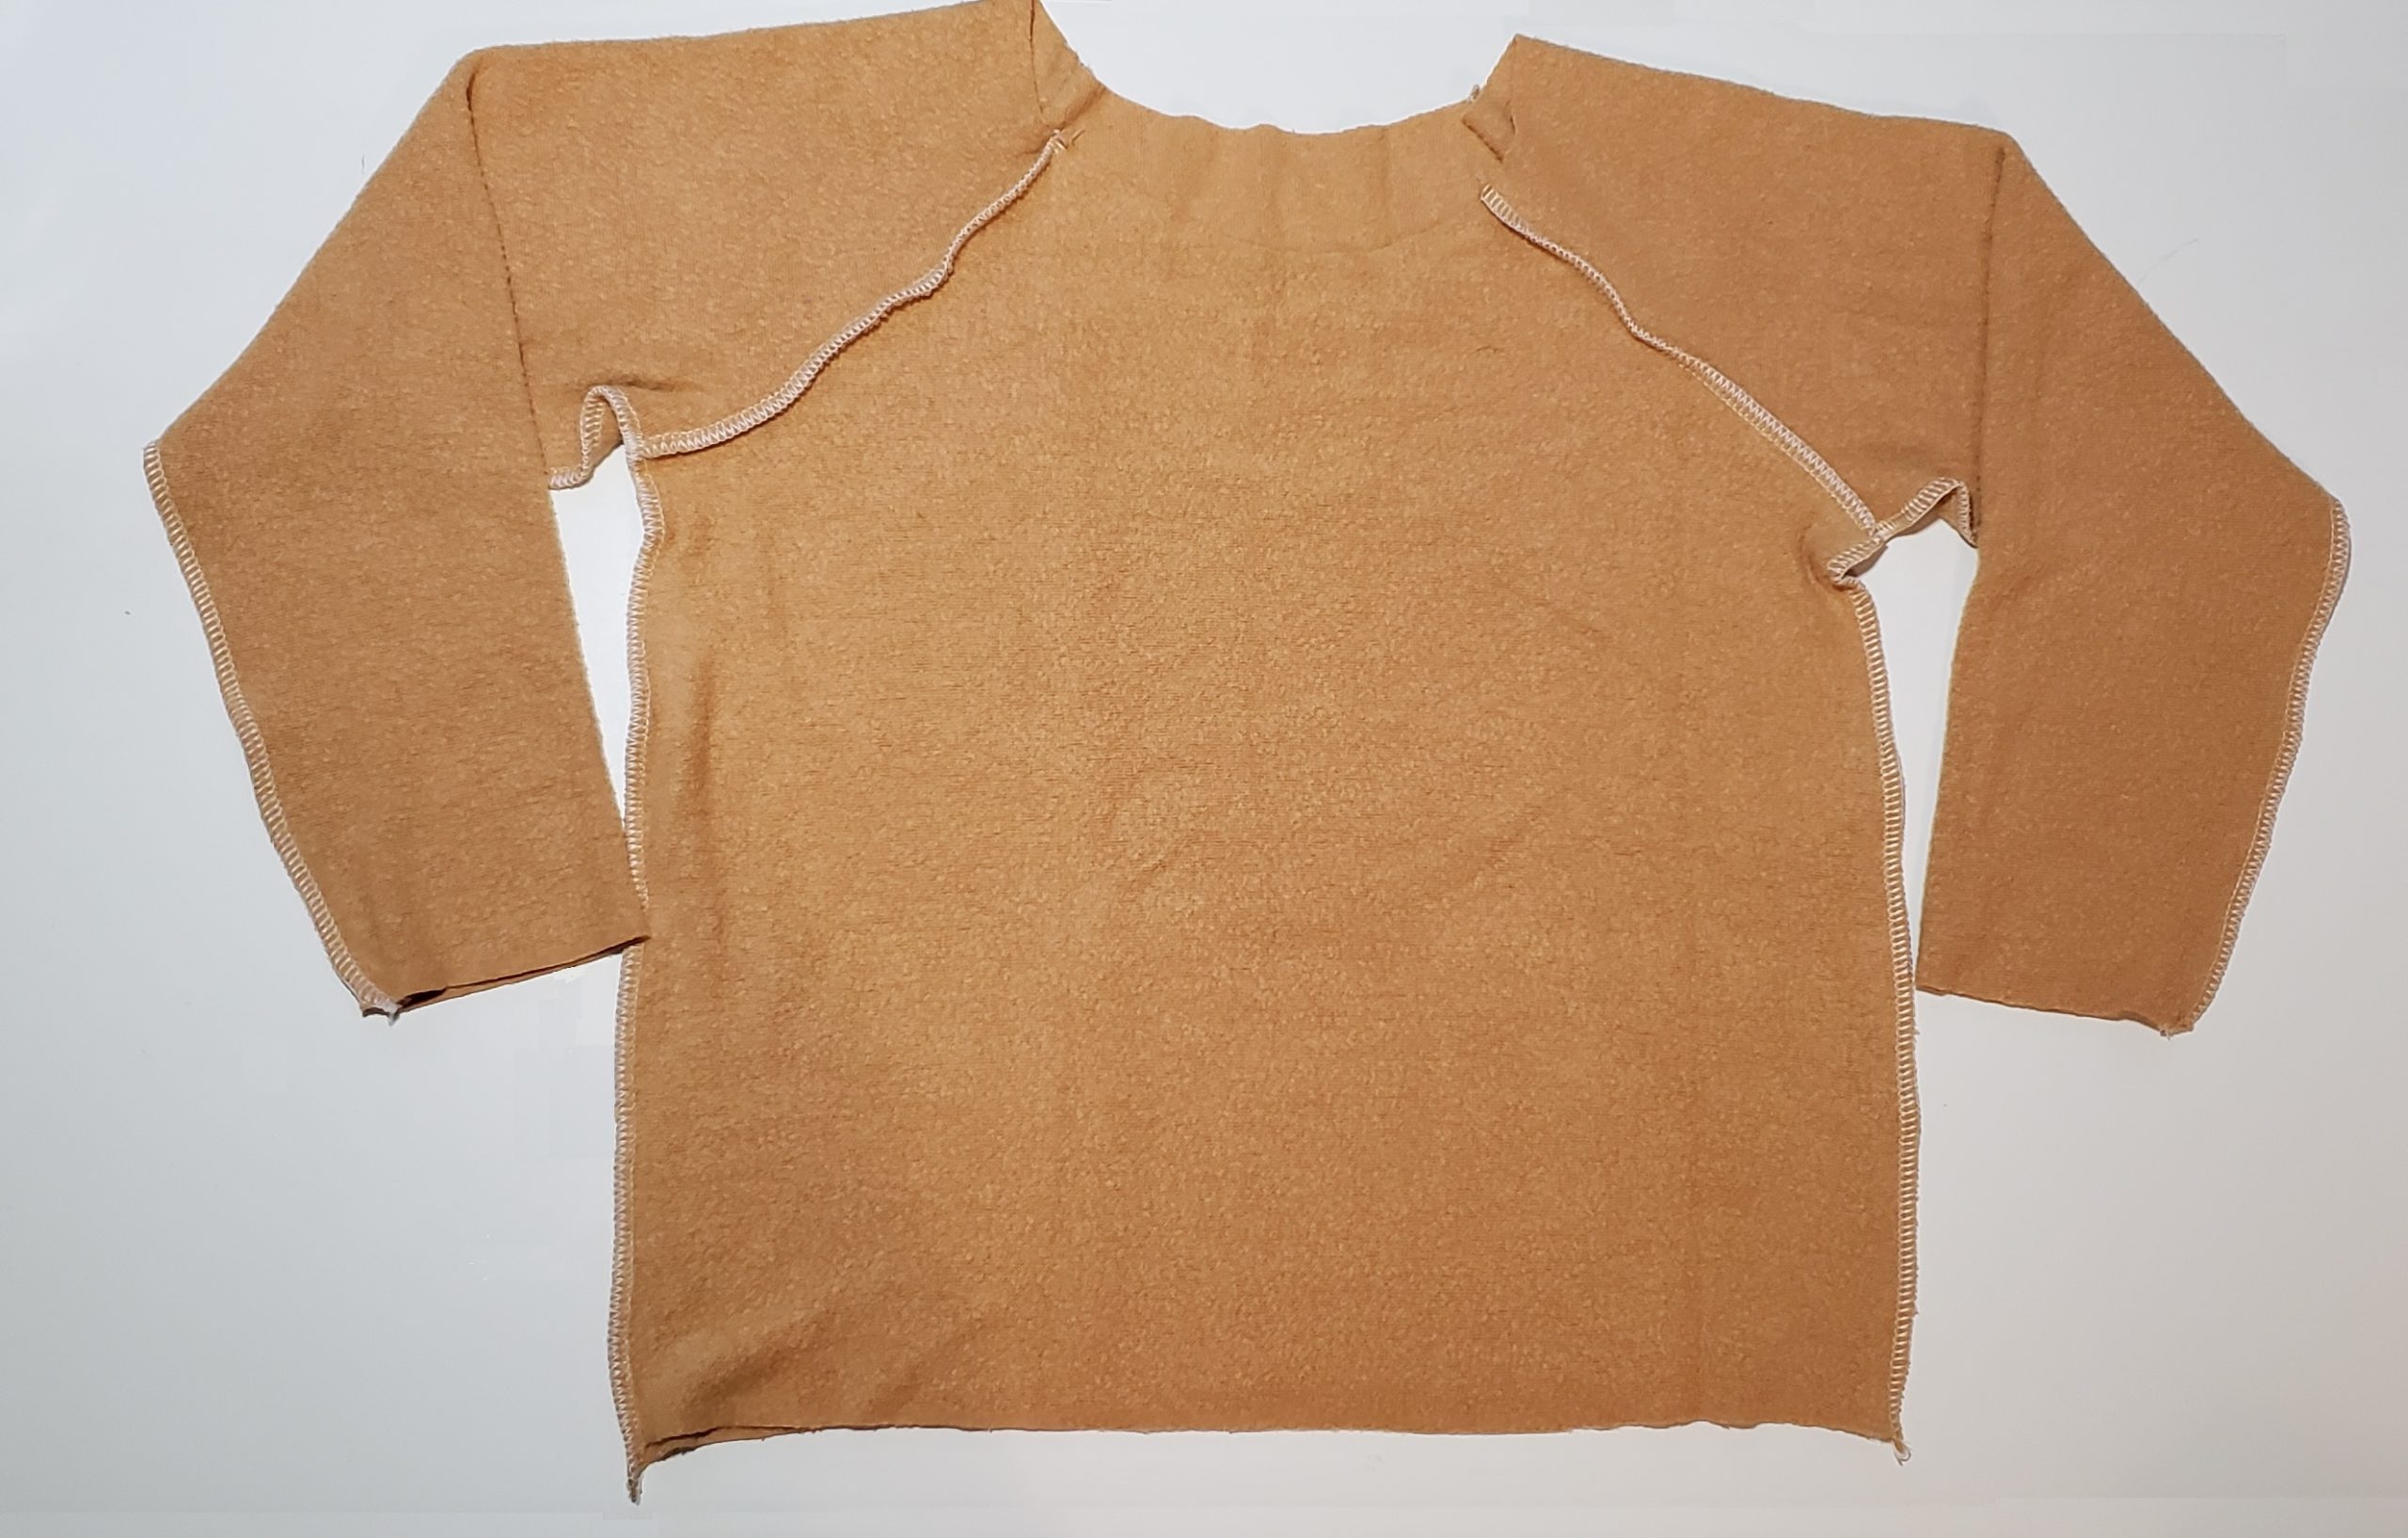
We’ll start with cutting! Cut the Summit Peak as normal for the outer layer. I used a panel for the Front A Bodice. The coordinate was used for Front B, the Back Bodice, the sleeves and the outer hood. I used my lining material for the cuffs, waistband, hood lining, and pocket pieces. For the body lining, I overlapped Front A and B pattern pieces by the seam allowance. In the lining material, cut one Front Bodice one Back Bodice, and the sleeves.

Assembly
Follow the directions in the pattern to sew the pocket together with the outer Front Bodices A and B.
Attach the sleeves and the back and stitch the sides.
Stitch the Front Bodice lining together with the sleeves lining and the back lining and stitch the side seams.
Follow the directions in the pattern to sew the outer hood and the hood lining together. Quarter the necklines of the assembled hood and both bodices. I like to match my clip colors. I use blue for the back, pink for the front, and yellow or purple for the sides. This is very helpful when you’re matching up layers in the next step!

Turning Hoodie Right Sides Out and Attaching Waistbands and Cuffs
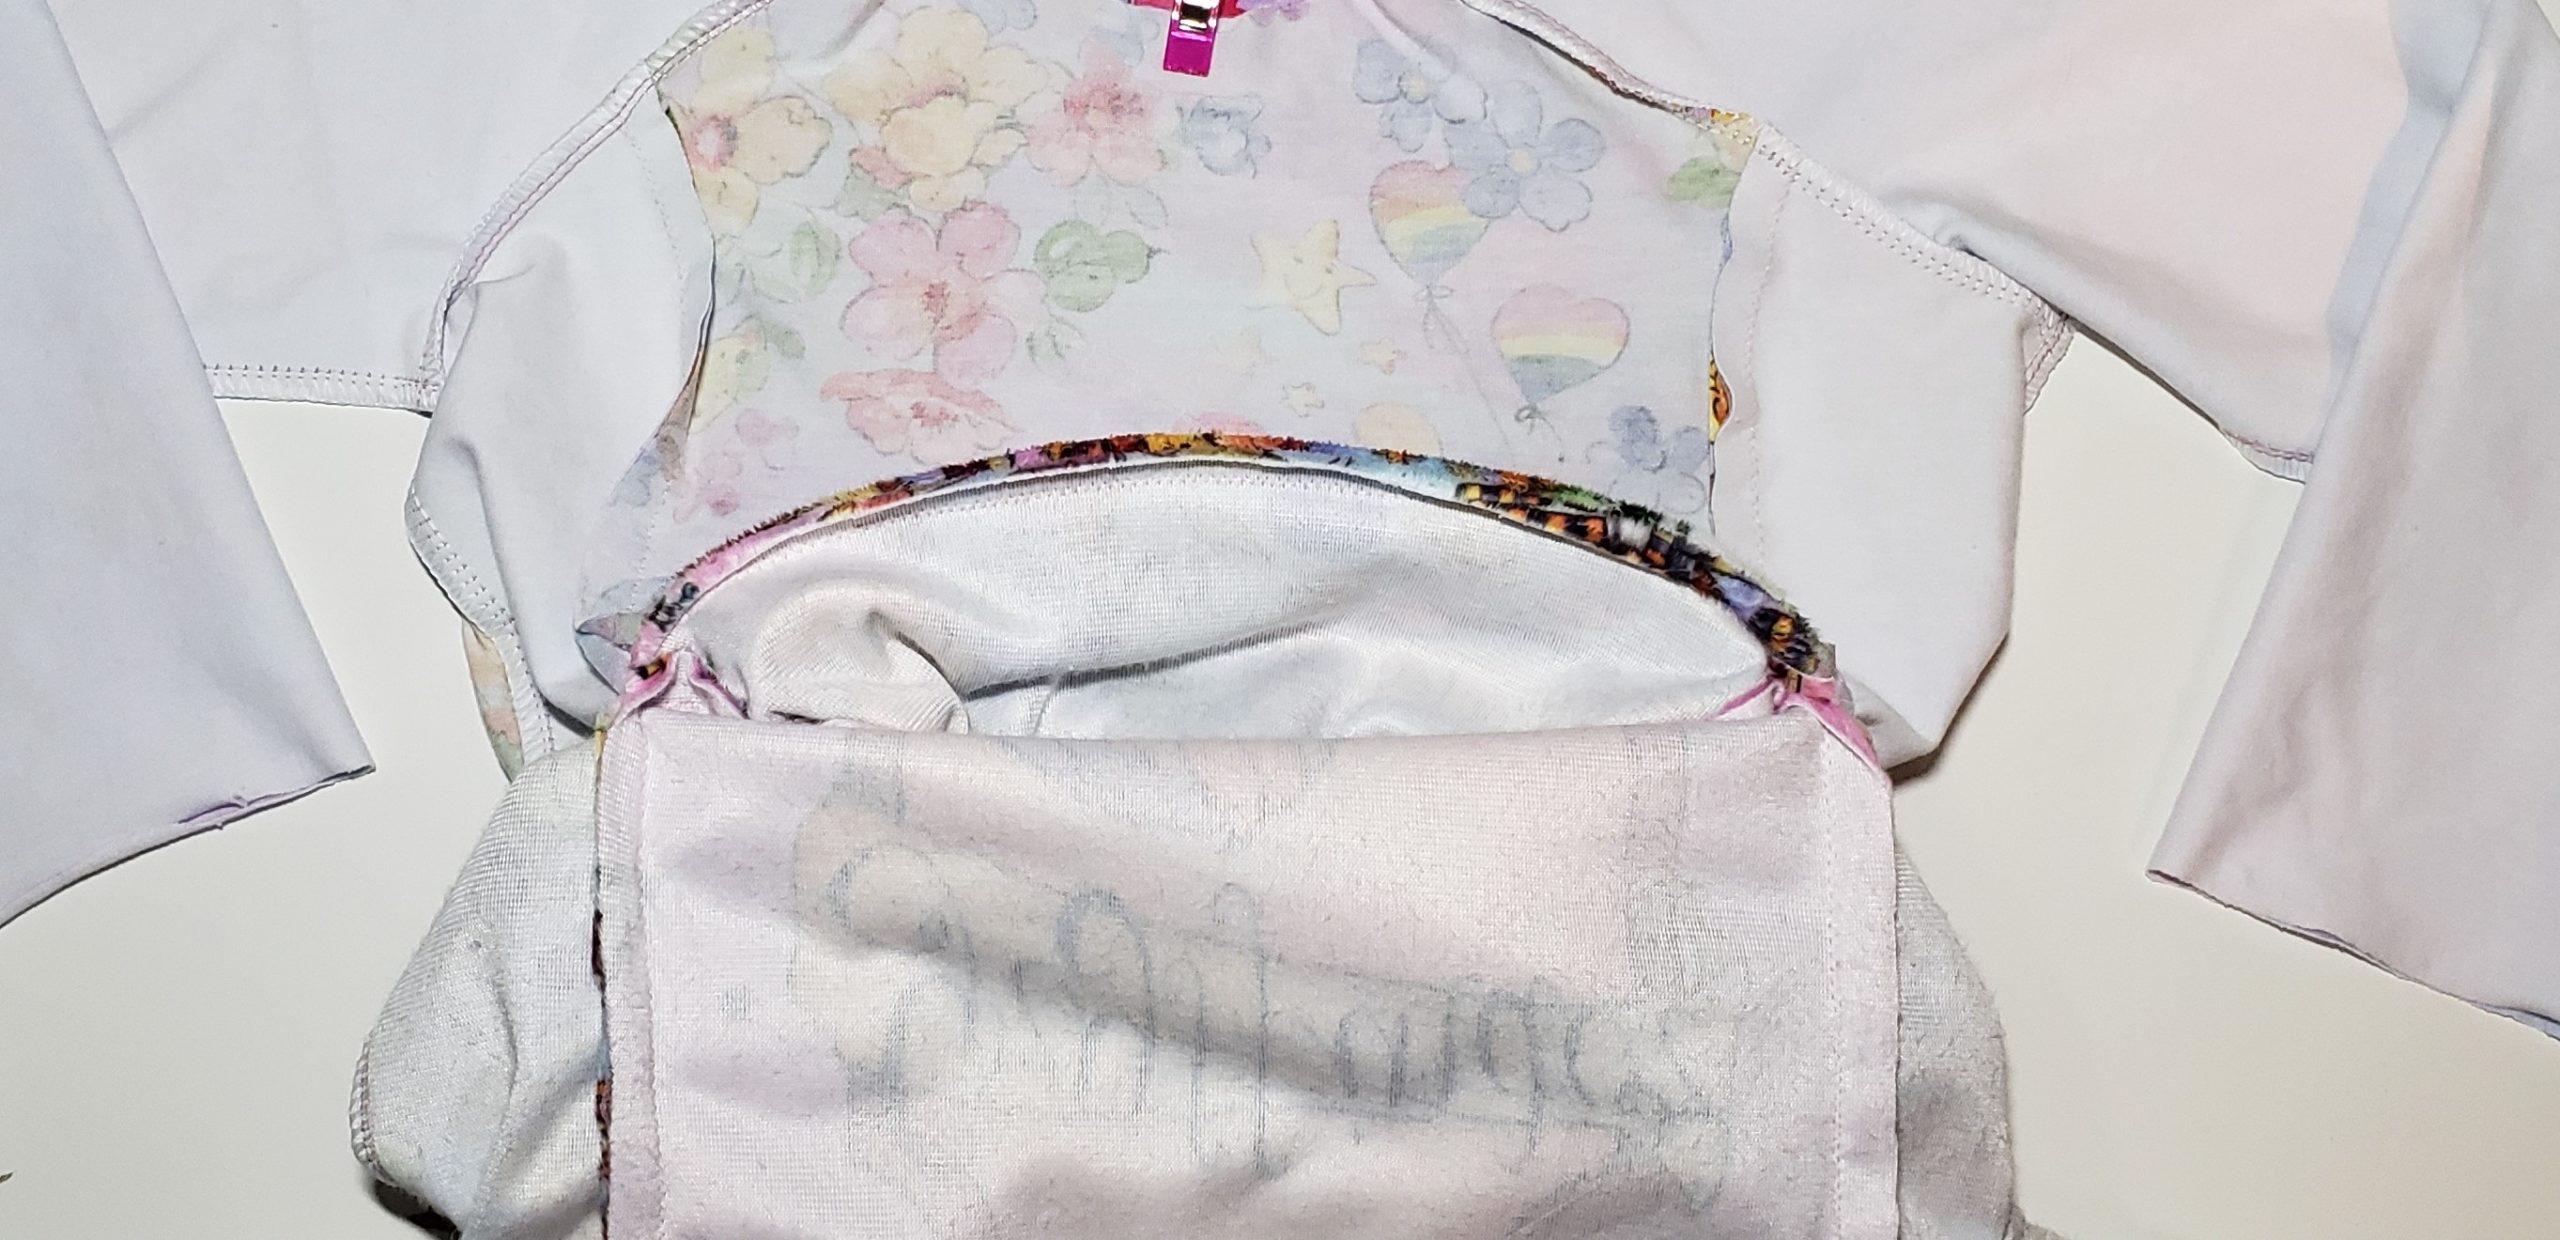
Turn the Outer Bodice inside out and insert the hood into the neckline, right sides together, and match the quarters. Turn the Bodice Lining right side out. Insert it into the hood so the necklines line up and match the quarters. The layers from the outside in are: Outer Bodice wrong side out, Outer Hood right side out, Hood Lining wrong side out, Bodice Lining right side out. Baste together so the layers don’t shift while sewing, and then stitch.
To turn the hoodie right side out start by holding the hood, pulling the Outer Bodice down over the hood. Then tuck the Bodice Lining inside the Outer Bodice. For a brief moment it may look like your hoodie is swallowing an octopus, just keep going here!

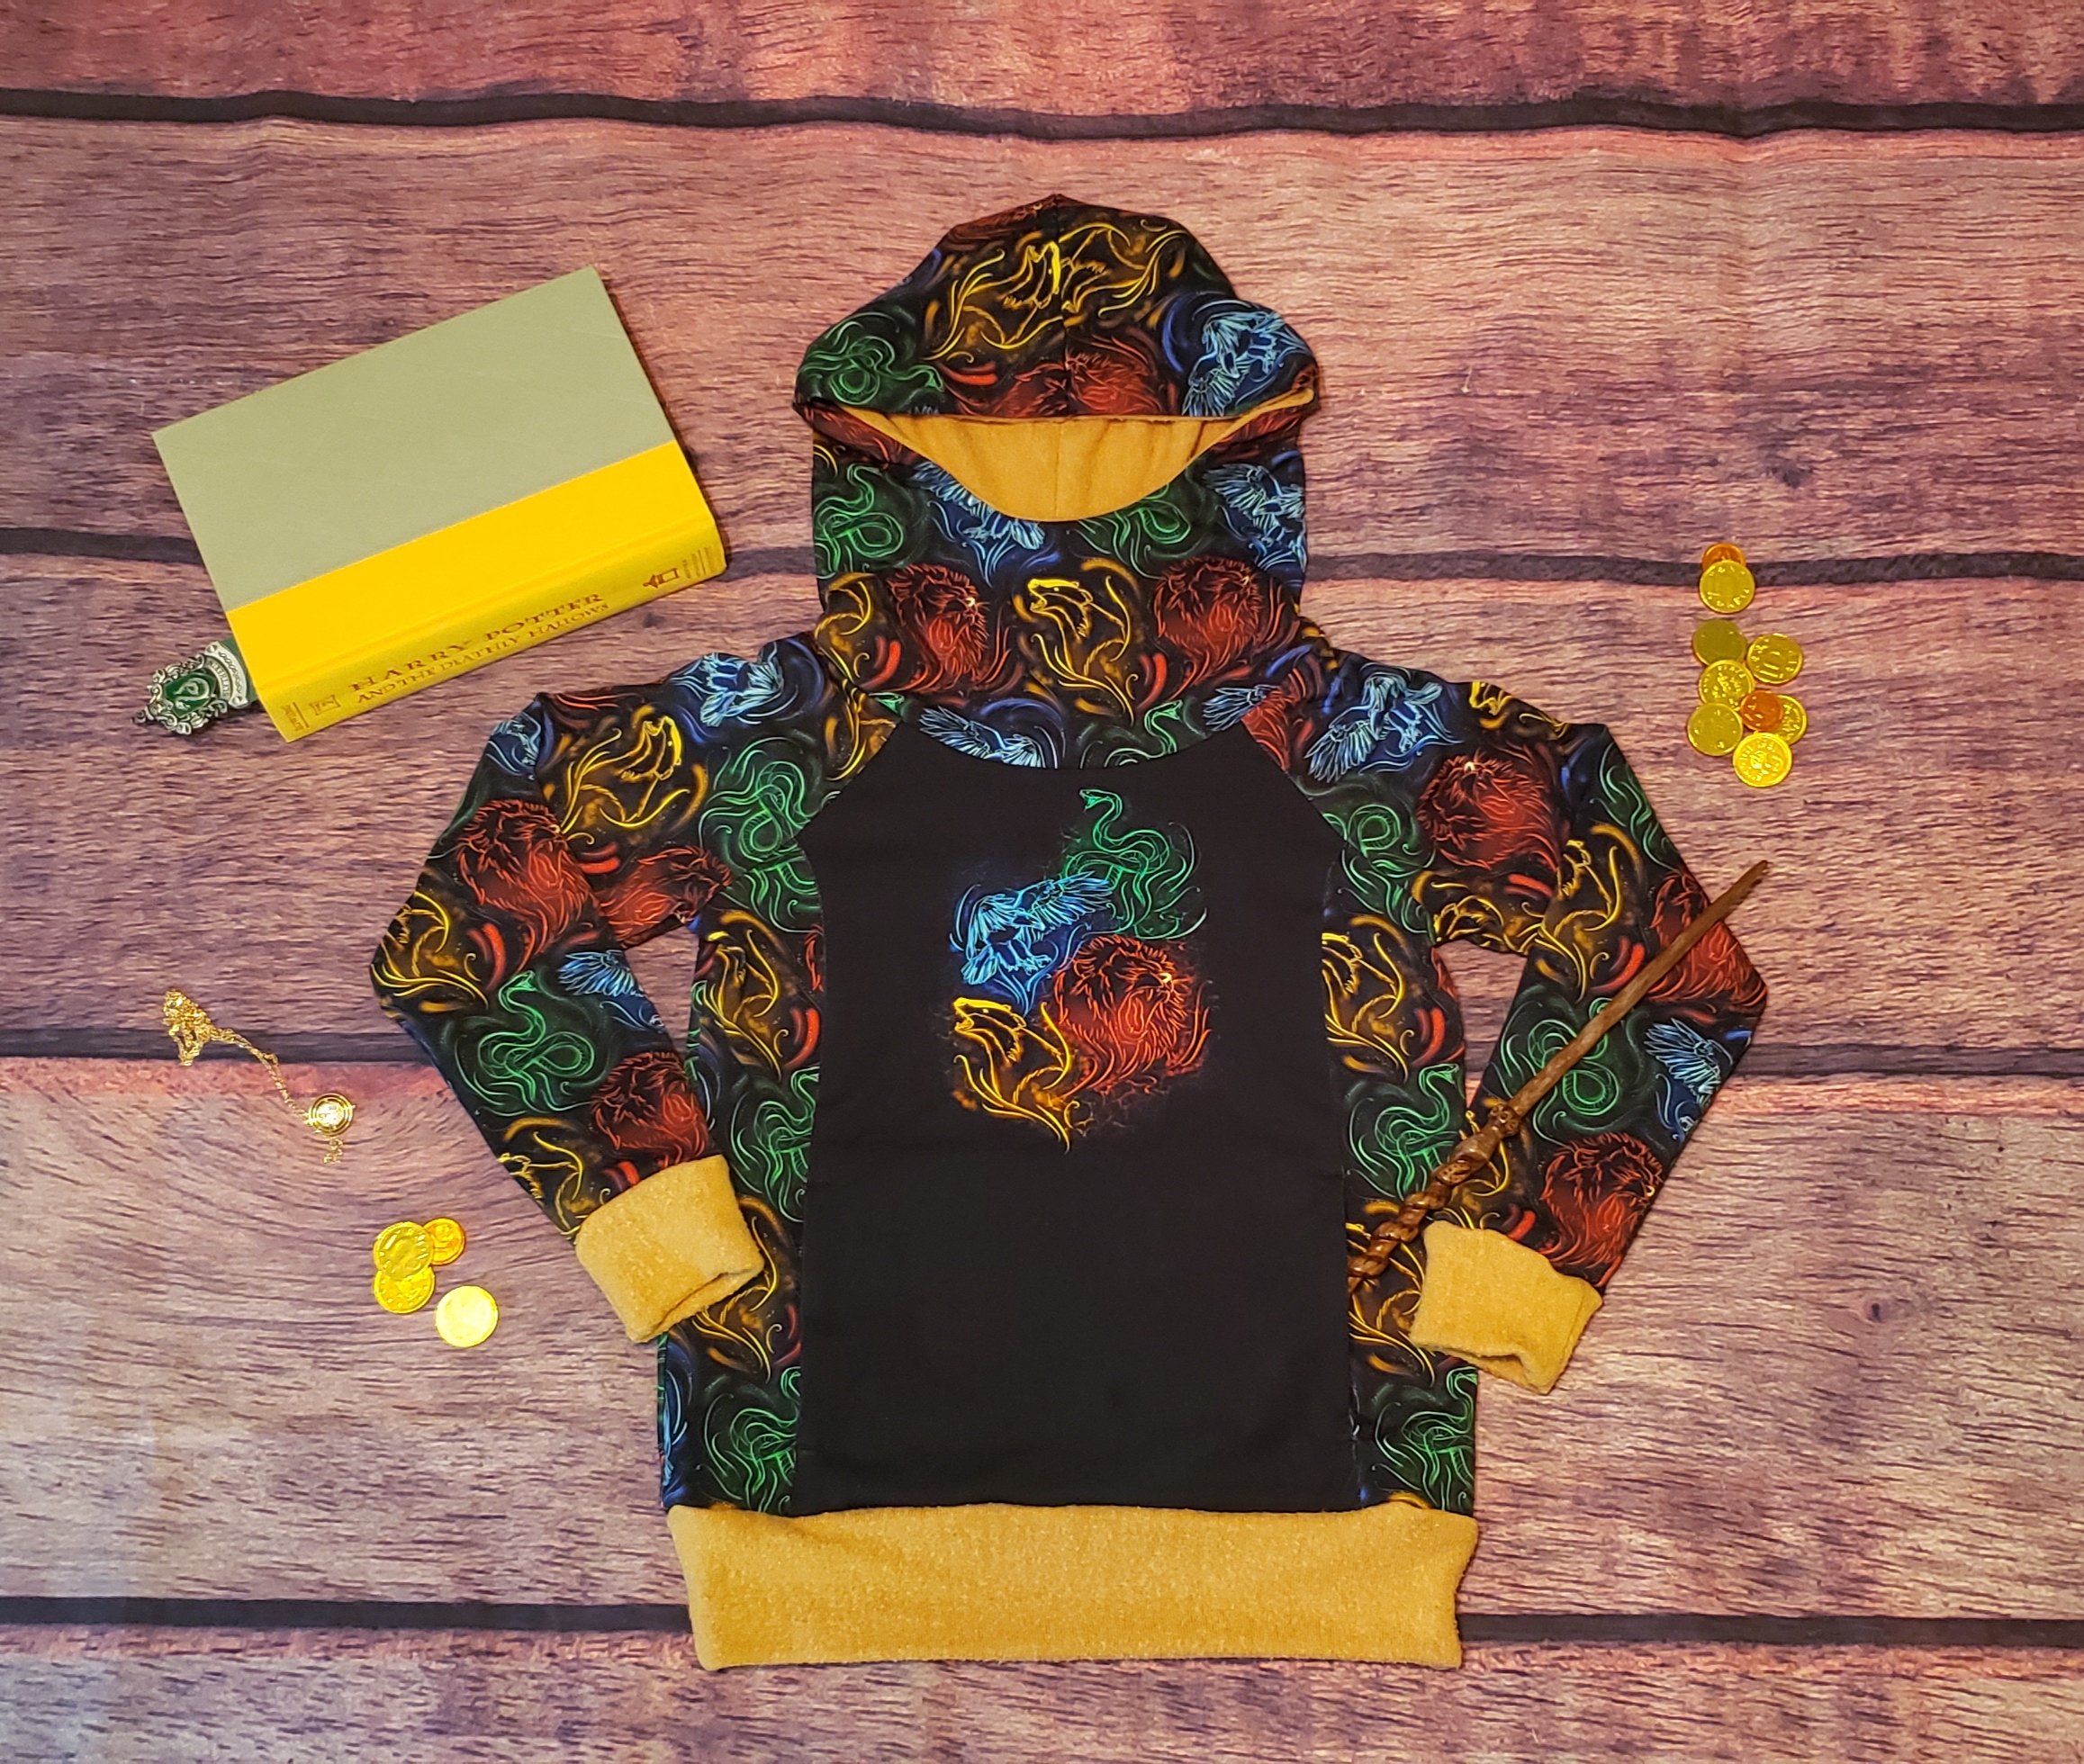
Tuck the Lining inside the Outer Bodice and the sleeves. Make sure the seams line up and the sleeves aren’t twisted. Baste the lower front Outer Bodice together with the bottom of the pocket and the Lining. Stitch the cuffs and waistband on as in the pattern directions, catching both the Outer Layer and the Lining. And you have a fully lined Summit Peak hoodie!
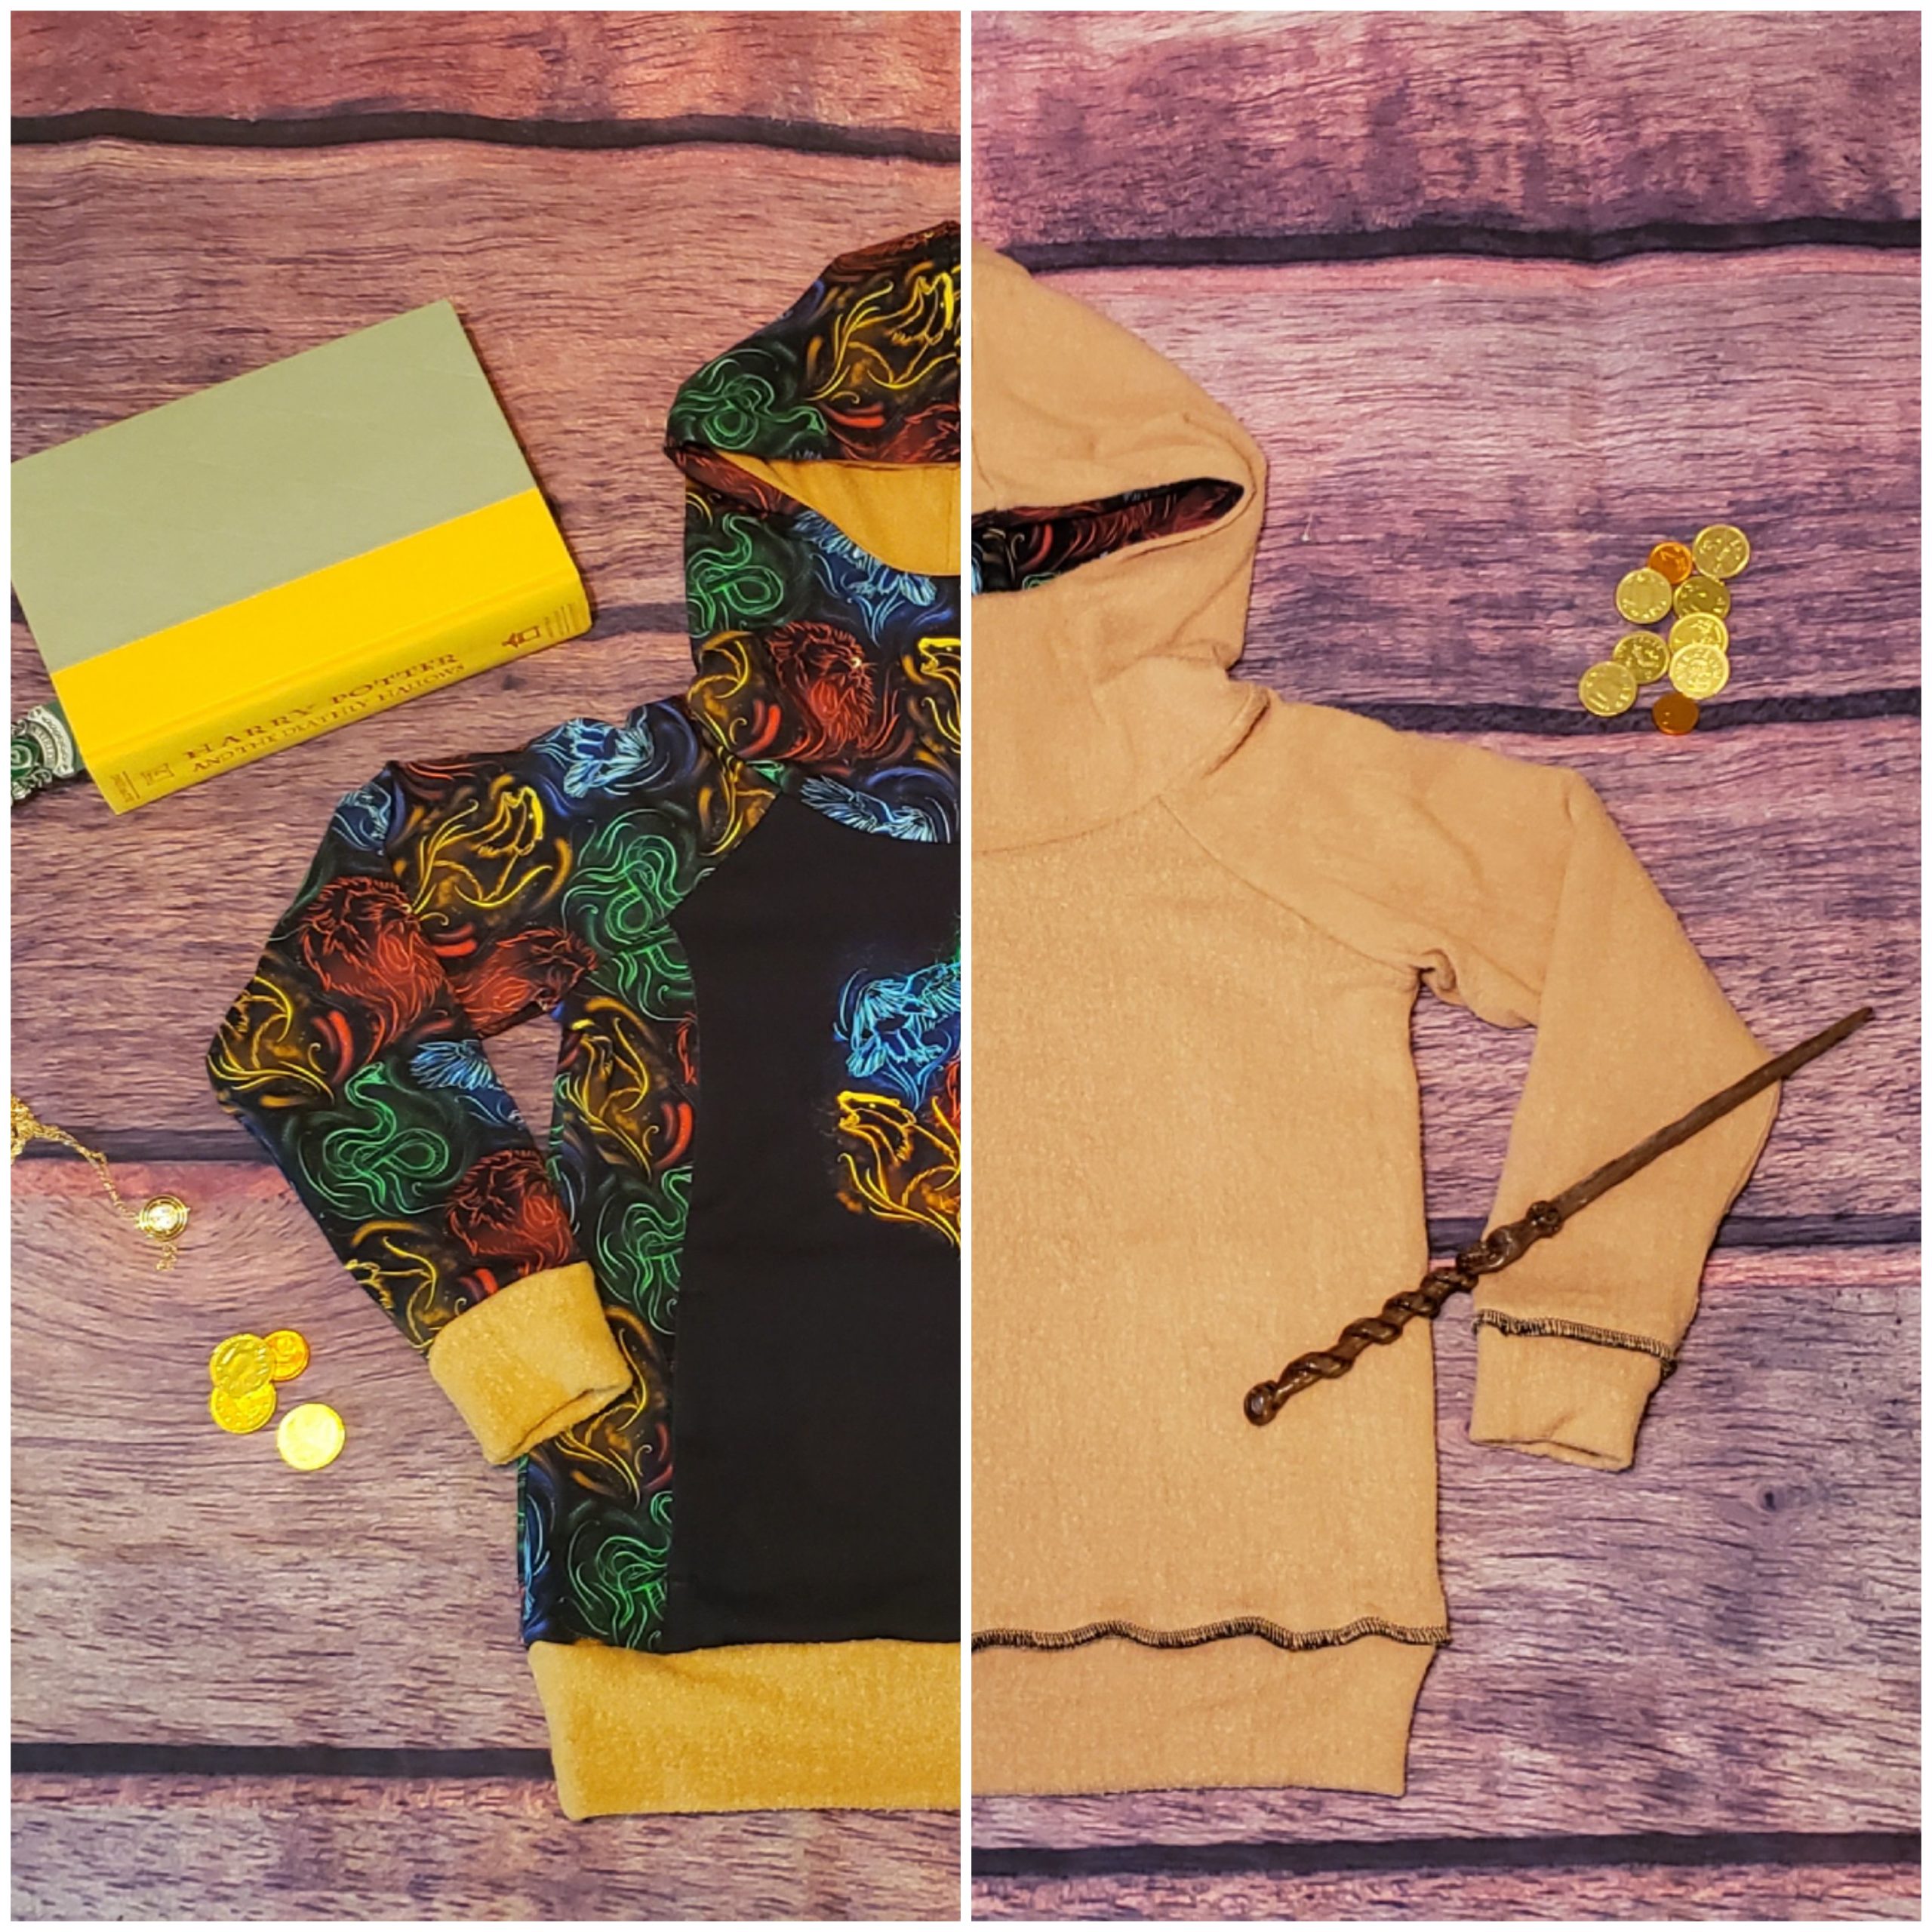
Reversible Hoodie with Pocket Access on Both Sides
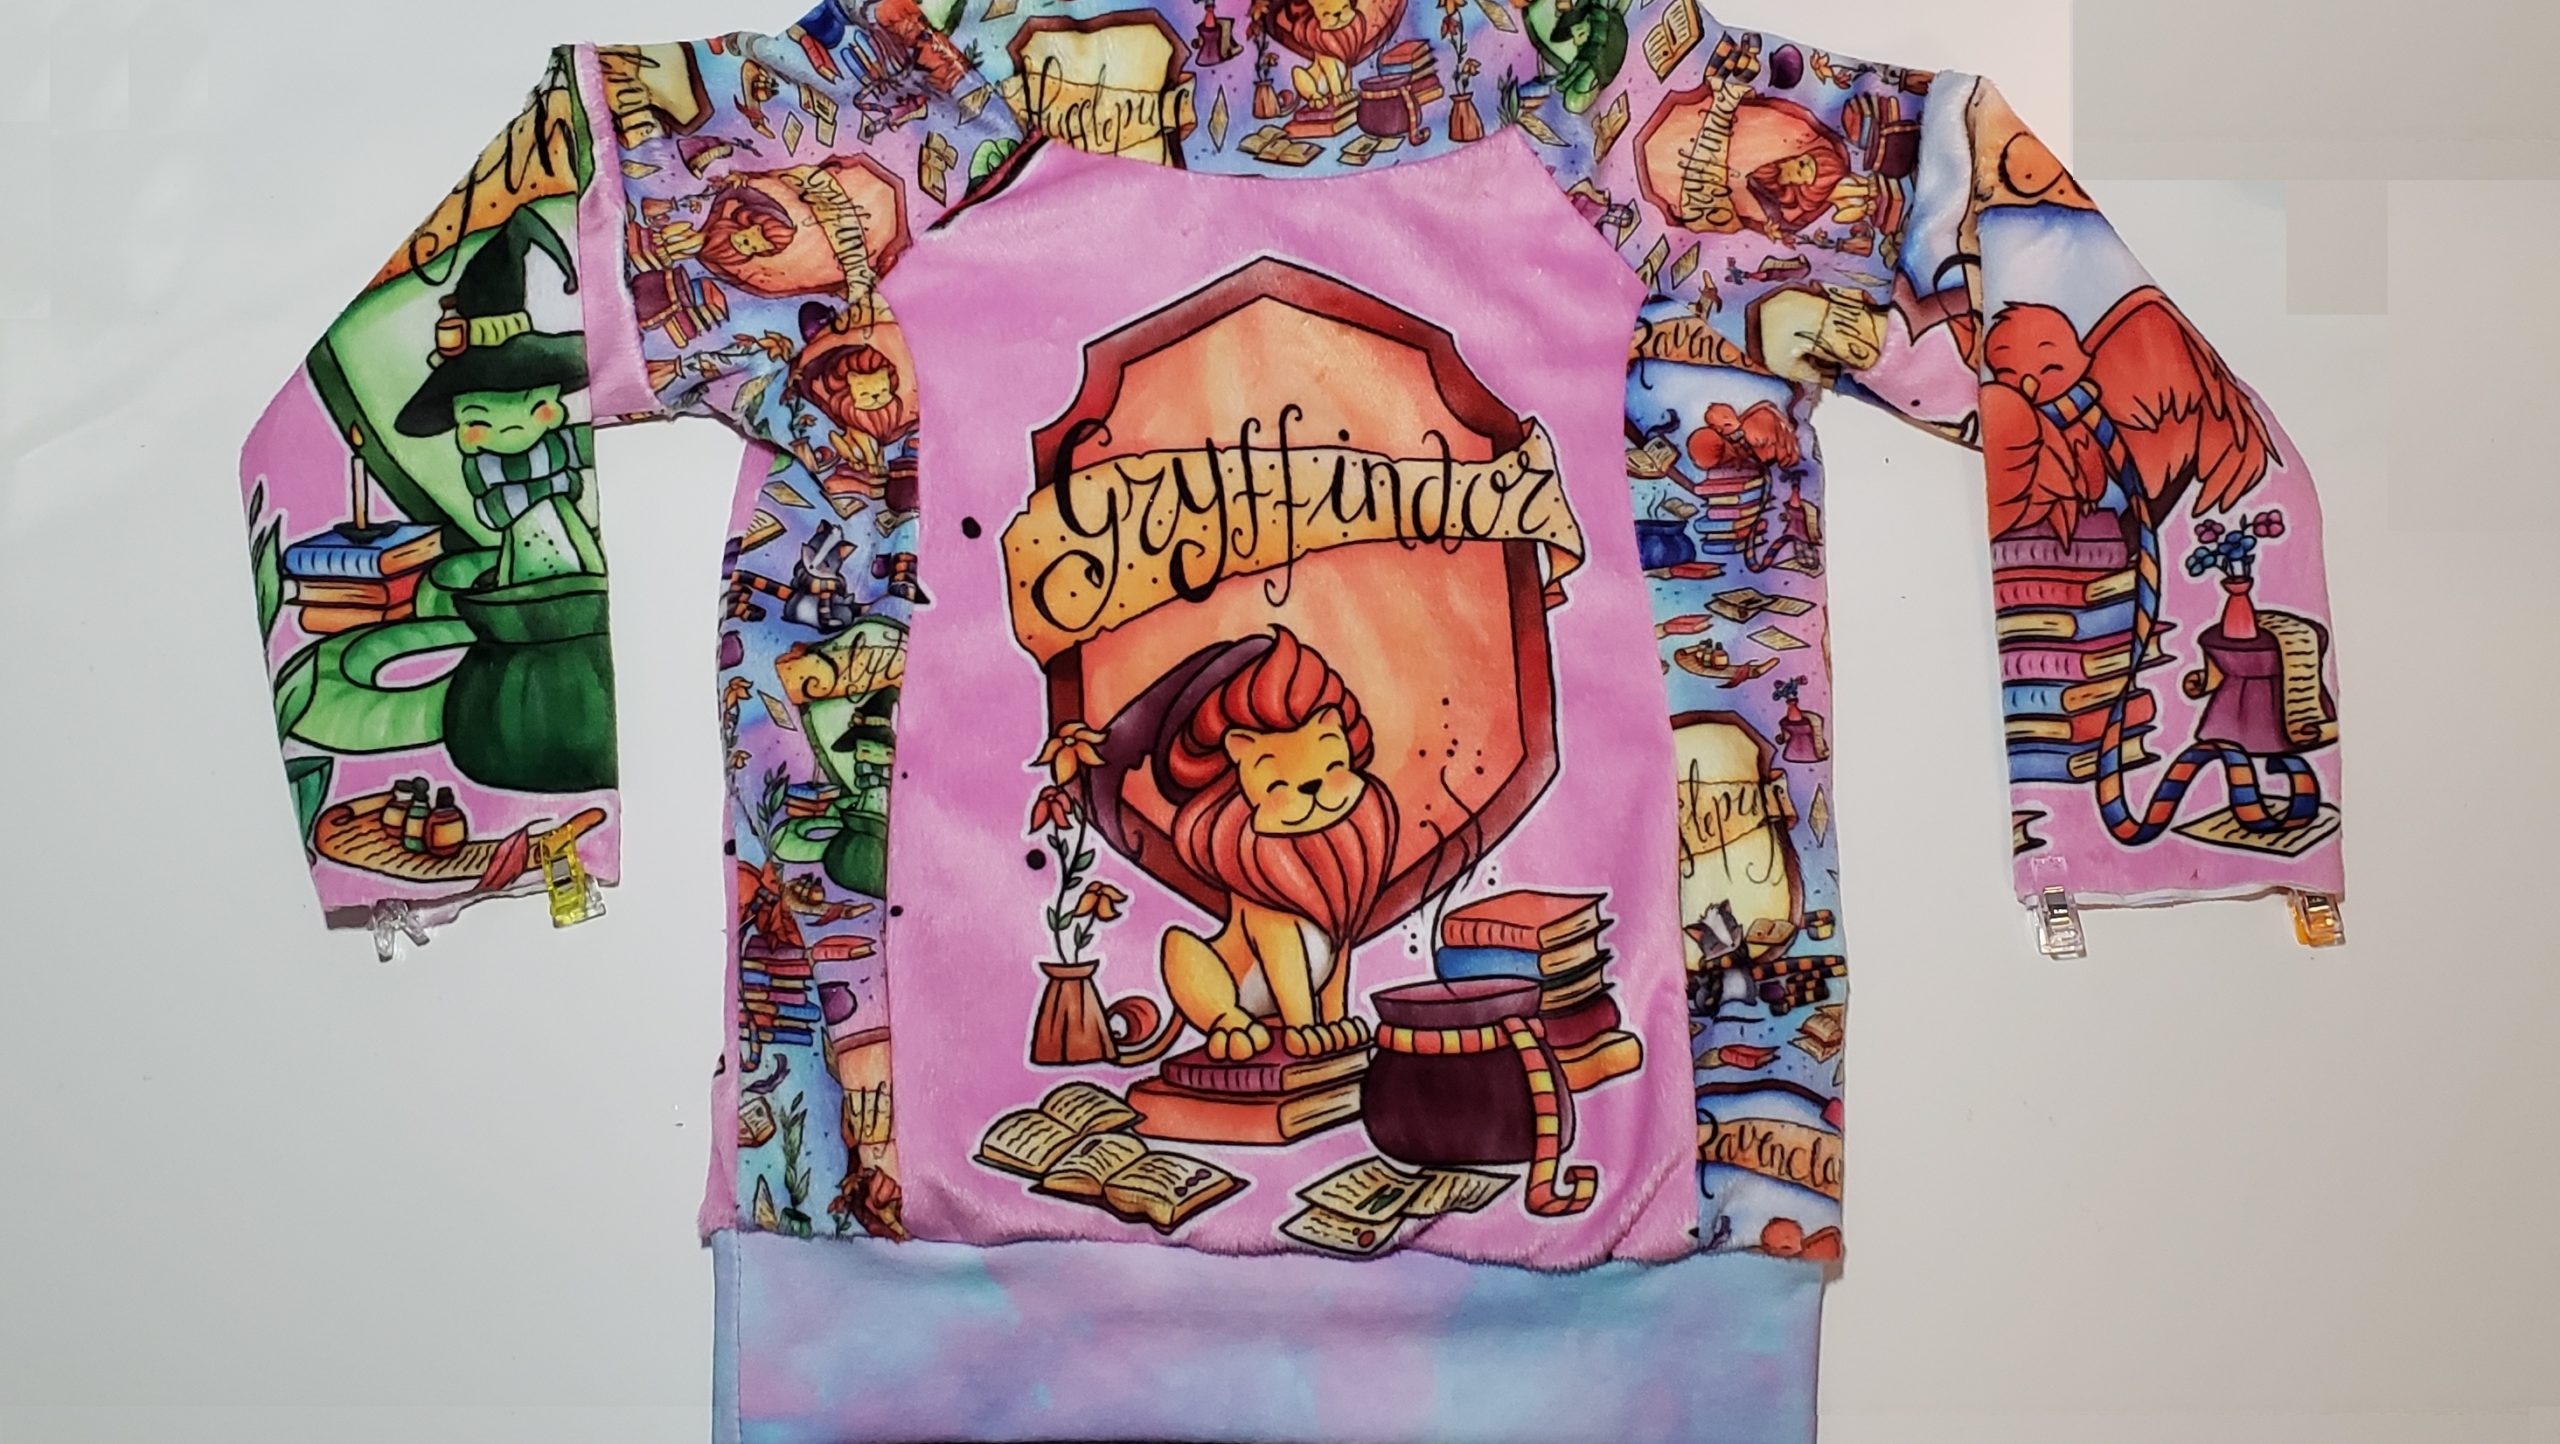
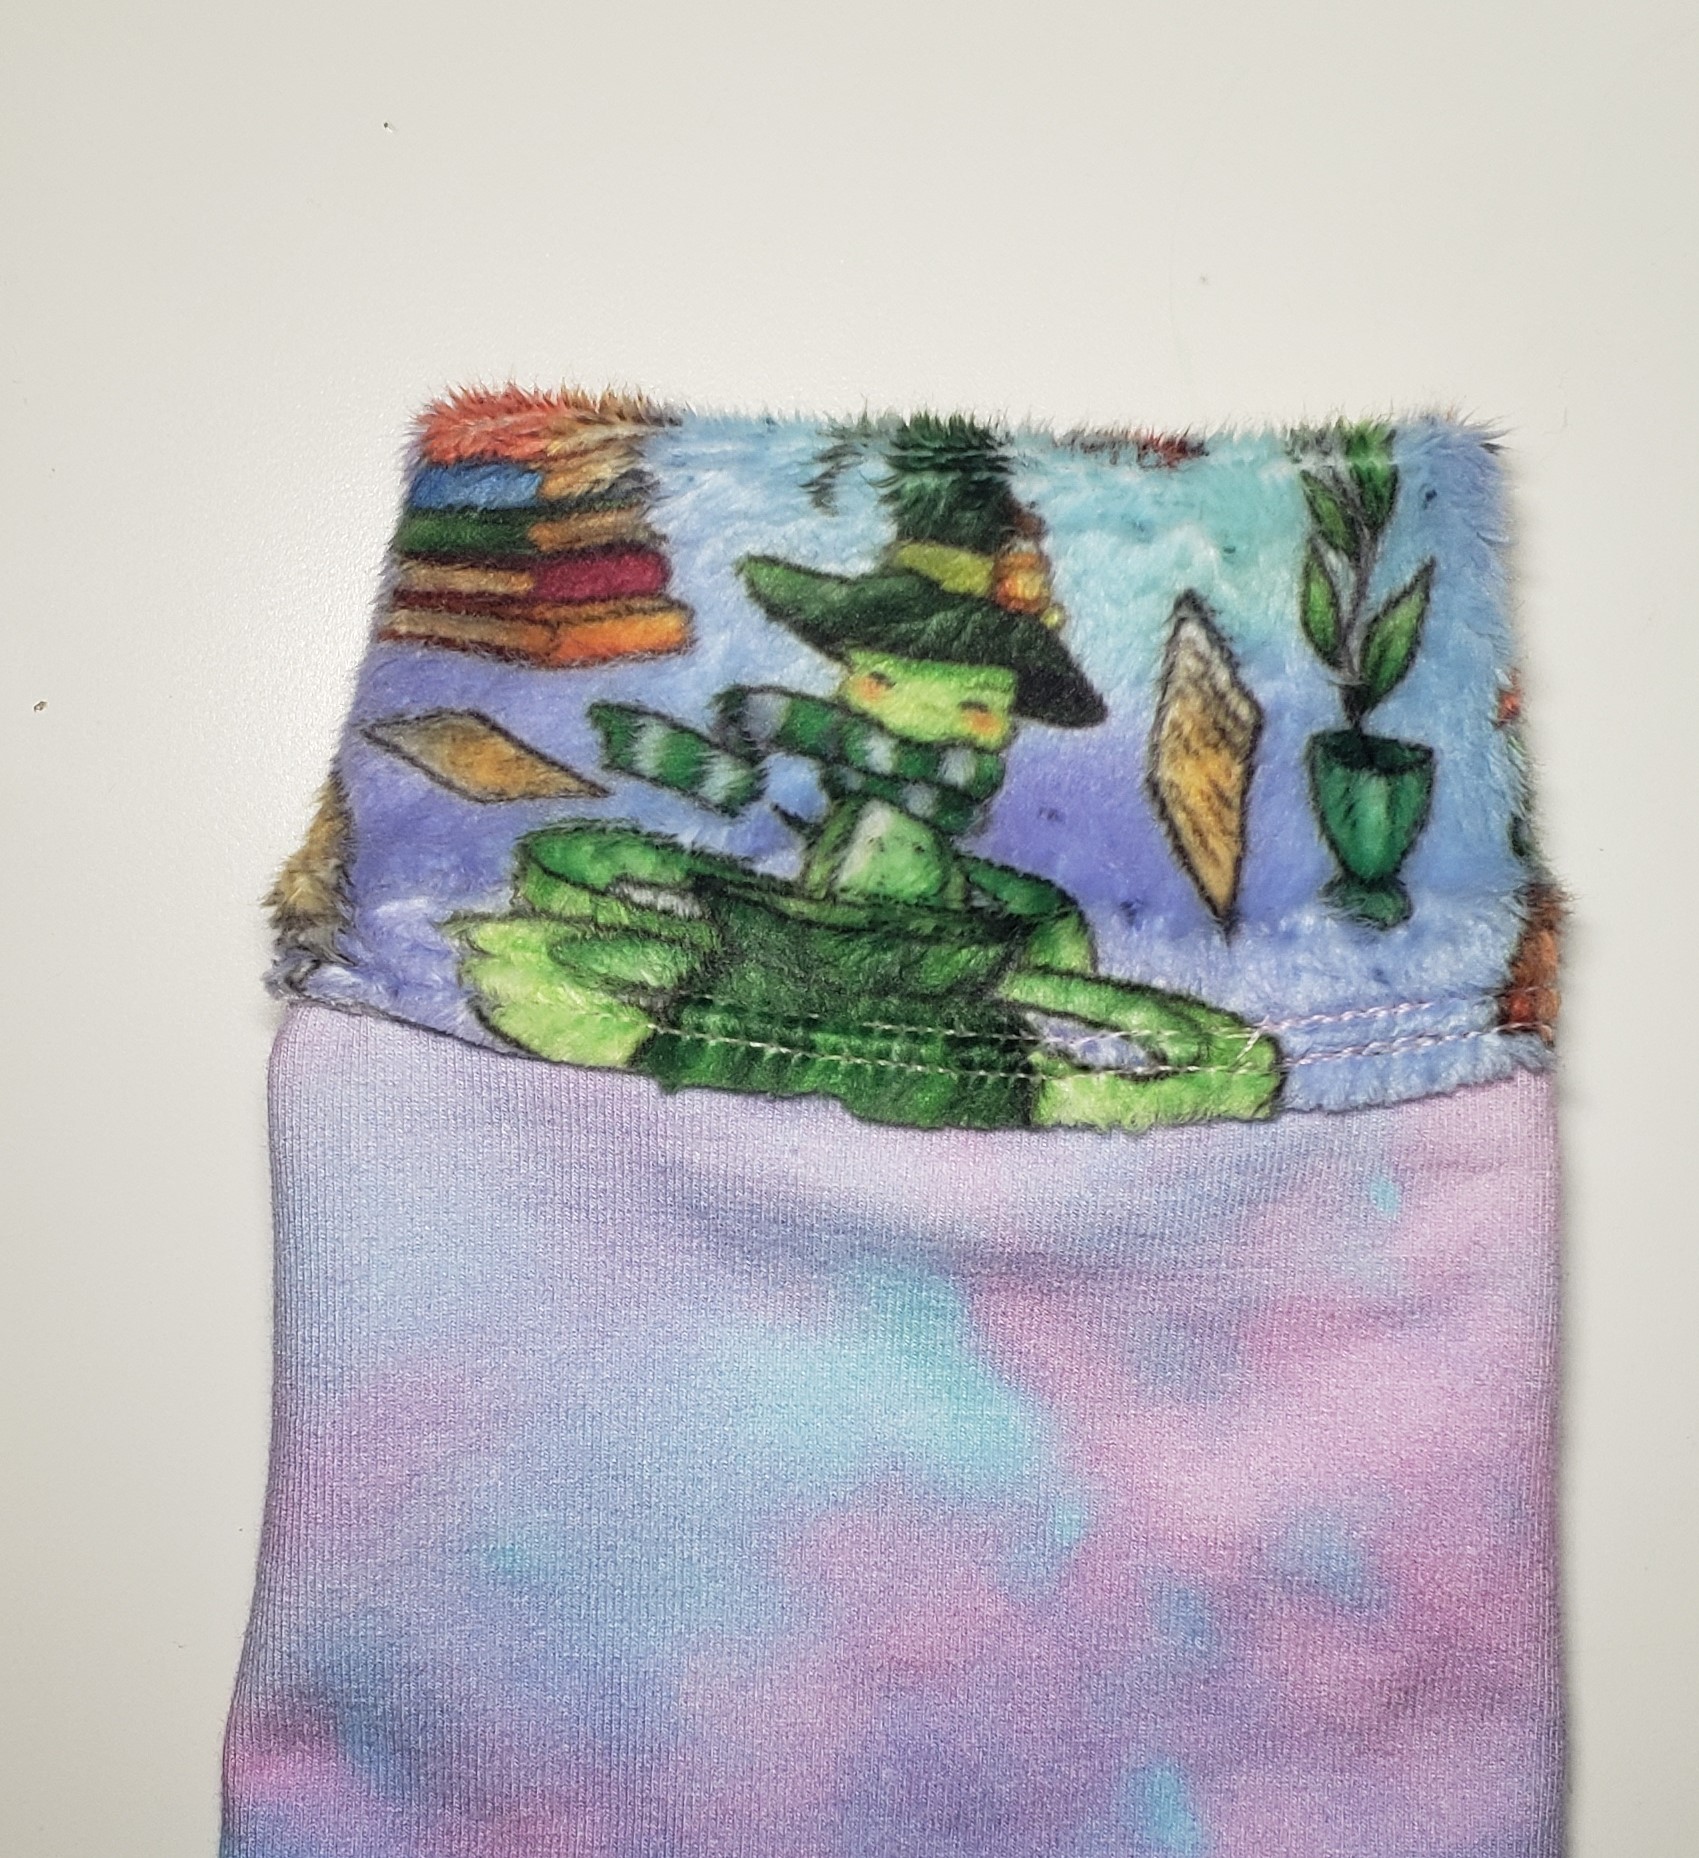
I got this adorable minky for a little girl who wanted to show her love of Harry Potter and the color pink at the same time. Finding that combination is hard to find! This was originally a blanket panel, though, and the wrong side was rough and plasticy. It needed to be lined, but I also wanted her to have access to her pockets at all times!
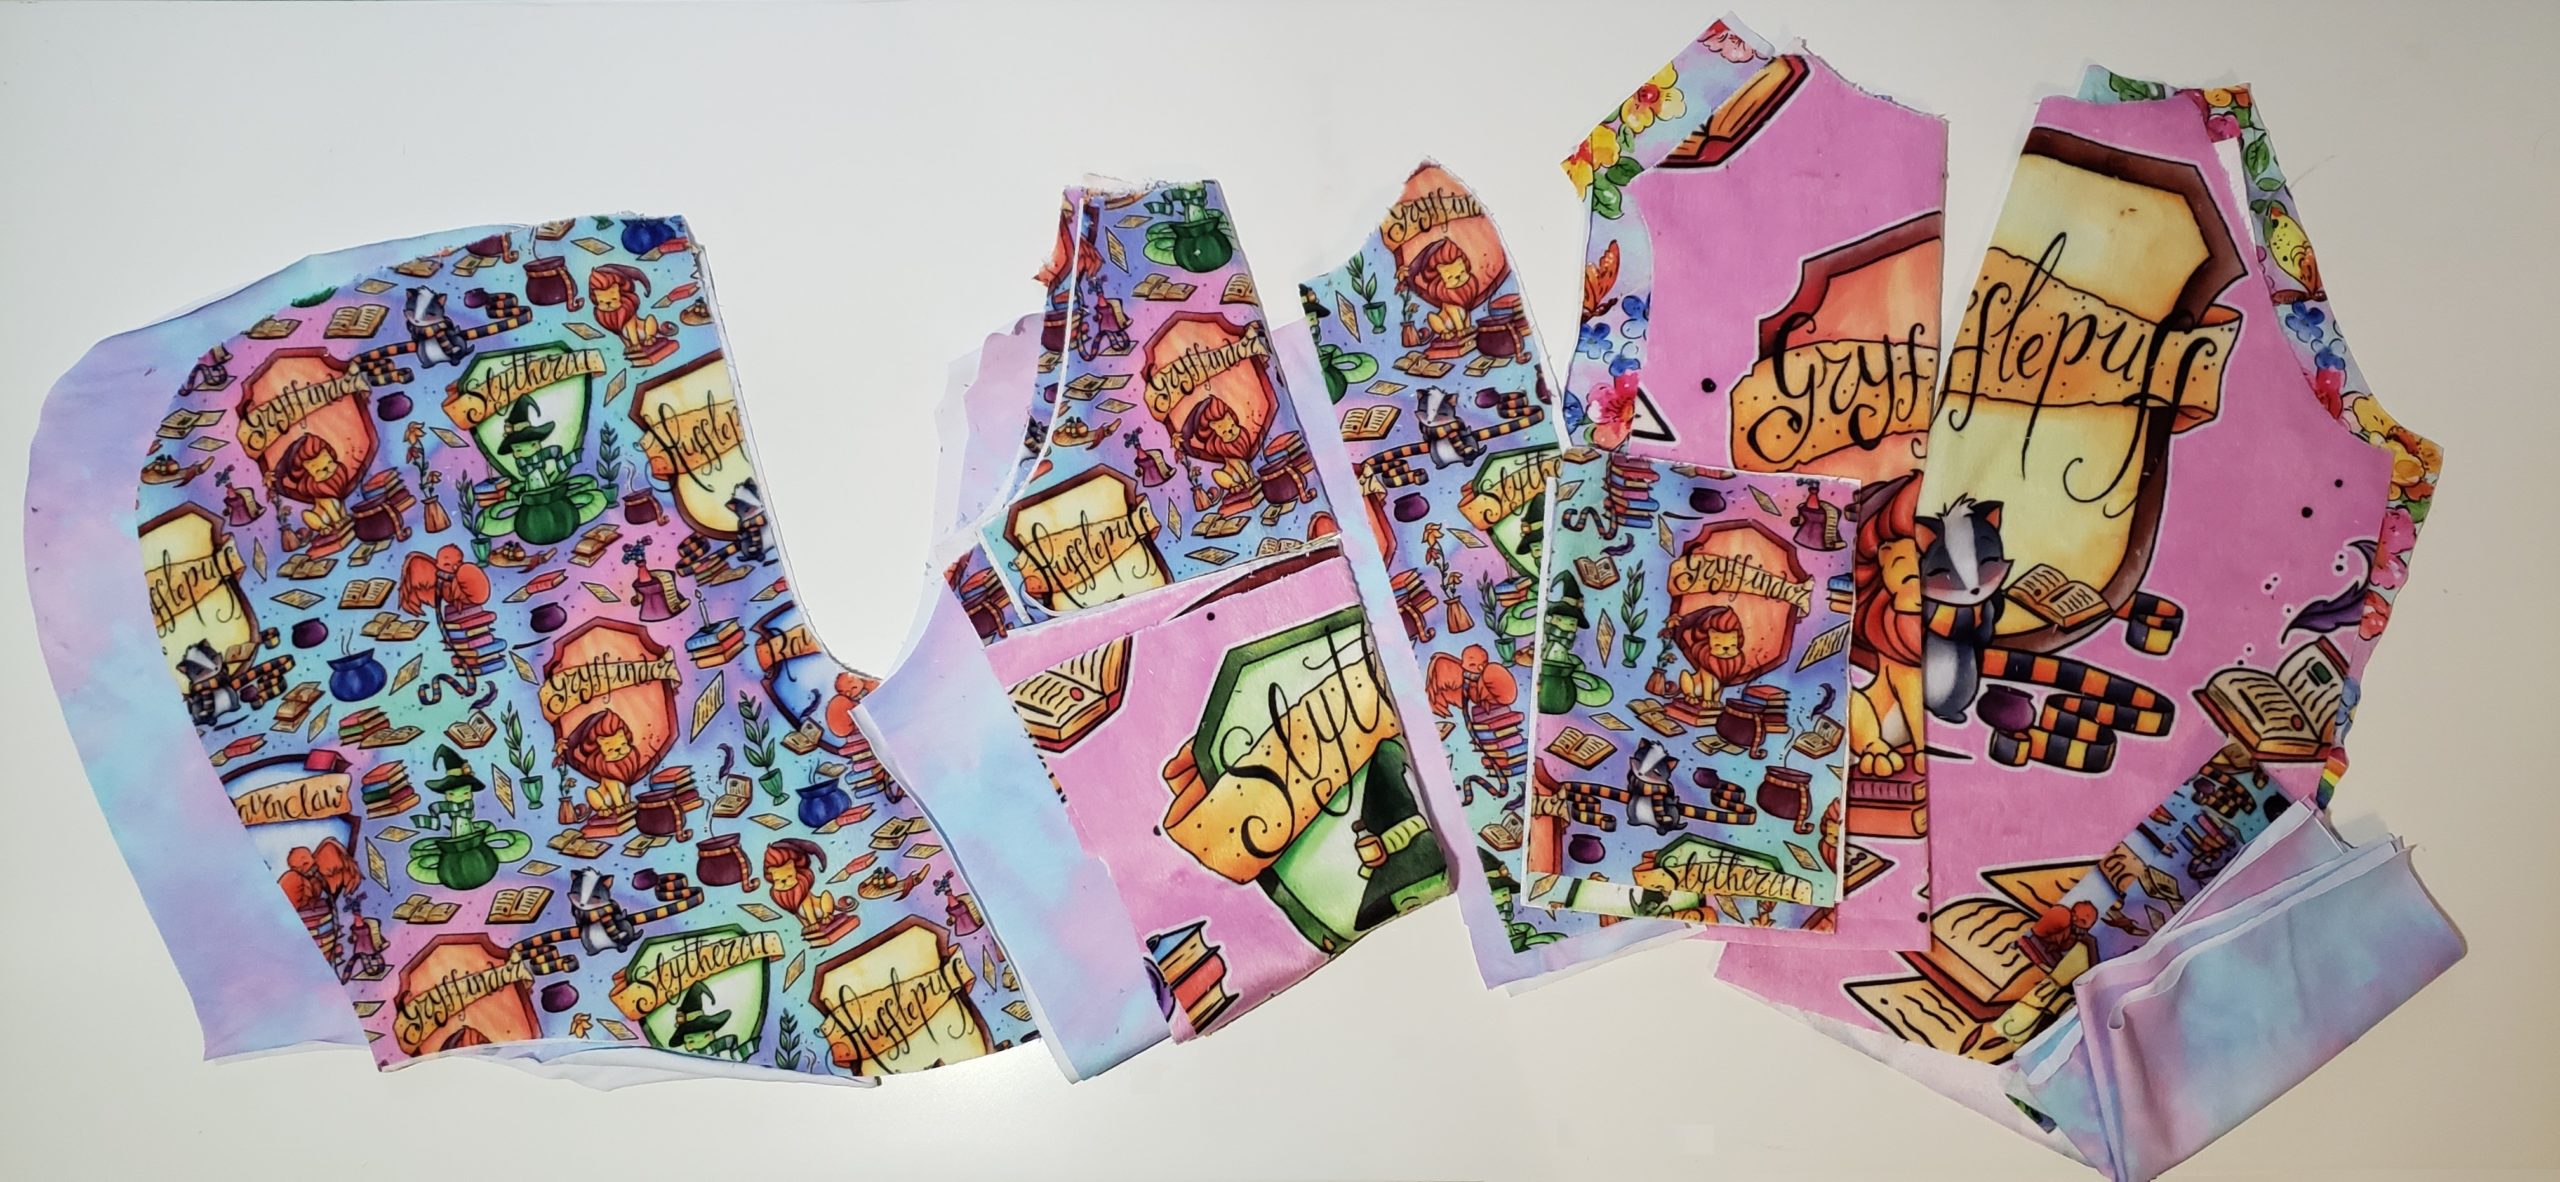
Cutting
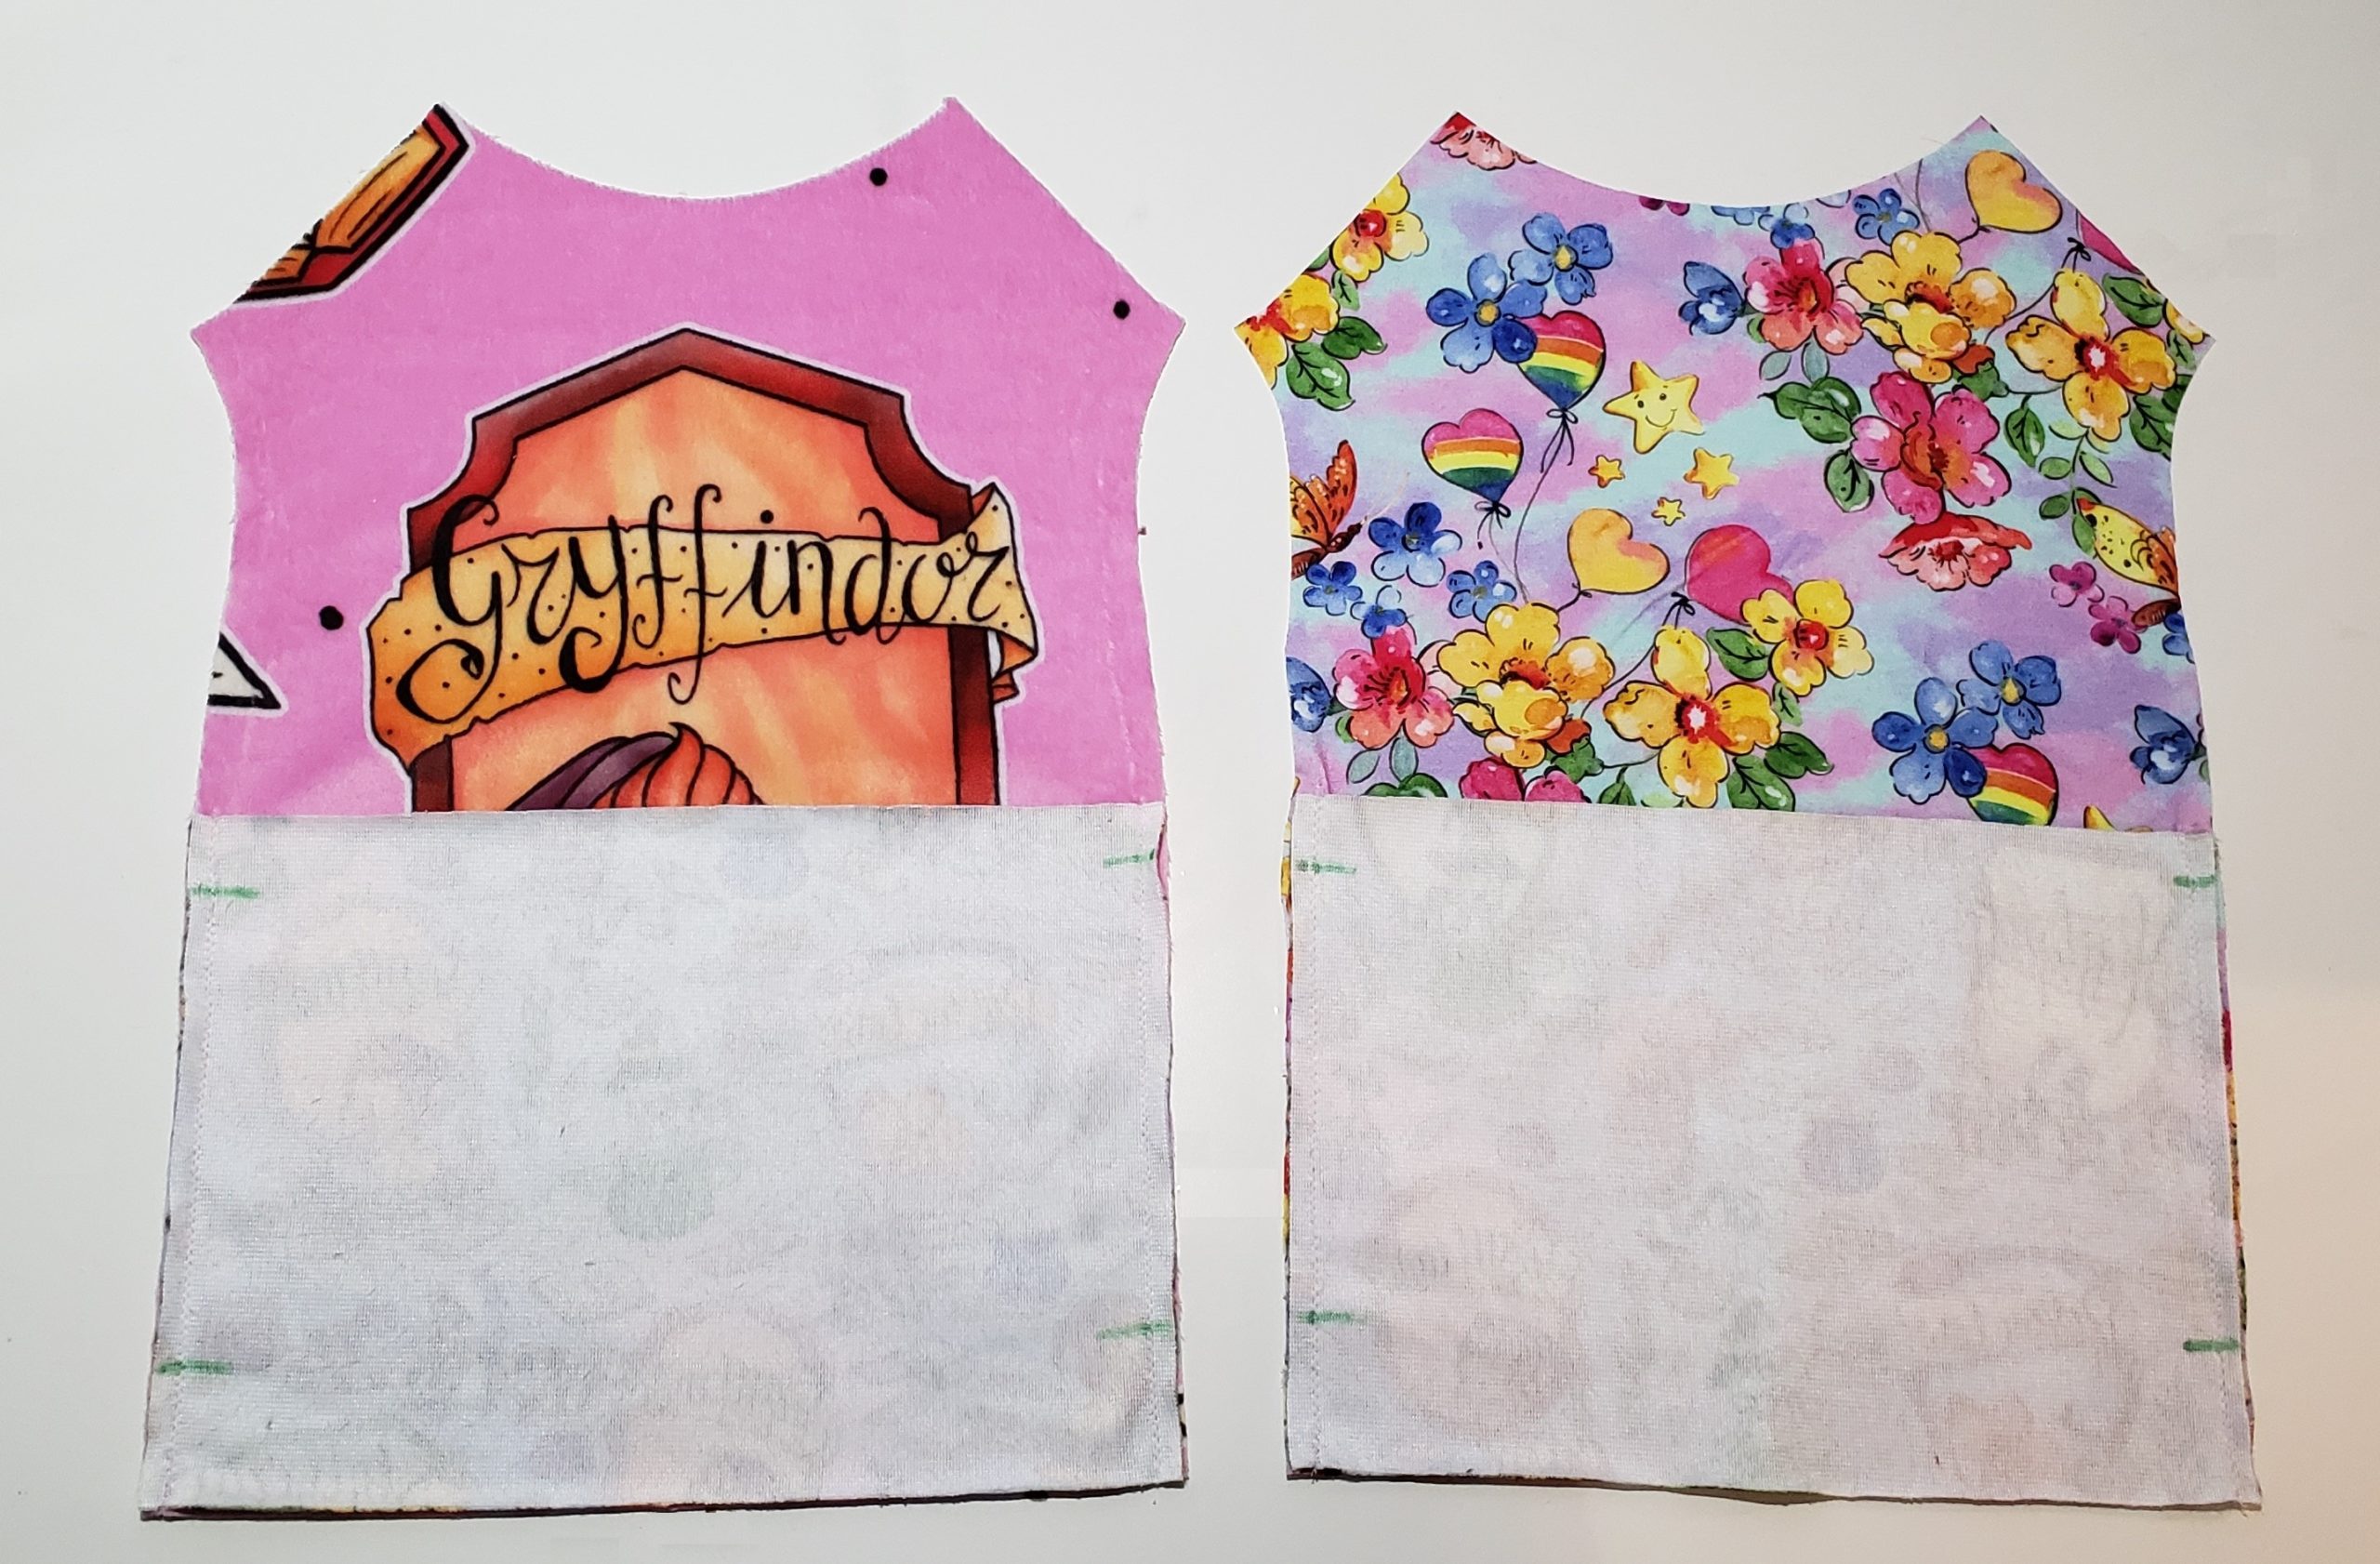
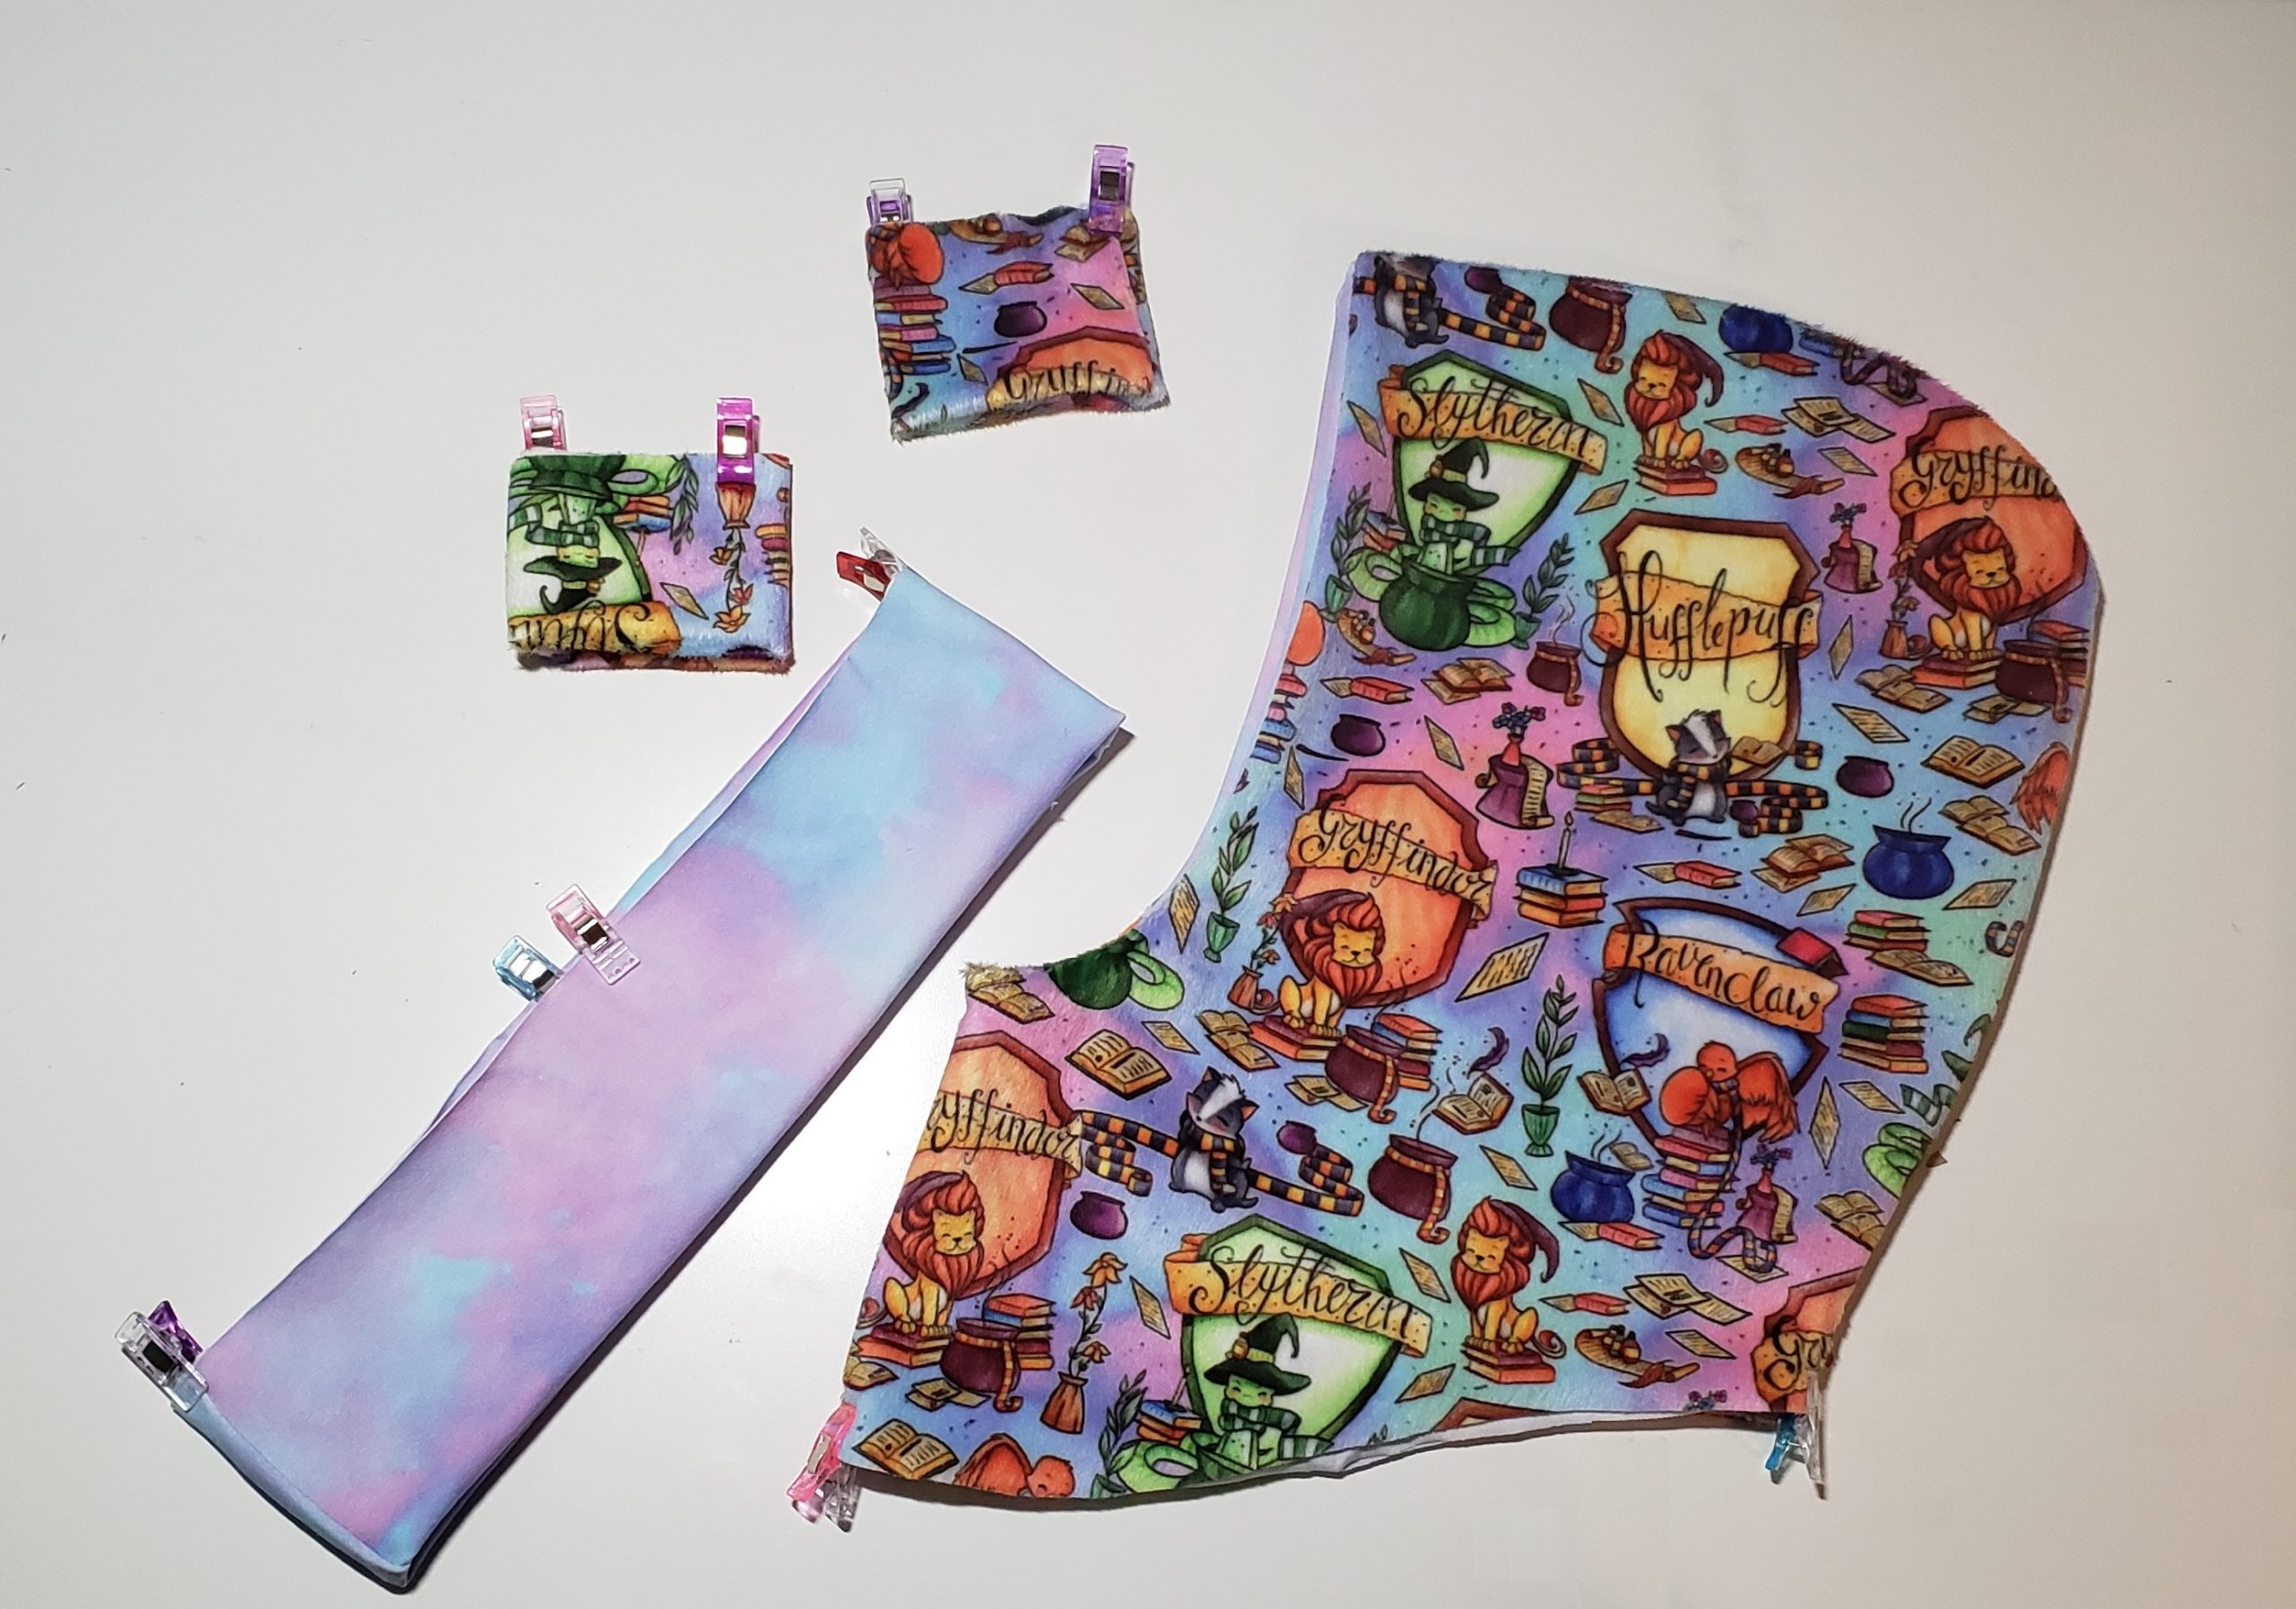
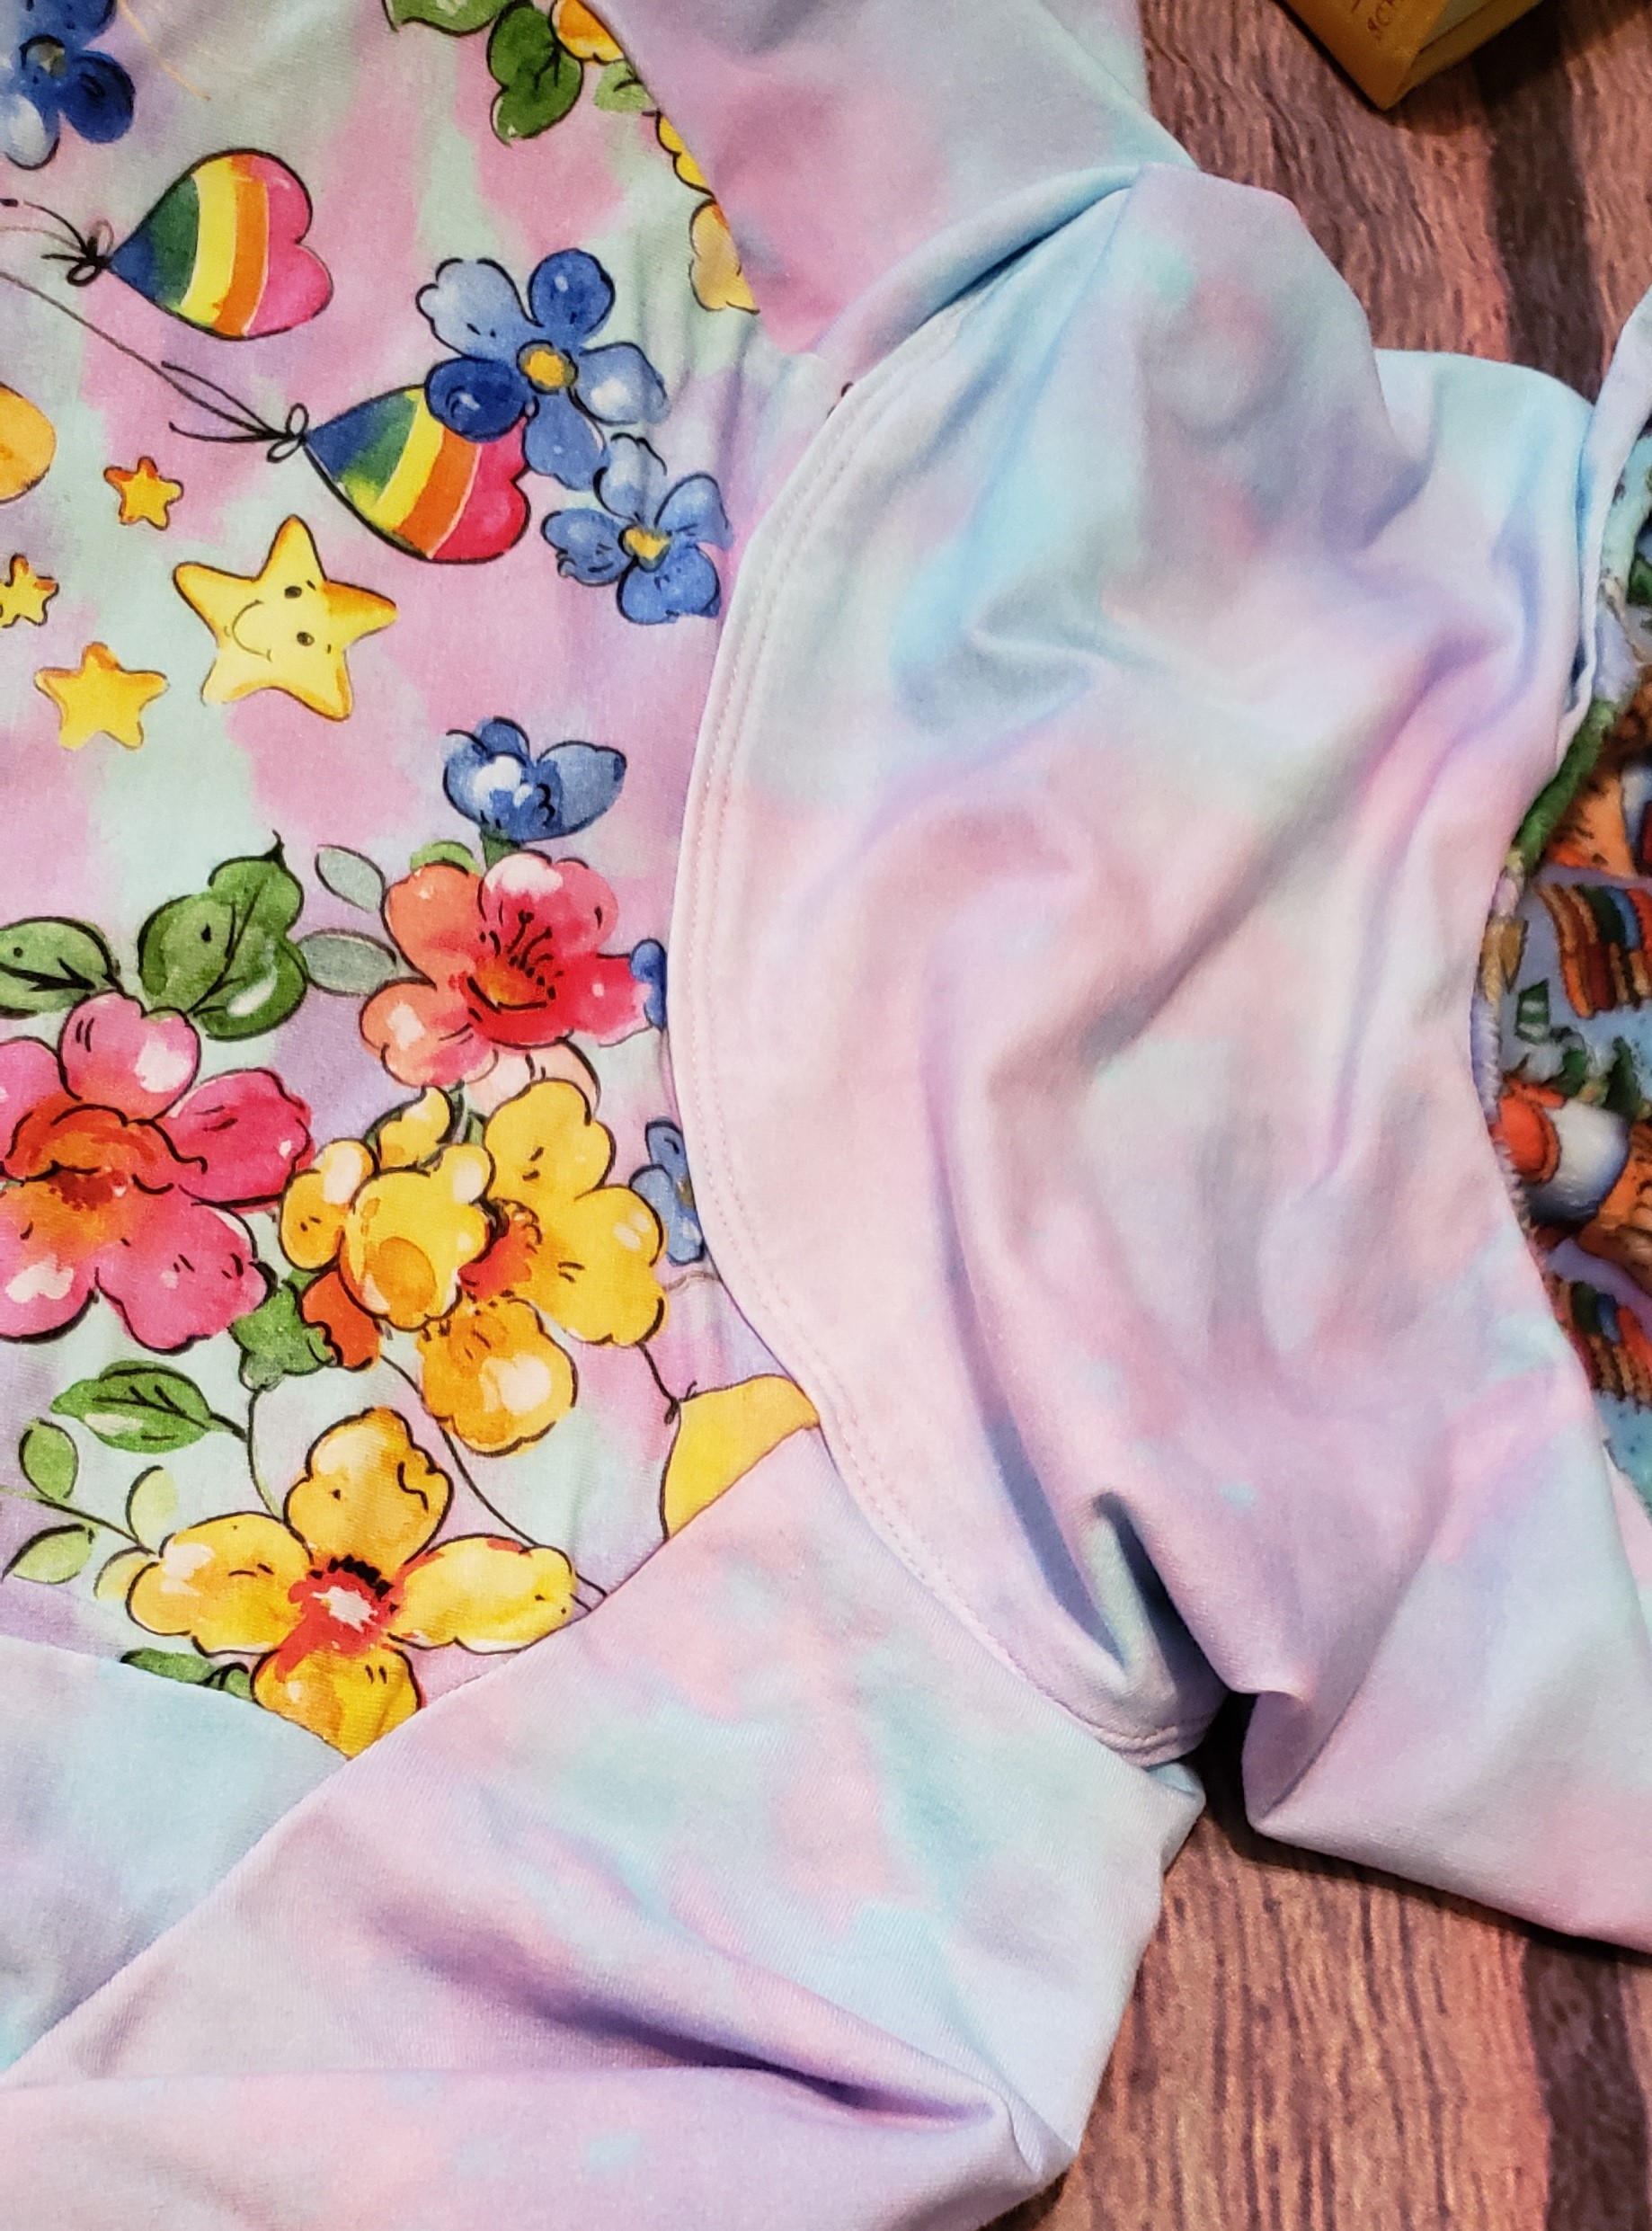
We start again with cutting! Even though the final hoodie is reversible, I will call the minky side the Outer and the floral/abstract side the Inner. Cut two of each of these pieces, one in the Outer fabric and one in the Inner: Front A, Front B, Back, Sleeves (two sets of mirror images), and Hood. Also cut 2 wrist cuffs, 1 set of waistbands, and 1 set of pockets.
Assembling the Bodice
Follow the directions in the pattern to stitch one pocket piece right sides together with Outer Front A using a 1/4” seam allowance. (Keeping the seam allowance here is what keeps the pocket lining from showing!) Stitch the other pocket piece right sides together with Inner Front A. Mark the edges of the pocket openings.
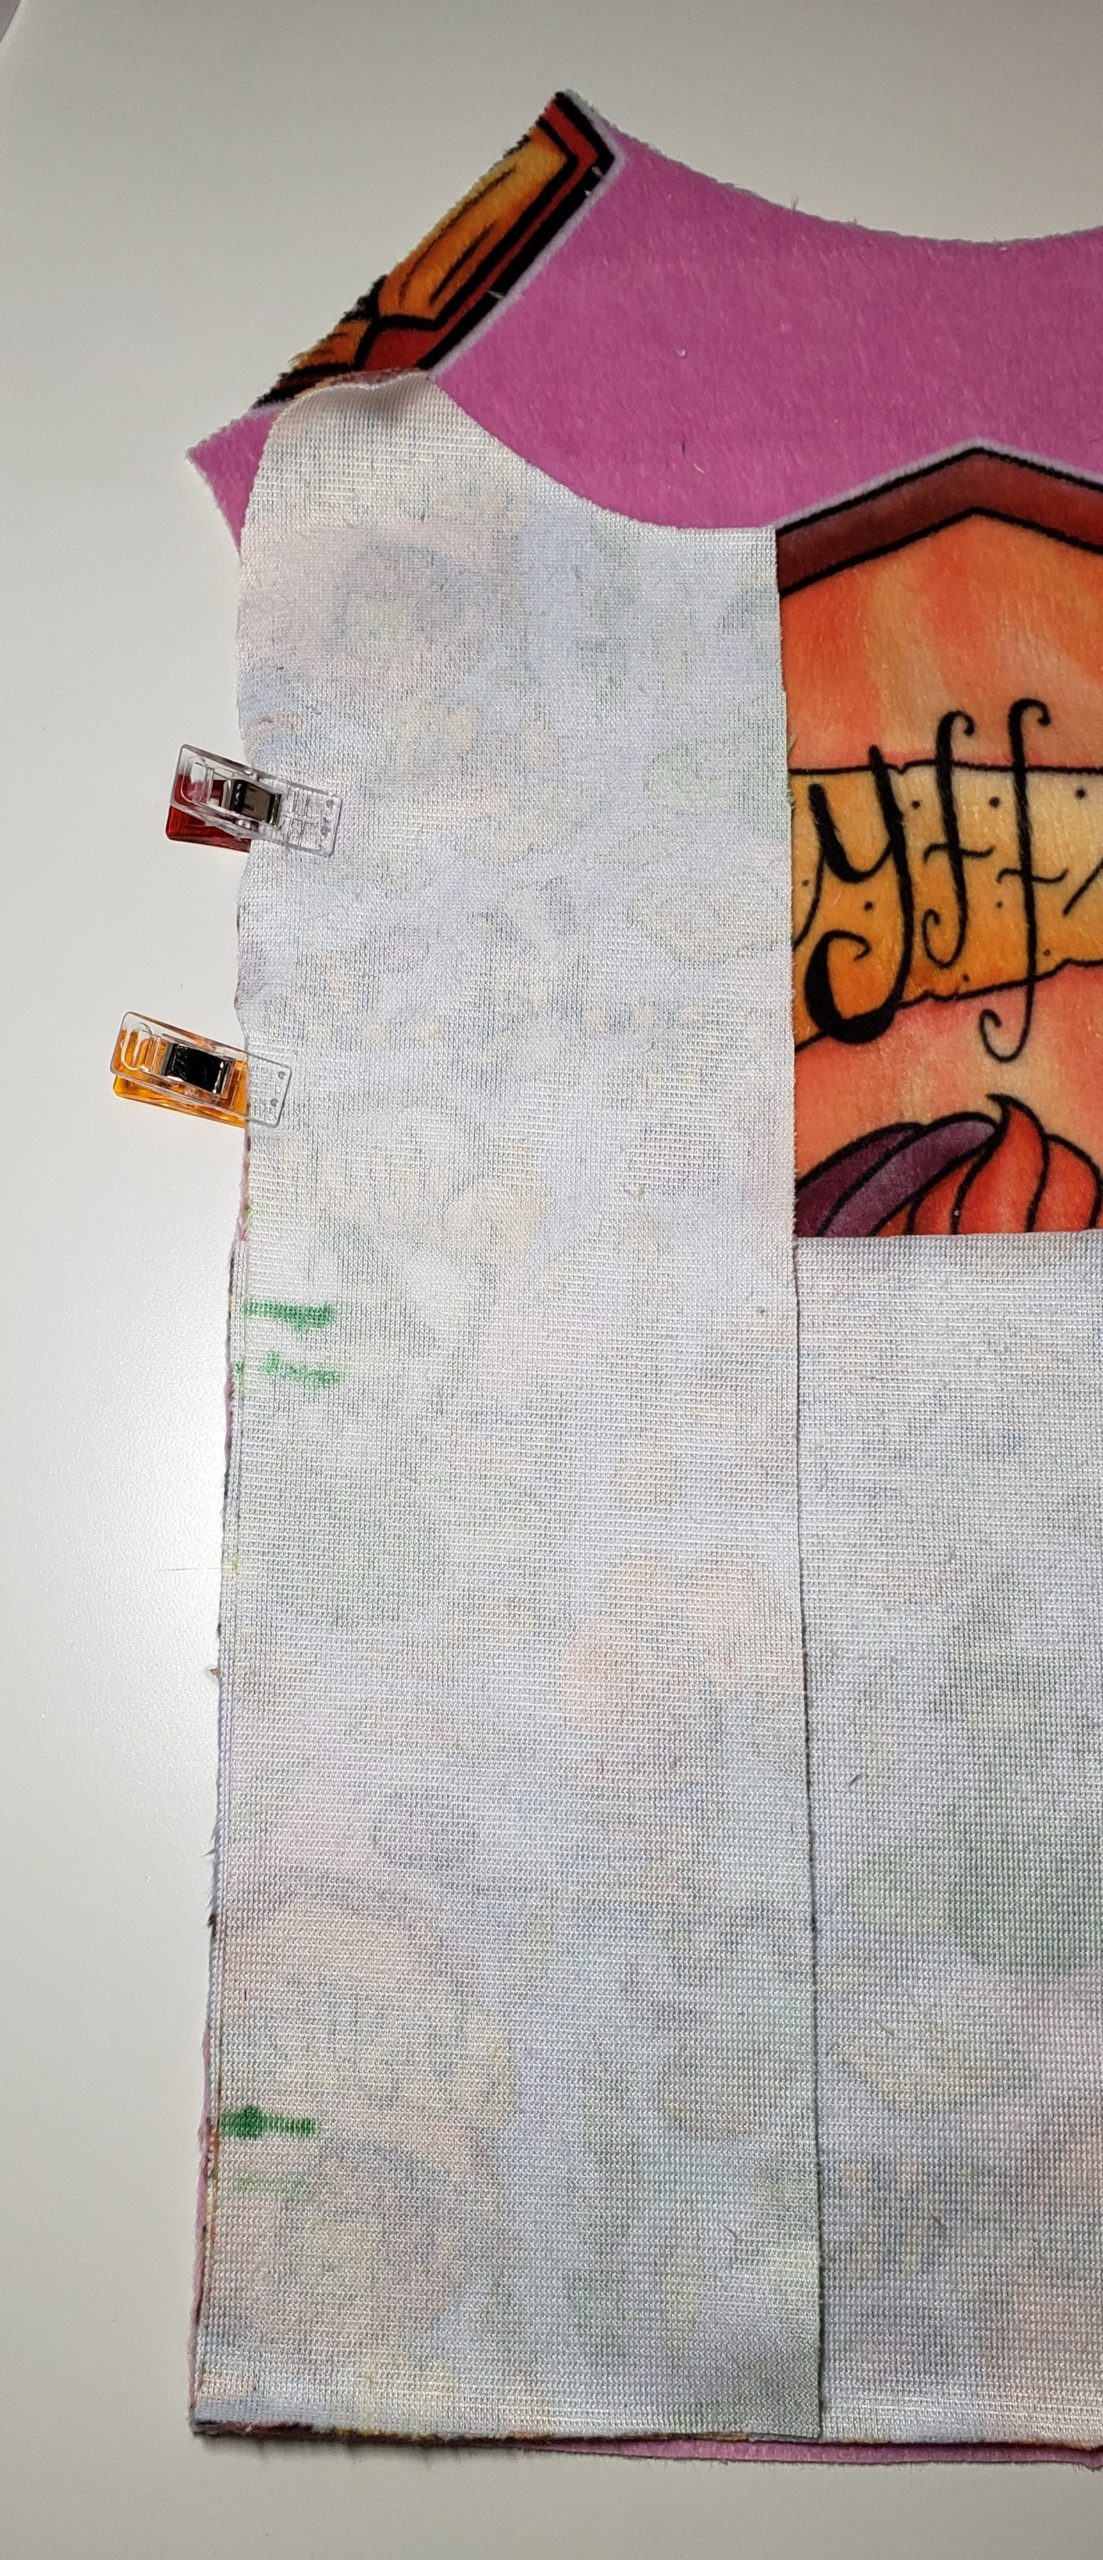
Place Outer Front B right sides together with Outer Front A, on top of the pocket. Copy pocket edge markings over. Clip Outer Front B at the top to hold it and place it inside the pocket. Use wonder tape to hold the side seams together at the top and bottom. This will allow your pocket to lie smoothly. With the pocket pushed out of the way use a 3/8” seam allowance stitch the top and bottom of the side seam. Backstitch at the pocket opening.
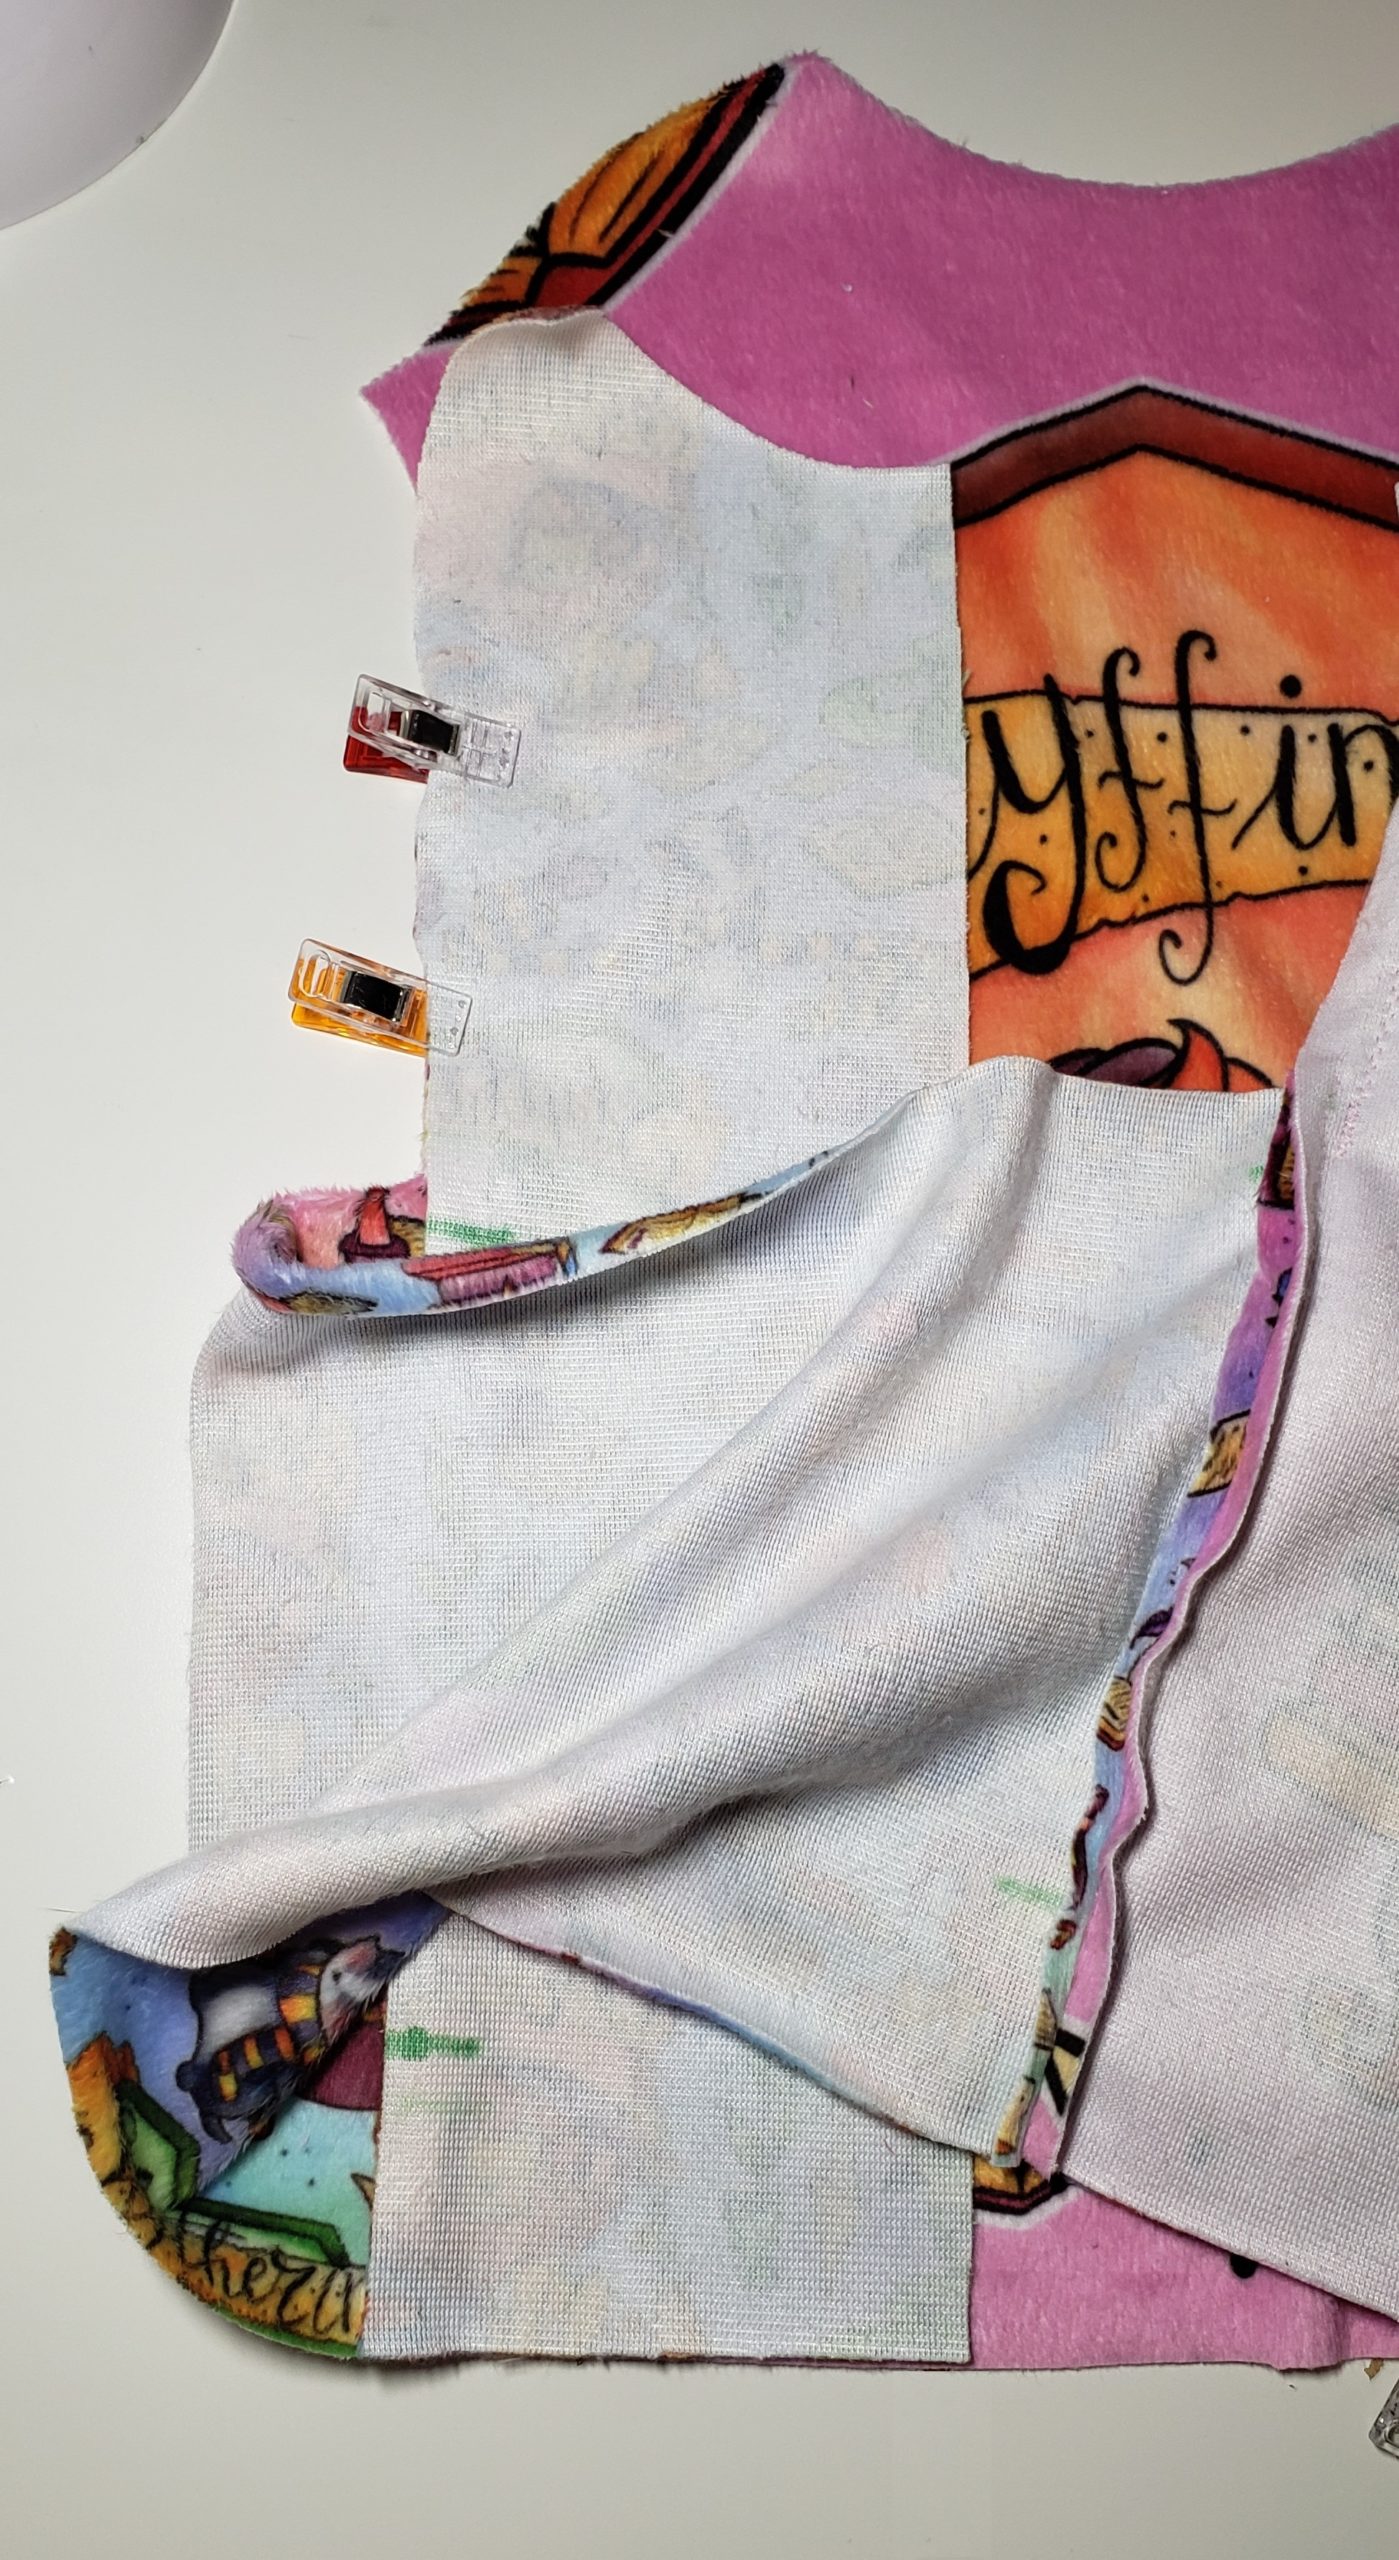
Turn right side out. Repeat with the Inner Front A and B. Do not baste the bottom of the pockets here though.


Follow the pattern directions to attach the sleeves, back, and stitch the side seams for the Outer and Inner Bodices.

Follow the pattern directions to assemble the lined Hood, including the Outer and Inner Hood layers. Also, stitch the short ends of the cuffs and waistband together.
Quarter the waistband and the bottom of the Outer and Inner Bodice openings.
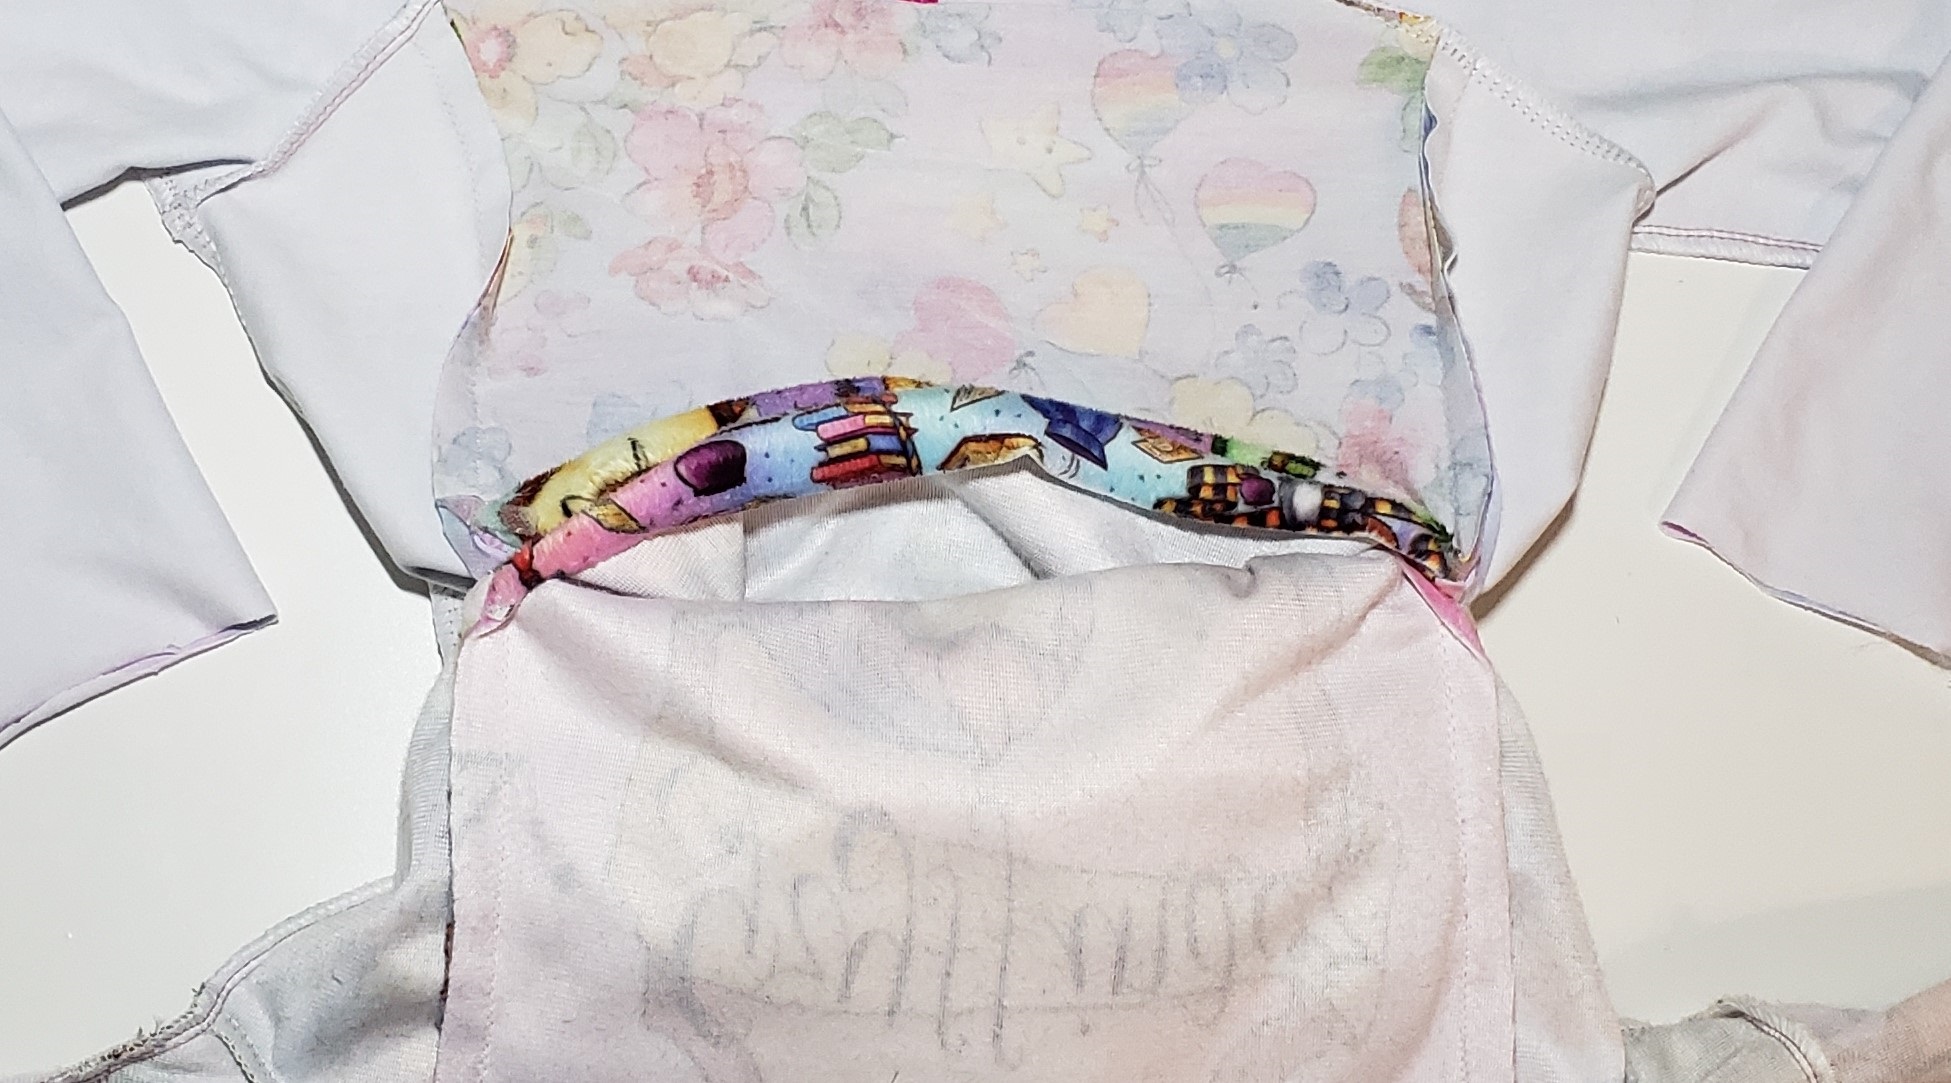
Turn the Outer Bodice wrong side out and insert the Inner Bodice into it, right sides together and fronts together. Insert the waistband in between the Outer and Inner Bodices and stitch. It is important that you do *not* catch the bottom of the pocket pieces.
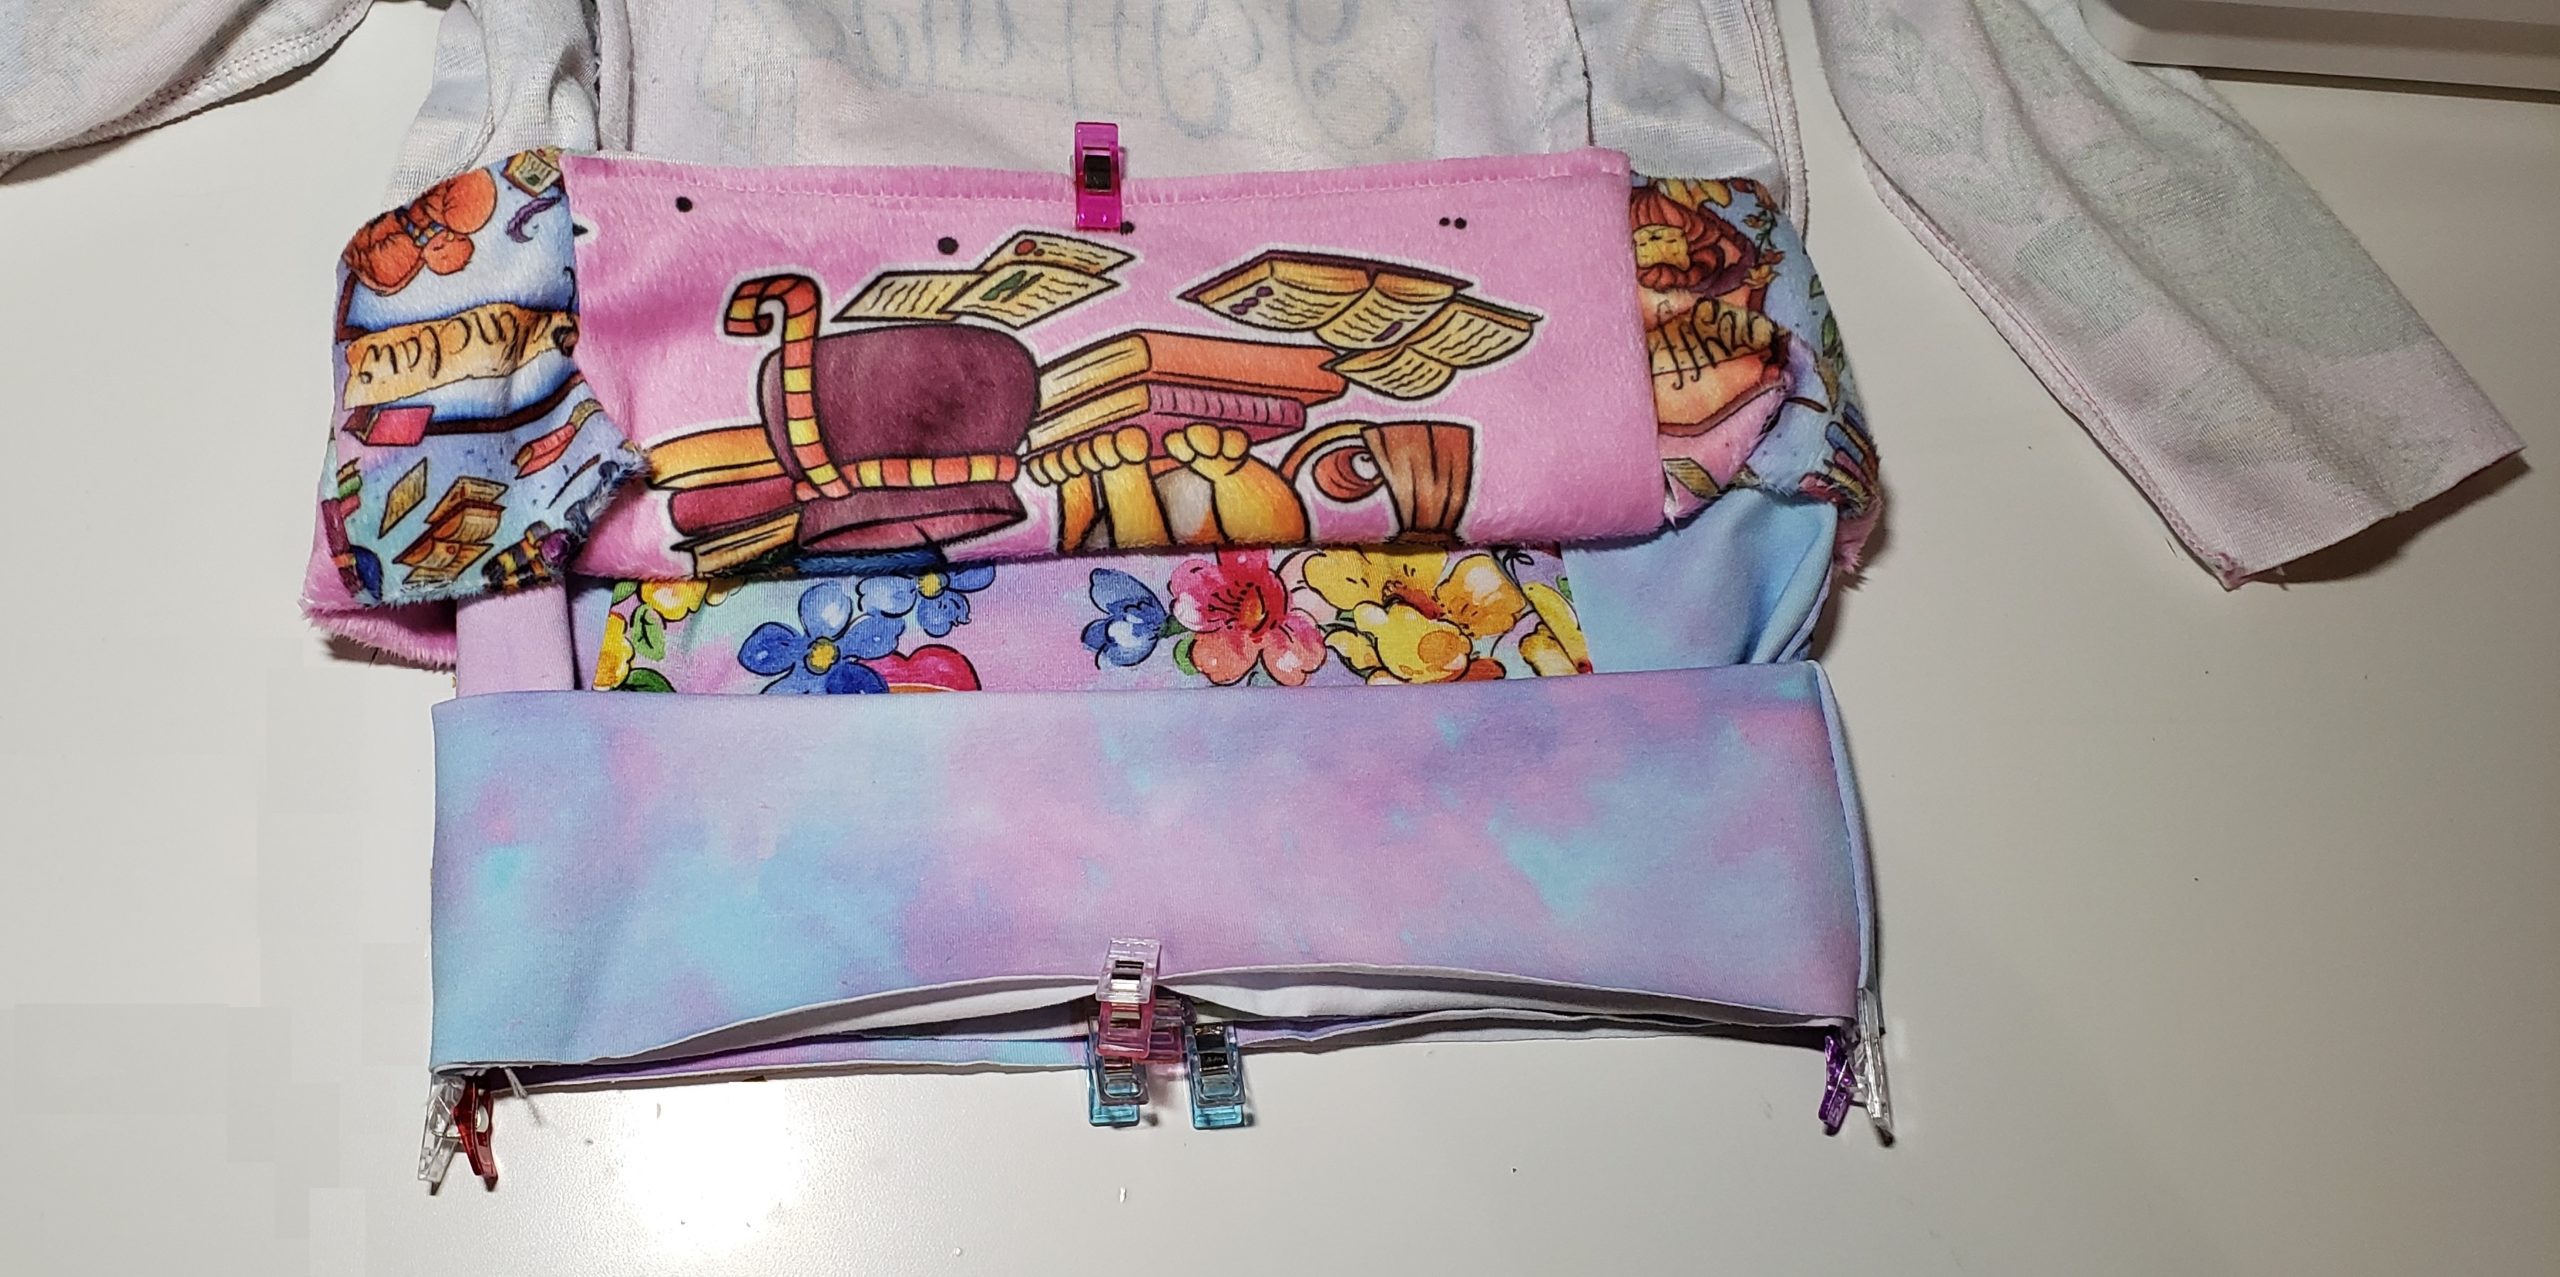
The bottom of the pocket pieces should not be attached yet.
Tuck one pocket piece into the other so they are right sides together. Stitch the bottom only together.
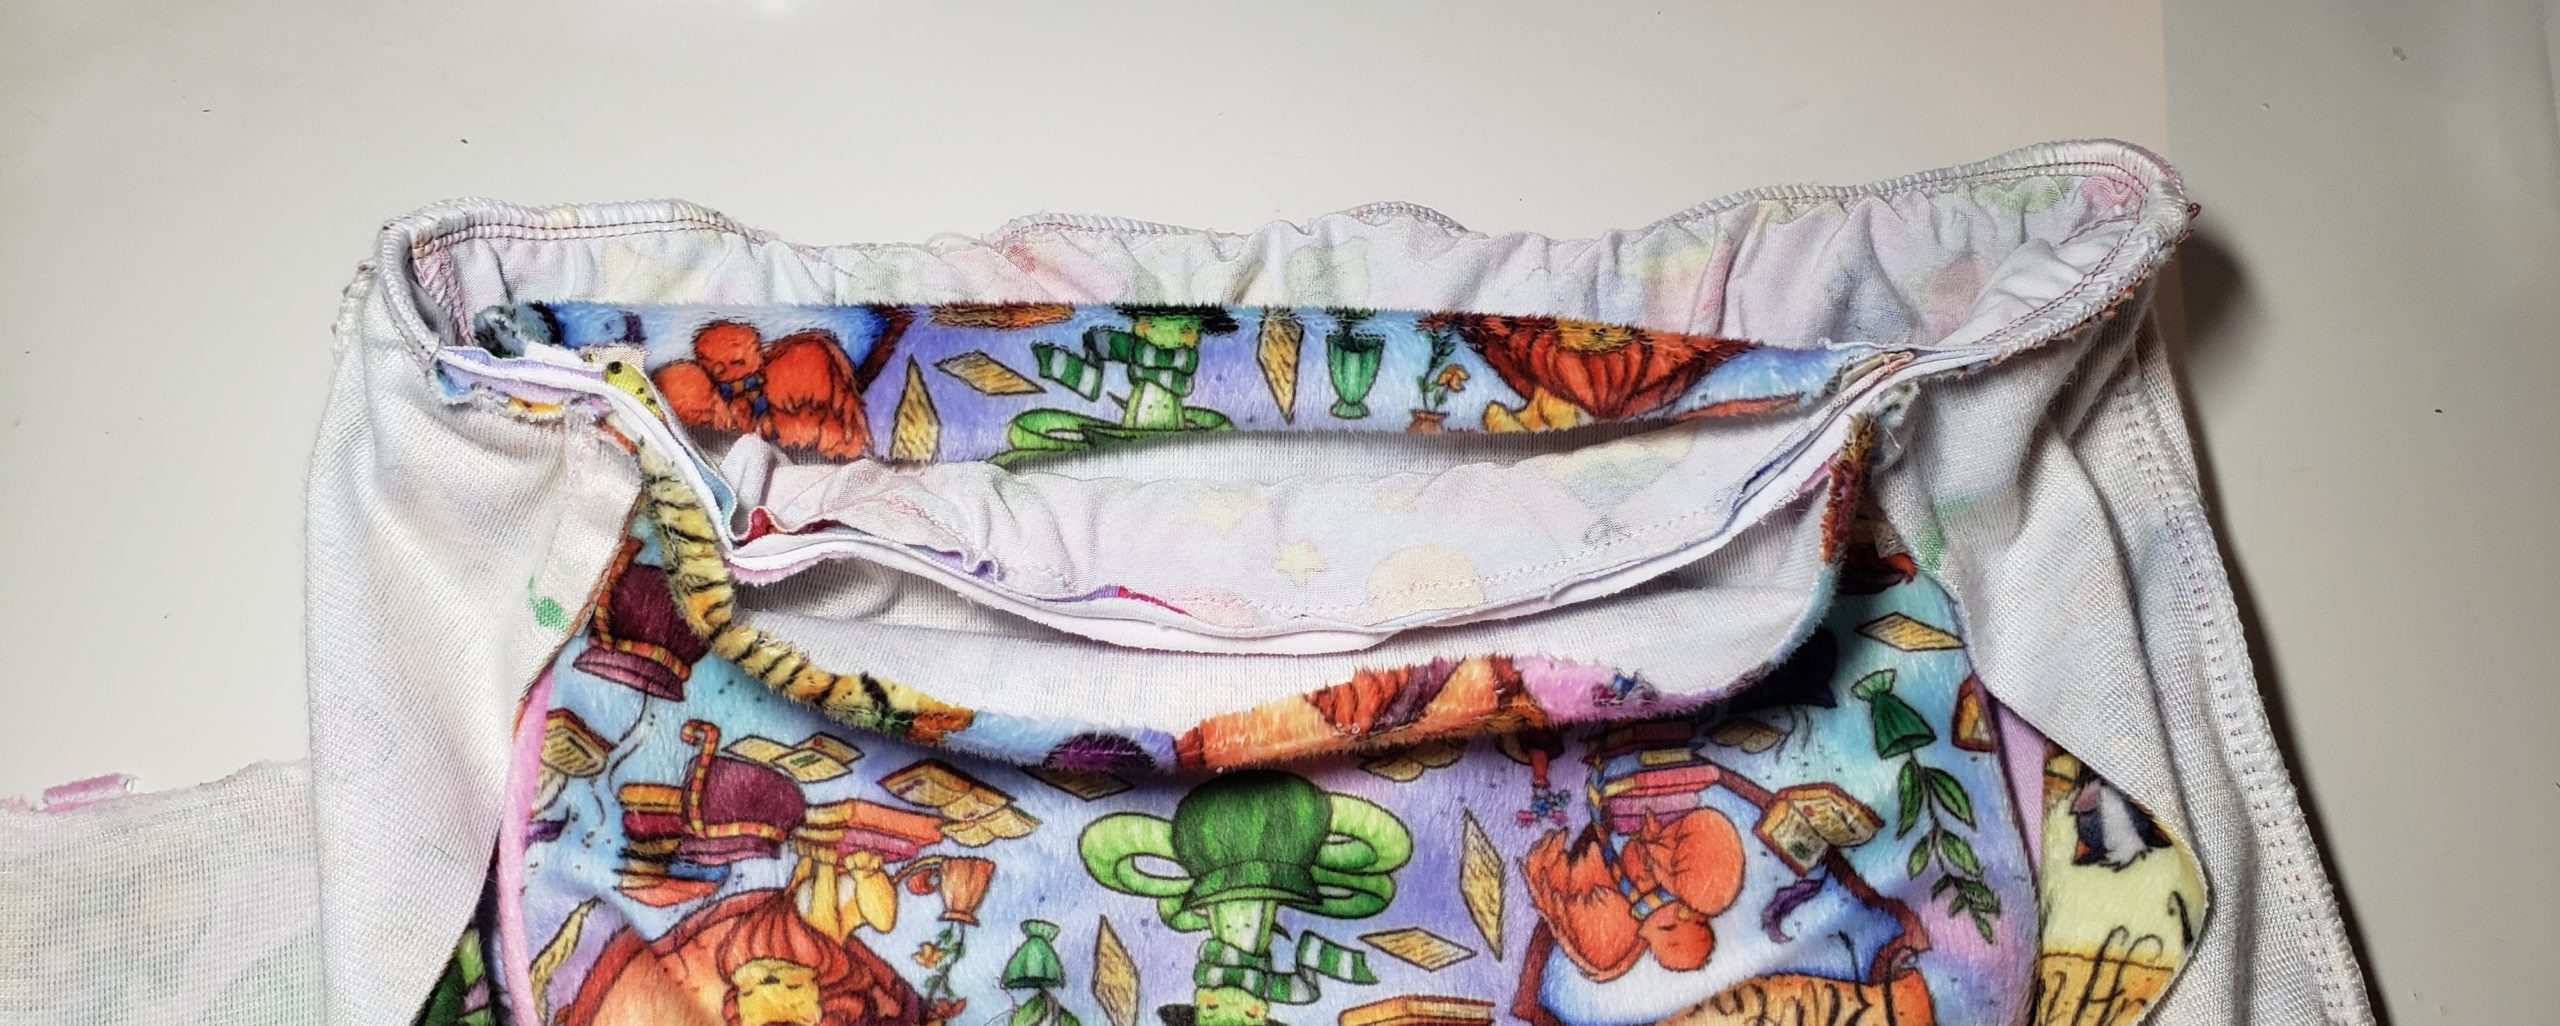
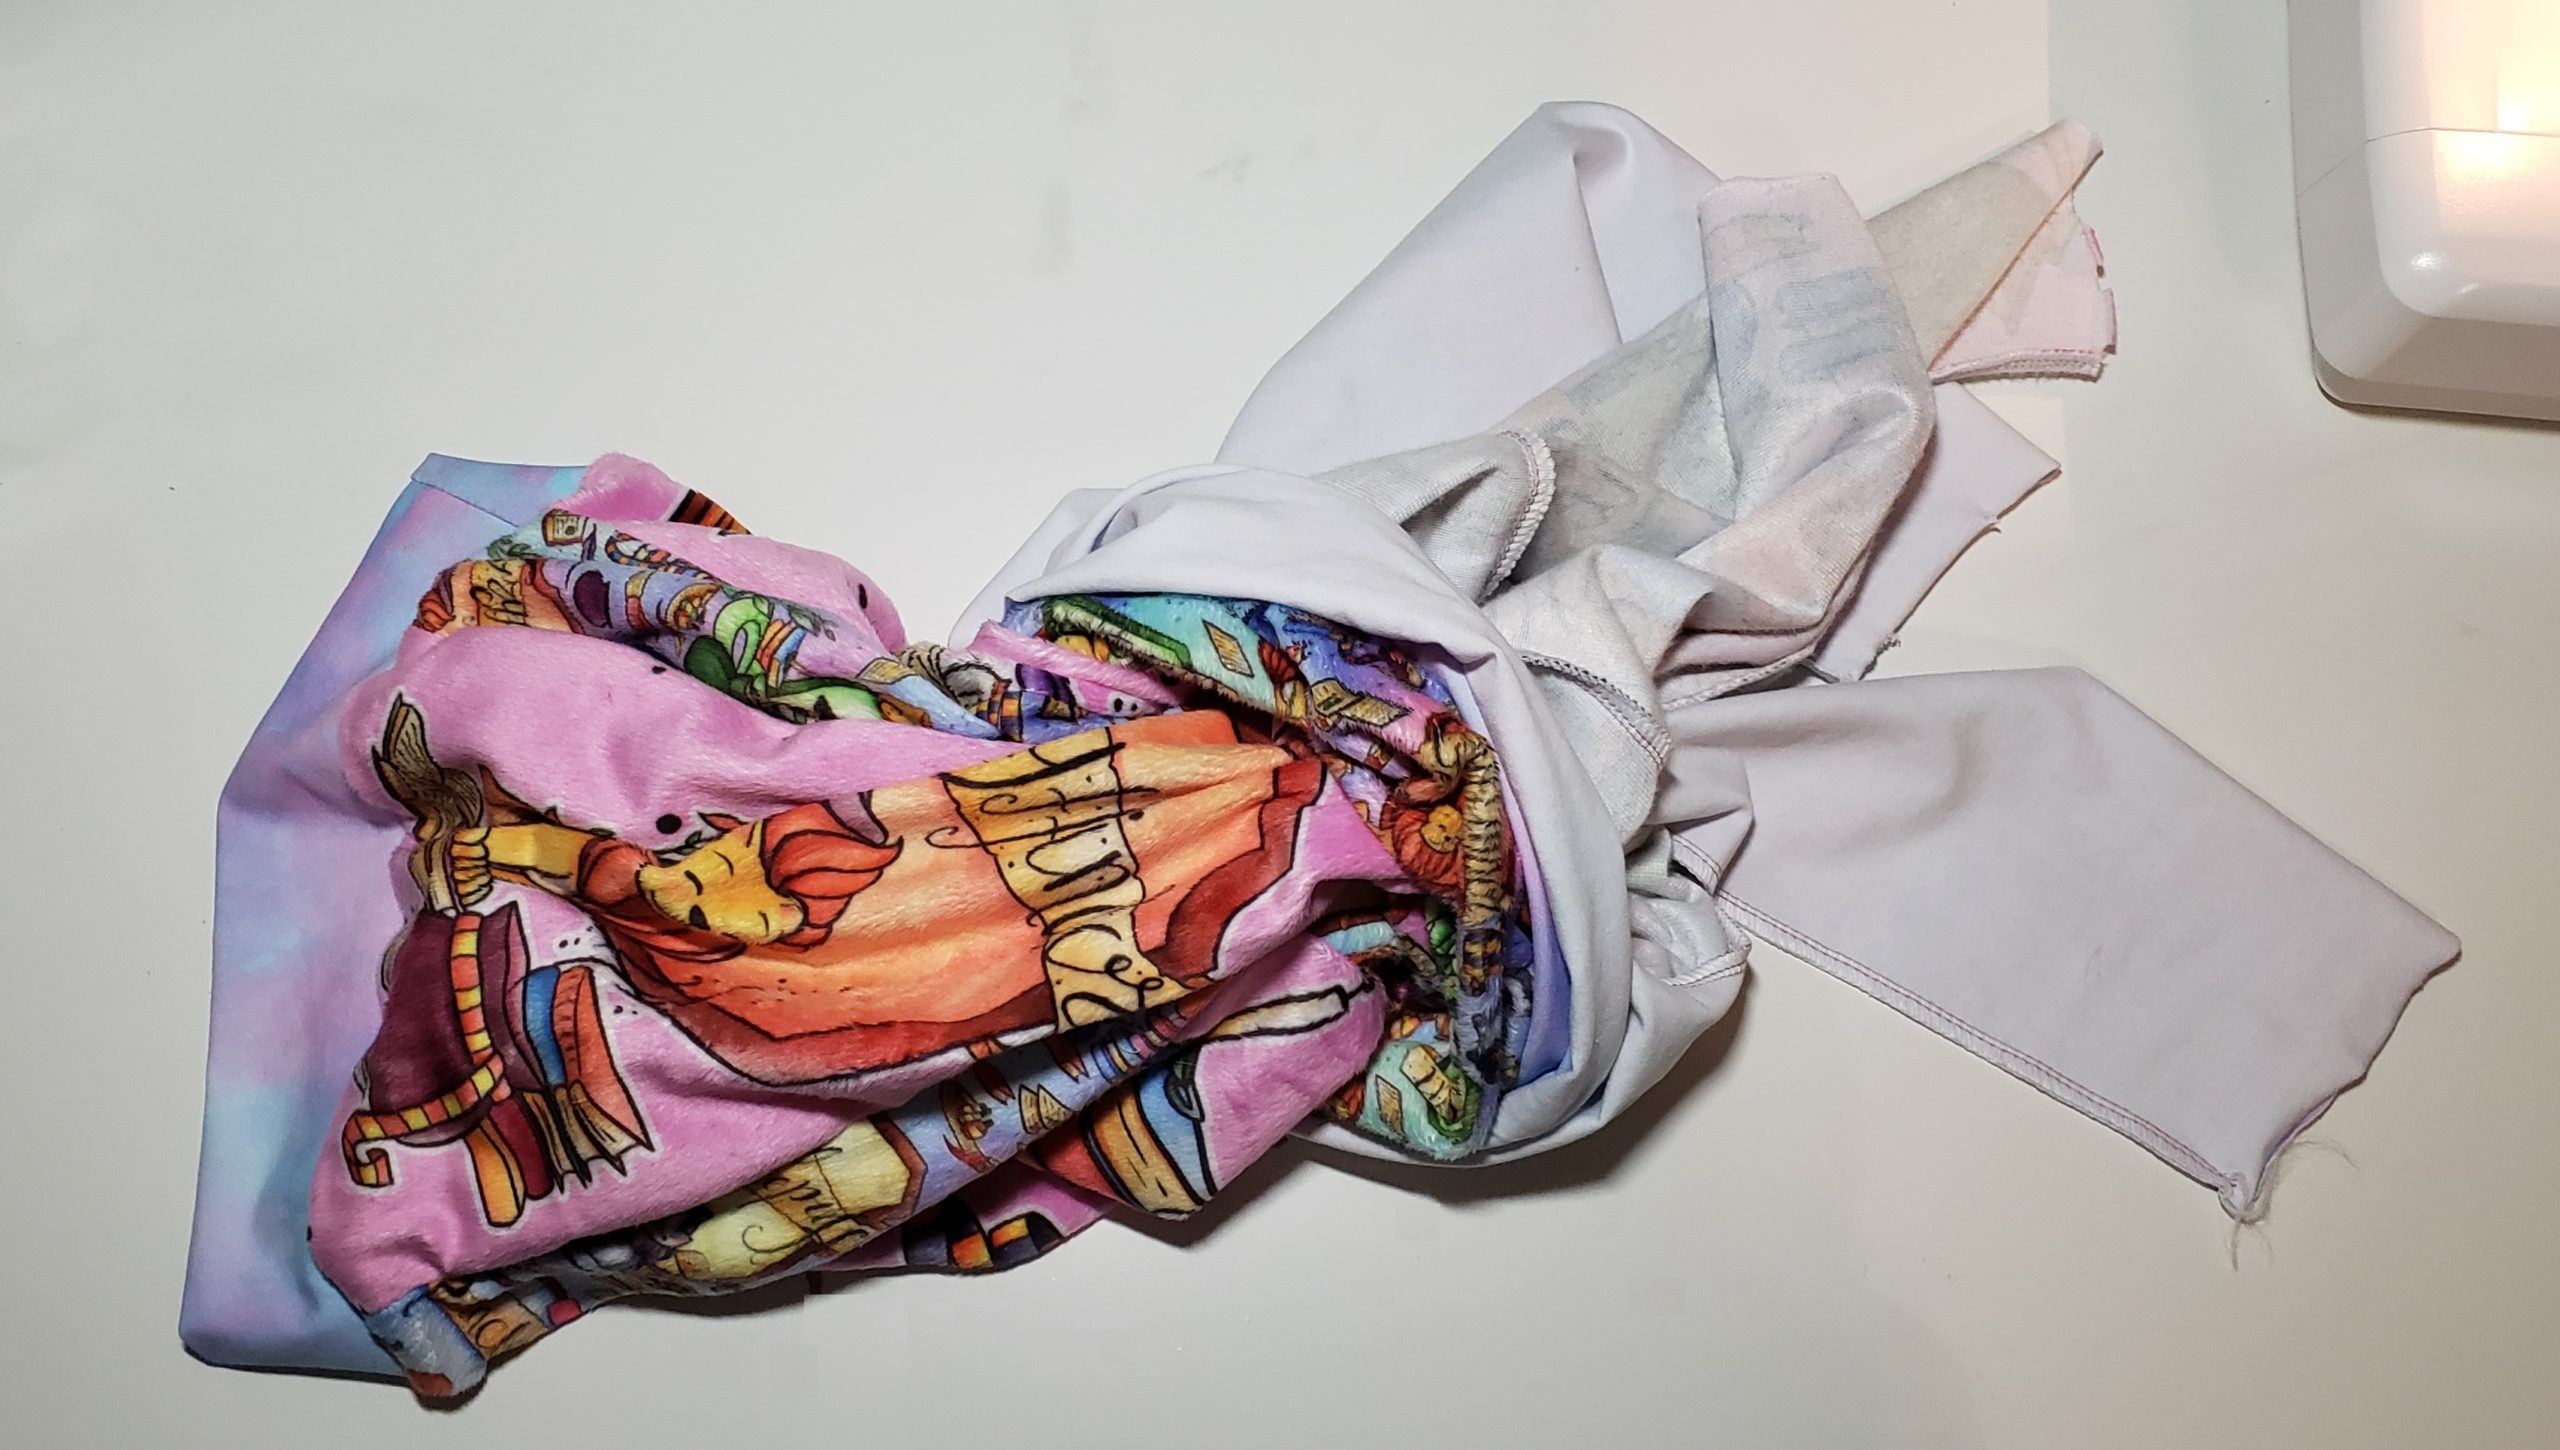
Turn the hoodie right side out by pulling the Outer Bodice down, so you can see the waistband. Then pull the Inner Bodice out through the neck hole and tuck it inside.
At this point I stitched the Outer Hood to the Outer Bodice. So in the following pictures you will see the hood attached. You can do this now or later, it’s your choice. Do not stitch the Inner Hood to the Inner Bodice yet if you have fully assembled your Hood!
Make sure the Inner Bodice is aligned at the shoulders and sleeves with the Outer and isn’t twisted.
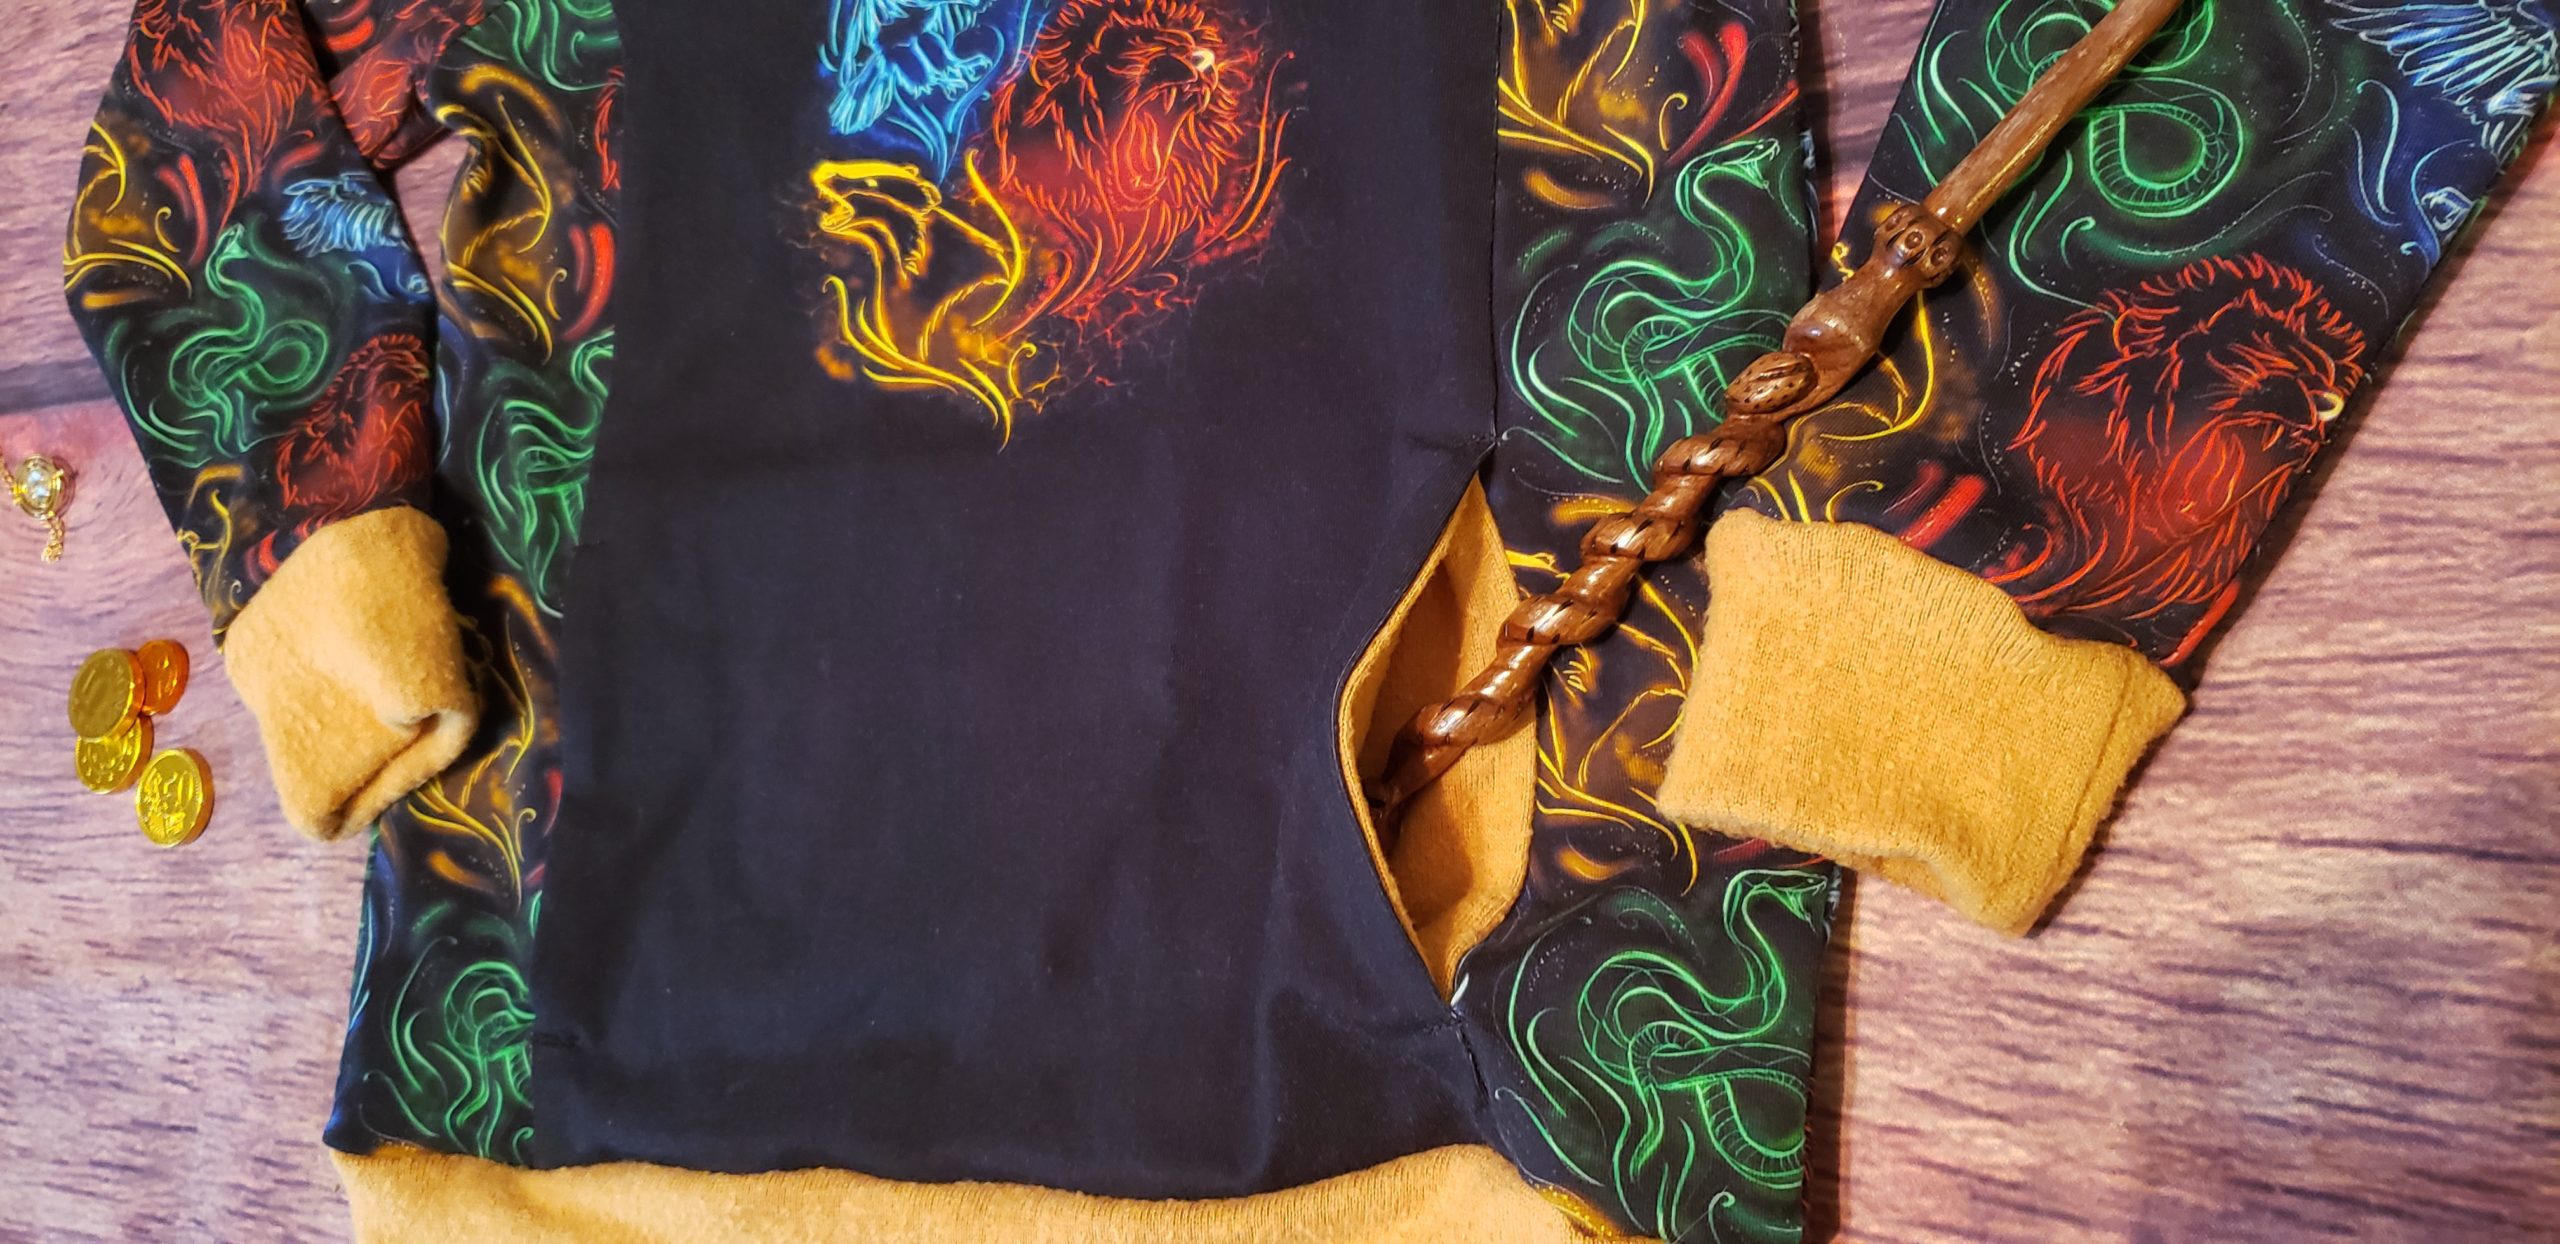
Pockets
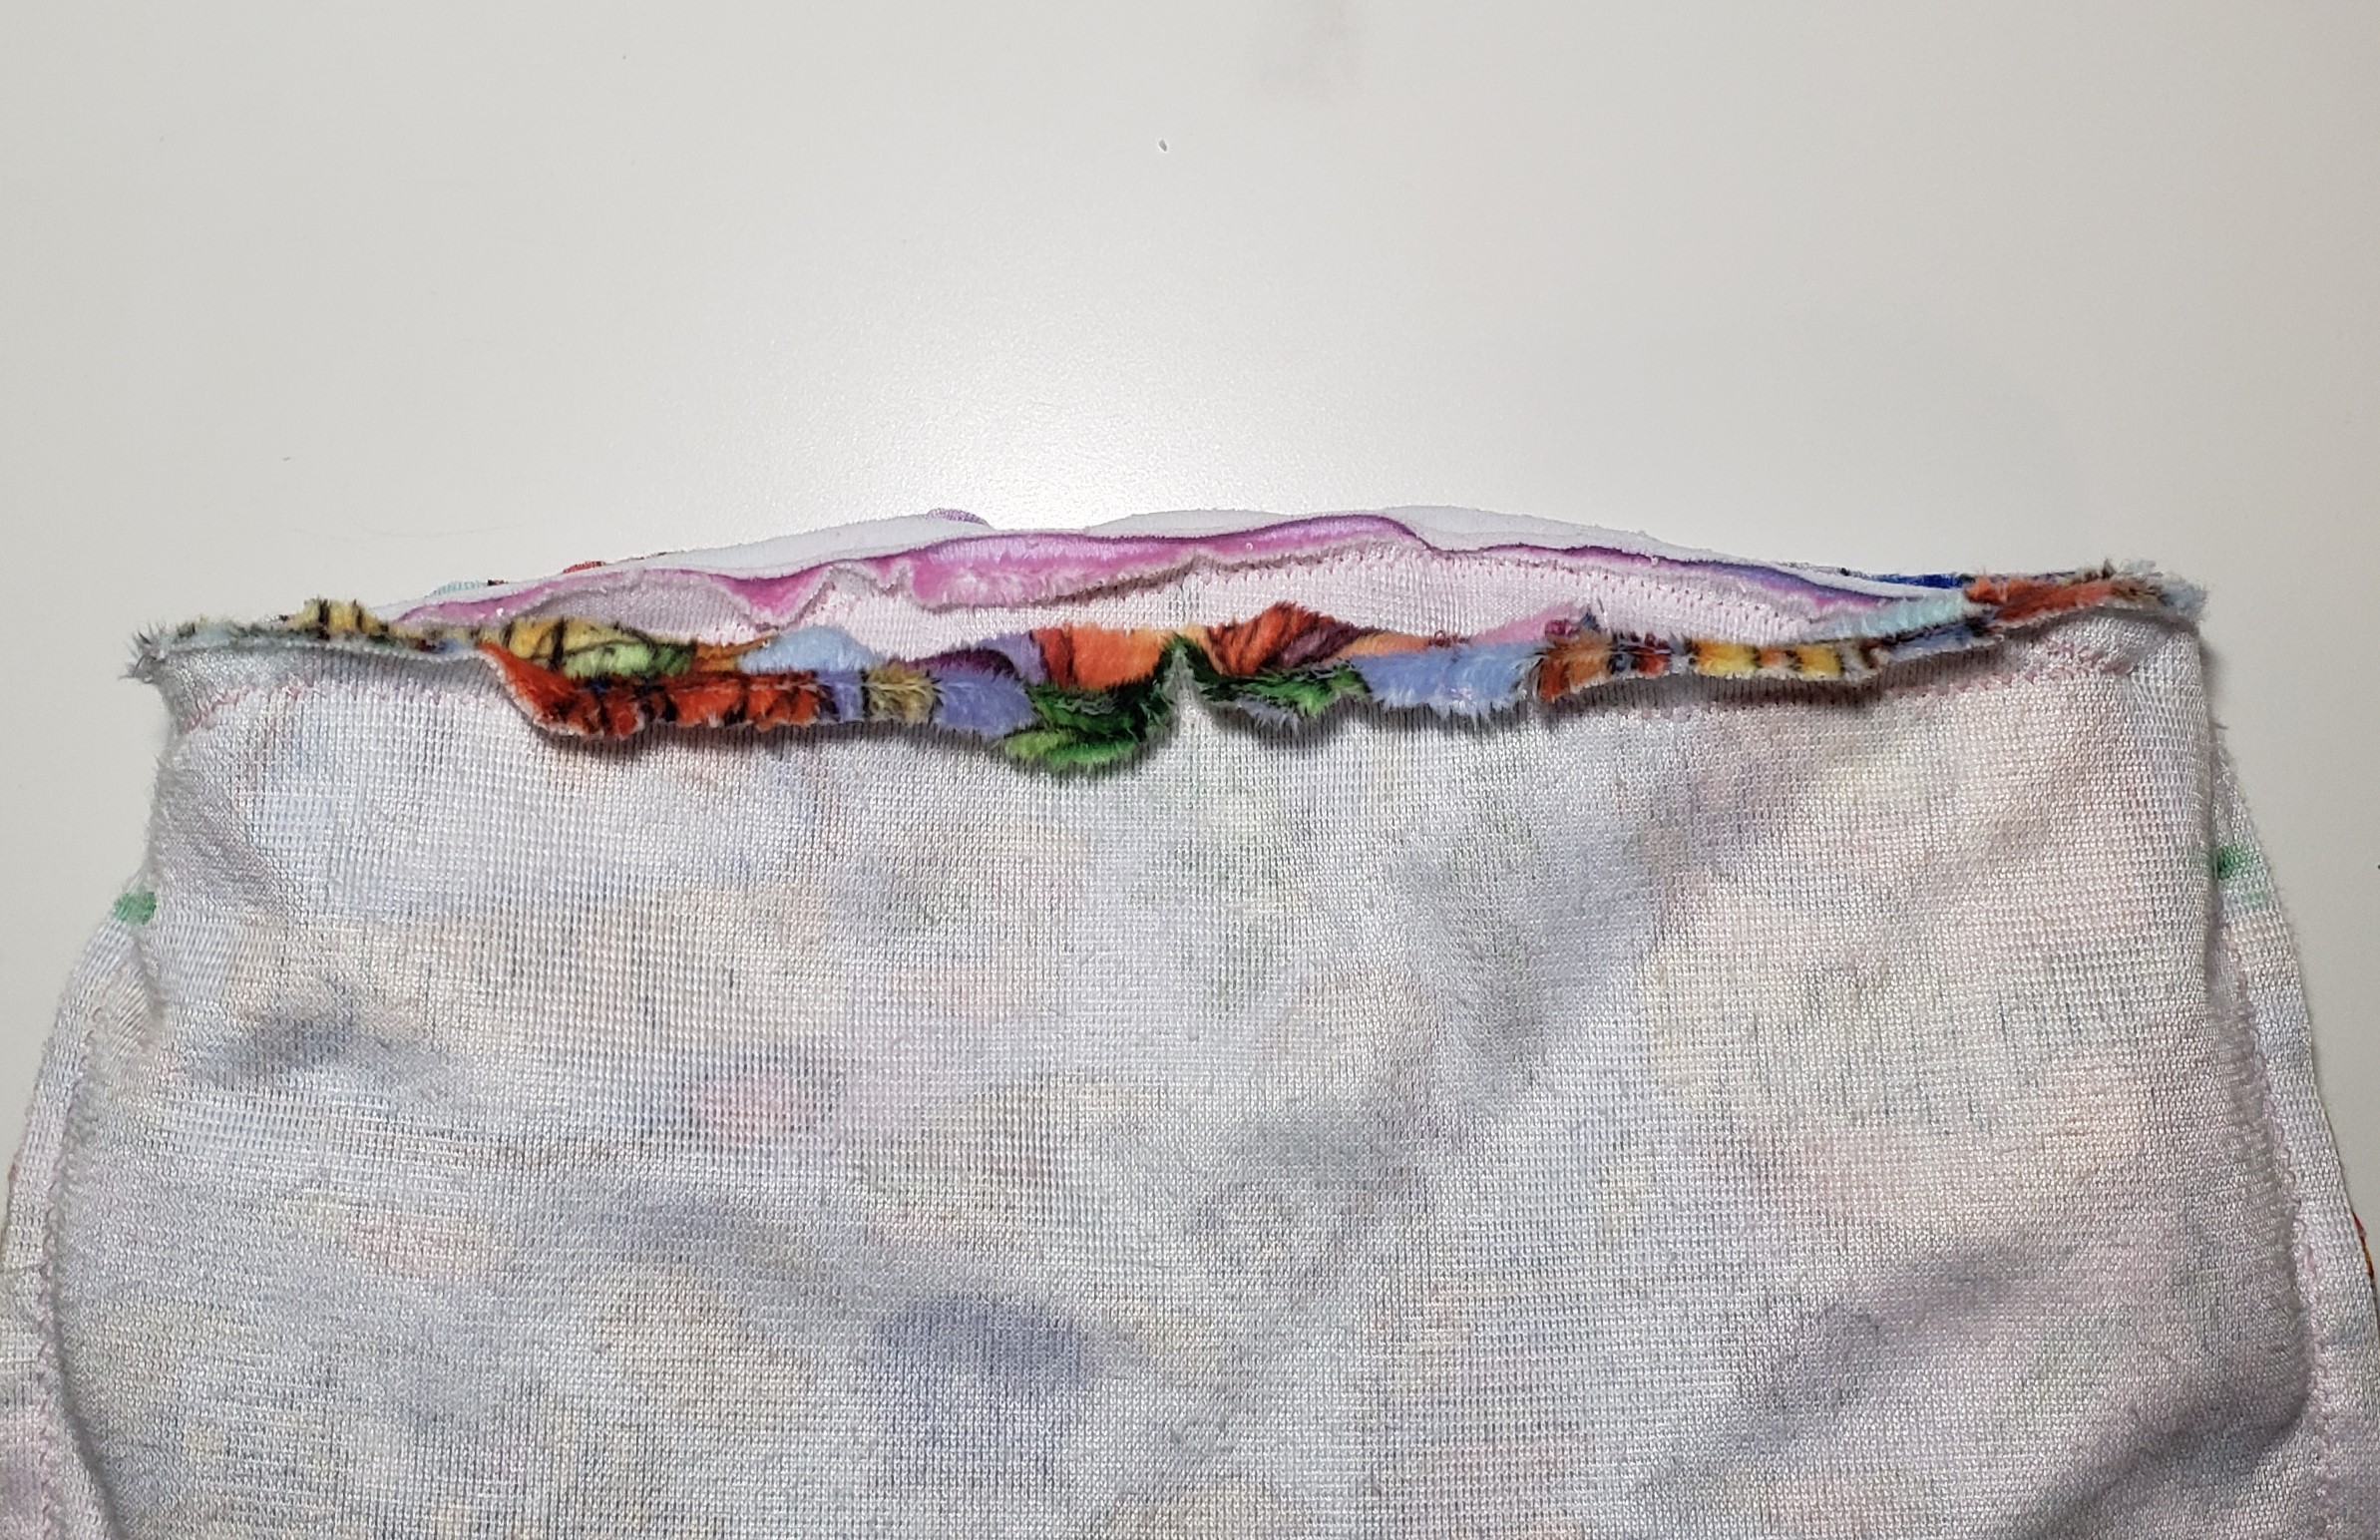
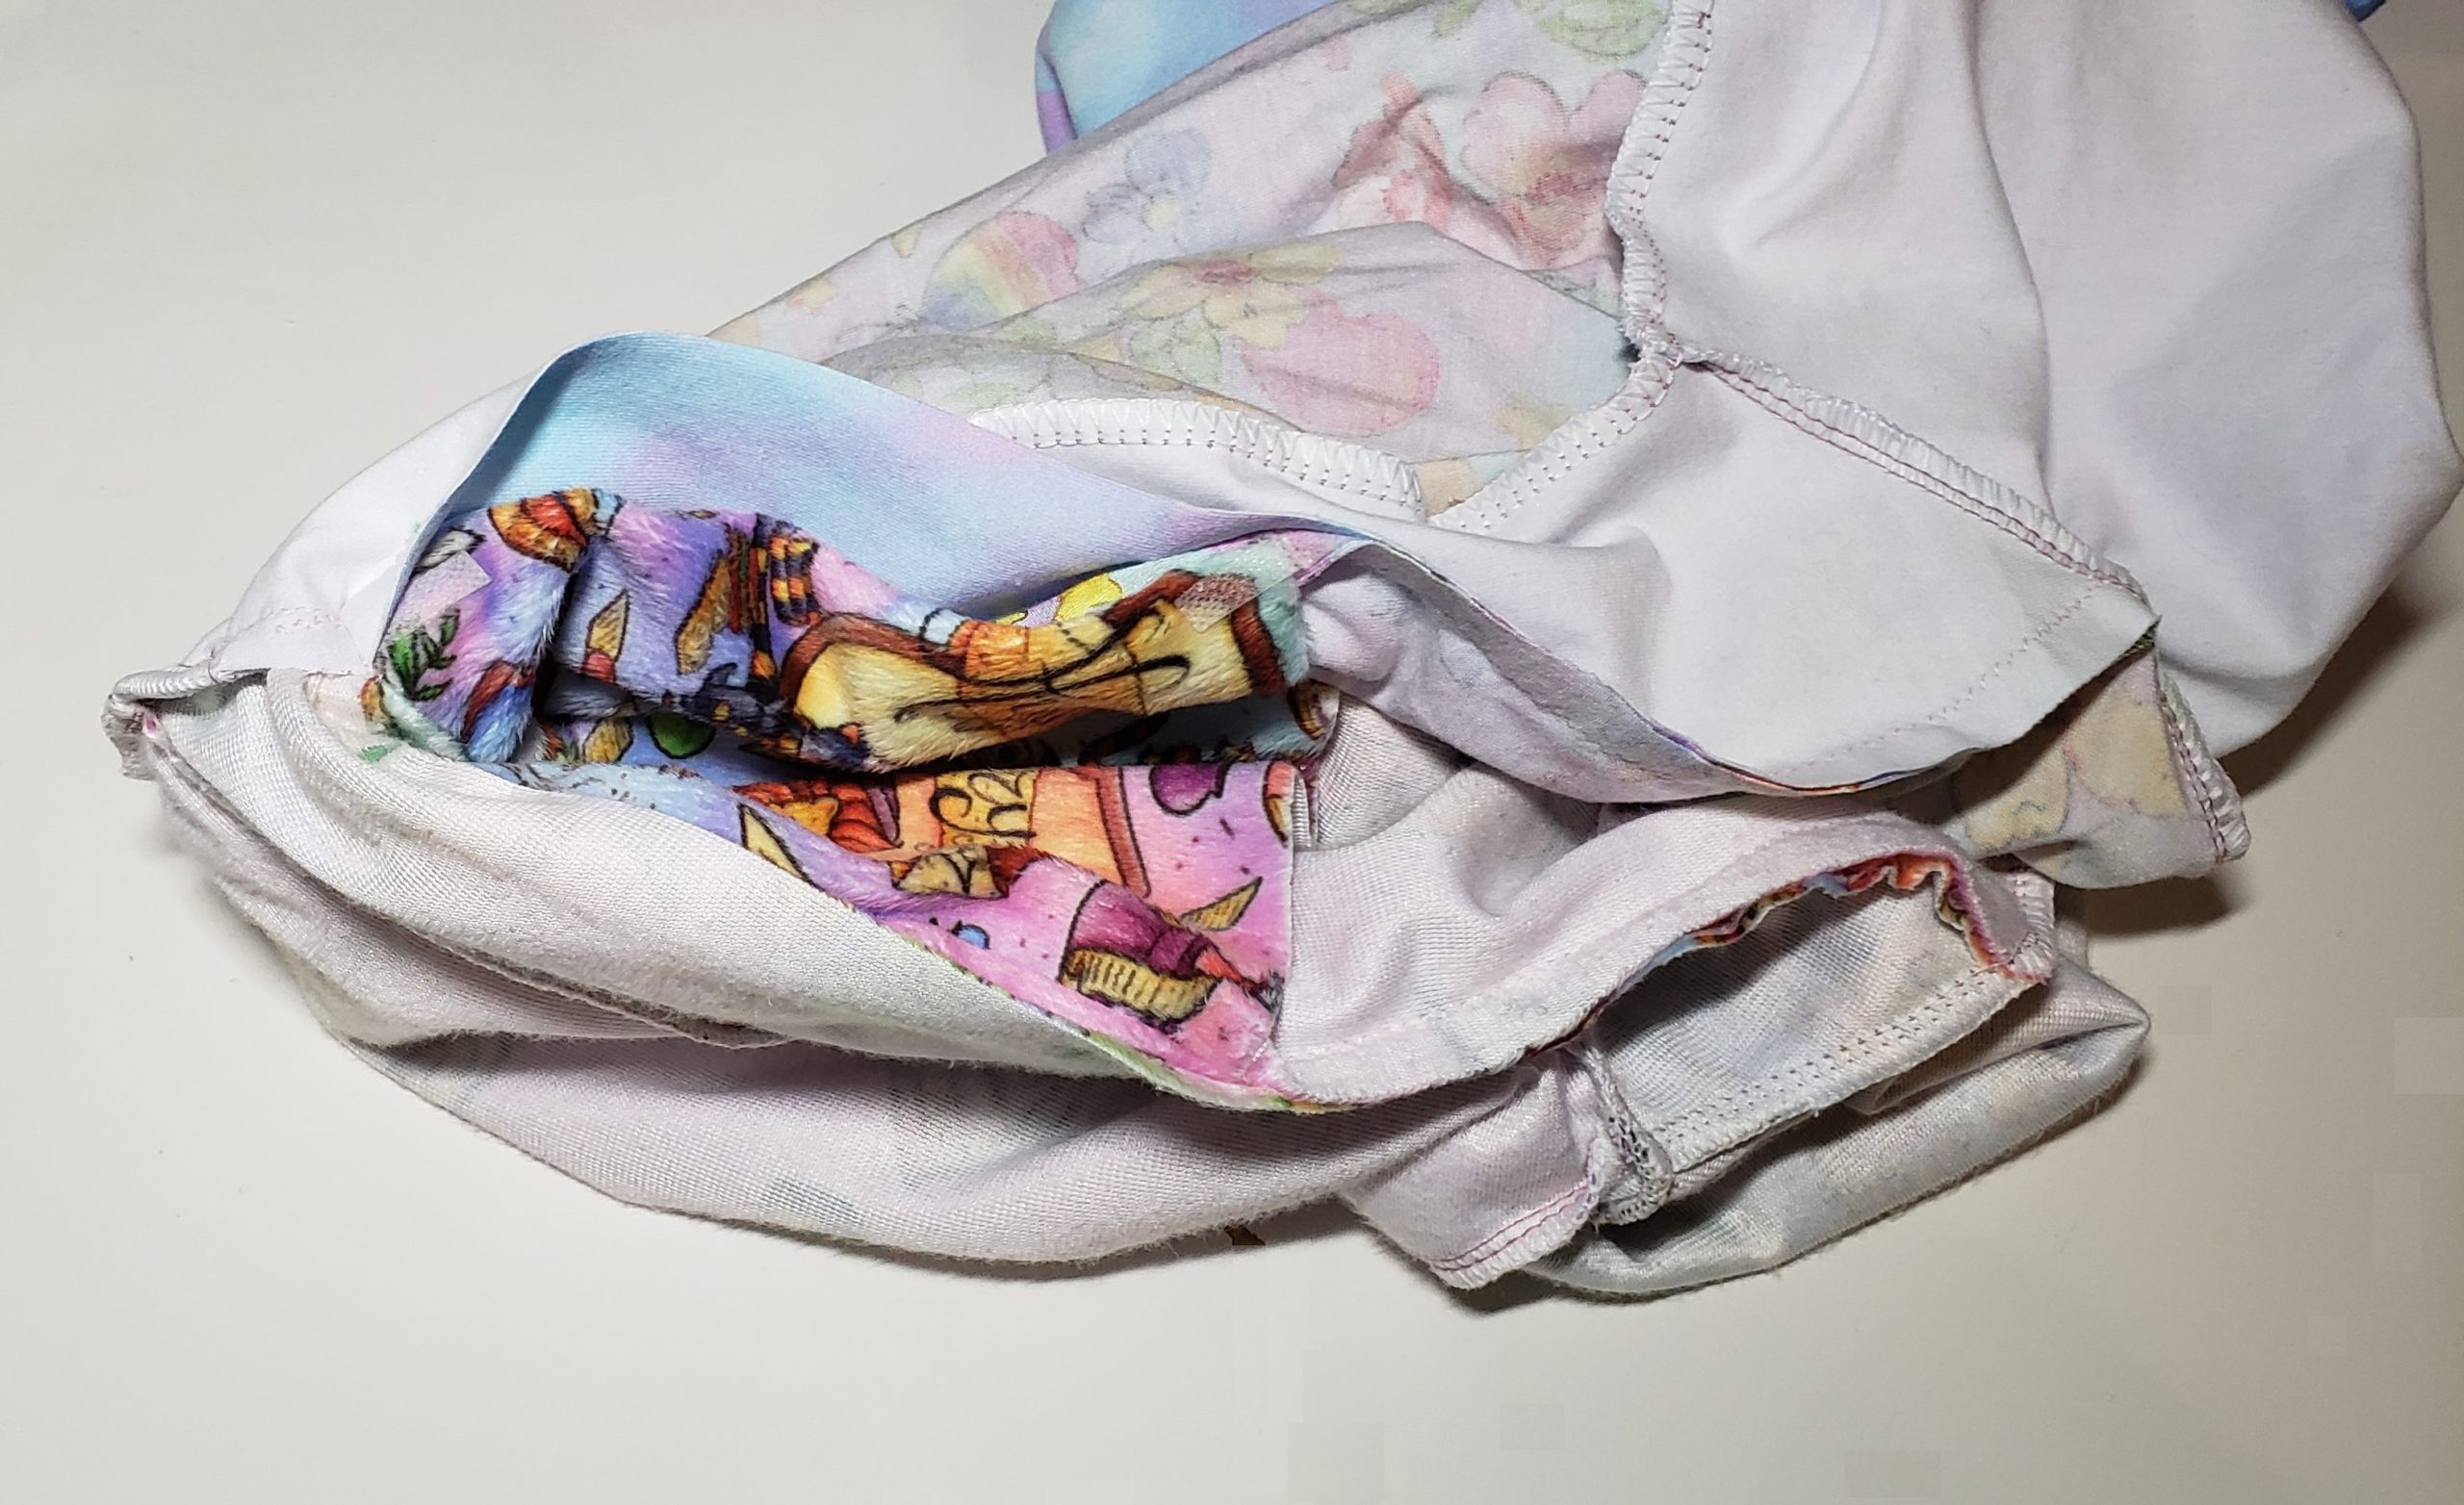
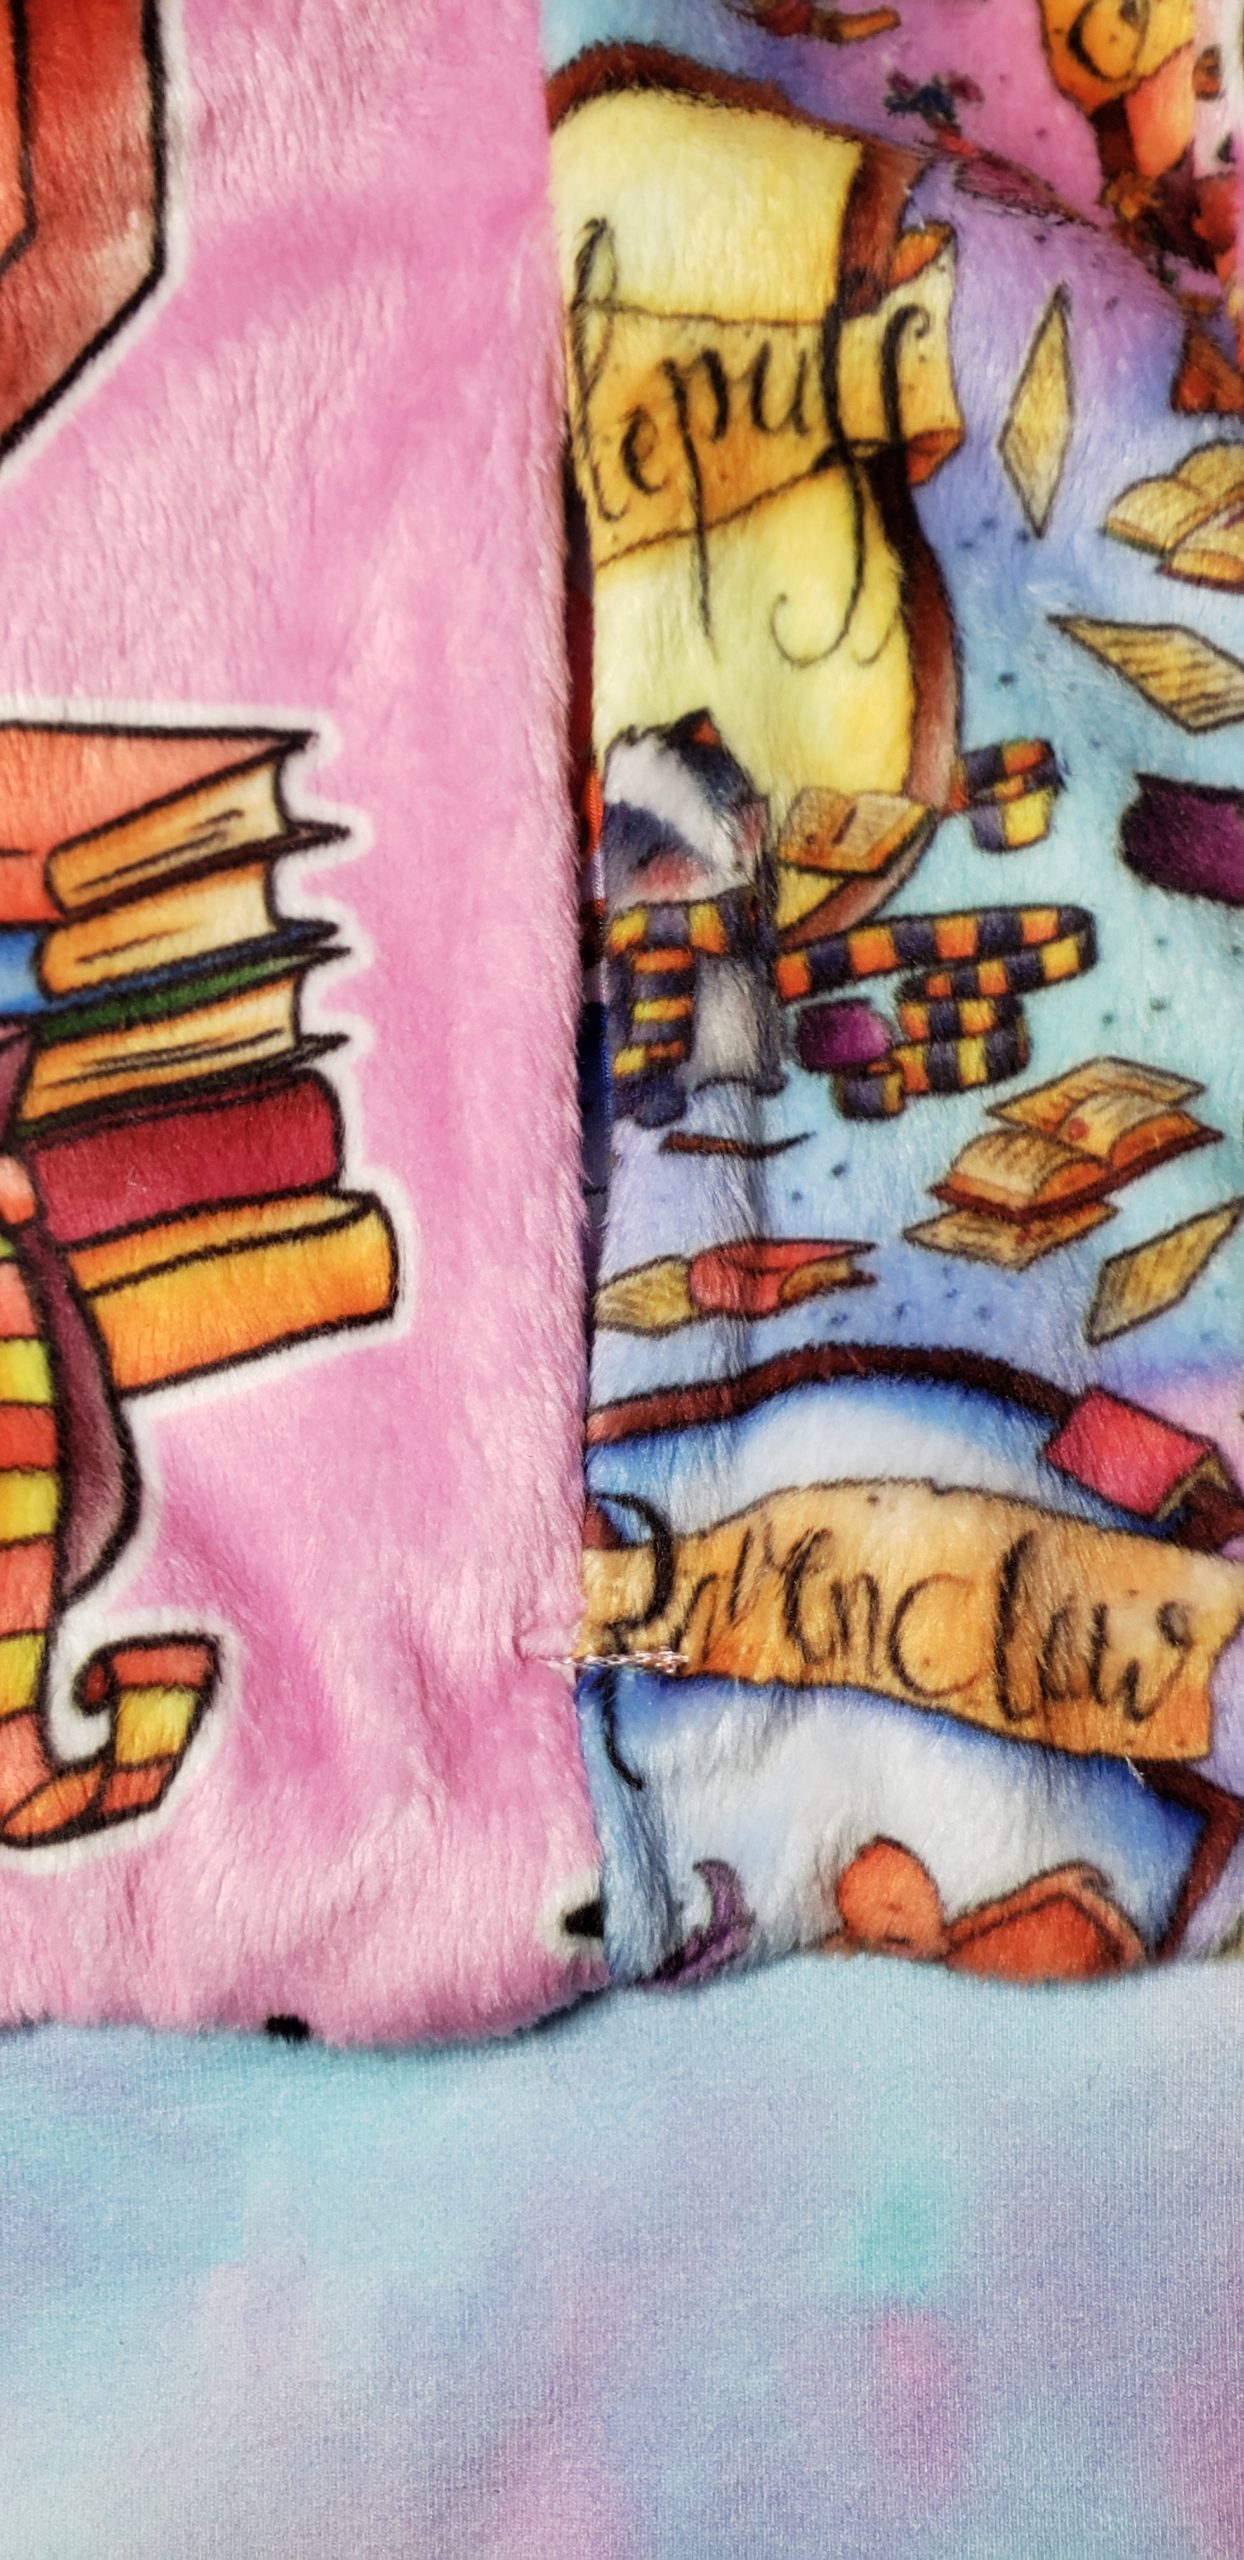
Going through the neck opening and in between the bodice layers, find one side of the pocket opening. The opening is where the pocket pattern piece is stitched to the two Front As. What you are doing now is stitching the Outer Front B to the Inner Front B, to close the open seam next to the pocket. Align the two Front Bs at the markings and stitch using a 1/4″ seam allowance, being careful not to catch the inside layers. Wonder tape helps a lot (as always!)
Repeat for the other side of the pocket.
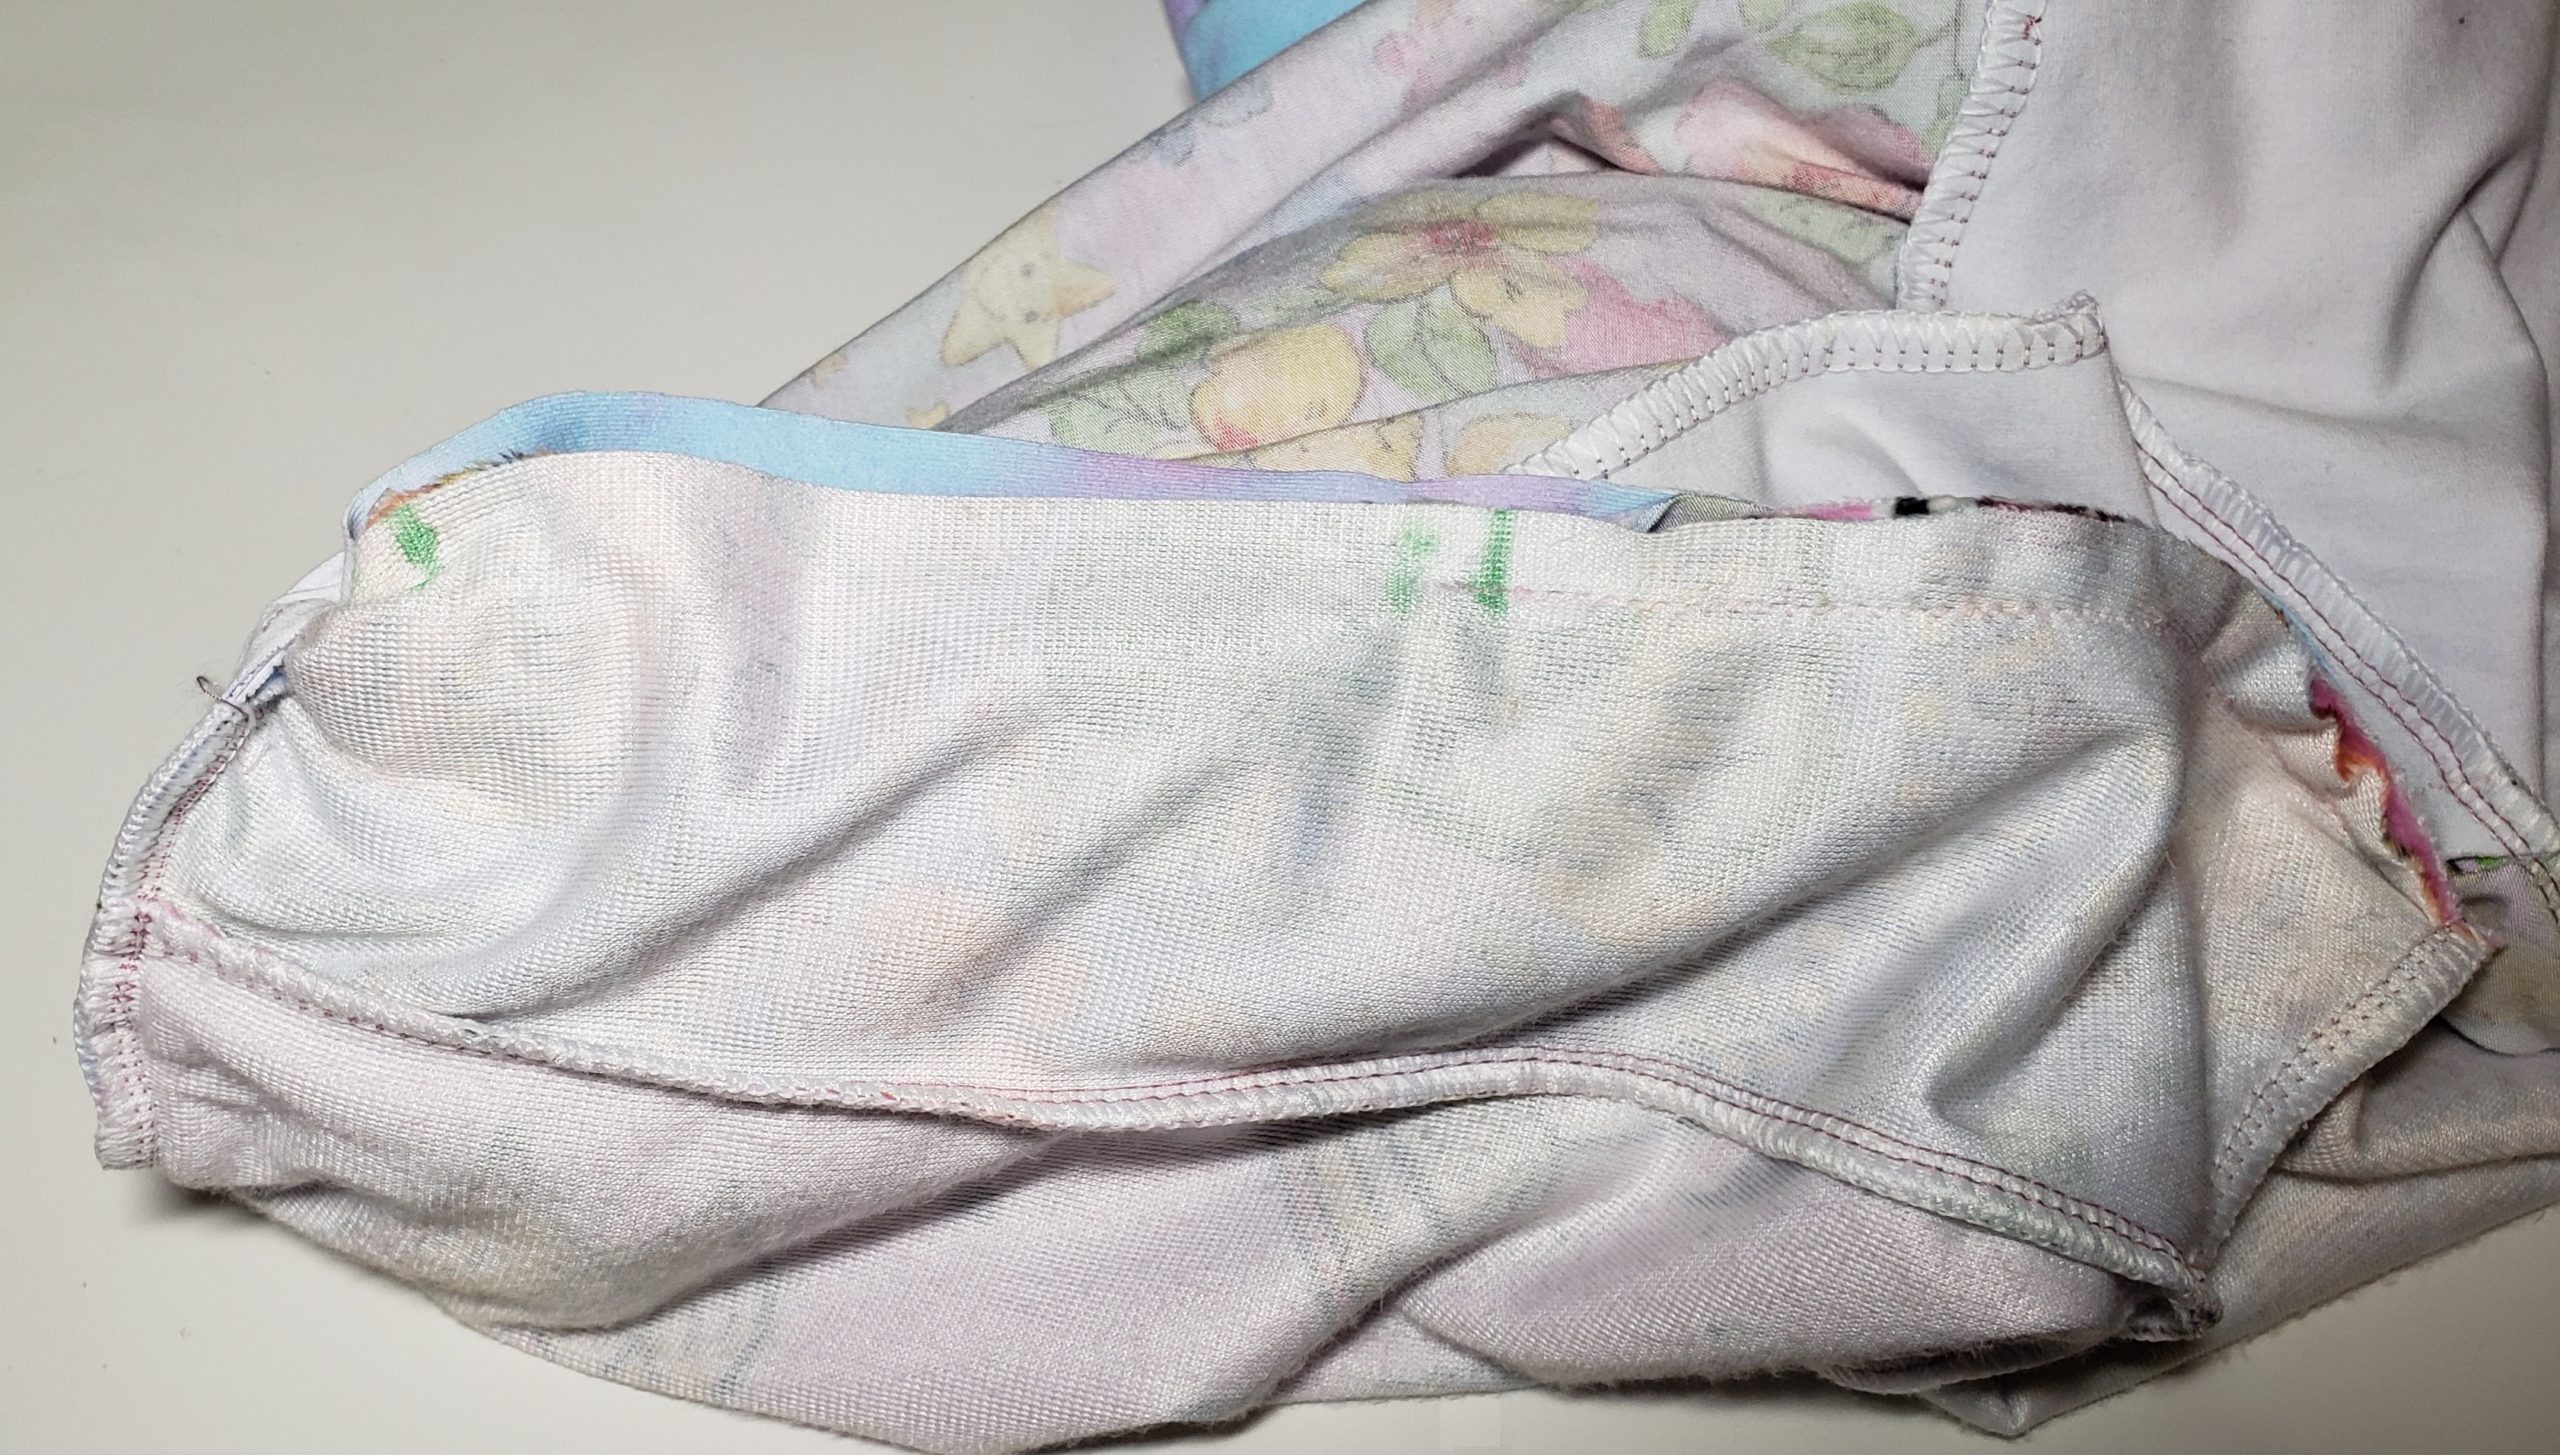
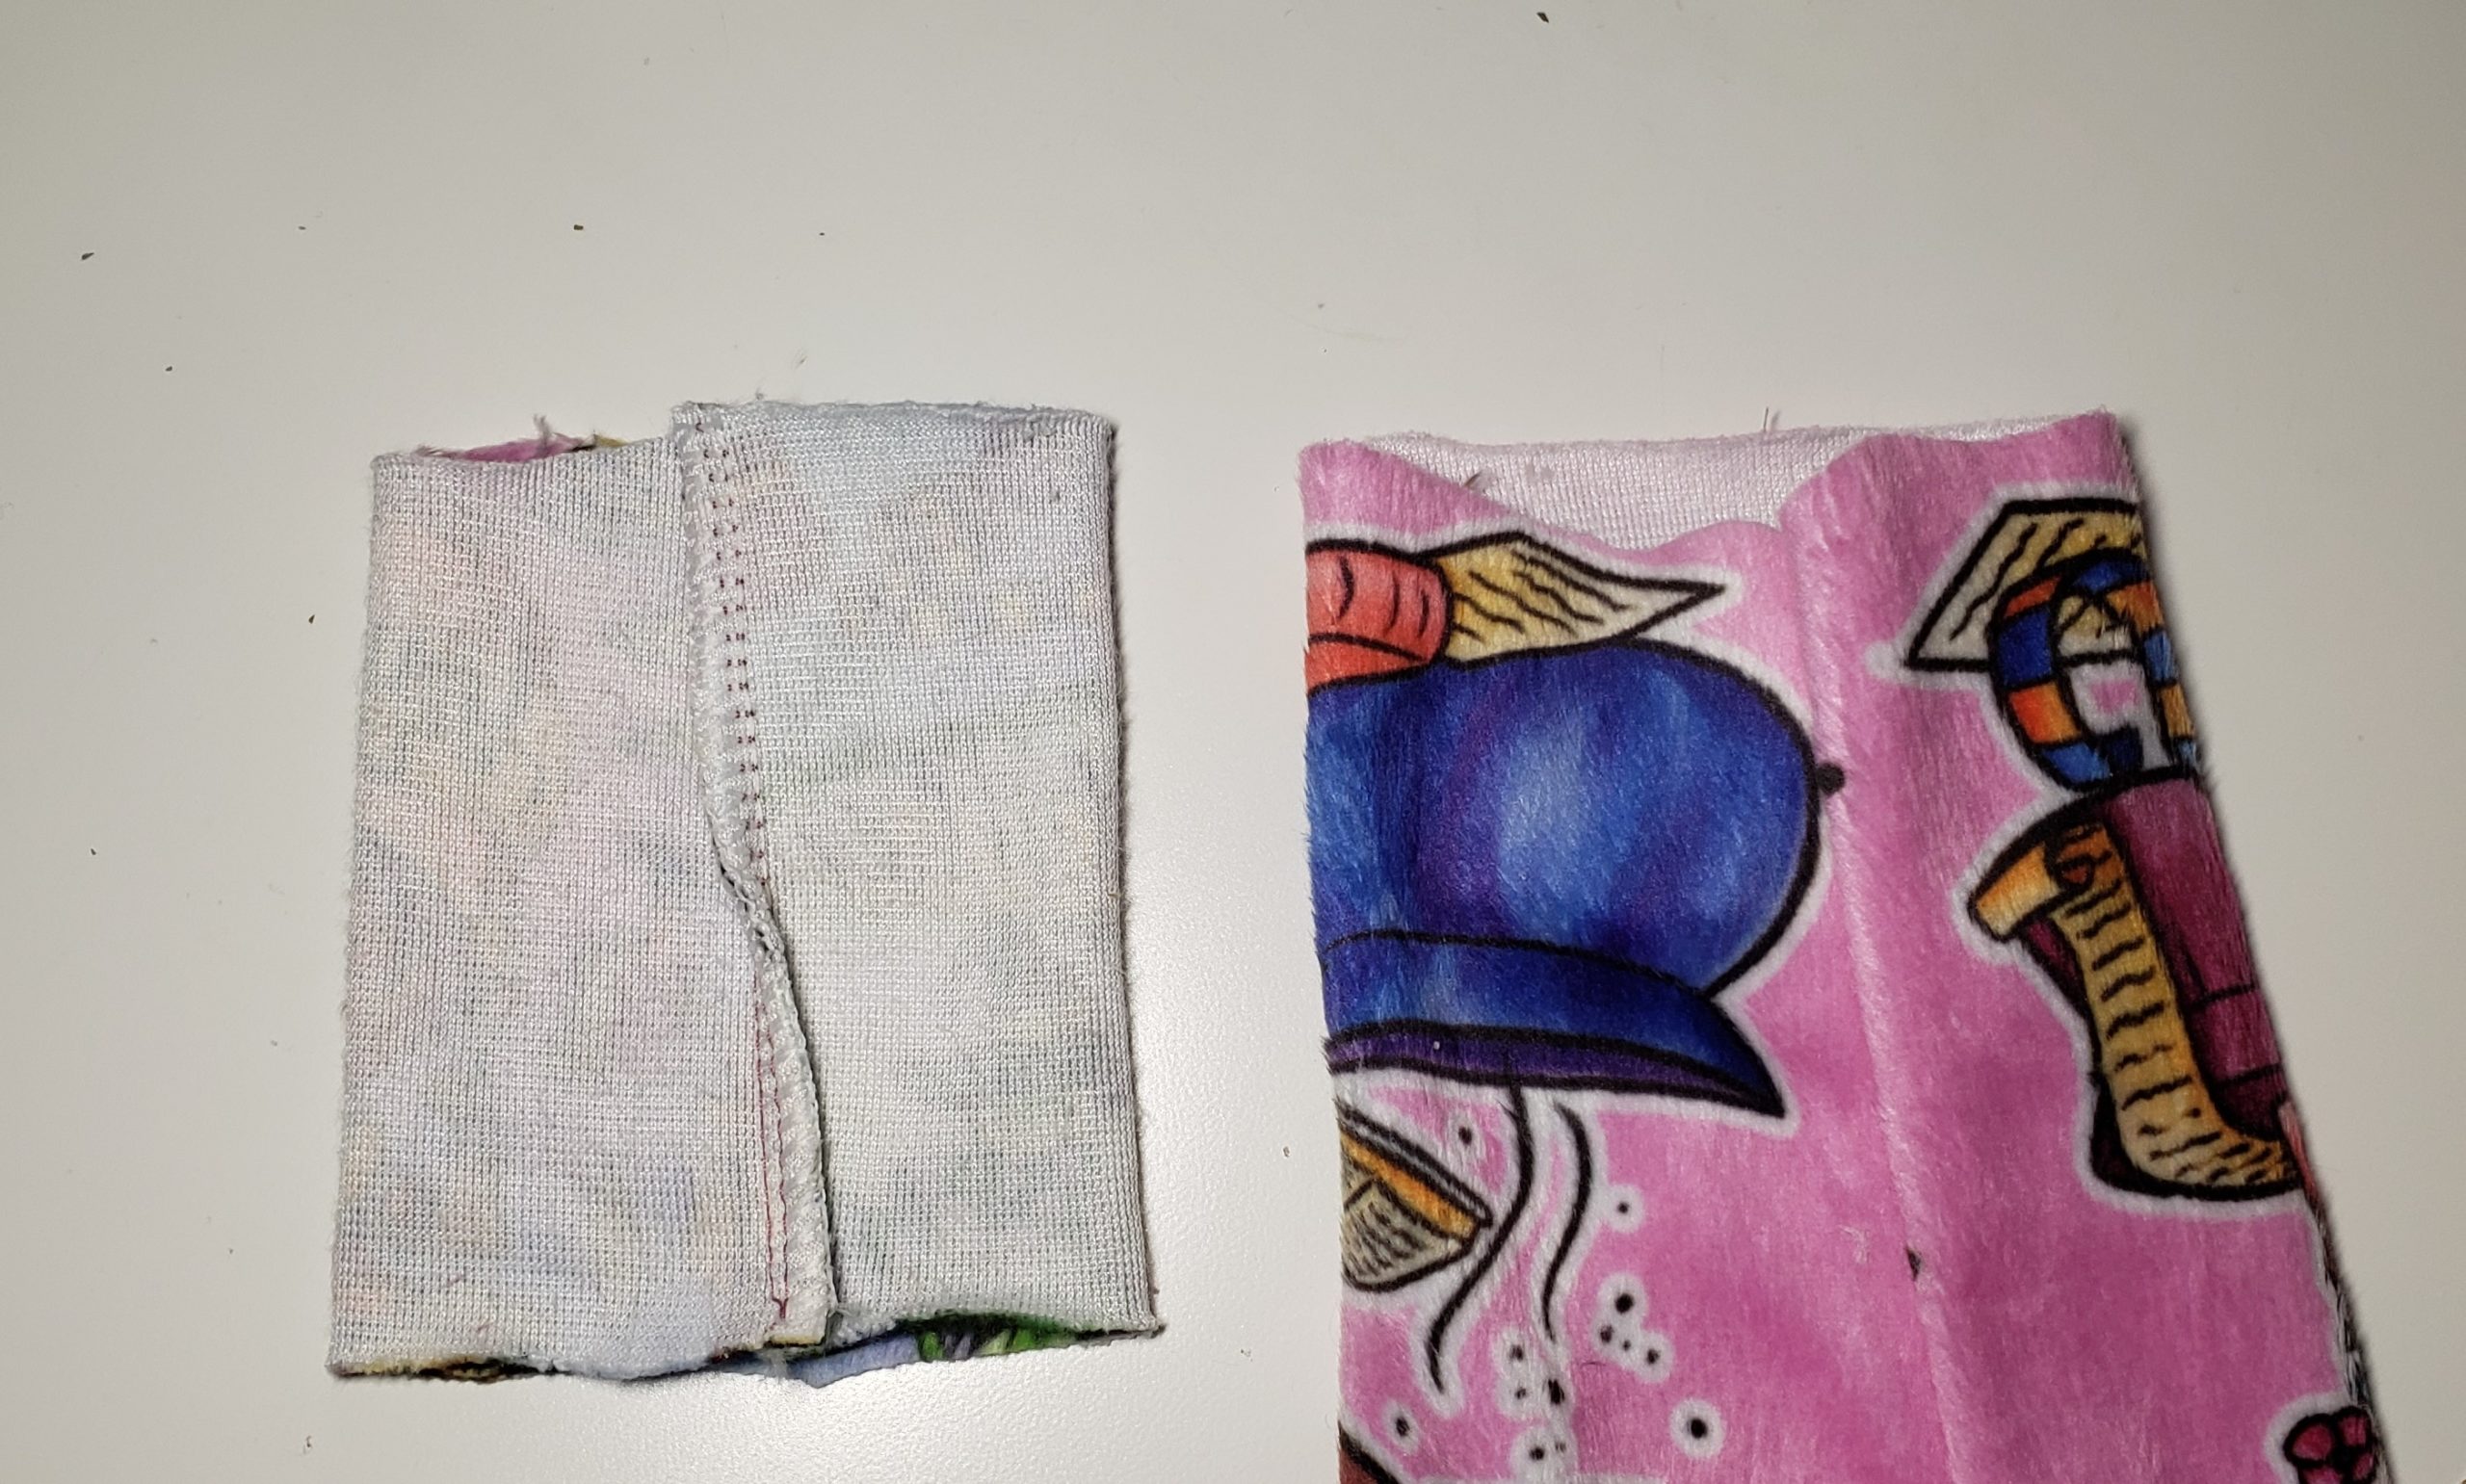
Fold the hoodie outward to expose the top of the pocket pieces. Stitch across the top to close up the pocket.
Turning the Bodice Right Side Out
Flip the Outer Bodice back over the Inner Bodice by reaching inside the Outer Bodice and pulling it out. You will get a hoodie octopus again, but keep going!
Sew a small block at the bottom of the pockets through all layers.
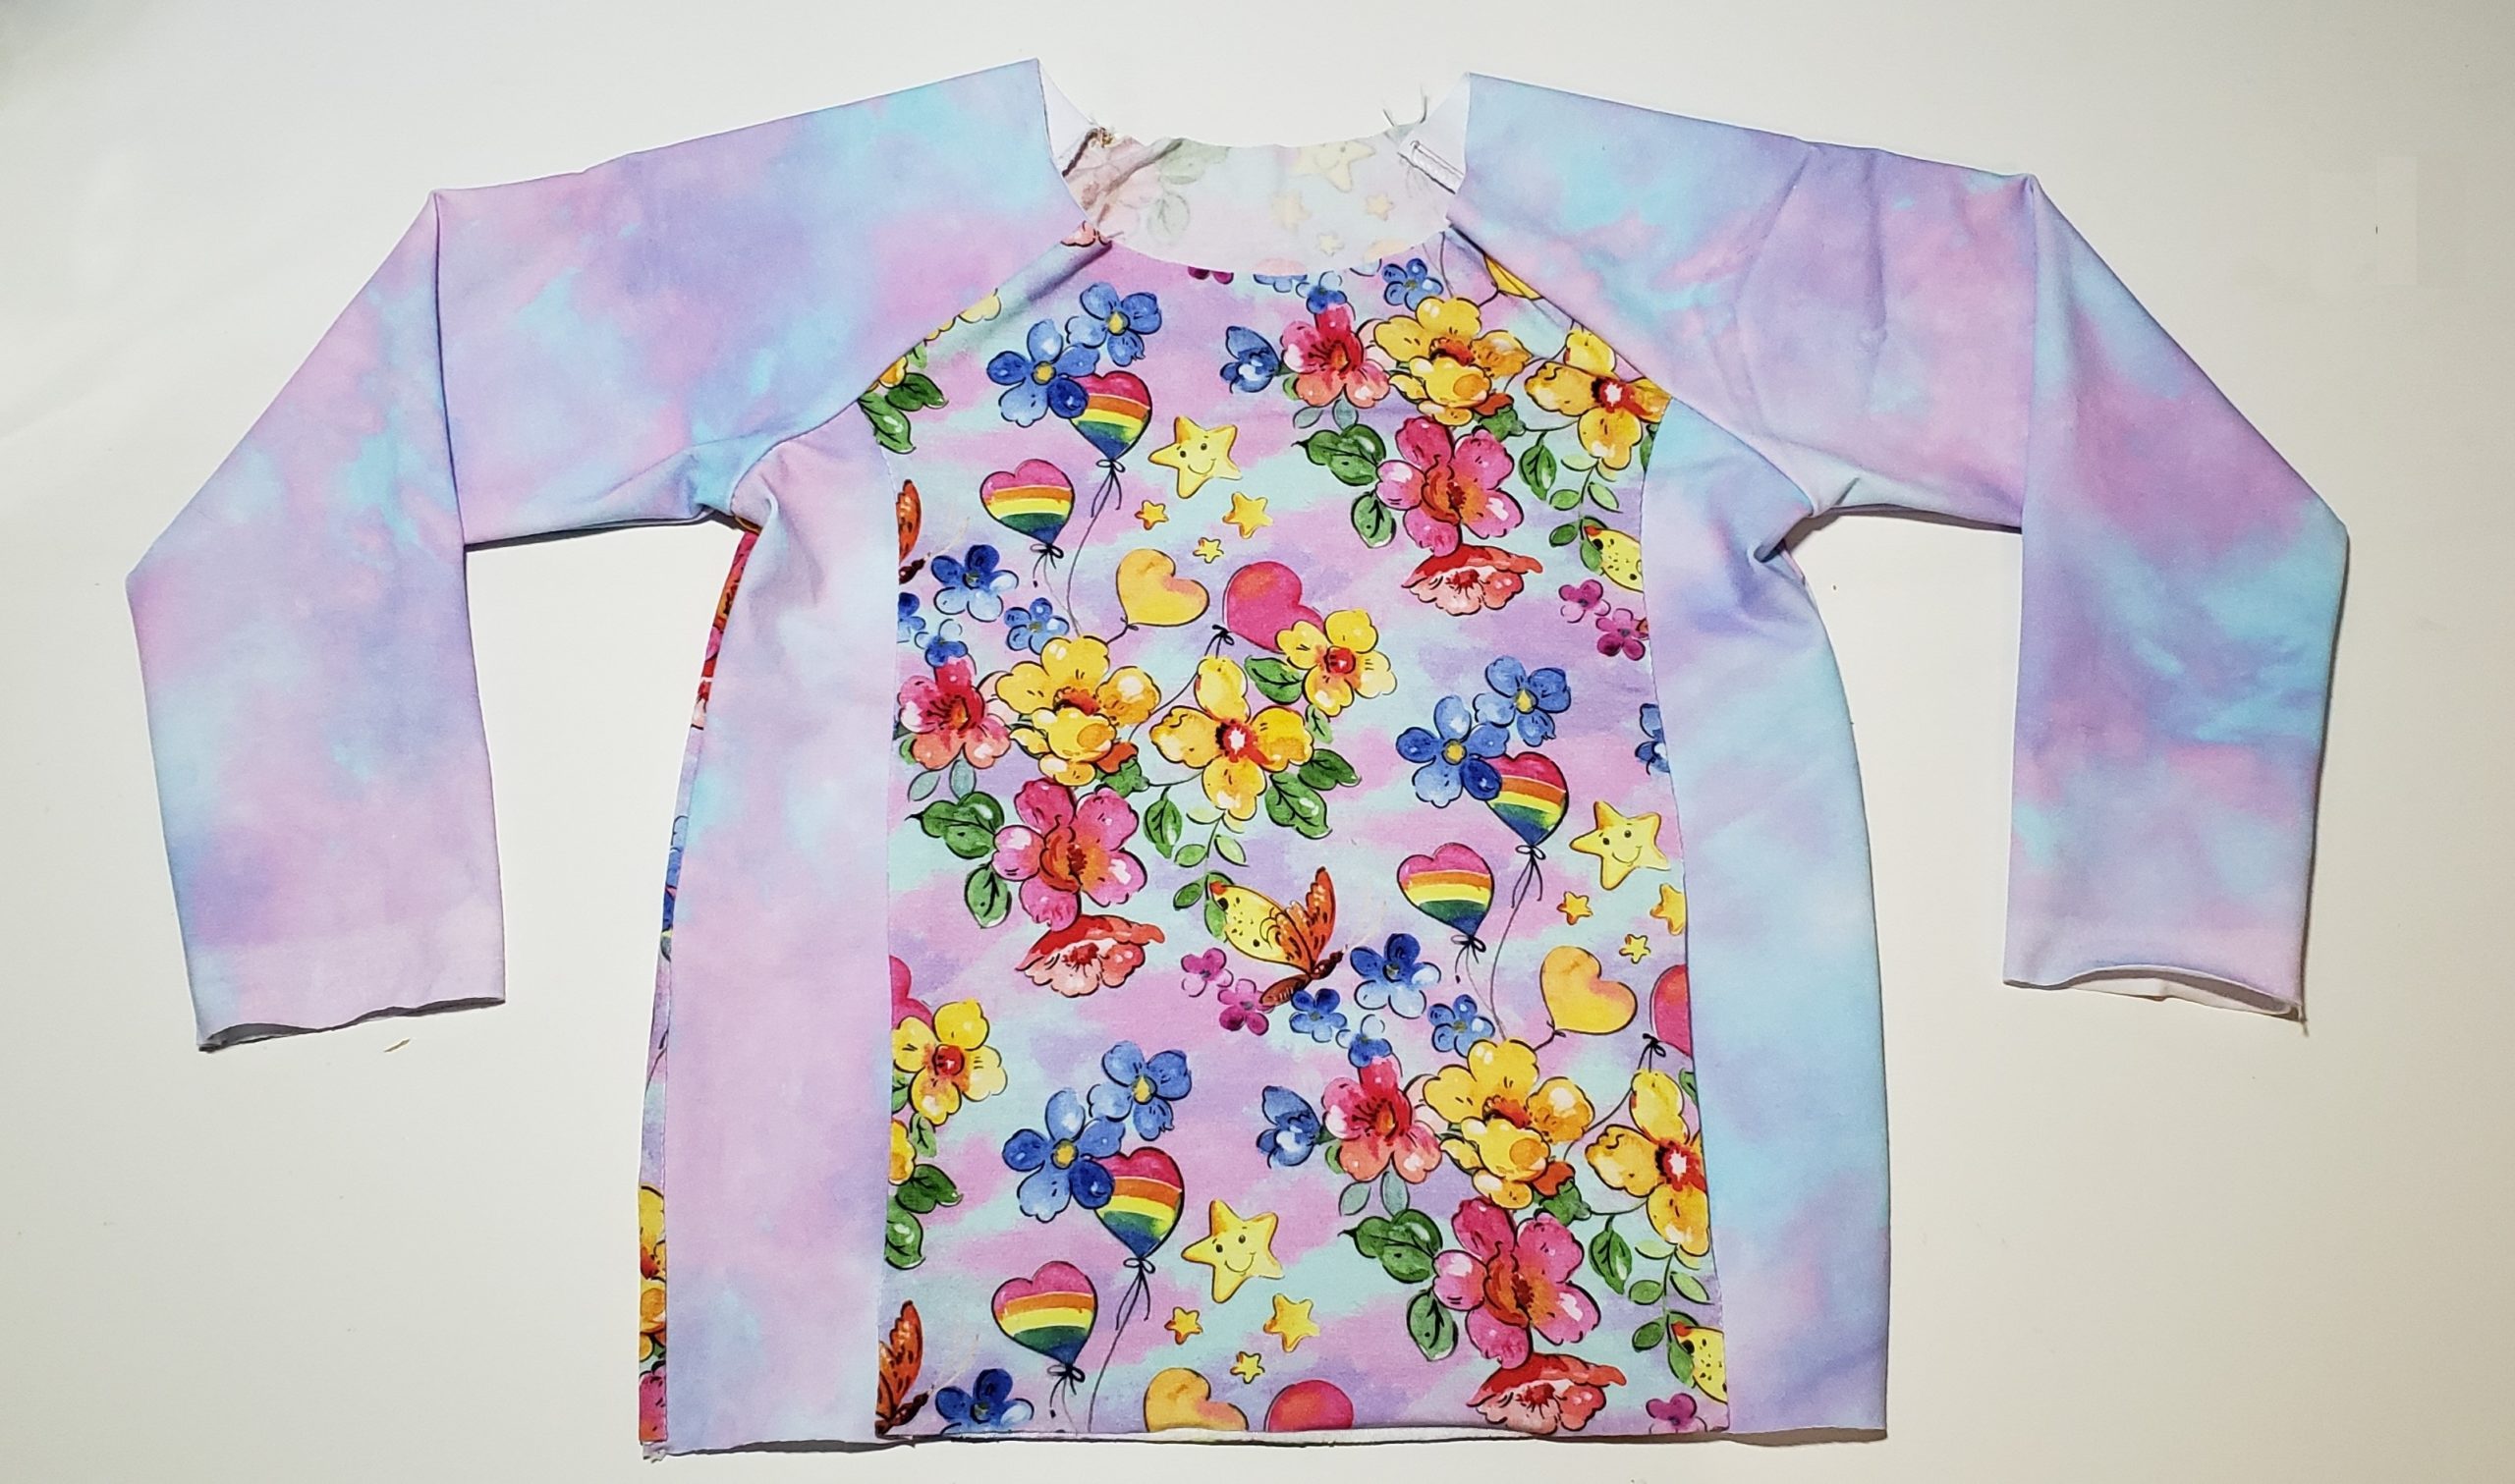
And the main bodice is done!
Finishing up
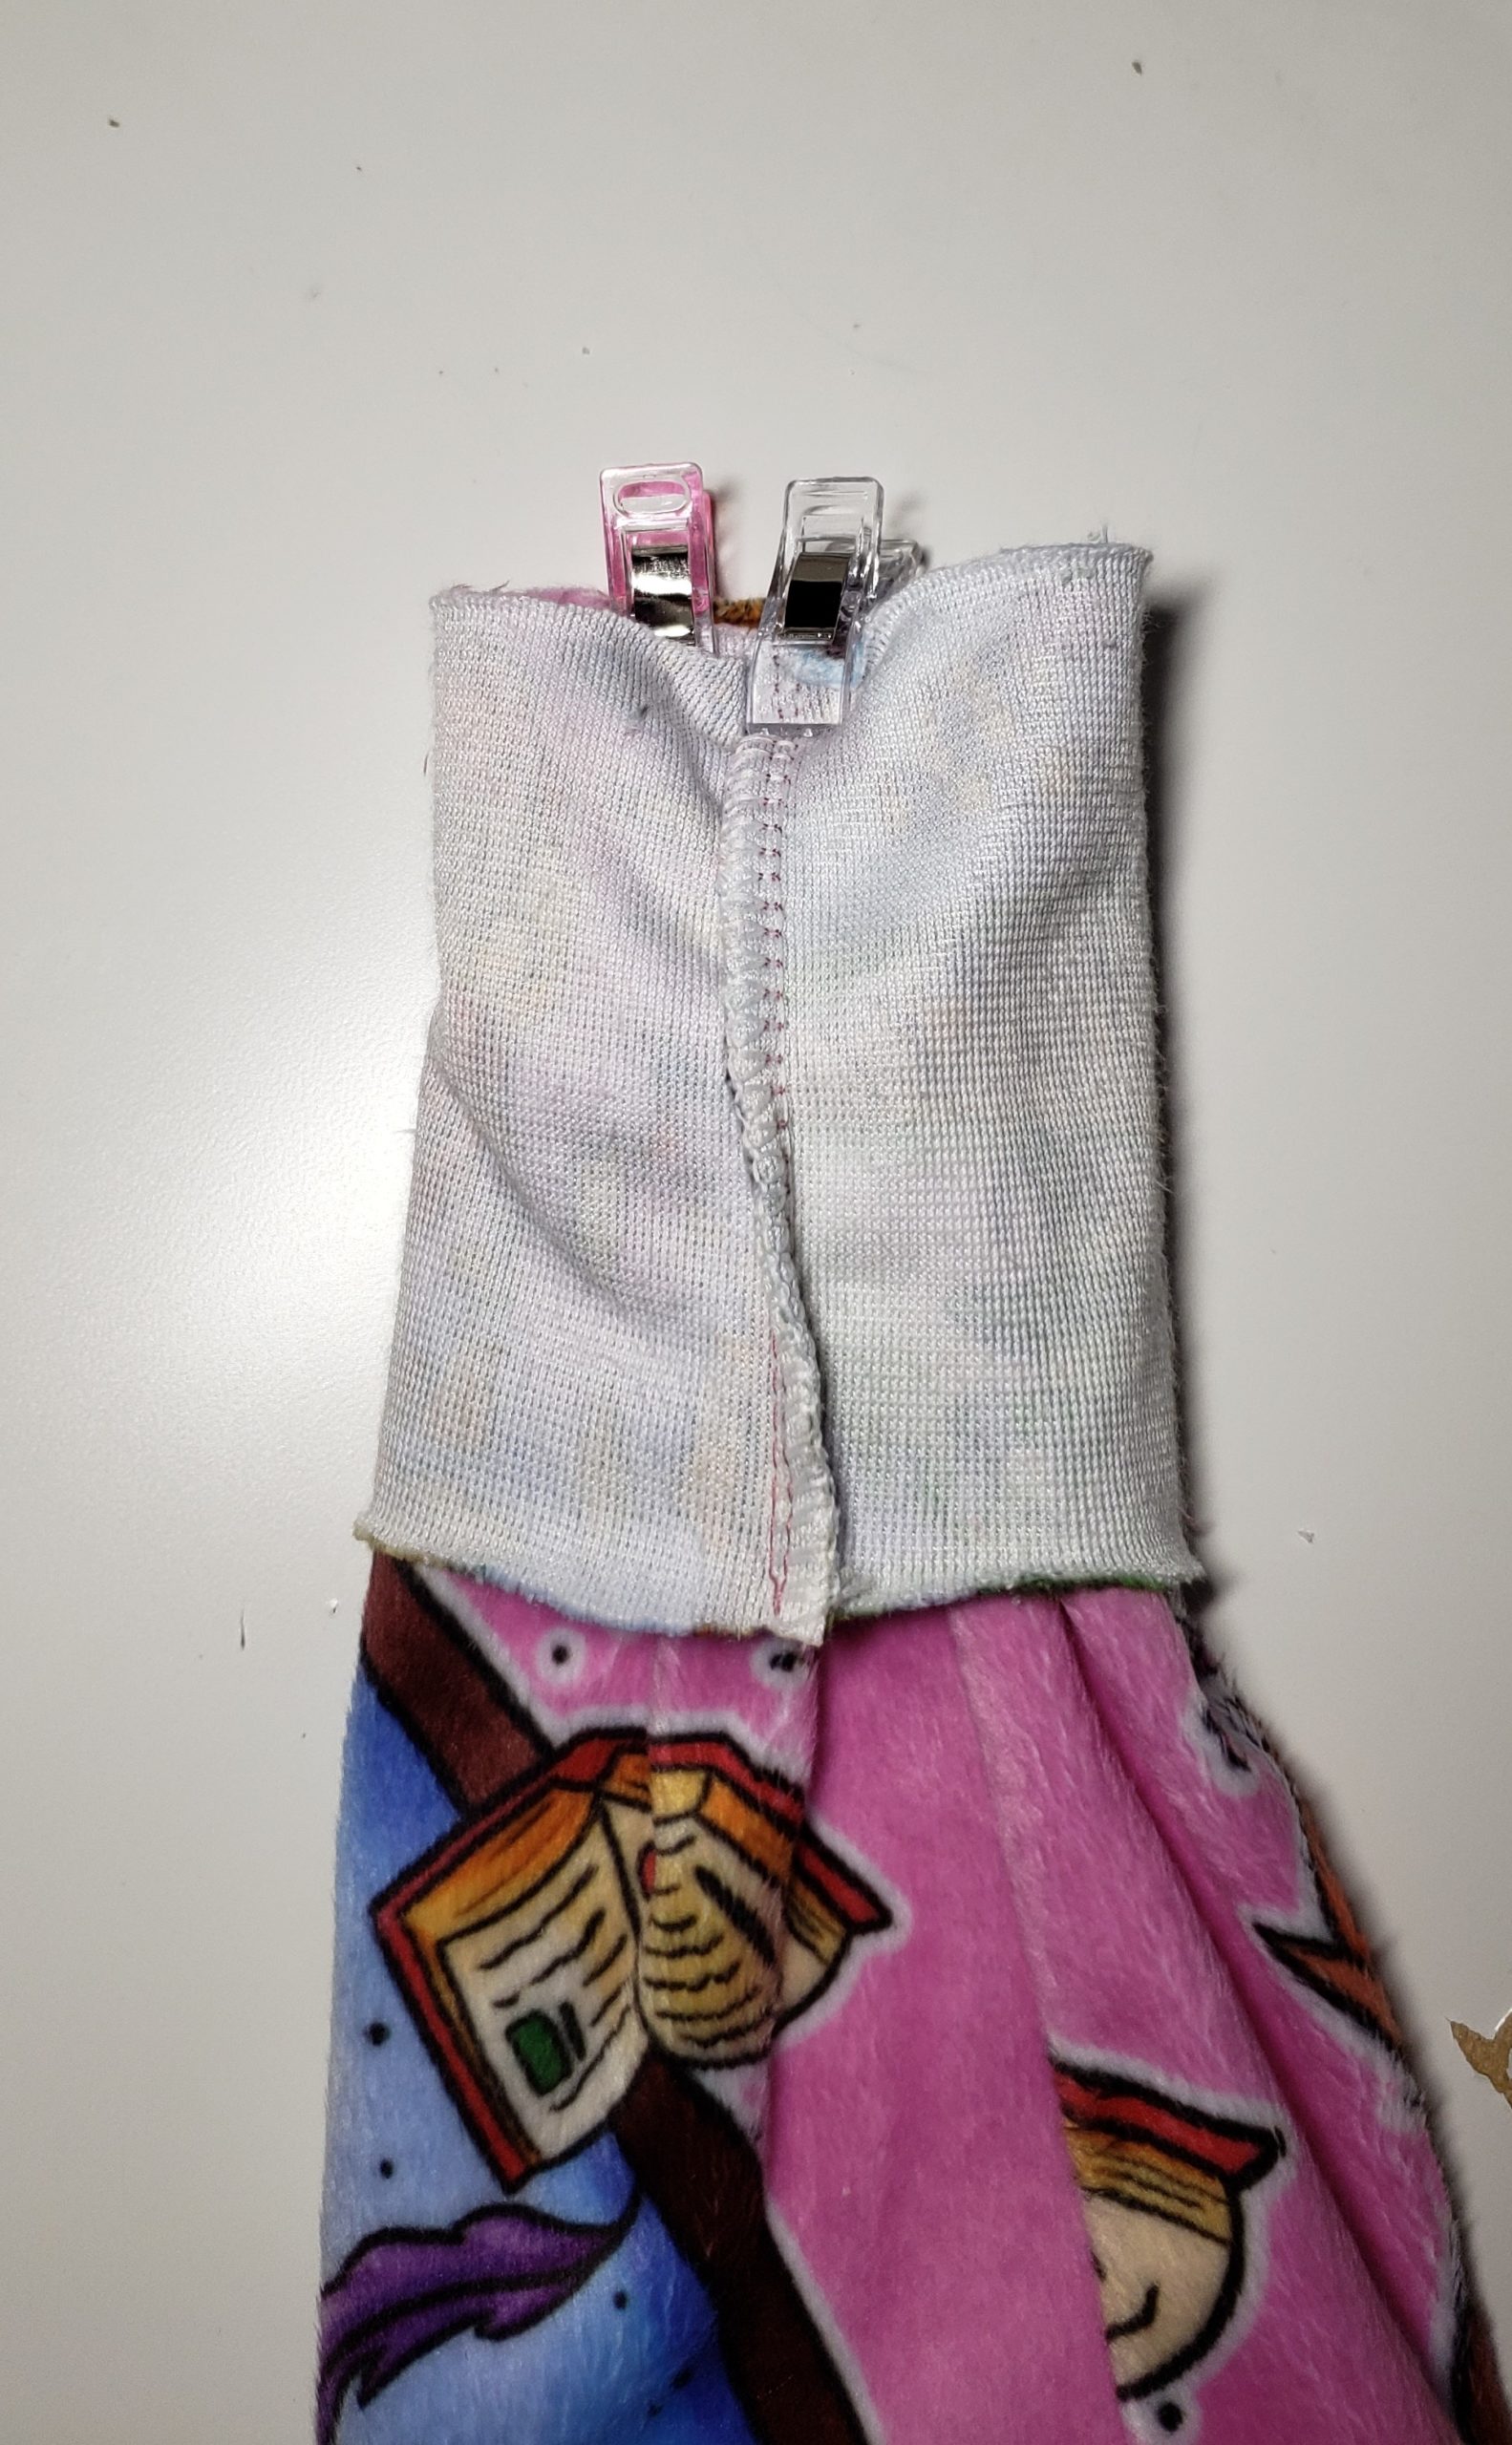
To finish up, turn the cuff piece inside out and insert the sleeve into it. Stitch together the Outer sleeve and the Inner sleeve with one side of the cuff, using a seam allowance of 1/4″.
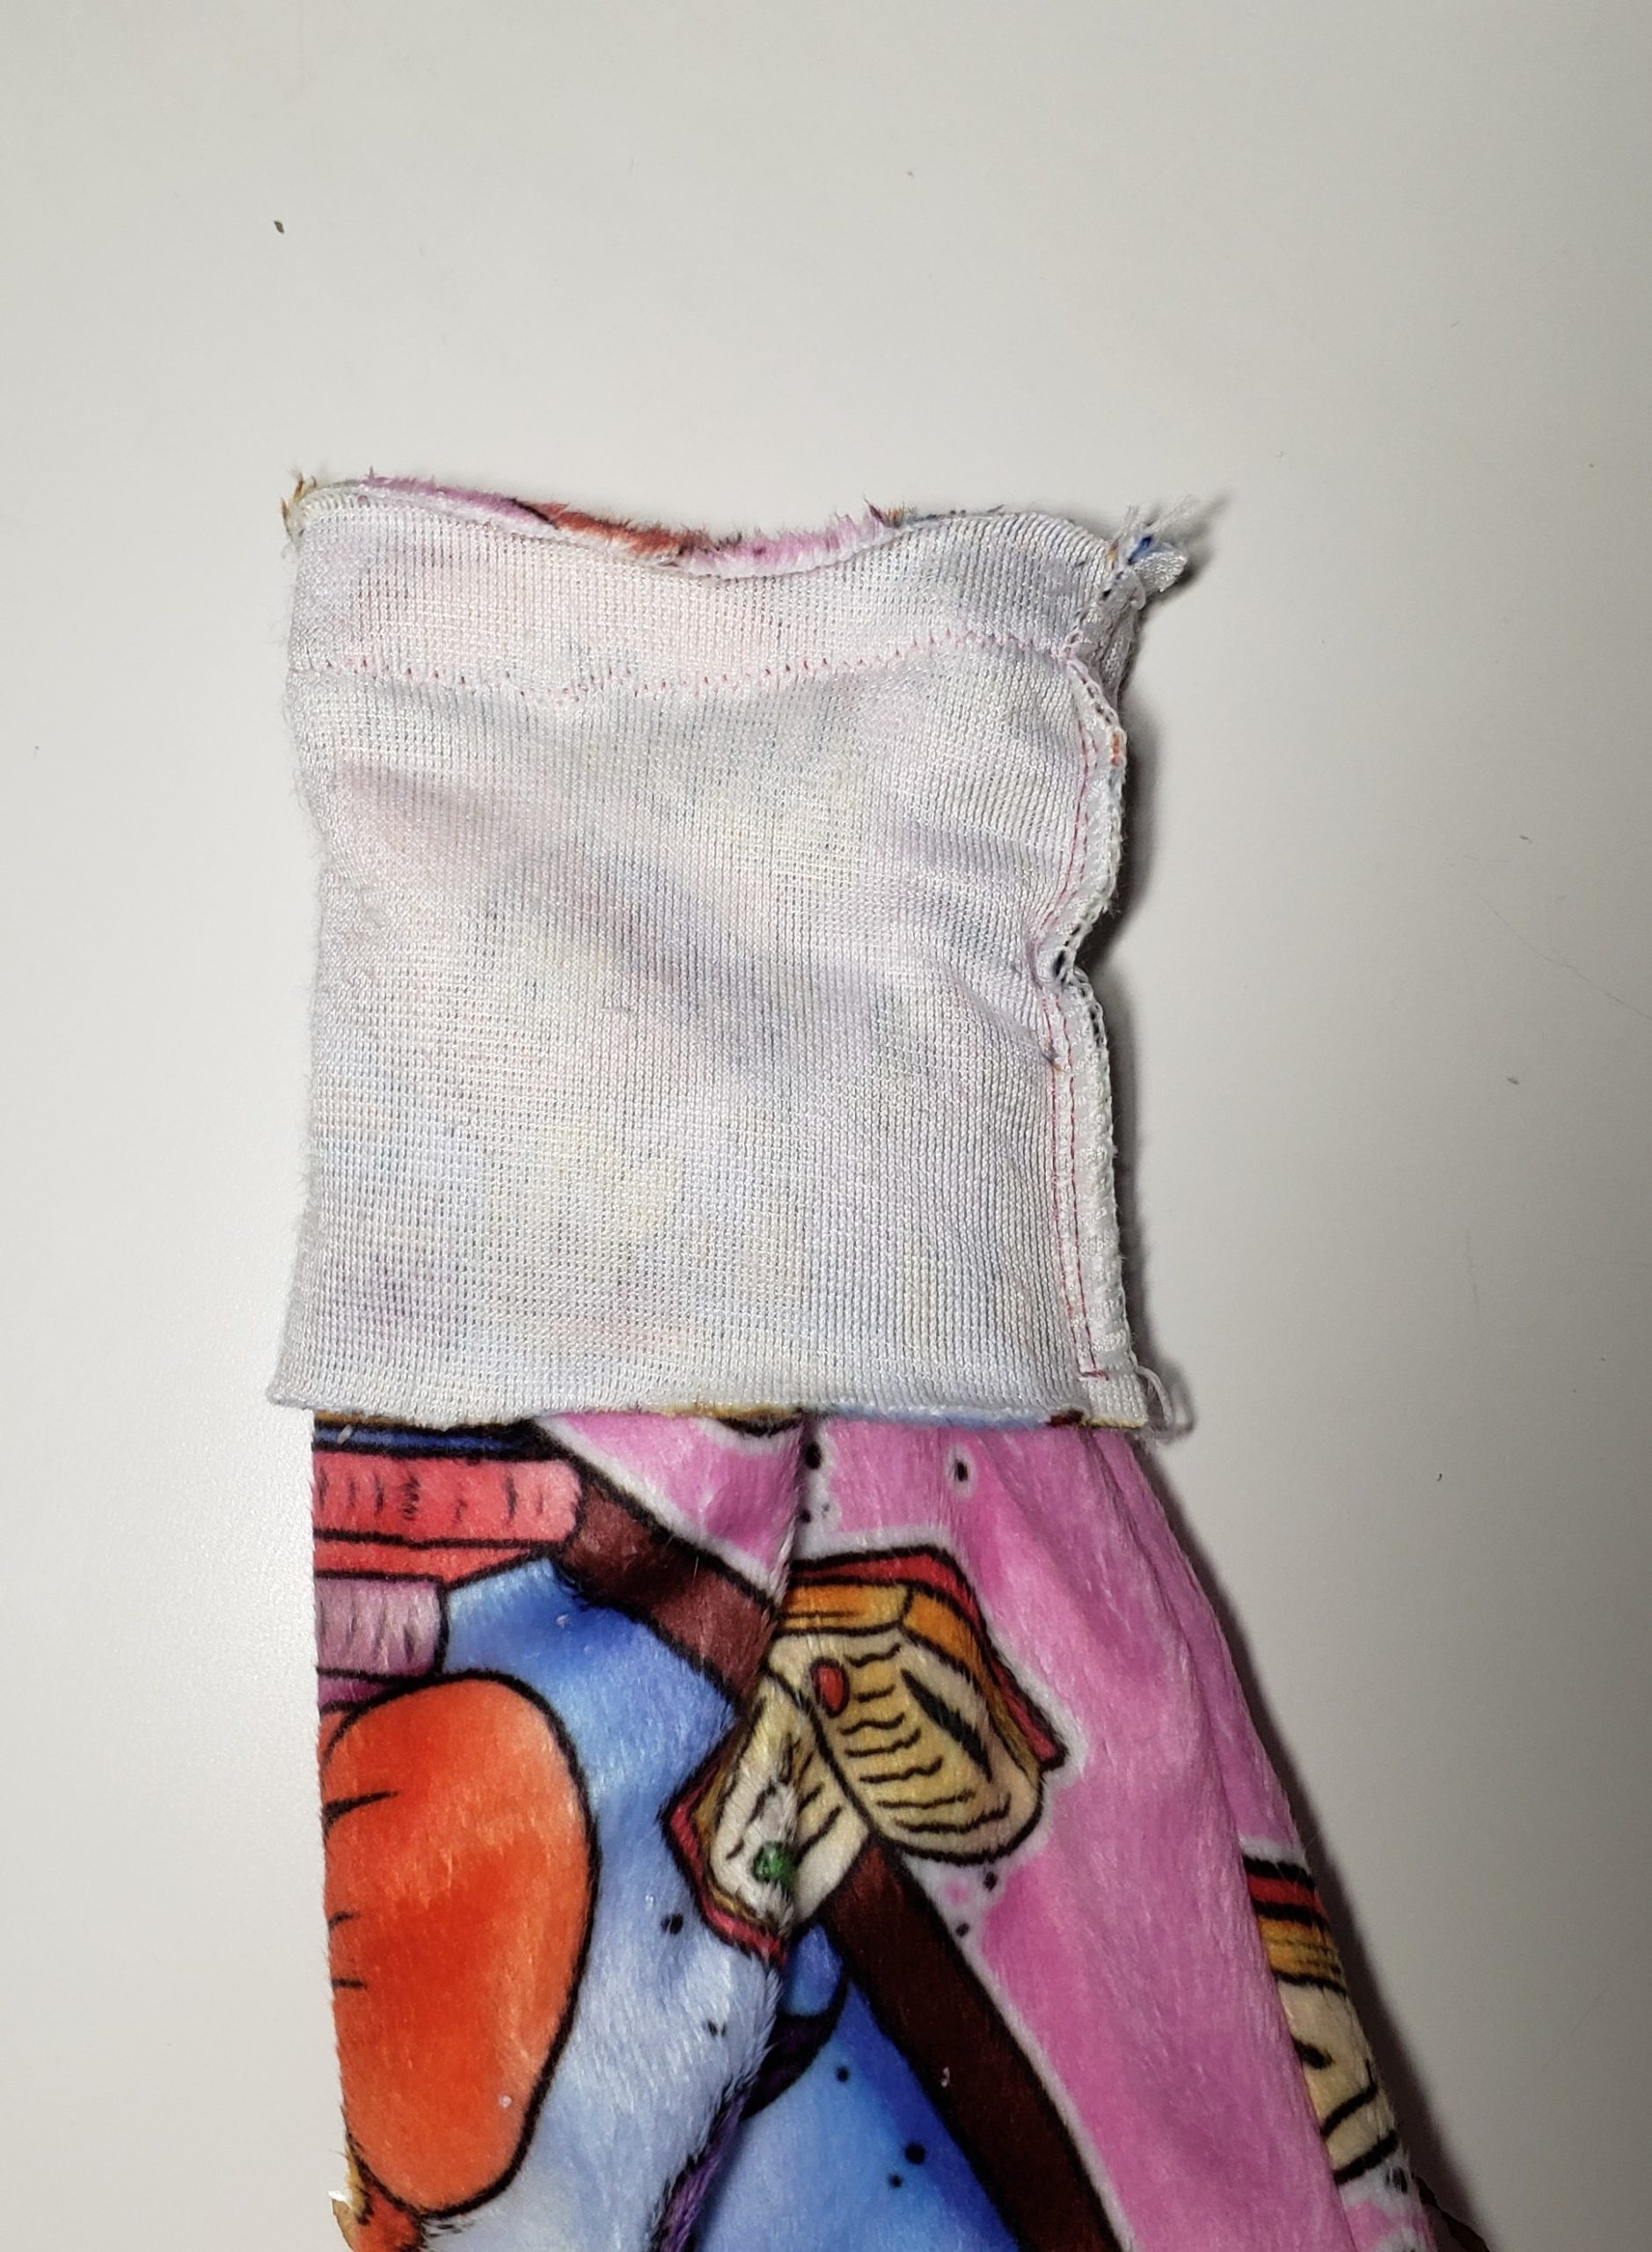
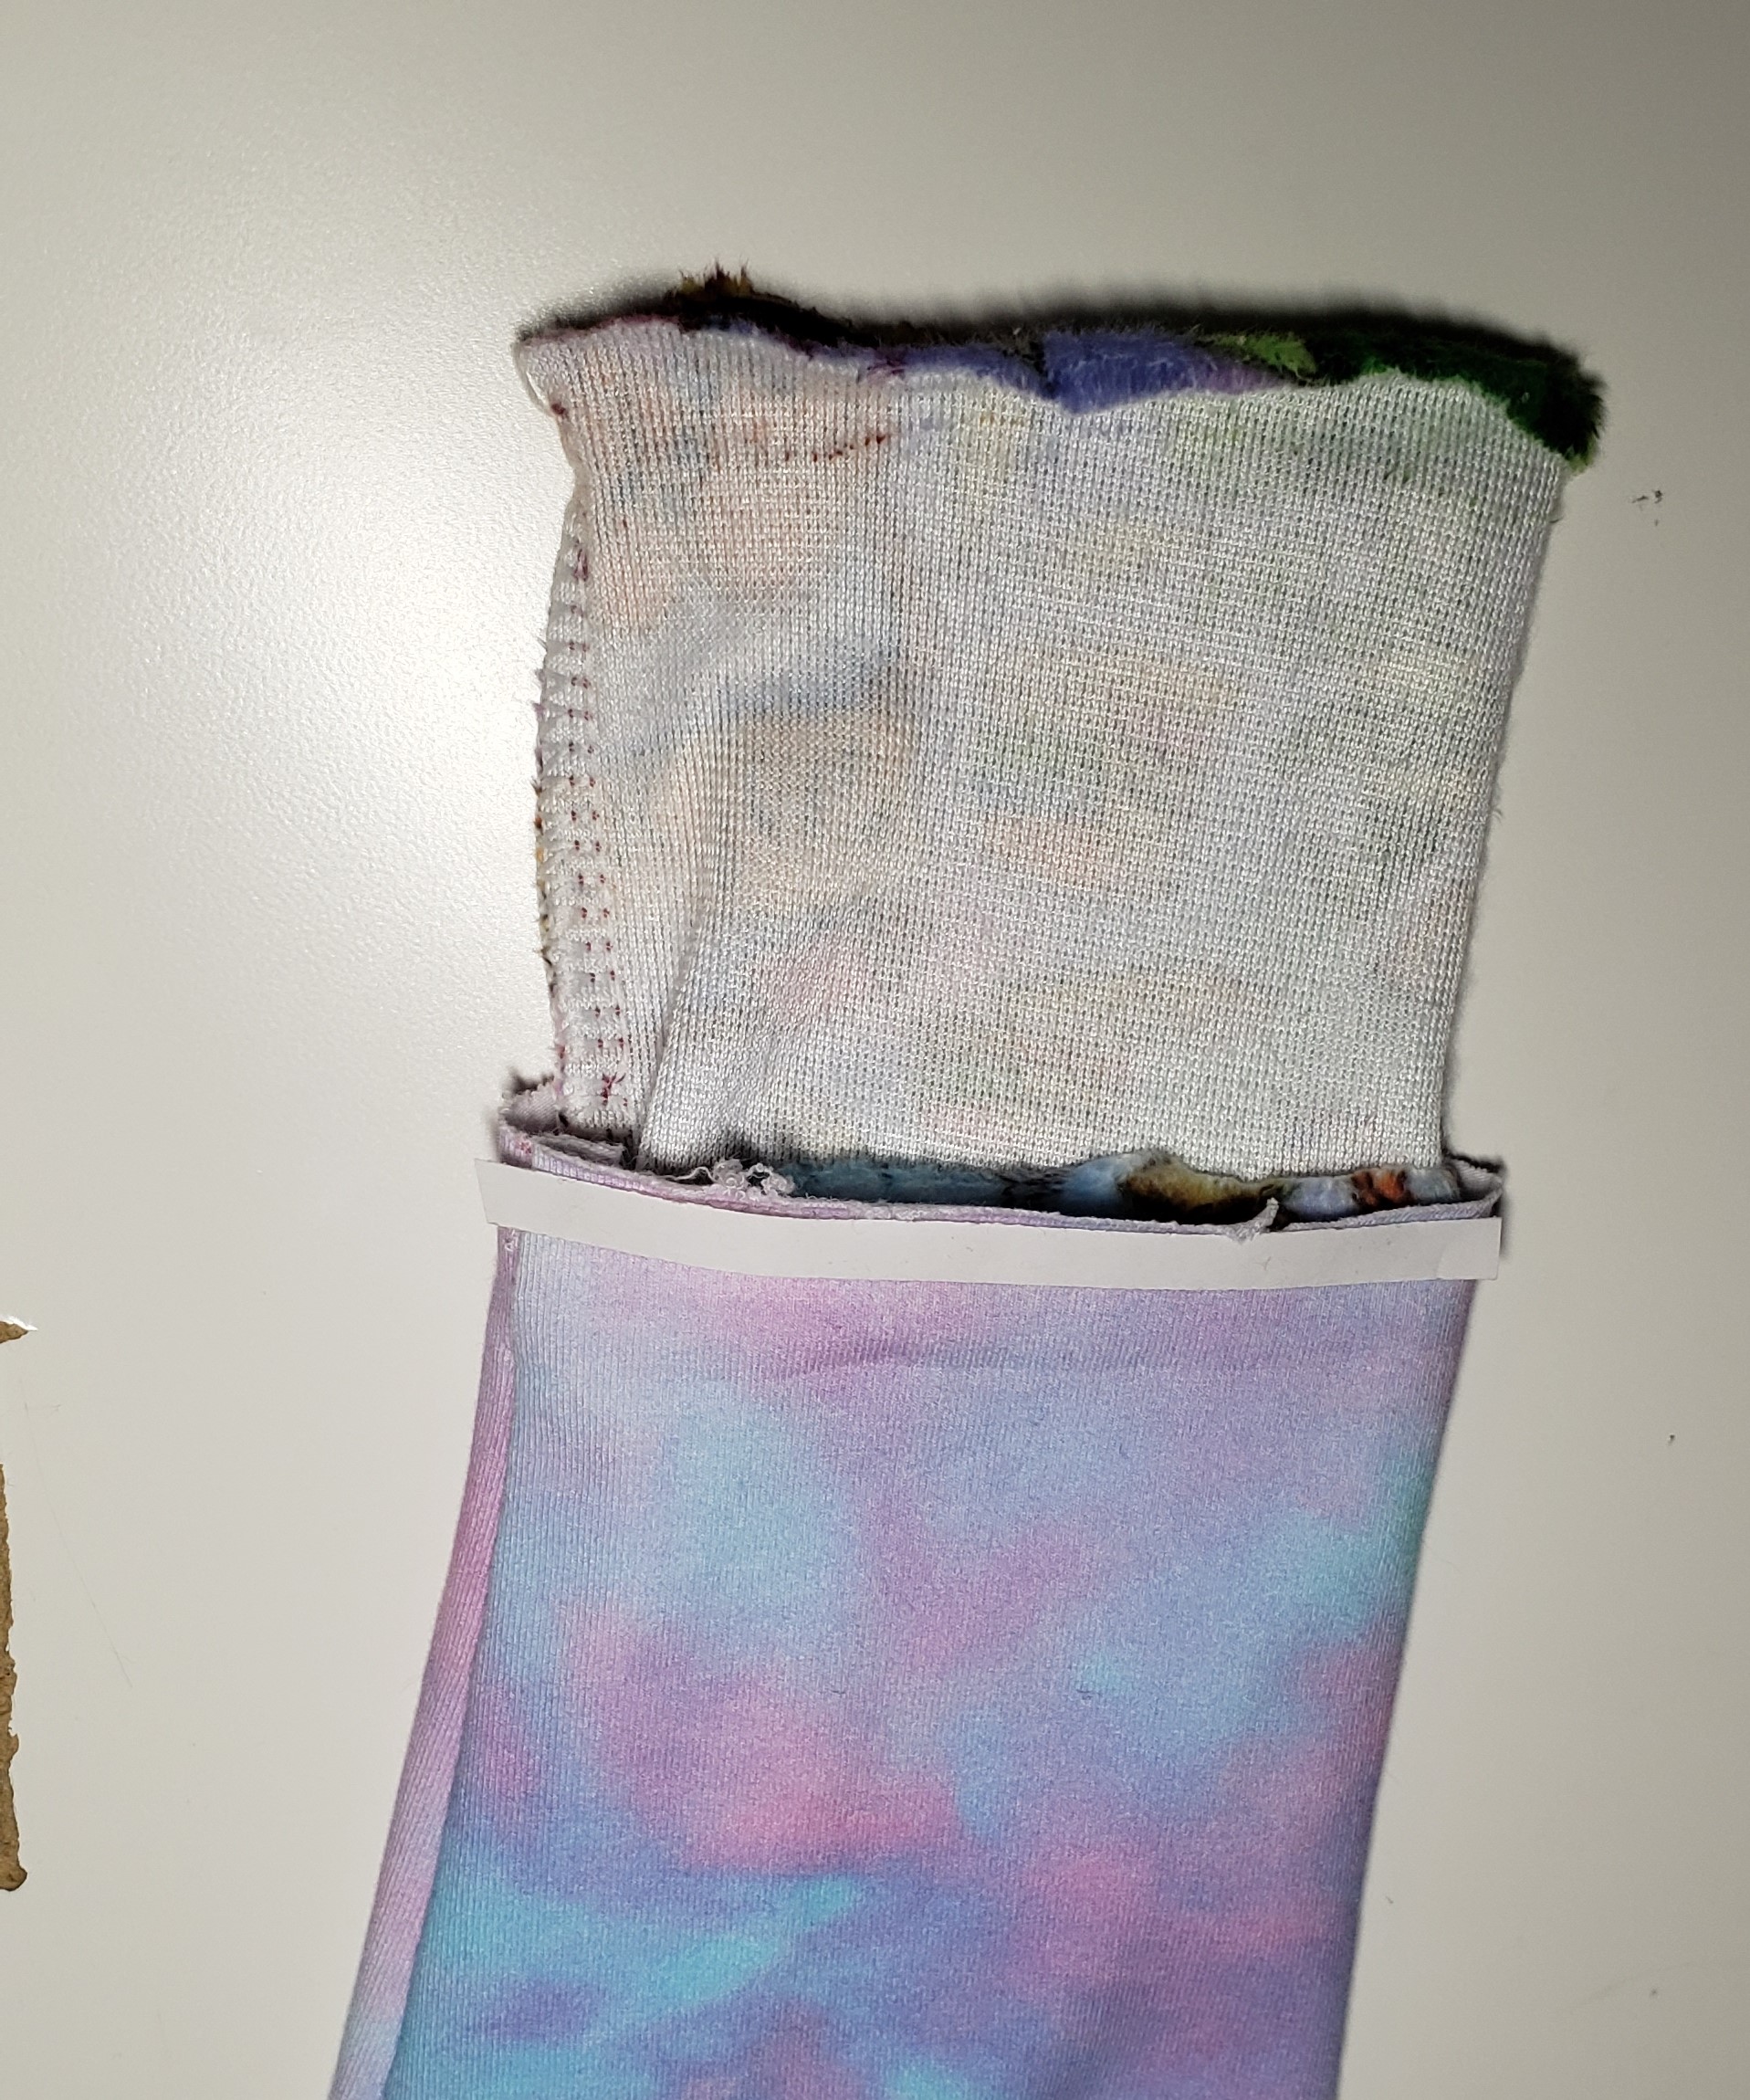
Turn the entire sleeve inside out and fold over the cuff to cover the seam. Wonder tape it in place!

Turn the sleeve right side out again and topstitch the seam with a double needle or a zigzag stitch.
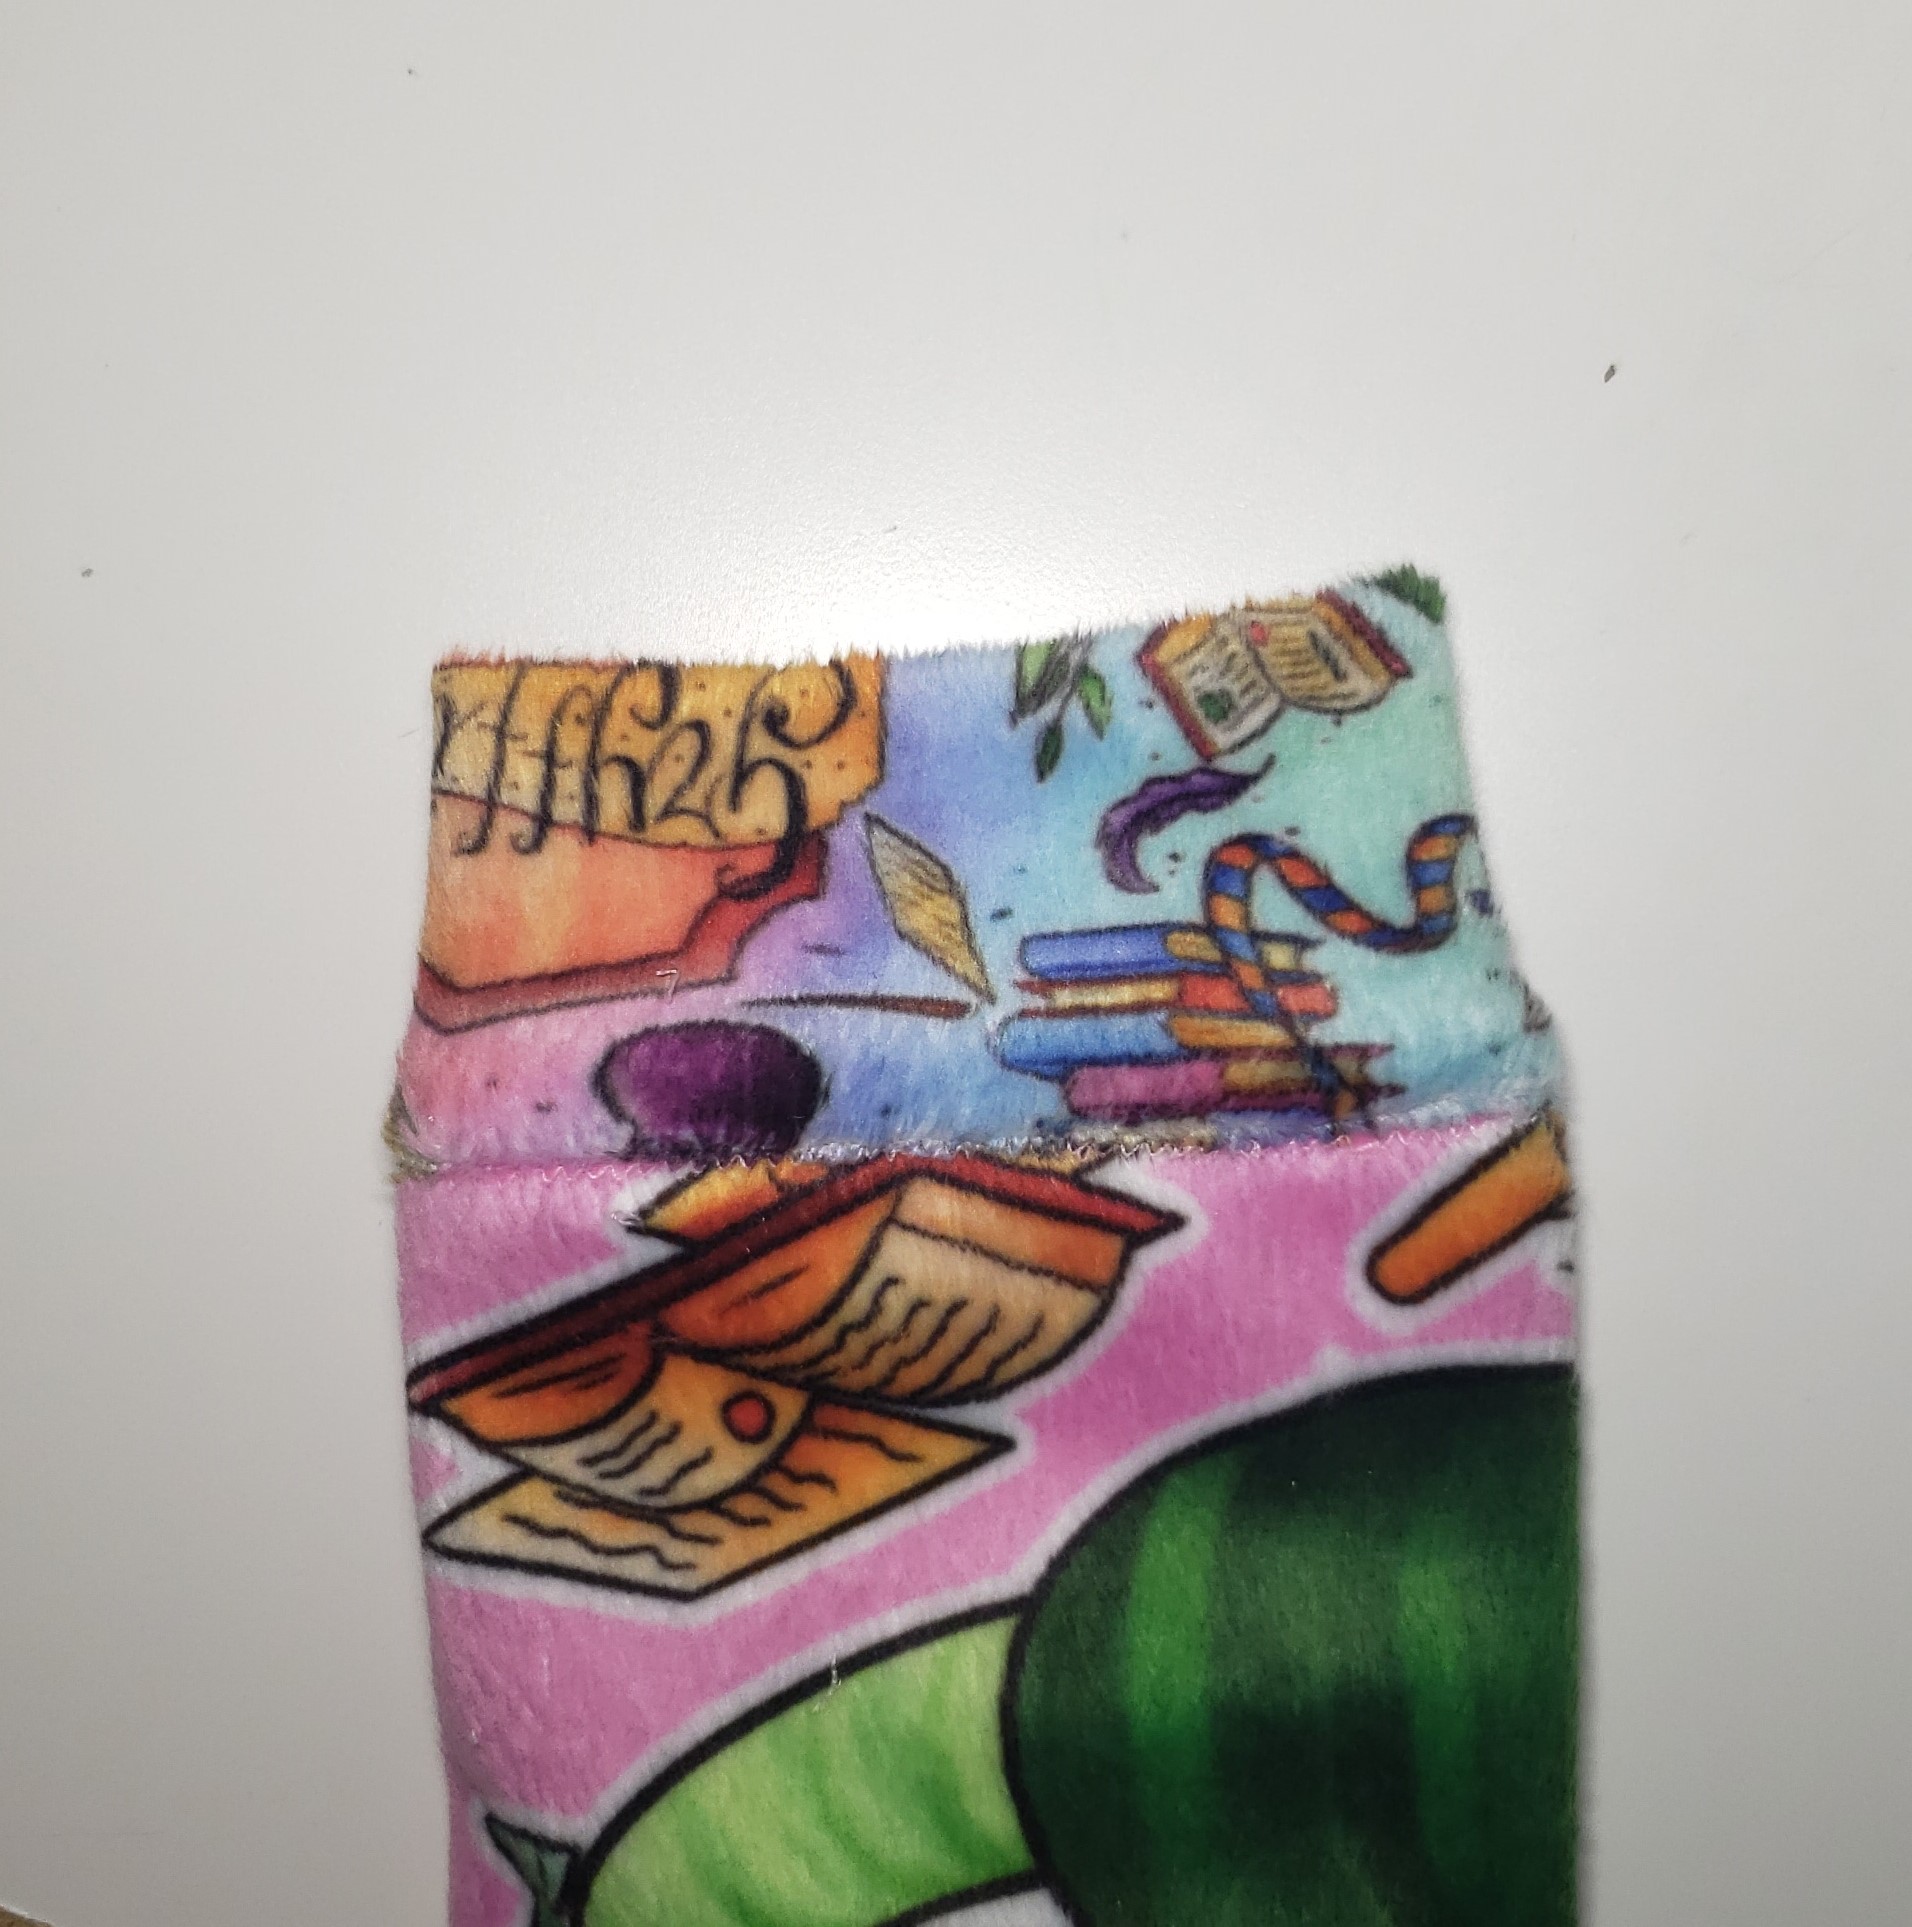
Repeat with the second sleeve and cuff.
If you haven’t attached the Outer Hood yet, do so now. Make sure to catch both the Outer and Inner necklines in the seam. If you stitched it on previously, baste the Inner bodice neckline to the Outer neckline seam. Pull the Inner hood through and up and turn the hoodie so the Inner bodice is out. Fold the seam allowance at the edge of the Inner Hood over to the wrong side at the neckline and press. You could use wonder tape to hold it in place. Quarter the Hood and the neckline.
Wonder tape the Inner Hood to the Inner Bodice, section by section.

Topstitch.
And you have a finished fully reversible Summit Peak with pocket access on both sides!


Now that you are done lining your Summit Peak hoodie make sure to head over to our Facebook group. We love when people share their beautiful creations with us.