Hello, here An Ca again. I’m so pleased to be today’s guest blogger for New Horizons Designs. If you love my post on button hole tips you can visit my sewing blog: Flaxfield Sewing, or my Instagram account: flaxfield_sewing.
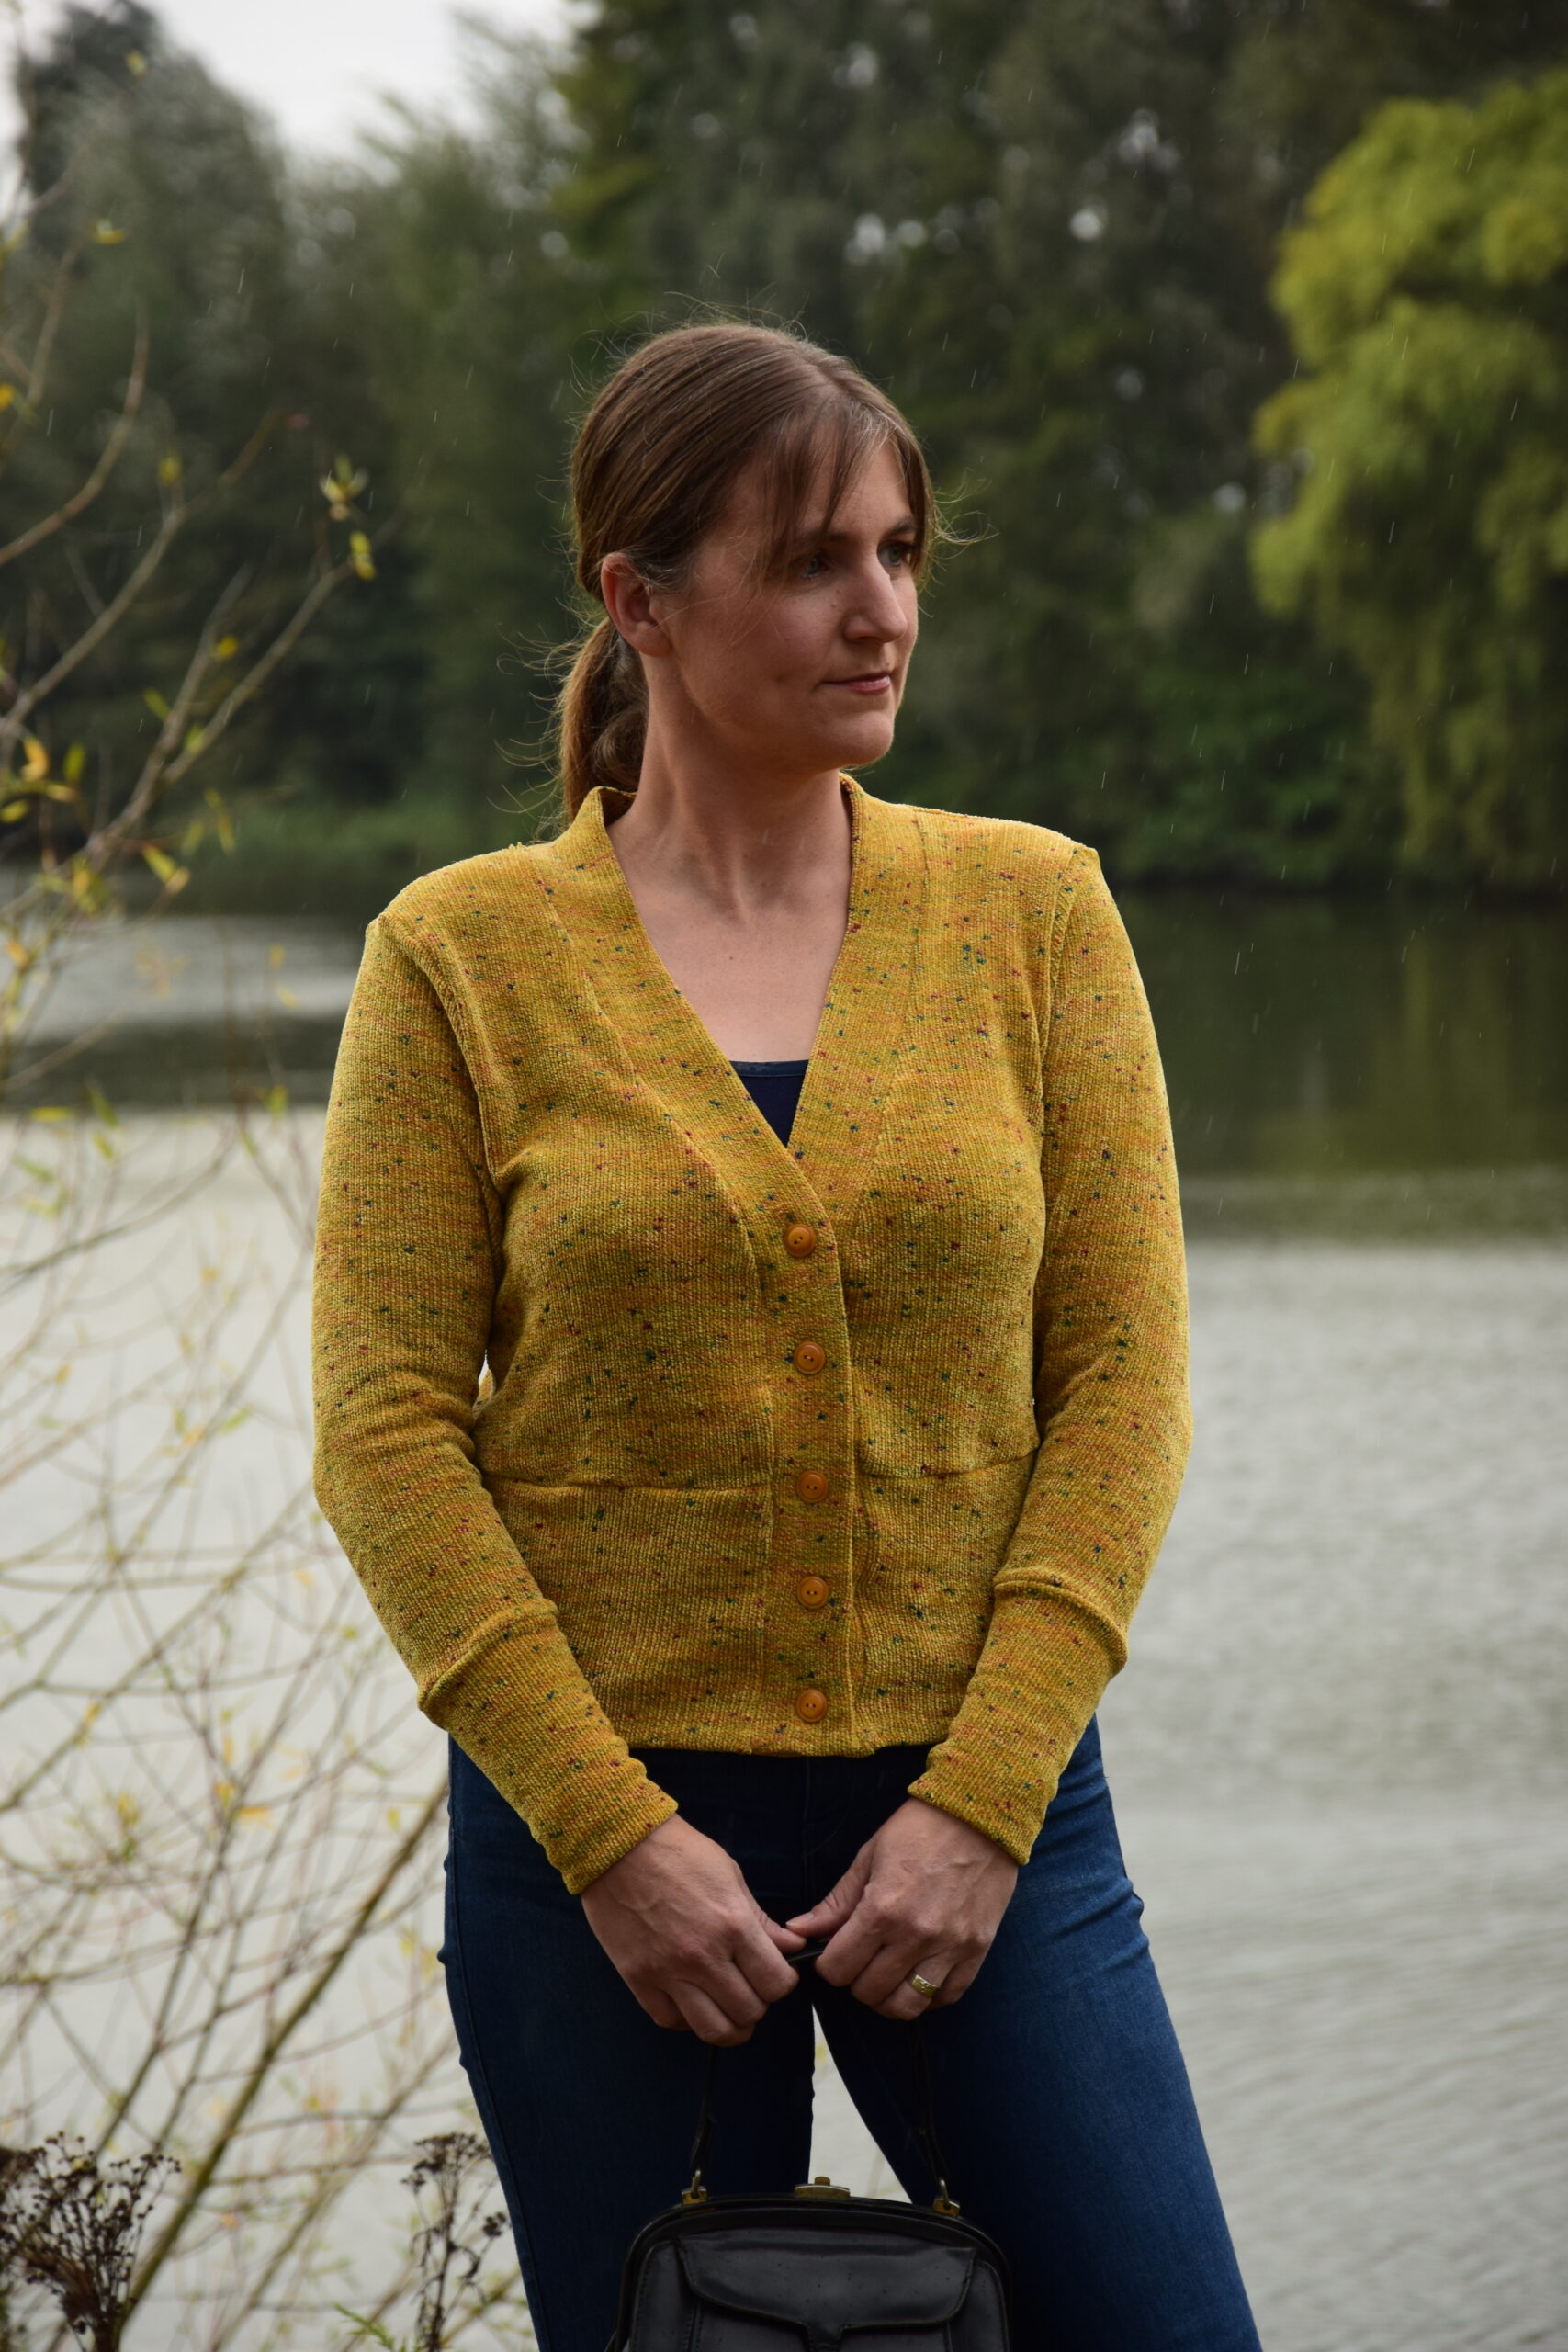
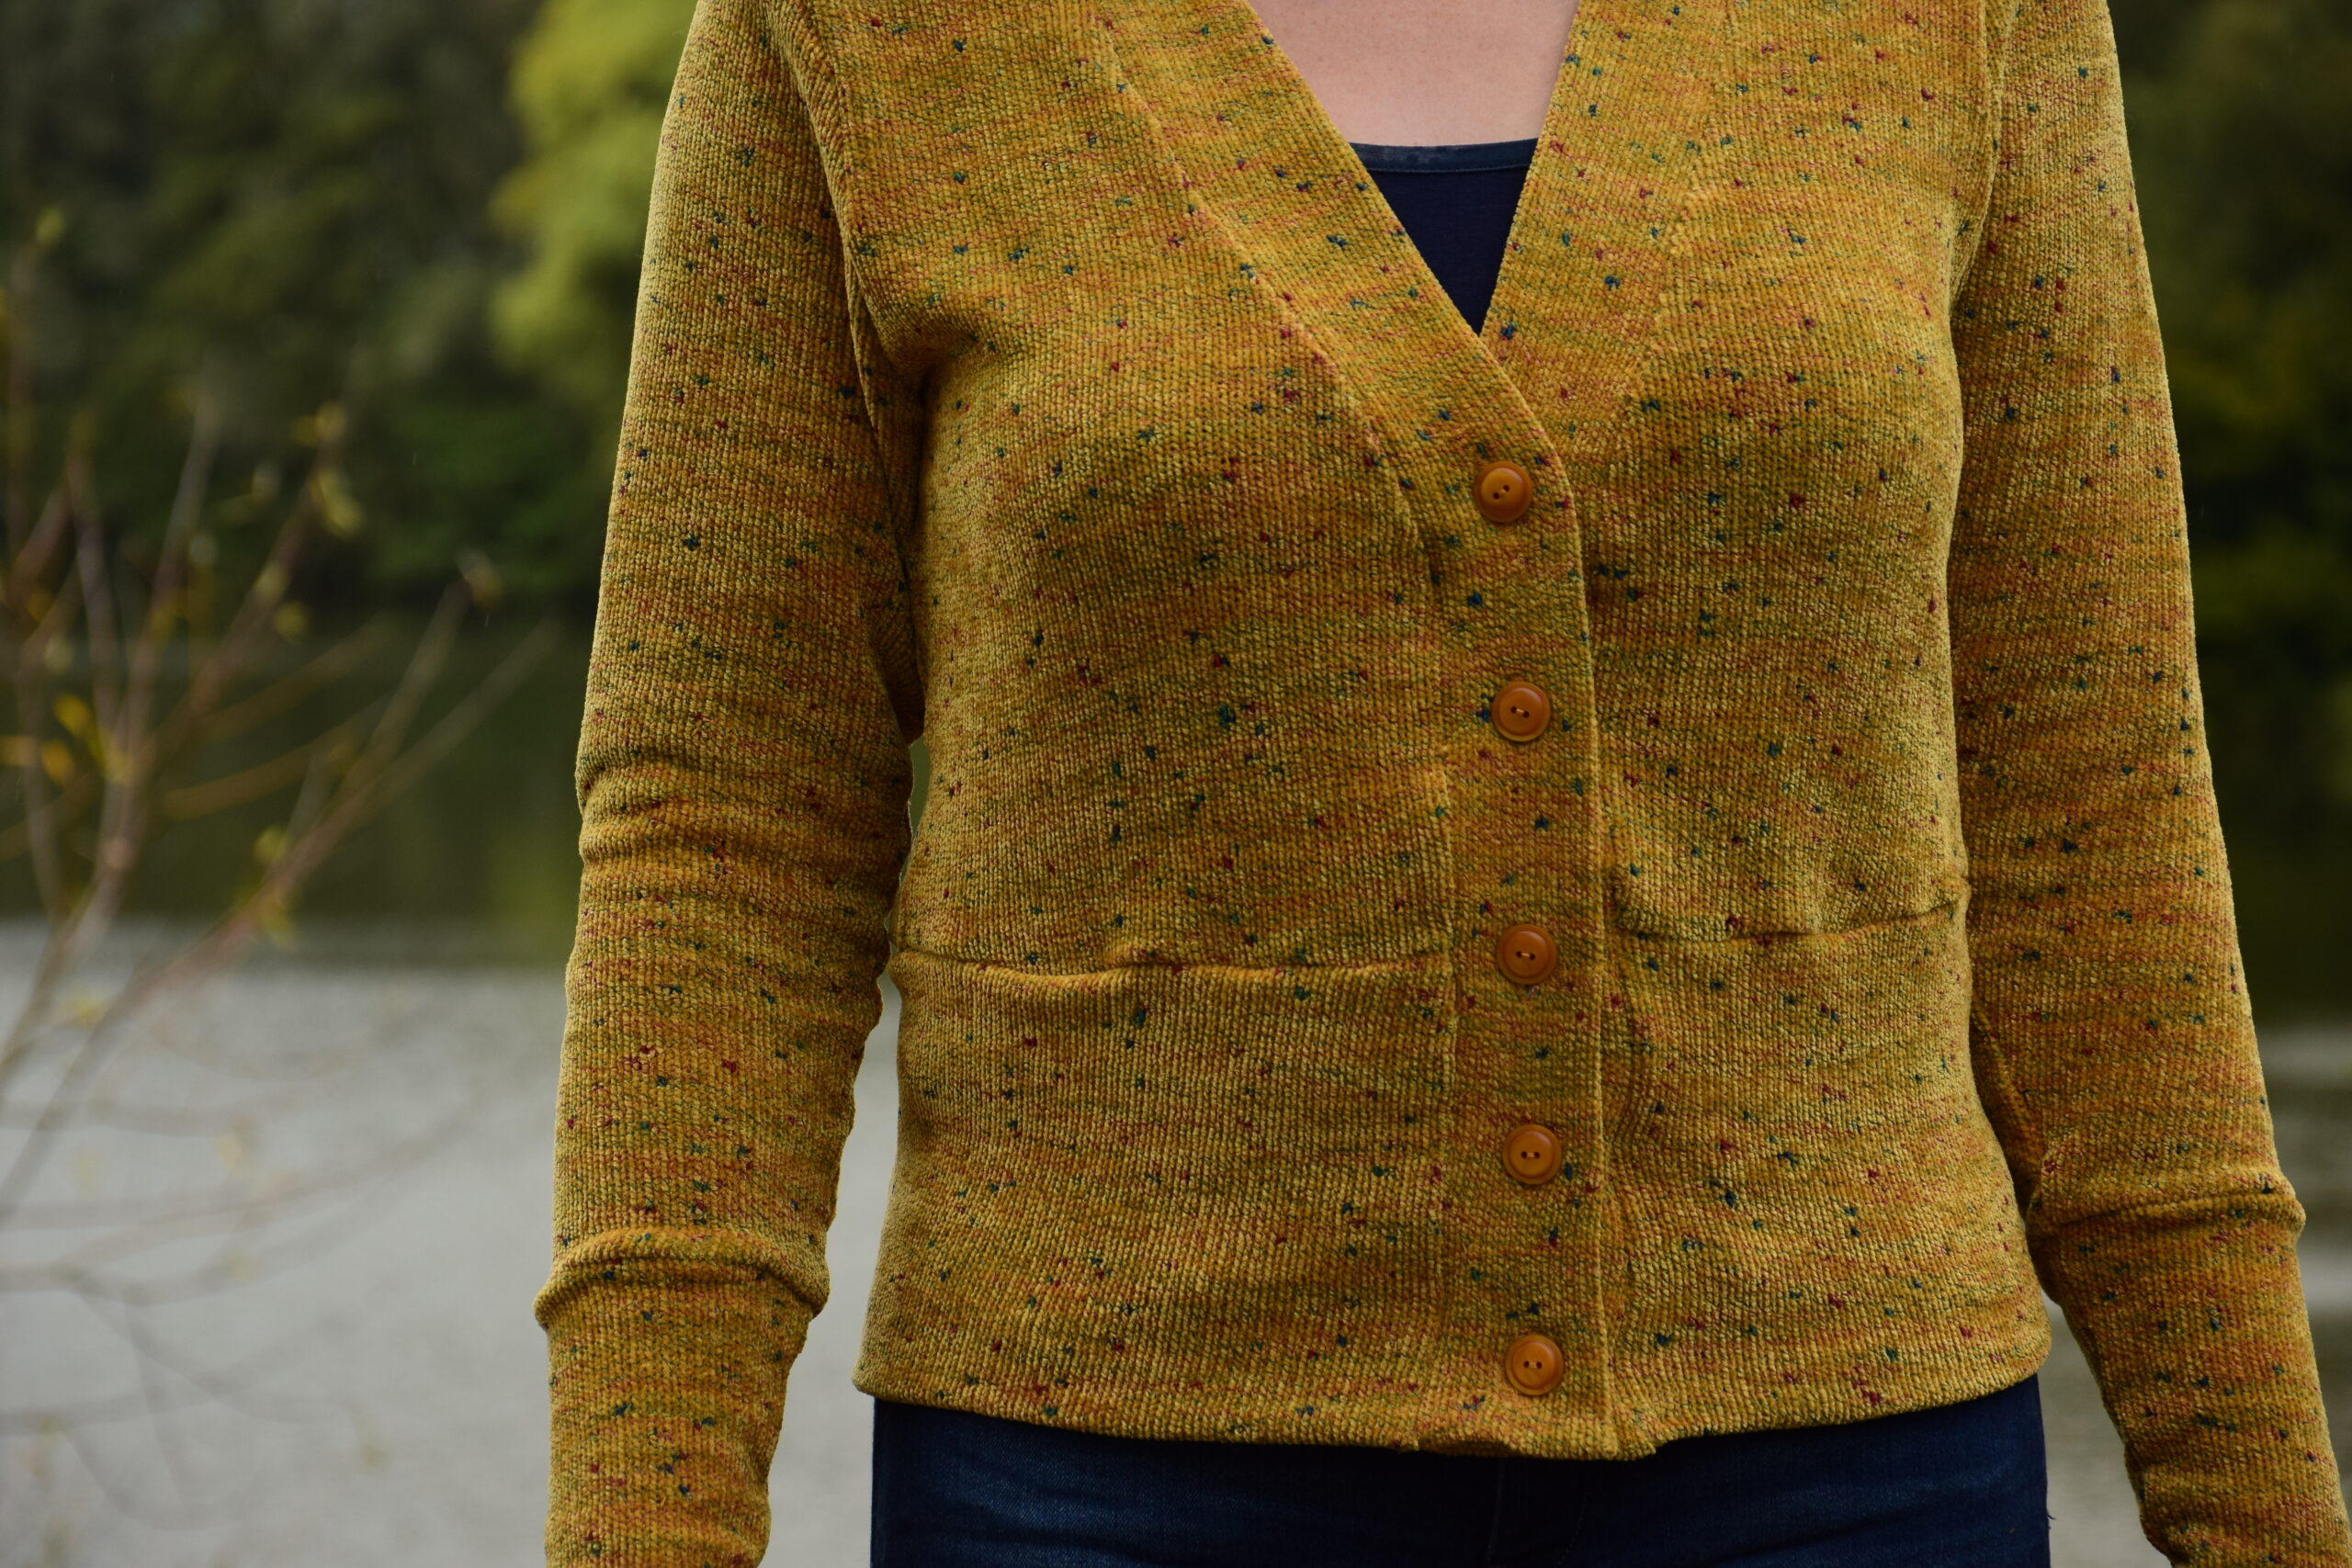
Did you see the beautiful Vermont Cardigan? Afraid from all the Buttonholes? That is no longer necessary because I want to share with you my two secrets to make perfect buttonholes in stretchable fabric.
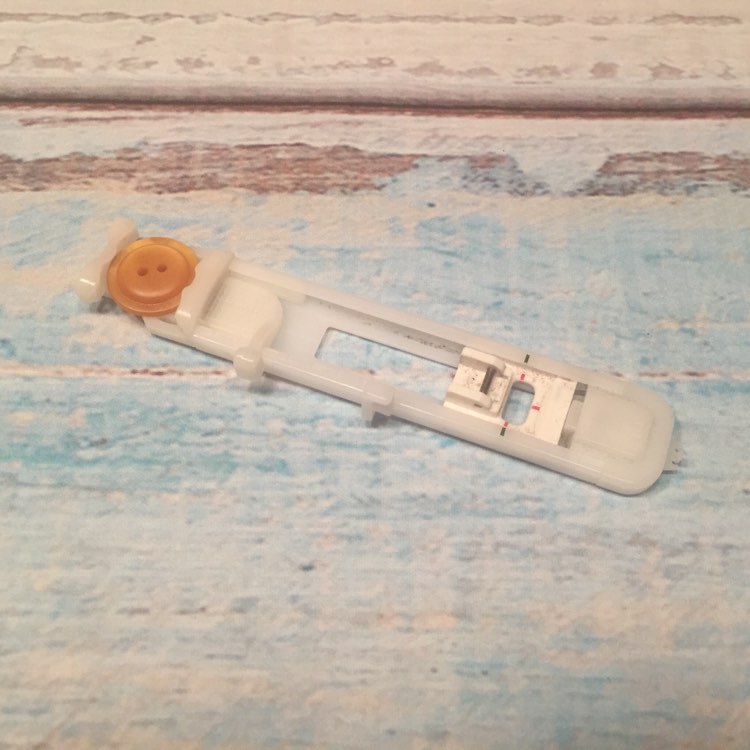
To make a perfect buttonhole you only need three extra things:
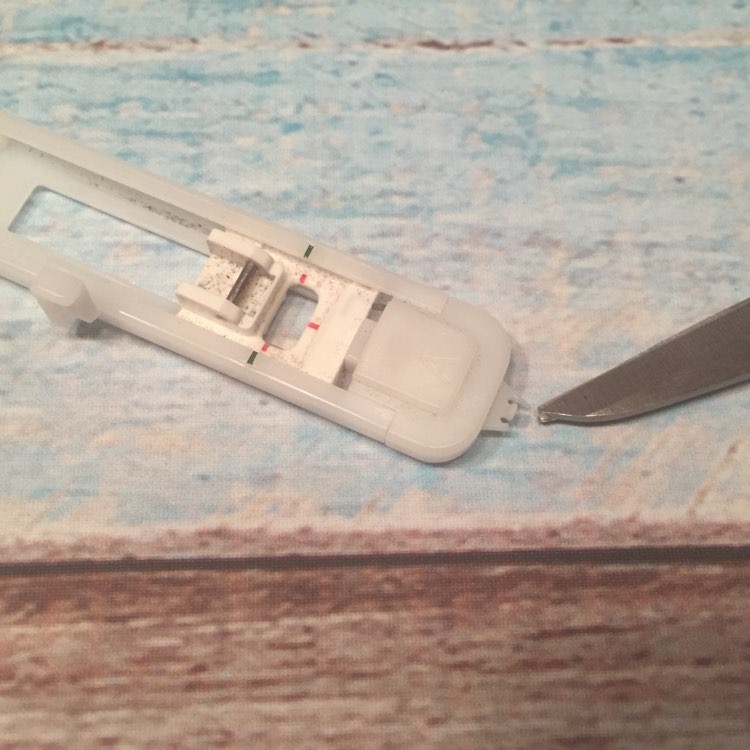
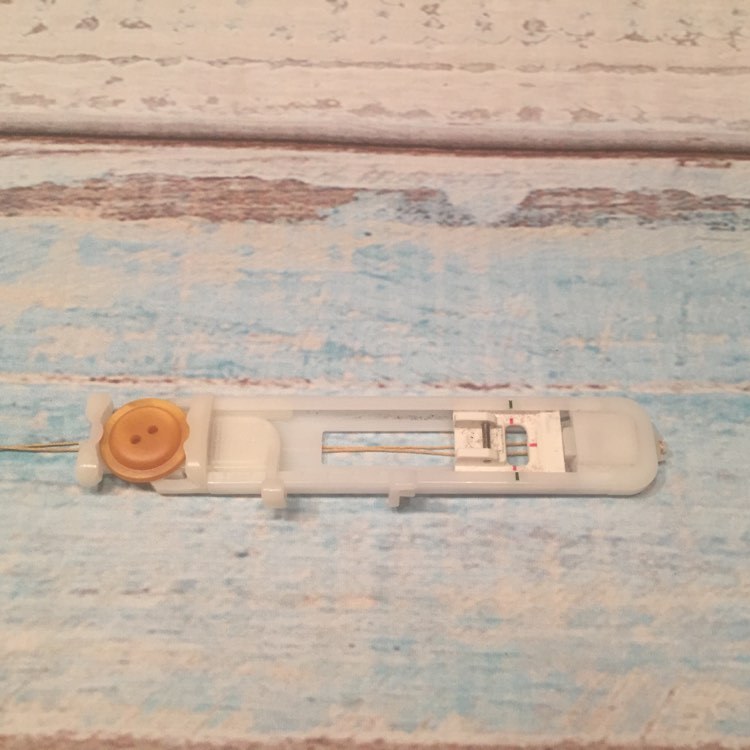
- On the first picture you see the buttonhole foot from my Brother sewing machine with the button already in it.
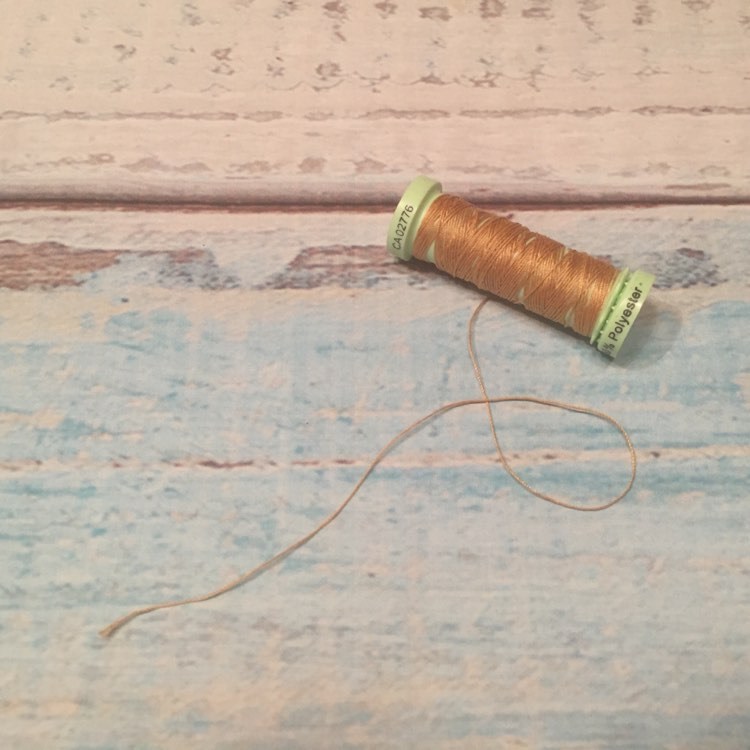
- On the second picture you can see top stitch sewing thread.This thread is slightly thicker than normal sewing thread. This thread is available in a wide range of colors. Choose a color that is close to the color in which you want to make the buttonhole. In this tutorial I didn’t choose a matching color because I want to show you the result better. This thread will be a sort of “fill thread”, which ensures that the buttonhole is strengthened and does not stretch.
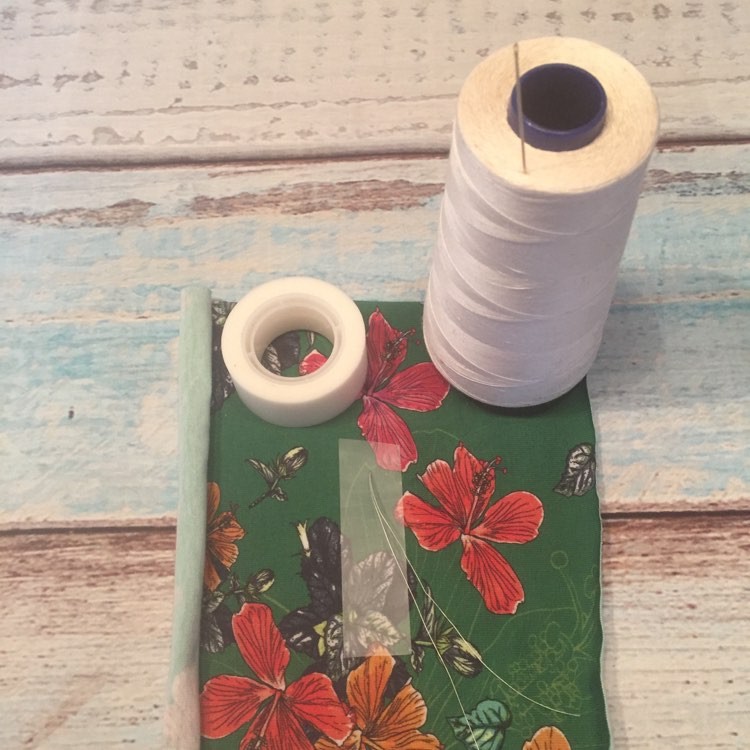
- The last thing you need is some tape.
Ready to start?
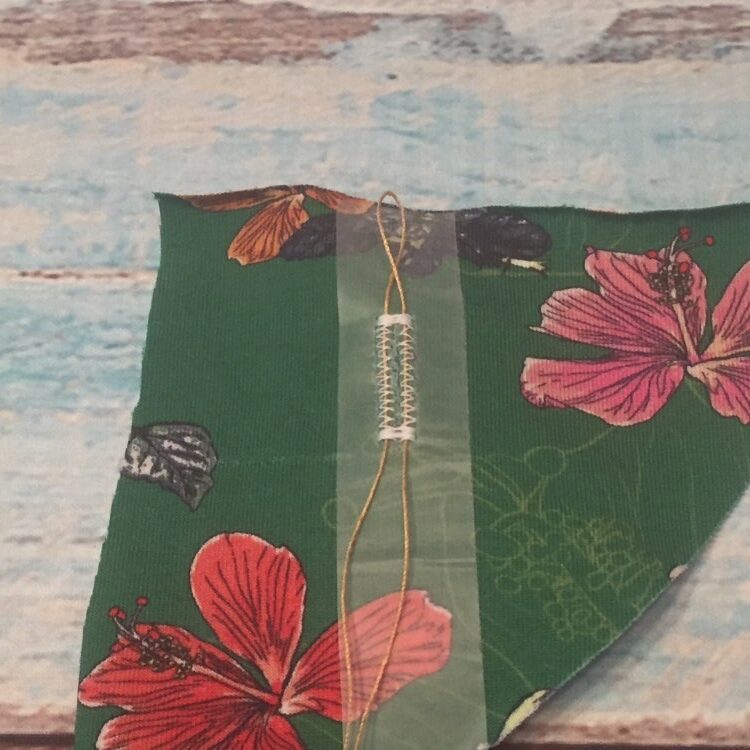
Let’s start with the tape. Stick the tape on the place where you want to make your buttonholes. The button placement guide will help you to determine that place. I always use a short piece of thread to indicate the correct starting point of the buttonhole.
Next we take the buttonhole foot.
At one end of the sewing foot there is an extra hook to which you can attach the top stitch thread. Cut off a piece of topstitch thread and hang it over the hook.
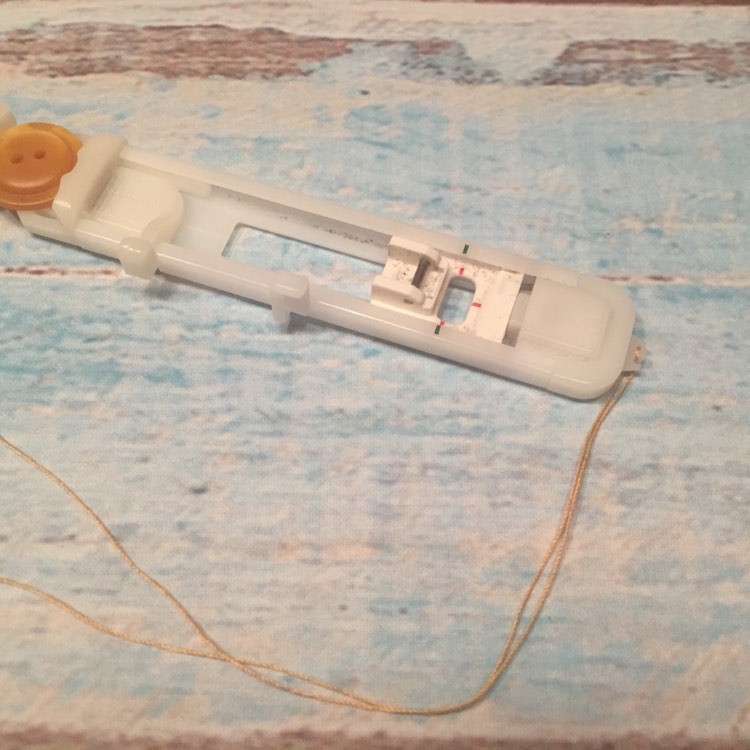
Guide the thread from the side with the hook to the other side of the buttonhole foot. They both thread ends run nicely parallel in the slots provided for this purpose.
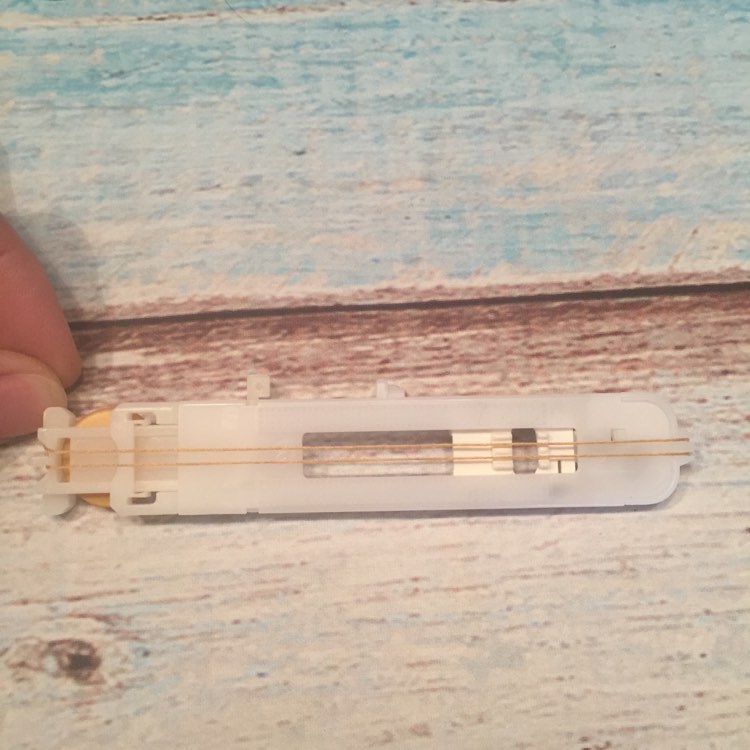
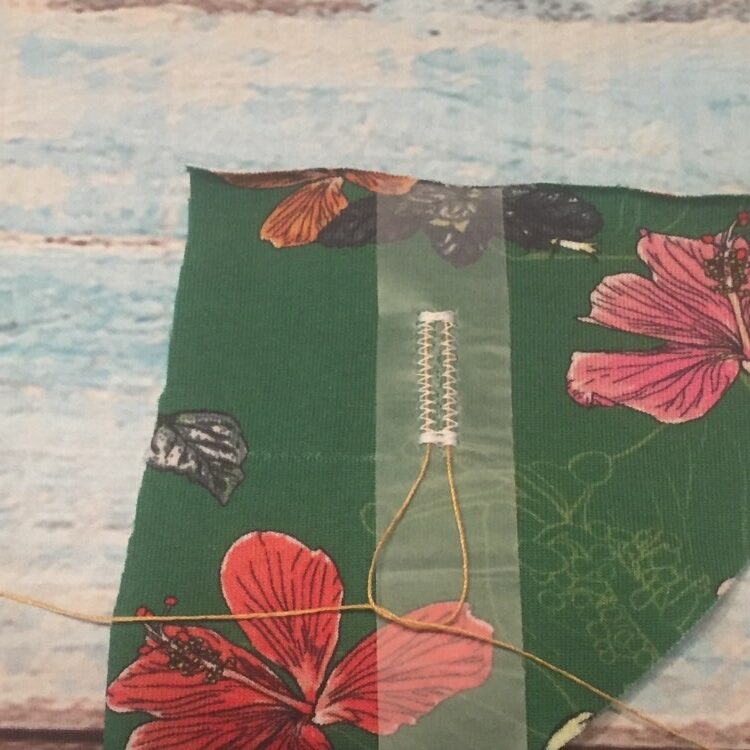
This is what the setup looks like.
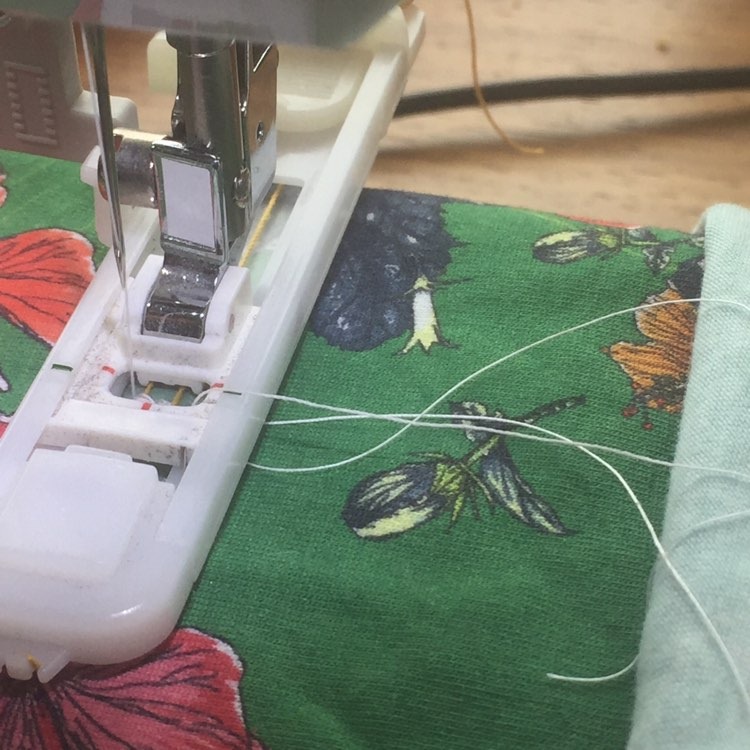
The zigzag movement of the needle, when making the button hole, should go back and forth over the topstitch thread.
After your sewing machine has finished the buttonhole, this is what you should see.
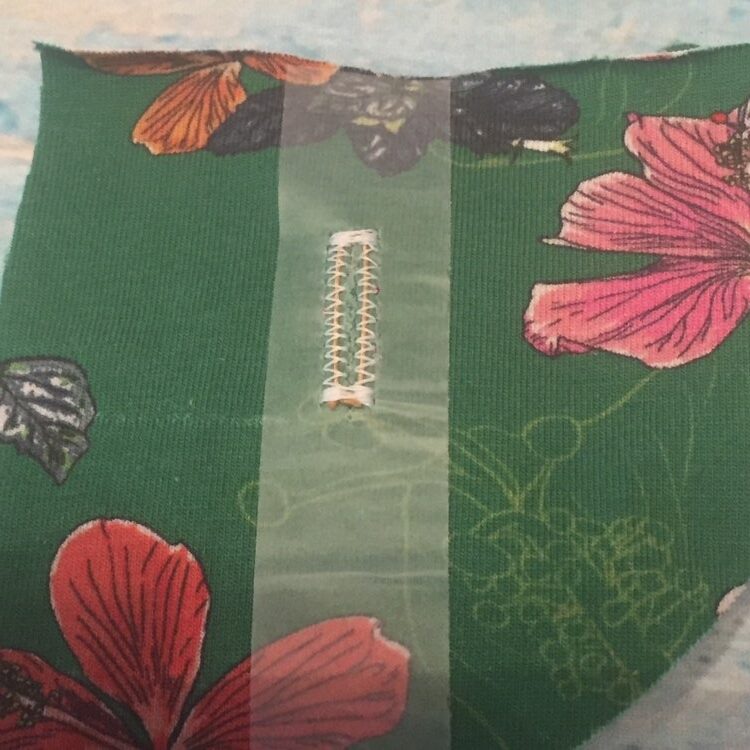
Now you can pull on both ends of the topstitch thread so that the loop disappears in the stitching on the top of the buttonhole.
Tie both ends and pull them on well so that the knot disappears into the lower threads of the buttonhole. You can cut off the ends.
You’re almost done!
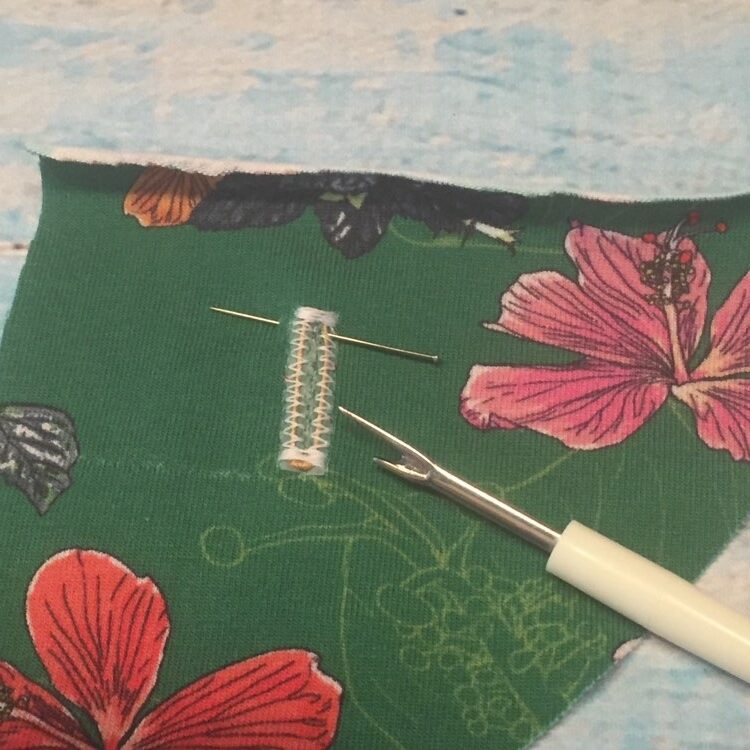
All you have to do now is opening your buttonhole.
Always make sure that you put a pin at the top of your buttonhole so you don’t accidently break the end threads with your seam ripper.
I hope you love this tutorial and that it will help you to make beautiful buttonholes in your Vermont cardigan!


See you next time!
X
An Ca