The Bellevue Knoxville Mash
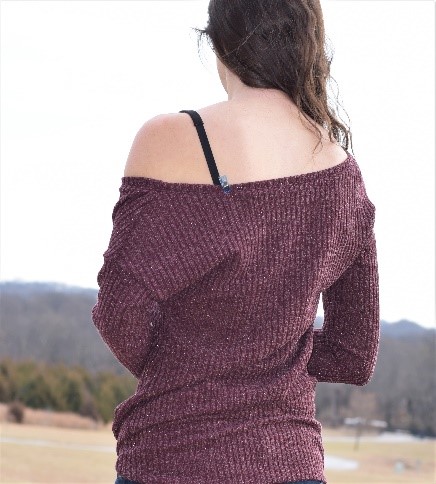
This picture has been haunting my newsfeed for so long, I finally just HAD to make it!
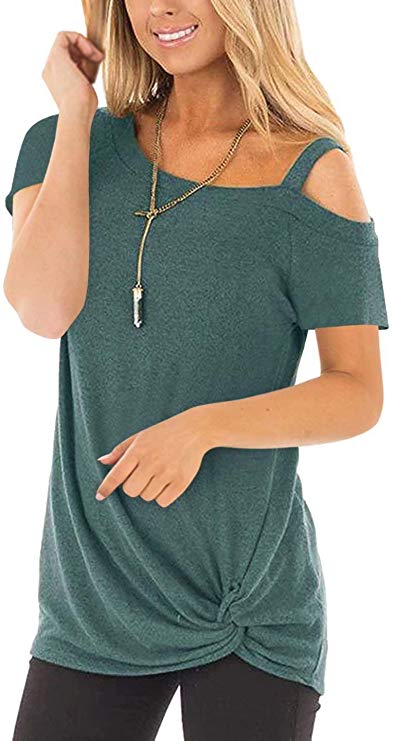
photo found here
And I knew the Bellevue and Knoxville would be the perfect patterns to make it happen! Here’s how I did it…
Supplies you need:
- Knoxville front bodice piece
- Bellevue front & back bodice pieces
- Bellevue sleeves
- Bellevue neckband
- All of the fabric and notions called for in the patterns J
Steps:
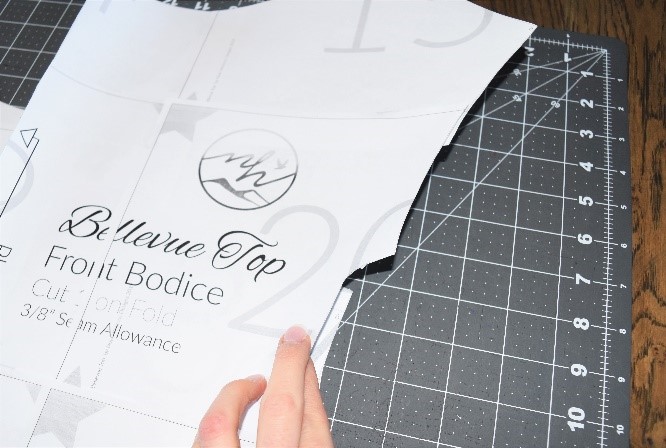
- The most challenging part is getting the front bodice piece cut. To do that, you are going to want to take the Bellevue bodice and place it on top of the Knoxville bodice. I didn’t do this, but…to make it a little easier you can print two Bellevue front bodice pieces so you don’t have to flip and line it up twice.

You want to line it up so that the armscye would line up. Because the Bellevue is a dolman sleeve, you have to estimate a little where this is, but you can see below how I did it. The sleeve part ended up sticking out about 1.25” past the Knoxville corner.
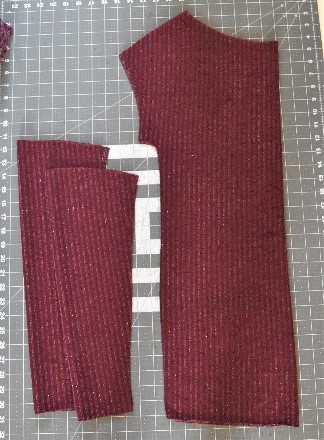
- Once you get the pattern lined up, cut your fabric and you will end up with a piece that looks like this:

- Cut out the Bellevue pattern sleeves (I made no adjustments to these) and Bellevue back bodice. For the back bodice, cut the pattern as is, adjusting only for the length. Make sure the length of the back bodice is the same length as the front bodice side that does not have the knot. This is important because the knot side will be shorter at this point in the process. Do not cut your neckband yet.
- Follow the Knoxville pattern instructions to construct the knot, sew the front and back bodice pieces together, and hem. Add your sleeves according to the Bellevue pattern. At this point you should have a garment that has a raw neckline, but is otherwise complete!
- Measure the neckline, cut a neckband according to the width of the Bellevue pattern piece at a length of 85% the neckline measurement you took plus seam allowance. Sew the neckband on as indicated in the Bellevue pattern.
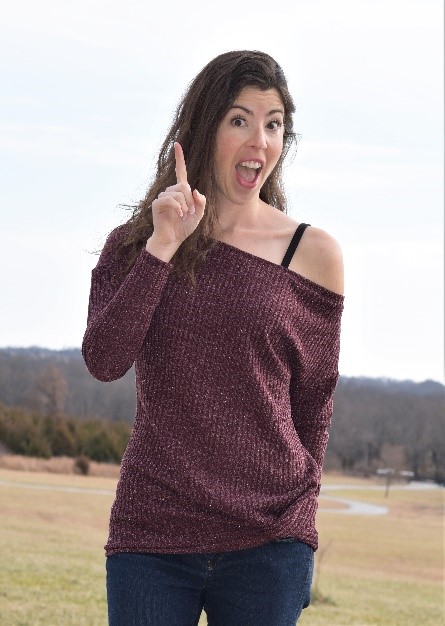
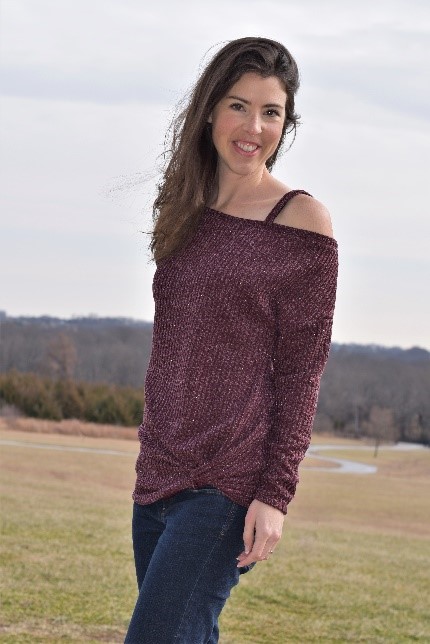
- We’re almost finished! You should what looks to be a completed garment like this!
- But wait…we want to be able to wear a regular bra without it showing…

- So with the garment on, mark on the neckband the location where the bra straps show on both the front and back. While you have it on, also measure the length between these two clips/pins (this is essentially the length of your bra strap that is showing). For reference, mine was 8”.
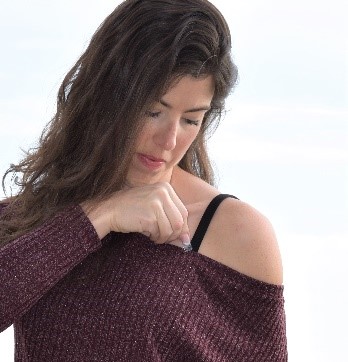
- Cut a strap that is the width of the Bellevue neckband pattern and a length of the measurement you just took plus 1.25”. This width will just cover a bra strap. If you want a wider strap/more room for error, increase the width. Fold in half lengthwise with right sides together and sew the strap with a ¼” seam allowance. Flip rightside out.
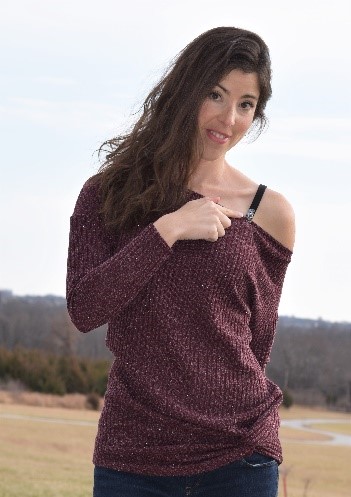
- Clip the strap to the neckband where you marked. I matched the end of my strap piece to the seam allowance of the neckband and sewed it on following the stitch line where I topstitched the neckband.
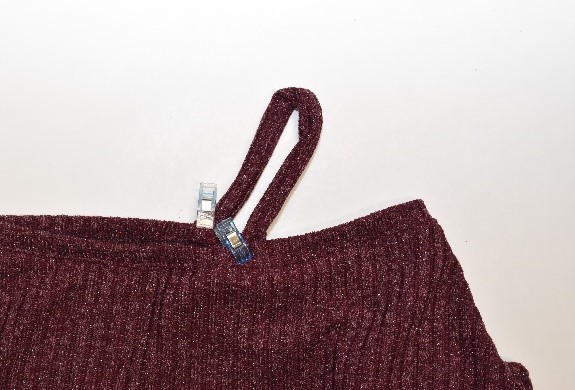
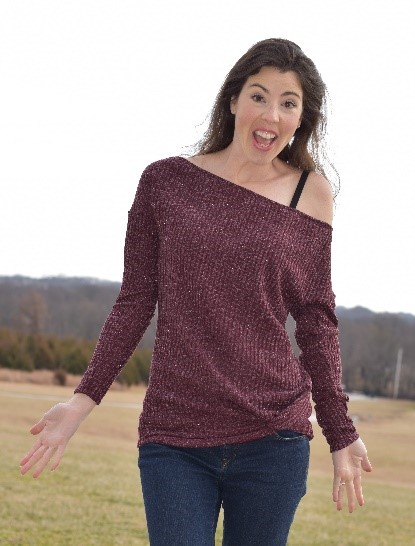
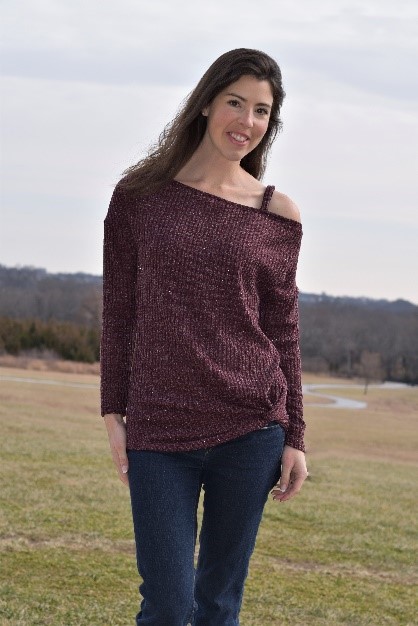
- Voila! You now have a sweater ready to rock!

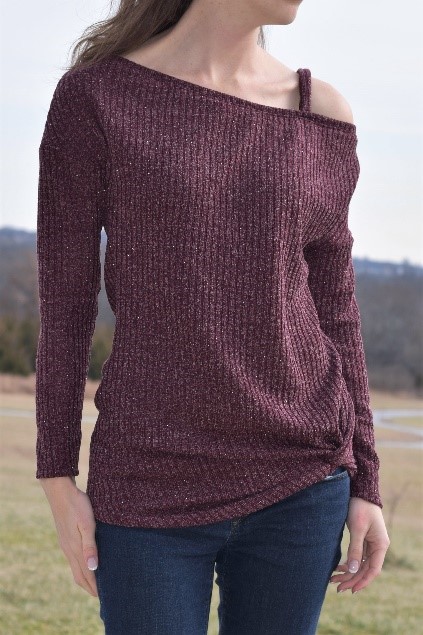
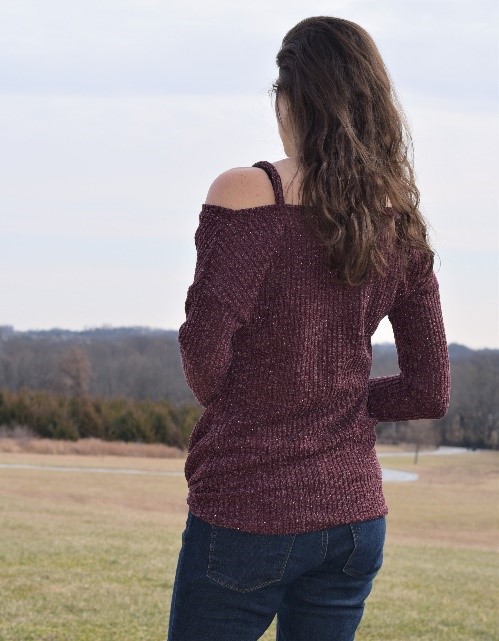 This Bellevue Knoxville Mashup by Tammie was sponsored by The Fab Clique Fabric Shoppe you can find their fabric here