Hi everyone! I’m Amanda from DerivingMommyhood to share everything I know about GATHERING!
I started garment sewing back when my daughter was born, so that meant lots and lots of fluffy dresses, and quite frankly, I learned quickly that I hated gathering with a passion. I set aside many a skirt in disgust when I reached that step as I just didn’t want to do it, and then avoided making anything that requires gathering (Who doesn’t love a flounce or circle skirt? SO much twirl, so little work). But, I no longer avoid it so here’s my best tips!
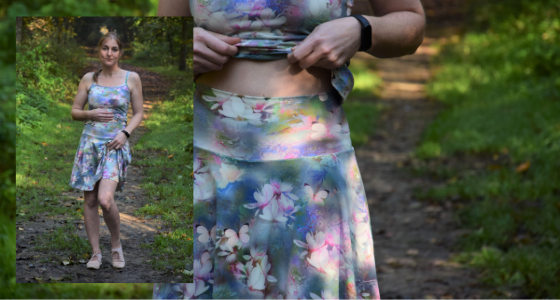
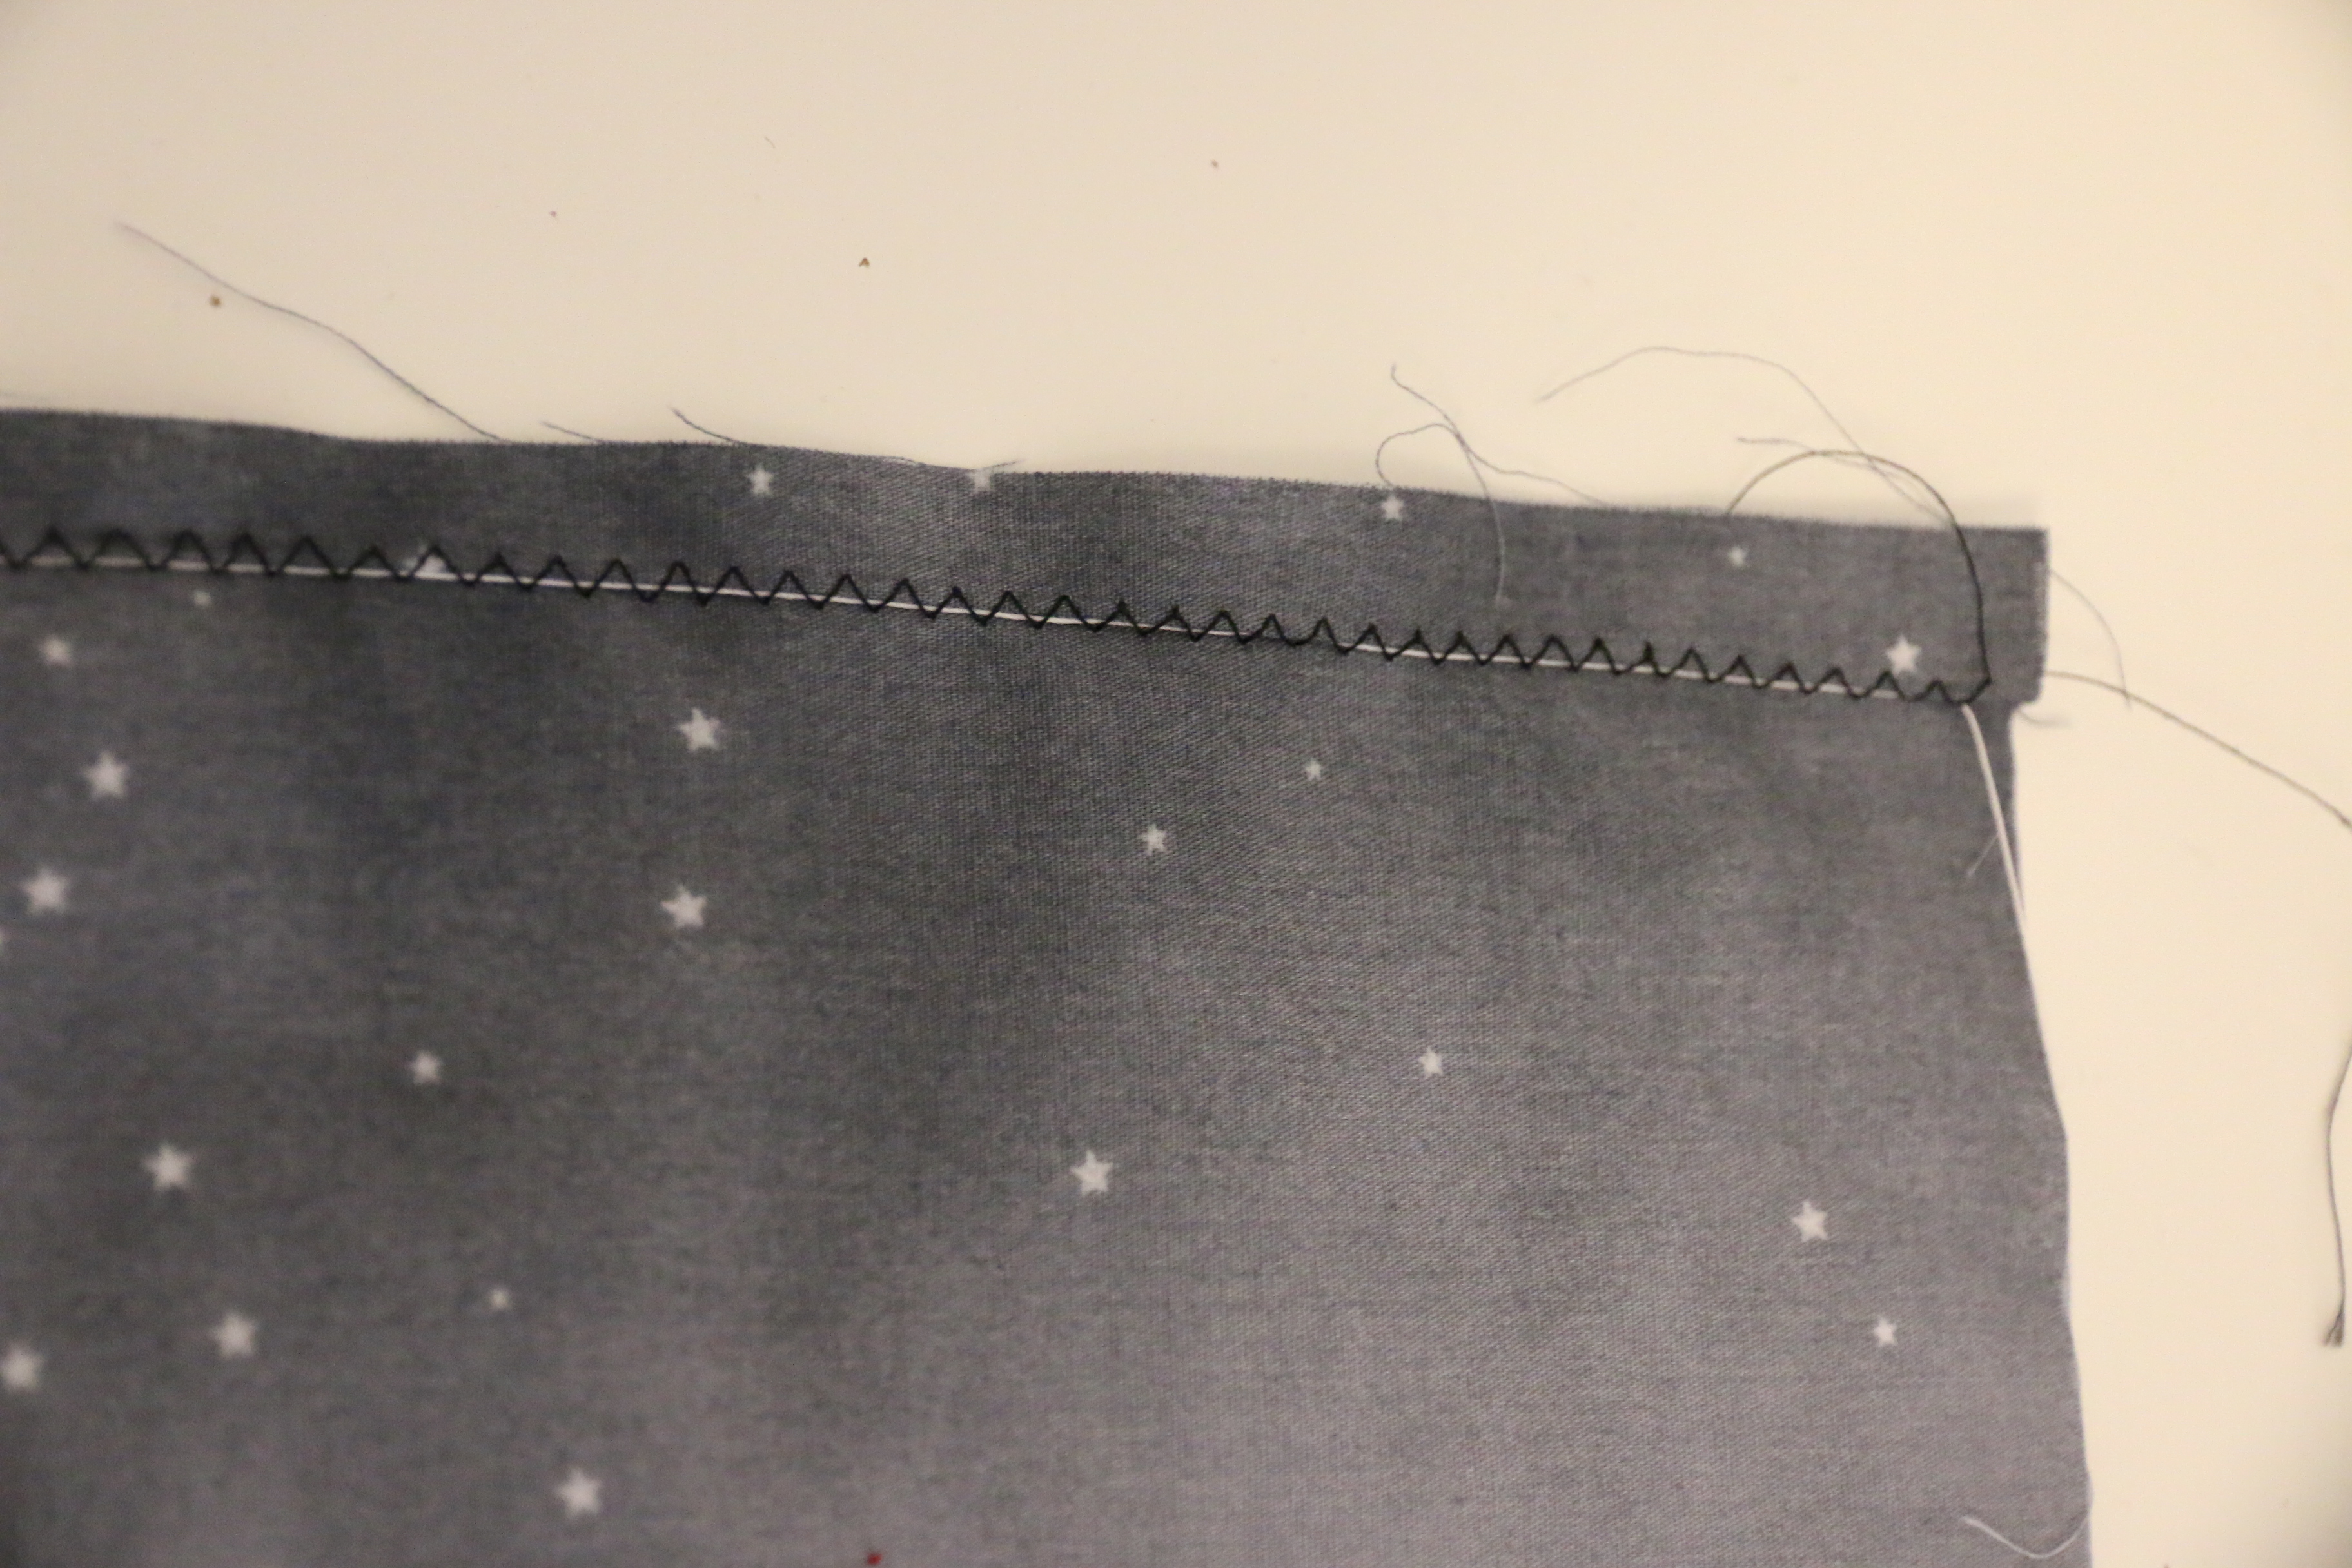
First, gathering on woven fabric. This would be for your typical quilting cottons and similar, those super full dresses from back in my baby girl sewing days, or adding ruffles on things (like the Mayfair, perhaps). For wovens, my absolute favorite method is to use basting stitches with high tension.
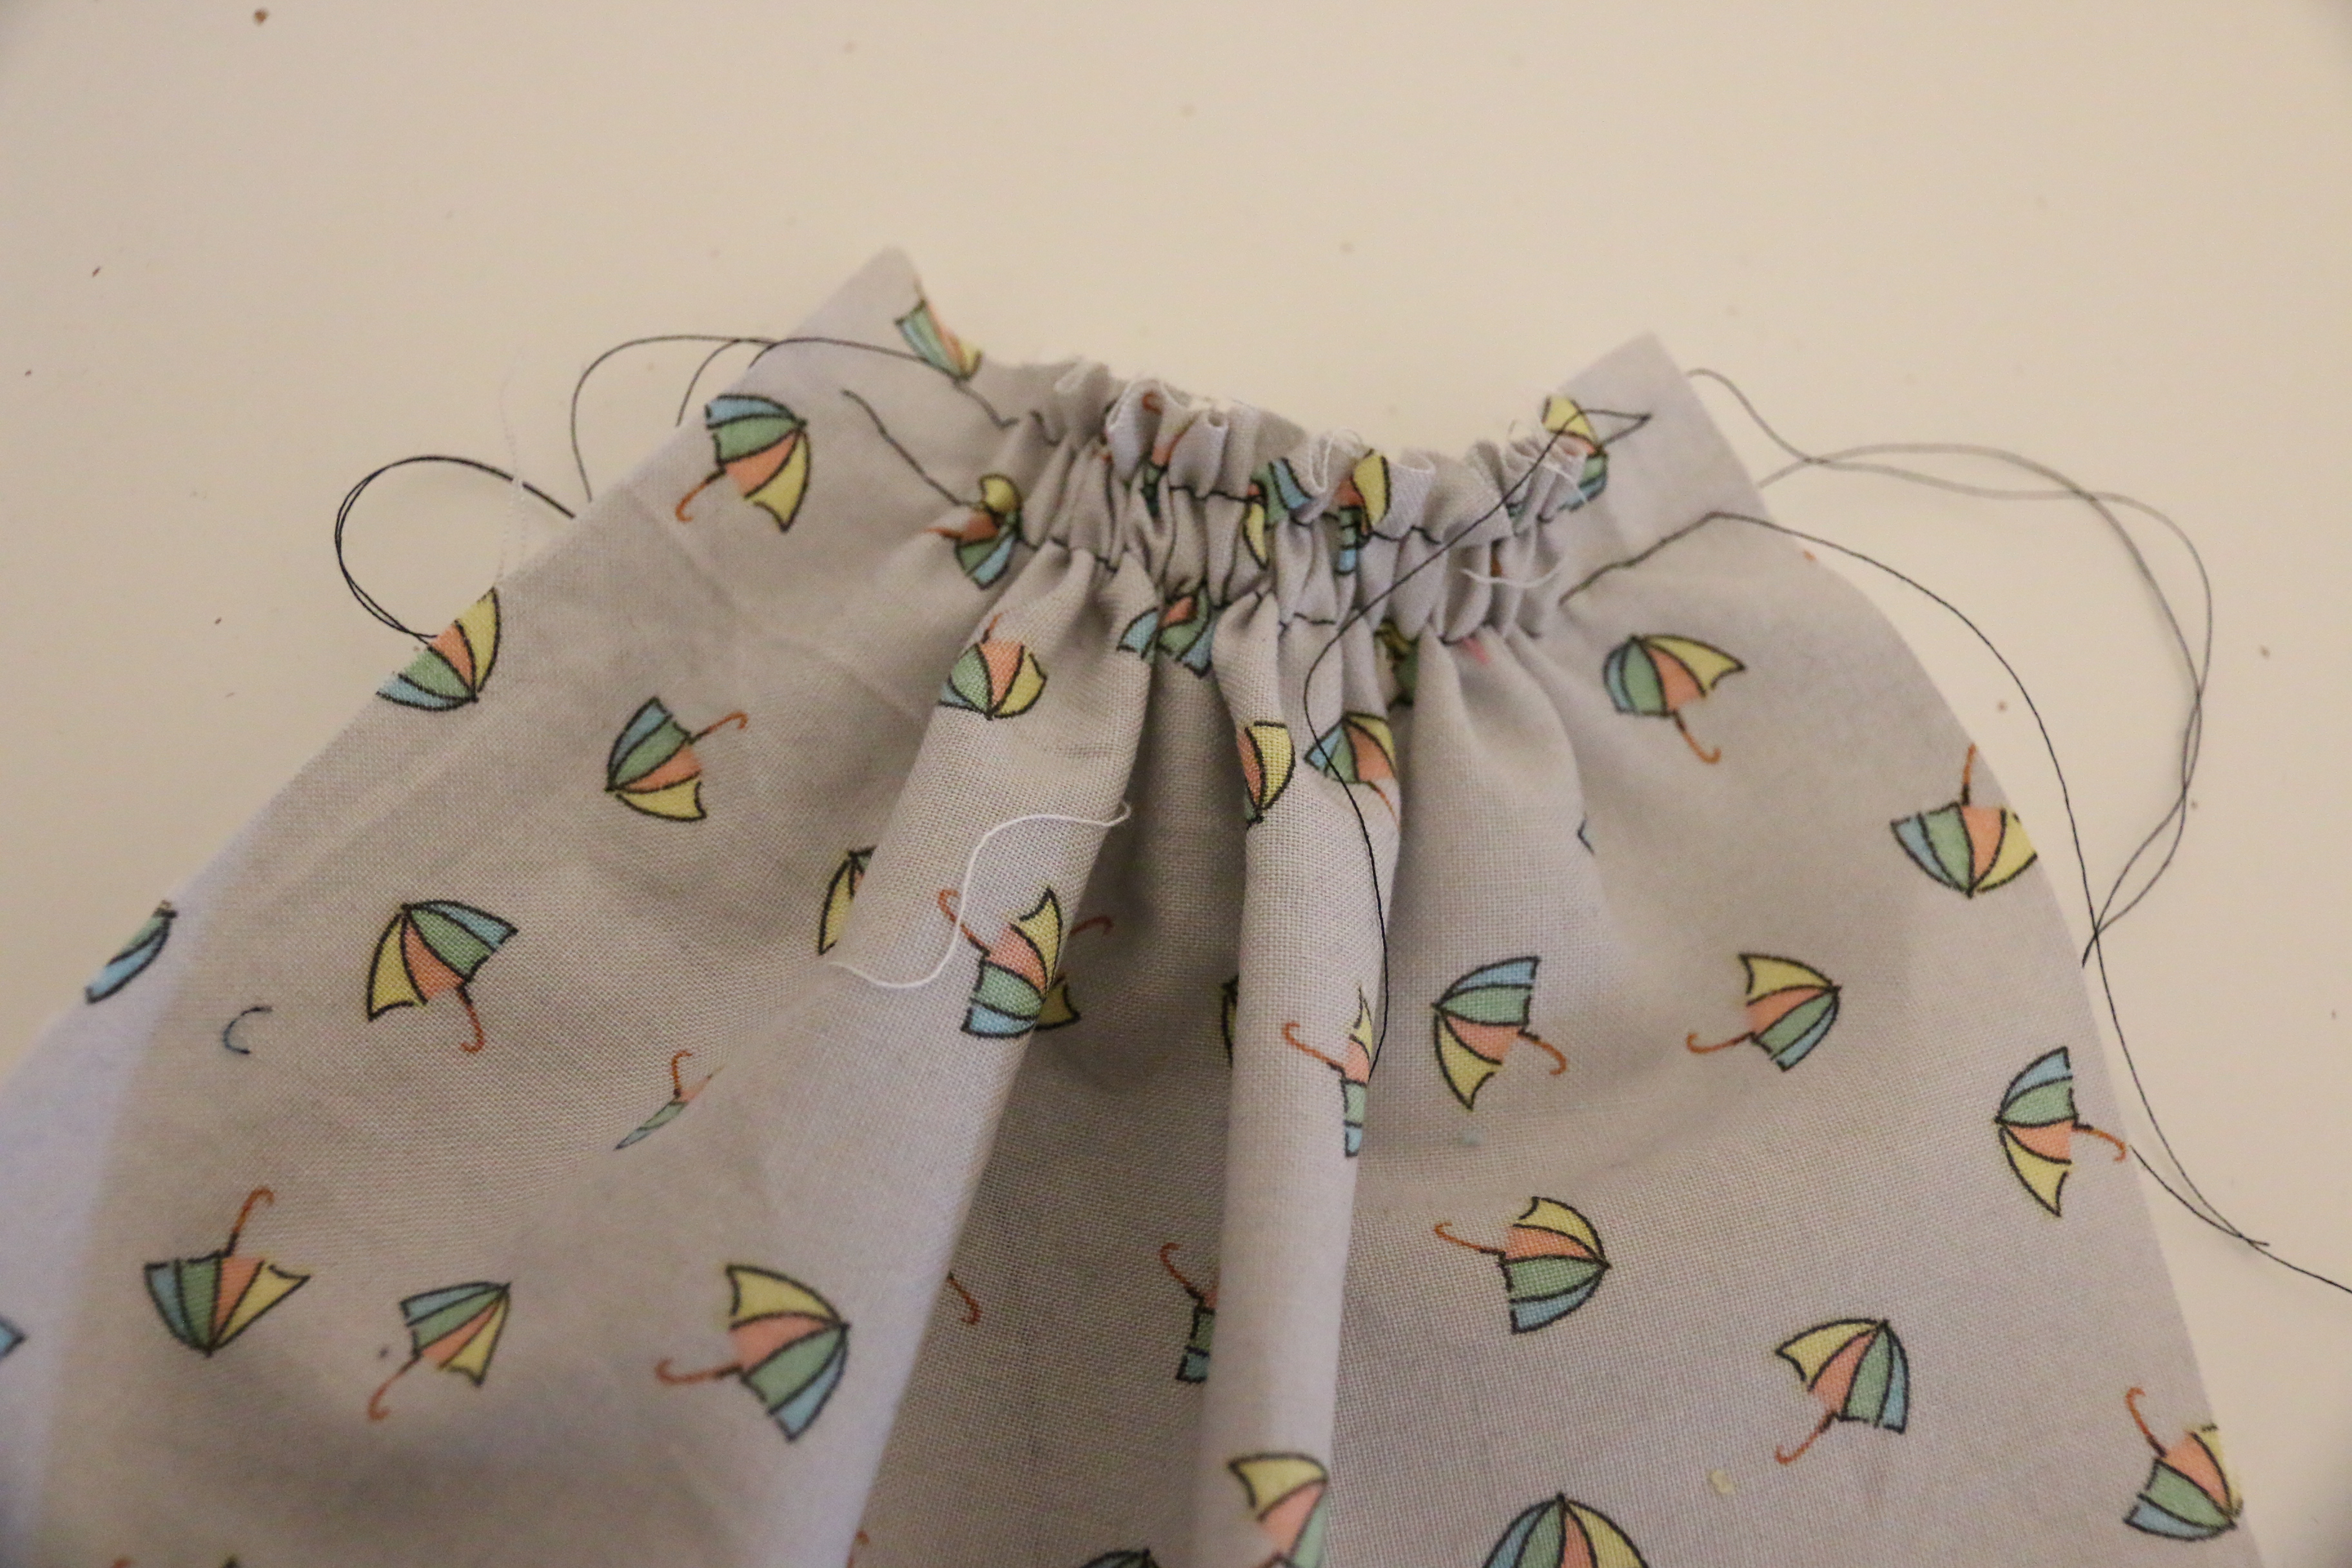
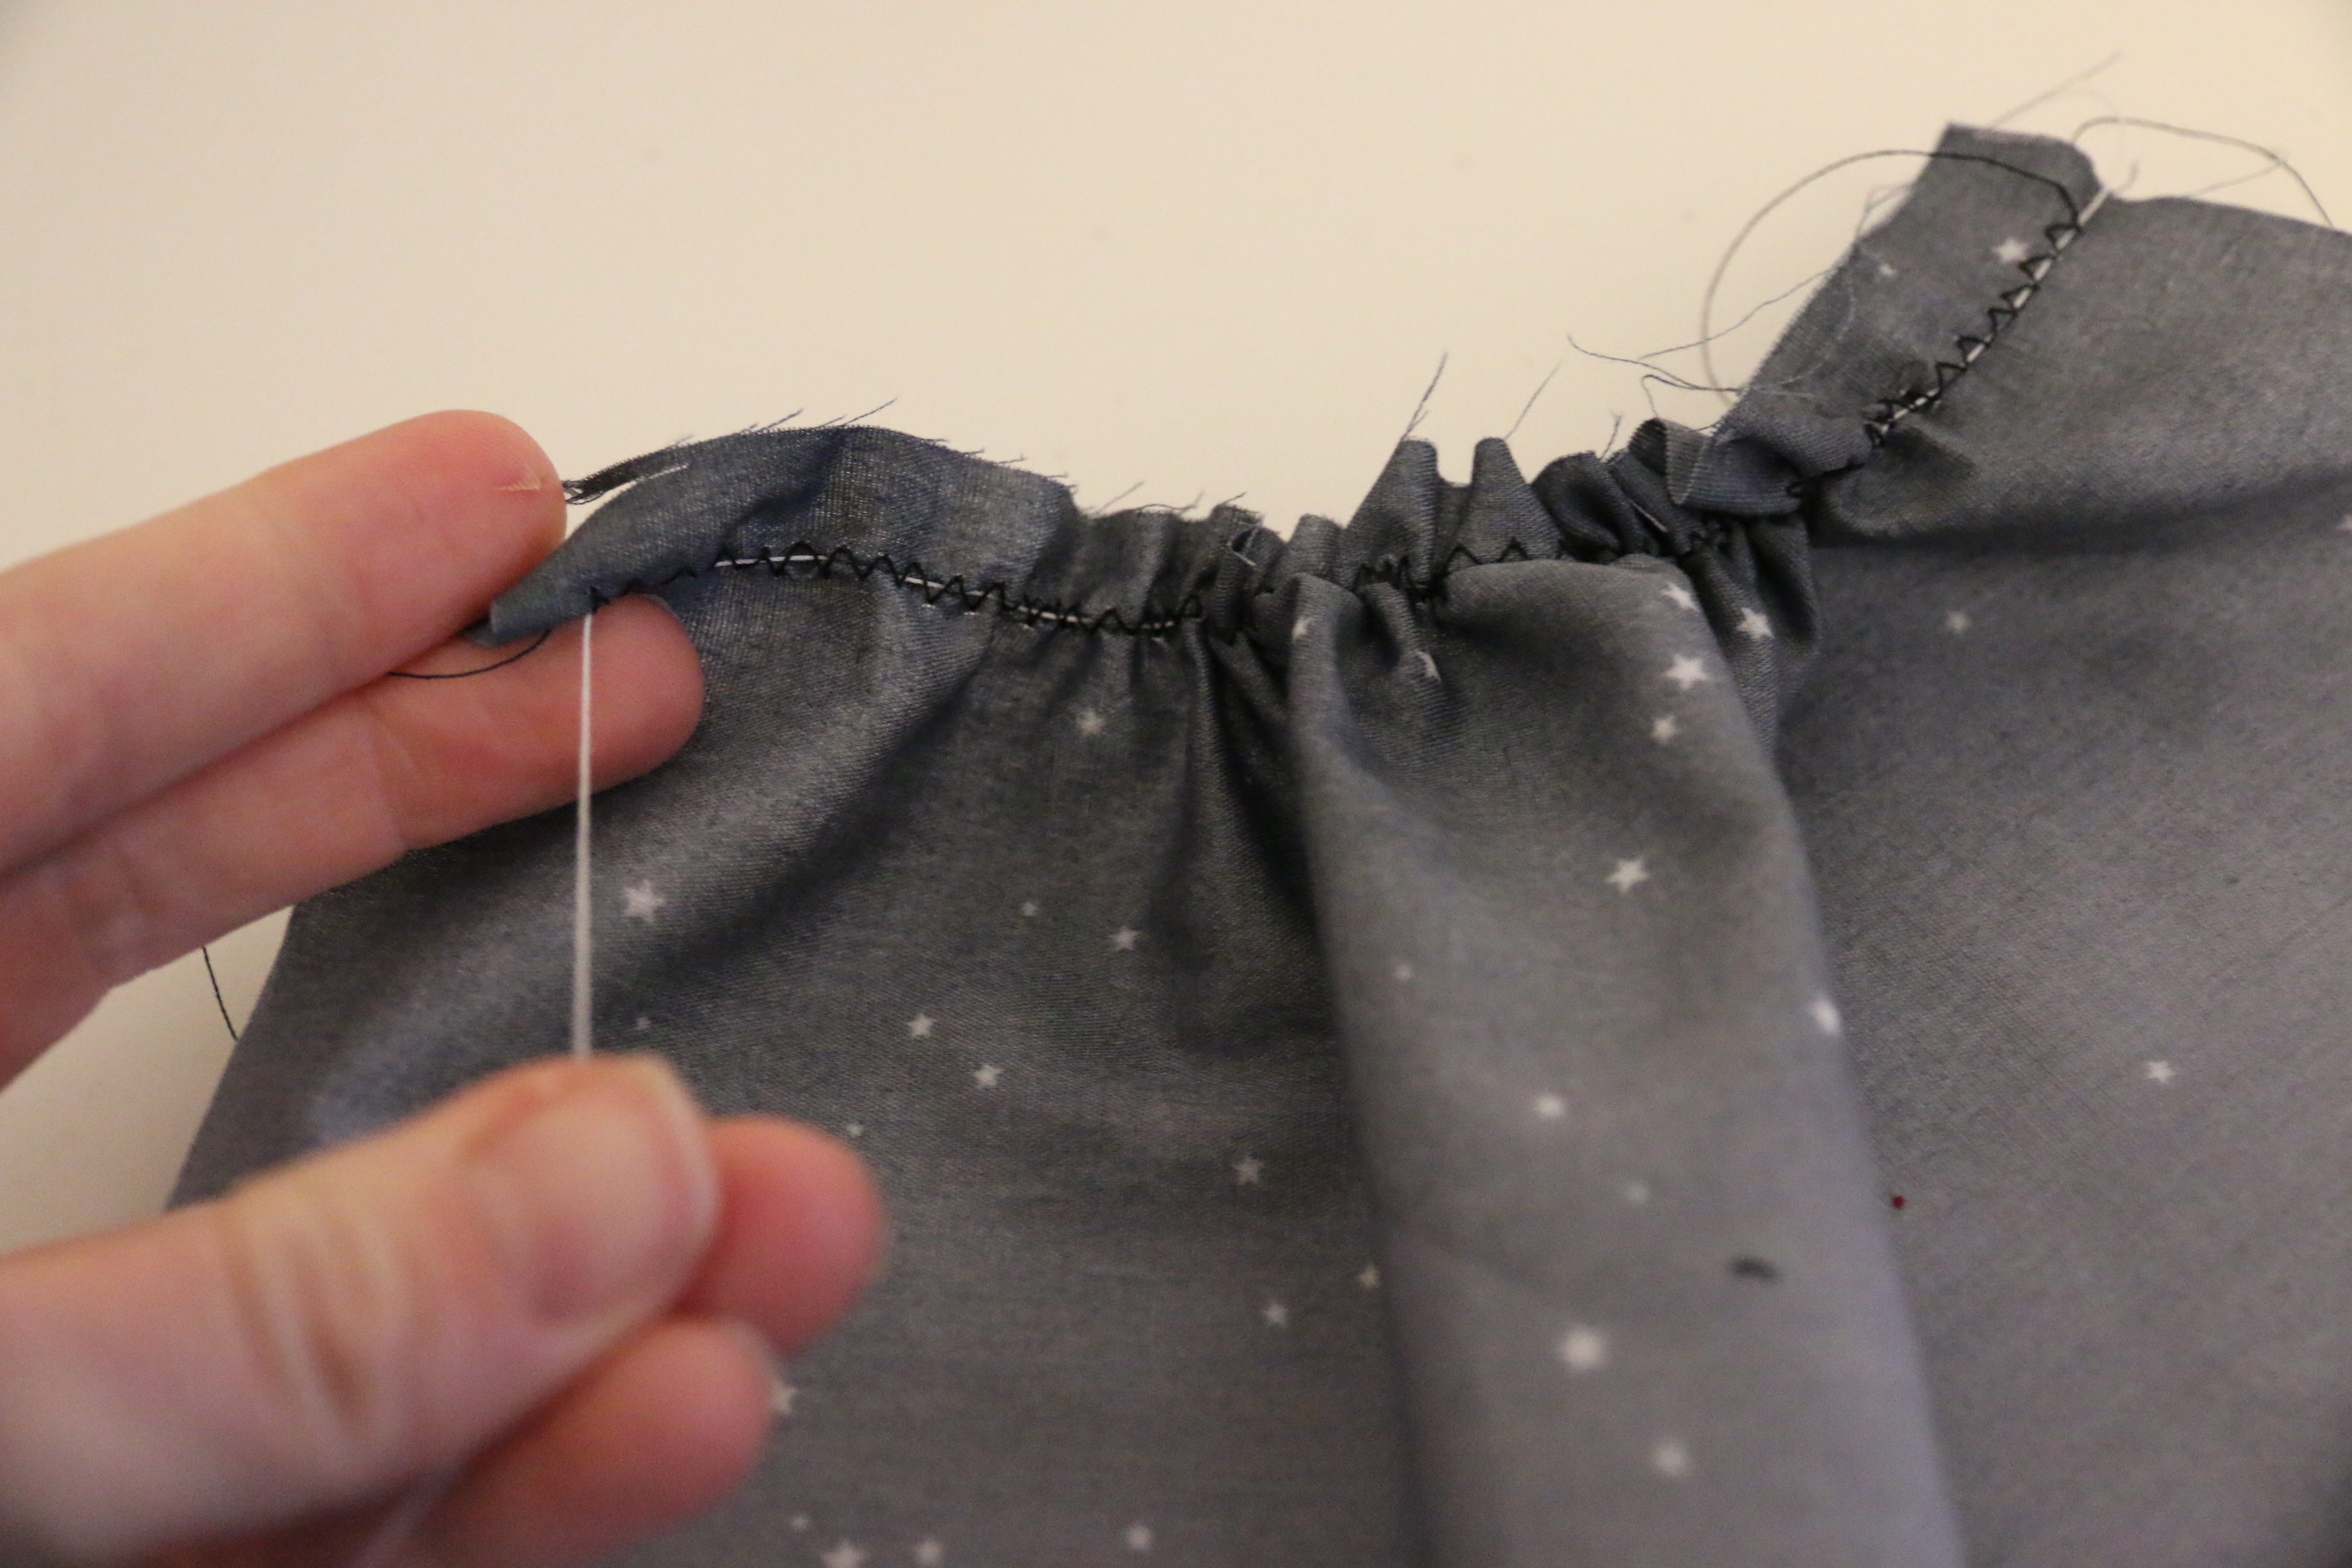
I set my machine to the longest stitch length, which is 6.0, and then you could manually adjust your tension to be higher, but I actually prefer to just hold onto my thread with one hand before it gets to the tensioning discs to add LOTS of tension to the upper thread without touching my machine settings. The tighter you pull, the more it will gather. Make sure you leave nice LONG pieces of thread at the beginning and end of your sewing.
After I gather it to the width I like, I’ll knot the ends to hold it and give it a good press. The pressing step is really a good idea so that you don’t accidentally get any weird tucks in there or things like that. You’ll also want to check that it’s nice and even and adjust accordingly, but I find with this method that it leaves things fairly consistent so that I don’t have to adjust too much.
Some other methods that people swear by, in case this doesn’t work as well for you as it does for me:
- Do multiple rows, 2 or 3 even, of long basting stitches without adjusting your tension at all. Don’t backstitch, leave nice long thread tails. Then gather by pulling both bobbin threads simultaneously. This method is a good idea if you have a larger area to gather as if one thread breaks you don’t have to start over, and it can help keep things lying nice and even especially if you do one row of basting stitches within your seam allowance and one row outside of it so that you actually stitch down the middle when you attach. It makes things lay perfectly, and I do use this for super special projects that I’m trying to be very exact on. Make sure you remove those basting stitches that show though!


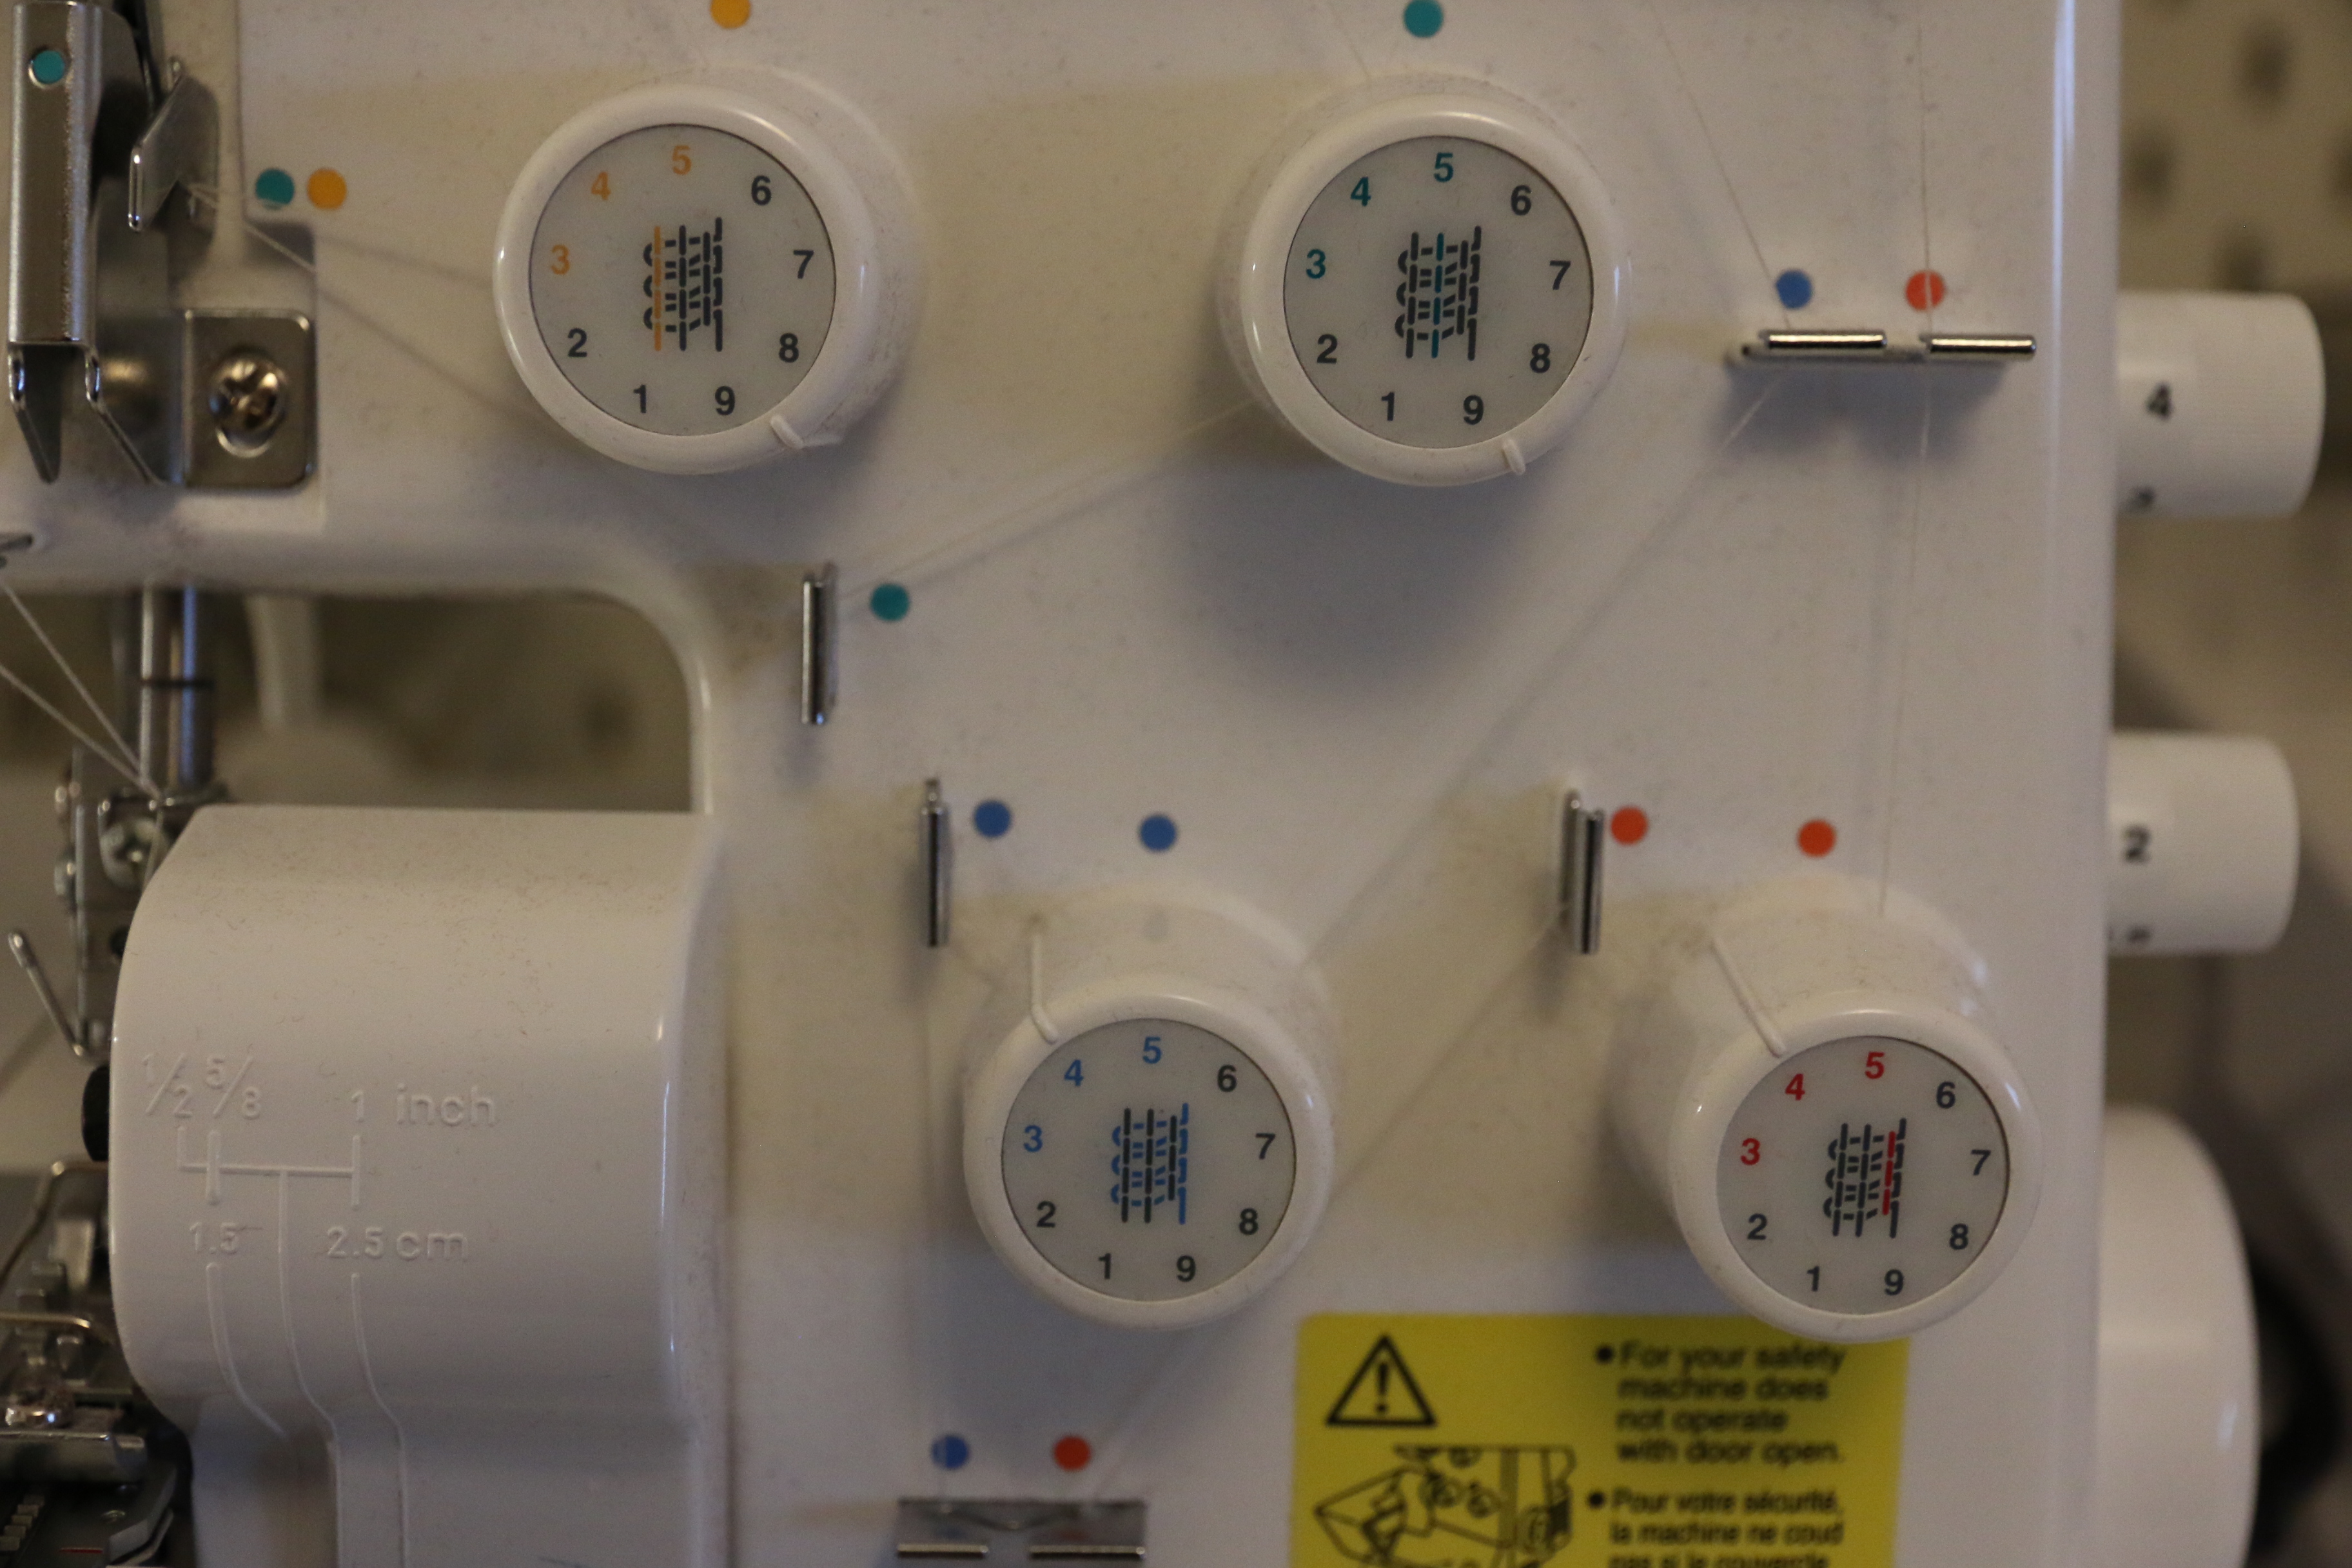
- This method has just never worked for me consistently enough, but others swear by using their serger/overlocker to gather. You will do a long stitch length, and tight needle tensions, and have your differential up all the way. Remove your blades if possible, also. I find that it is hard to adjust the gathers after if they aren’t perfect on the first run. I do find this works best on lighter weight fabrics though.

- Zigzag over dental floss/thick thread is a popular method too. You hold the floss while you do a wide zigzag over it, then pull the floss at the end to cinch. I just don’t use this one because it requires getting out other materials and such.
- A ruffler foot. My machine has the priciest feet and doesn’t work well with generic, so I don’t own one that works for me but it can be a great option, especially if you are simply sewing ruffles onto things and it doesn’t have to gather to a specific width as it is not always easy to adjust how much the ruffler gathers in for you.

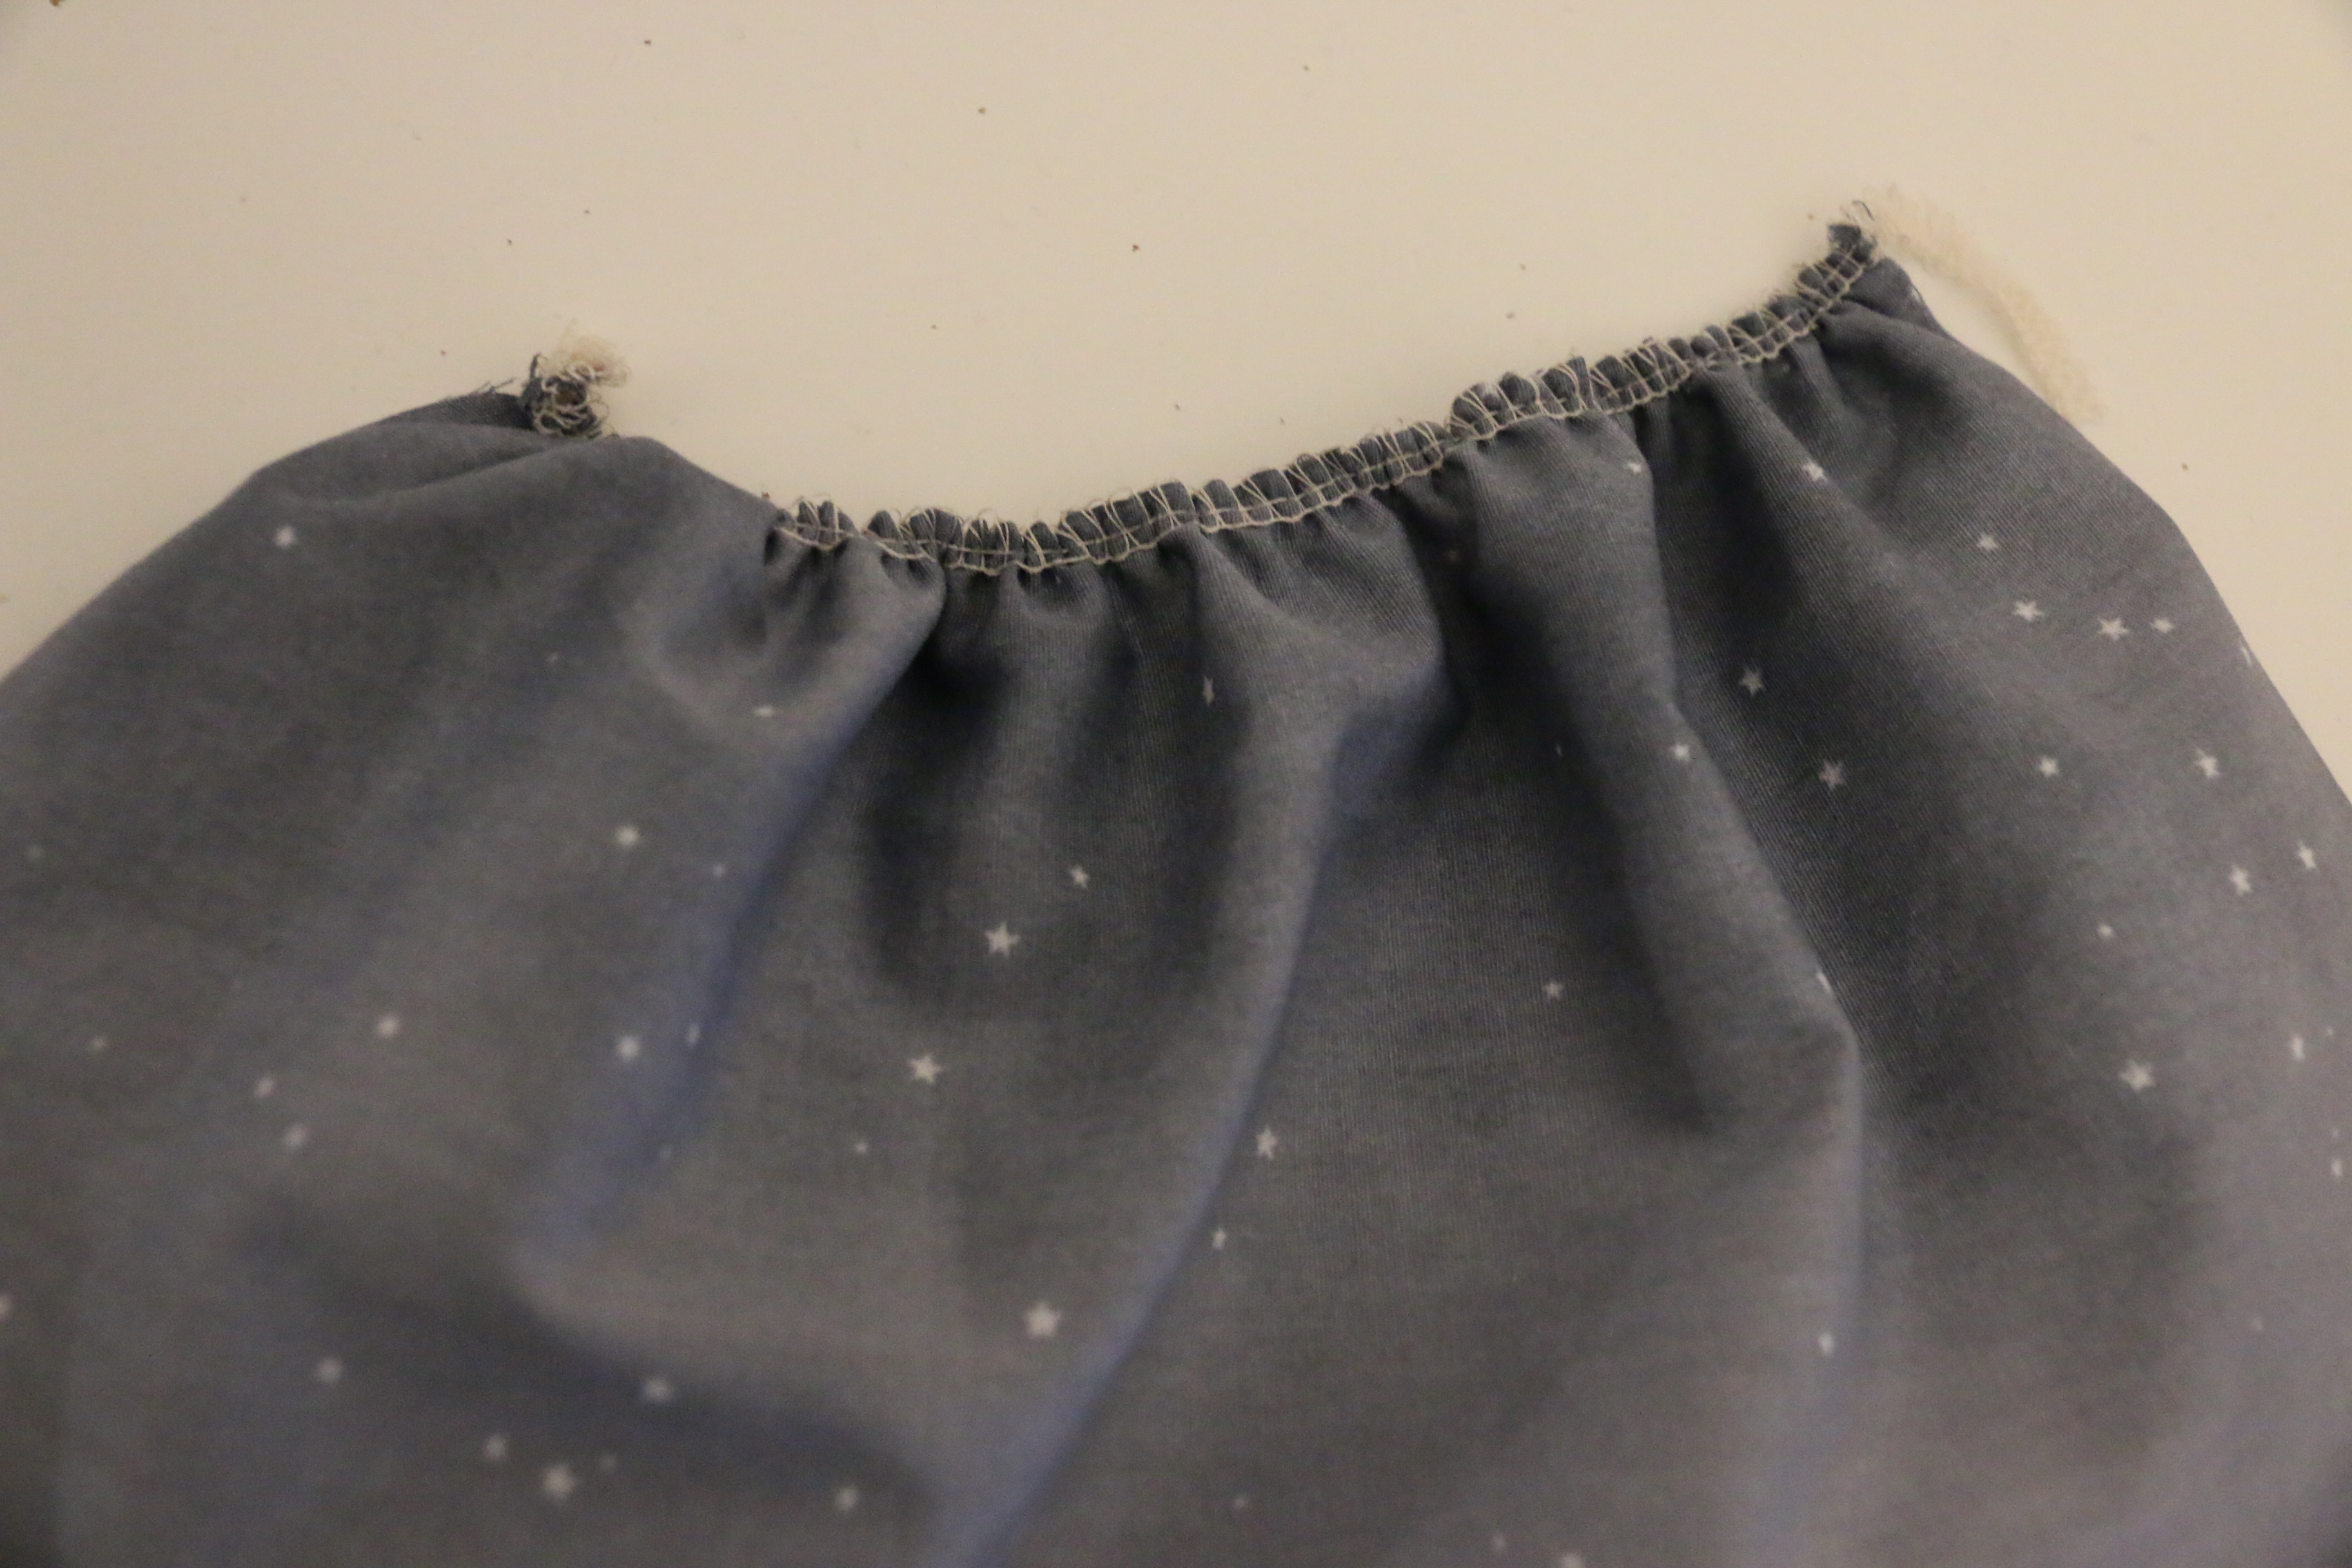
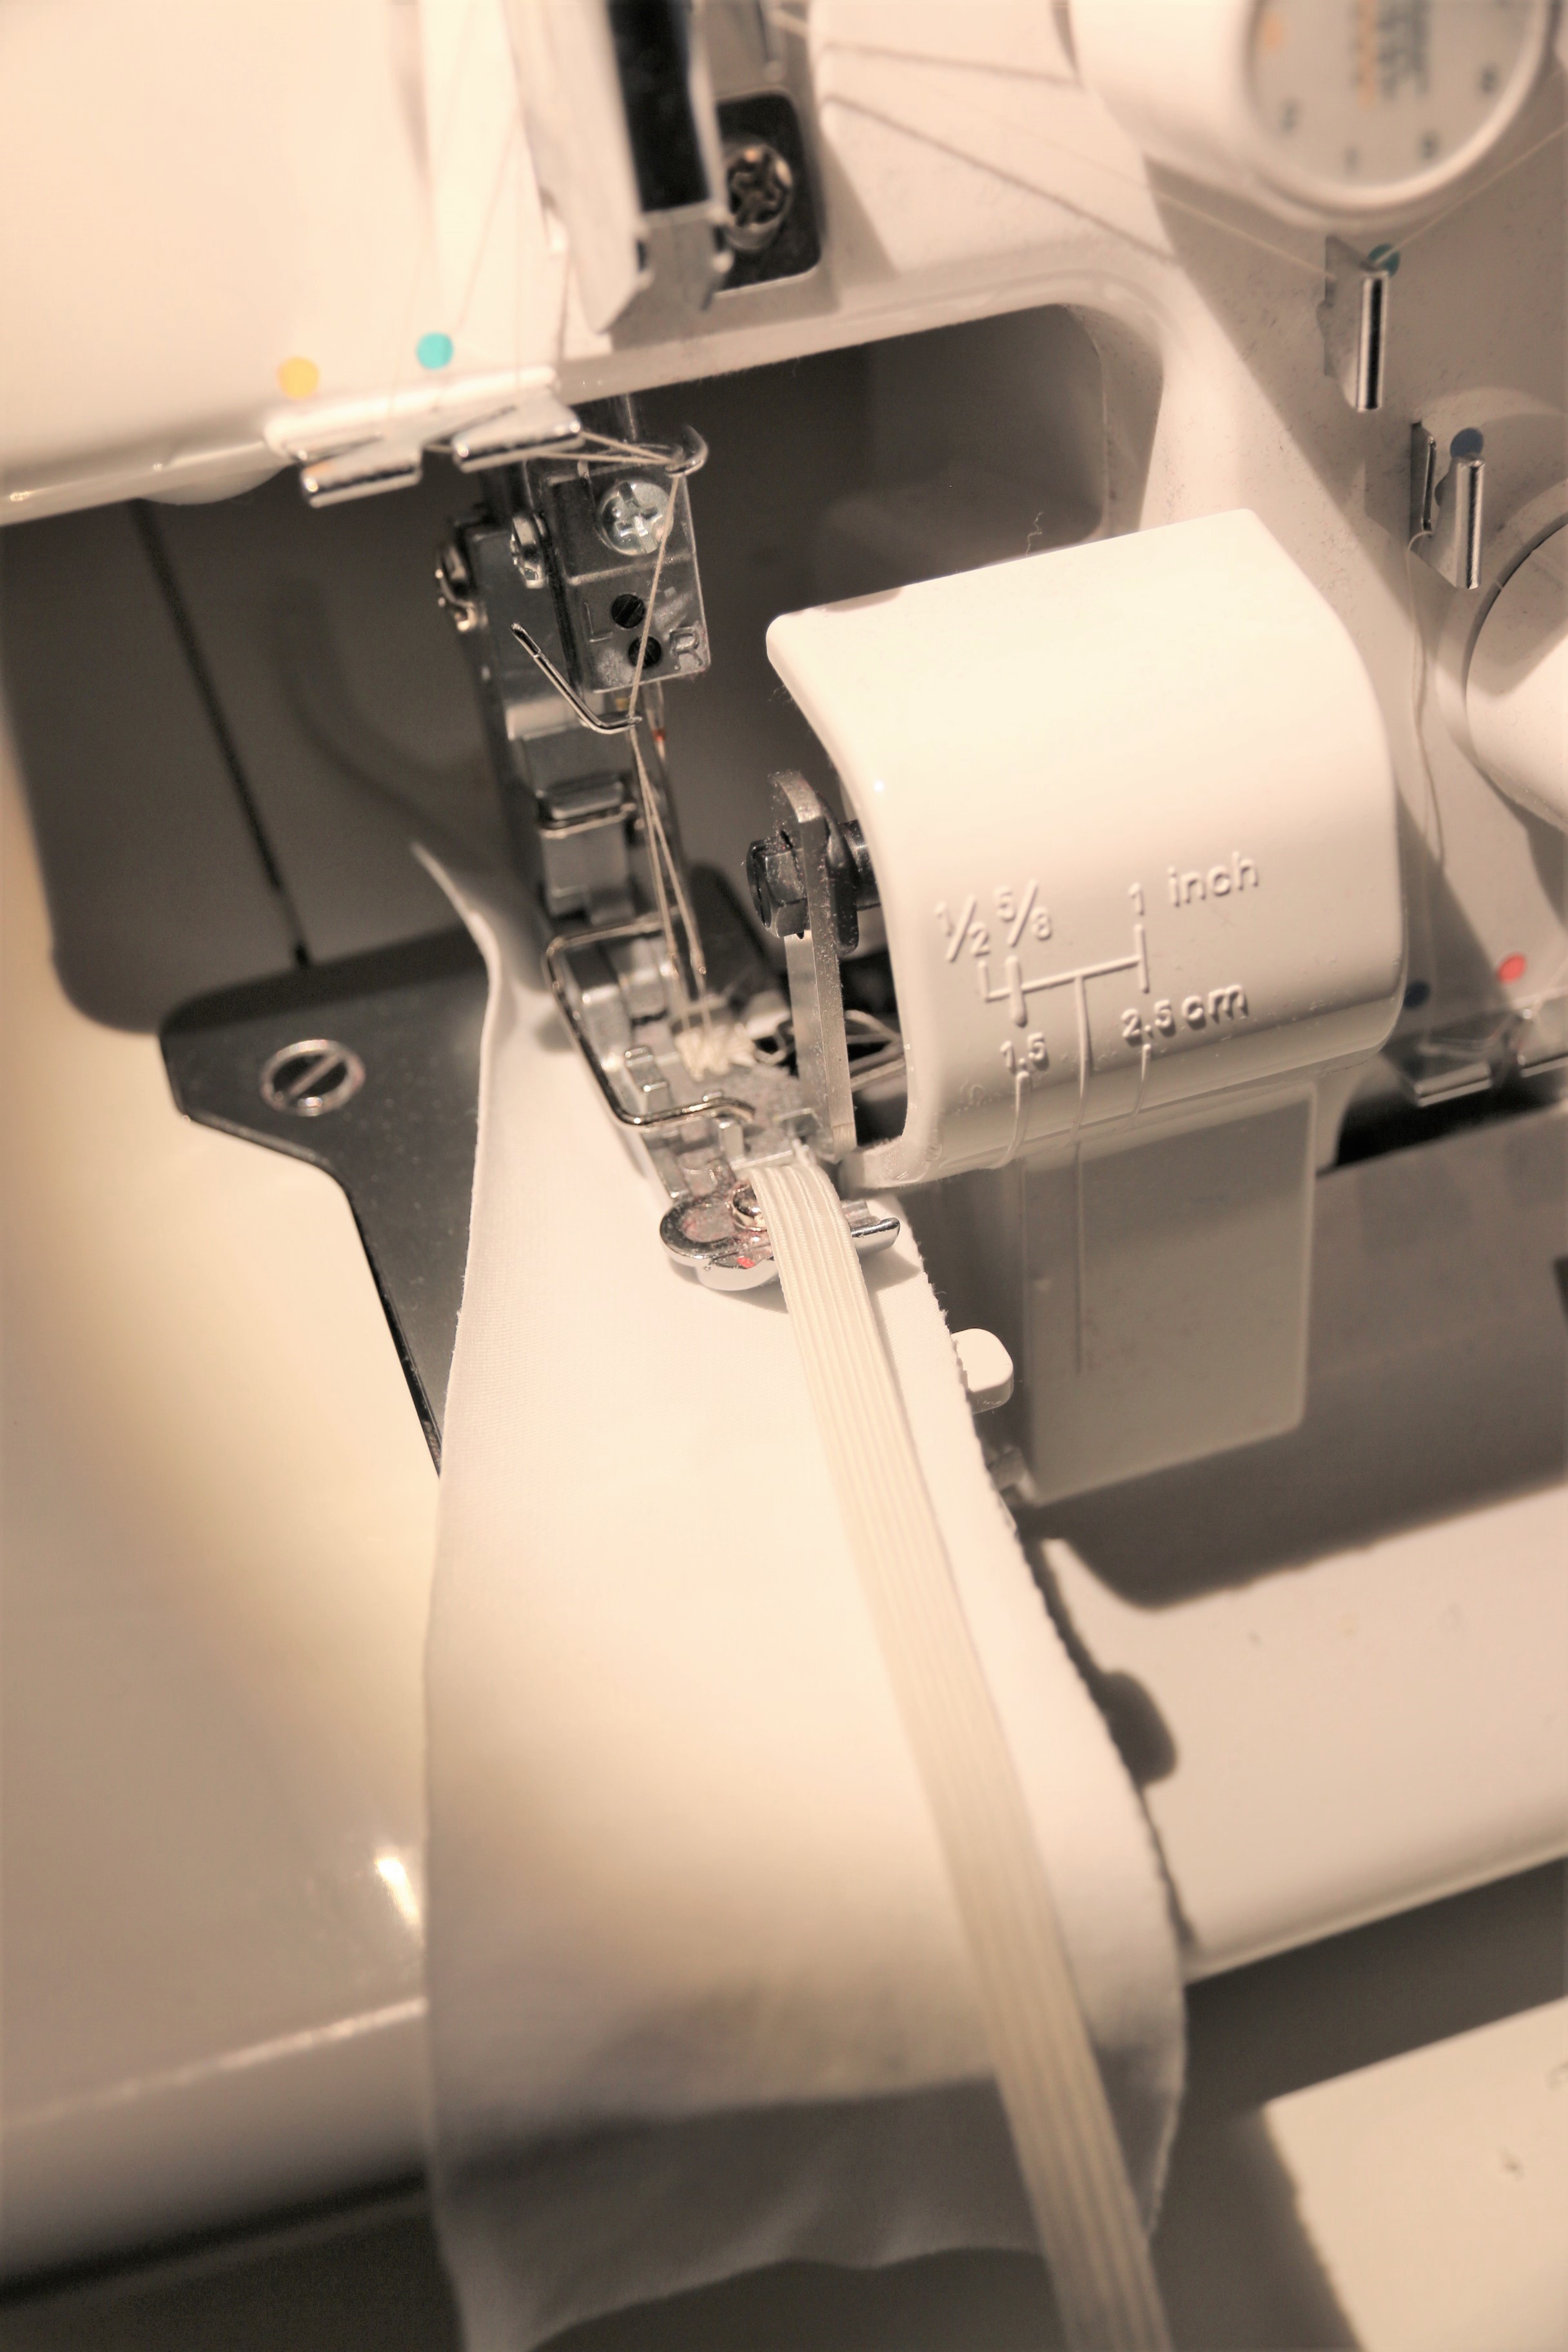
Now for gathering knit/stretchy fabrics. I swear by the elastic method for this as I find that the methods above can be very fiddly with knits (but all of the above definitely work!!). I can sew the Melbourne top or dress in no time using elastic to gather. I choose to use ¼” braided elastic, but some people do prefer clear (and I do use the clear for very lightweight fabrics that braided elastic might weigh down too much, just find clear elastic to not always behave nicely for me).
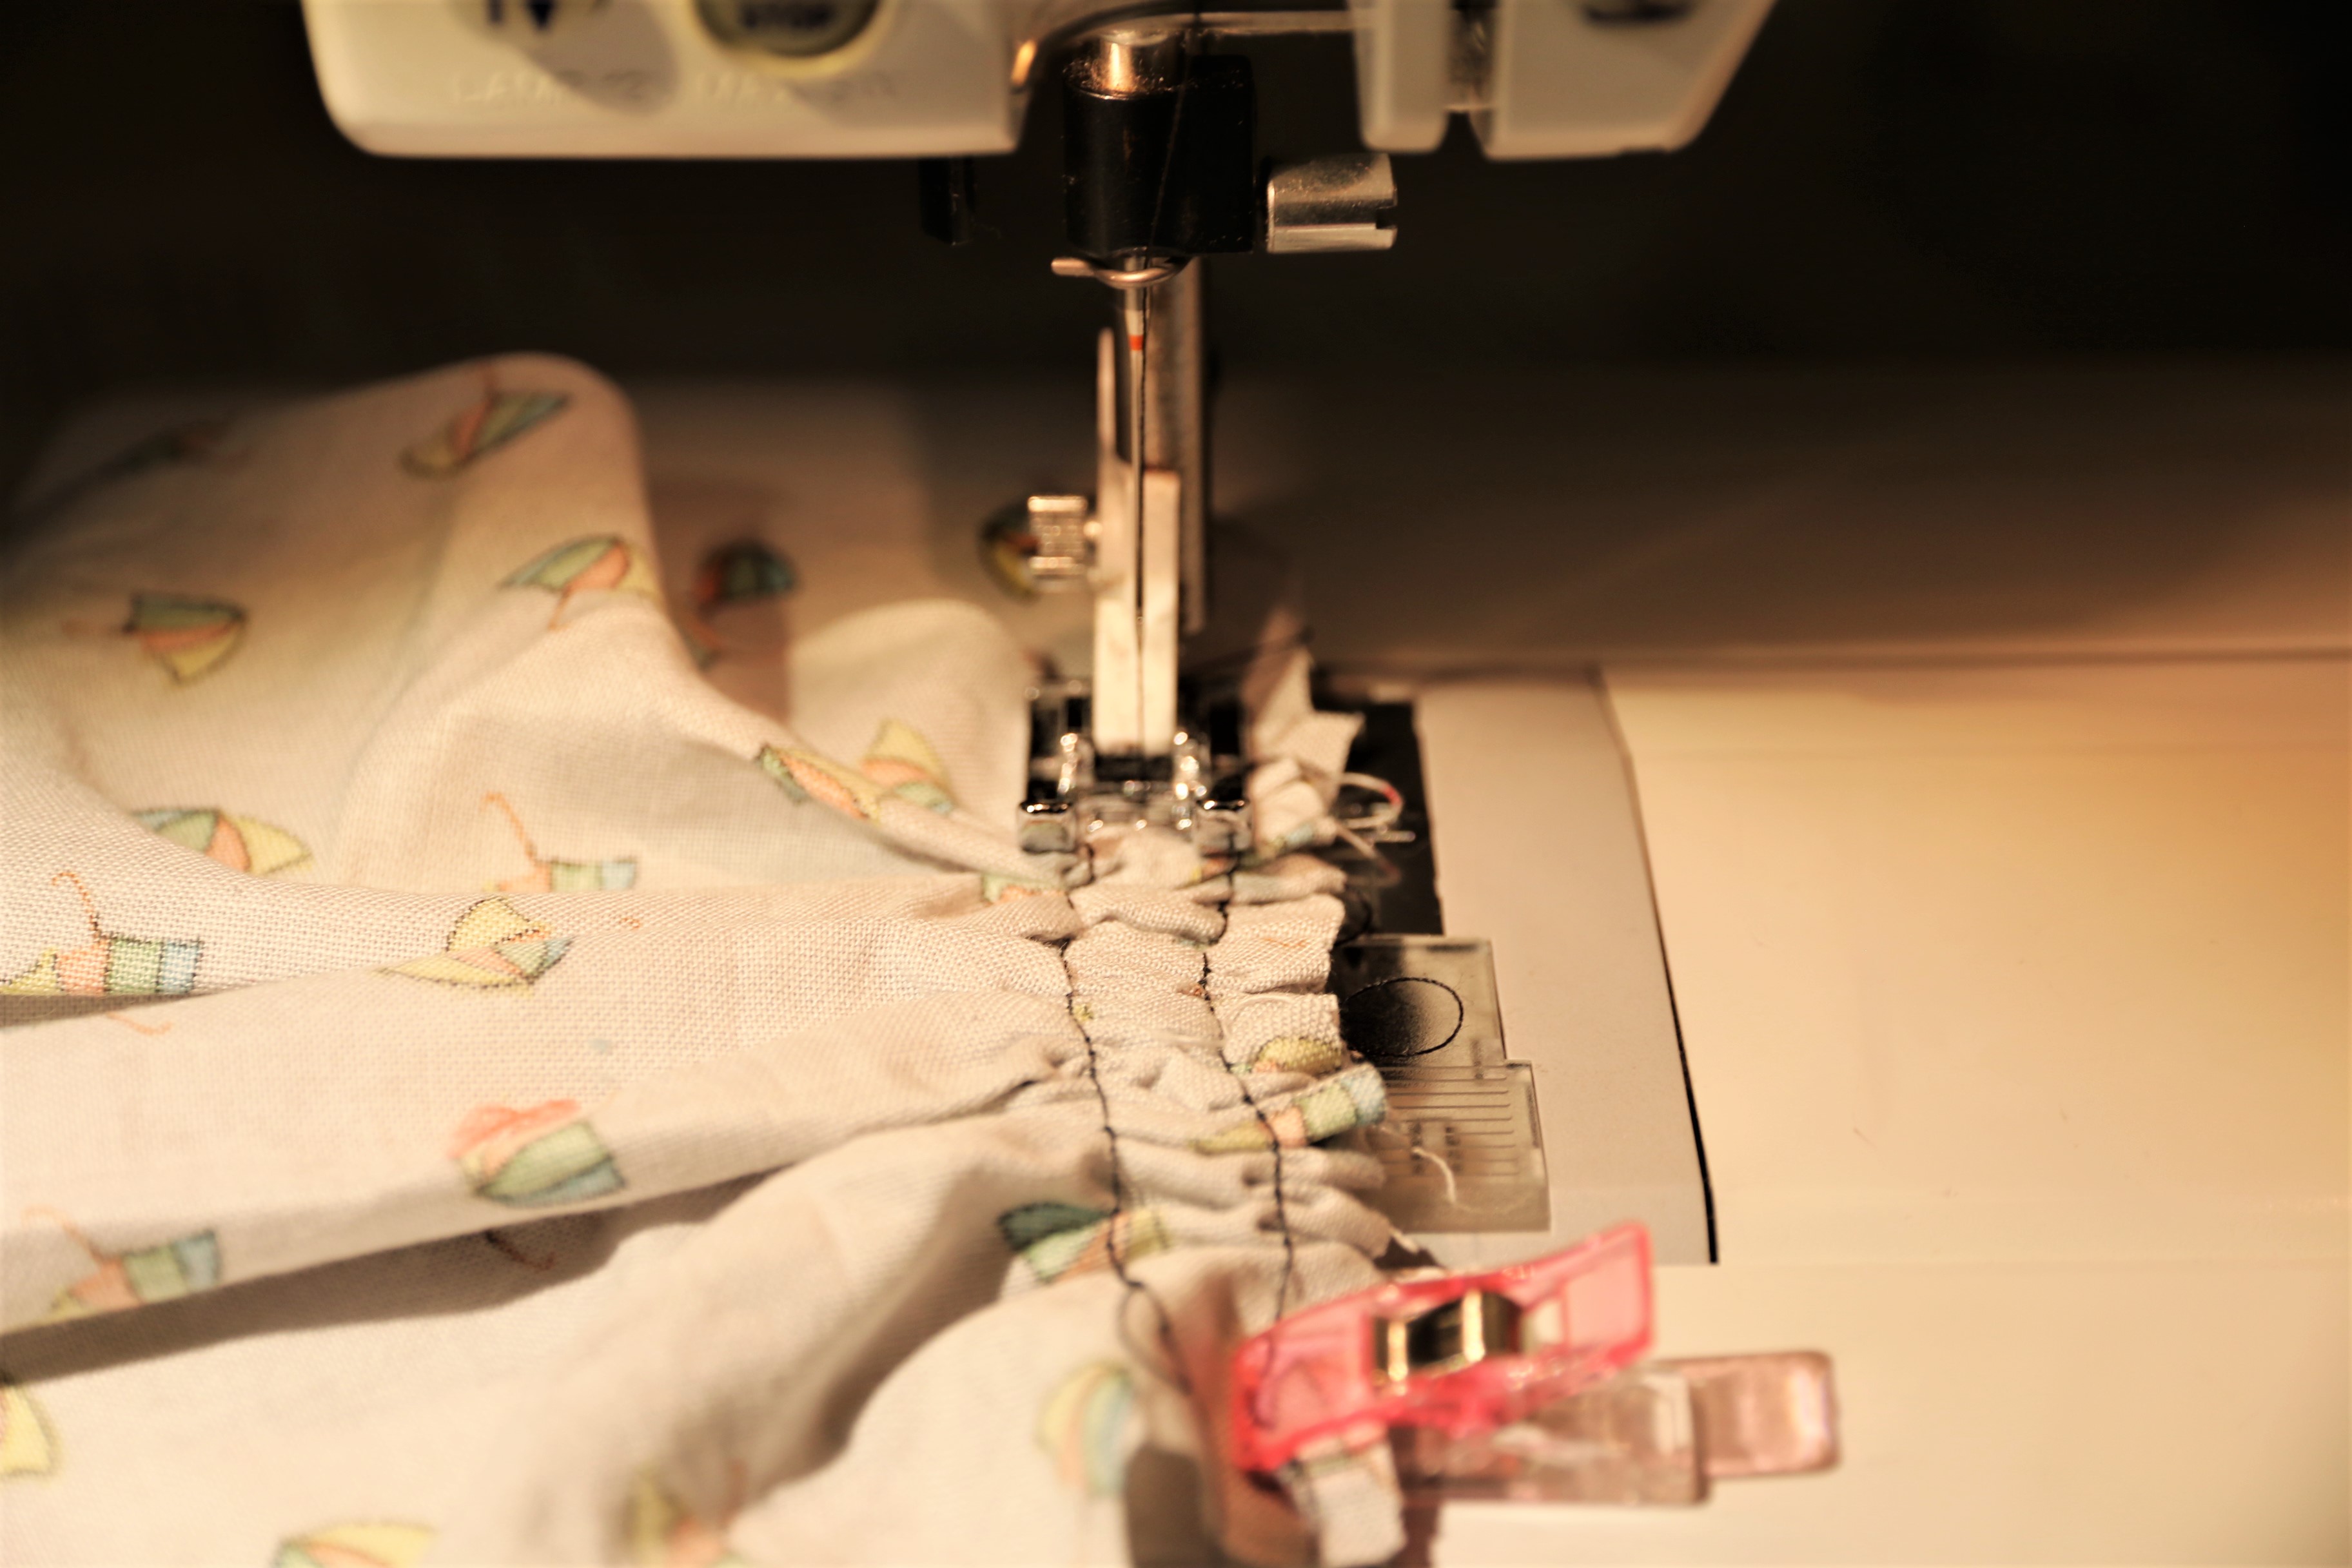
My serger happens to have a slot in the foot for adding elastic which is very handy. I cut my elastic to the finished length that I want my gathered piece to be, and thread it through that foot on the serger, being careful to keep things lined up nicely most of the time, but here’s a slowed down version instead since that can be a little risky.
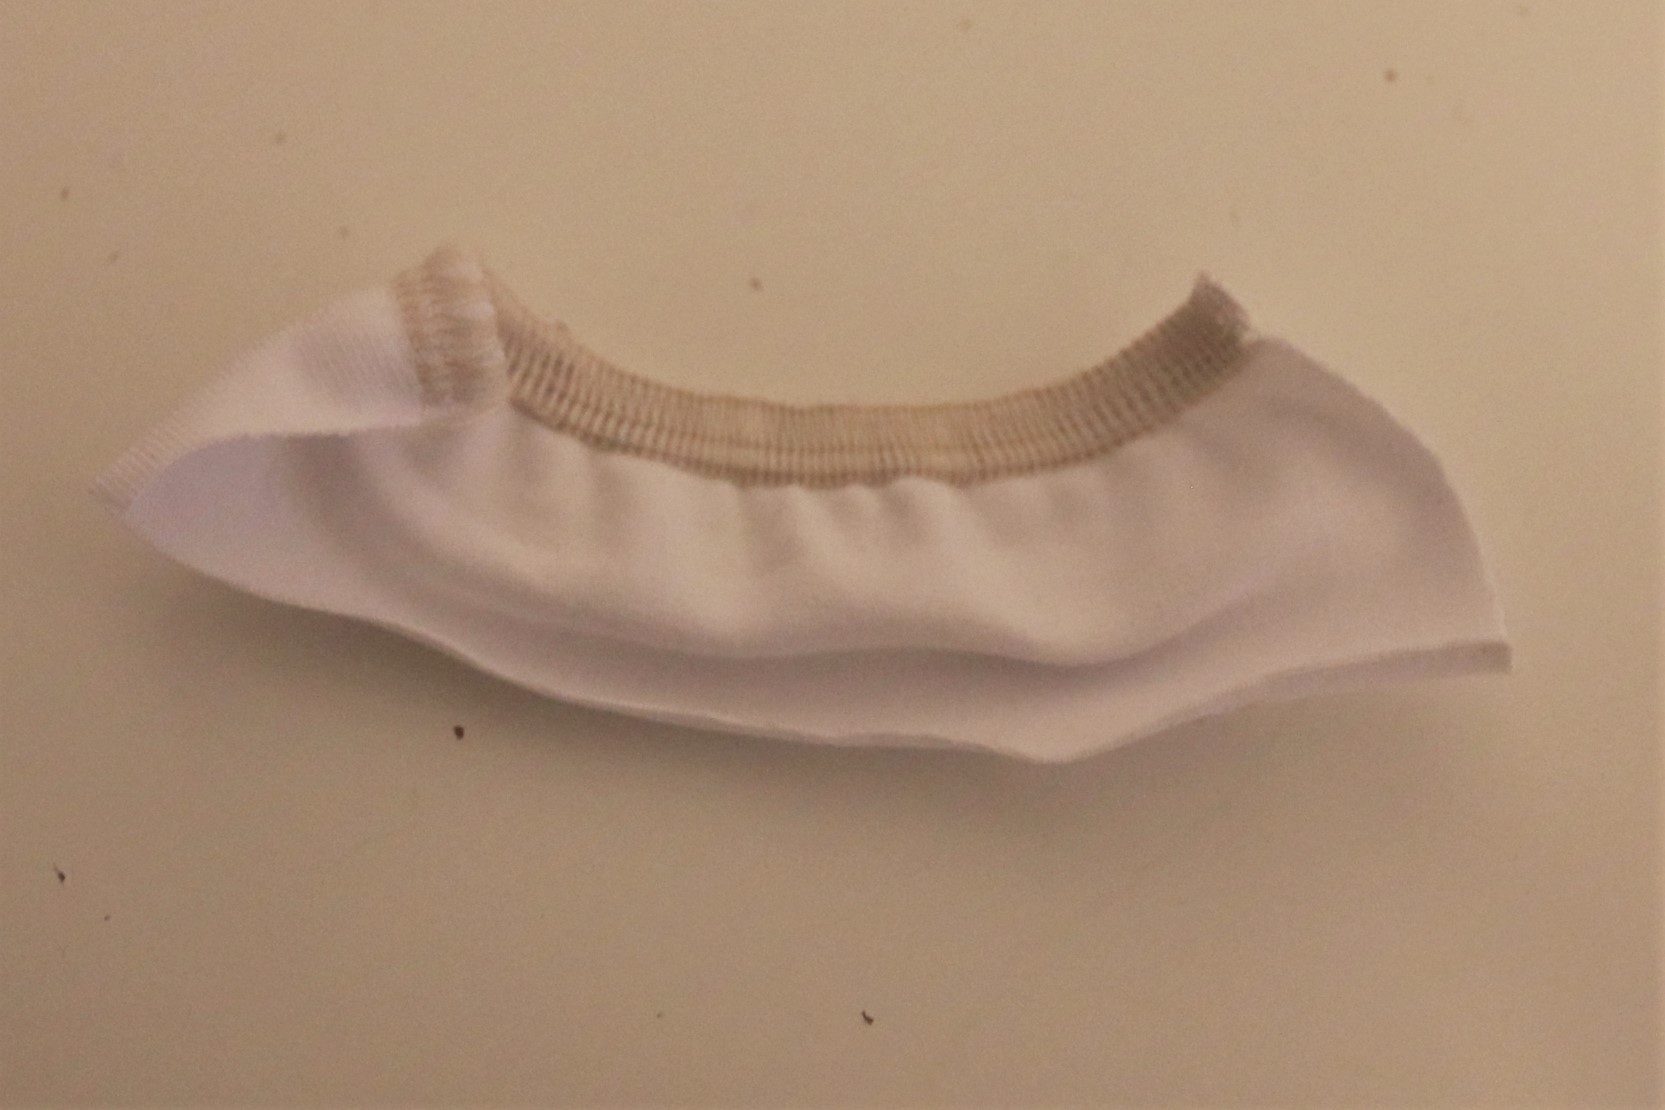
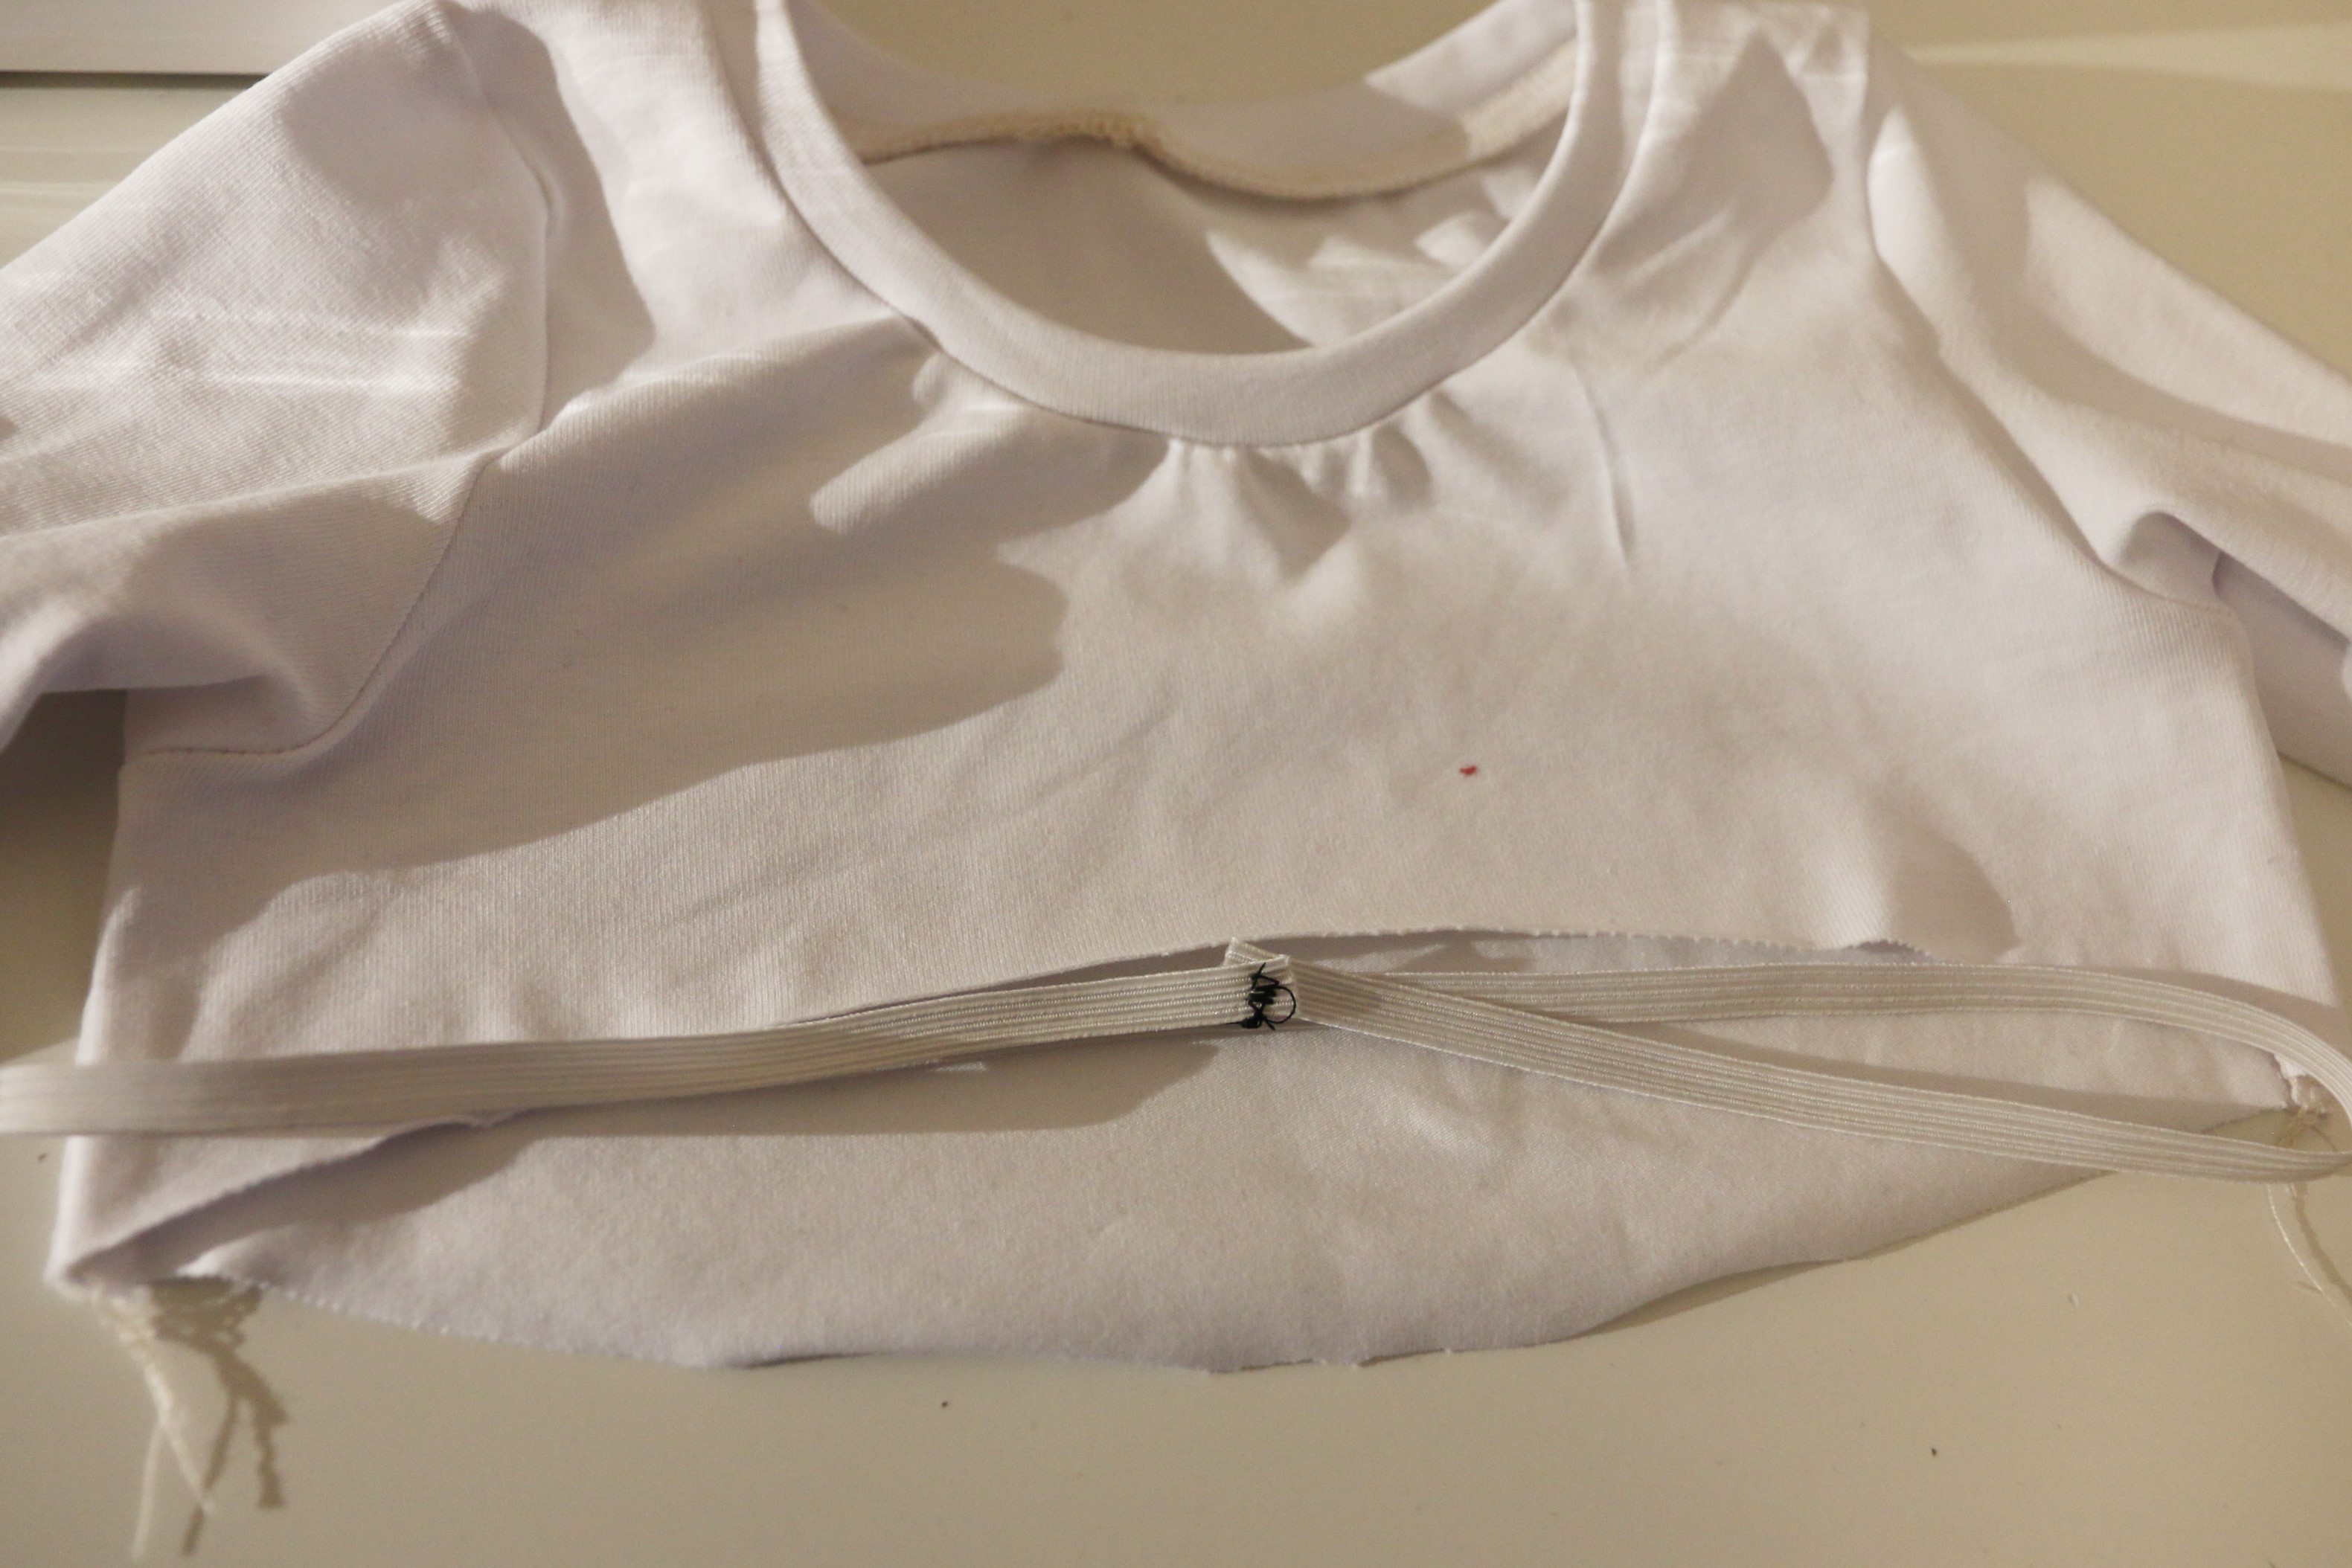
Take for example this Melbourne, I want to gather the skirt in to fit the bodice. First, I cut the elastic to be the width of the bottom of the bodice plus a tiny bit more to allow me to overlap the ends. I sew the elastic into a loop.
Next, I find the quarter points on my elastic and match them to the quarter points on the skirt, clipping or pinning in place. For larger sizes or bigger projects, you can of course mark in-between those as well.
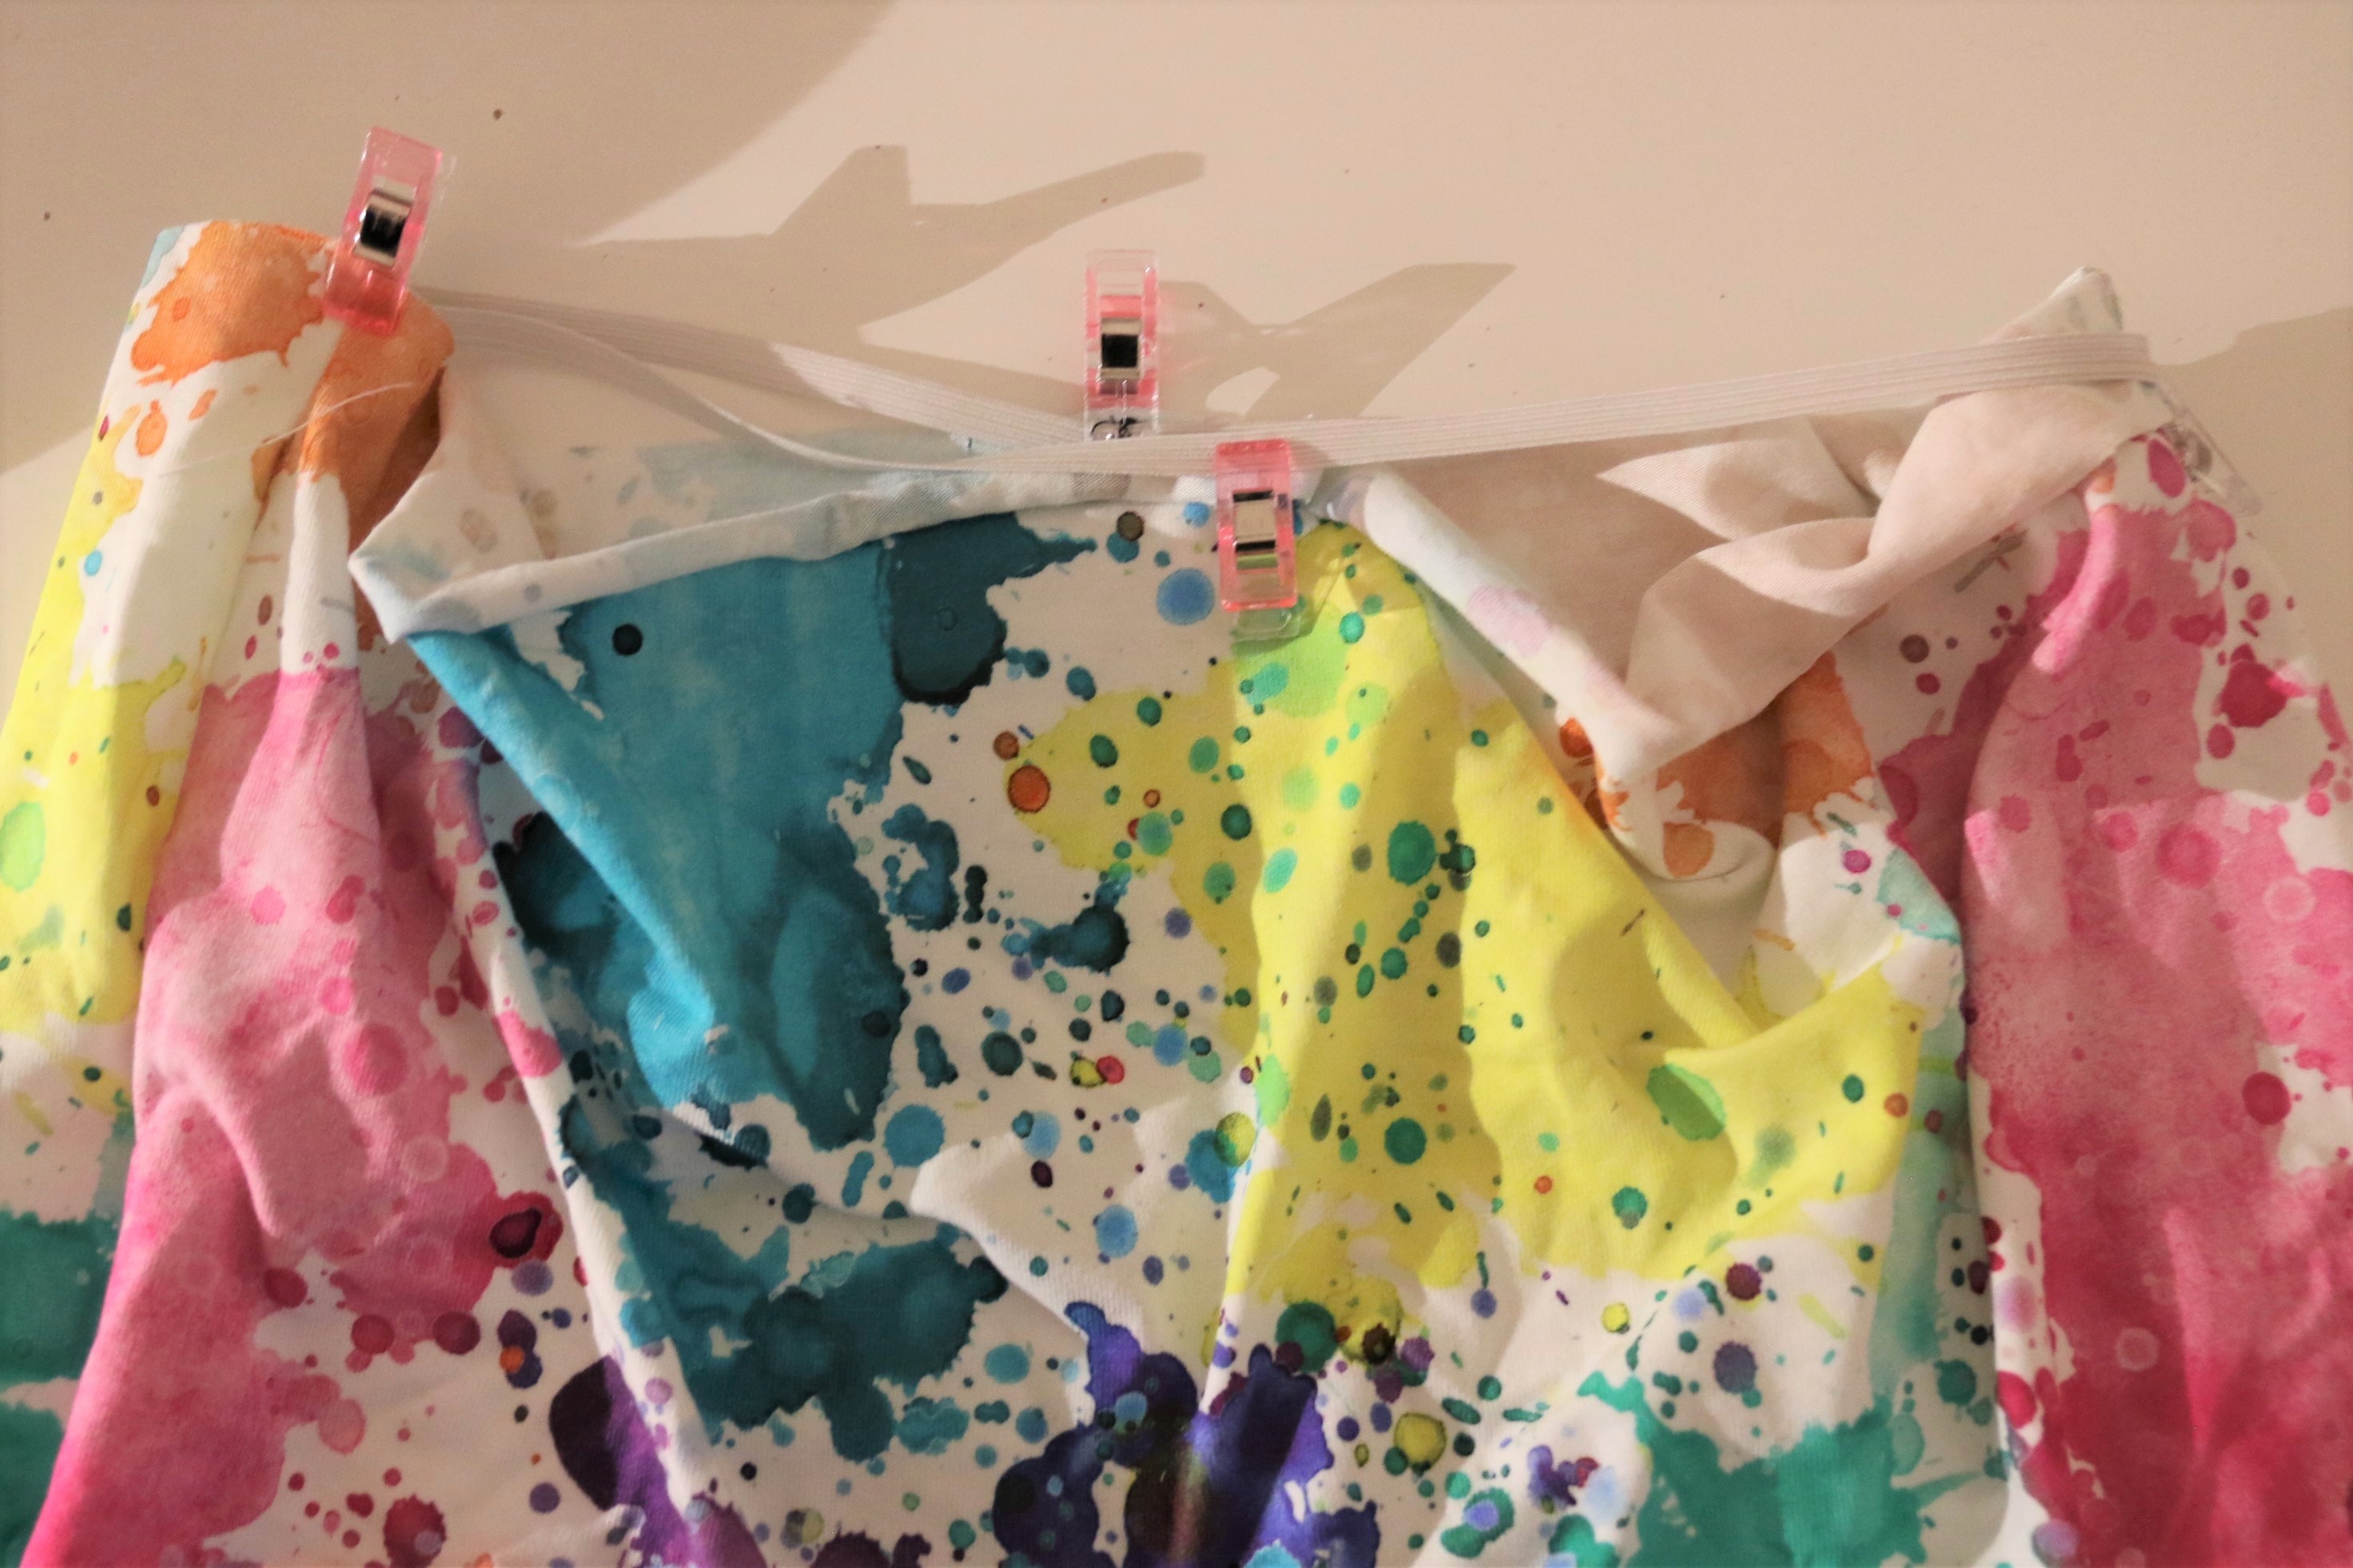
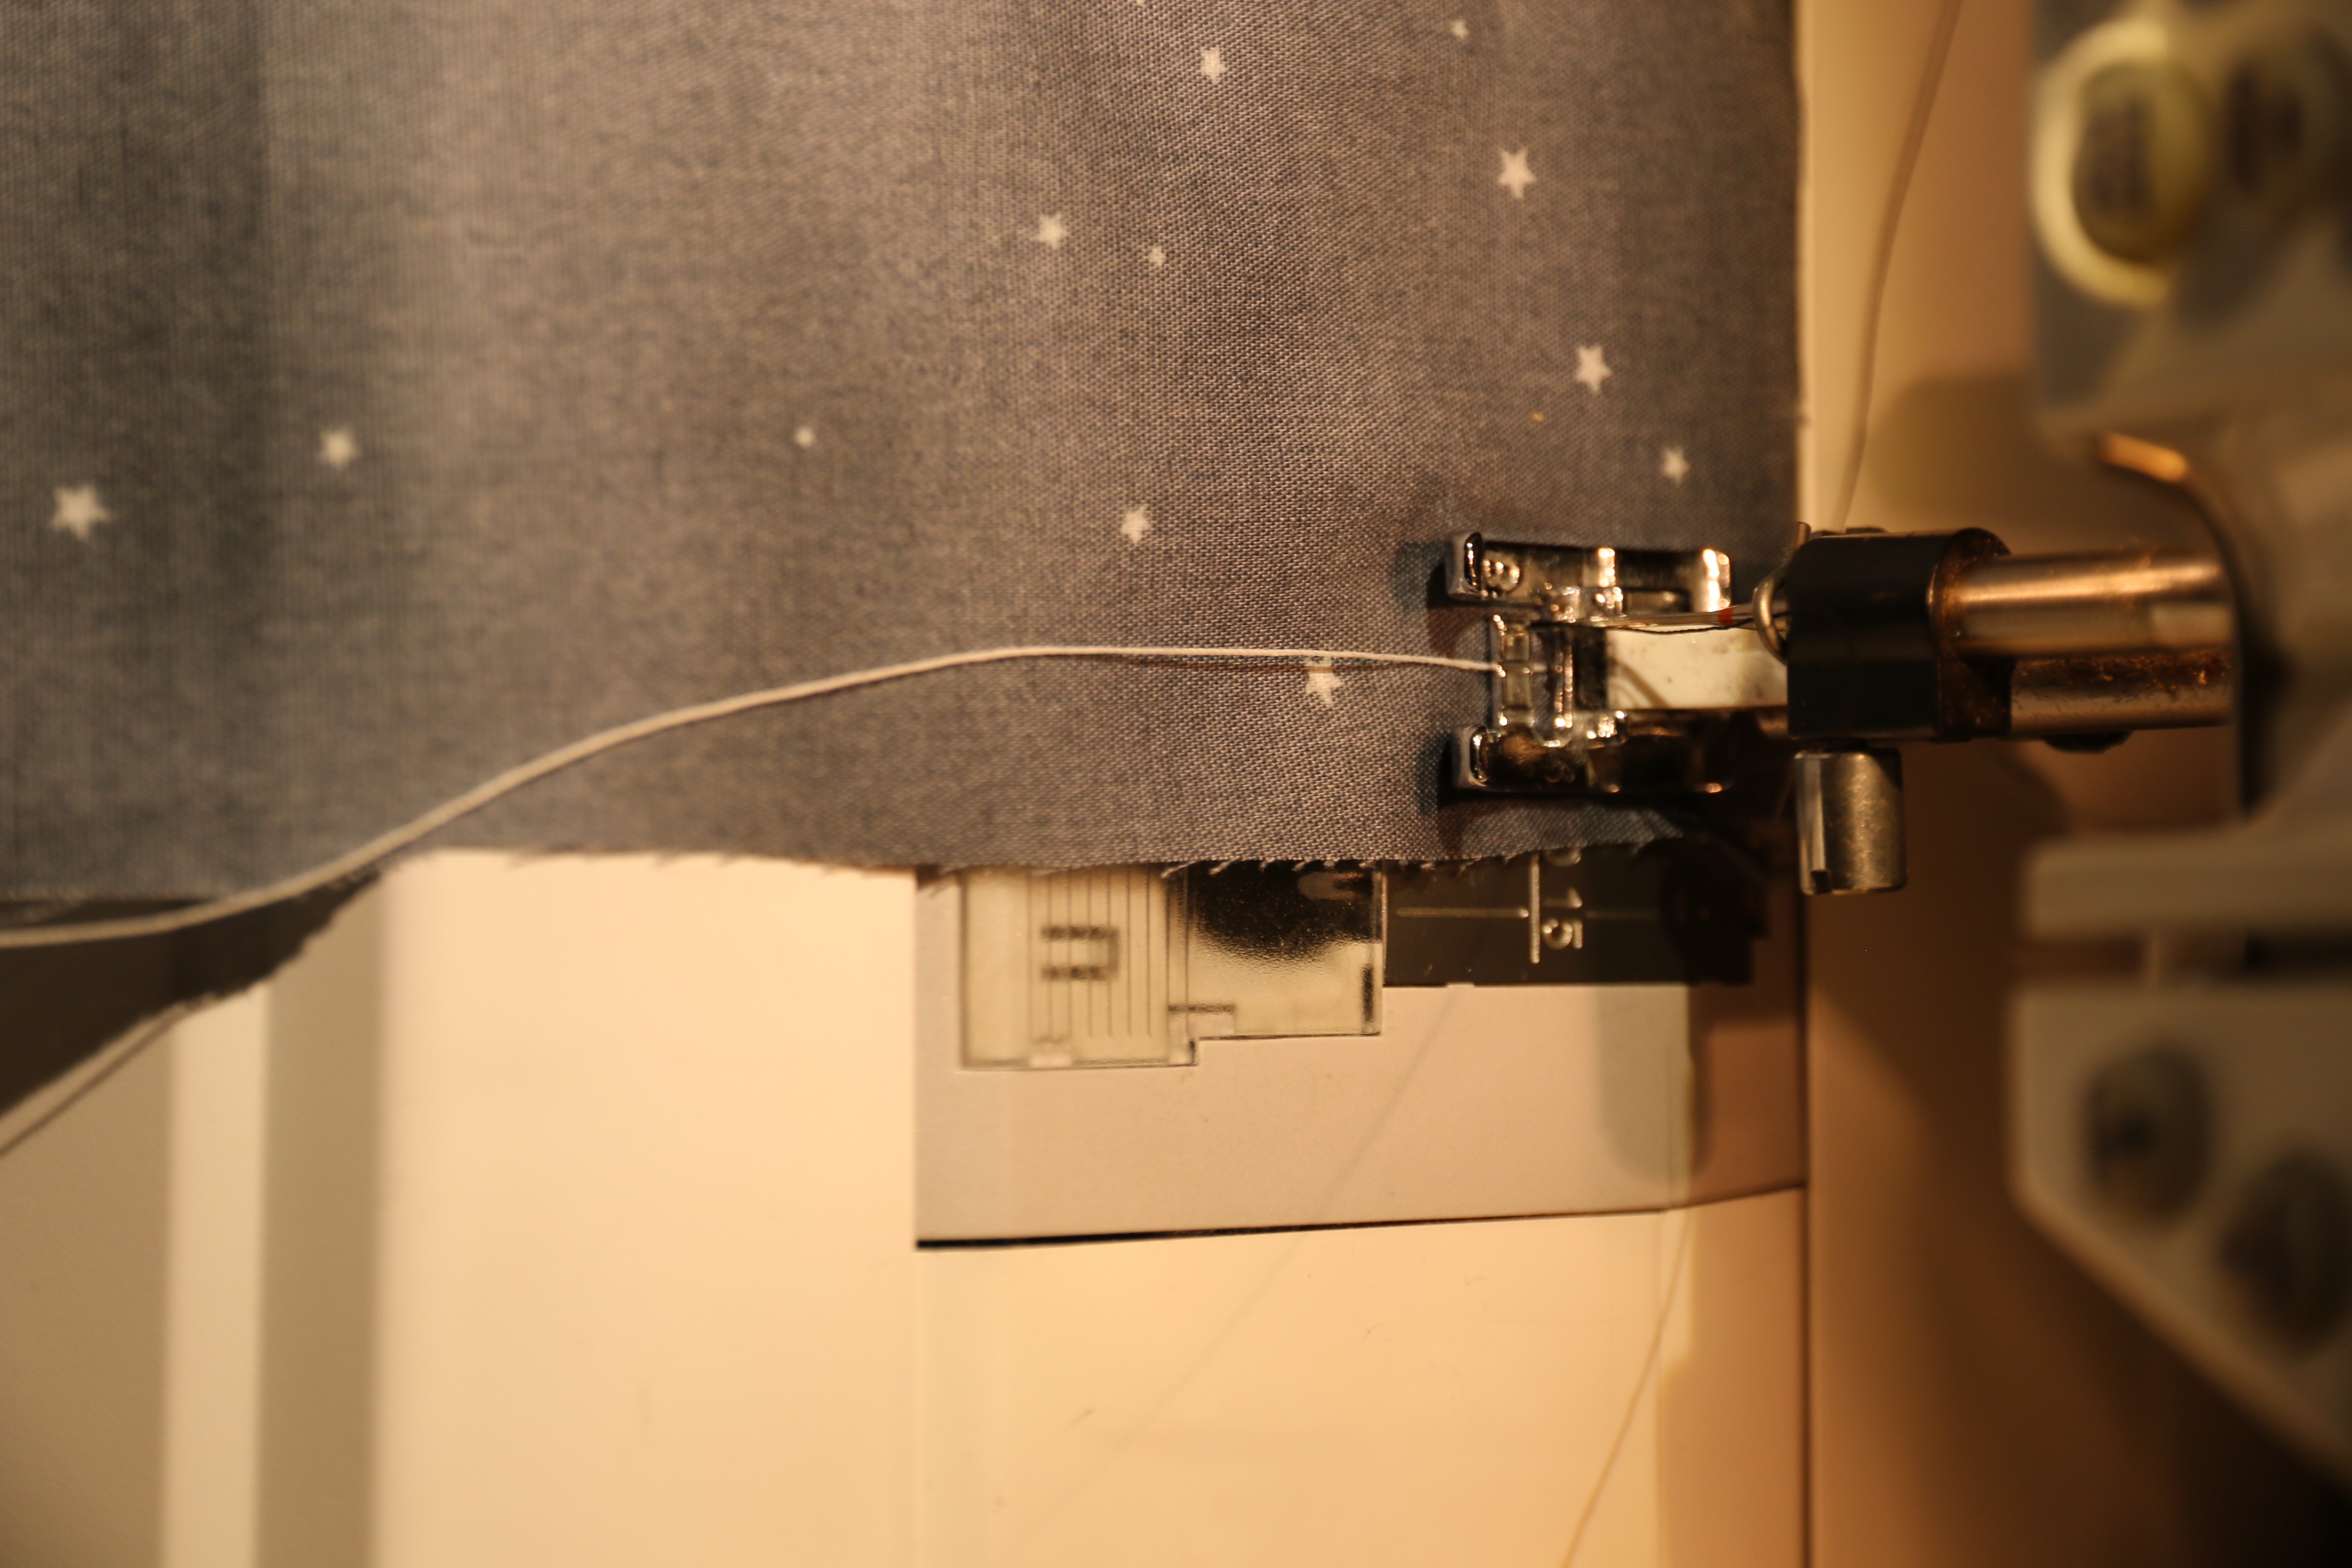
Next, I baste this in place on the wrong side of my skirt, leaving 1/8” on the edge. I tend to baste with a long narrow zigzag, but straight basting is fine too. Just stretch in-between your pins, without stretching the fabric.
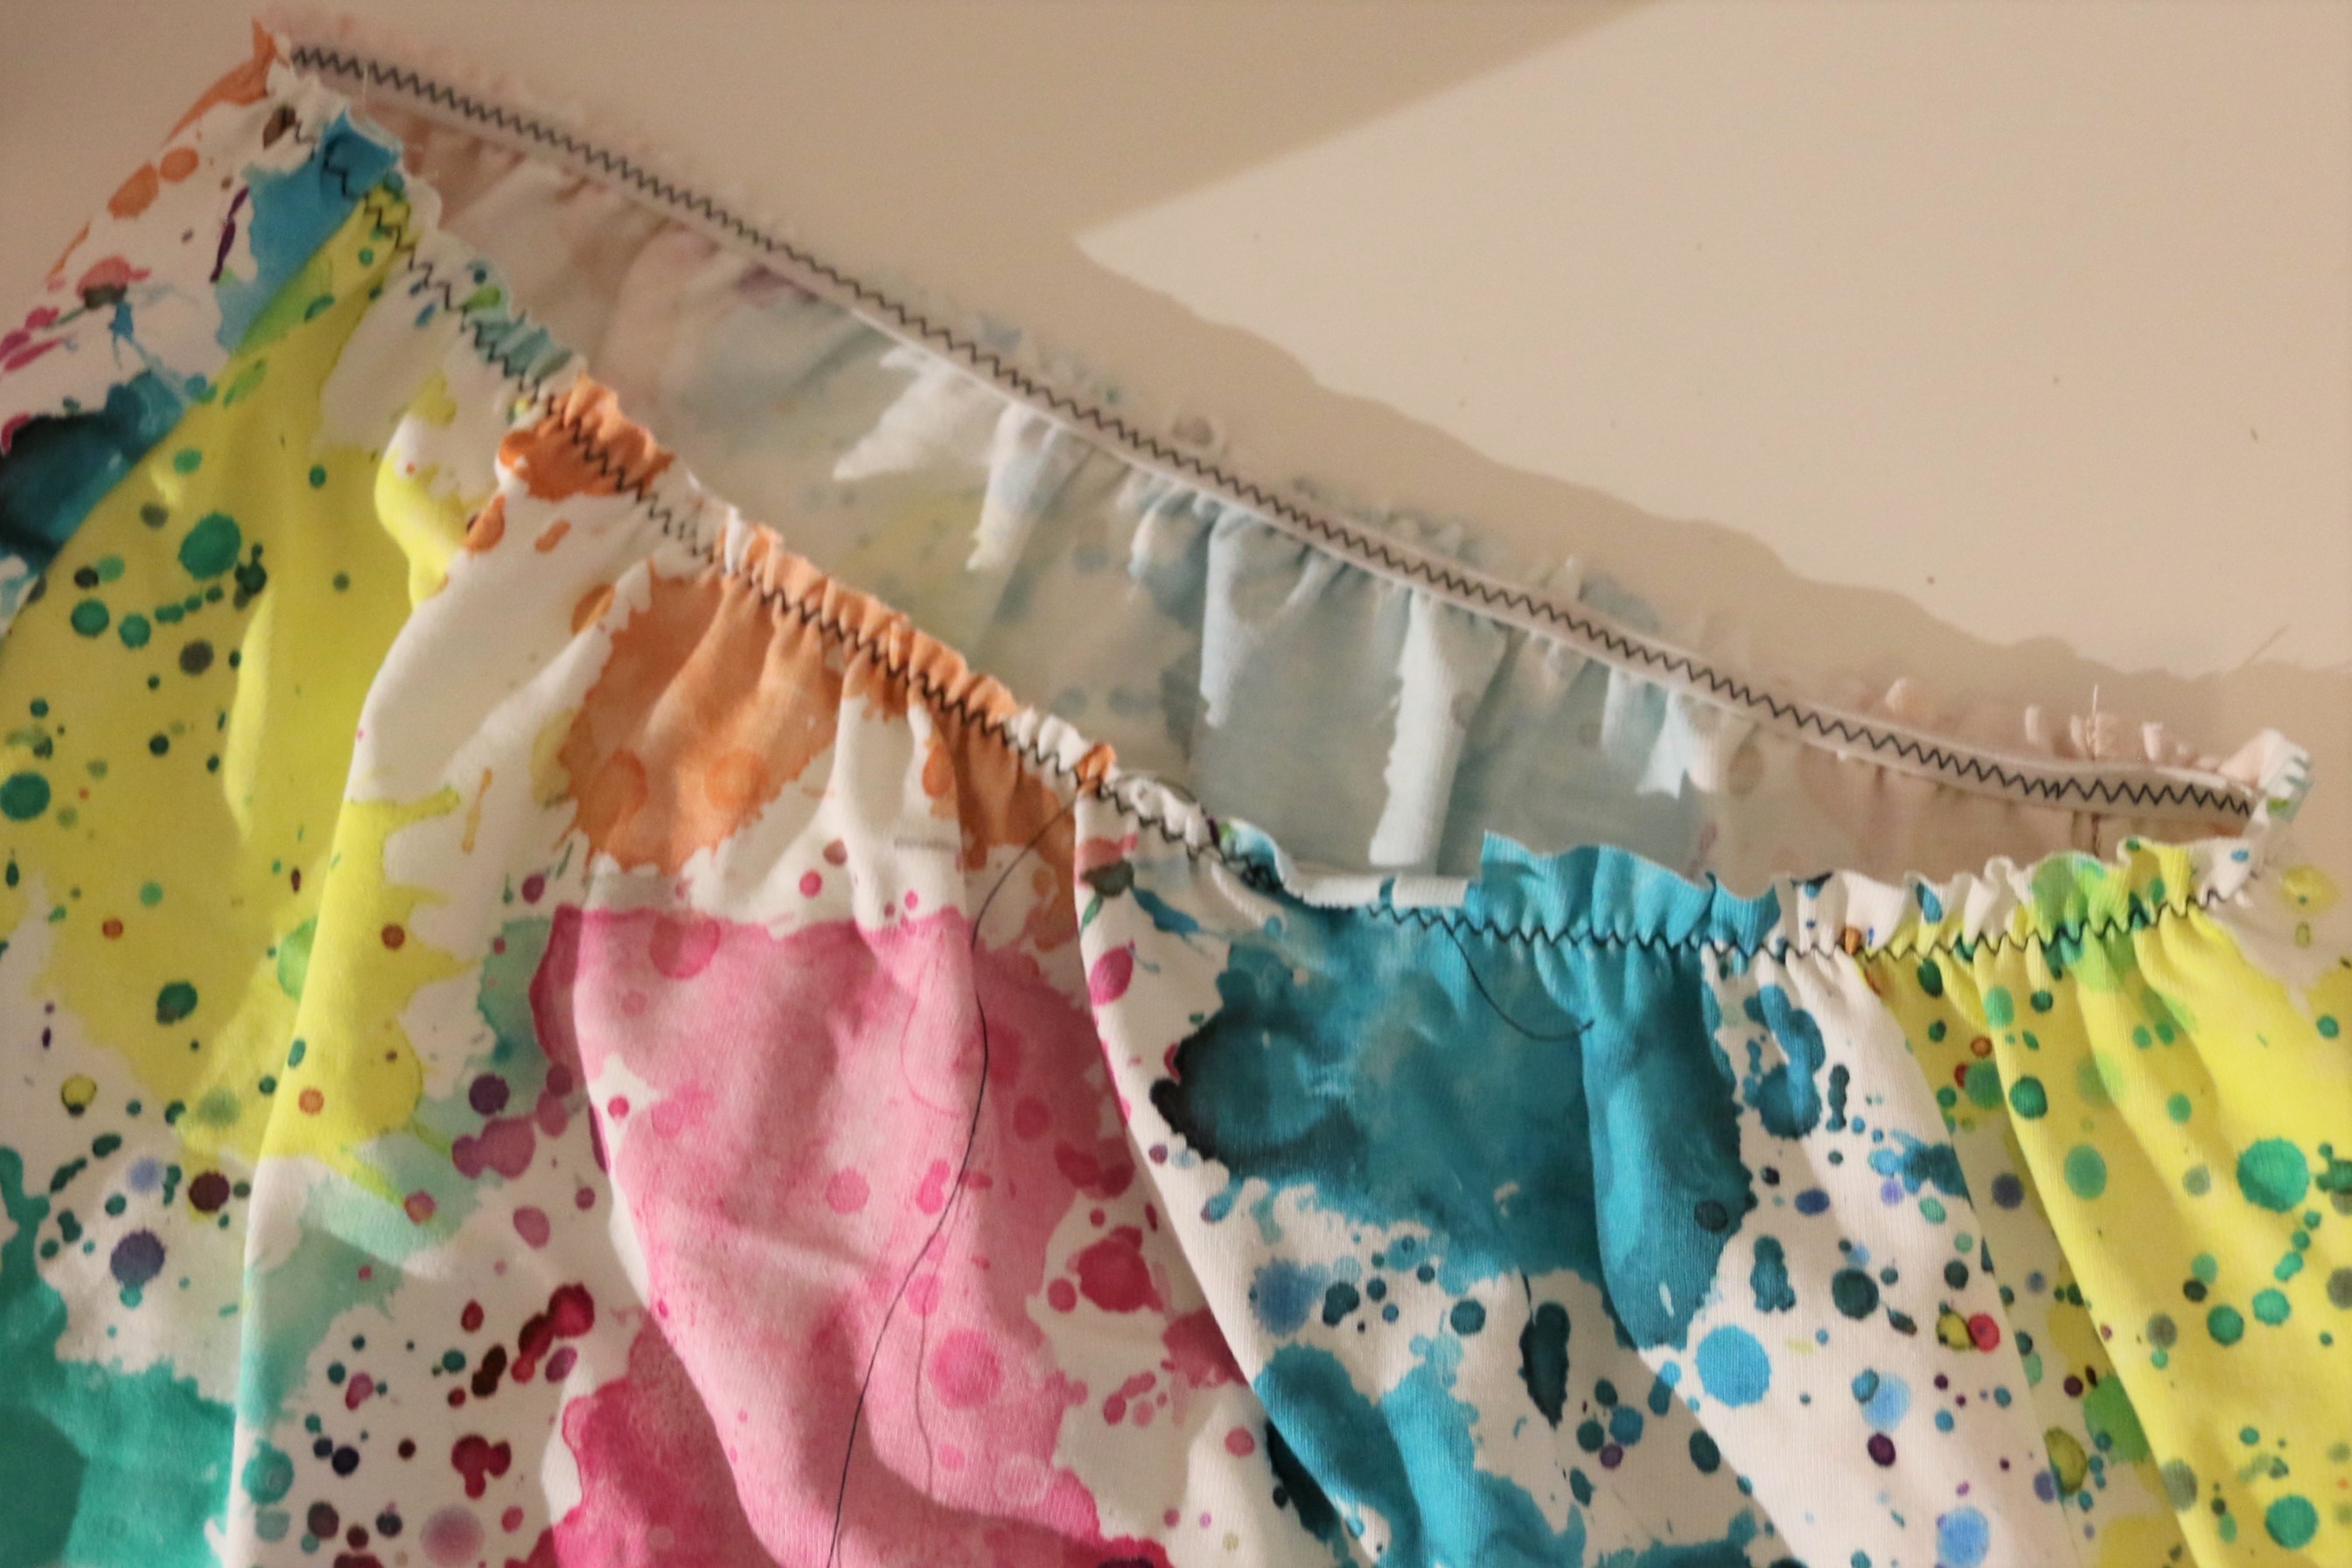
Then, I clip the skirt to the bodice and I serge over this, cutting off that 1/8” extra and lining up the elastic with the edge of my blade. You’ll want to sew it with elastic side up to be sure you are not slicing into the elastic and you’re keeping it snug to the blade. A 4-thread overlock stitch is (Usually? Always?) ¼” wide so the loopers will encase the elastic perfectly.


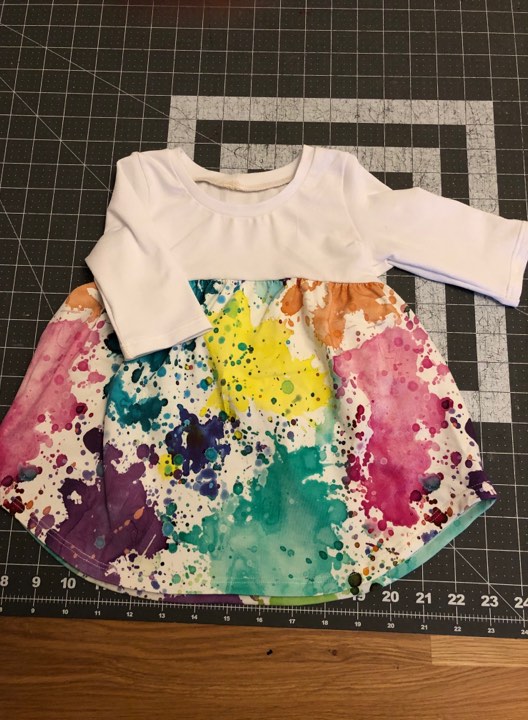
And that’s it!! Which method do you prefer for gathering? Hopefully not avoidance