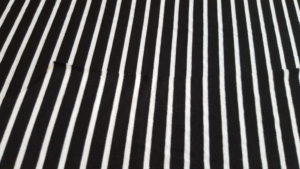
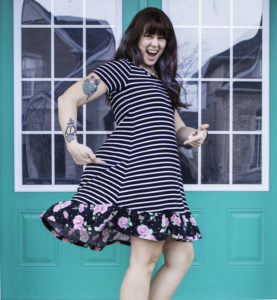
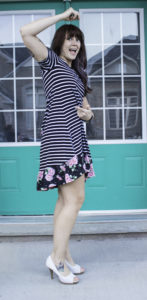
Hello! This is Marta and I’m here to talk pattern matching; specifically stripe matching. I love stripes, they are the perfect main print and the perfect coordinate.
But sometimes looking at them makes me dizzy!
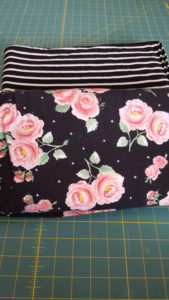
Stripes can be intimidating because if they are not matched perfectly they look a bit wonky. But, when you get that perfect line going across the seam the self-satisfaction is deep. Who doesn’t love a good stripes and floral combo?!
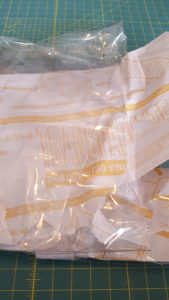
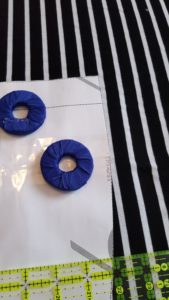
I am going to talk about stripes today but these methods can be used to match any patterns. The first way to make sure you are lining things up properly is to be able to see what you’re doing. You can transfer your pattern onto something that will help. I bought this clear, thick plastic as a remnant from Wal-Mart and it’s very durable so it would be perfect for a pattern you plan on using many times. You can also grab some shower curtains from the Dollar store.
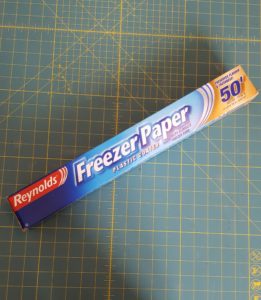
You can also use something like this freezer paper that I got at my local grocery store.
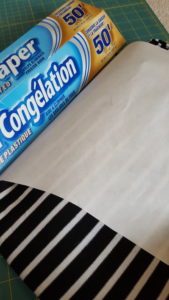
It’s thin enough that you can see through it but also folds nicely for better storage.
So, the first thing you want to do is make sure that your fabric is laid out on your cutting mat evenly. I find cutting on the floor helps with this because the fabric won’t fall off the table. Also, I don’t have a table so I always cut on the floor ;). For this post I will be using the Tawsha Dress pattern, but the tips will work for any pattern you might have.
Once you have spread out your fabric, fold it over the required amount (the front bodice for the Tawsha is cut on the fold). Make sure that you have lined up your fold with a line on your cutting mat and that your stripes match up.
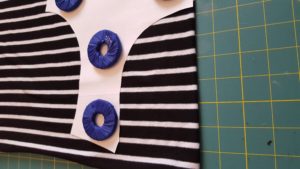
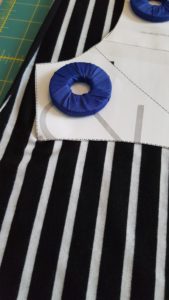
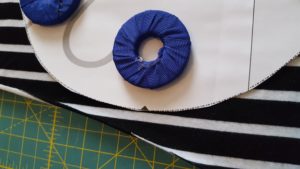
When you place your pattern piece onto the fabric make note of what part of the print is at the top. I’ve chosen to have the tip of my shoulder start at the top of the black stripe. I’ll make sure that all of my pieces start in the same place to make it easier to match.
When you are placing your back piece do the same, and make sure that it starts at the top of the black stripe.
Take note of where your pieces end as well.
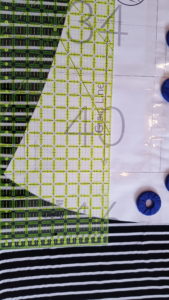
Make sure that your pattern piece is lined up properly on the fabric according to the grainline markings. This will ensure that the print is straight and make it easier to match. I like to use a quilting ruler.
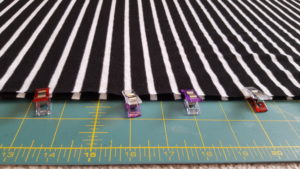
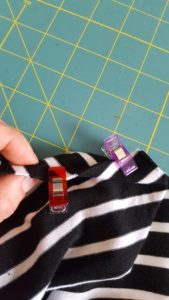
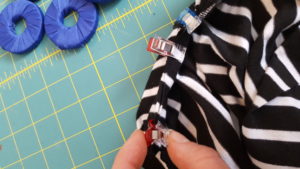
The back of the Tawsha (for the split back version) is cut in two pieces. So, once you’ve cut out your first half according to the steps above you can either use the clear pattern piece you’ve created from the above-mentioned materials to make sure things line up or you can use the fabric you’ve already cut, flipped over. This is my favorite method and the one I’m going to show you. Below you can see the two raw edges of the back pieces lined up before cutting. I like to clip the pieces together to make sure they don’t move around.
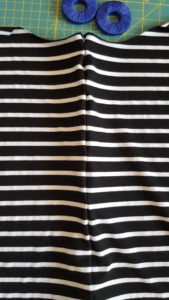
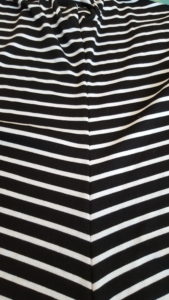
It’s important here to make sure that both your fabric (on the bottom) and your first cut piece (on the top) are laid out flat and neatly with no wrinkles. Can you even tell there are two pieces here? It’s stripe magic!
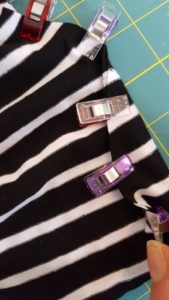
Once you have both pieces cut you can open them up to see the right side, with the clips still holding them together and admire your beautiful work.
When cutting the sleeves use the same technique as before, make sure to pay attention to where you lay your pattern piece so they are both the same. Again, I’m choosing to make mine start at the top of the black stripe.
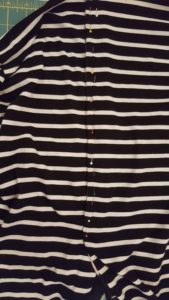
Now you’re ready to clip together and sew! I much prefer to use clips rather than pins. You will want to clip/pin a lot to make sure nothing shifts while sewing. Line up your stripes.
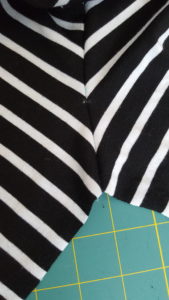
Sew, and admire your work!
Isn’t that a thing of beauty!?
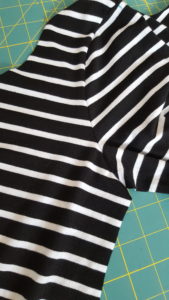
When clipping the side seams, start at the sleeve seam and work up to the end of the sleeve.
Then, I like to start at the bottom of the garment and work back up to the sleeve seam.
Sew, and admire your work some more!
This next step is only for the Tawsha. I followed the pattern instructions and pinned from the wrong side. Then, I flipped to the right side, adjusted anything that was out of line (ha!) and pinned again.
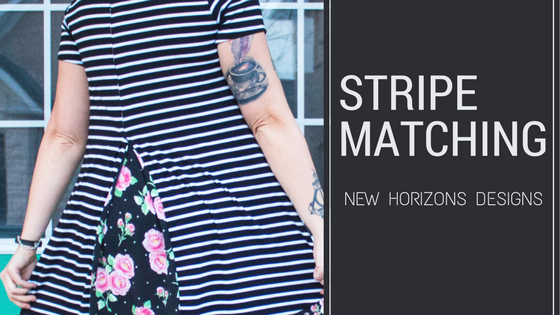
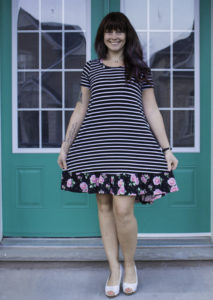
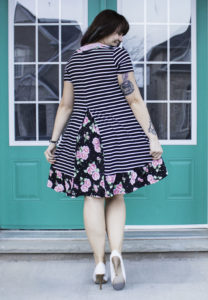
And here is my finished product. I haven’t put the buttons on yet just to show the glorious, perfectly matched back.
Now you’re ready to rock those stripes or any other print that would benefit from matching. I hope these tips helped!

