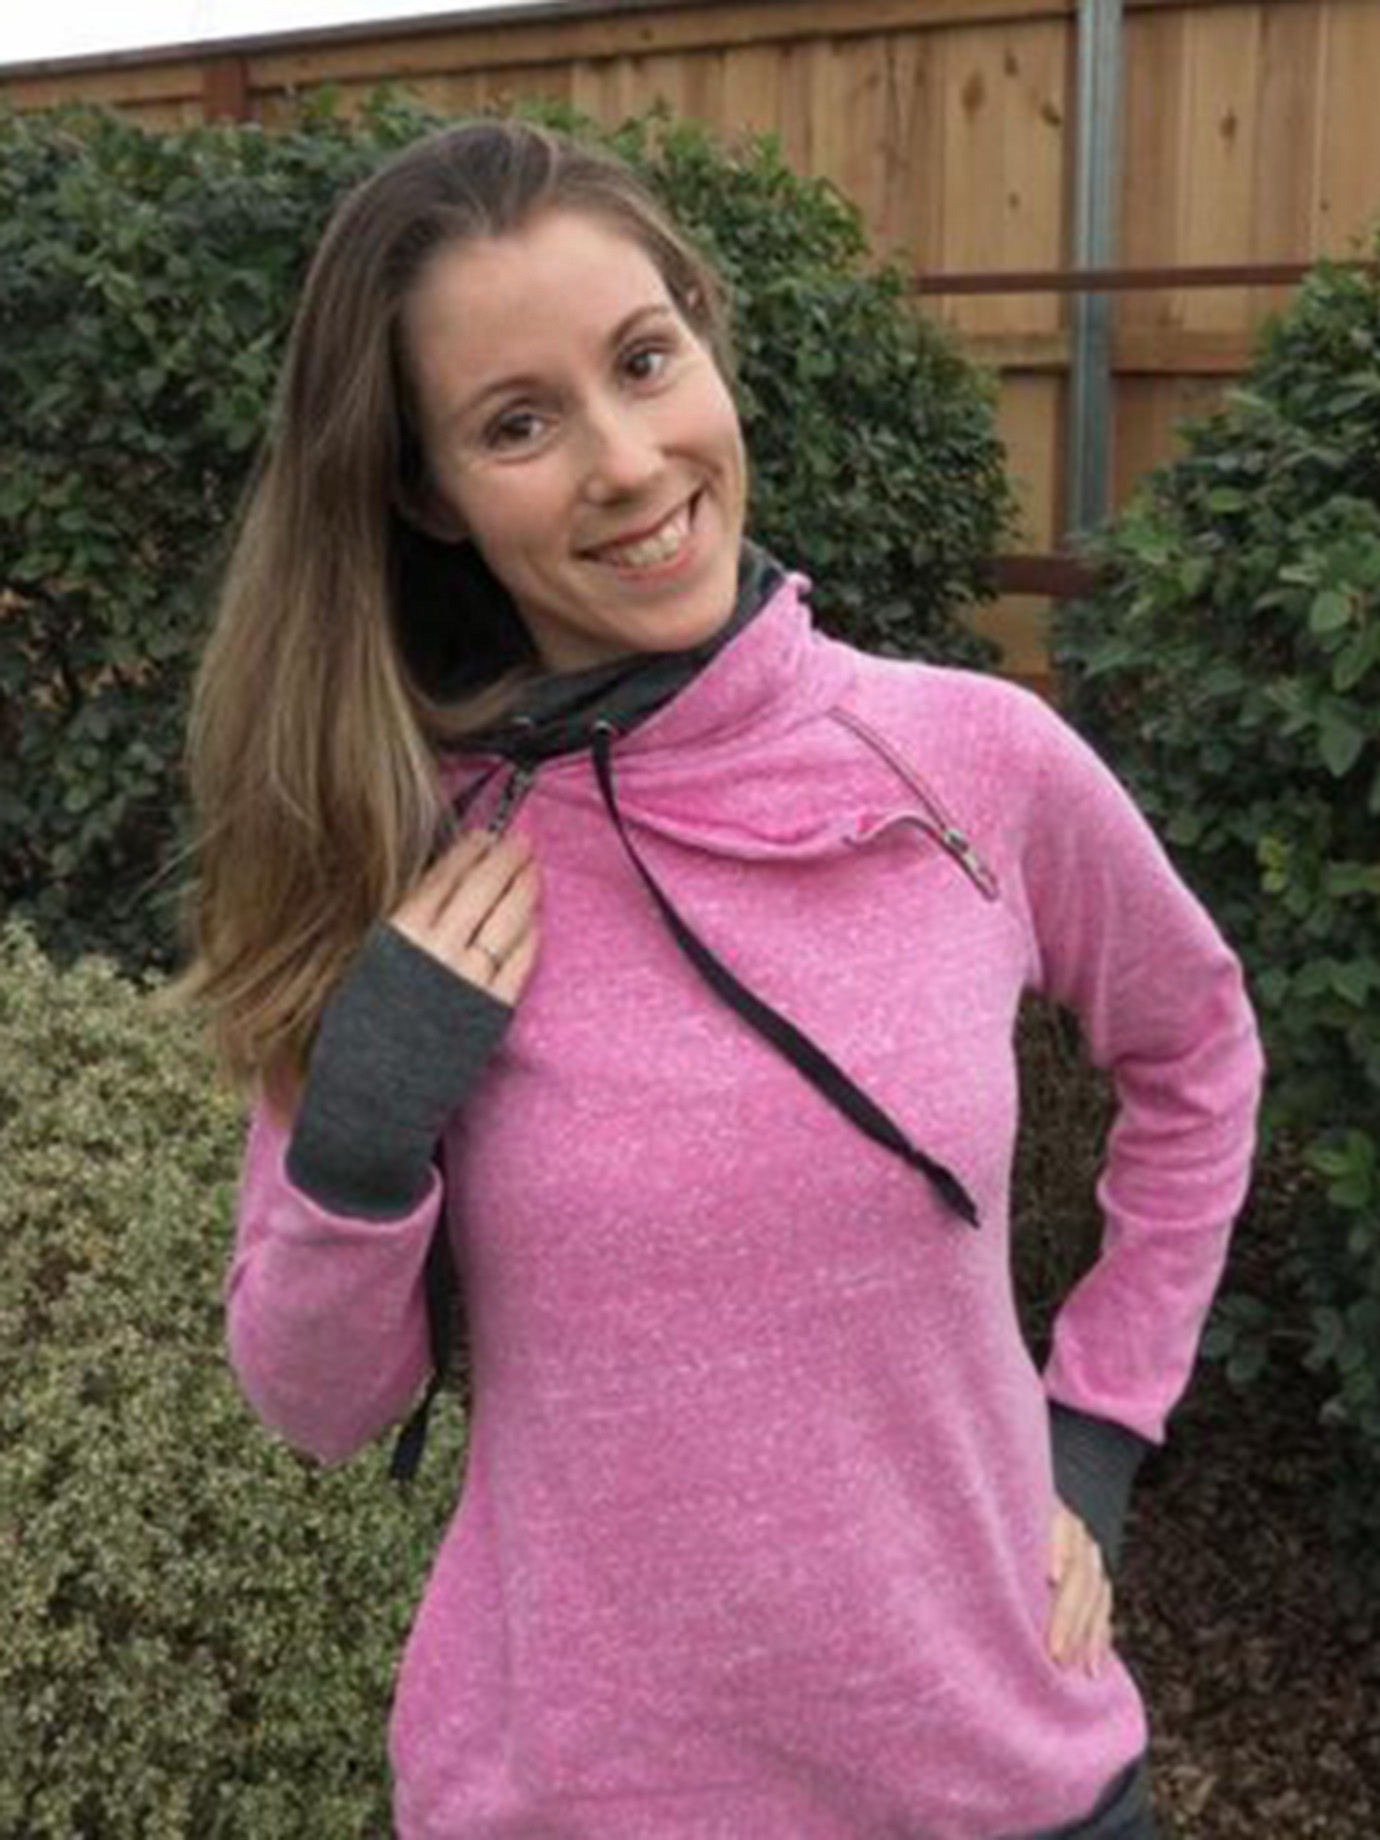
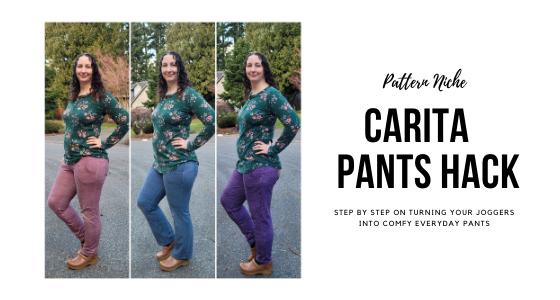
I have to admit I’ve been a little nervous about the crop top craze, but I decided to give it a try and knew the Knoxville would be perfect! Here’s a quick tutorial using the Knoxville pattern to create a crop top. A little bonus…it can be worn frontward or backwards!
Steps to making your Knoxville Crop Top:
- I used the top of the pattern up to the shorten/lengthen line and then the bottom part of the pattern that has the knot cut out.
- The hardest part is figuring out how long you want to make it. I wanted to make the knot hit a few of inches above my navel. My shoulder to navel measurement was 20”. I lined up the top and bottom pattern pieces so that the longest part was 21.5” (to account for seam and hem allowances).


- Since the Knoxville knot is angled a bit to account for being a side knot, I found it easier to cut one side out and then fold and cut the other (or just cut on the fold).


- Next, with right sides together, sew the knot curve.

- Now cut the second bodice piece to match this one.

- The rest of the construction is the same as per the pattern, the pieces will just be much shorter!
- Place the bodice pieces right sides together and sew the shoulder seams and side seams.
- Hem the bottom. This is a great time to try it on to make sure it’s the length you’re shooting for.
- Attach the arm and neck bands or hem the arm and neck openings (I hemmed this version!)
- Sew the knot tabs together.
Enjoy your new top!
We would love it if you would share your new crop top with us in our Facebook group or on Instagram #newhorizonssewing


