Do you love the look of V necklines? Do you always avoid them like the plague because they’re tricky to
sew?
Fear not! I’ll show you a simple, logical method, so you understand why puckers happen and how to
avoid them.
When sewing a V neckline, you’re essentially sewing opposing angles, so you need to be very precise
with your seam allowance. A wider or narrower seam allowance will not lead to a good result, so make
sure you’re as precise as possible.
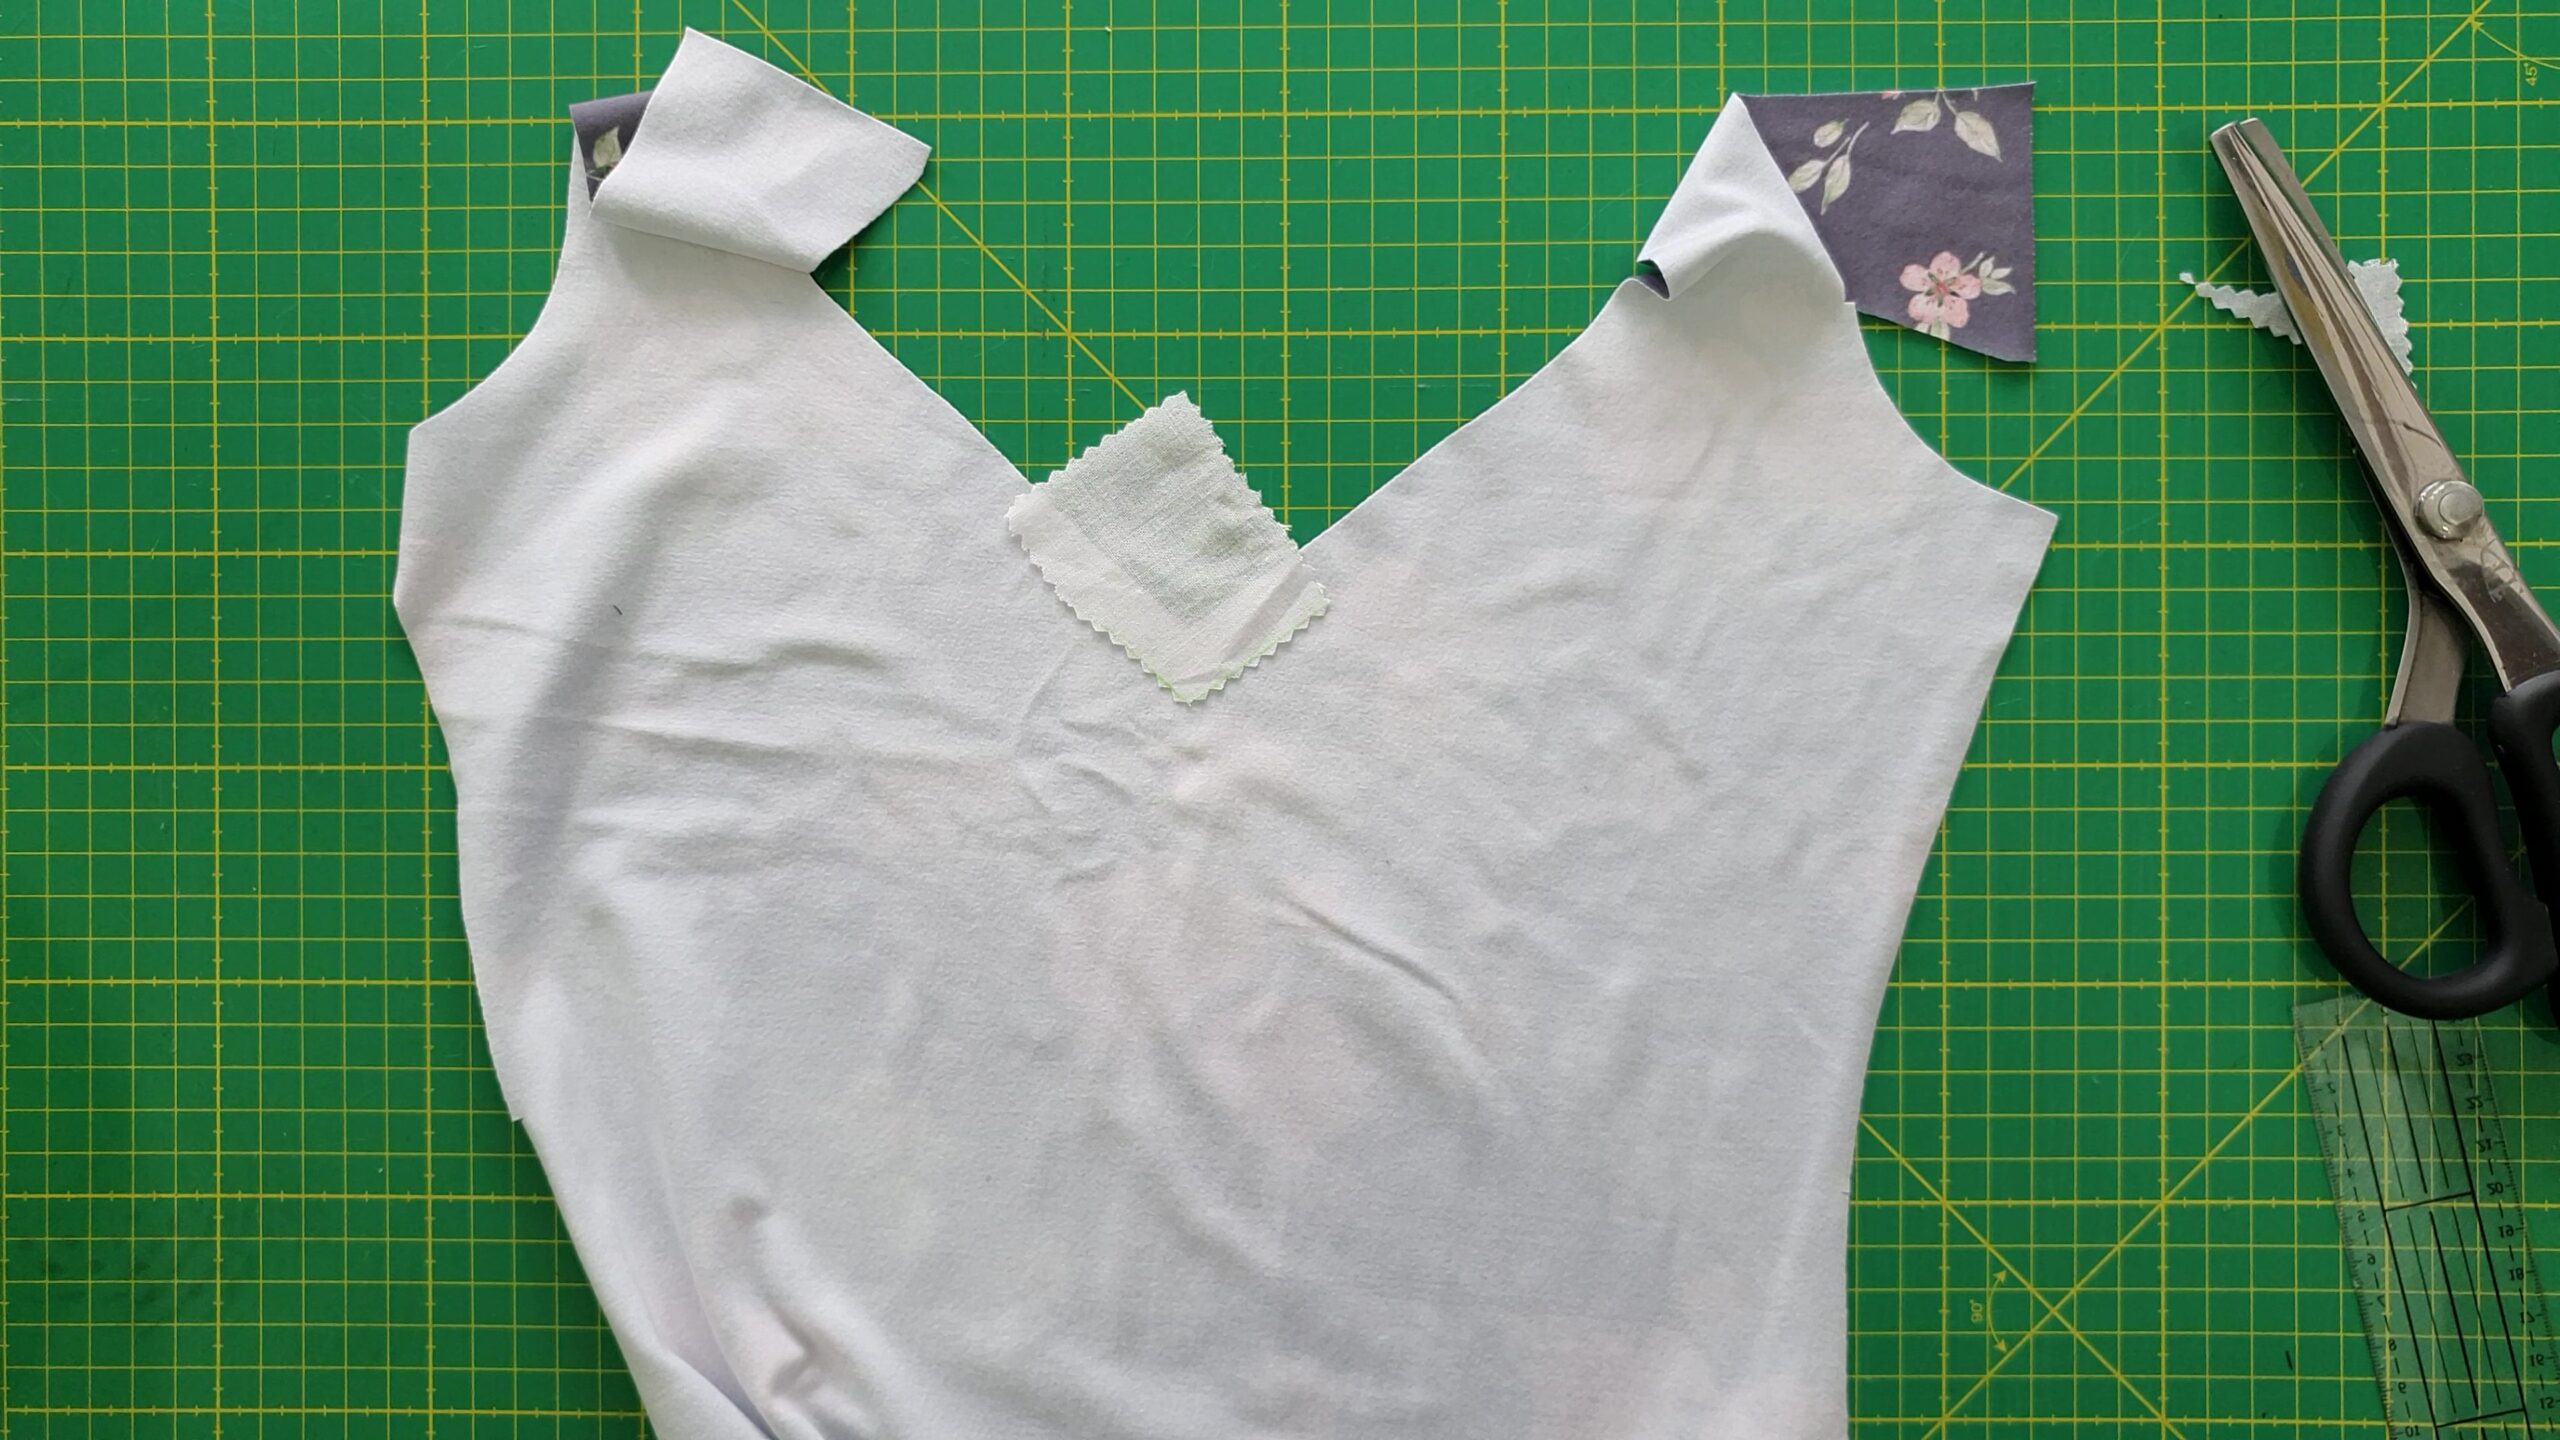
It’s easier to sew a V neckline on stable, woven fabric. But it’s also possible to get a good results on knits
with the help of some interfacing. Take a small square of interfacing (1″ x 1″ should be enough) and apply
it on the V part of your neckline. I like to use fusible woven interfacing (sew in will not work for this) in a
weight matching my fabric and apply it on the bias, going very slightly over your seam allowance (1/16″ –
1/8″). Cut away the excess.
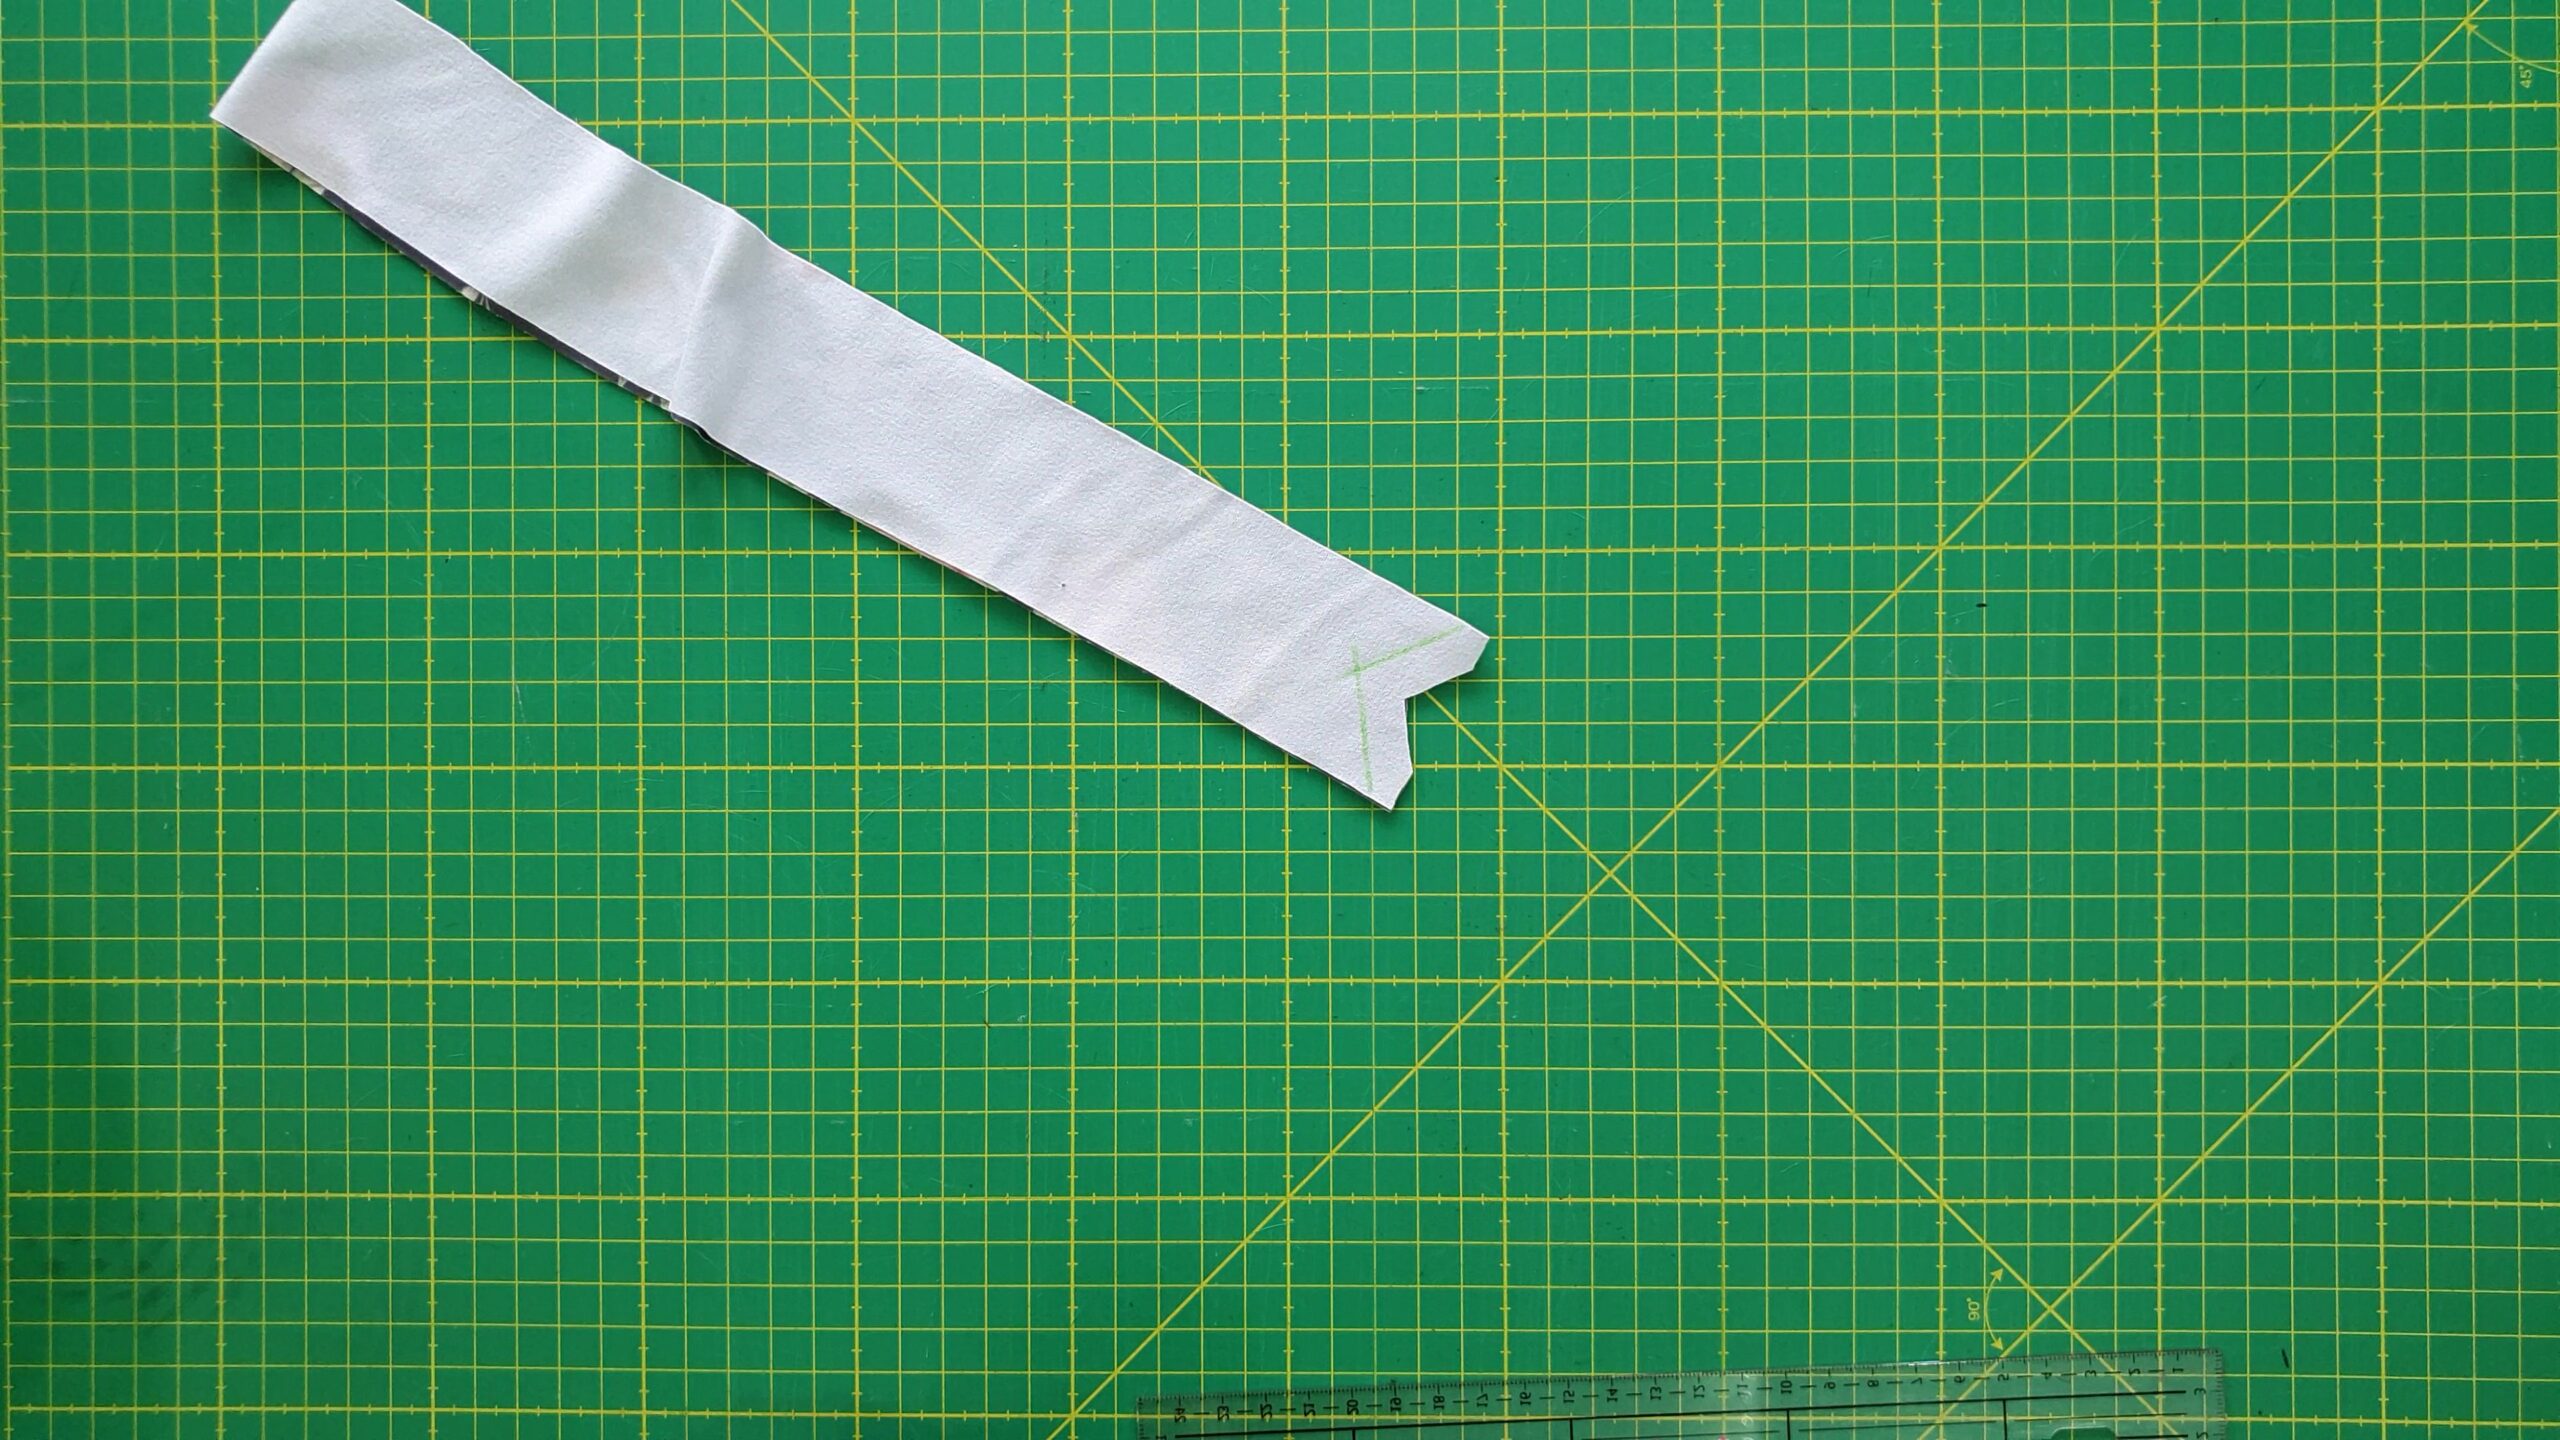
Press your neckband in half. I know, you’re thinking of skipping this step. Don’t do it! I promise it will
make your job easier down the line. Pressing a flat neckband is a lot easier. Then, take a ruler and mark
the seam allowance on your neckband and on your neckline.

Sew your neckband on the sewing machine, not your serger. The serger is great for speed but not that
great when you need accuracy. Start sewing on one end, decrease your stitch length when you’re close
to the V, stop with the needle down when you reach the point (you can do the last couple of stitches
manually, by spinning the wheel on the sewing machine if you need extra precision), raise your presser
foot and pivot the fabric so the stitch line you need to sew next lines with your needle. Sew until the end
(you can watch the video if you need a visual guide for this step).
Take a pair of scissors and make a snip to the V point. Press the seam open and turn the neckband over
to the right side. Cut away the bits of the seam allowance that are poking out. Press again if needed.

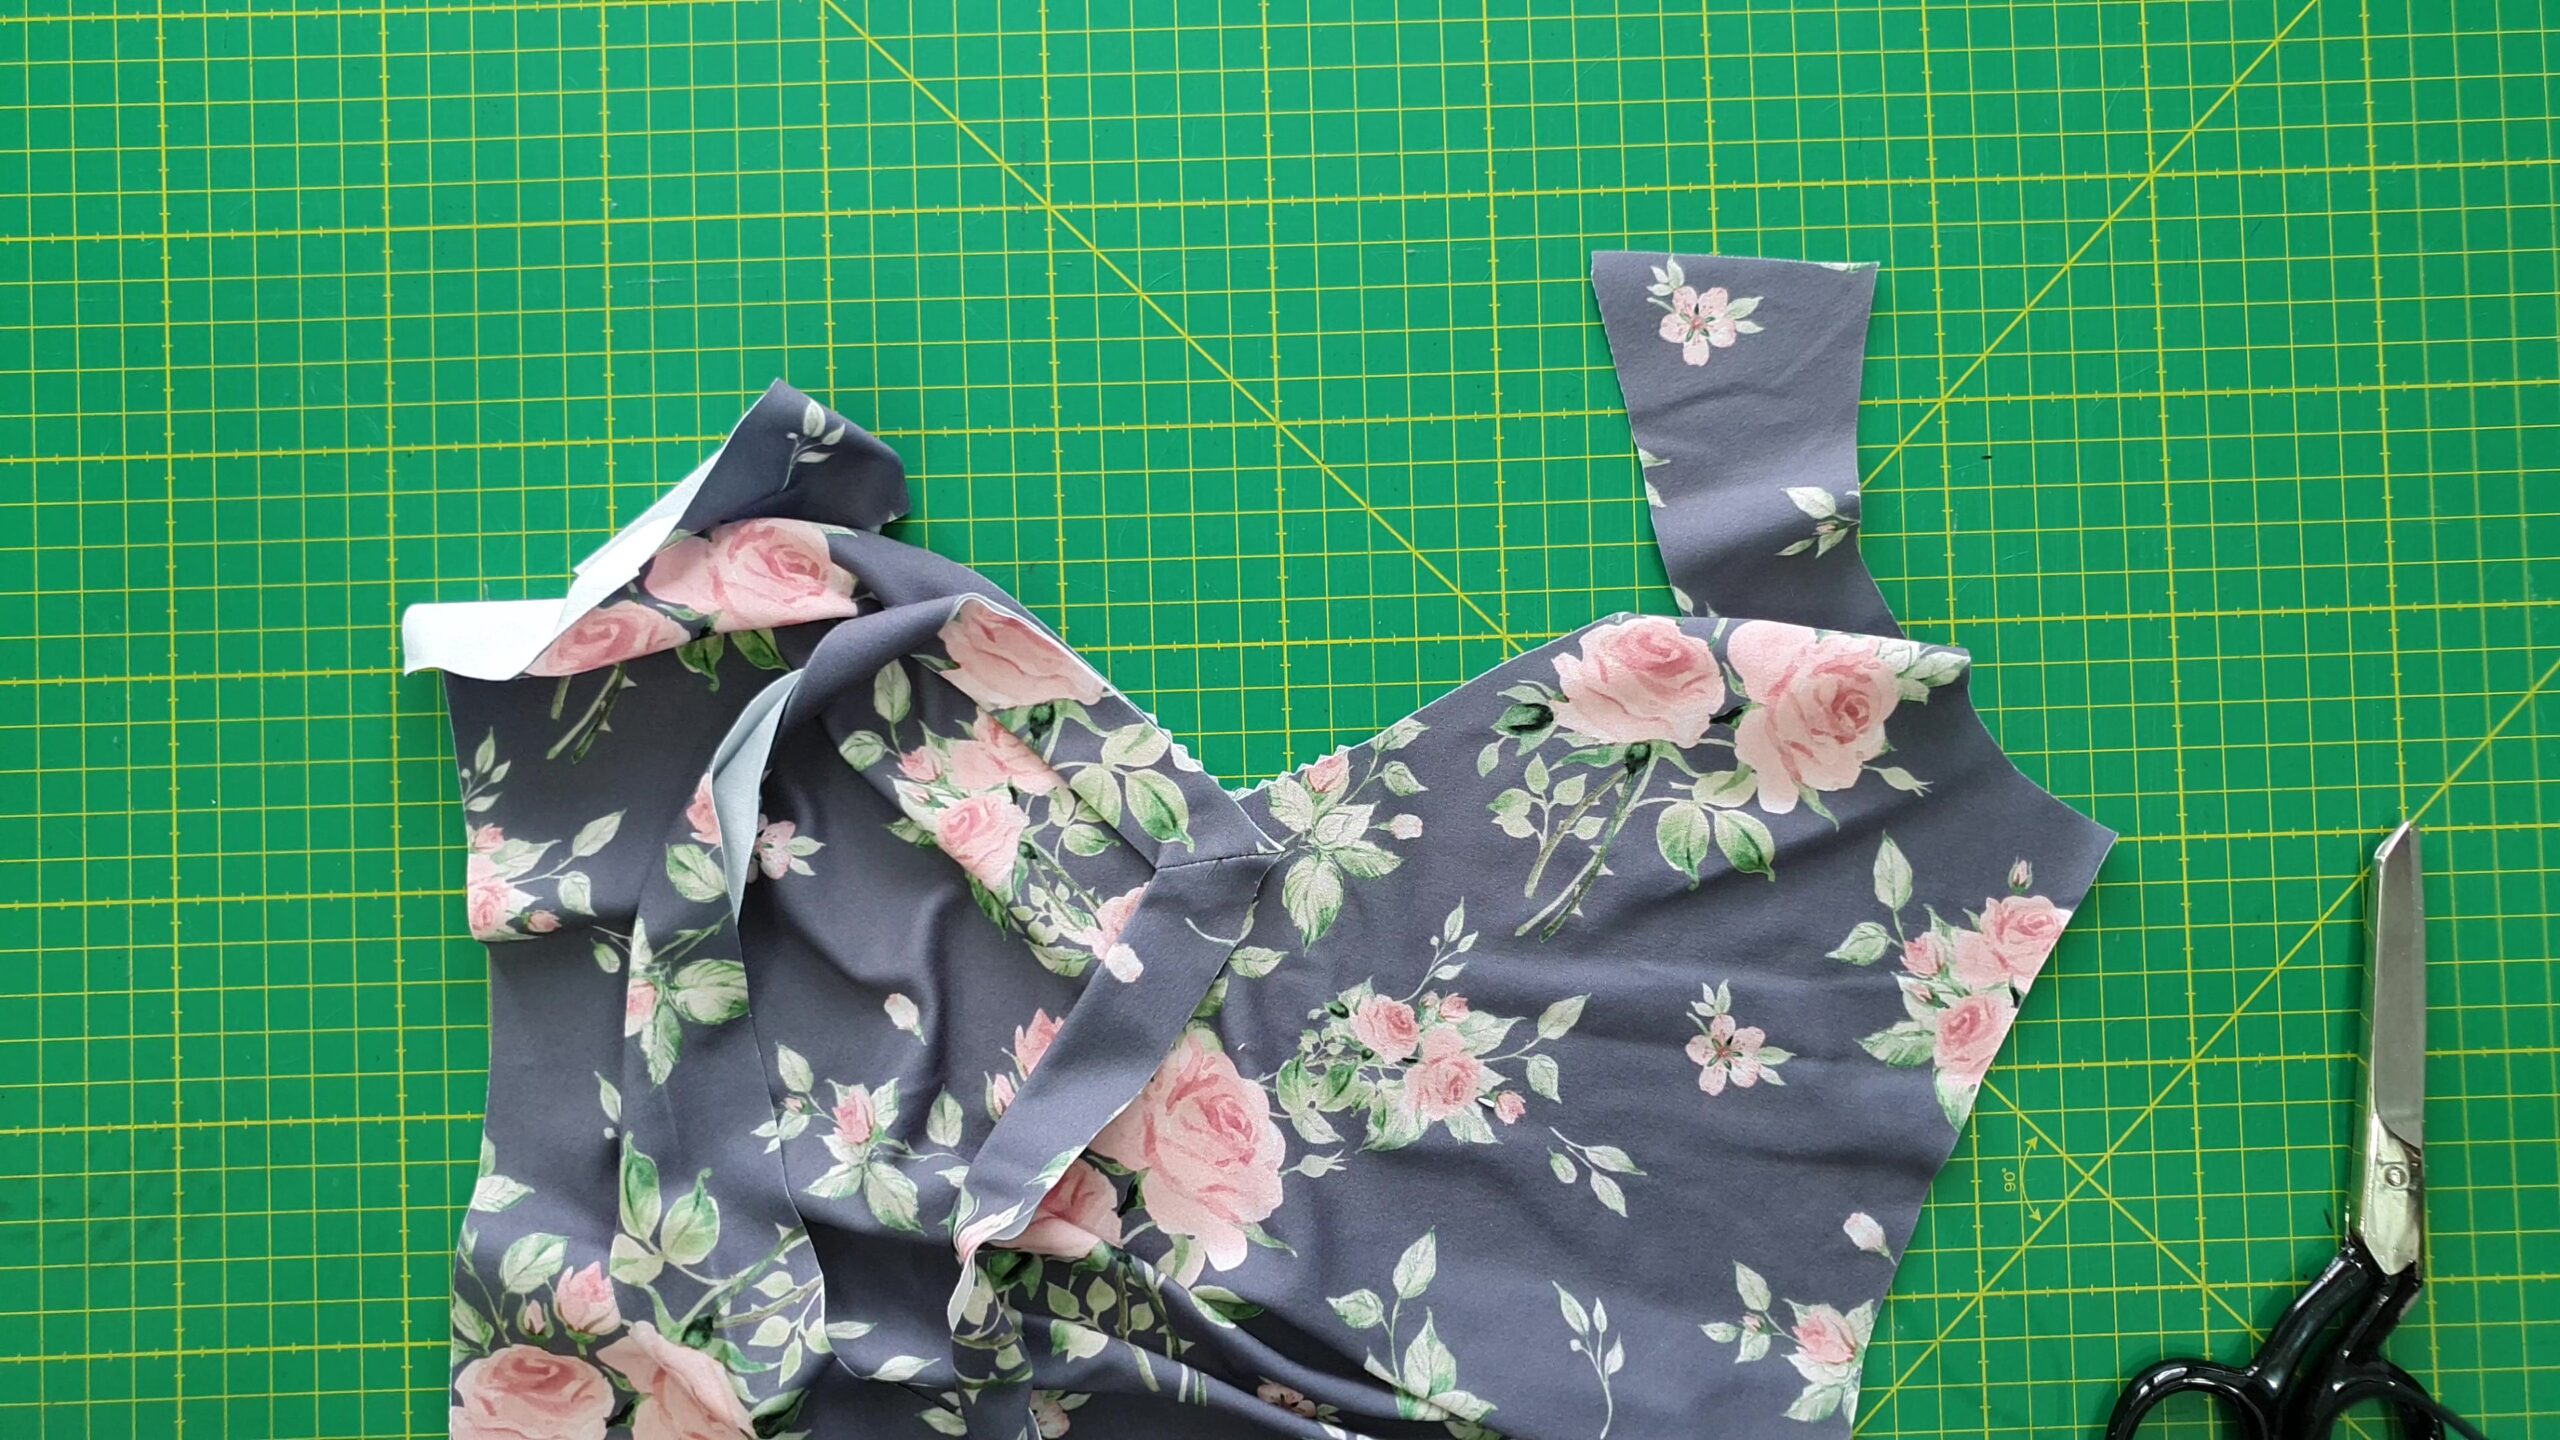
If you have a fabric with a print, place the neckband and neckline together to see which side of the
neckband you want facing the front.

Mark the V point on both the neckband and the neckline, on the right side.
Then flip the neckband, so the side you want on the outside is facing the right side of the fabric, and
place a pin through both points, starting from the wrong side of the front piece .

Using the pin as a pivot point, align one side of the neckband with one side of the neckline for about 1″-
1.5″. Ignore the other side for now. Secure with pins before and after the pin you already placed (at
least 2-3 pins). You want to make sure the pieces don't move after you remove the pin connecting the V
points.
Set your stitch length to around 1. You”ll start sewing from the point and the small stitch length helps
with securing the seam. Use the handwheel to be more precise when lowering the needle and lift the lip
of your presser foot with your finger so that you can see better where it drops. If you want to backstitch,
make sure you don’t go back past the point where you started. After sewing a few stitches you can
change your stitch back to a regular length (2.1-2.3). Sew for about 1″ to 1.5″.
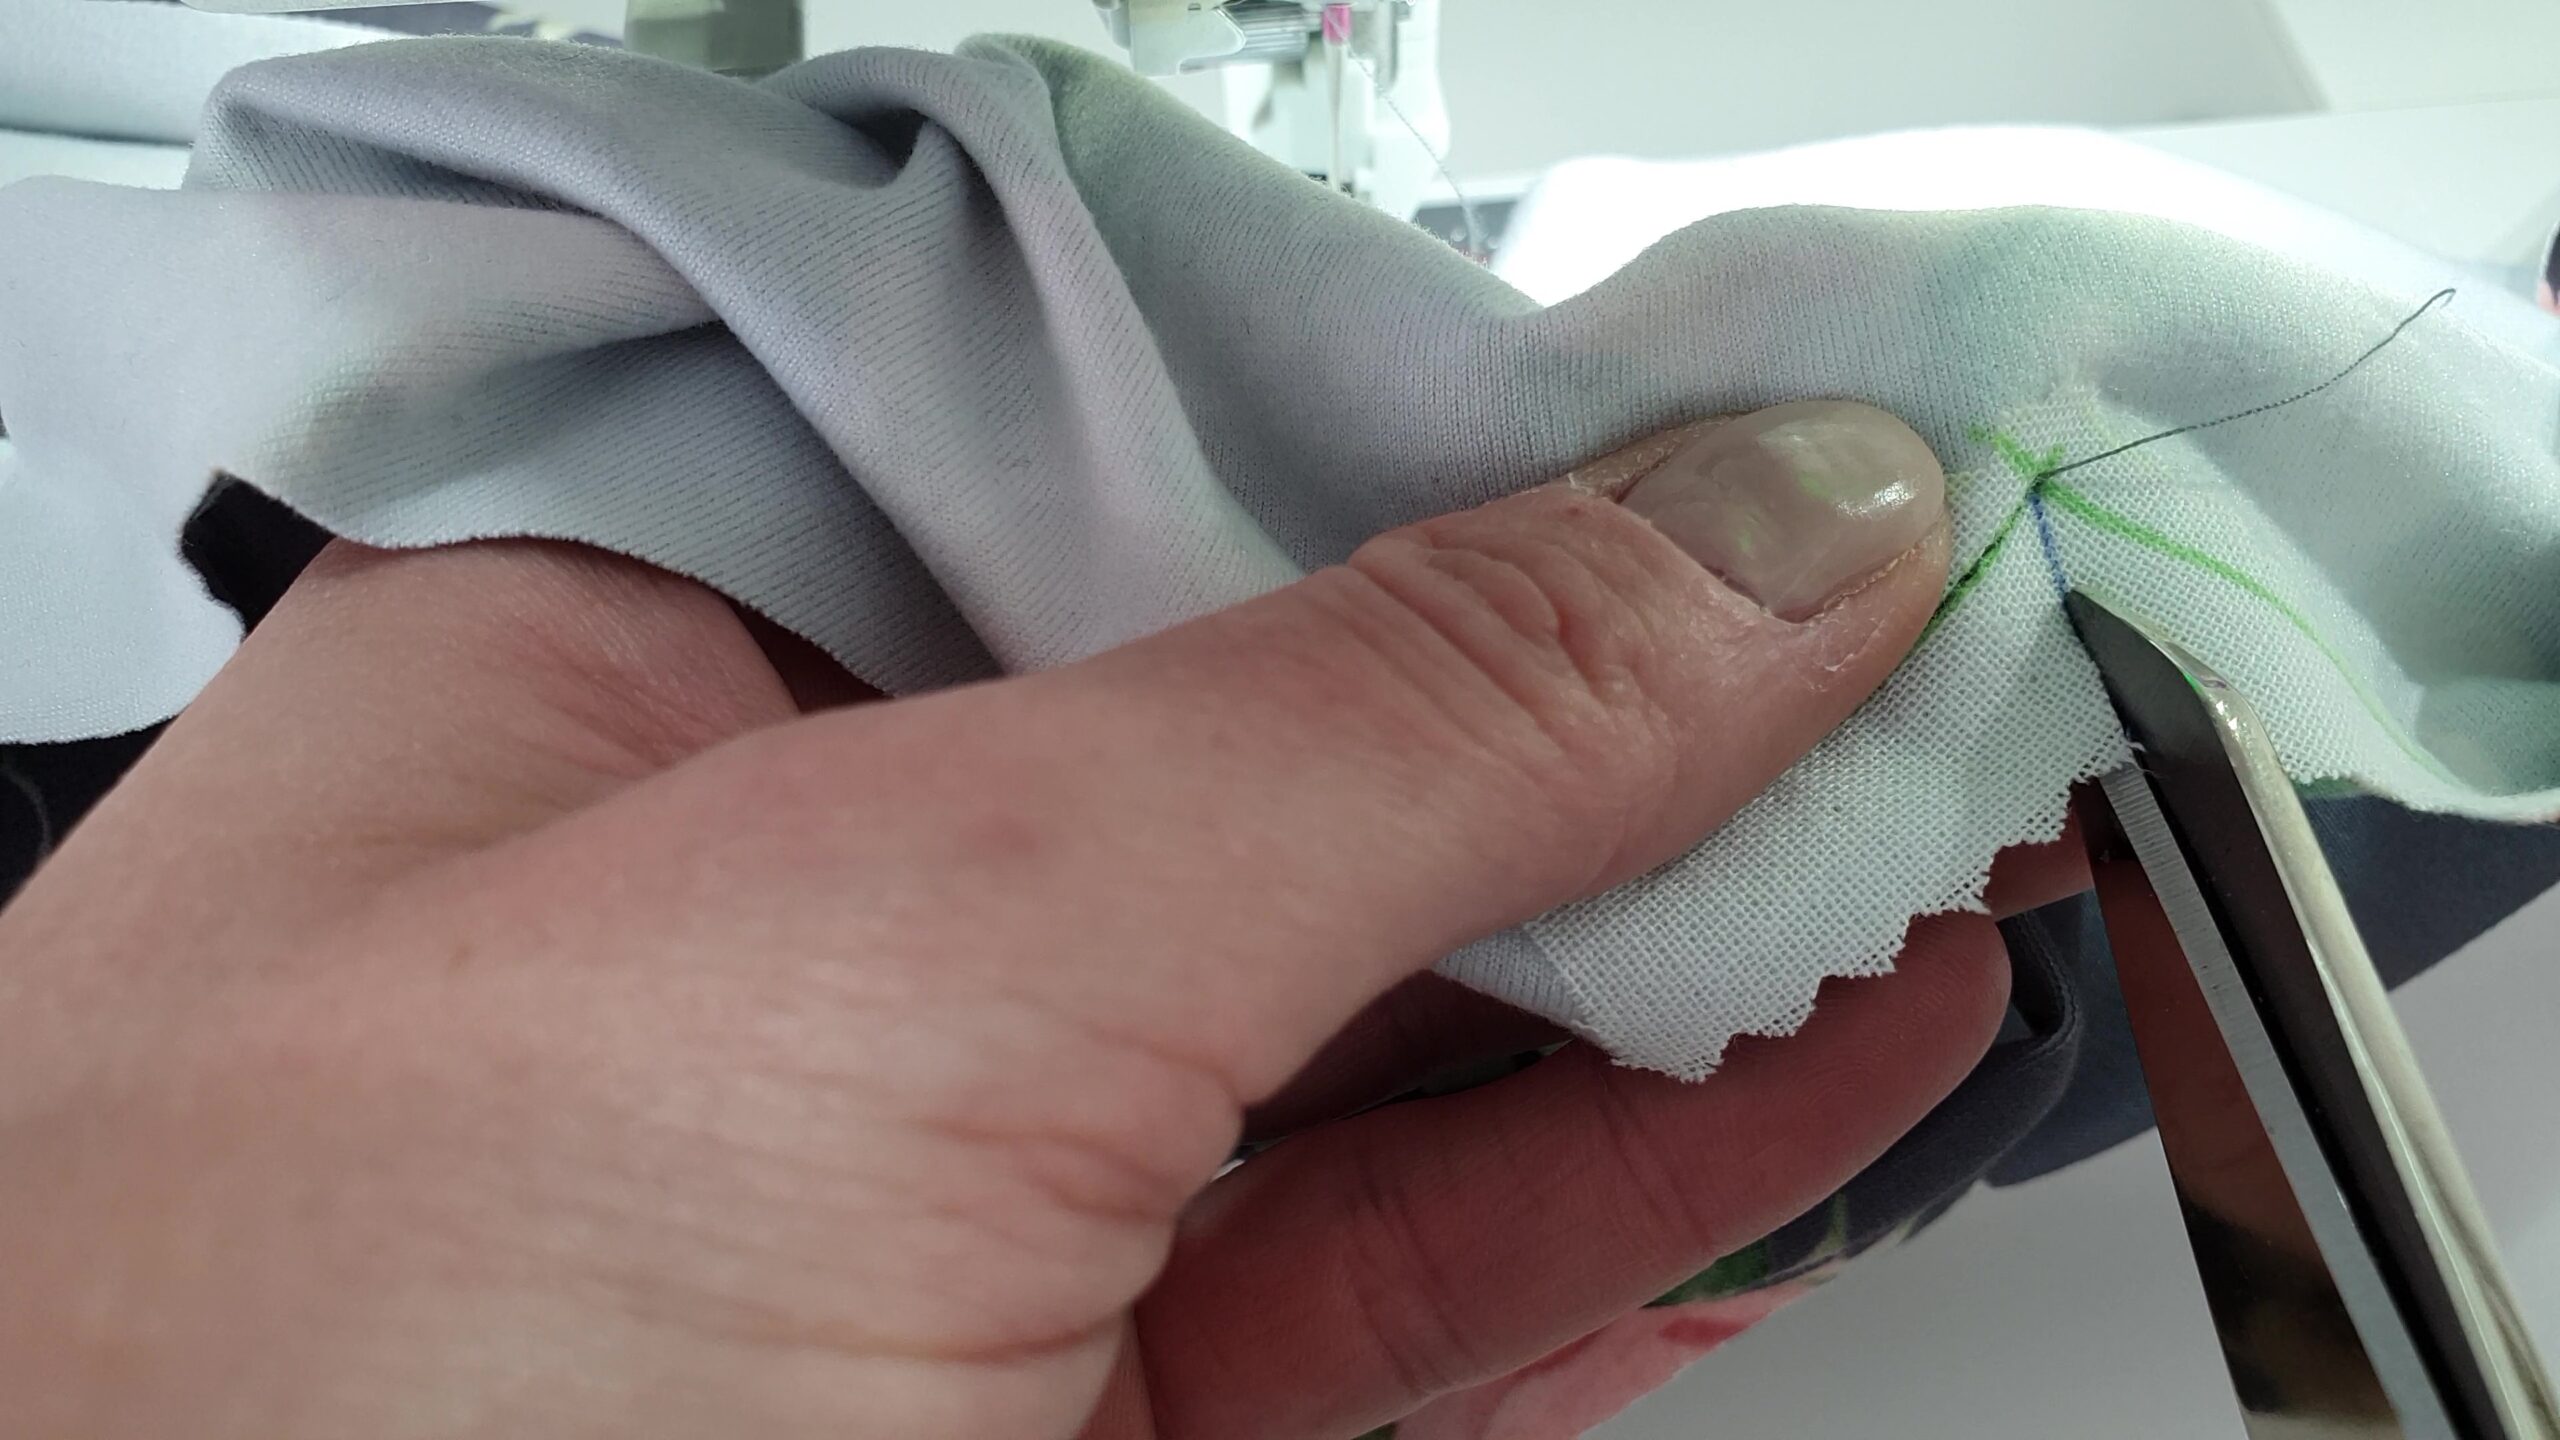
Now take your scissors and cut on the line you previously drew connecting the V point to the cut line.
Cut as close as you can to the stitch line but not through it. If in doubt, don’t go very close, but keep in
mind that the closer you get with the scissors, the better the result.
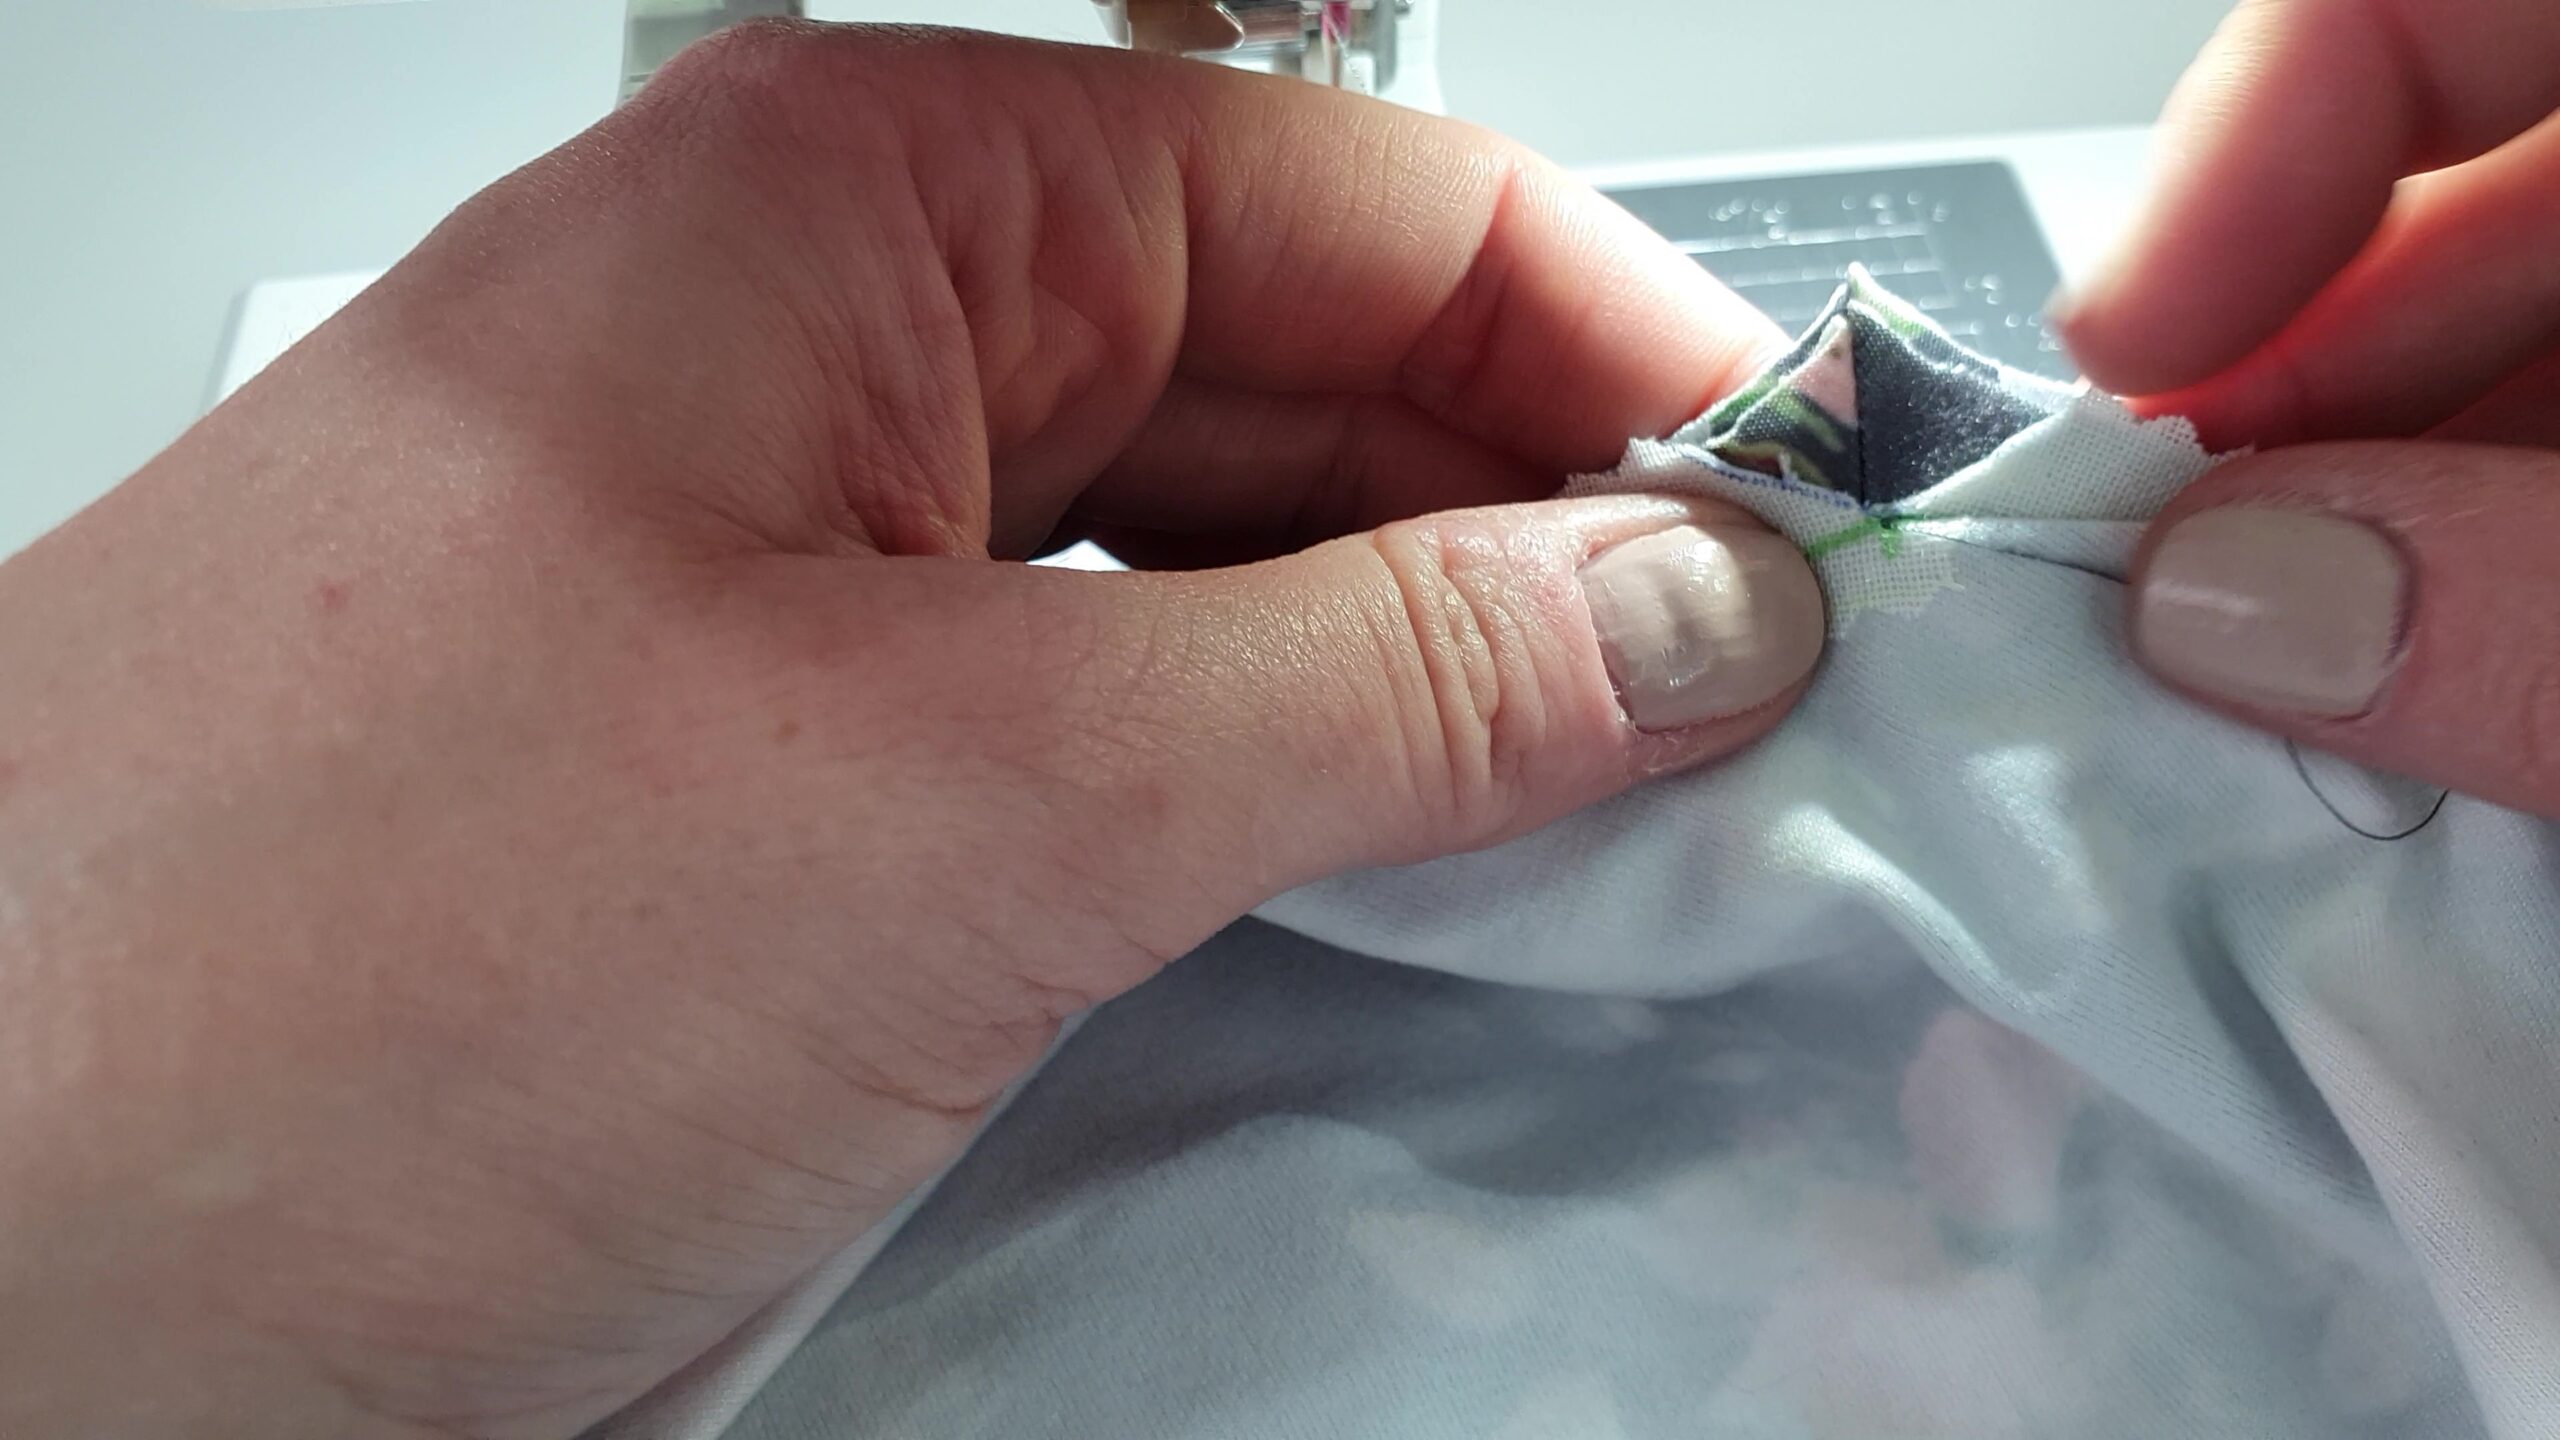
Next, take the other side of the neckband and neckline and align them. You’ll end up with a bit of extra
fabric in the middle that doesn’t want to lay flat. That’s ok. You’re going to pinch all of it and fold it
towards the part you’ve just sewn.
Set your stitch length to around 1. Just as before, you’ll start sewing from the V point, with the front
piece facing up. Use the handwheel and lift the tip of your presser foot to ensure the needle doesn’t go
through any of the fabric we’ve folded out of the way. This is the key to having no puckers. Take your
time, stop and adjust if needed.

Sew for 1″ to 1.5″.
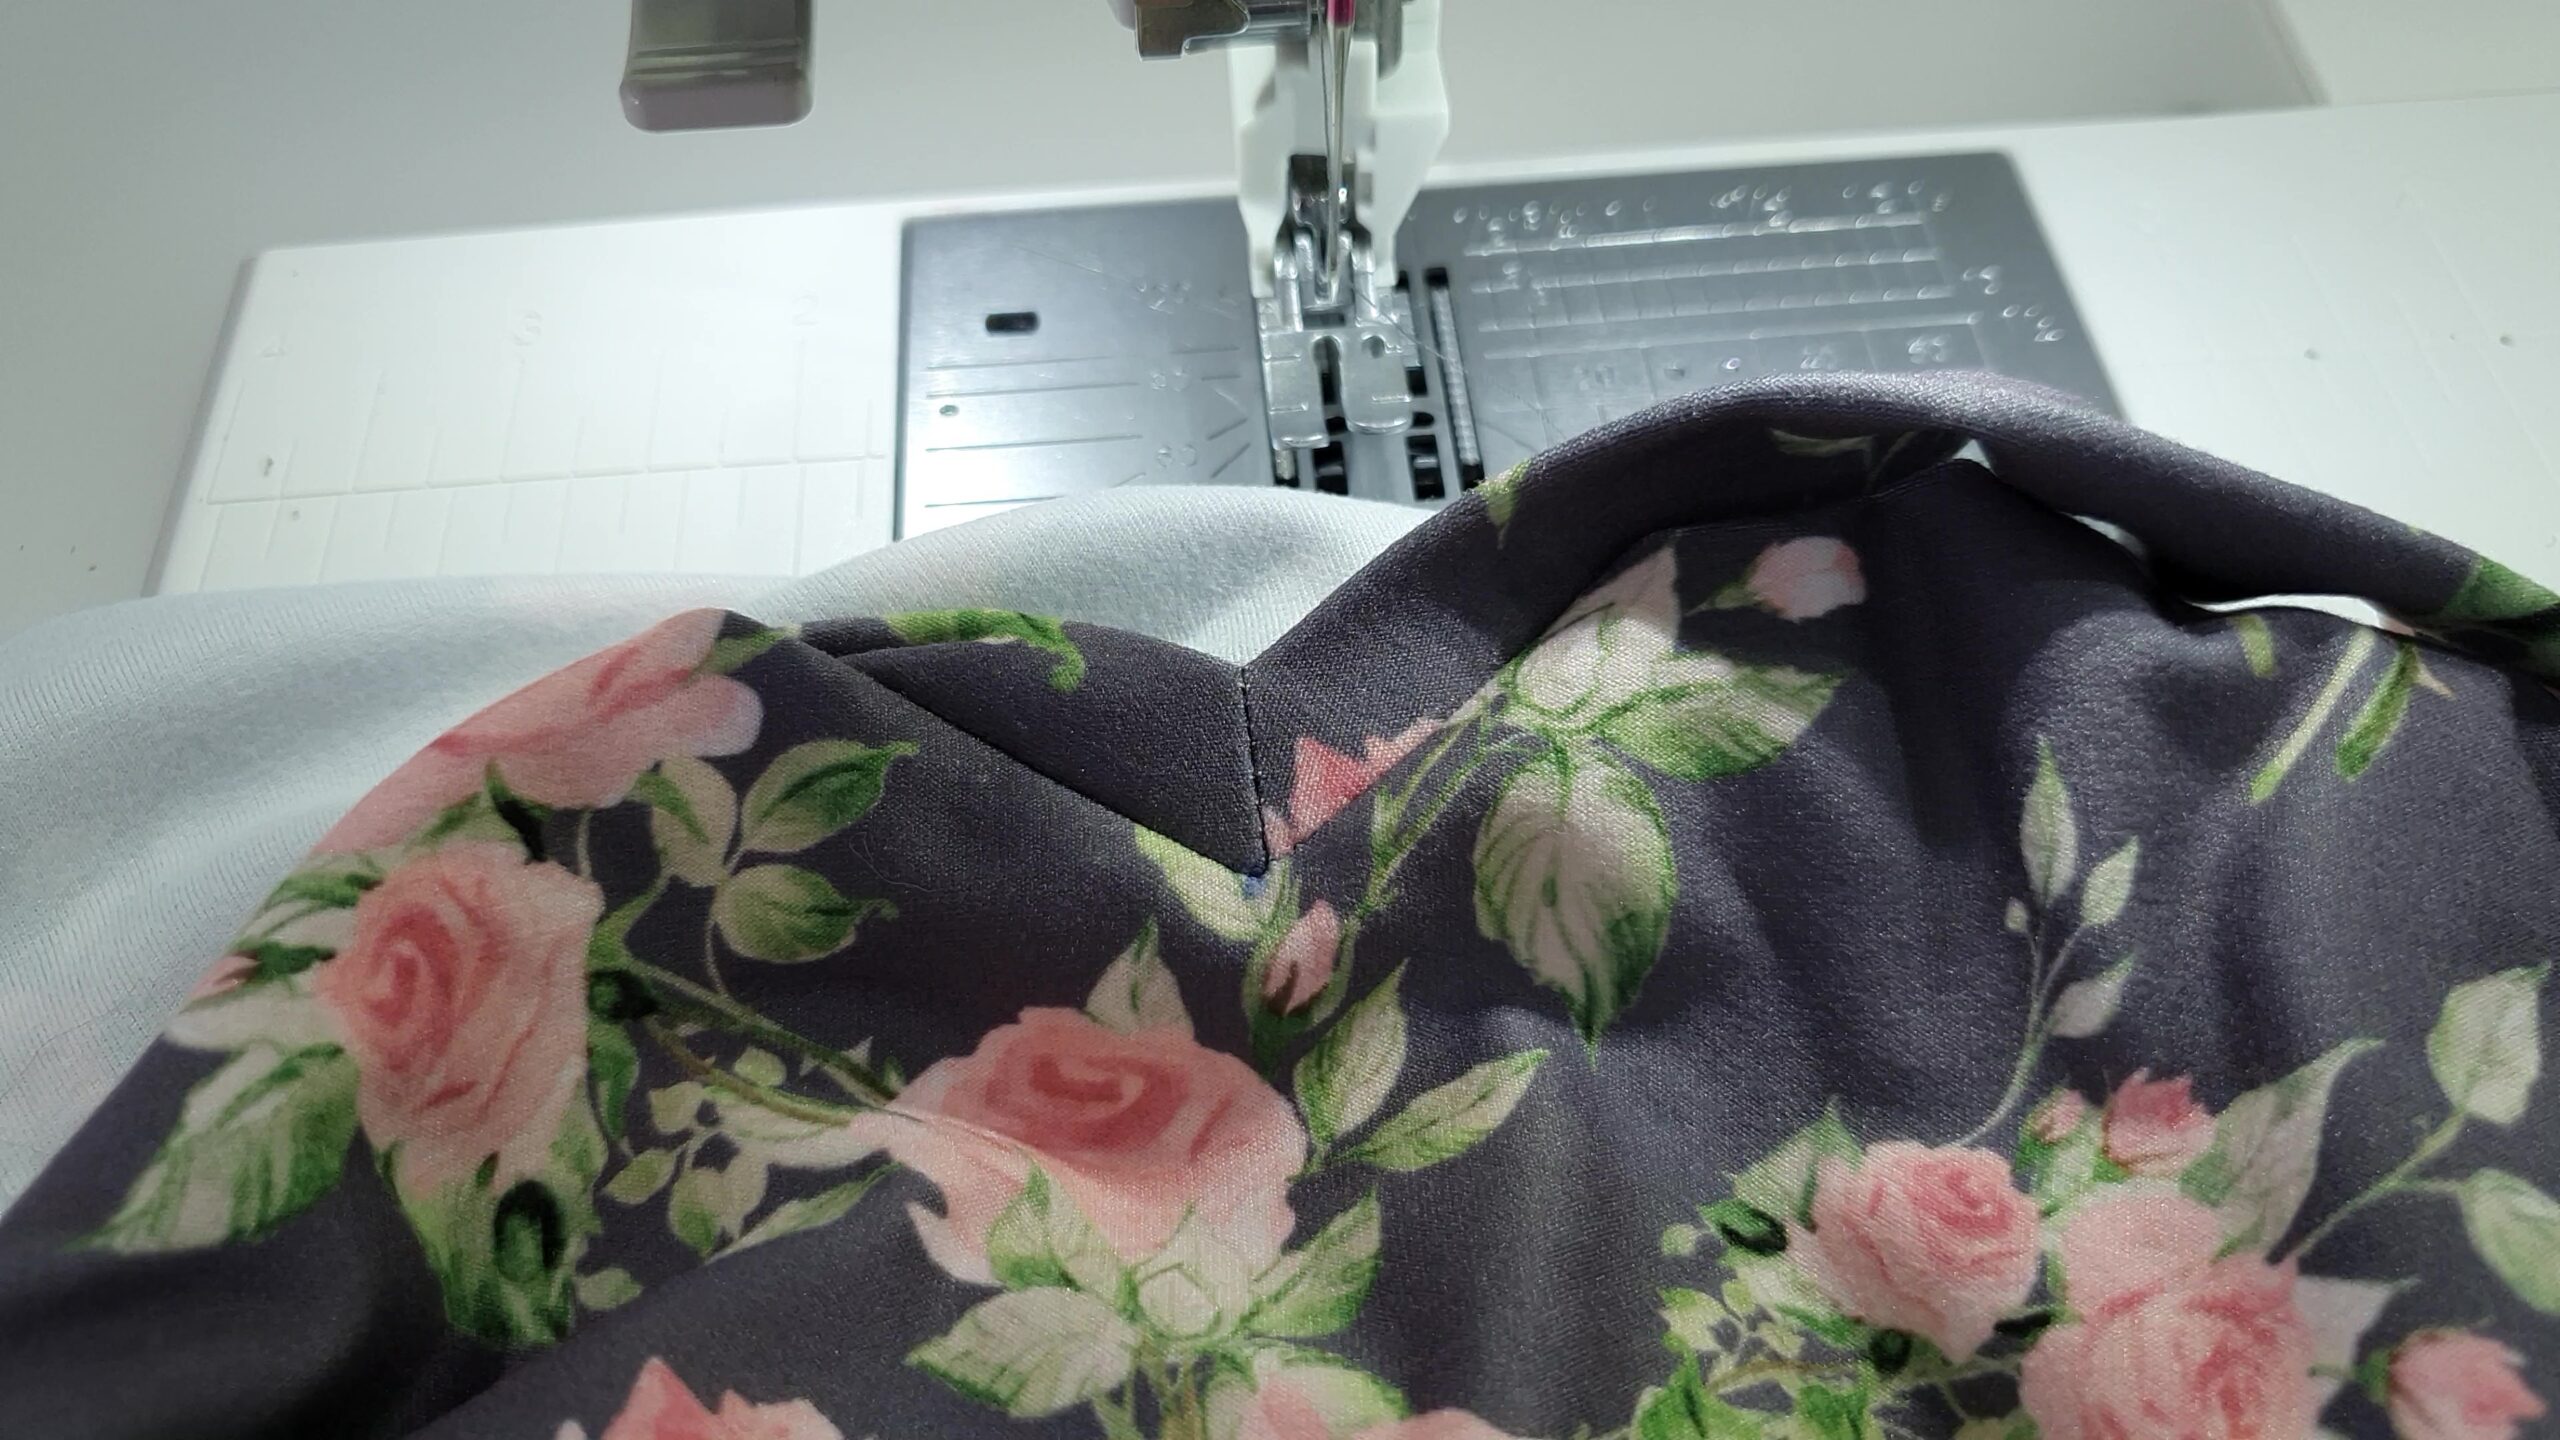
Turn the fabric over and admire your handywork.
If you’d like to serge the neckband on instead of using the sewing machine, make sure you start from
the V neck and don’t cut any of the seam allowance for about 1″, so you don’t accidentally ruin all your
previous work. It should look like this when you’re done:
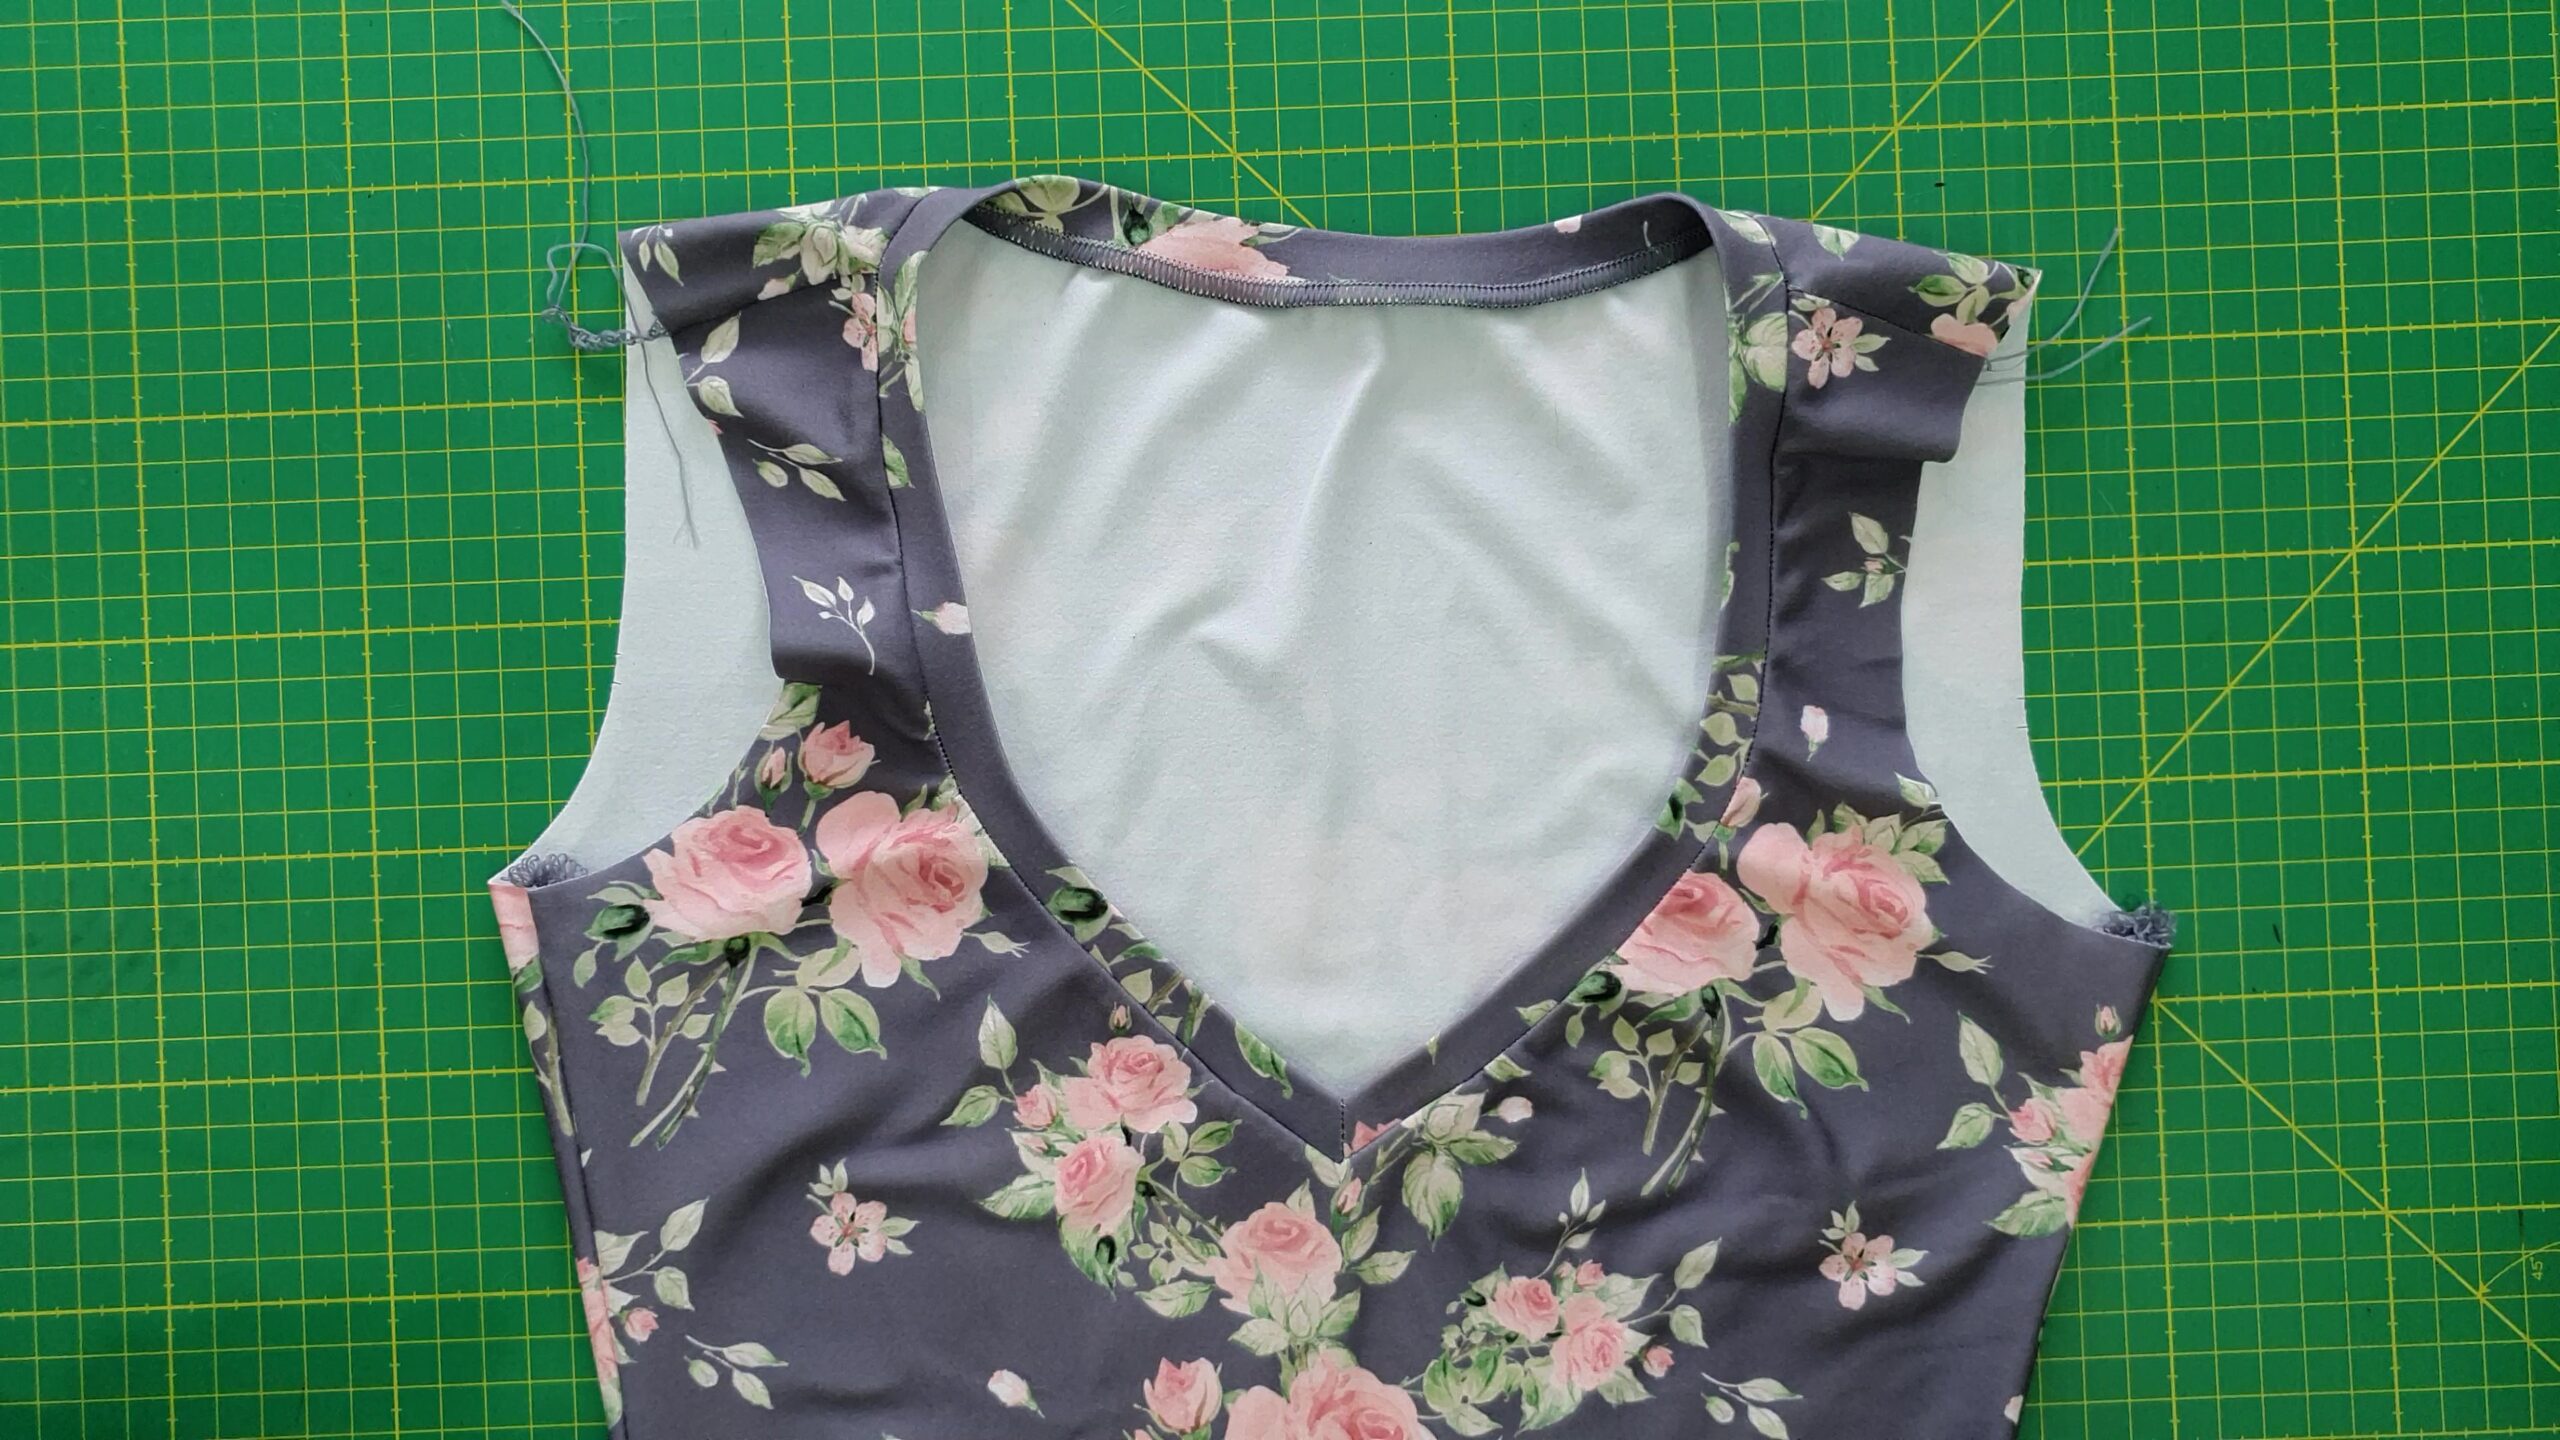
Press well and enjoy wearing it!