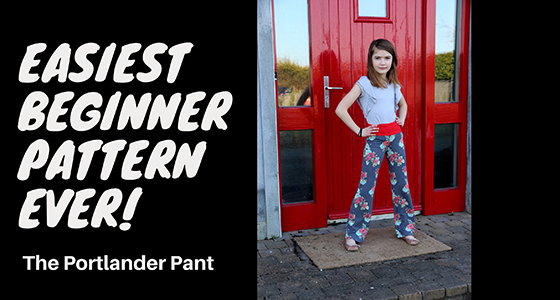
Today we are sharing the easiest pattern ever! Portlander Pants. The Portlander pants come in women’s and girl’s sizing. The construction is the same so this tutorial will work for both patterns.
This site contains affiliate links to products. We may receive a commission for purchases made through these links.
Brother Serger|Fabric Clips|Thread Rack|Cutting Mat|Rotary Cutter|Wash Away Tape|

Hi, I’m Amanda from DerivingMommyhood and want to share an easy pattern for beginner sewists. This is one of my favorites to make, even as a non-beginner because it’s such a quick and satisfying project, and beyond comfortable to wear.
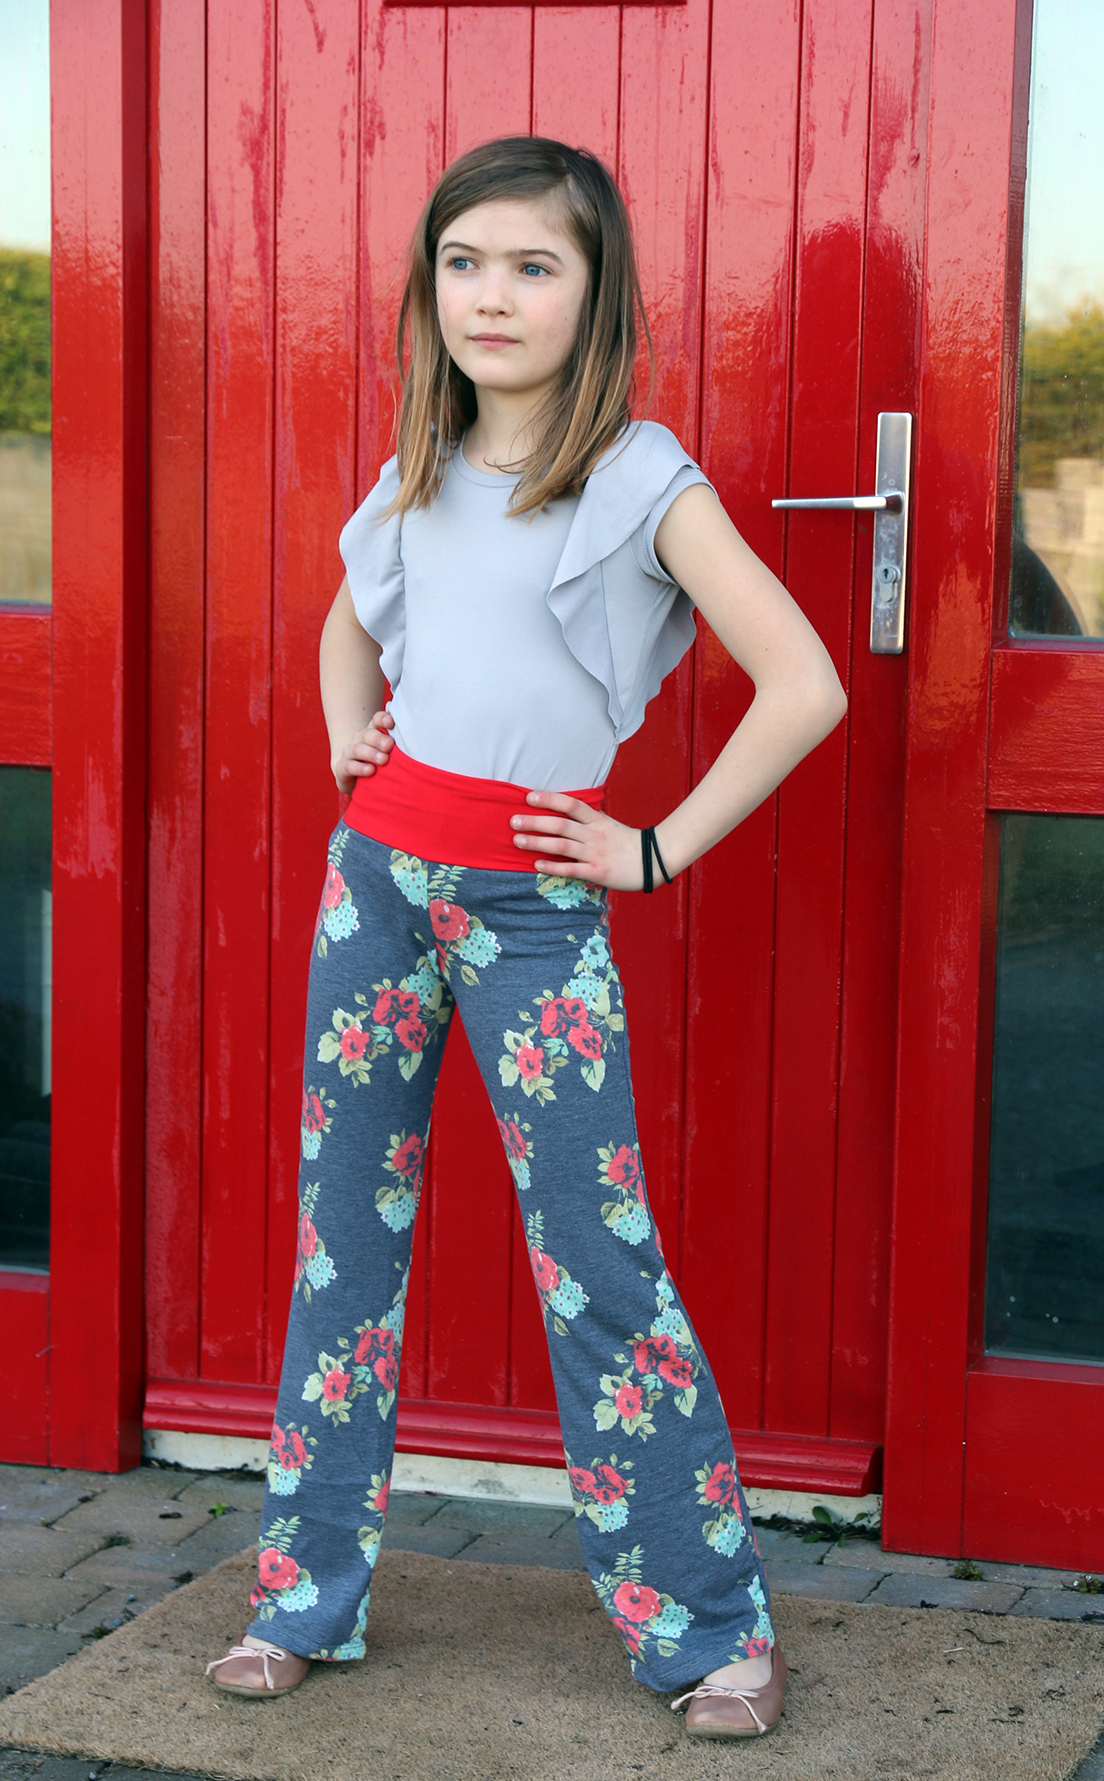
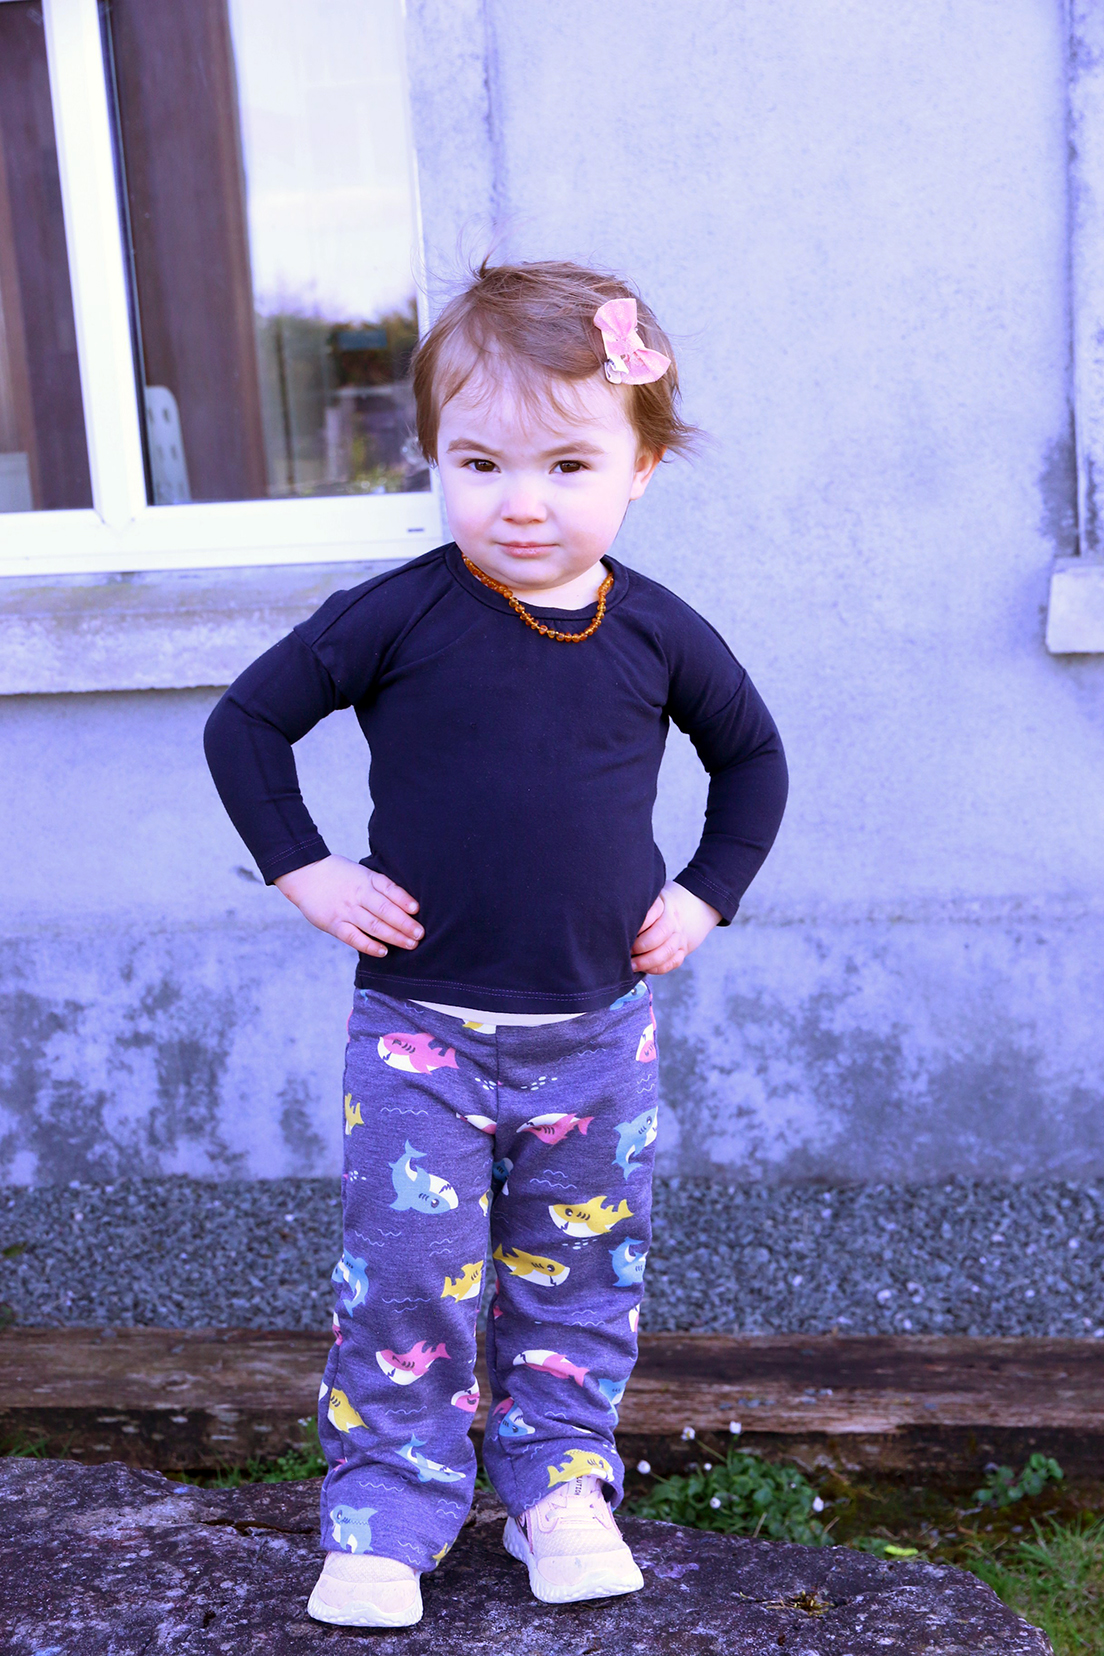
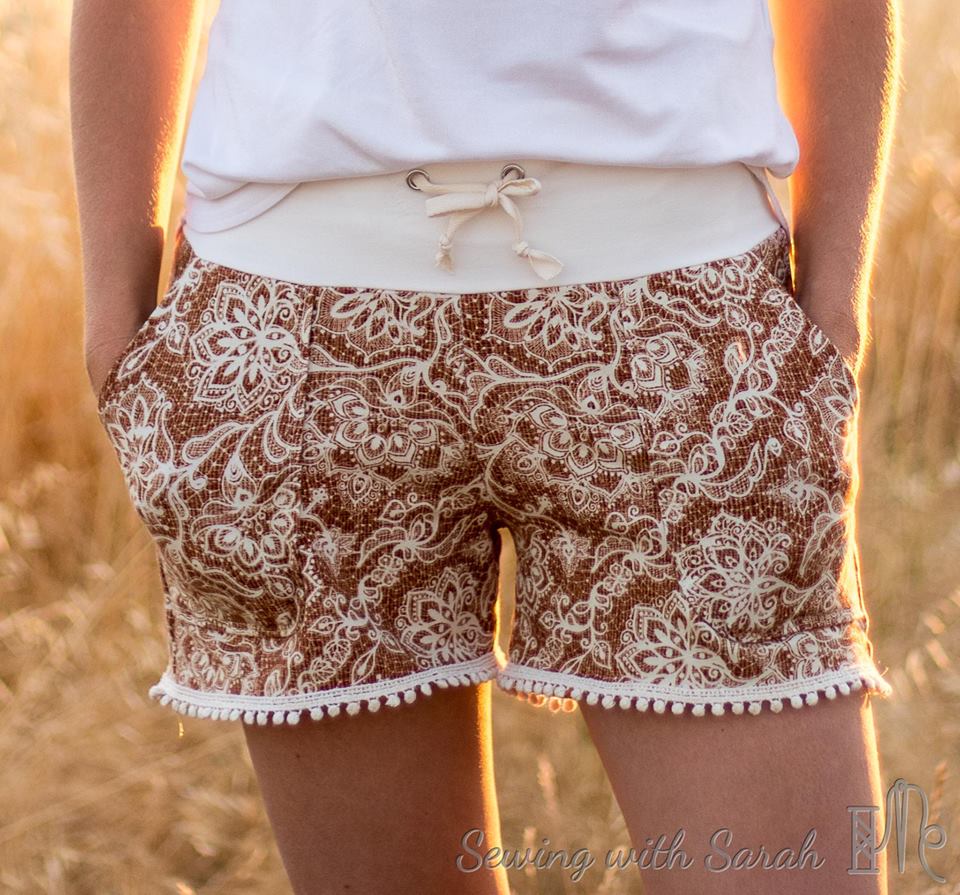
The Portlander Pants are a New Horizons Designs staple. Classic loungewear style yoga pant that can be made for pajamas, lounging, activewear, or I’ve even seen some in faux denim or ponte that look great for the office! There’s a shorts or pants option, pockets or not, and drawstring or not but for this post I’ll share the most basic pants version, no pockets or drawstring. Here is an example of the shorts version with drawstring and pockets.
Choosing Fabric
First, fabric can make or break your first project. It’s important to choose something that will work for the pattern you’re using, and not be too difficult for you to work with.
Fabric for Pants
The pants portion of the pattern calls for at least 35% stretch horizontally. You can calculate that by stretching a 10cm/4in strip of your fabric, make sure it reaches at least 13.5cm/5.4in (more is fine too!!) Some great choices are French terry (model or poly rayon spandex blends will give you good drape, cotton lycra ones will be a bit more structured and stiff looking), double brushed polyester, modal, bamboo lycra, or cotton lycra.
Fabric for the waistband
For the waistband, you need to choose something with great recovery, meaning it bounces back after it’s stretched, and it must have at least 50% stretch. Without choosing the right fabric, your pants won’t stay up as there’s no elastic and it relies on the lycra/elastane content of the fabric itself. Some good choices are double brushed polyester, cotton lycra, athletic knit, or some tubular ribbings (though not all would have the necessary recovery). Also, always remember to prewash your fabrics how you plan to wash the finished garment! I’ll use poly rayon spandex French terry for the pants and cotton lycra for the waistband for the version you’ll see here.
Cutting your fabric
Now that we have fabrics chosen, print and ready your pattern pieces and let’s get cutting! You will need the pants front, pants back, and waistband. For the waistband, you will cut your piece on the fold. Make sure your stretch is going the right direction!
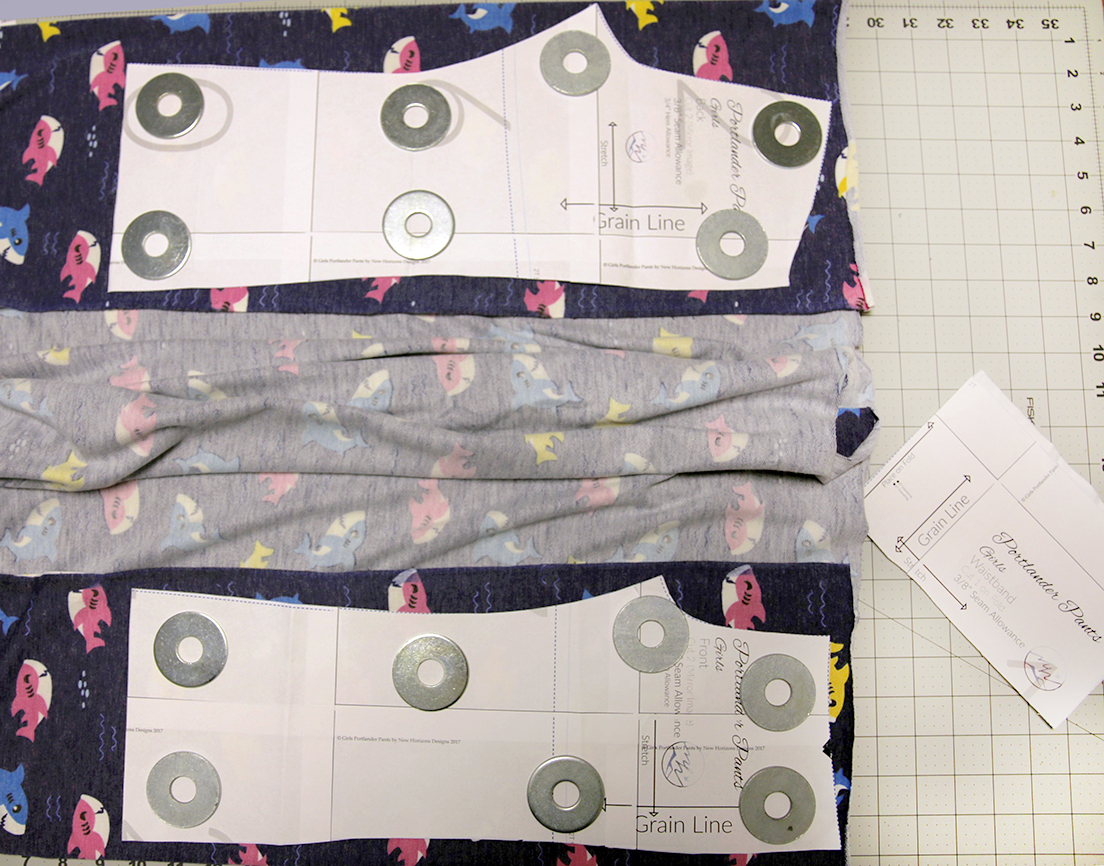
You’ll also cut the front and back pants pieces with the fabric folded in half so that you have two mirror image pieces after you cut. Don’t forget to check to make sure your fabric doesn’t have a direction so that your design isn’t upside-down. Also, you’ll want to make sure the stretch is going across once again, and that the grainline marking on your pattern piece is perfectly parallel with your selvage (the factory edge on the fabric). Cutting them off grain will compromise your stretch and make them twist on your body as you wear them.
Sewing your pattern
Pattern pieces are ready to sew now! I’ll construct my pants on a serger (or overlocker if you’re on my side of the Atlantic) but you could also use a sewing machine. If choosing the sewing machine route, make sure that you use a stretch stitch for all seams. You could do zigzag (if it’s a narrow zig zag like 0.5 or 1.0 width and 3.0 length you can barely tell it’s not straight and it will still have decent stretch), lightning bolt stitch, or a triple stitch on your machine. For either the serger or the machine though you’ll want to make sure you are using a stretch/jersey/ballpoint needle for best results.
Pants legs
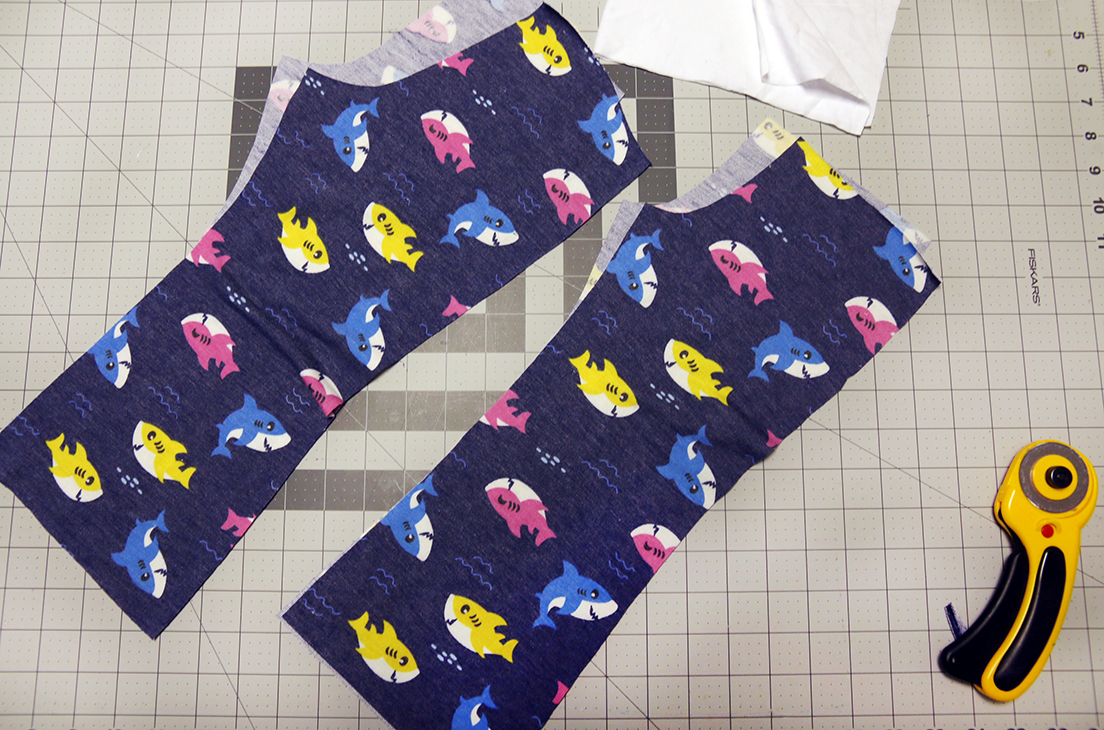
We will begin by sewing the outside legs together. Lay both back pieces right sides up, with crotch curve towards each other, and match the front leg pieces right side down on top. Pin or clip the outside leg seam, starting at the very top and very bottom and matching inbetween. Sew that seam.

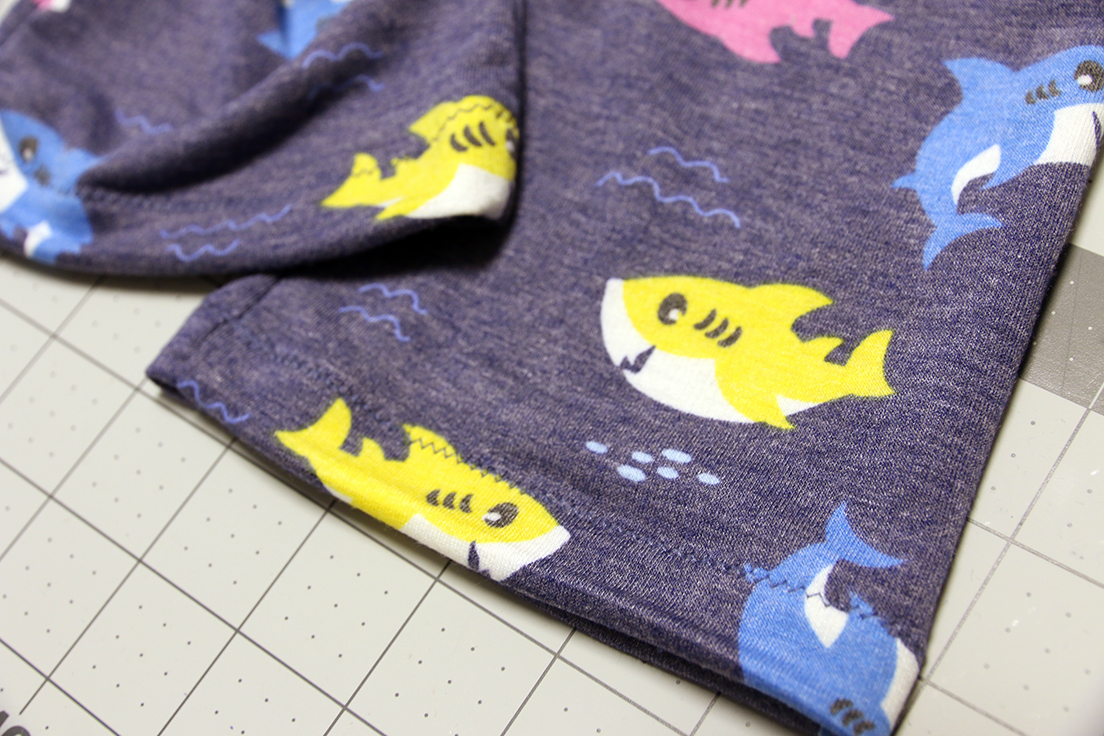
I like to pause here and press my hem now as it’s easier to do while it’s flat than when you’ve closed up both sides. Press your hem up 1” (making sure you use the right heat setting for your fabric or a presser cloth!! Test on a scrap first).
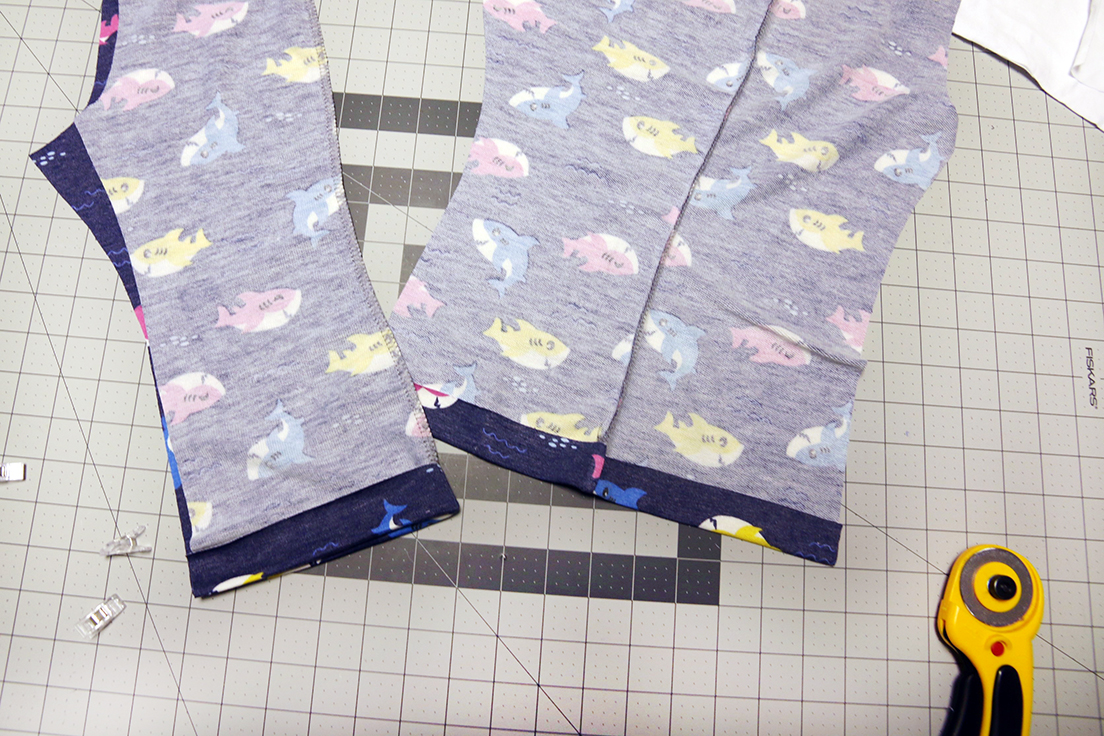
Now we are ready to sew the inseam. Keeping them inside out still, match the crotch point and the bottom of the hem first (unfold that crease you just made), and keep matching in-between until it is lined up nicely, then sew the other sides.
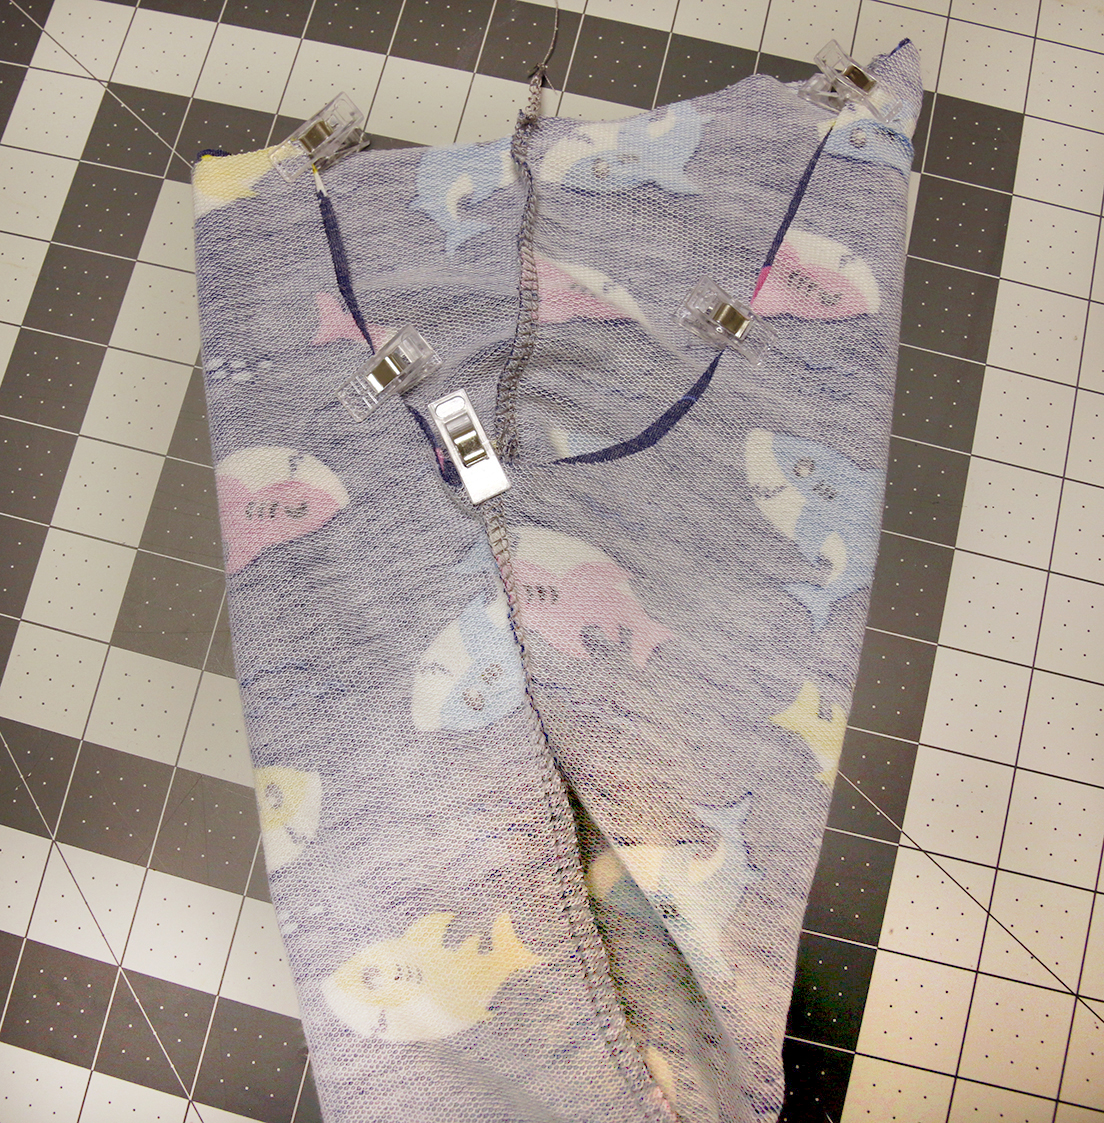
Now you’ll have two legs sewn up that look like long tubes. Turn one right side out, leave the other inside out.

Take the right side out one and put it inside the other, making sure the tops are matched up. You’ll have a u-shaped crotch curve for both legs that you will be matching up now. Start with the two inseam seams and nest those together (by pushing the seam allowances in opposite directions). Then match up the back and front and in-between. Sew that seam.
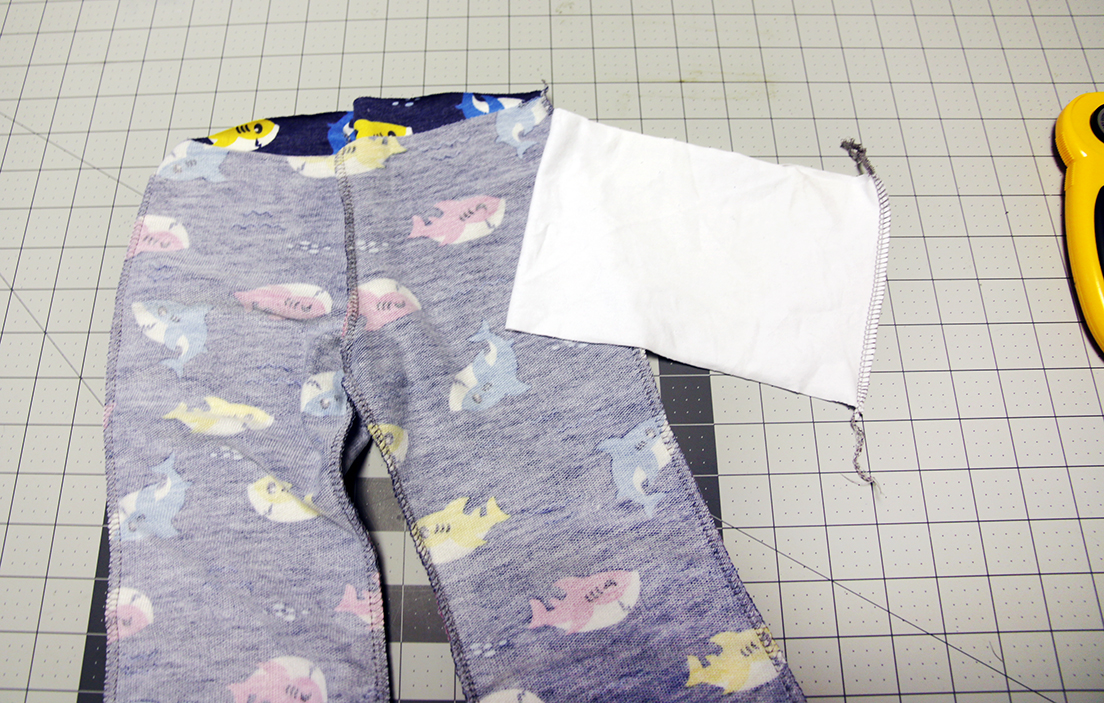
Attaching Waistband
We are ready for the waistband!! Keep it folded how it was when you cut it out, making sure the wrong side of your fabric is showing. Sew the short end so that you make a loop.
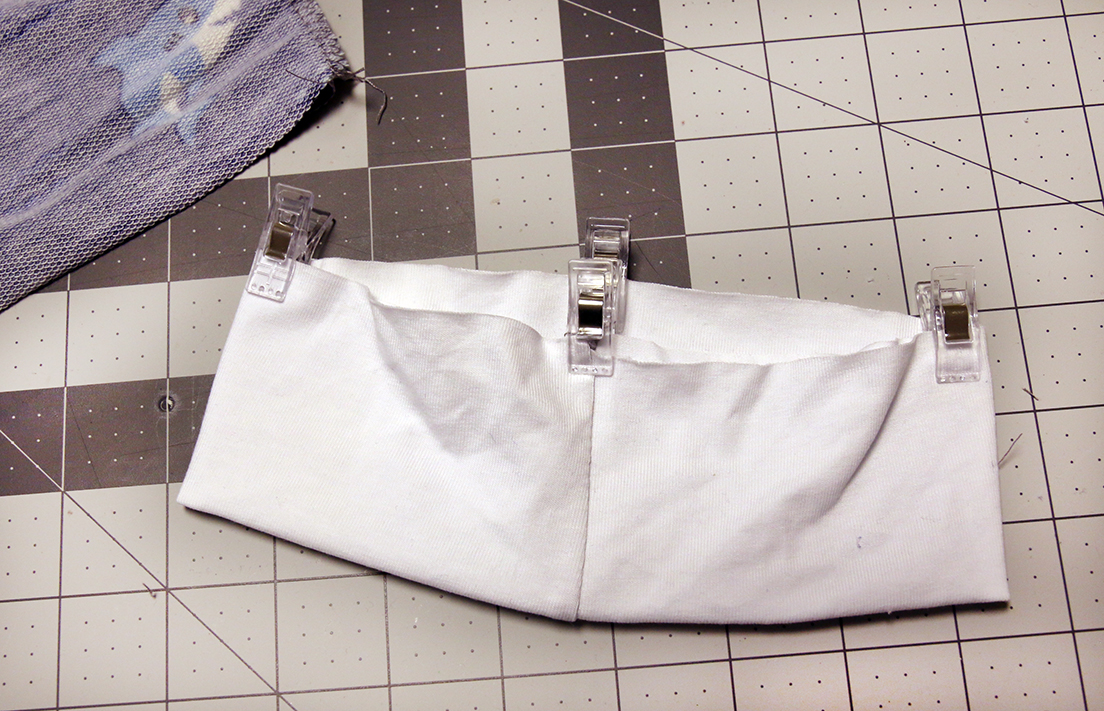
Now you will fold the band in half so that the wrong side is enclosed and the long edges are matched up. That raw edge is going to match up with the raw edge at the top of your pants. Find the point opposite the seam you have already sewn and mark with a pin, and find the halfway point between the front and back to mark with a pin as well.
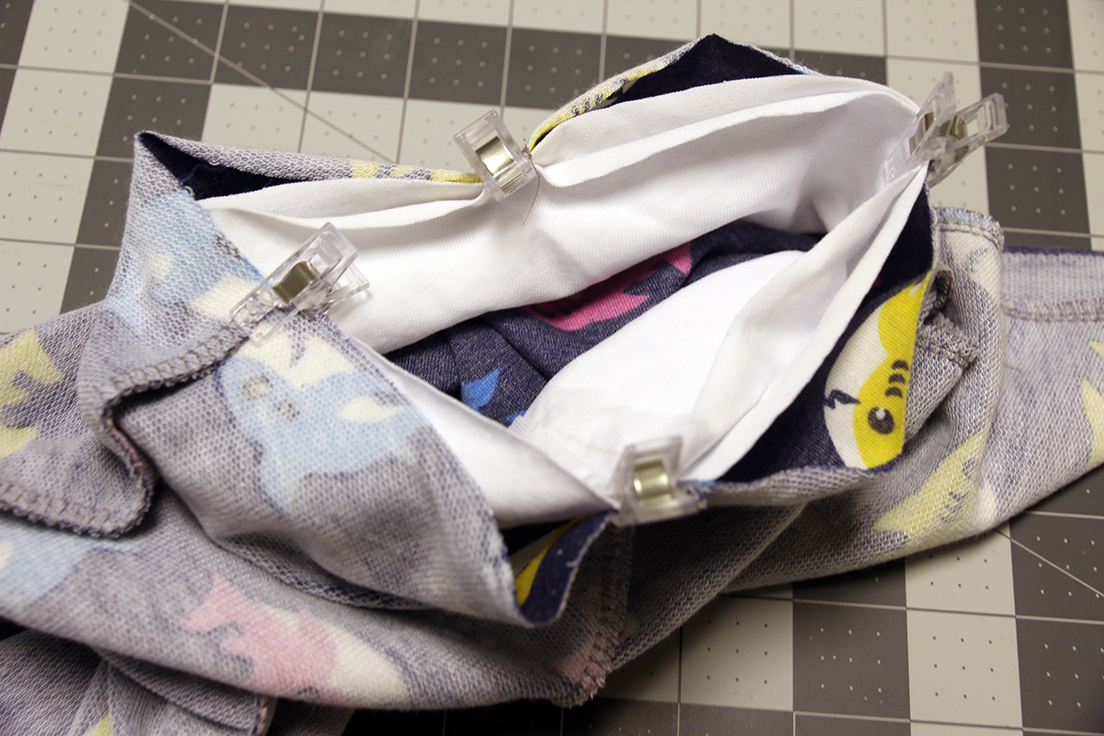
Take your pants, wrong side out, and match the back seam of the pants with the back seam of your waistband. (Note, the back seam will be the one that comes up higher than the front.) Next, match the front seam with the front of the waistband that you found earlier and the side seams with the pins in-between. Your waistband will be much smaller than your pants, and that’s on purpose. Stretch the waistband as you sew it on (but not the pants!). You can mark points in-between those others you have already if it helps keep things even.

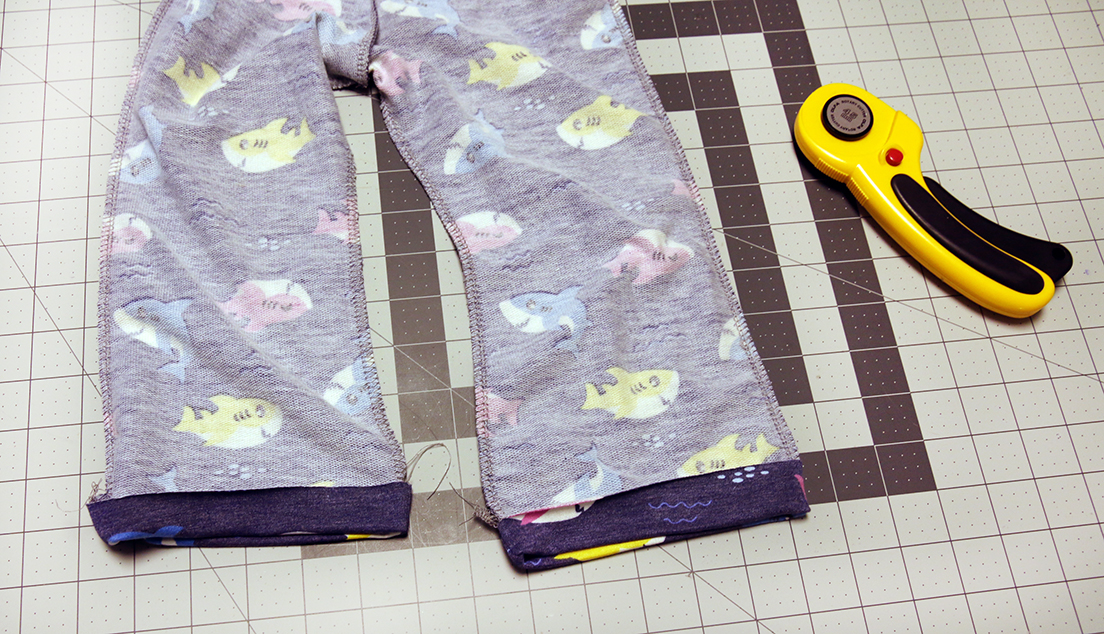
Last step! Hemming
Last, fold that crease you pressed at the bottom of your legs back into place. Stitch around to hem your pants. A zigzag stitch is a great choice!
Enjoy your new pants!! Don’t forget to share in the Facebook group or Instagram and tag us so we can see your amazing creation! And always ask if you’re stuck on a step. Happy sewing!!😊