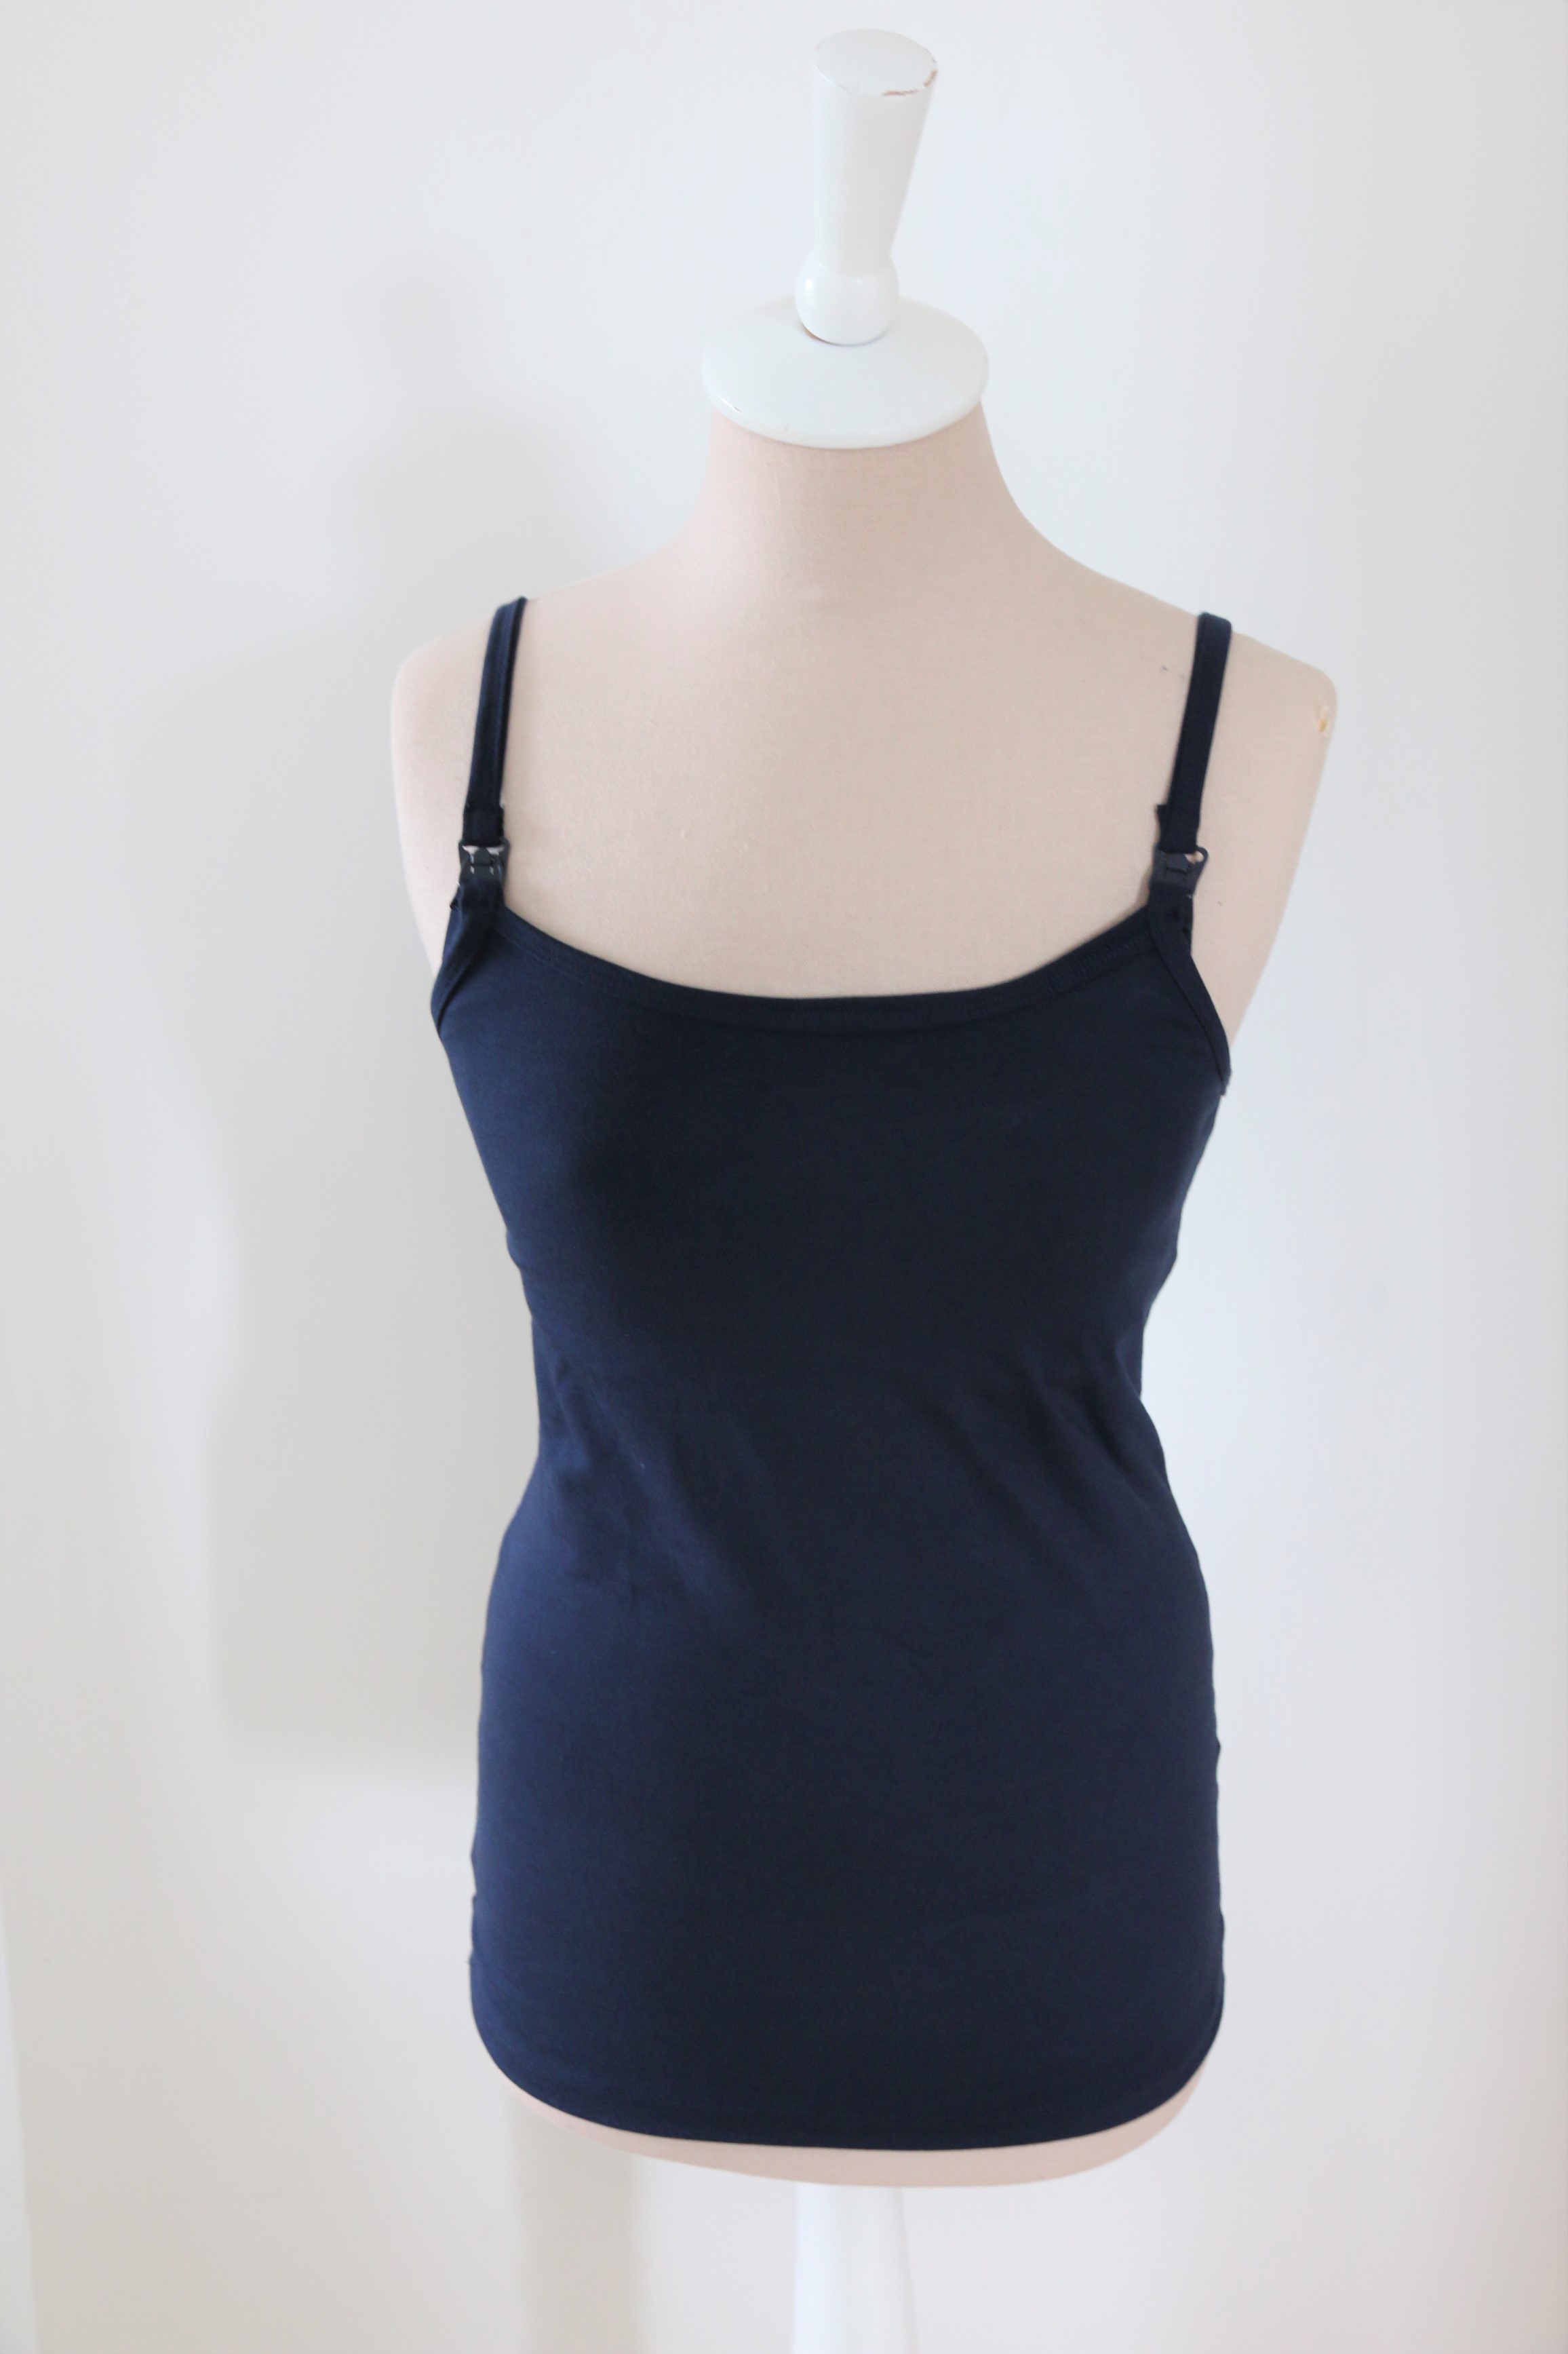
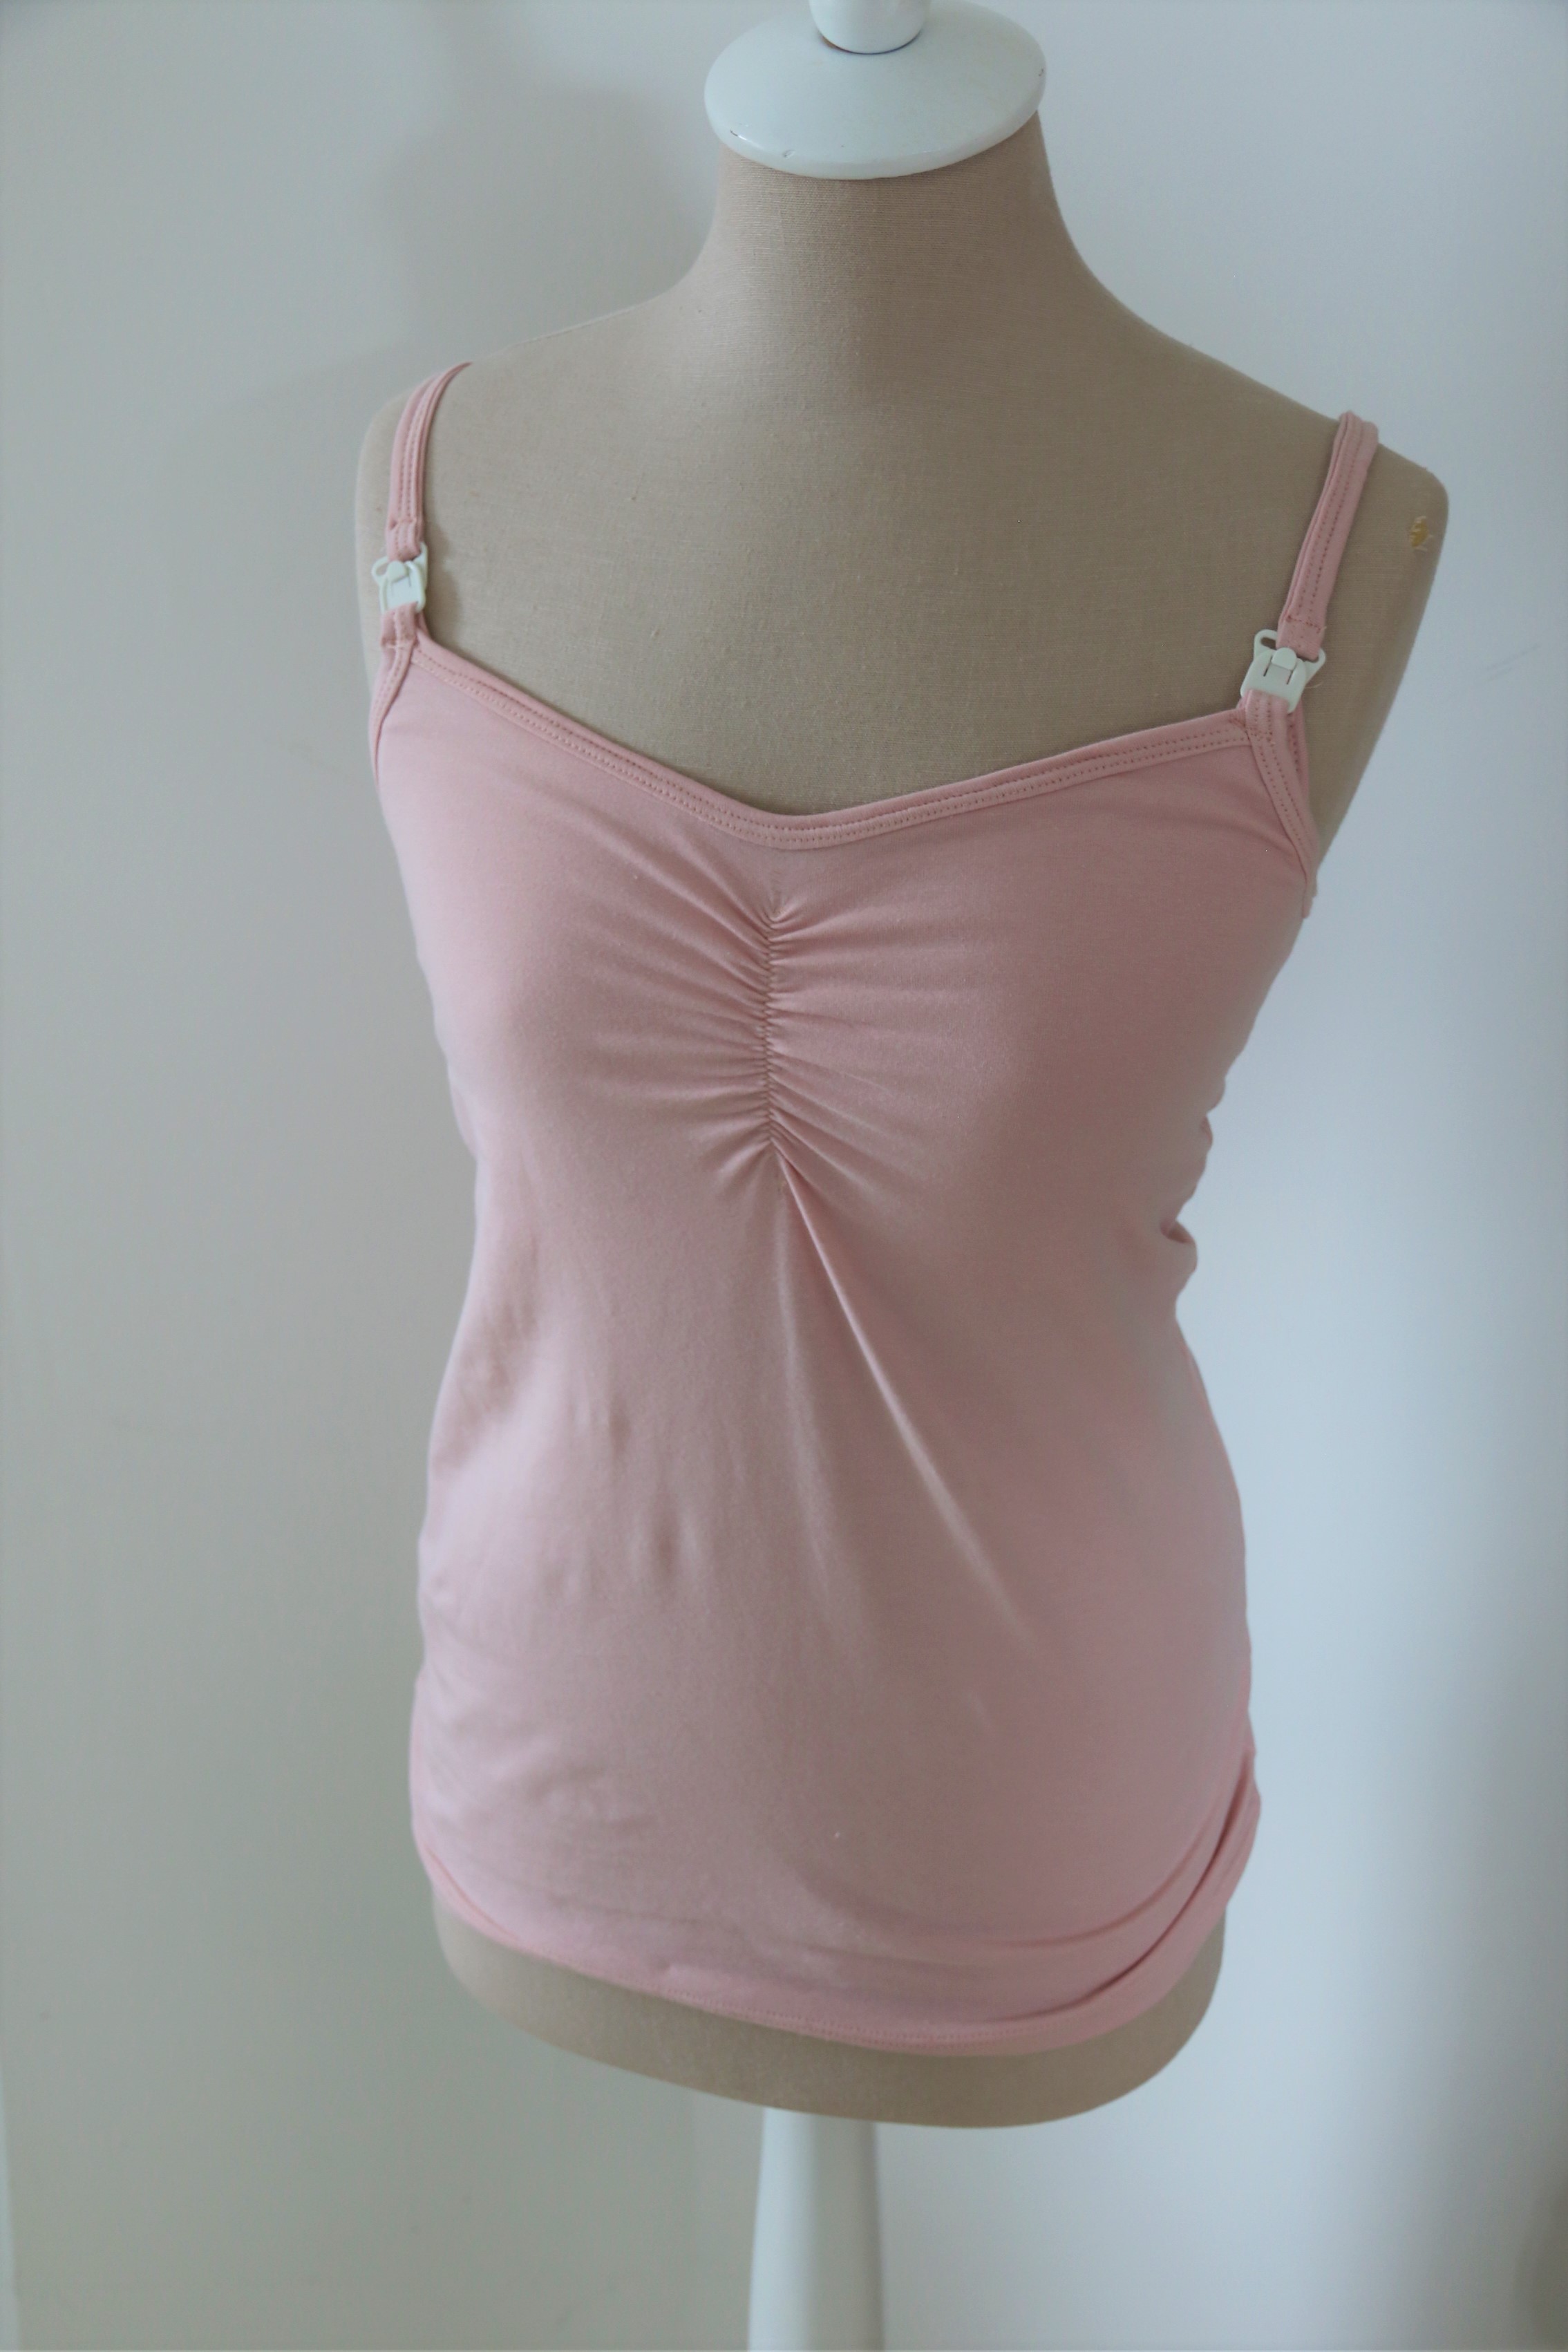
Let’s talk nursing camis!! Of course, the second I saw the Maui, I knew it would be my new go-to pattern for layering camis. My nursing camis are ill fitting, and kinda ugly….but get worn all the time as they are a staple to a nursing mom’s wardrobe. Today I’ll share how you can update these camis and have plenty to wear that fit and feel great!!

First up, the traditional nursing cami. Nursing clips are essential for this version, and can be purchased at fabric shops or online, or harvested from worn out tanks and bras. You’ll cut the front and back with their bindings from the pattern as usual, as well as the shelf bra front and back. You’ll need a couple more pieces though, and that would be the nursing layer for when you unclip the cami and some of your bindings will change a bit. Let’s start with the nursing layer….
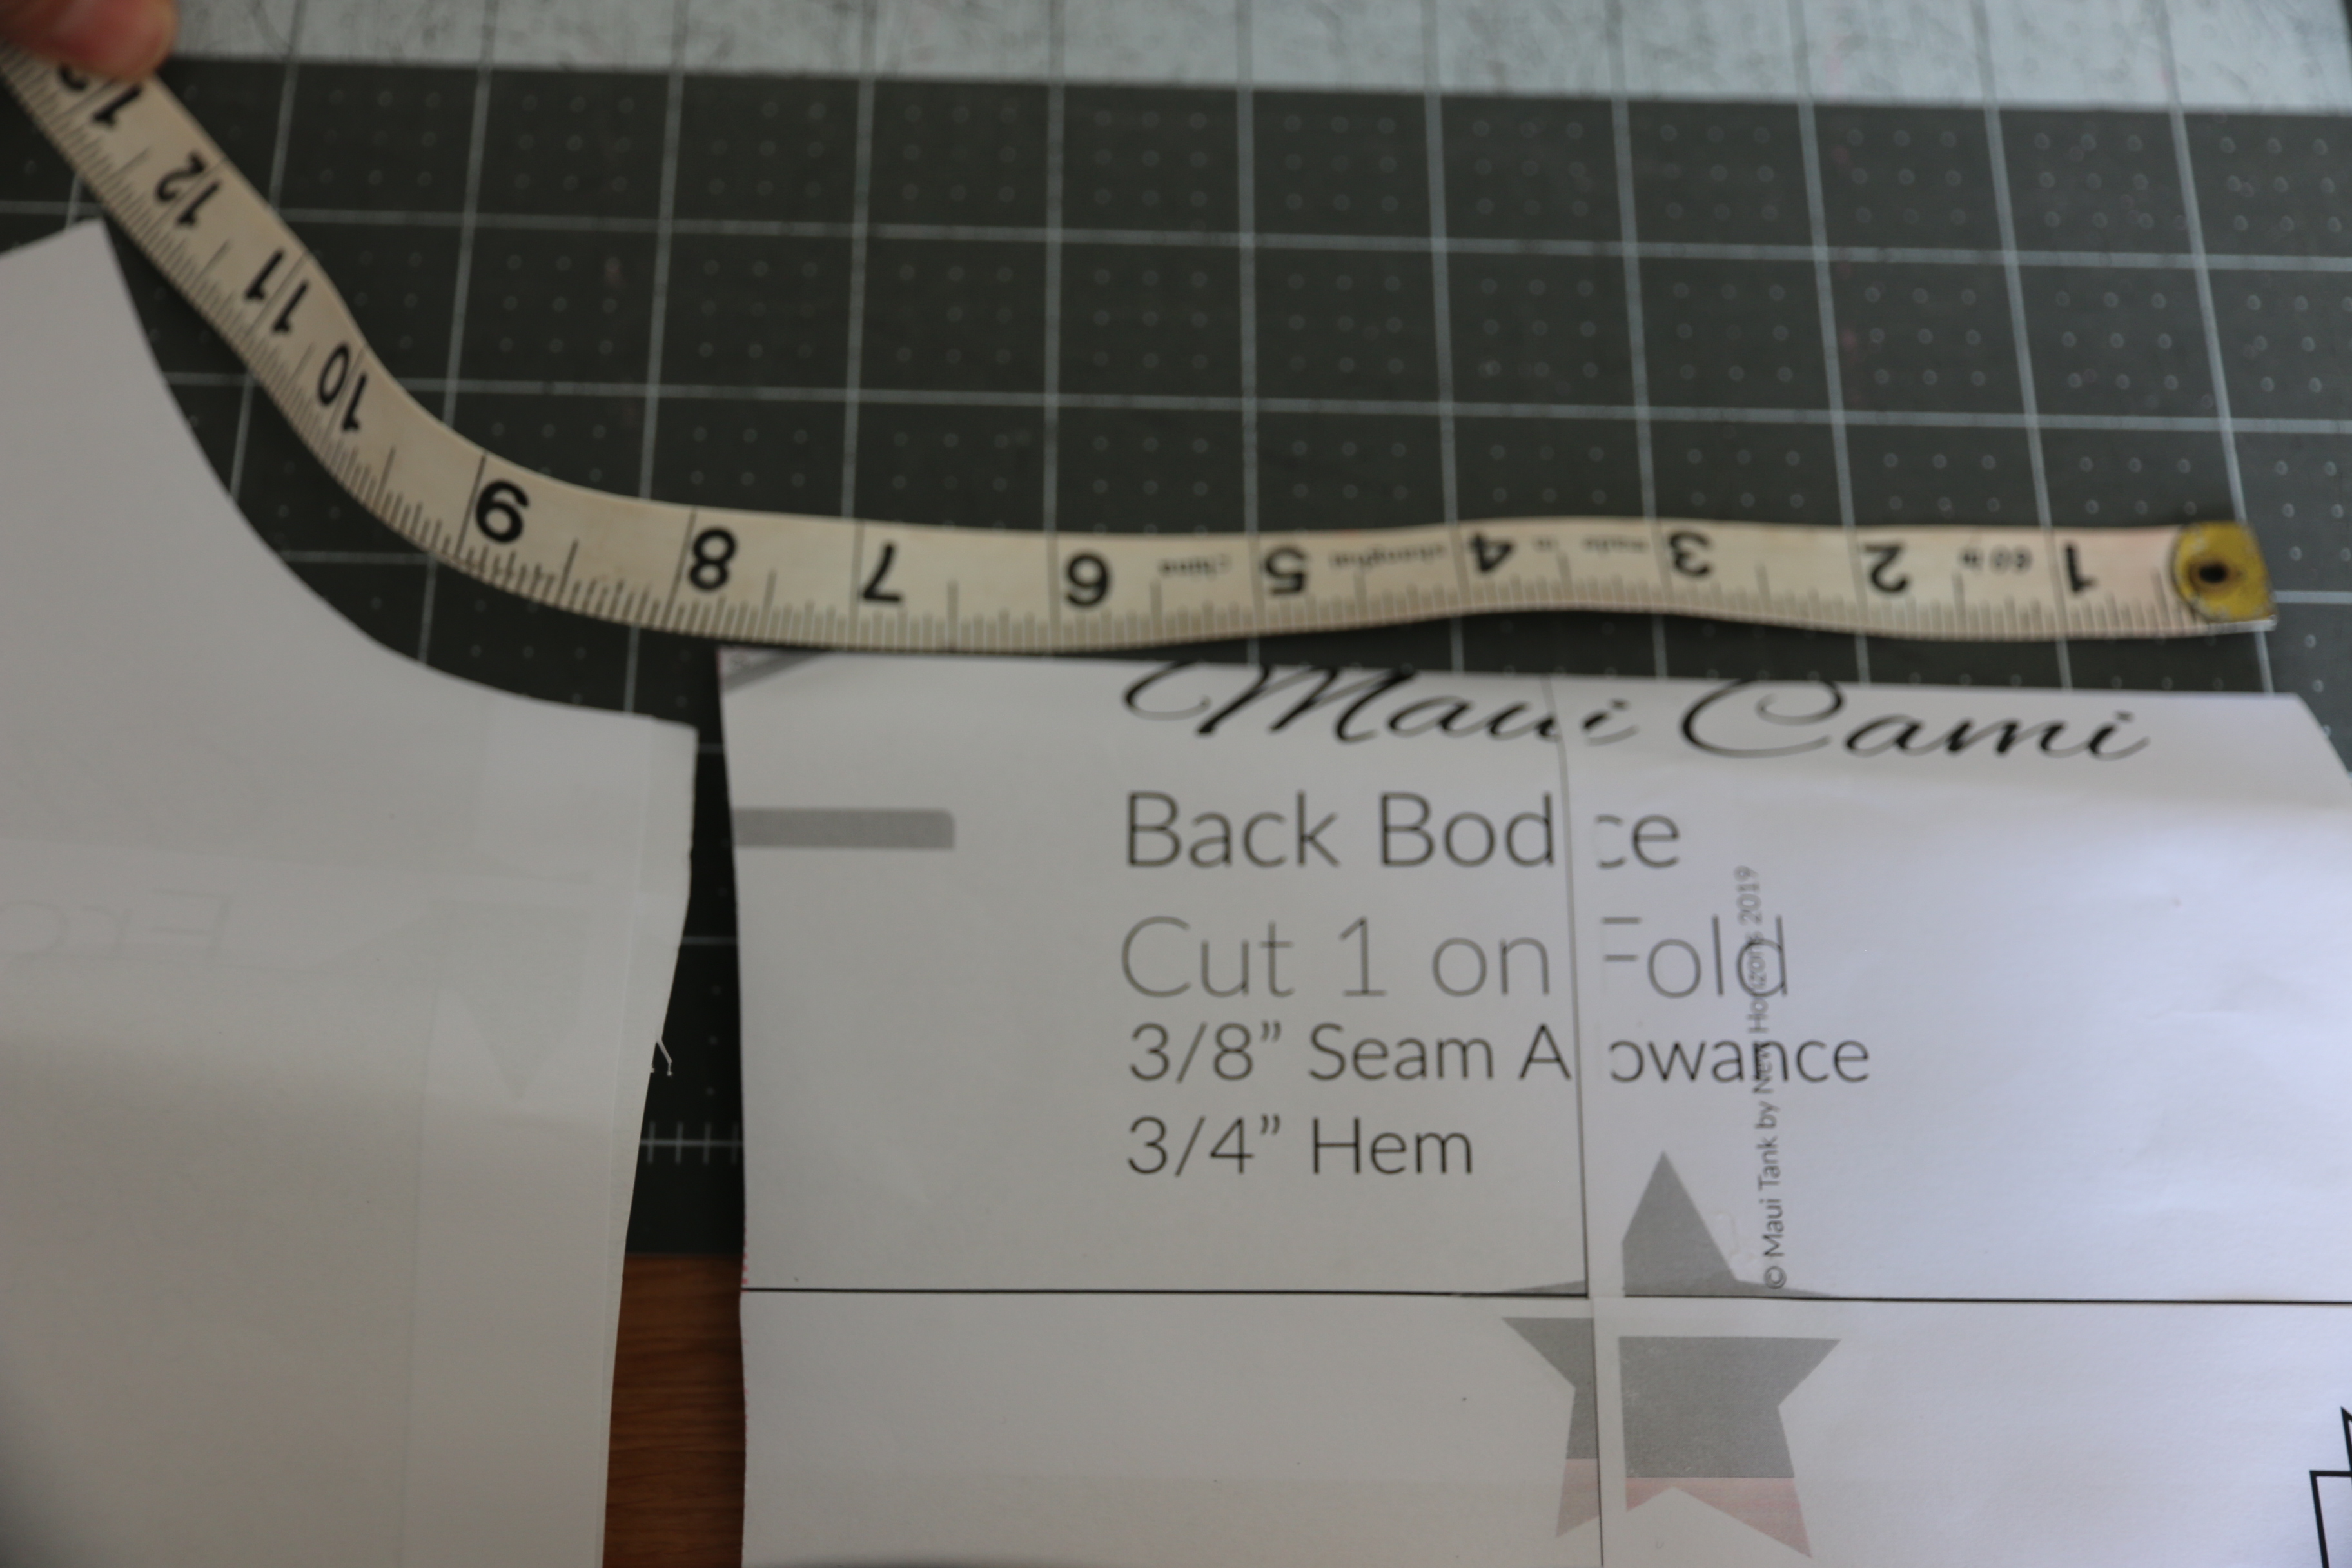
To draft the nursing layer, first I traced the front shelf bra pattern piece onto new paper. Transfer your grain and stretch markings to the bottom corner so you don’t lose them. Draw a horizontal line ¾” up from the bottom. Next measure in from the (new) bottom side seam 3/8” and mark. Draw a curve from here parallel to the existing side curve (this will ensure that the nursing layer stays hidden inside while wearing). From that mark, measure about 2.5” (or more for larger sizes if you prefer, I’m using a size 6). Now, you’ll draw a straight diagonal line from the inner line at the bottom to ¼” in from the line at the top. This diagonal line you’ll mark as a fold line. If you prefer, you could flip it along that line and trace a double piece instead of cutting on the fold, too. You’ll need two of these pieces cut, and they do not need to be in your main fabric. You might prefer something like swim lining or a lighter weight knit.

You’ll also need a new piece of binding for the underarm curve on this nursing layer piece, so measure along that curve and multiply by 0.9 for the length, adding an inch for attaching your nursing clip. I chose to do a single fold binding for this piece to reduce bulk so the width on mine is 1.25” rather than the 1.75” the rest of the bindings use. On this new piece, you might find it helpful to mark in the 1” to know where it ends on the pattern piece.
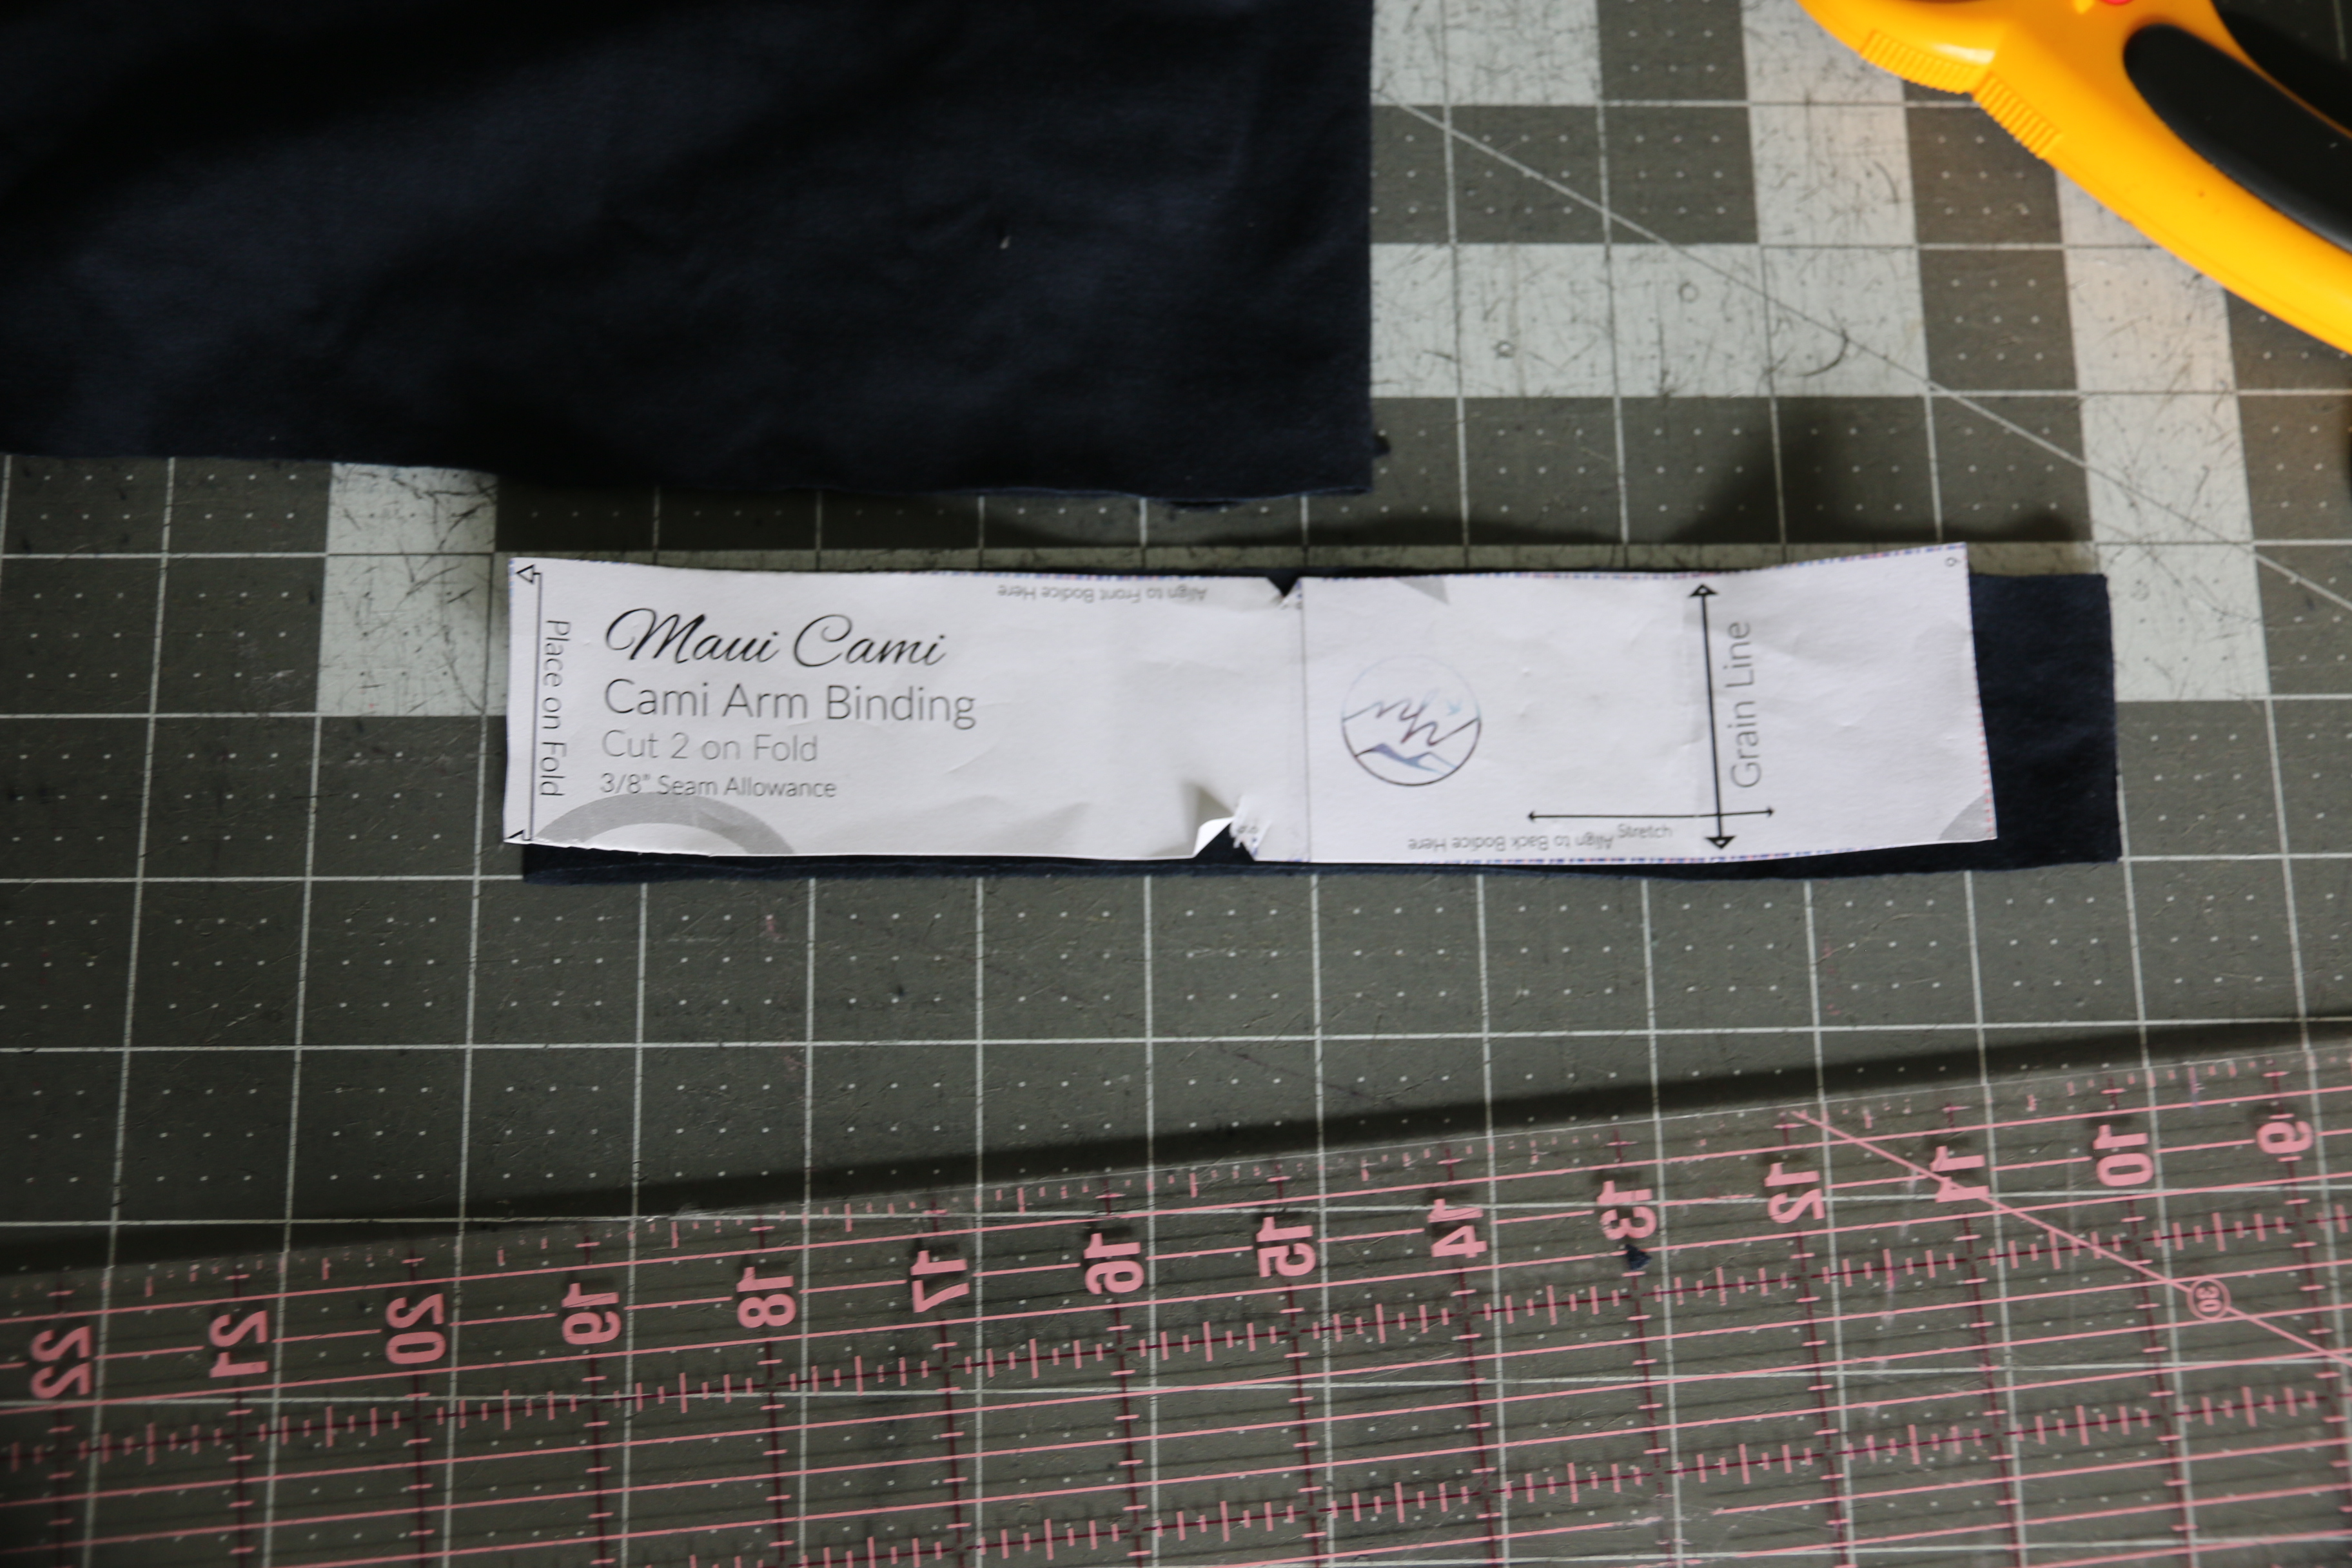
Your front and back bindings will remain the same, but your underarm/strap will change by adding two inches total, to attach the nursing clips on each end. You can also ignore the markings on the piece for front and back placement as they will change.
Okay, let’s start sewing!! You should have front and back main, front and back shelf bra, front and back bindings, nursing layer and nursing layer binding, and the strap bindings. I also very much like to use clear elastic at least in the straps to help stabilize them, and of course you’ll need those nursing clips!
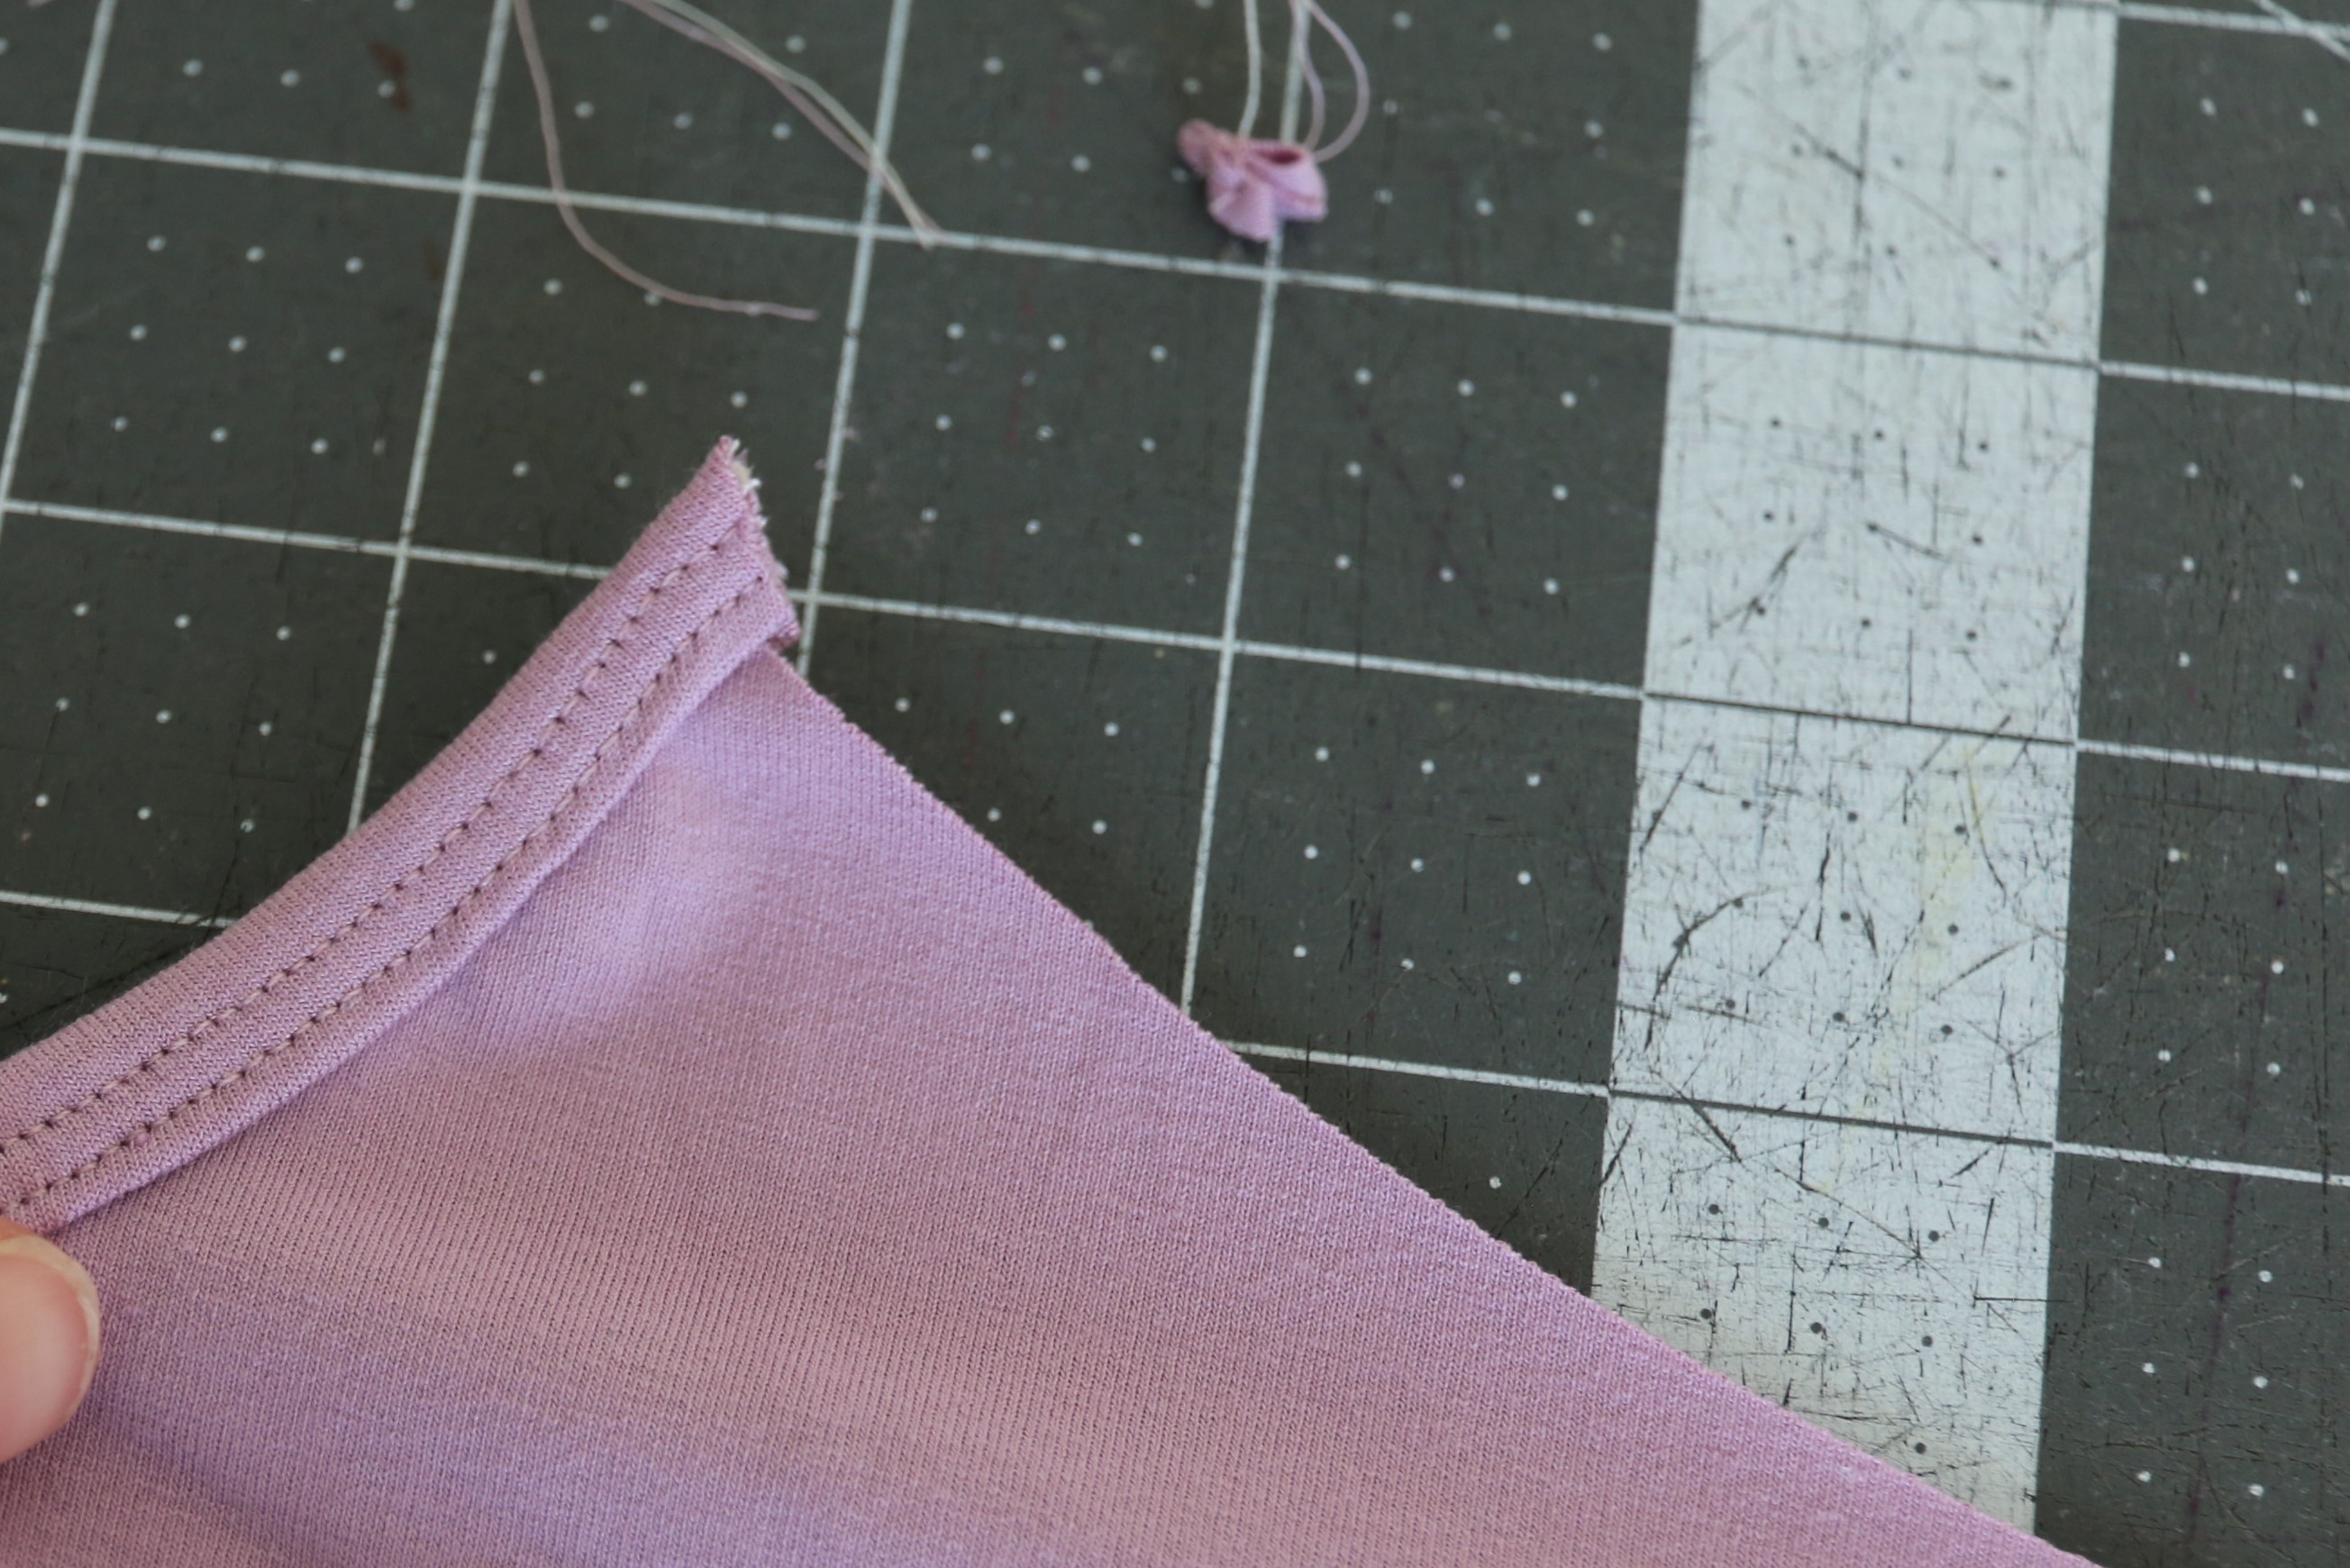
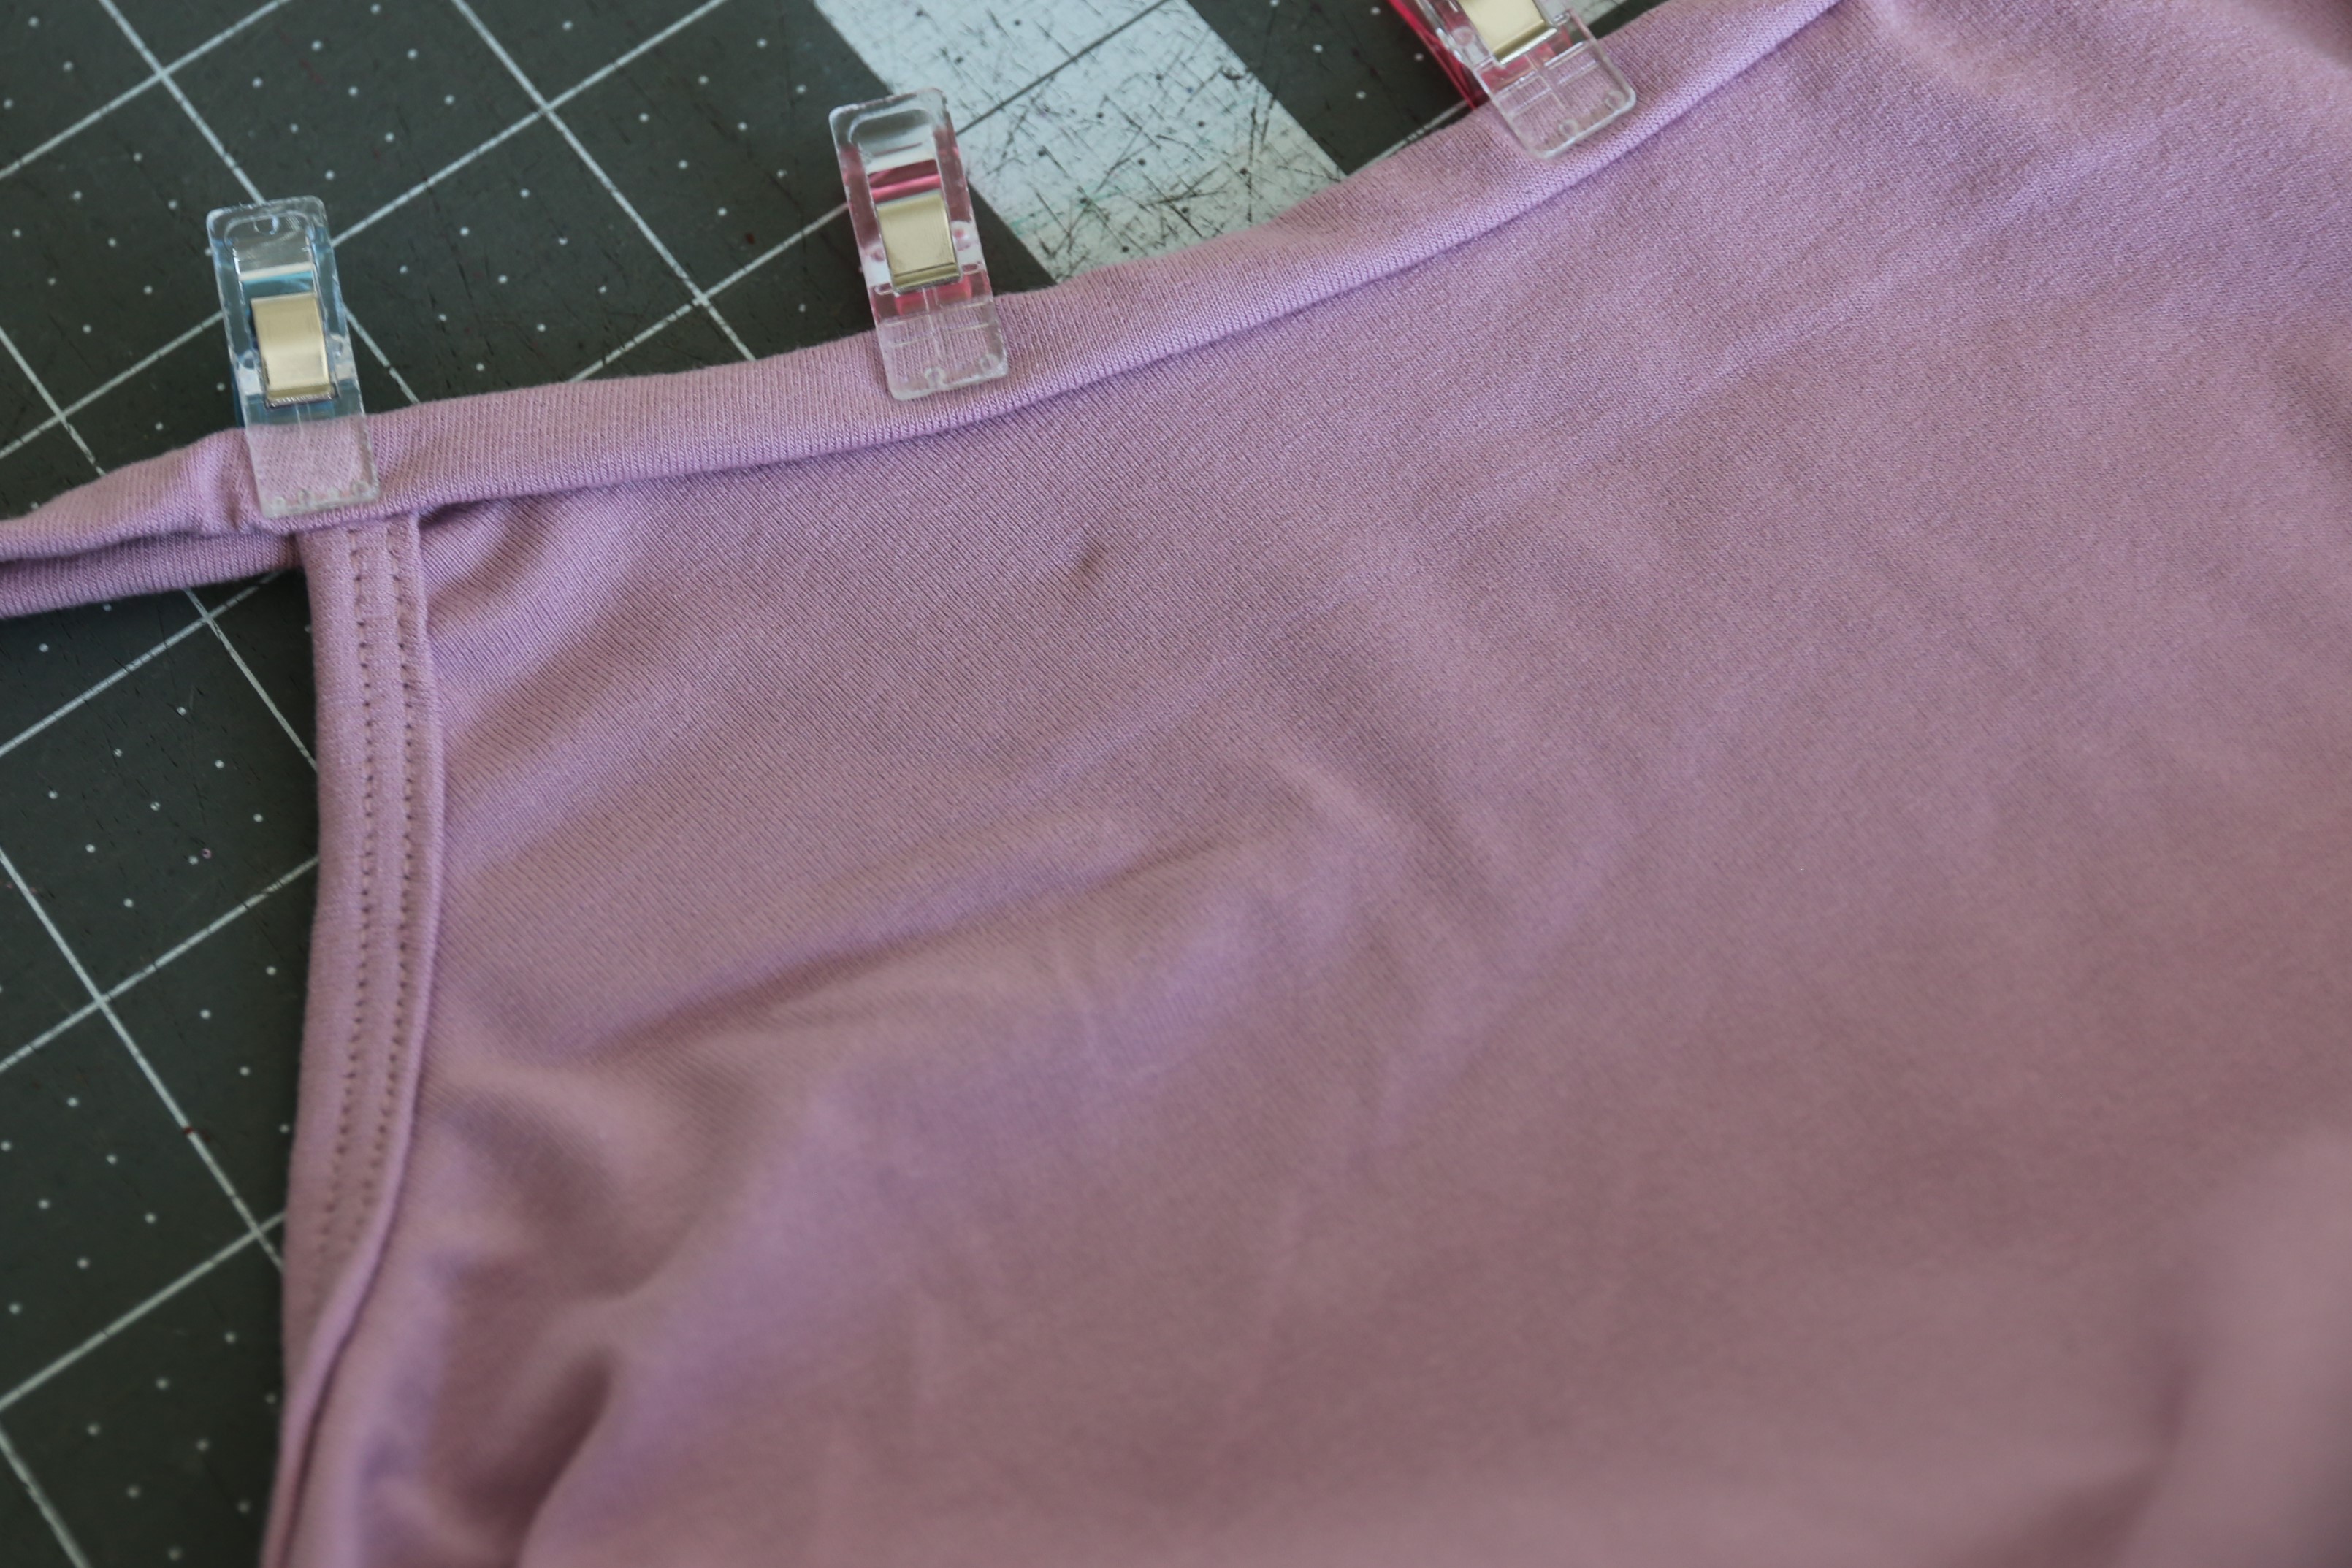
First, let’s deal with the nursing layer. With wrong sides folded together, bind the edge along the underarm curve. Make sure you have 1” at the top that goes beyond the nursing layer. The bottom raw edge will be enclosed in the shelf bra.
Next, you will sew up most of the cami following the pattern. Sew the side seams on the front and back pieces for both the tank and shelf bra. Next, you’re going to baste with wrong sides together along the front, back and underarm to treat those as one piece. Go ahead and bind the front and back following the pattern instructions as well.
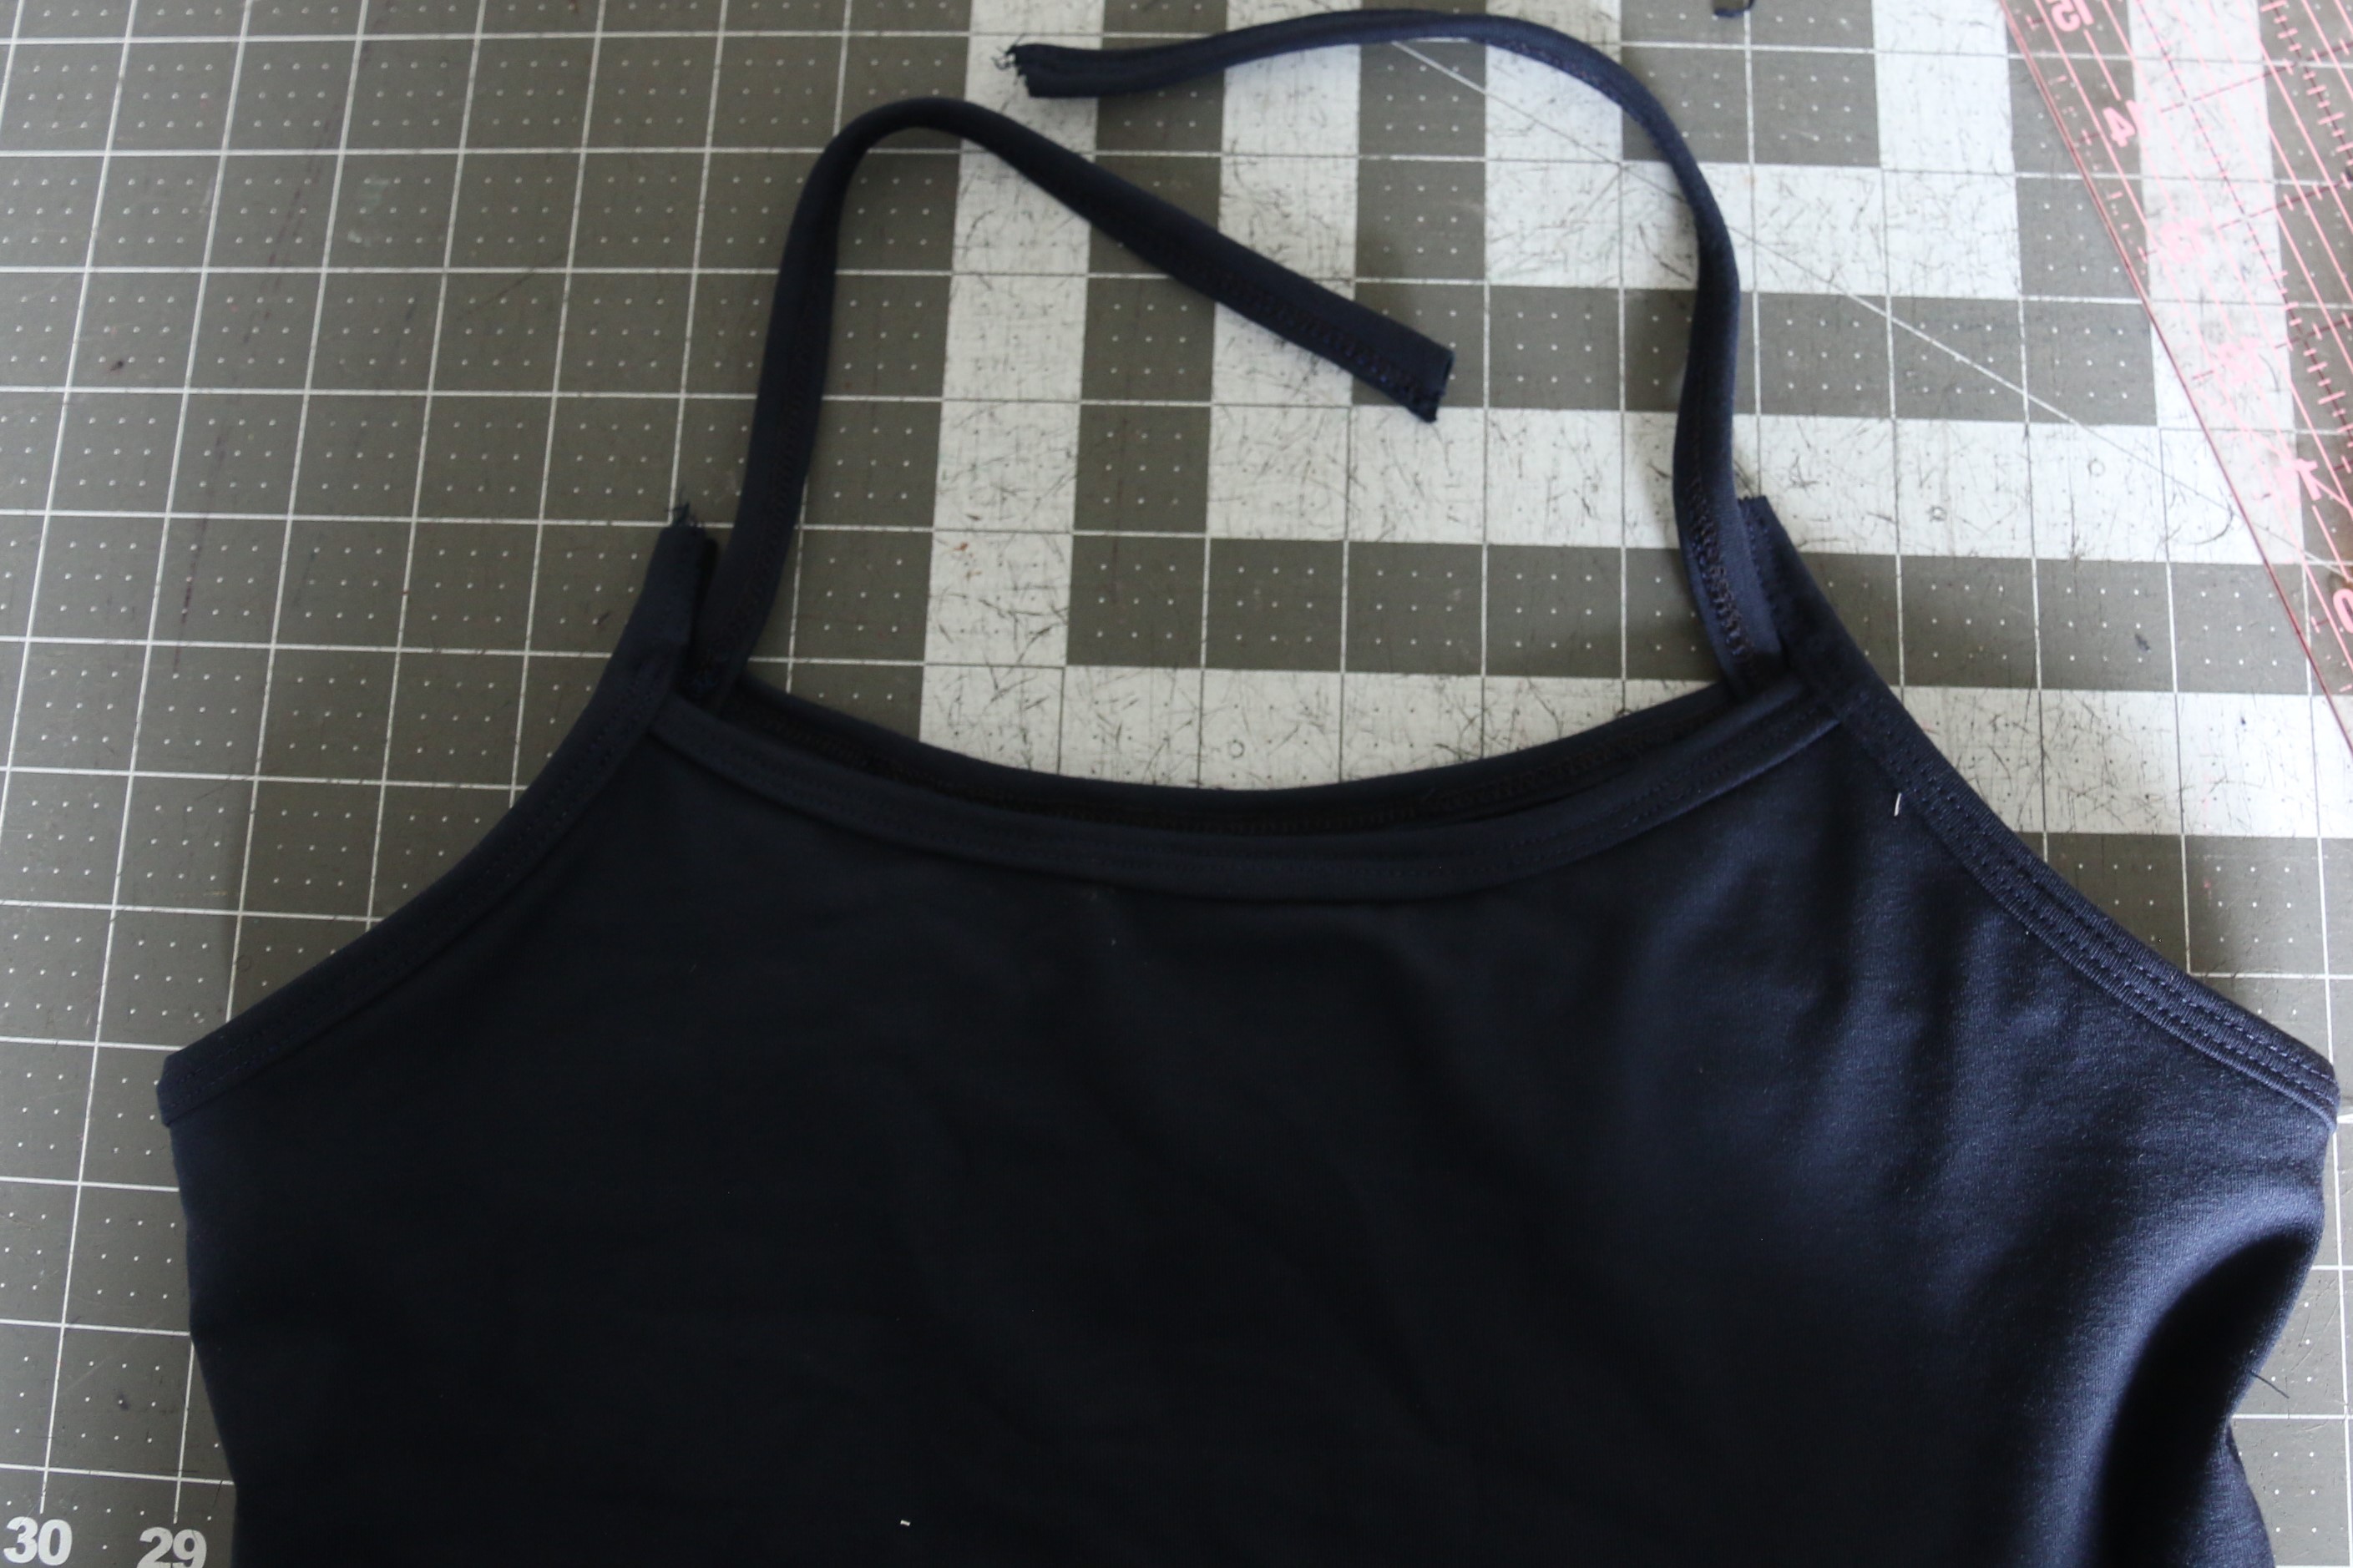
For the straps, measure one inch in on the binding and pin to the bodice front starting there. You can measure your underarm curve and multiply by 0.9” to see where the binding should stop on the back and mark that with a pin as well. Then the rest will be the strap for your cami. Attach on both sides, making sure the length of the strap is equal for both.
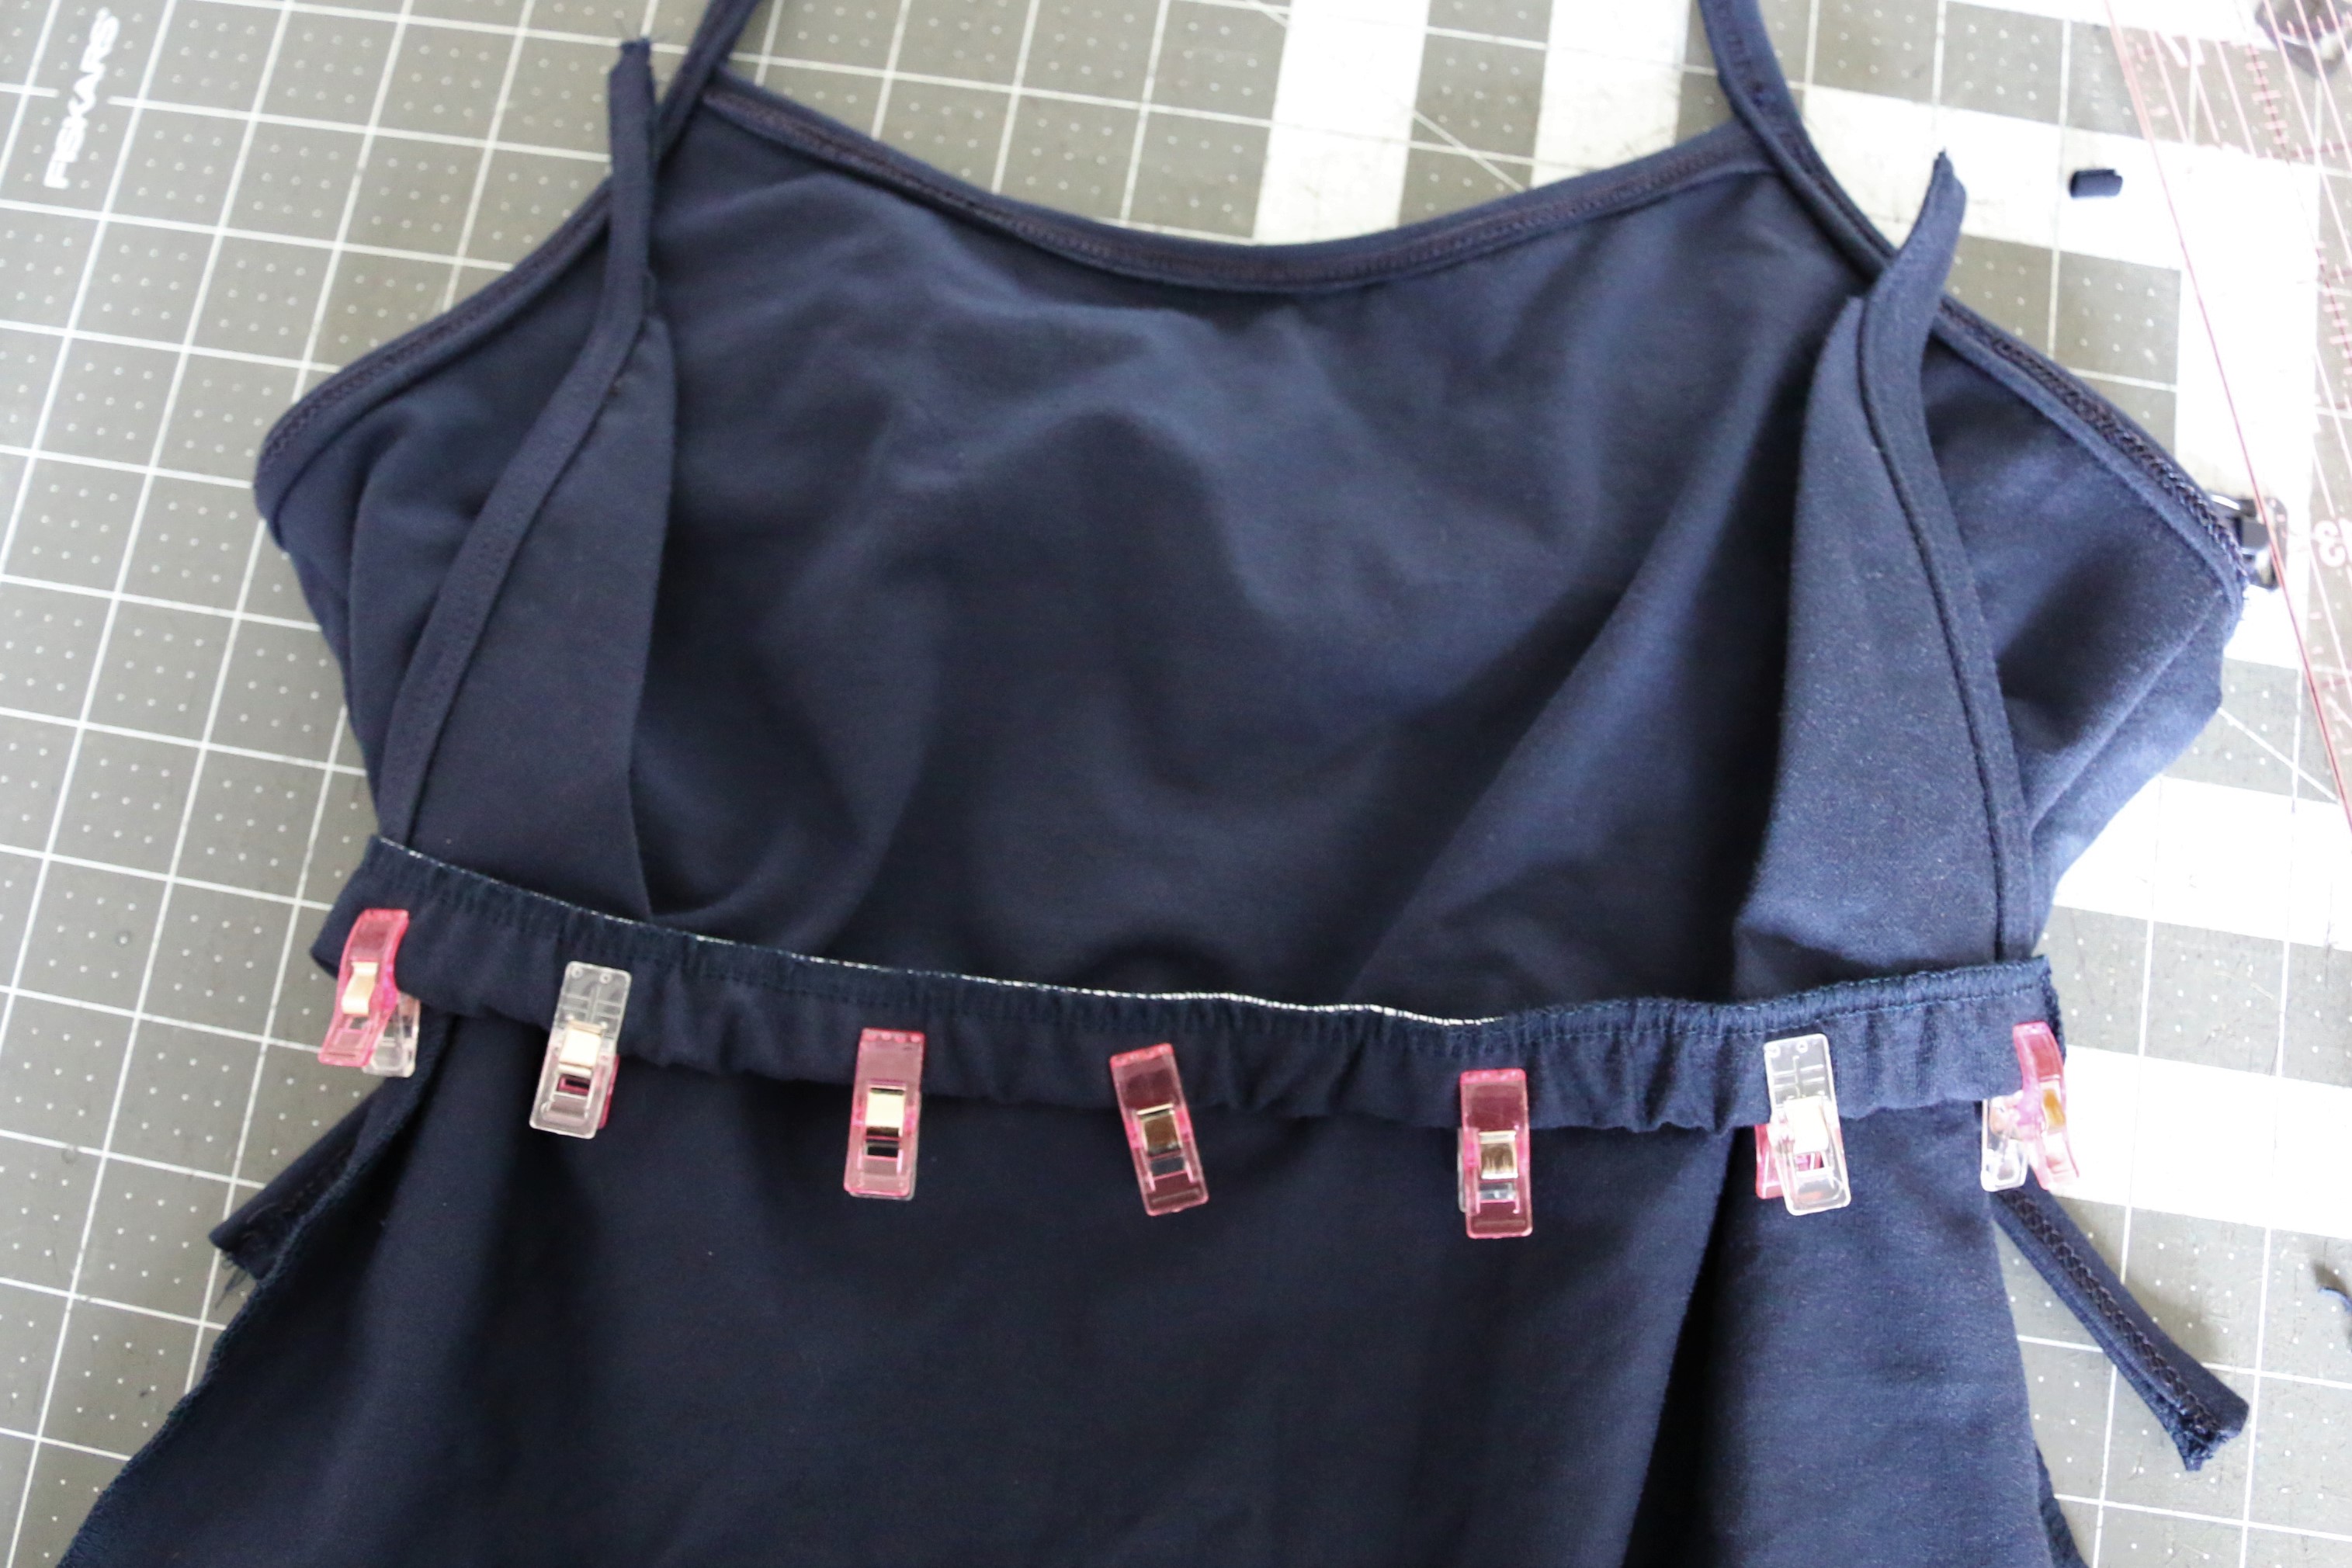
Now let’s finish off the shelf bra portion. You will first measure your underbust and cut ¾” elastic about 1” shorter. I like to just stretch the elastic on my body and find a comfortable length that way. Attach this elastic to the RIGHT side of your shelf bra layer only. (This is different than the pattern instructions!!)

Fold it up to encase the elastic, and tuck the bottom of your nursing layer in between now. The bound edge will go in about ¼” from the side seam. Carefully stretch the elastic and pin in place, then stitch around while stretching the elastic only using a stretch stitch.
Last we will attach the nursing clips!! First, the 1” piece extending from the front will get the female end of the clip. Tuck the binding through, fold towards the inside and stitch in place (using a tight zigzag works best for me).
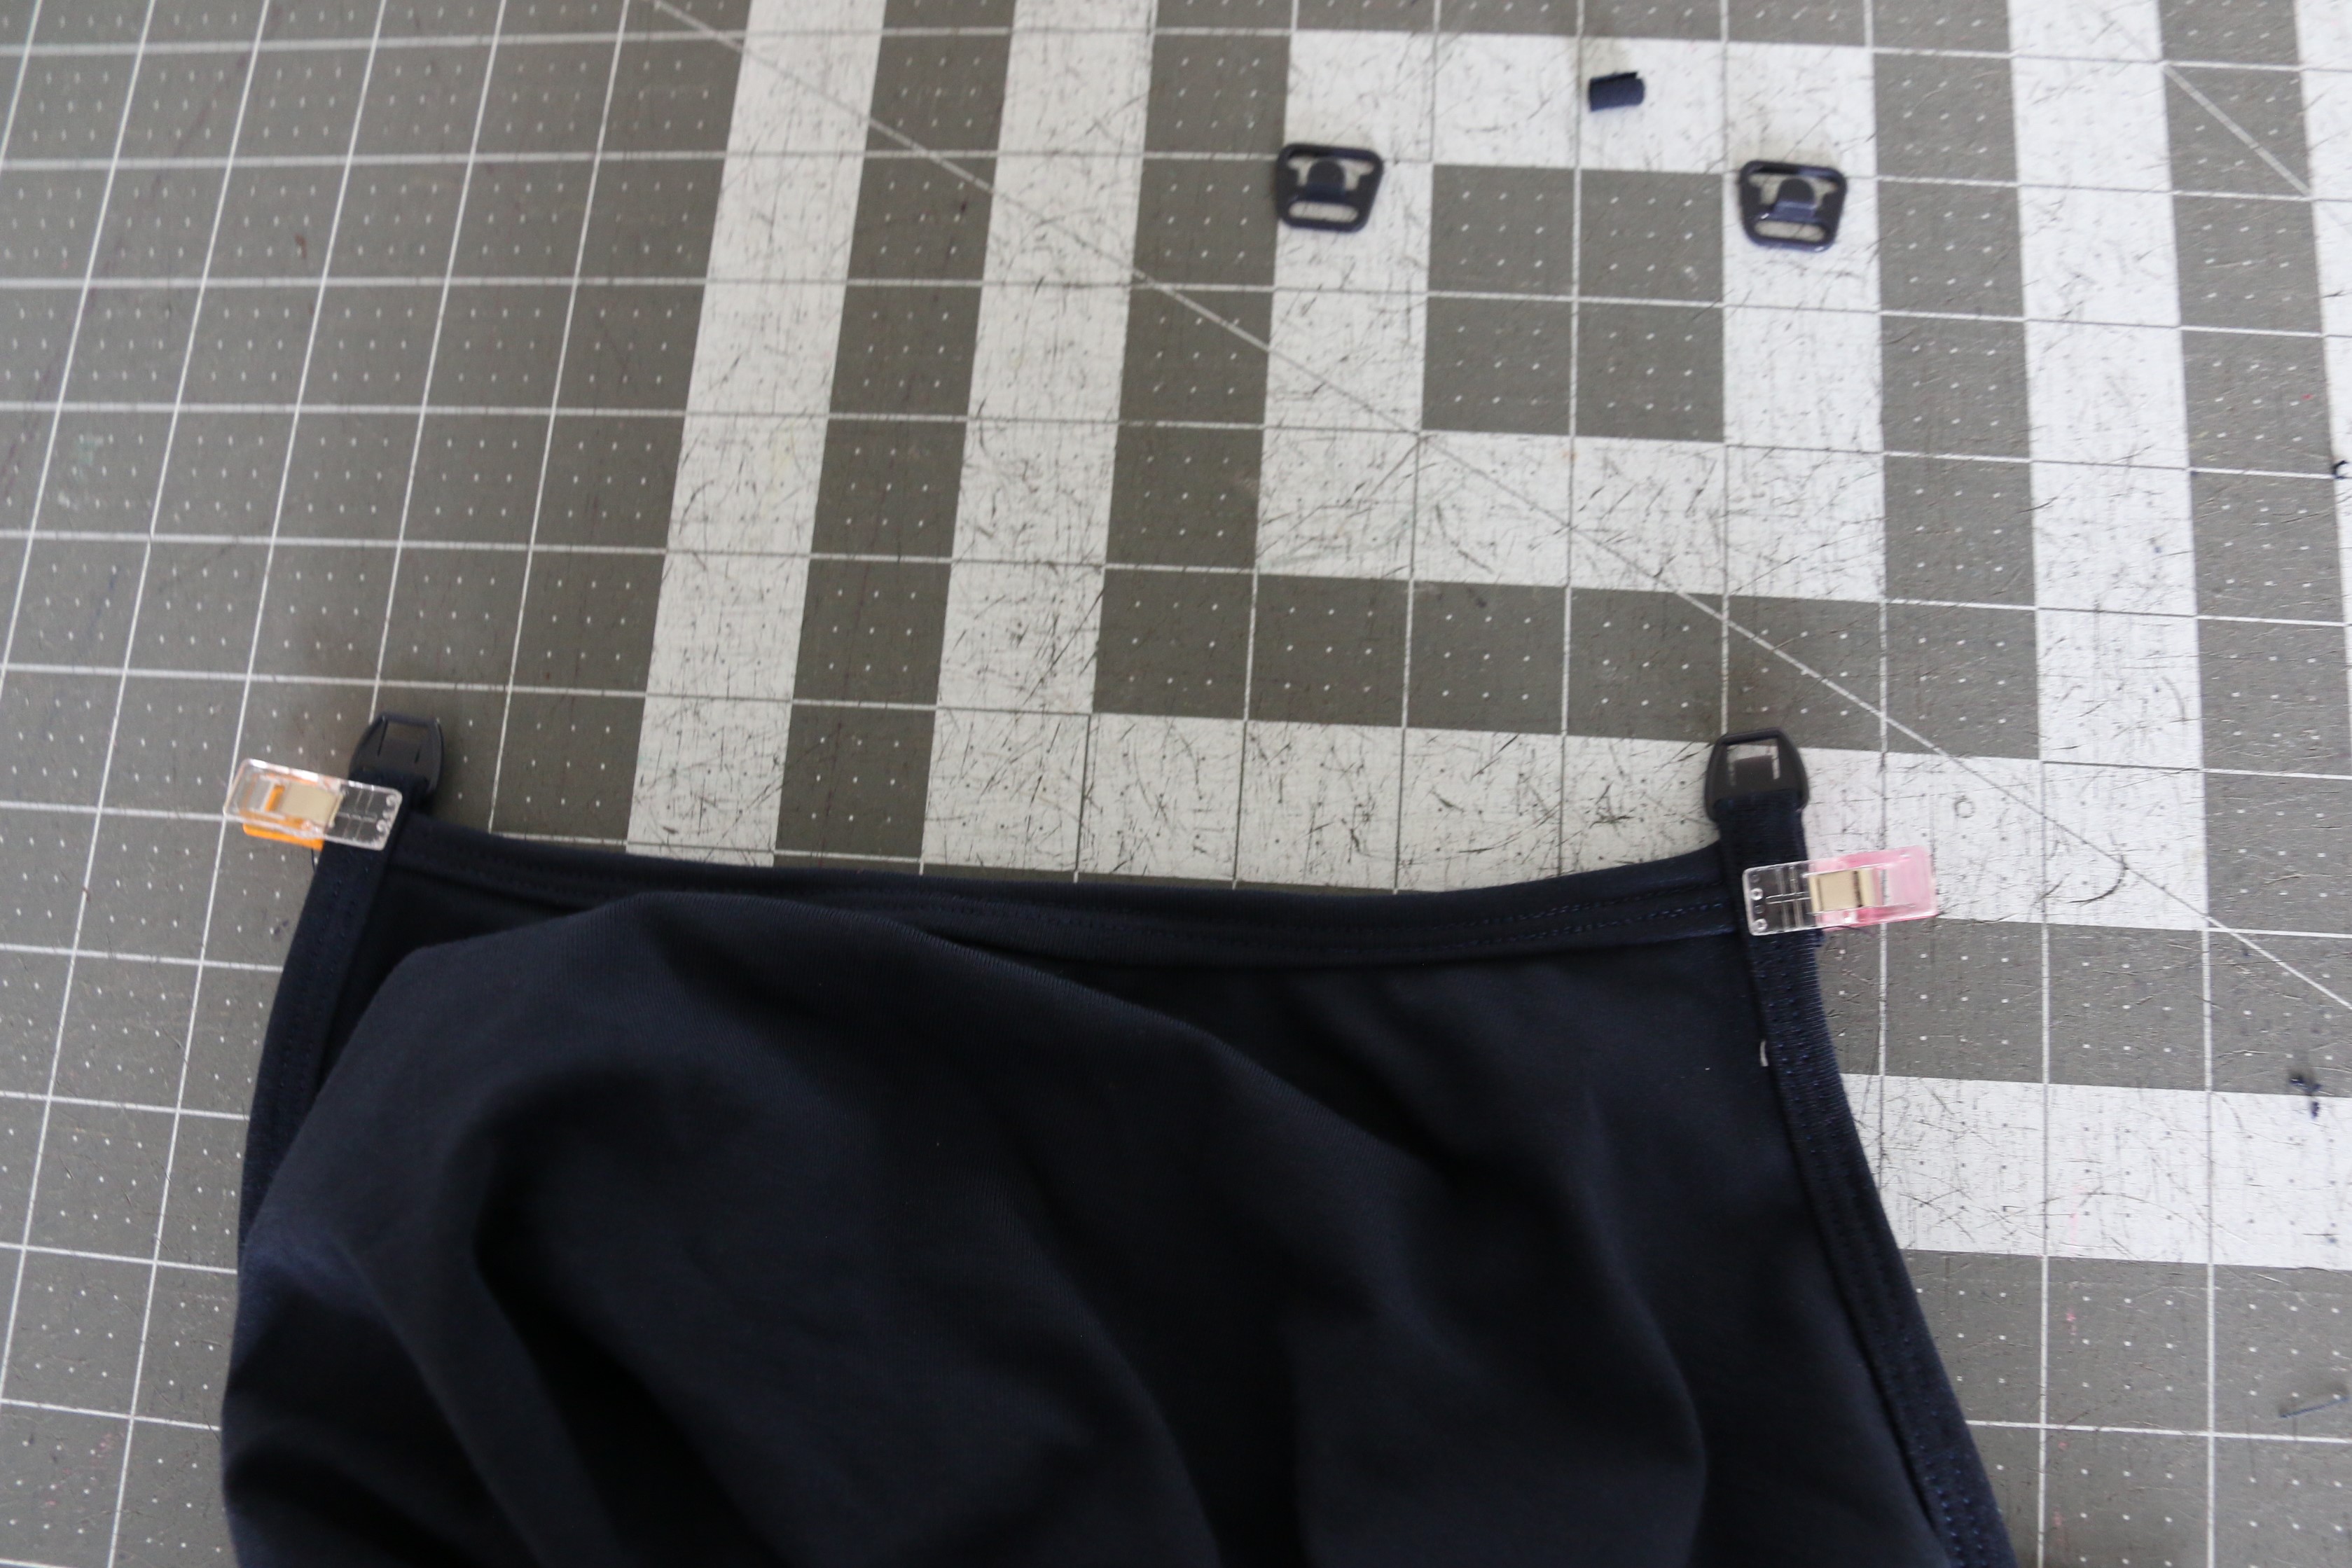
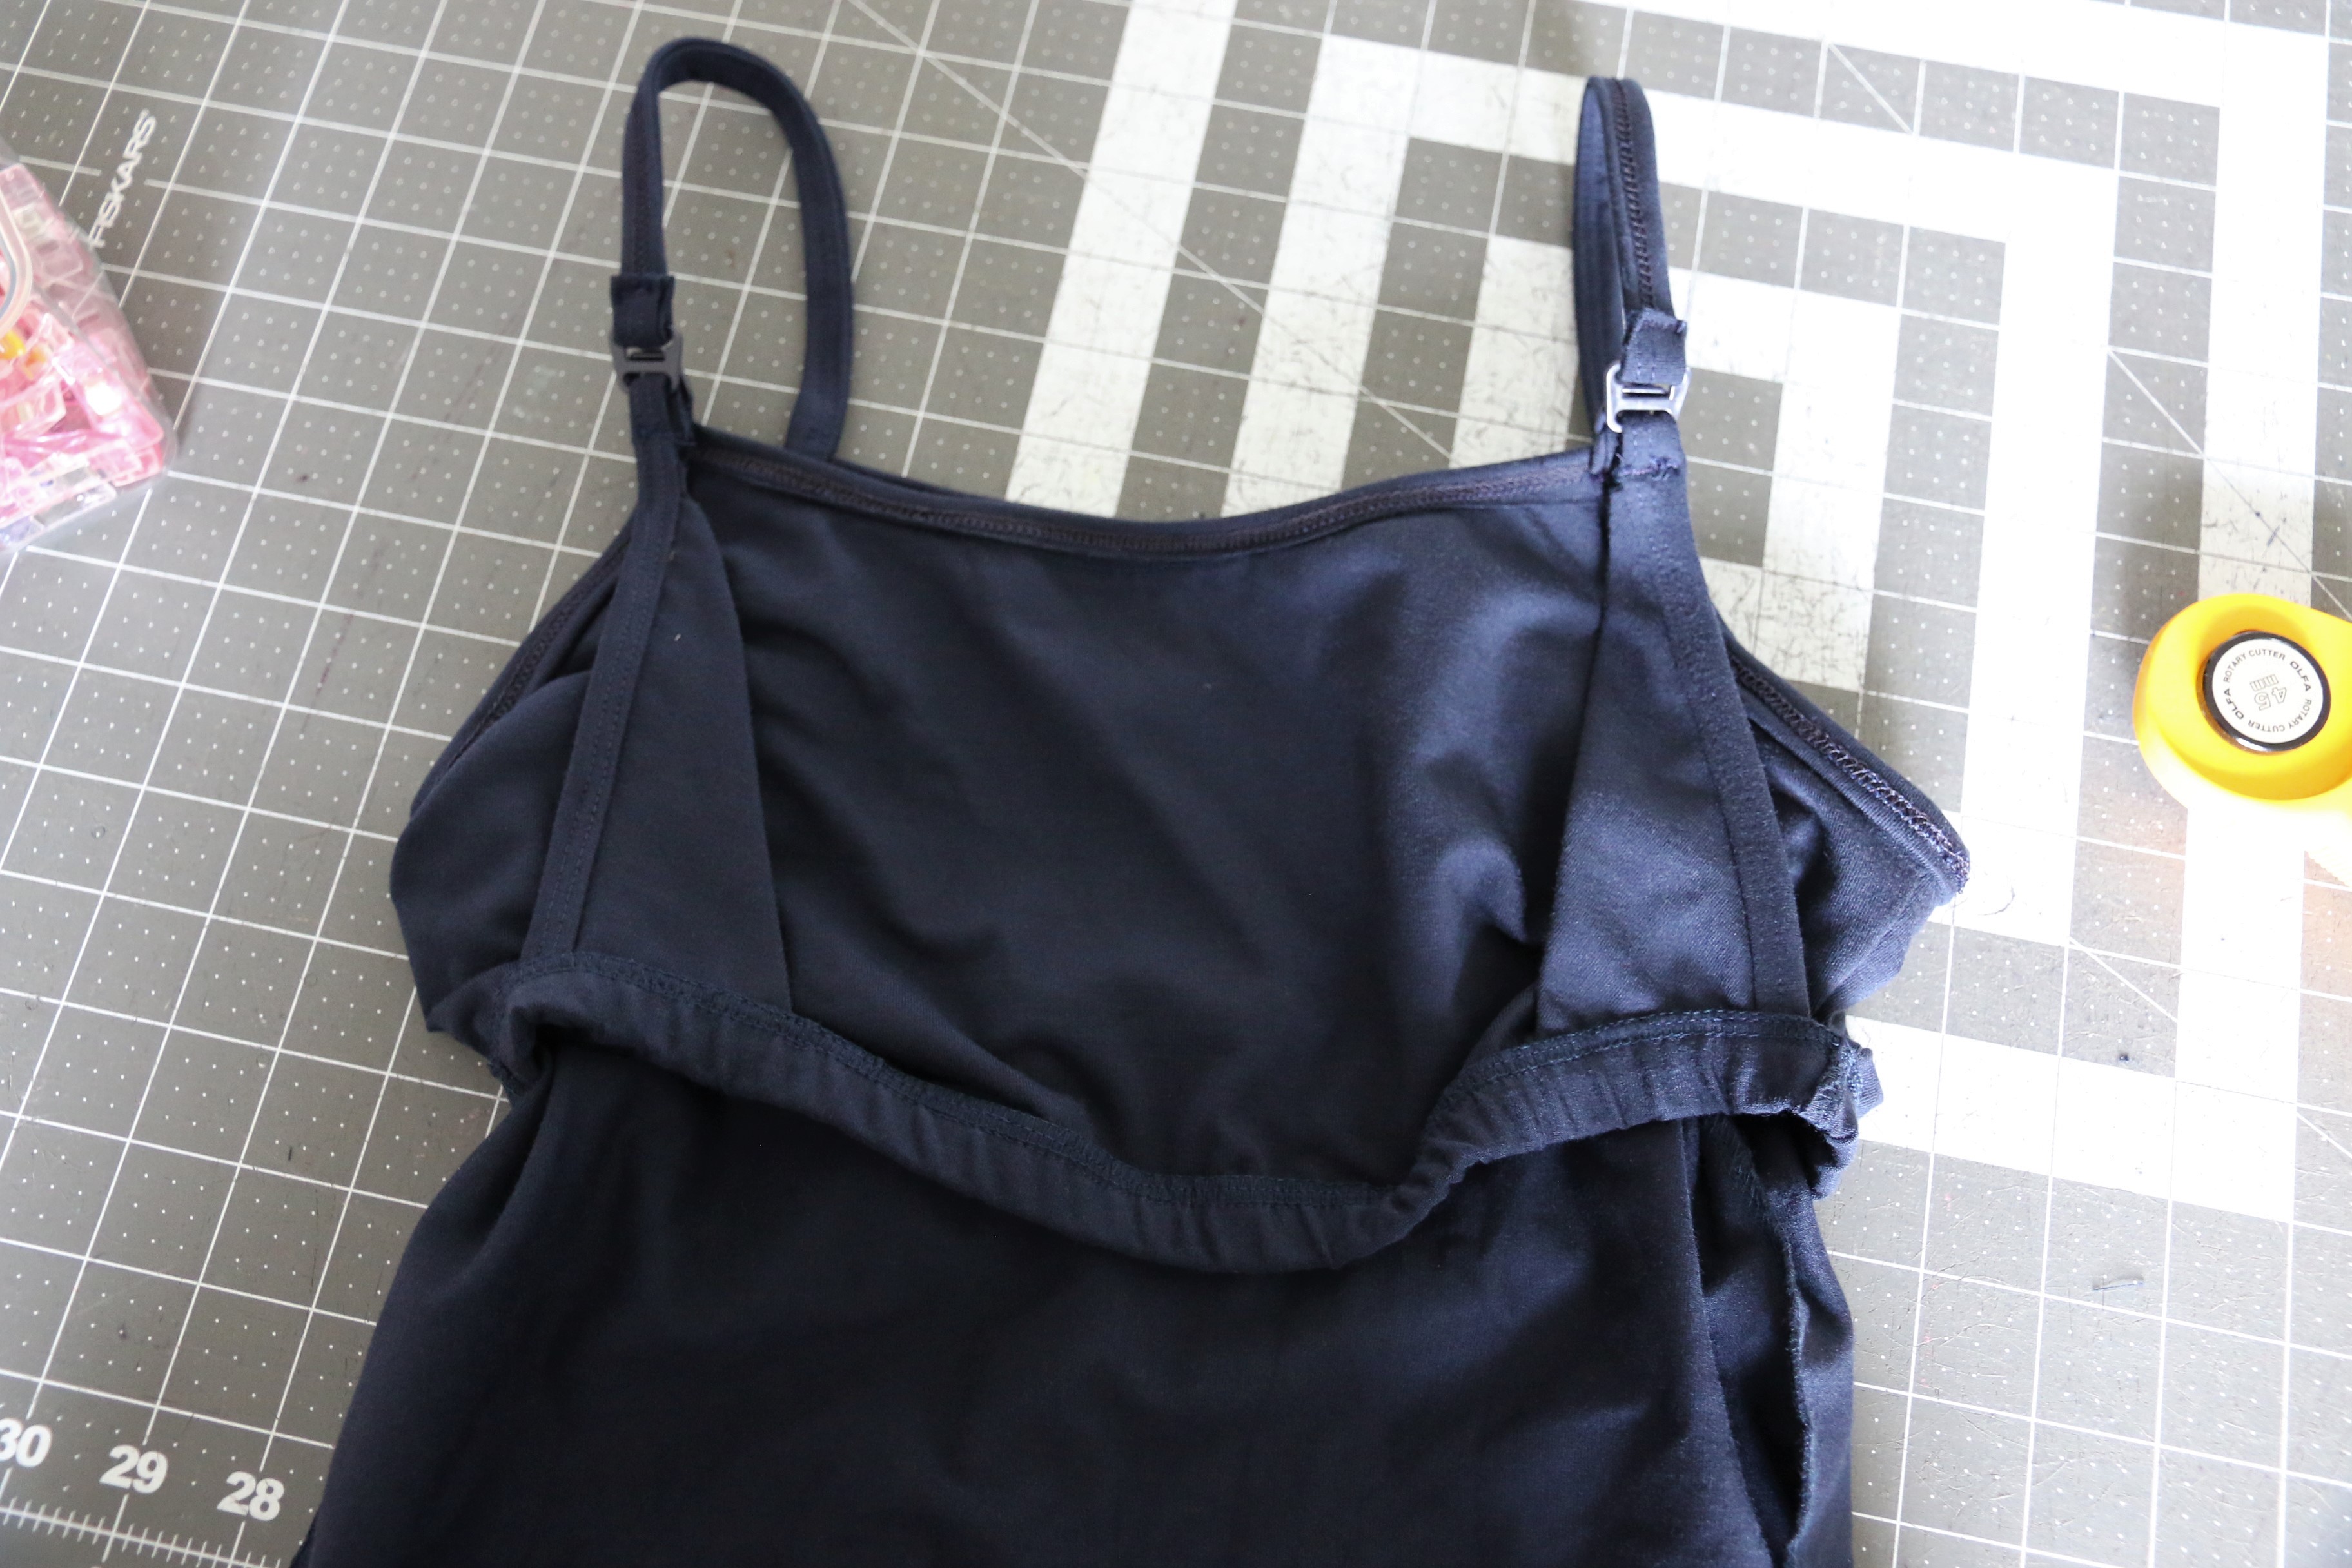
The other end of the strap will get the top of the male piece, where the hook faces the binding. Fold that in place and stitch. Last, the nursing layer gets the other side of this. Make sure nothing is twisted and fold the top edge of your nursing layer up through the clip and back to stitch it in place as well. The raw edge will match with the top of the triangle.
Trim any excess binding from your clips and it’s done!!
(Well, don’t forget to hem of course….)
Now, if you’re like me and nursing camis are great for around the house, but occasionally you want to leave and a bra just is a little more comfortable for you, you know that it’s a pain to have a cami and bra that both have nursing clips. I end up clipping them into each other or forgetting to reclip…yeah. So here’s another nursing hack that you can do that allows you to wear a nursing bra. Bonus, it’s a lot faster to make!!
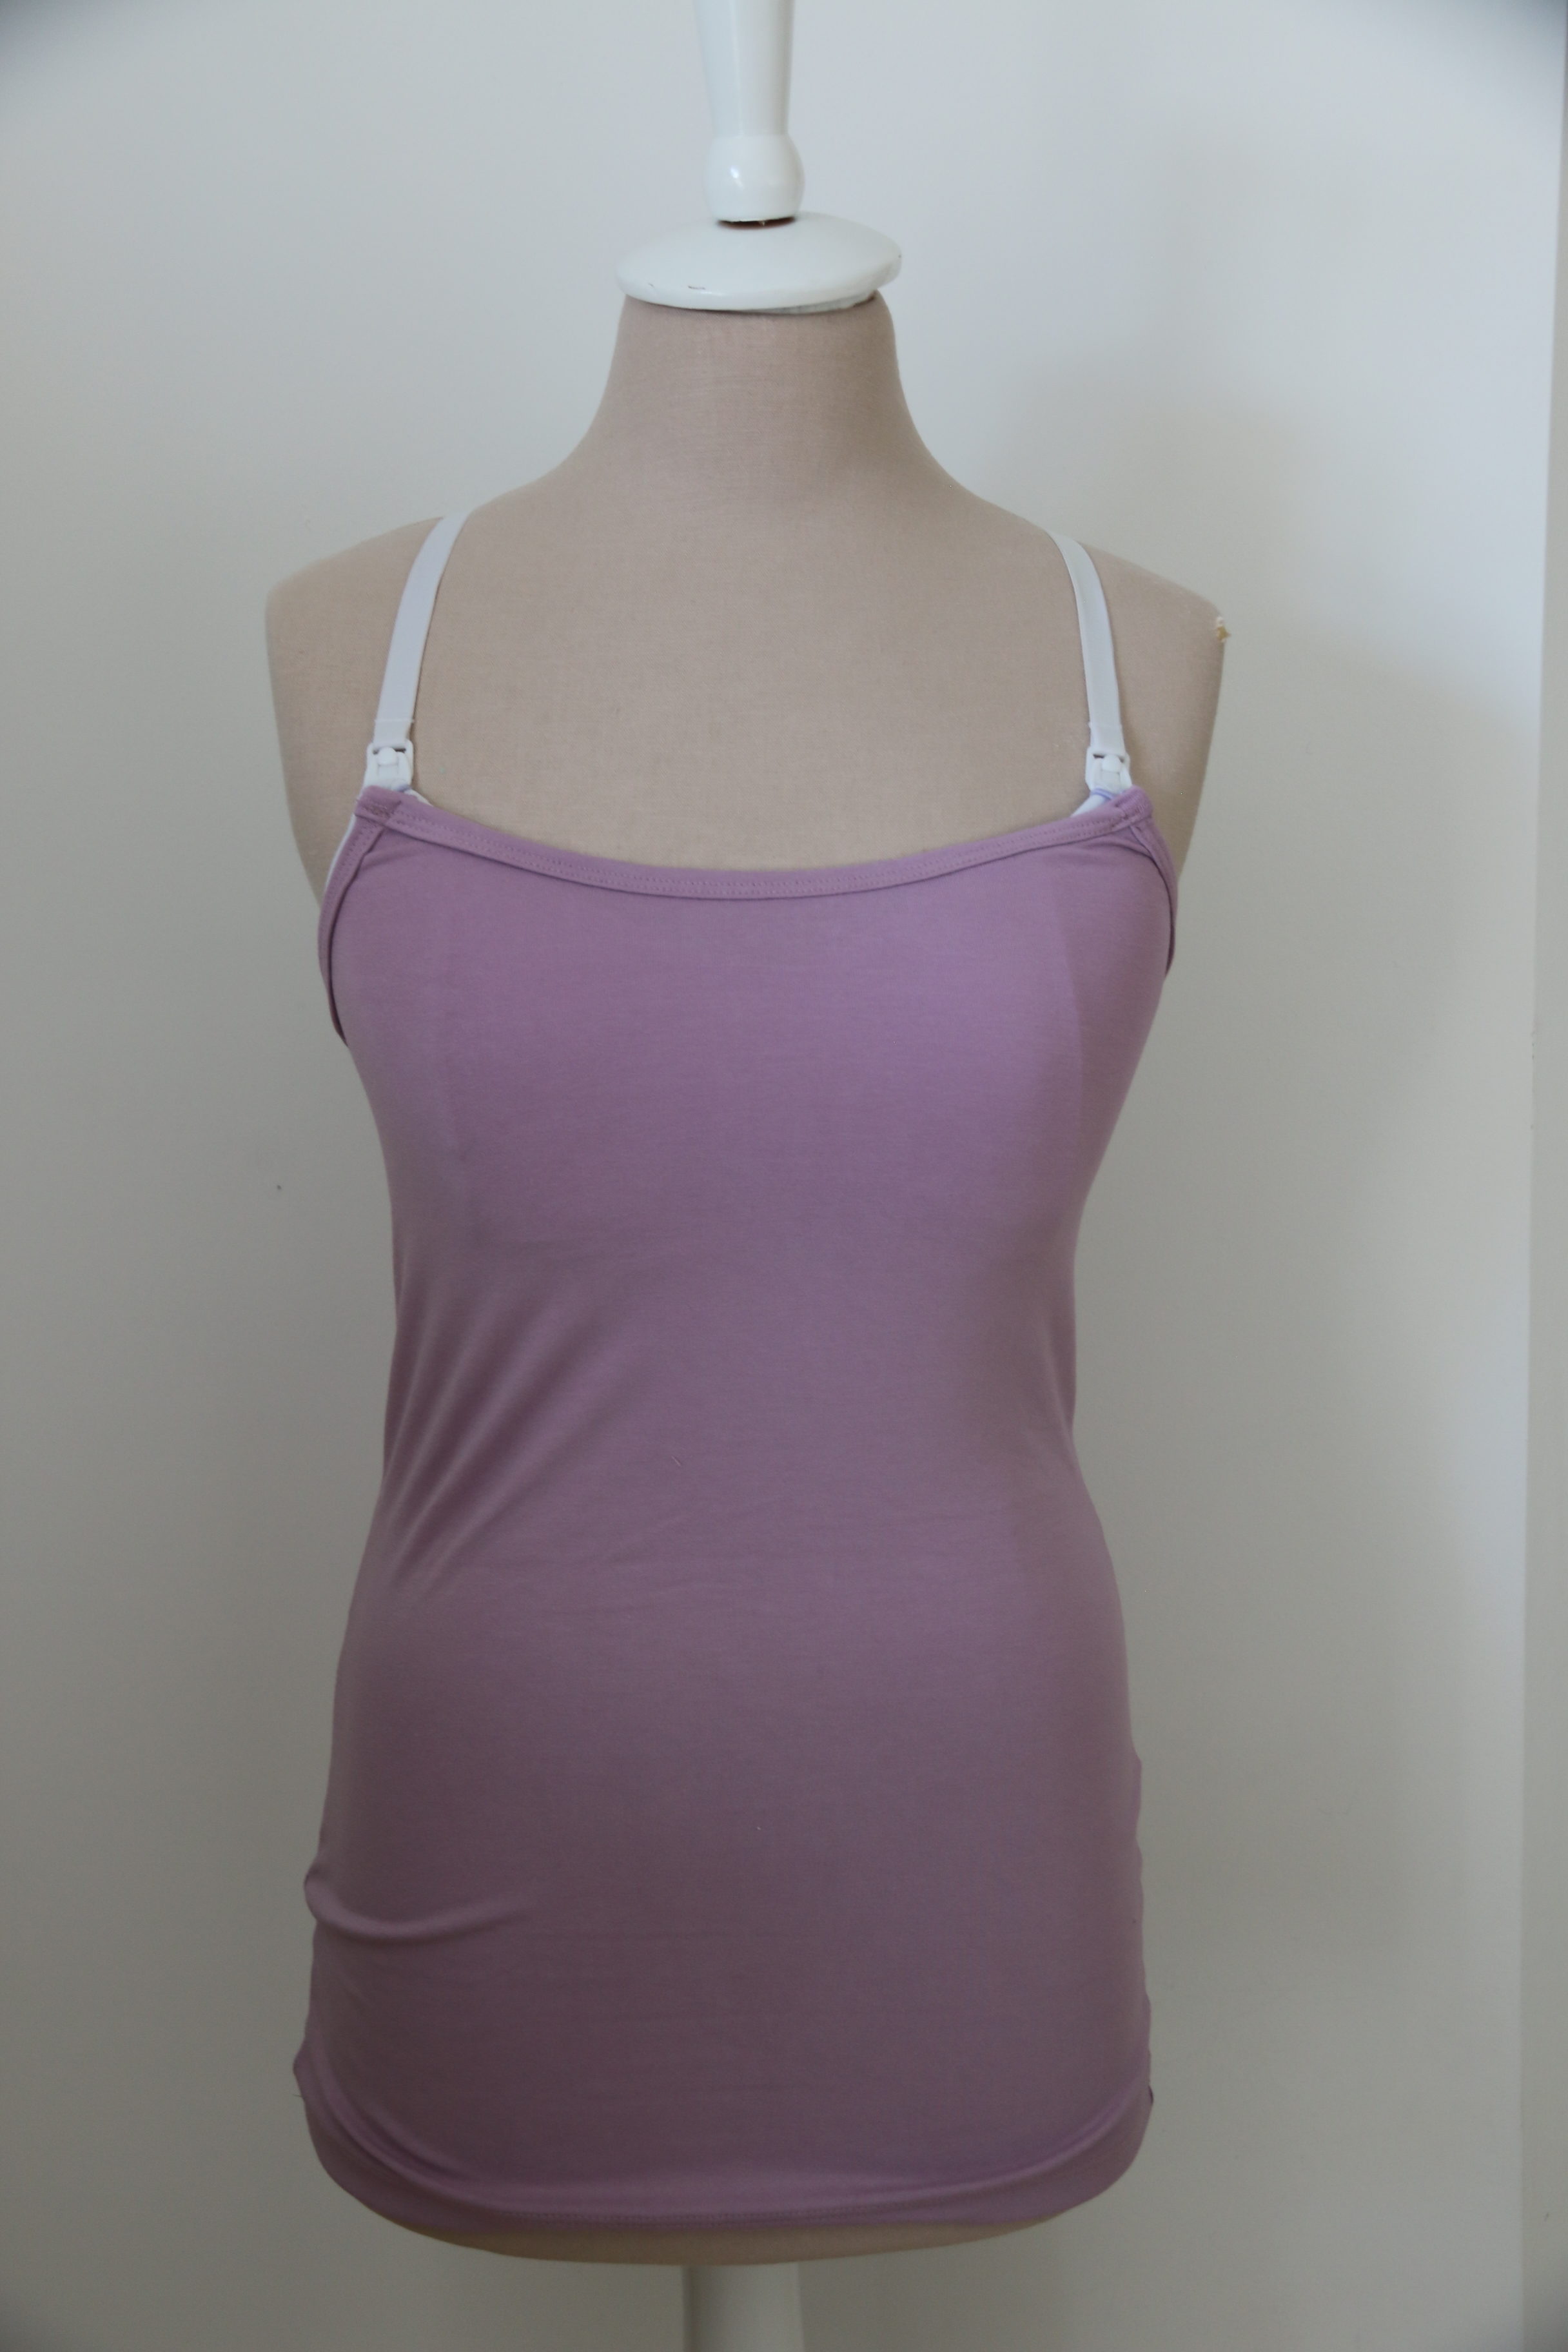
For this, you will need the front piece like normal. We will alter the back piece and bindings. Also, you will need thin elastic. I like stealing a skinny hair band from my daughter, but packaged elastic cord works as well. You want it to be thin so it doesn’t add bulk, so 1-2mm or about 1/16” is perfect, and ideally some that matches your fabric. Also, once again, I like using clear elastic in my bindings but this is a personal preference and up to you to decide if you need it.
First, we will alter our back pattern piece. Draw a line starting from the bottom of the arm curve and going horizontally across. You can cut this off or just fold it back under. Cut your front as normal, then cut the back with the new shape (I put a clip at the top center back so I do not accidentally use this piece upside down).

For the bindings, you’ll measure from the top of the front along the arm opening and across the back, overlapping your pattern pieces by the 3/8” seam allowance. Double this number and multiply it by 0.9” to calculate the length of your new binding piece (the binding is cut 1.75” high).
For the front binding, you can use the front binding piece and add an inch on each side. Mark the original size though by centering your pattern piece on the binding you cut and marking each edge.

Now to sew! First, sew the side seams as usual. Next, we will attach the binding across the back and under arms. Find the center, then match the edges and pin in-between, stretching slightly.
Go ahead and clip the excess triangle there to match the curve of the front.
Next, attach your front binding by finding the center front and center of your binding first, then matching to the marks you made on the previous step, so that you will have an inch overhanging on each side.
Now we will attach an elastic loop. The loop jutting out should be about 1” total (so ½” on the fold) so I cut a piece about 2” long. Fold in a loop, and attach as if it is a continuation of your back binding. Just sew back and forth over this bit on your machine using matching thread. Give it a good tug to make sure it is secure, then clip off the excess elastic. Last, fold the excess front binding over this and secure in place, then clip off any excess there as well. For these steps you’ll want to use a heavier duty needle to get through these thick binding layers.
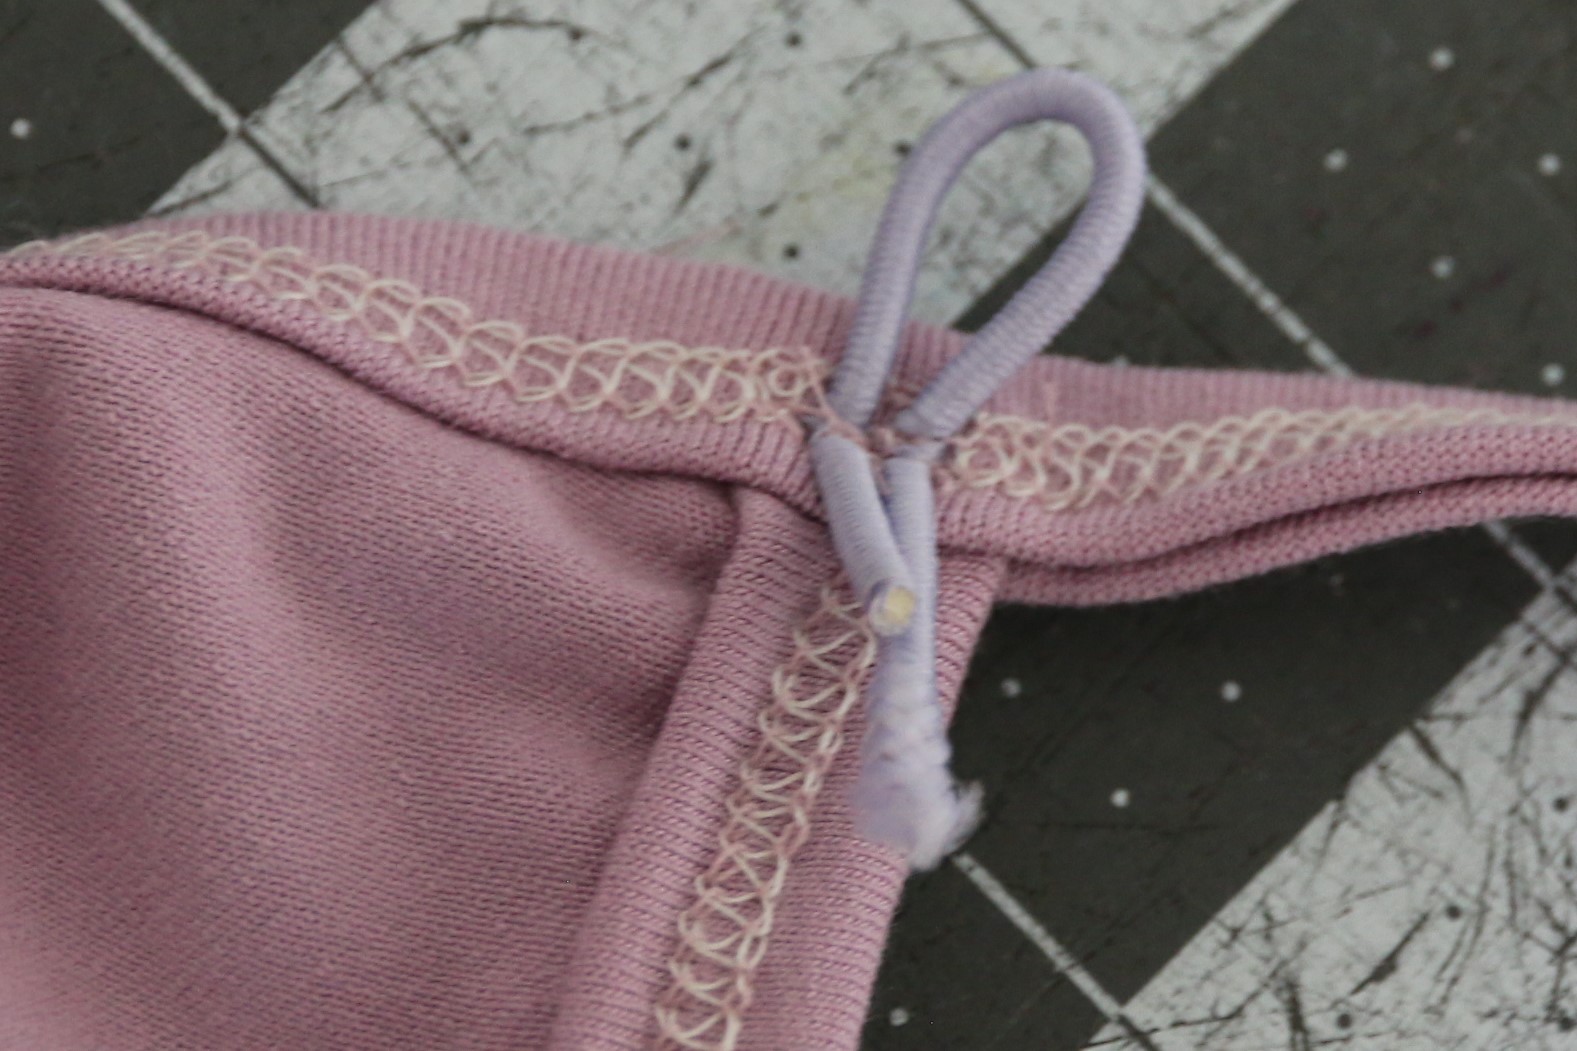

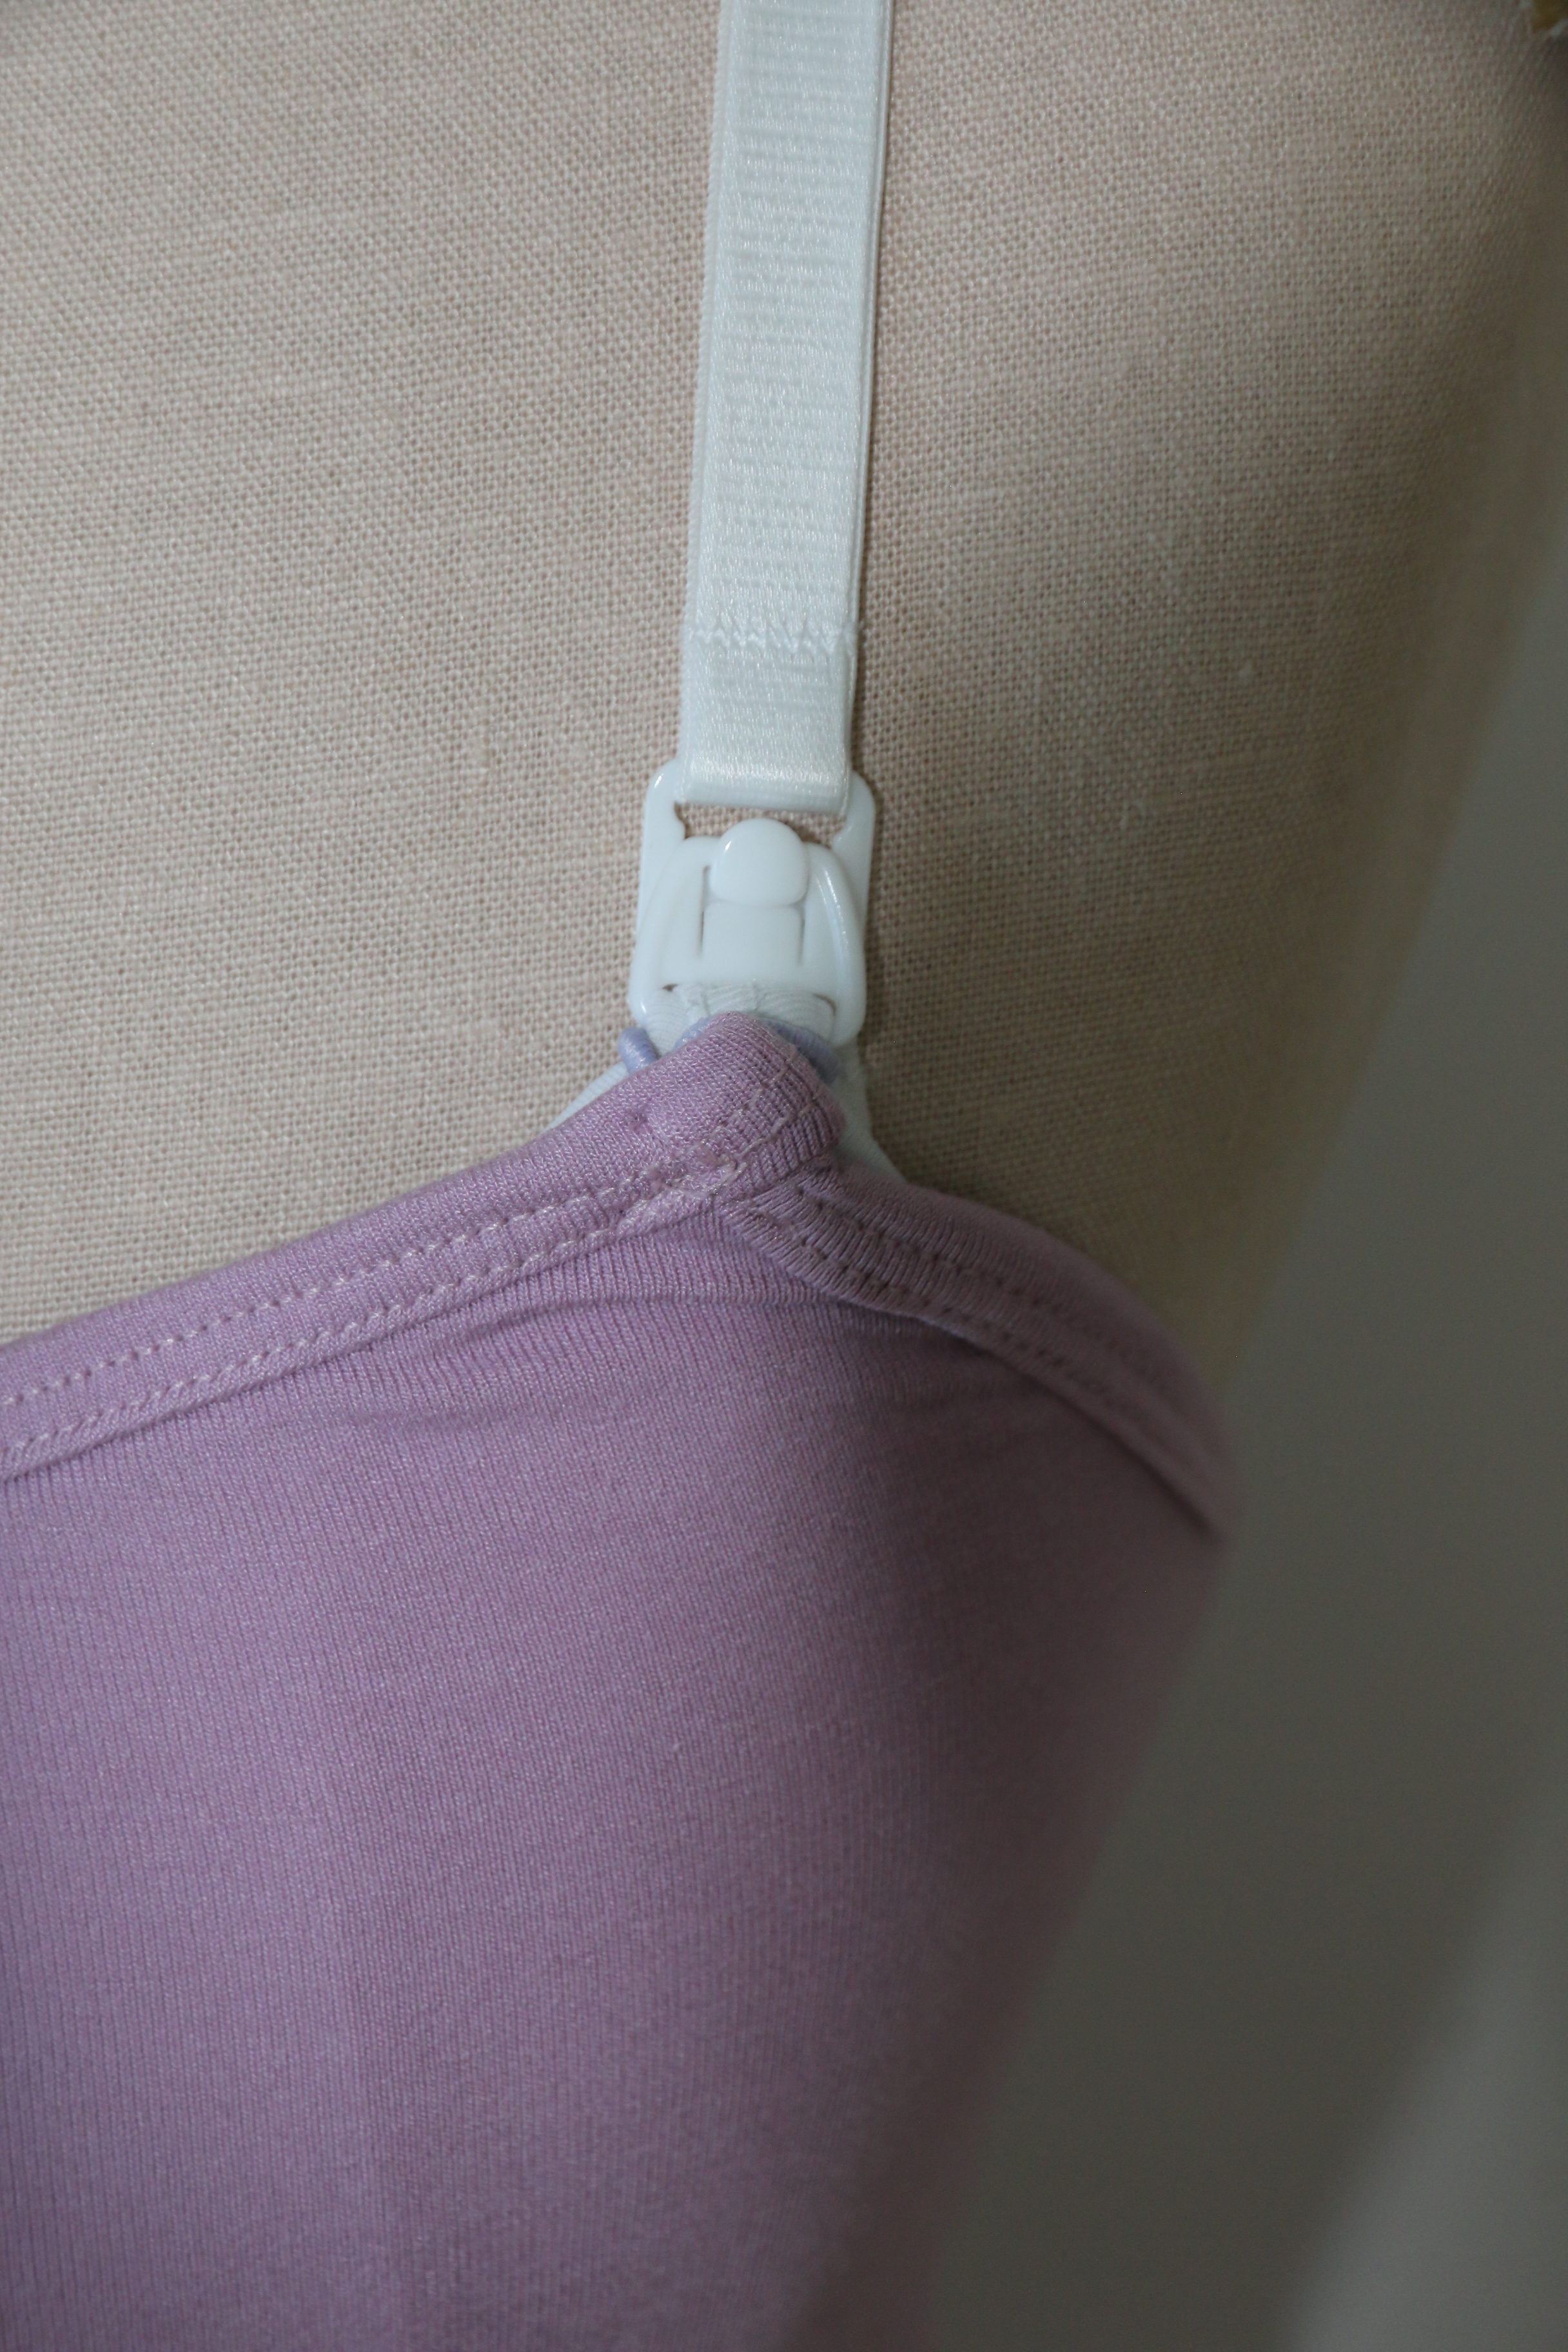
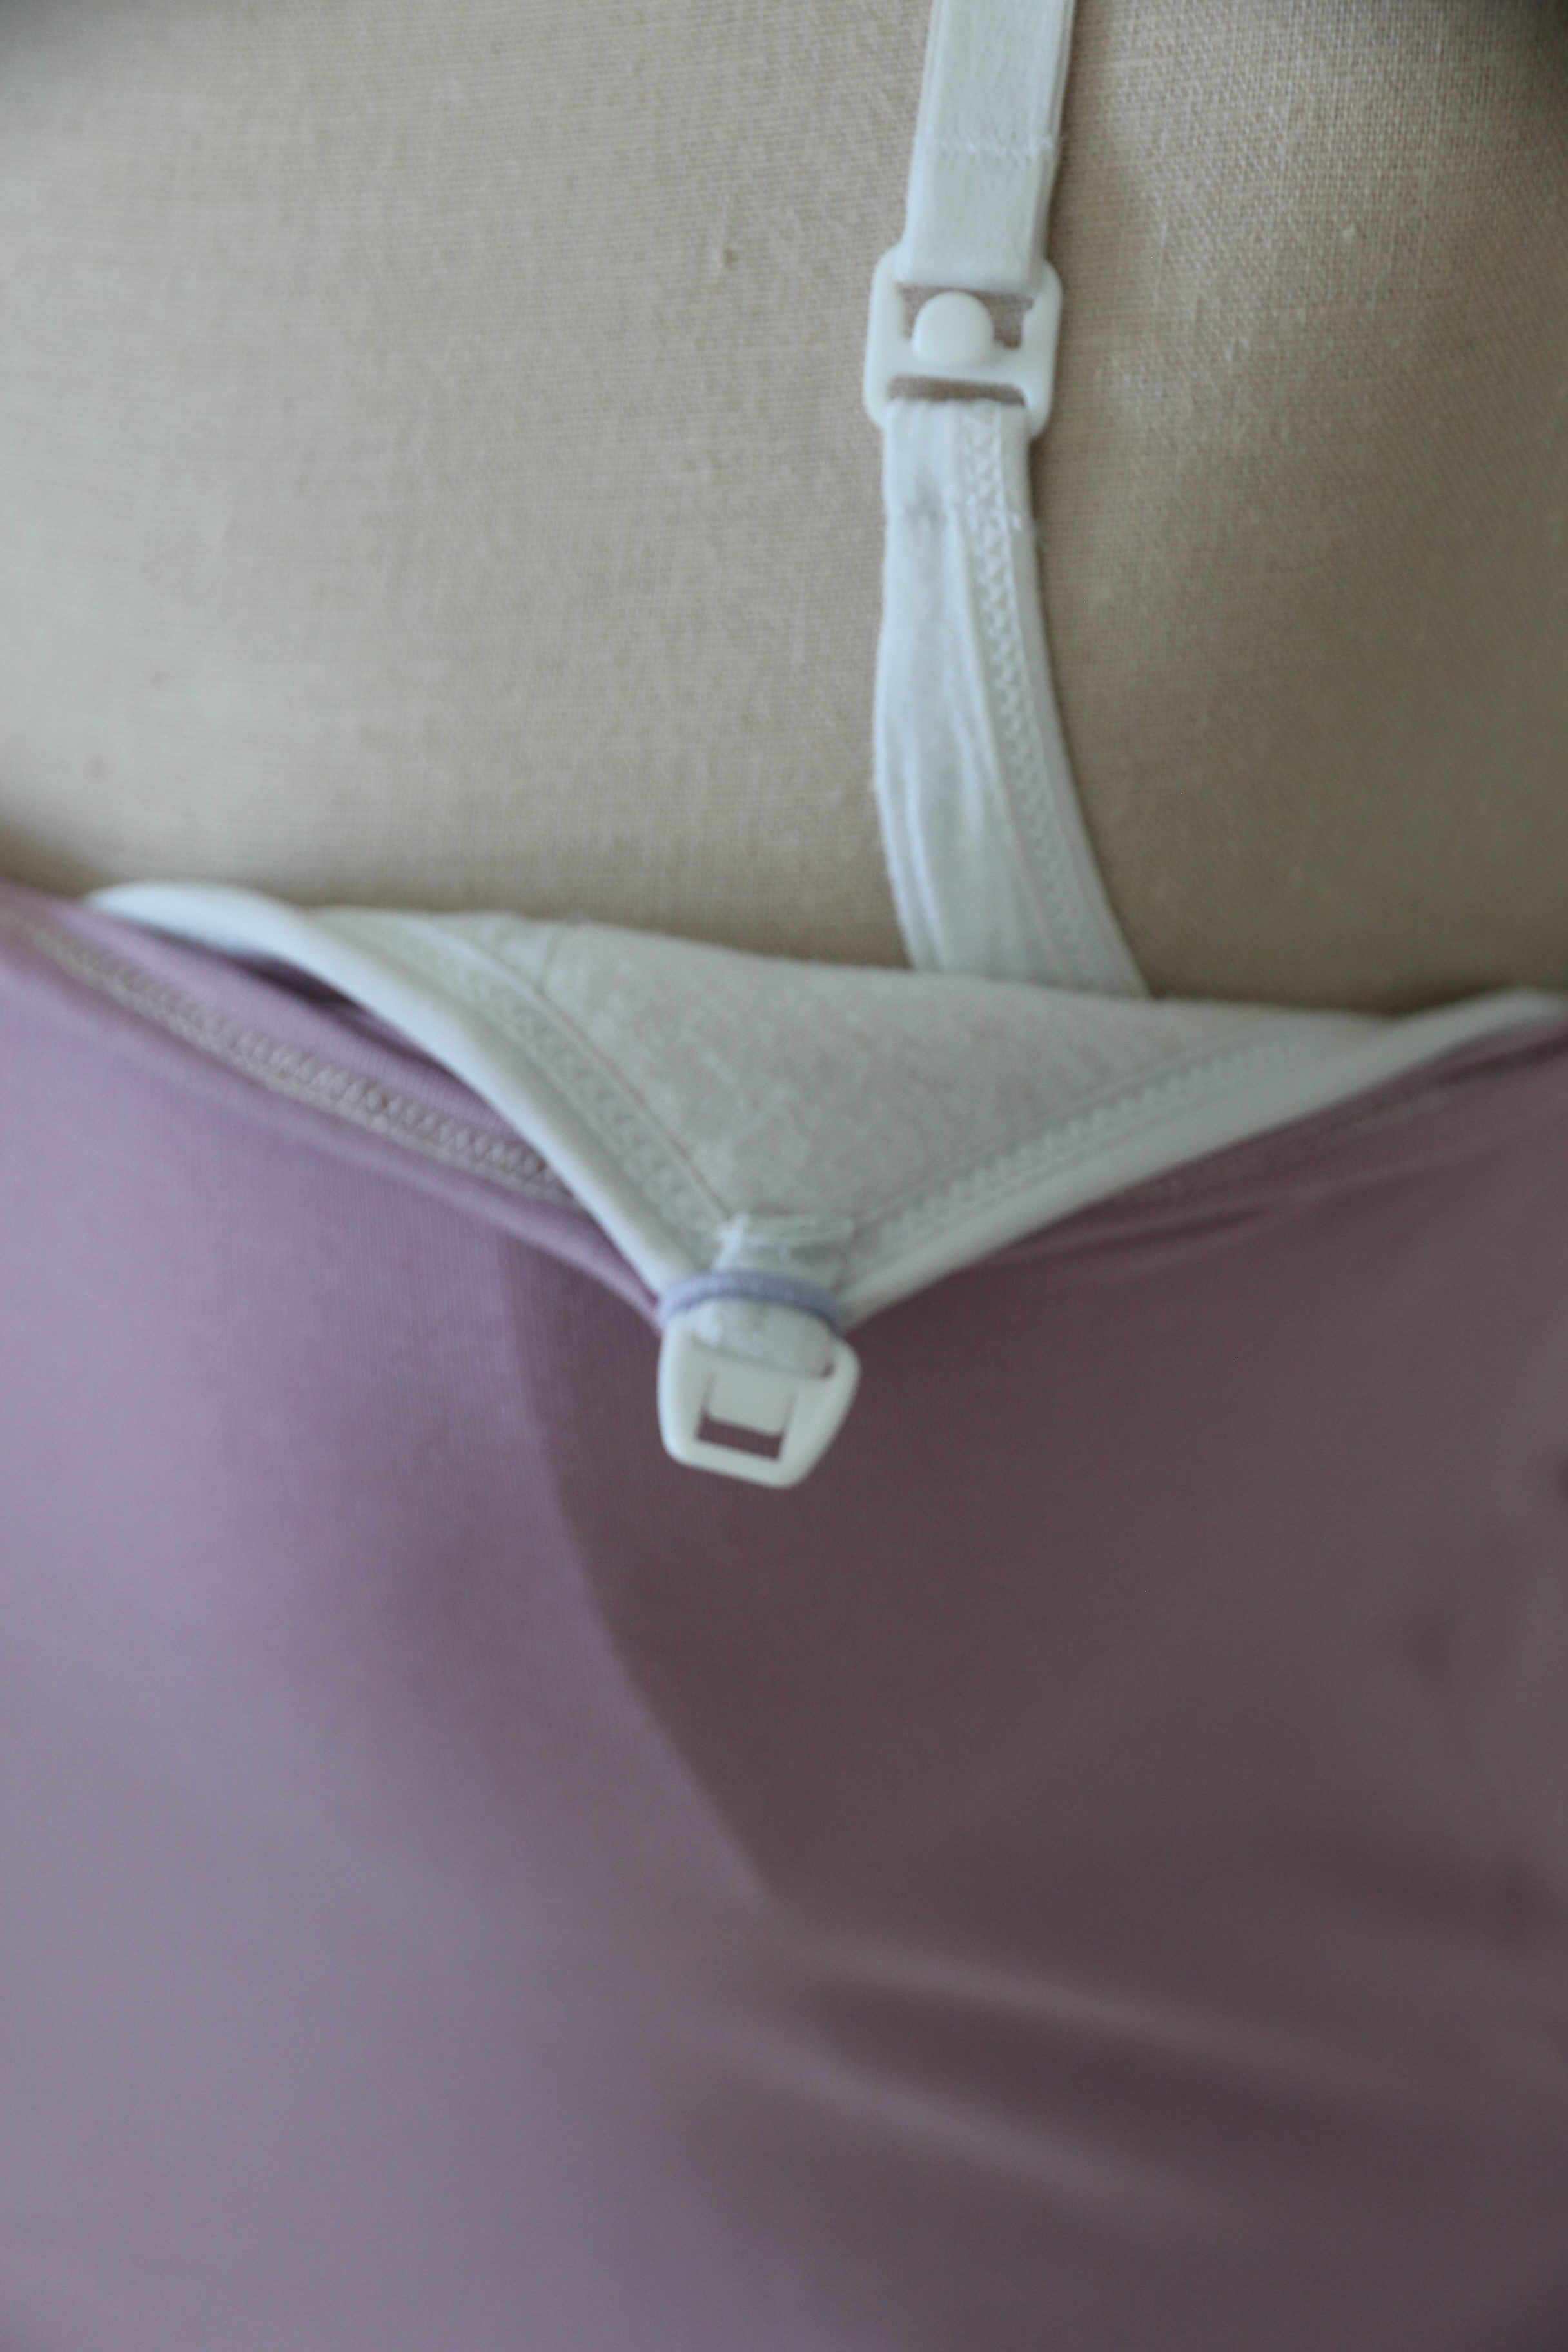
To wear it, you’ll slip that elastic band over the clip on your nursing layer, then clip in as normal!!
Enjoy your updated nursing mom wardrobe, and don’t forget to share in the group!!