How to Adjust the Waist Seam on Any Pattern By Kate of Sewing from Scratch
Hey & Happy New Year! I hope 2020 left you feeling ready to tackle ANYTHING life throws at you in 2021 – let’s crush some goals!
One of the main things I’ve been trying to focus on through my sewing journey is slowing down. Taking my time. Making muslins. Choosing fabrics that I absolutely love. Researching. Learning new techniques to enhance my skills. All the things that make us more well-rounded sewists.
Part of that is working on fit and altering [most] patterns until they hug & hold my body just the way I want. Isn’t that why we started sewing anyway?
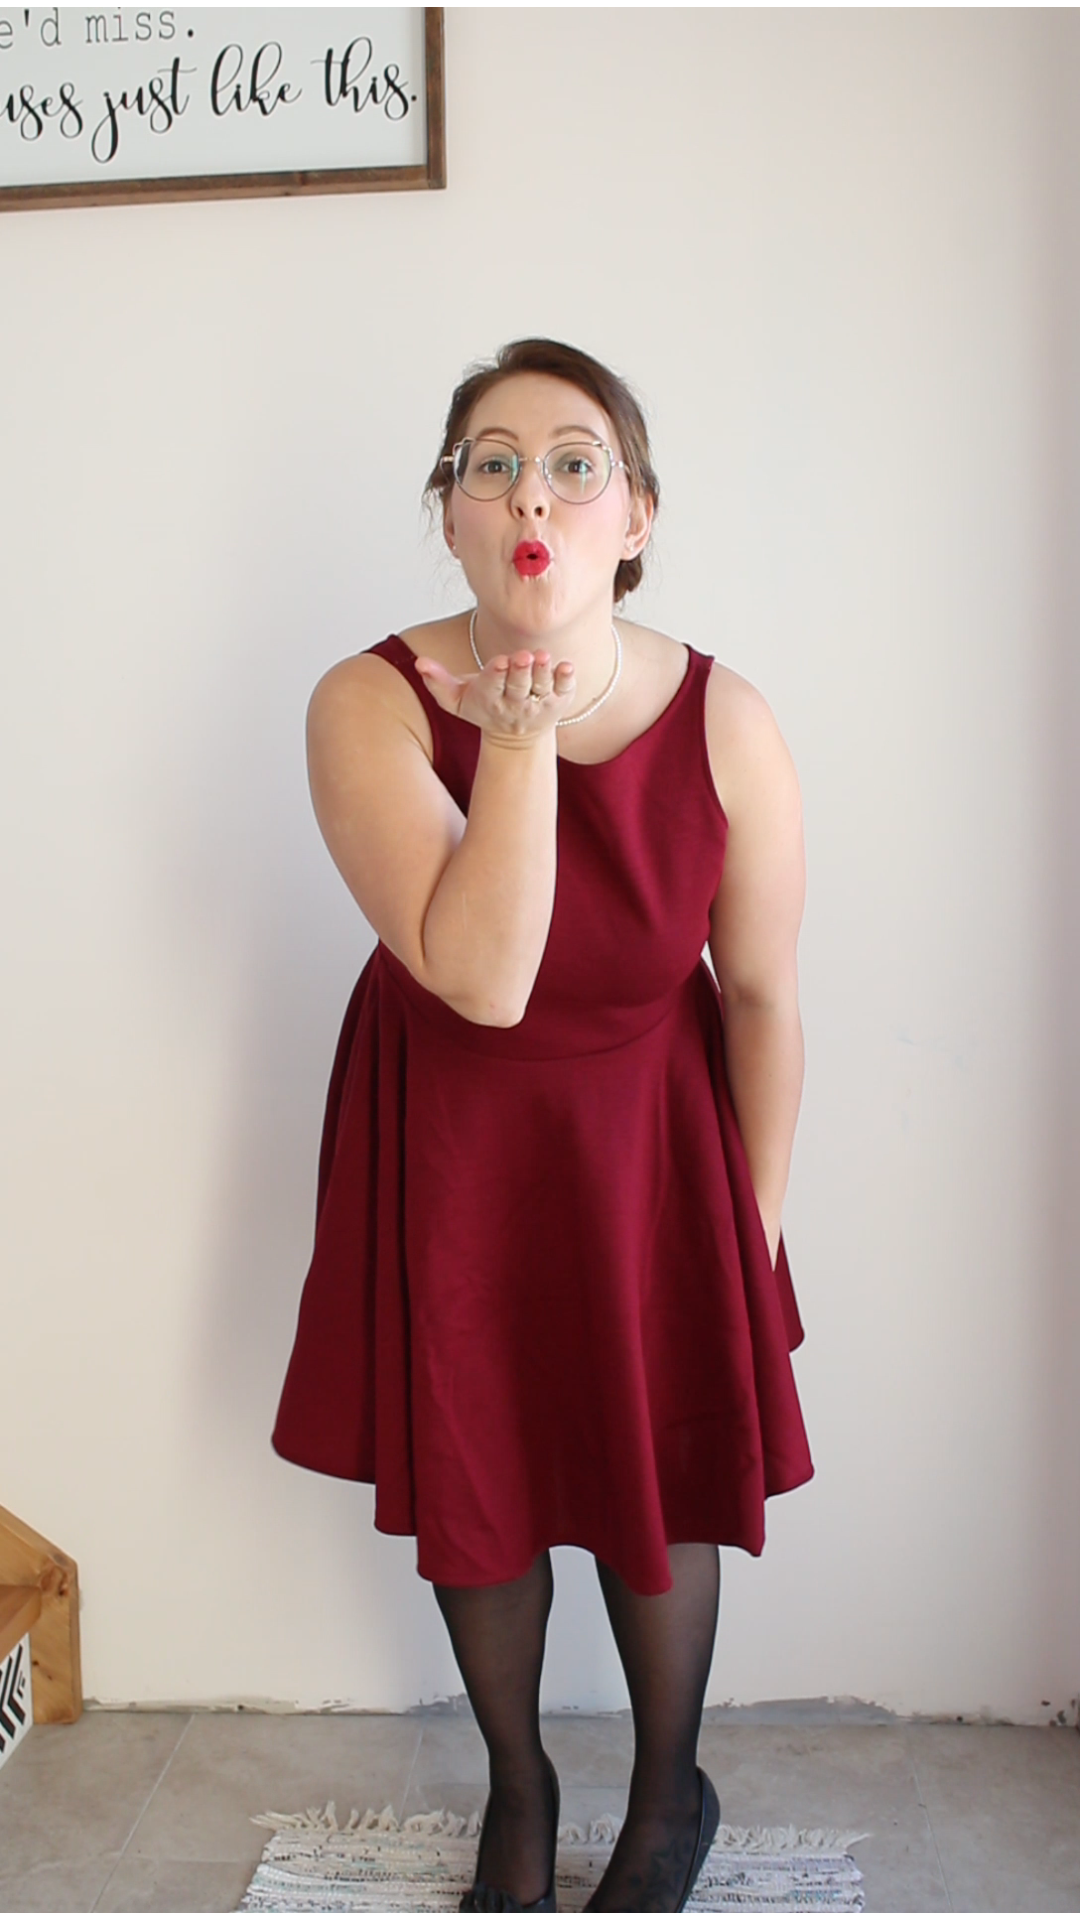
So, today I thought I’d share an easy alteration that makes a dramatic impact. And, since we’re creeping up on the day of love, I thought I’d make it seasonally appropriate, too. Double whammy. I know a lot of us can’t [won’t] go out to celebrate with our lovers this year, but that’s no reason not to get dressed up! Heck, maybe that means you get to put in even more sex appeal since you don’t have to be seen in public (*wink wink*).
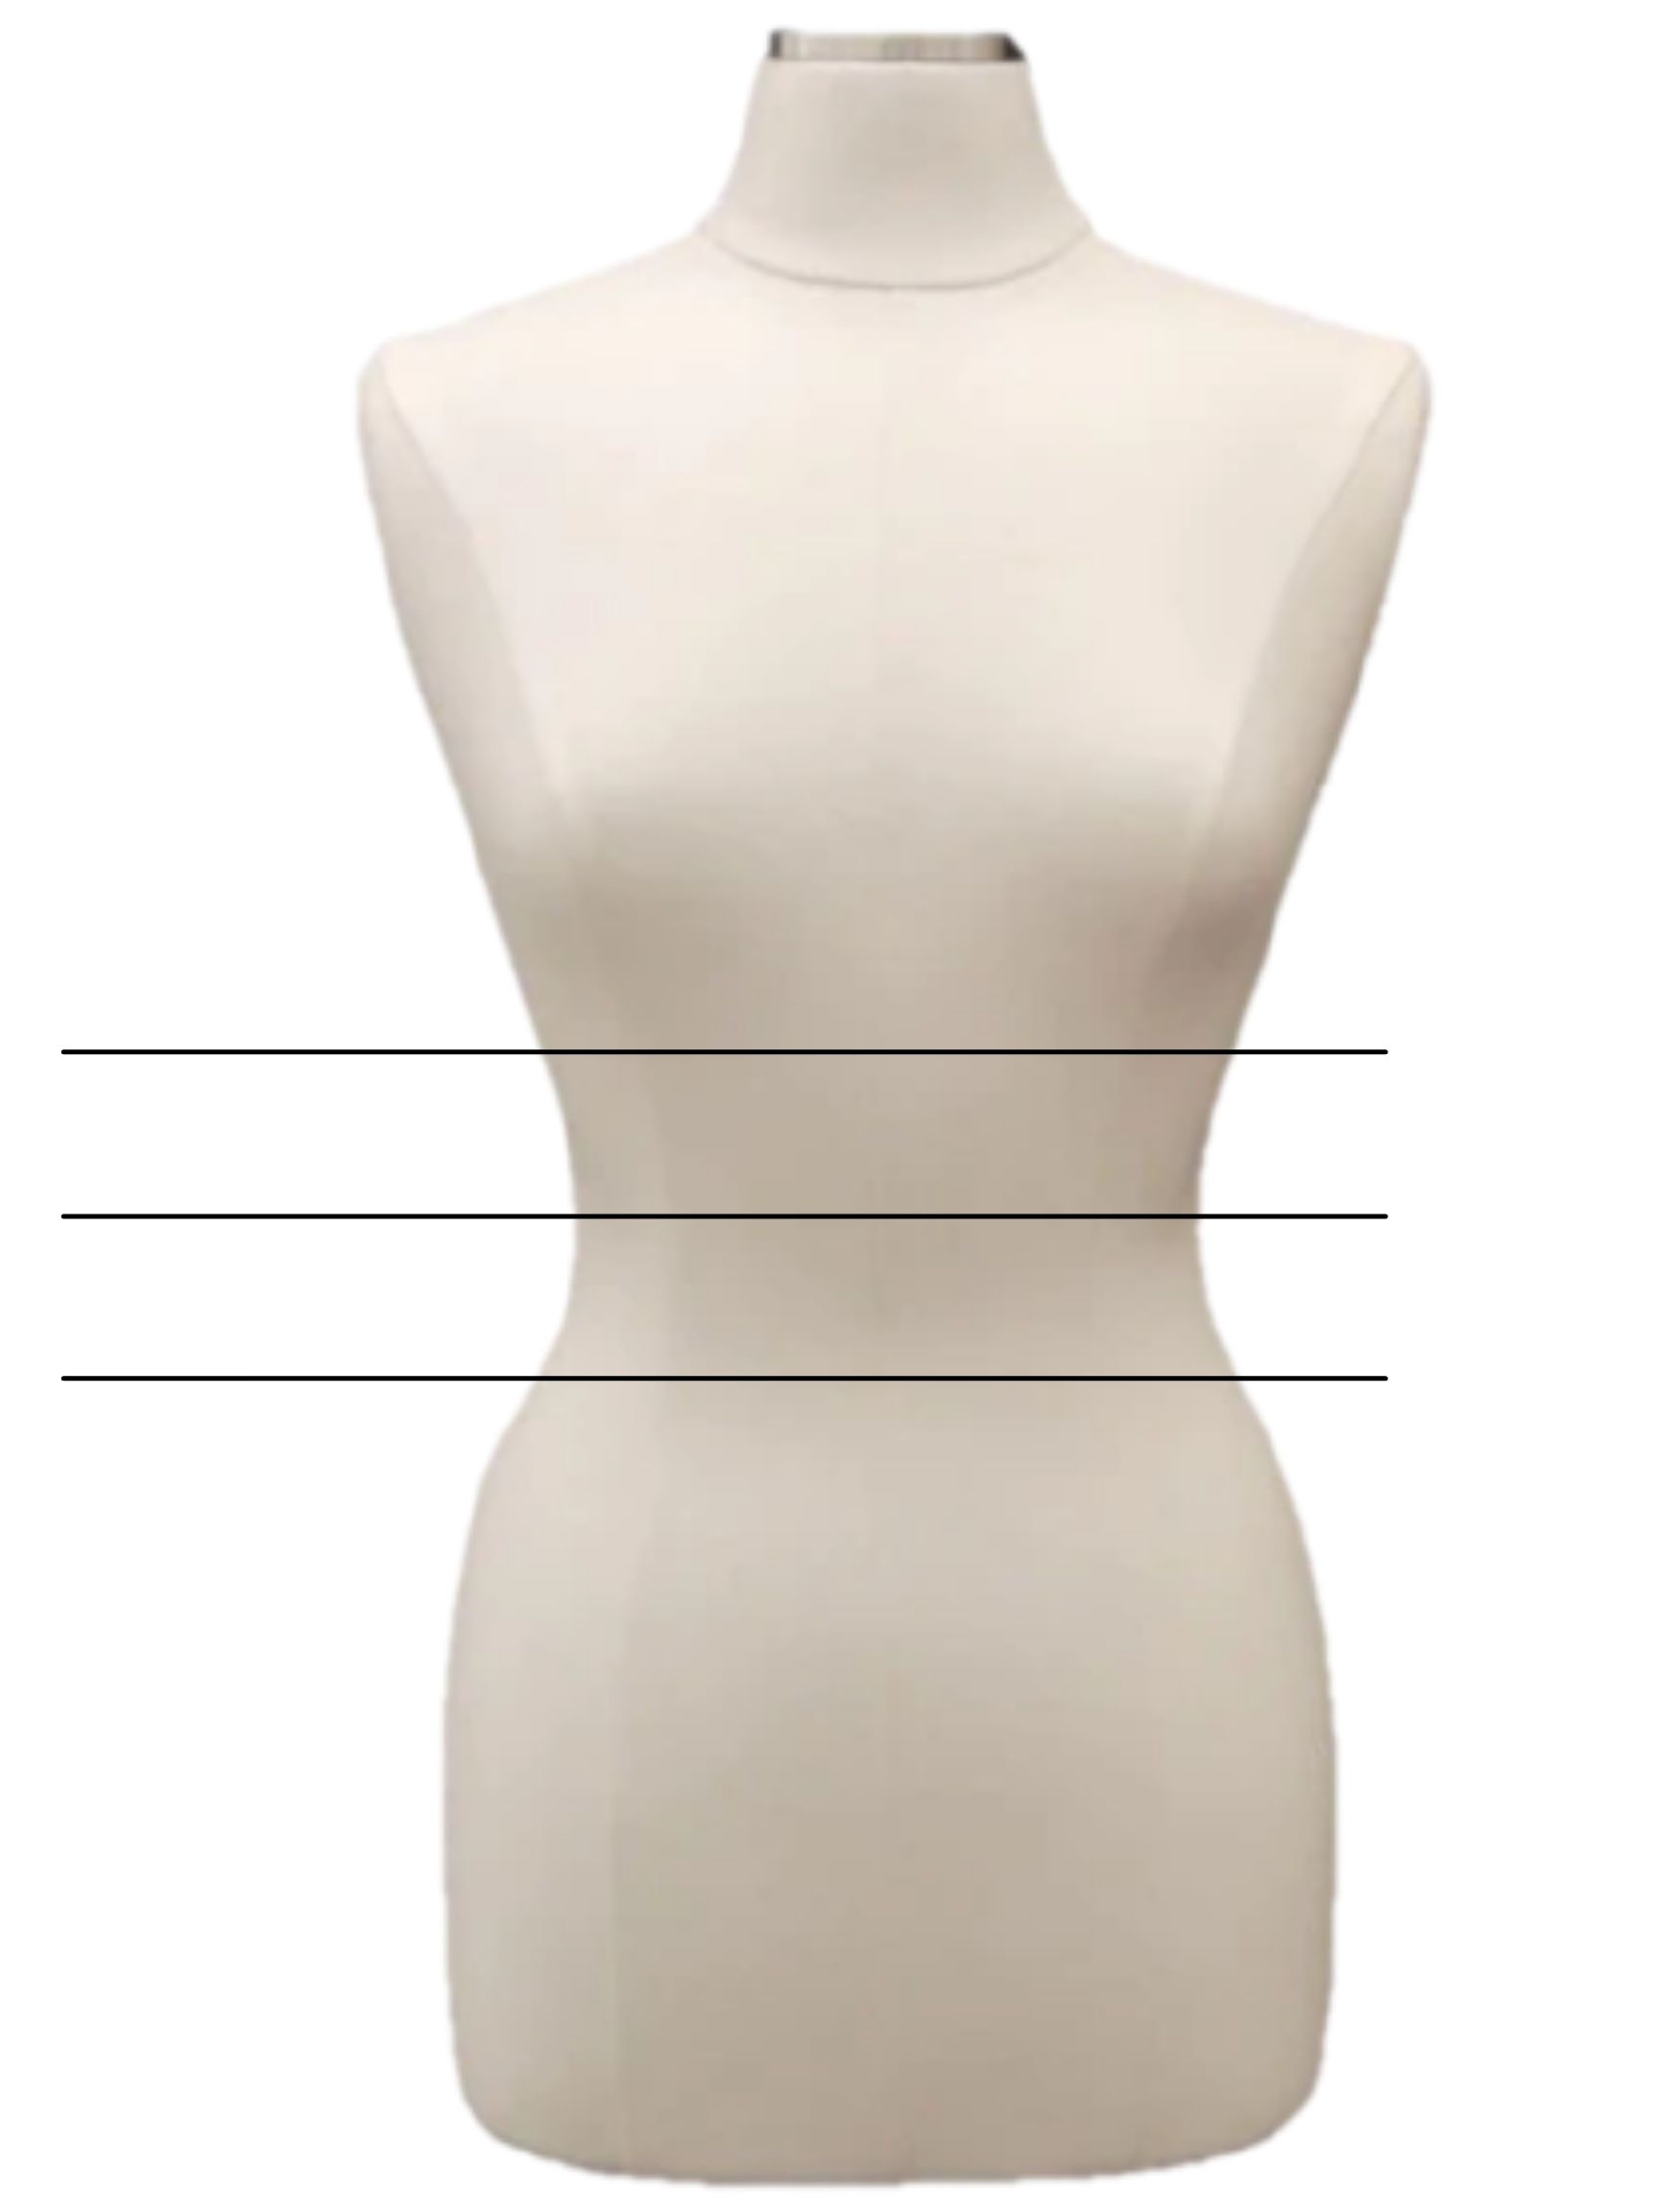
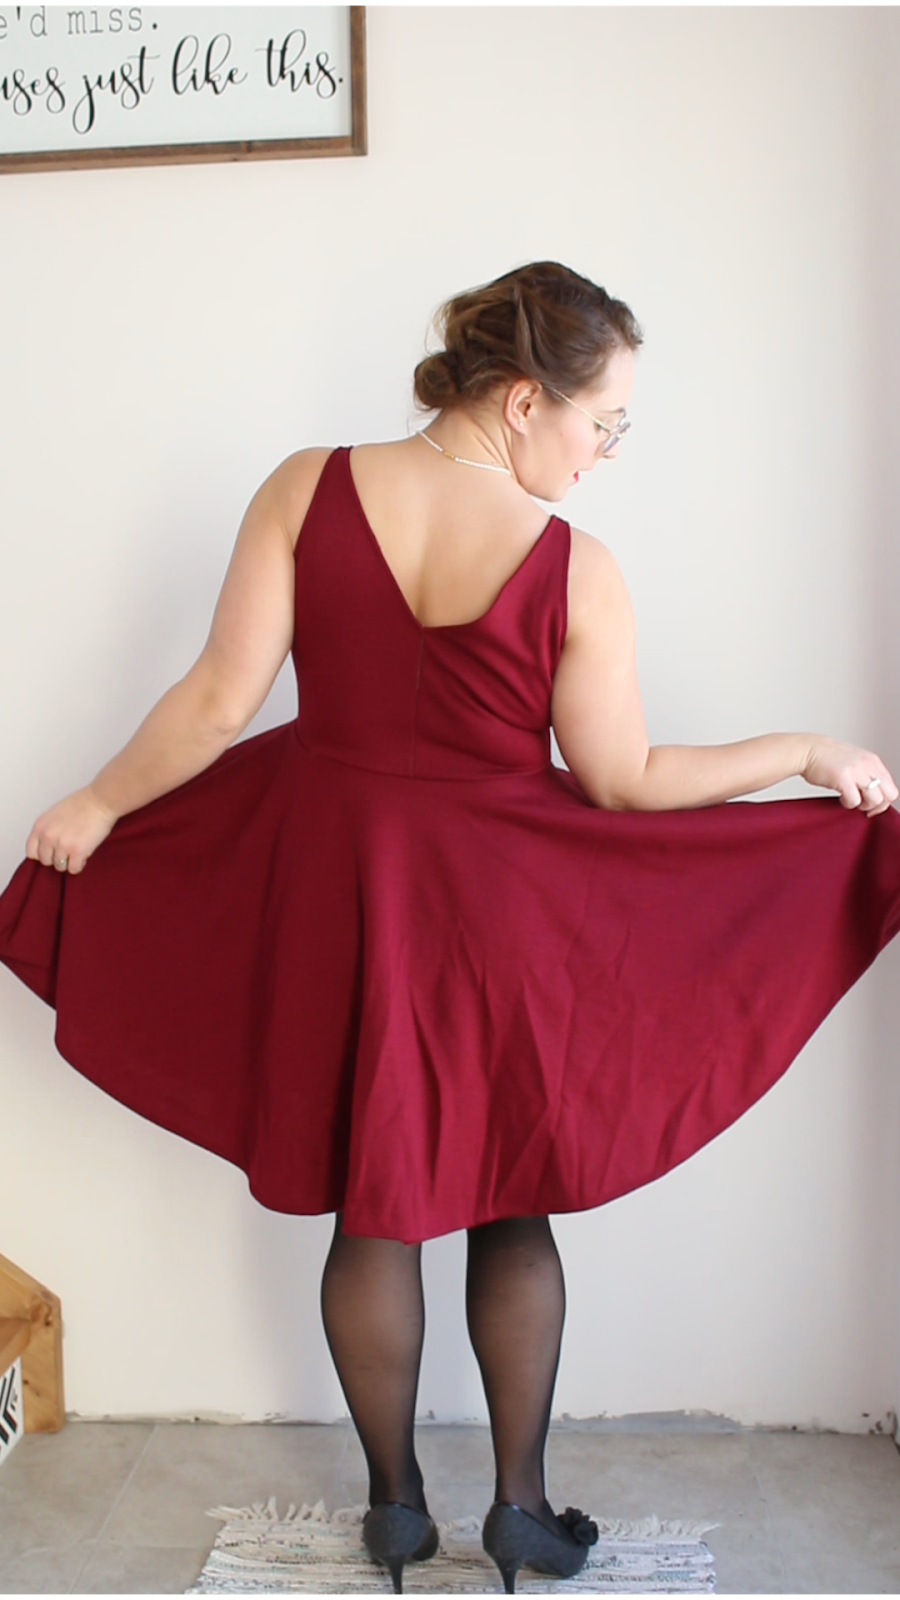
Anyway, the modification we’re going to be looking at is the waist point. If we look at a torso, there’s a lot of options for where a bodice can meet a skirt between the underbust and the hips (or even lower!). Each different horizontal line represents a different look & comfort level. And not every person is going to love every style. For me, I like to draw attention to the smallest part of my torso, which is my natural waist – just below my bust (but not right under my bust, y’know). I consider this “peplum” level and is a bit lower than “empire”, but higher than “dropped waist”. Confused yet?
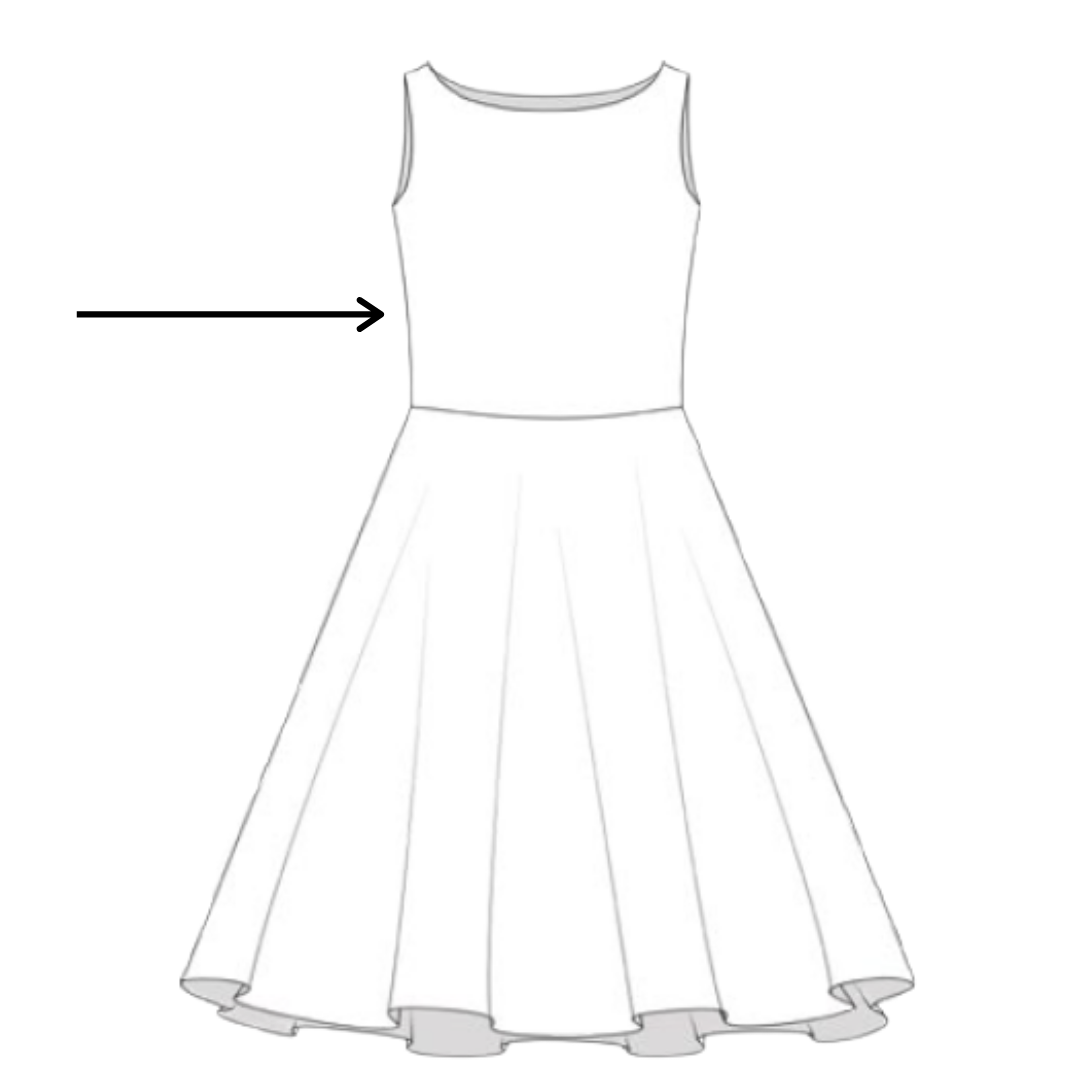
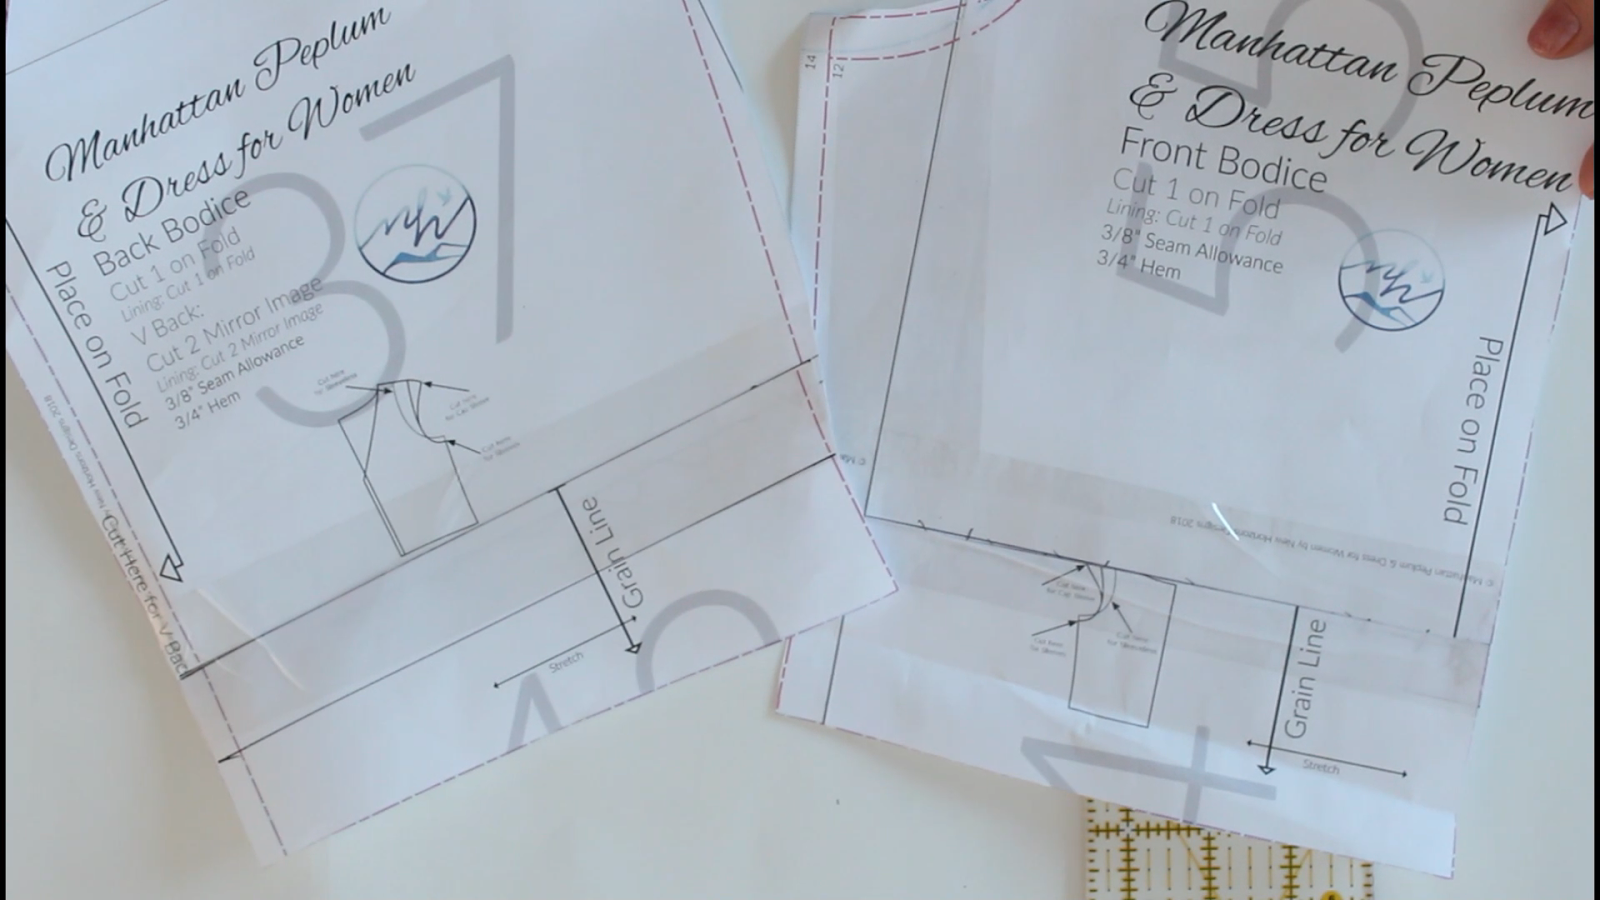
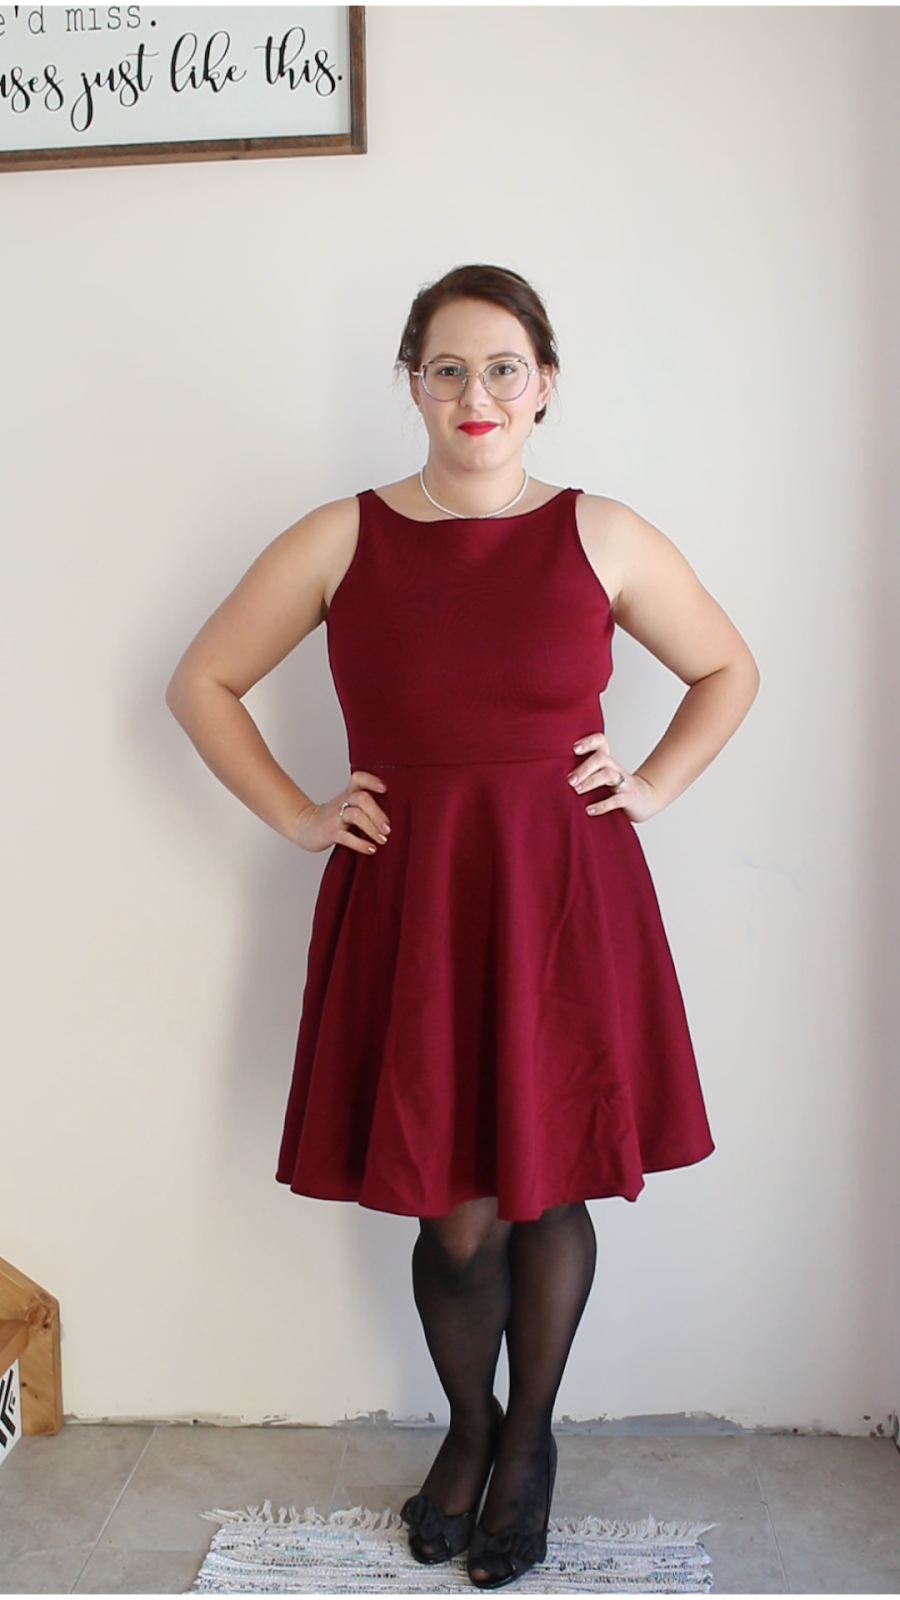
Maybe we should just jump into the tutorial so this all makes sense. I’m going to use the Manhattan dress pattern for this post because I think it would look great with any waist line. The line drawings and modeled photos show a slightly more dropped waist look than I particularly love on myself. I tend to not love the horizontal line where the bodice and skirt meet to be right across my hips or tummy, so I’m going to adjust that to hit me higher up, at my natural waist. And here’s how.
![]()
Finding your side waist measurement
Step 1: There’s really only one measurement you’ll need to take on your body, and that’s your underarm to waist (or wherever you want the seam to be). If you’re wanting to find your natural waist (the narrowest part of your torso) you can grab a piece of elastic and tie it around your waist so it’s only slightly stretched. Bend side-to-side and wiggle around a bit. The elastic will settle into your narrowest part. You can then measure off of that horizontal line up your side to your armpit. My measurement is 8”.
Compare your side waist to pattern pieces
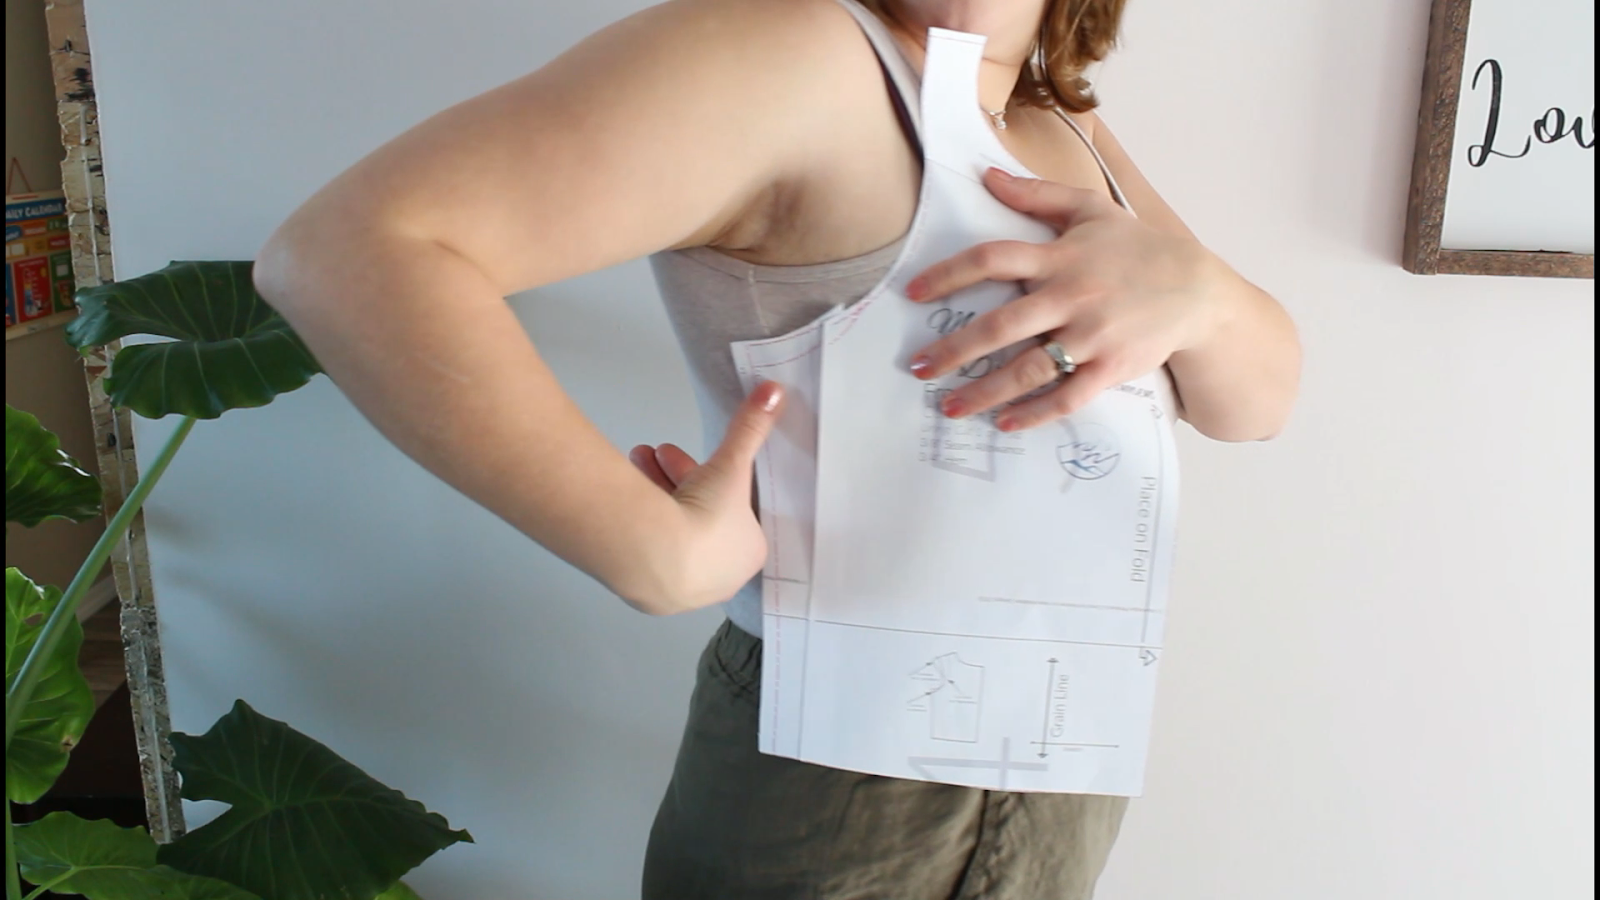
Step 2: We now need to compare this measurement with the pattern. You can measure directly on the paper (or projected image) or hold the bodice up to your body. Just make sure you account for seam allowances at the bottom of the bodice AND at the shoulder point. Whichever method you do, mark on your pattern where you want the bodice/skirt seam to be. If you are lengthening the bodice piece, you’ll want to either take note of the amount to add, or tape a piece of paper to the bottom to mark on.
Making adjustments
Step 3: Time to make the adjustment.This is going to depend a bit on which way you’re altering the pattern, but the general rule is to follow the curves of your beautiful body. If you look at the bodice pattern pieces, you’ll notice the sides curve in at the waist and then out again as it nears the hips.
So, if you want to add or subtract length in the waist, you’ll want to draw a horizontal line across the waist, perpendicular to the centerfold, cut on the line and then add or subtract there. If you want to add lower down, closer to the hips, then you’ll do the same process, but closer to the bottom of the pattern. The key is to maintain the bottom width so that it continues to fit to the skirt piece.

Make sure you do this on the front and back bodice pieces. If you’re using a pattern with princess seams, or other bodice pieces, make sure you adjust all those, as well.
Another way to make this adjustment is to construct the bodice and the skirt, and then baste them together to see where you’d like it to sit. This really only works if you’re going to be shortening the bodice, though. AND you run the risk of not having the bottom of the bodice match properly with the skirt top.
I’m using a size 14 bodice (graded in to 12 at the skirt seam) and 12 skirt. The side bodice measurement is 9.5” from underarm to bottom, including two ⅜” seam allowances (underarm & bottom bodice), leaving a side measurement of 8.75”. So, for me, I want to shorten the bodice side by ¾”. I realize this doesn’t sound like a lot, but it can make a world of difference and is the reason I’ve come to rely on muslins or test garments.
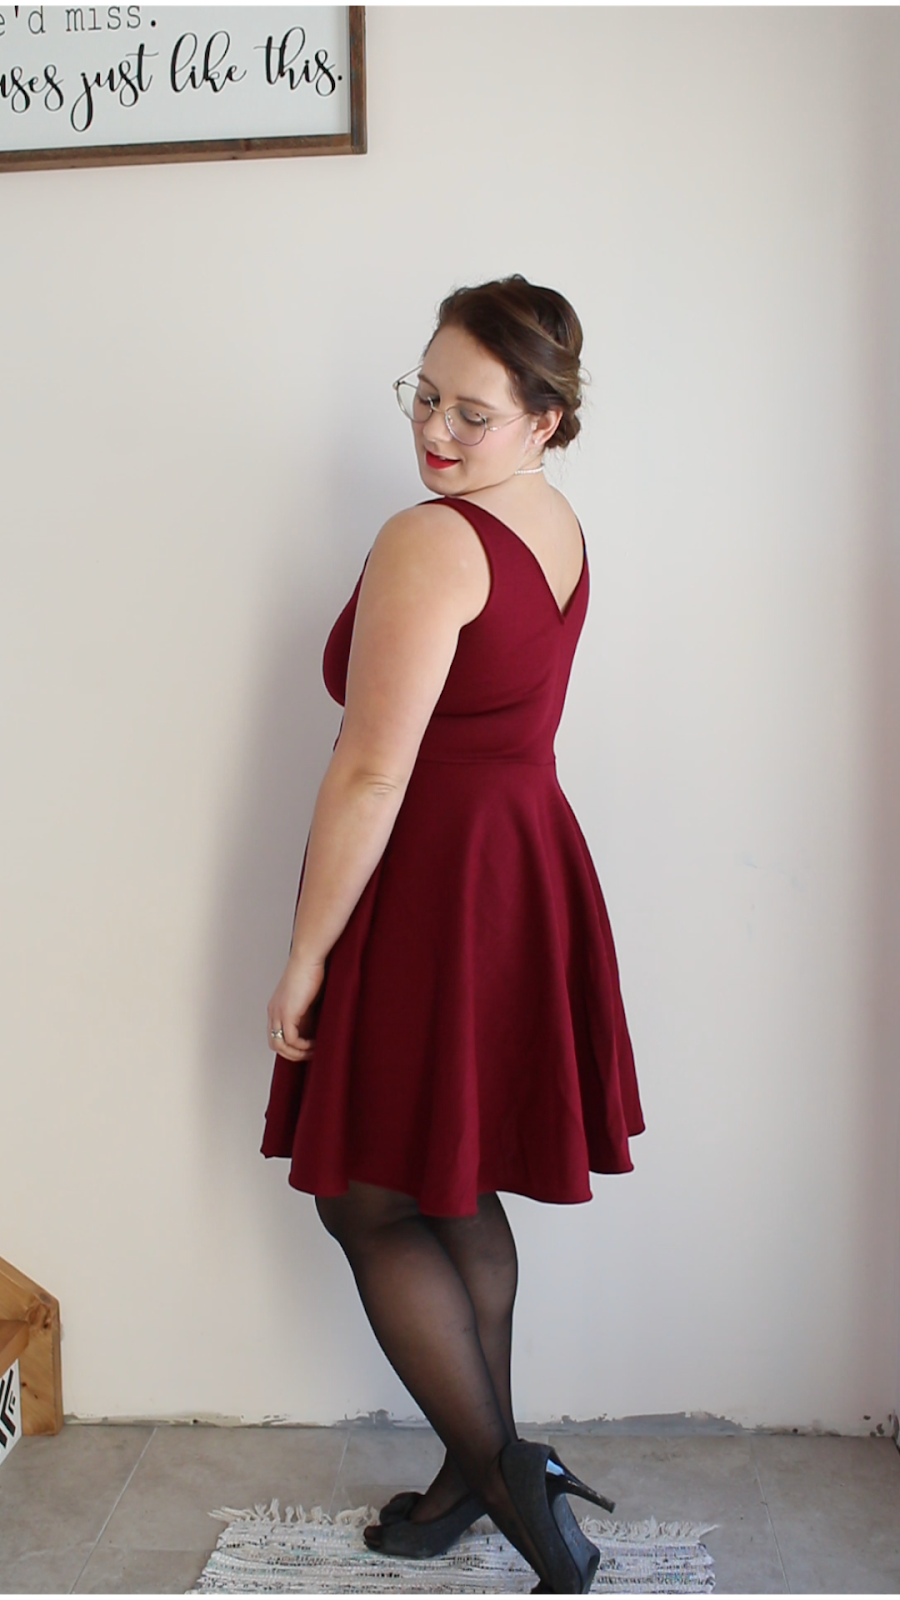
It’s also worth mentioning that shortening or lengthening the bodice will affect the overall length of the dress. For me, this didn’t cause an issue because I usually have to shorten patterns to suit my body, anyway. But just keep it in mind for your own body and preferences.
And that’s it! Continue to construct your garment as usual and you’ll have a piece that sits exactly where you intended it to.
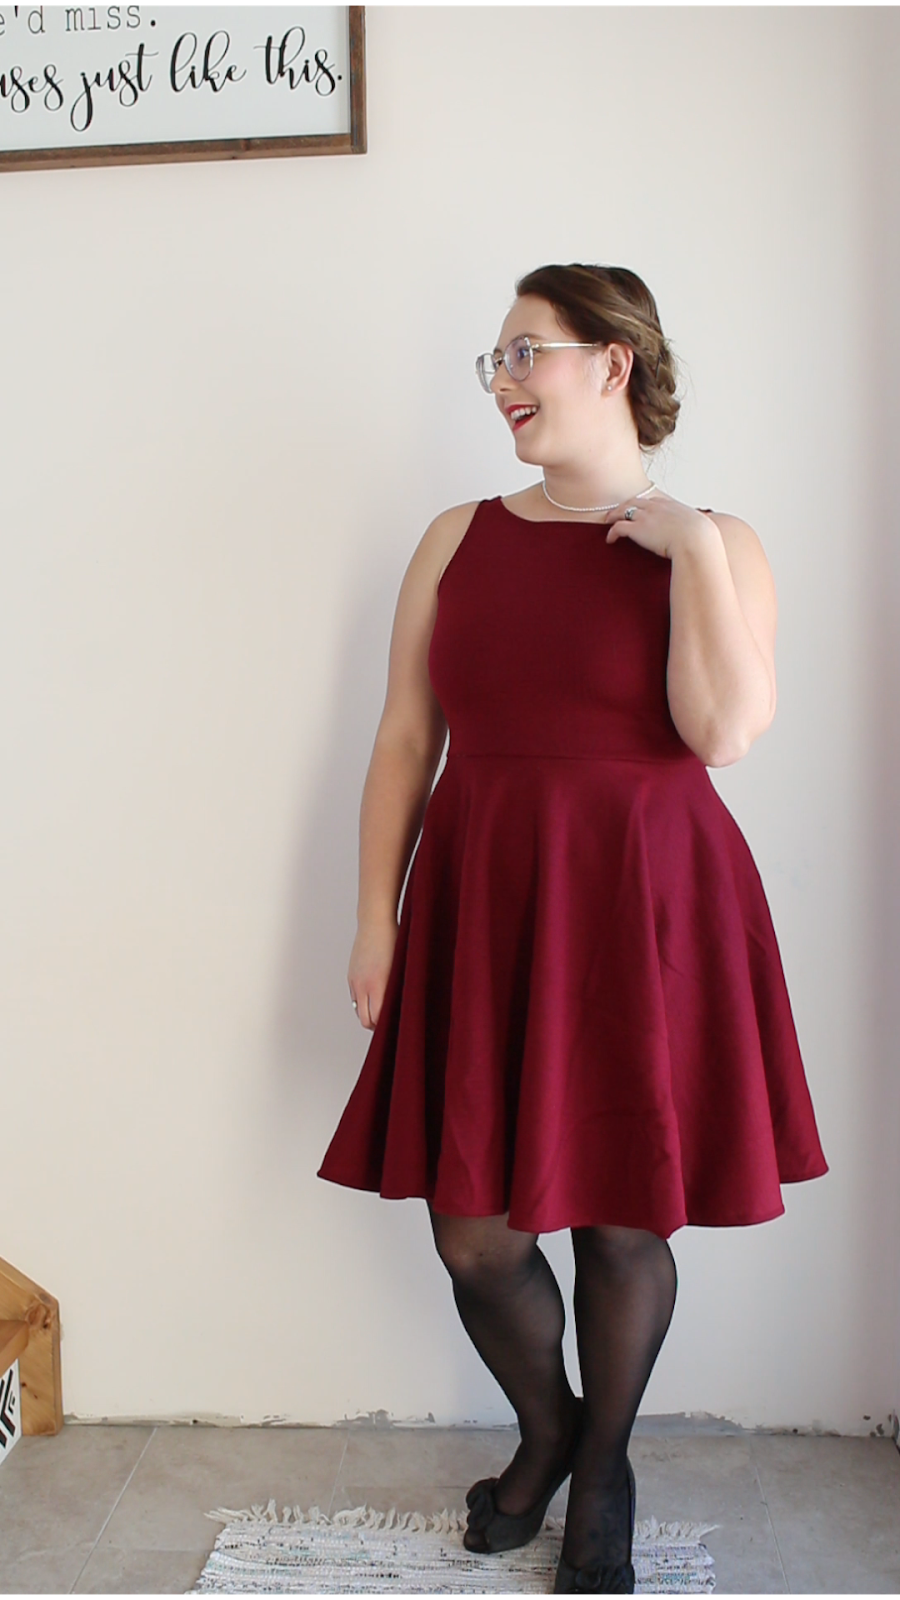
Enjoy the results of adjusting the waist seam and make sure you share with us in our Facebook group or on Instagram #newhorizonssewing