
Amanda, from Deriving Mommyhood, is sharing her nursing hack for the Valencia Top using the front colorblock option.
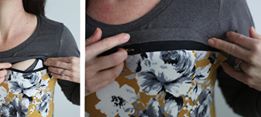
When I saw the colorblocking lines on the new Valencia Top from New Horizons Designs, I knew I needed to try a hack I had in mind….you see, my sister-in-law showed me this awesome nursing top she got in South Korea that has this two way zipper across the chest for easy and discreet access. I searched online everywhere for one of these two way zips and came up empty so I started to give up hope…then I found out that you can totally MAKE YOUR OWN TWO WAY ZIP. I was all caps level of excitement. SO I stared at that shirt from her and made it happen, and you can too.
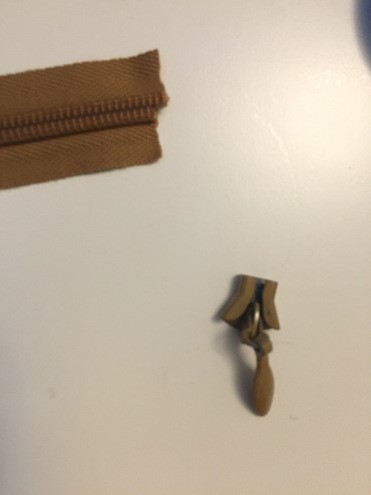
First, let’s make a two-way zip. I used invisible zippers, but regular zippers work the same. You’ll need one zipper that is at least the size of the width of your bodice at the colorblocking line (we will call this #1), and another zipper that’s the same brand, same size teeth, same size zipper pull (Zip #2). Length doesn’t matter for Zip #2 as you won’t be using the actual zipper teeth.

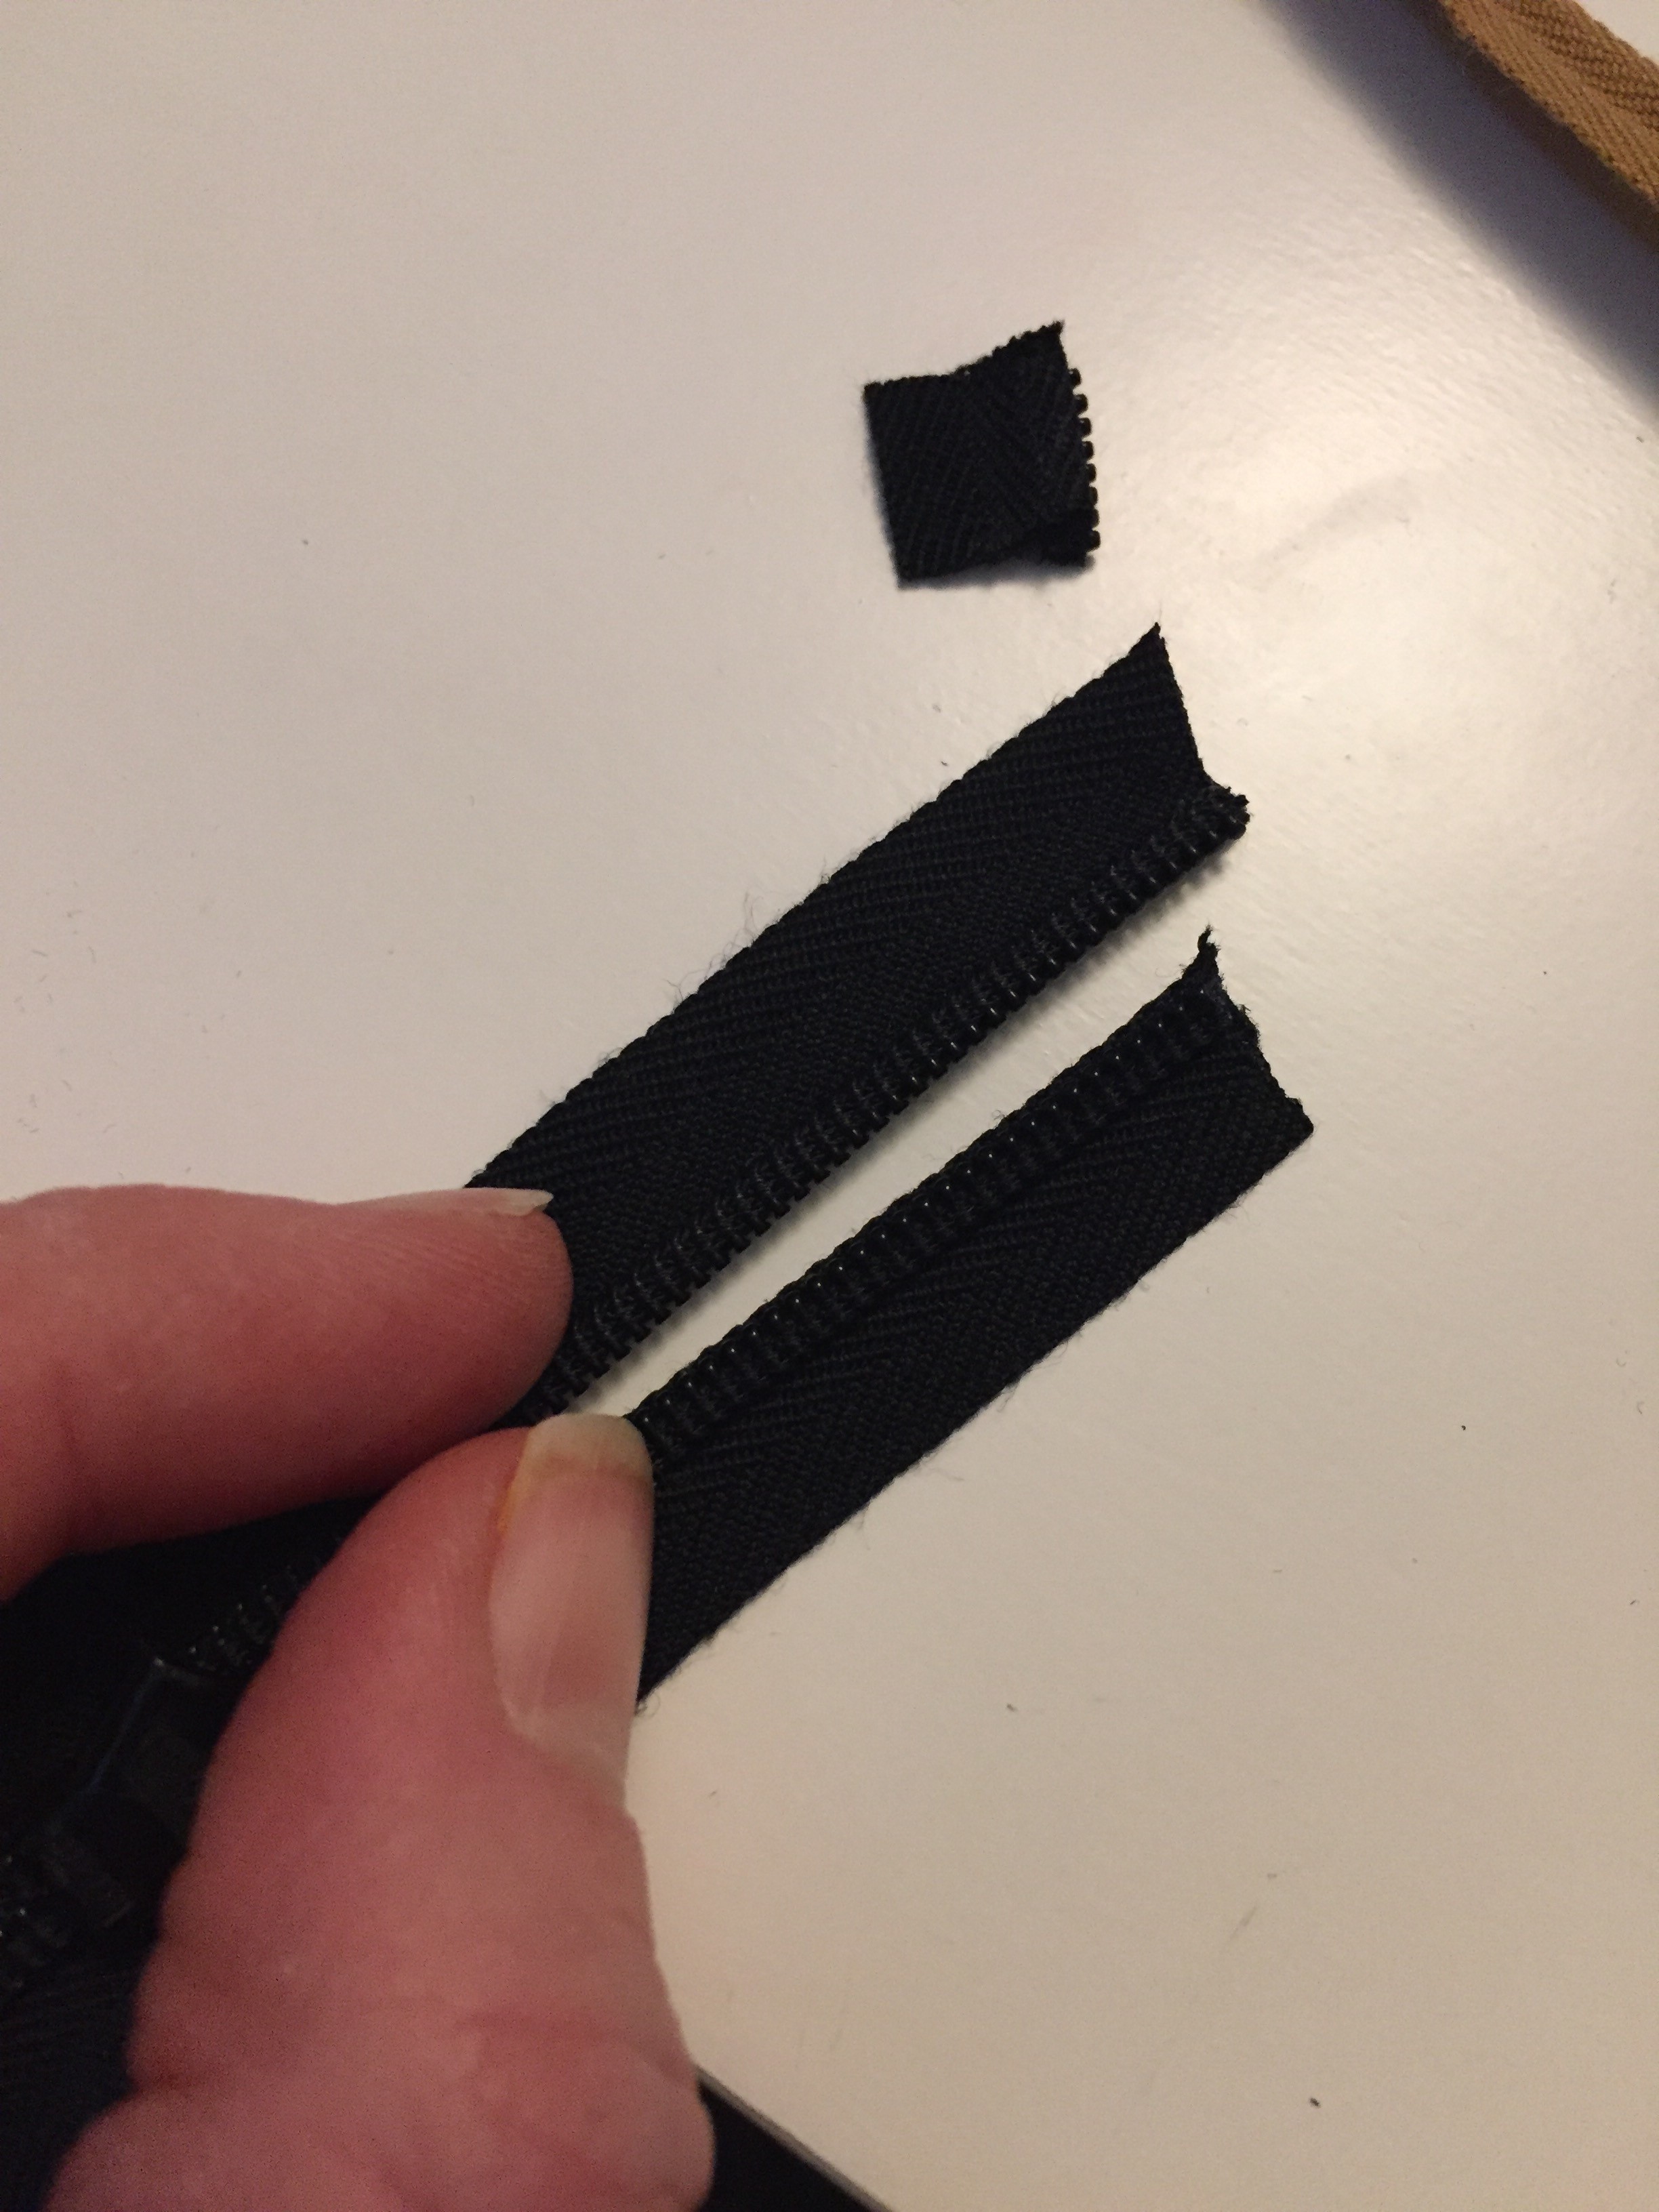
Carefully snip off the top of both zippers. Slide the pull from zip #2 off the zipper. Don’t panic, it will be okay.
Next, take Zip #1 and carefully snip about 1/2″ from one side of the zipper. This makes it easier to slide the new pull on but is optional.
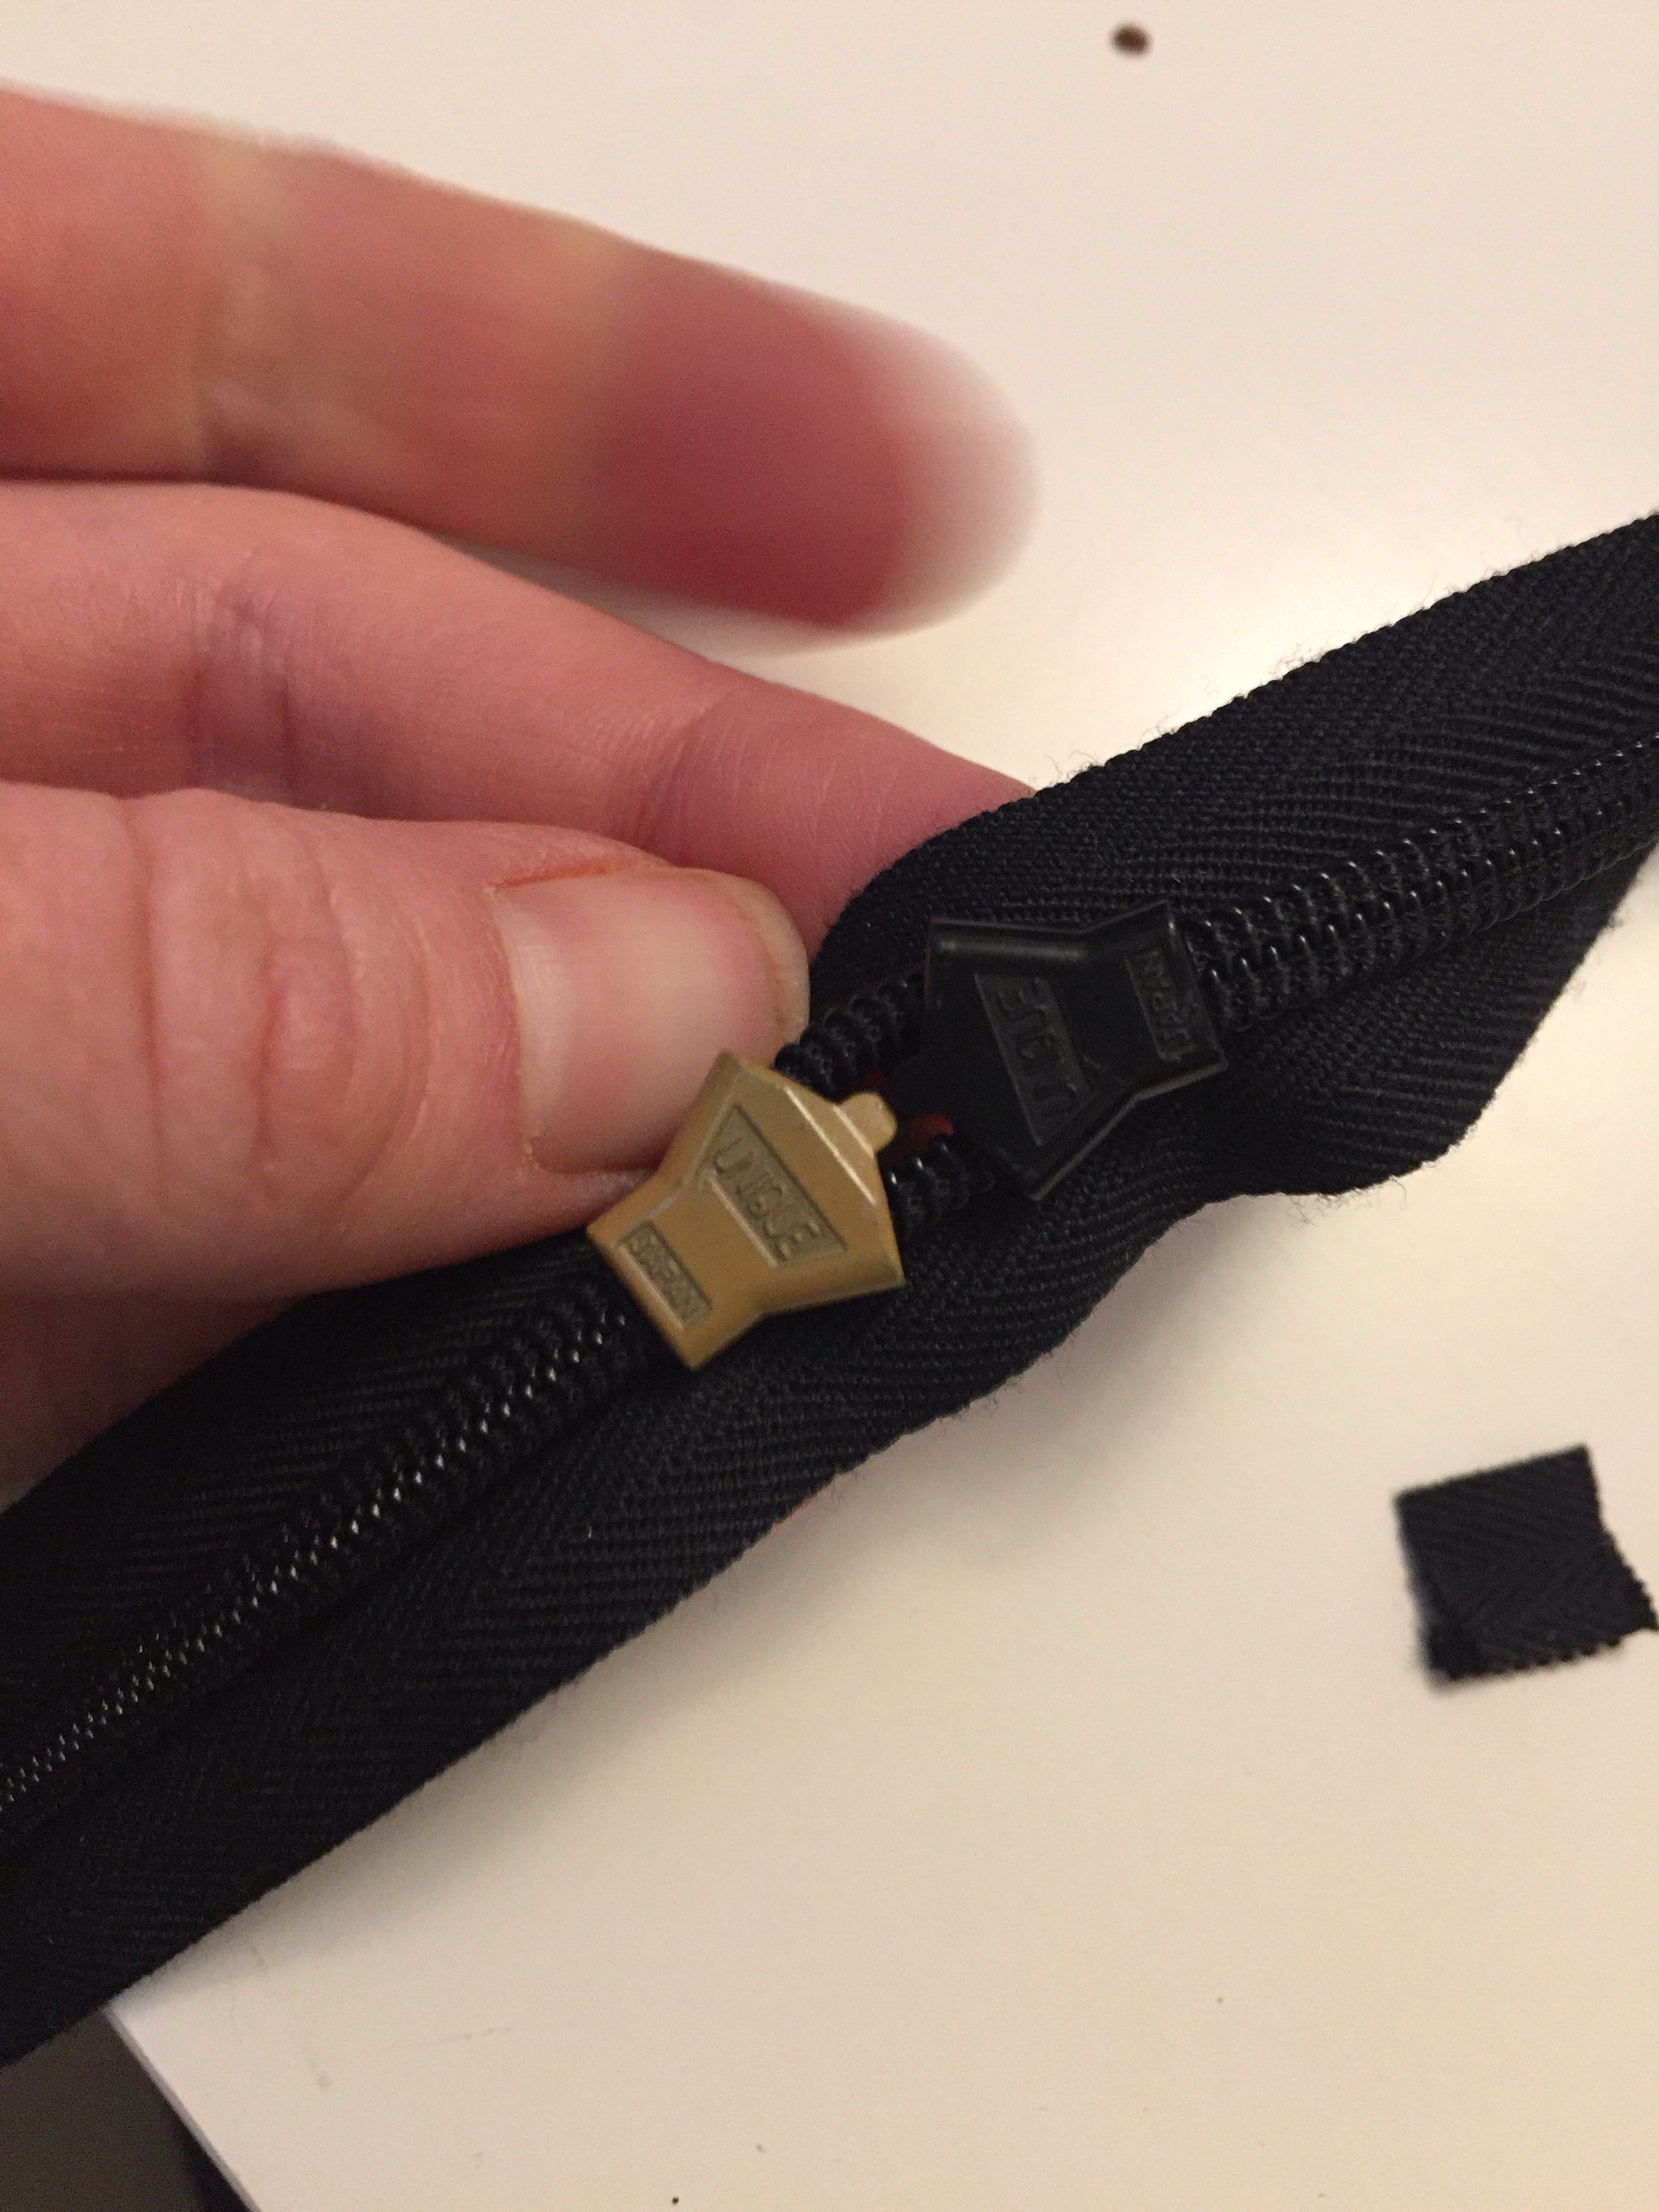
You’ll be taking the slide from Zip #2 now and sliding it onto Zip #1, with the pulls in opposite directions (so they will zip towards each other). I did it by carefully feeding the teeth from the longer slide in, then wiggling the teeth on the shorter side….it might take pliers or something pointy and sharp to help. I just took my time and wiggled the slide on.

Once it’s on, you can add a zipper stop by zigzag stitching across the open end, but you’ll be closing it in your seam later anyway.
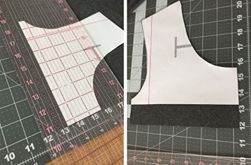
Okay, zipper is done. Let’s start on shirt. So I chose to just do one colorblocking line because that’s the fabric I had, but basically you’ll cut the shirt according to fabric instructions except for the front colorblocking piece where you want the zipper. The piece ABOVE your zipper, you’ll need to cut to be 2.5″ longer than the pattern piece to create a placket to cover your zipper. Everything else, cut the same.
I should mention that my fabric will not fray so I didn’t finish that edge, but you could finish the raw edge with serger or zigzag stitch at the bottom of that piece and top of piece it will connect to before continuing if you choose.
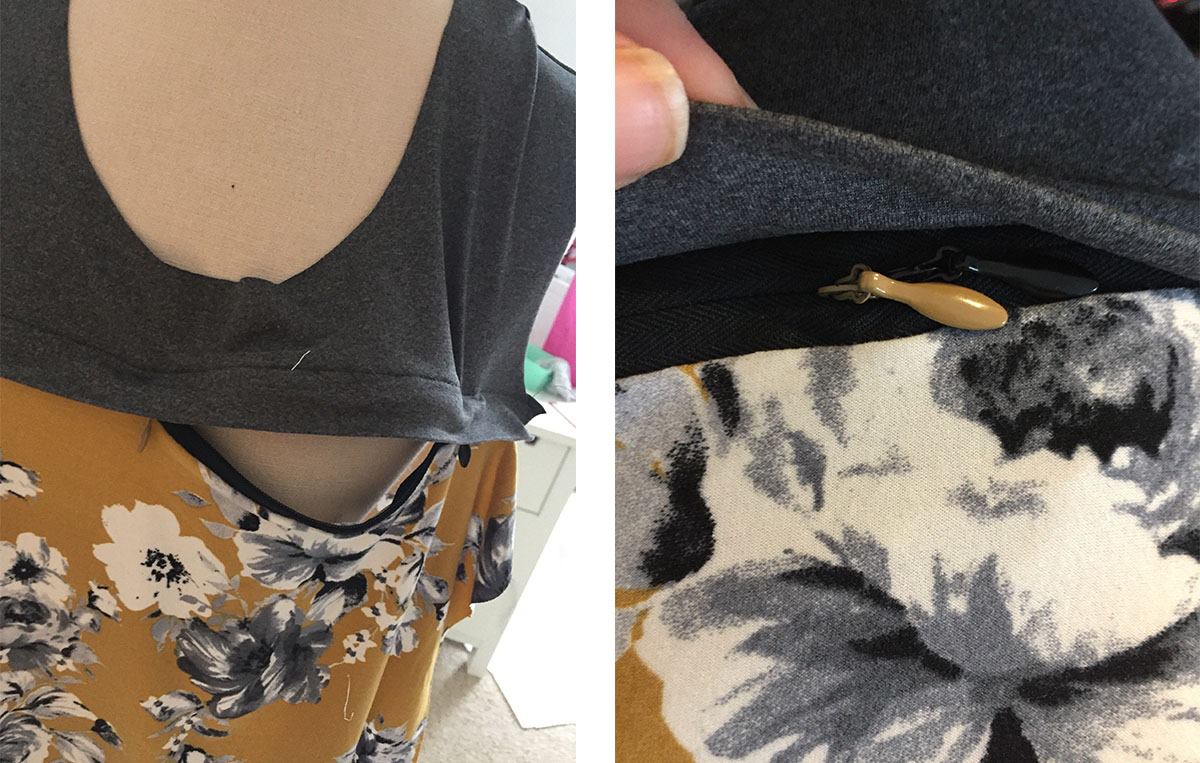
Fold the fabric on that front colorblock piece towards the WRONG side by 1.25″ and press. Place the zipper matched with the raw edge at the top of the fold face down and pin. This is a good place to use some sort of sticky hem tape or fabric glue to hold it in place. I didn’t because I’m a rebel, but it would have been a good idea.
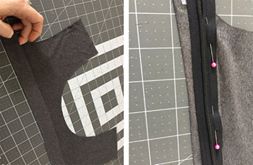
Stitch carefully across that edge. I stitched from right side to make sure stitching looked nice where it would show. I didn’t use a zipper foot but moved my needle over instead, the machine foot lined up against the zipper teeth and stitch caught the tape and that raw edge.
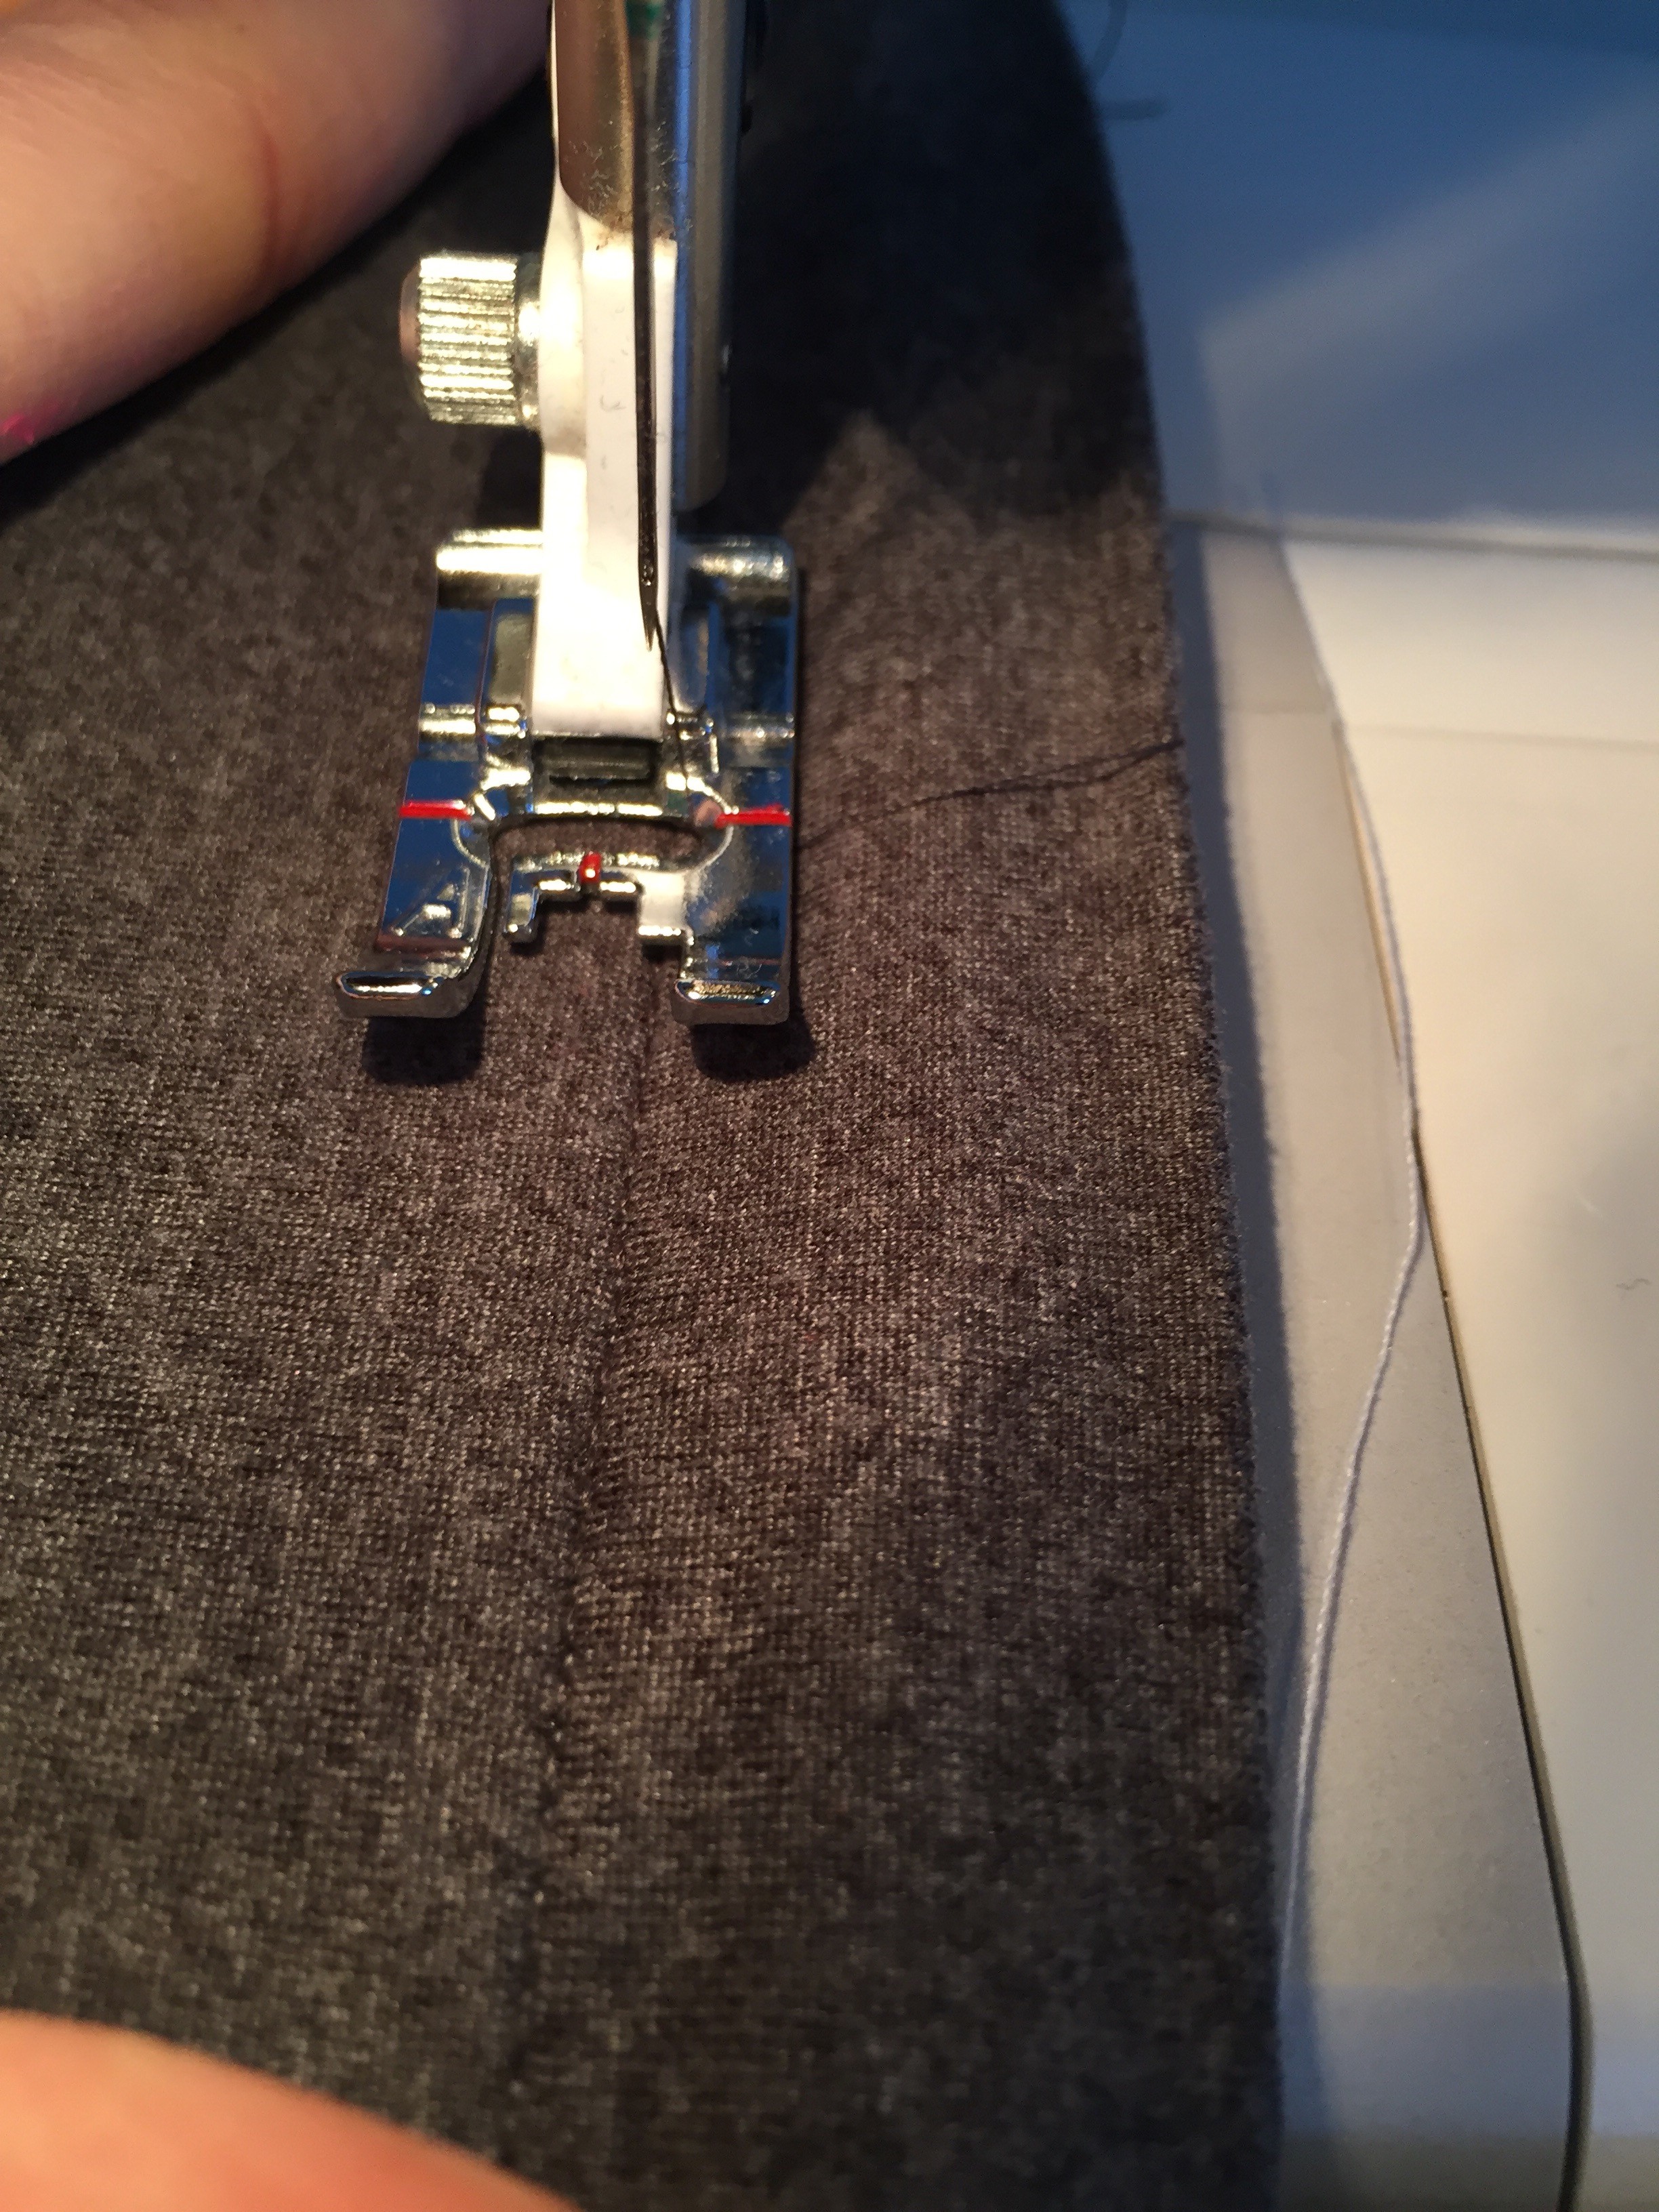
As you get to zipper pulls, just slide them out of your way and continue stitching. I stop with needle down, bring my presser foot up, slide them, then put the machine foot down and continue. You do what works for you though 😉

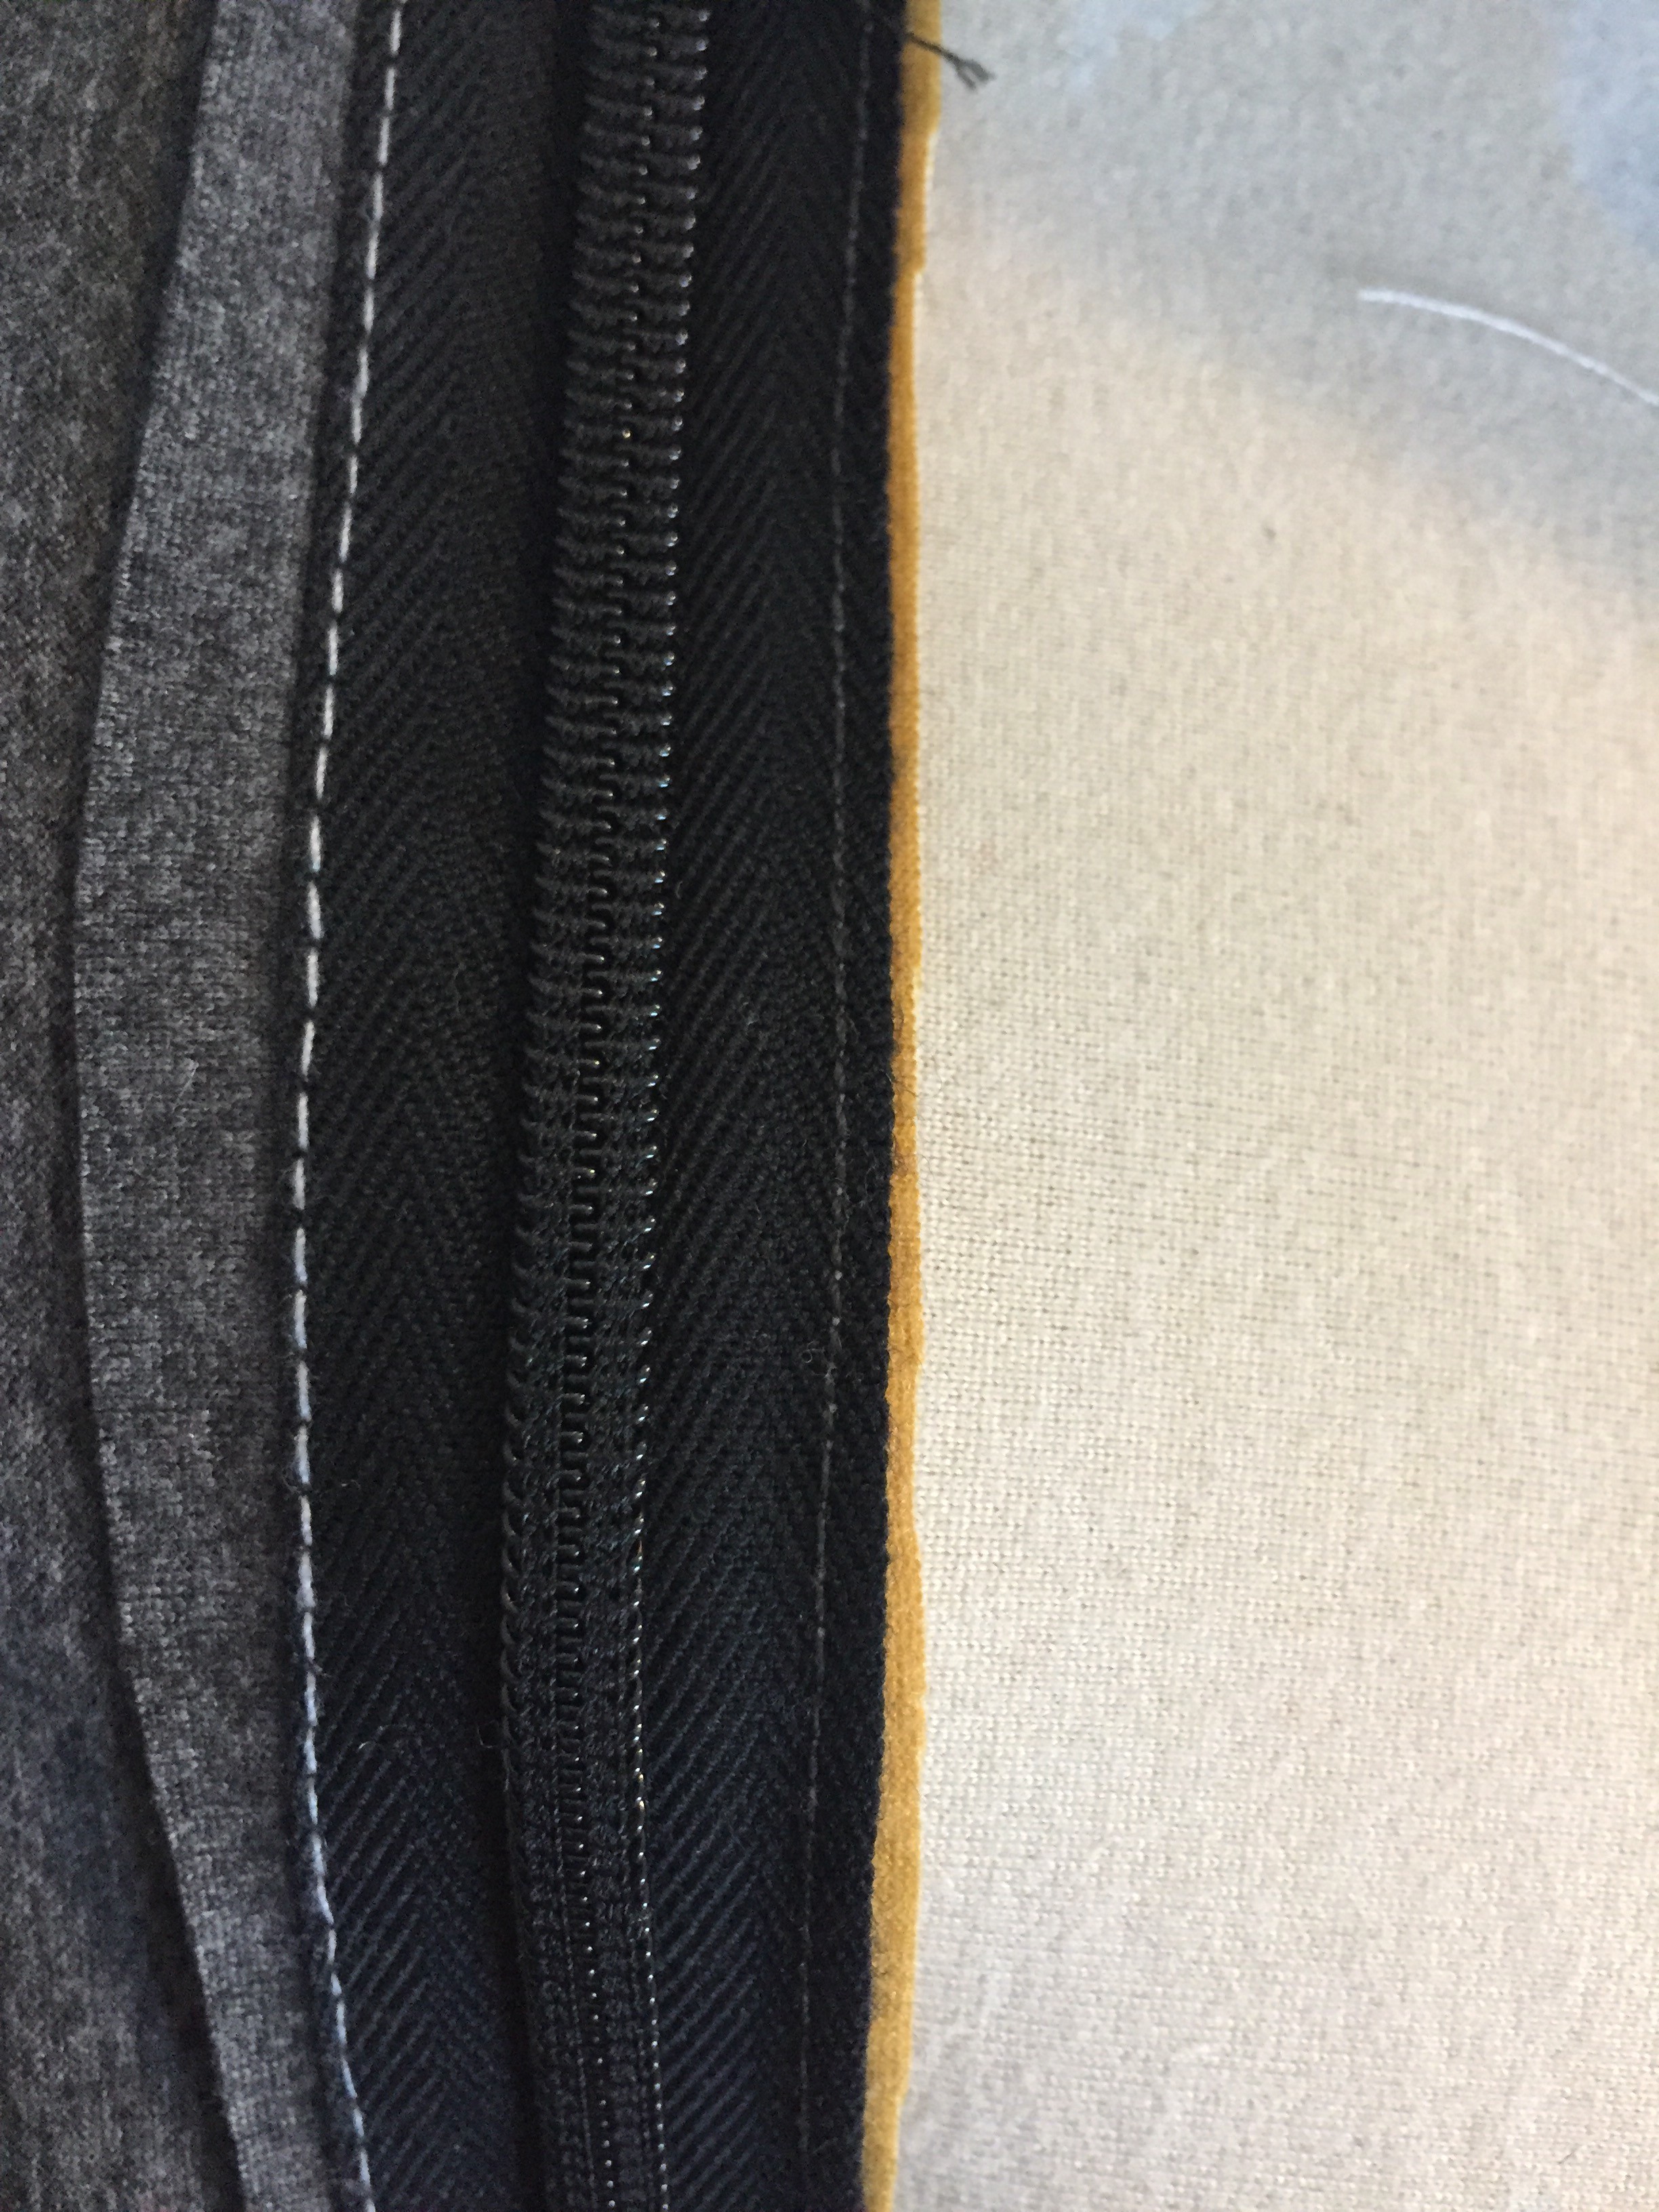
Next, we will attach the bottom colorblock piece to the other side of the zipper. Carefully pin with right side of fabric to right side of zipper, stitch in the same way, and press seam allowance down carefully. I used a straight stitch for both steps as the zipper will prevent stitches from stretching anyway. It’s also a good idea to baste the folded placket piece down to make sewing the sleeve on a little easier.
Continue to make the rest of the top following pattern instructions. The only extra thing I did was make hand crank my serger as I went over the zipper teeth to prevent needles and knives from breaking.
One more note….for larger cup sizes, you may want to use the lower colorblocking line than I did. I don’t have access problems using the higher one, but more well-endowed mamas might 🙂


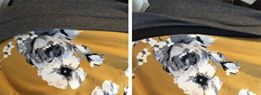
(All fabric pictured is brushed poly from So Sew English)


This Post Has 3 Comments
Pingback: Zippers - PatternNiche.com
This is fantastic! Which way were the zips facing? Zip away from the armpit to open, or zip towards the armpit to open? Do the zips hang in the armpit or middle bust?
The zippers are towards the armpits when closed.