Jody from ArgyleandPearls is joining us today with this gorgeous open back hack for the Telluride top.
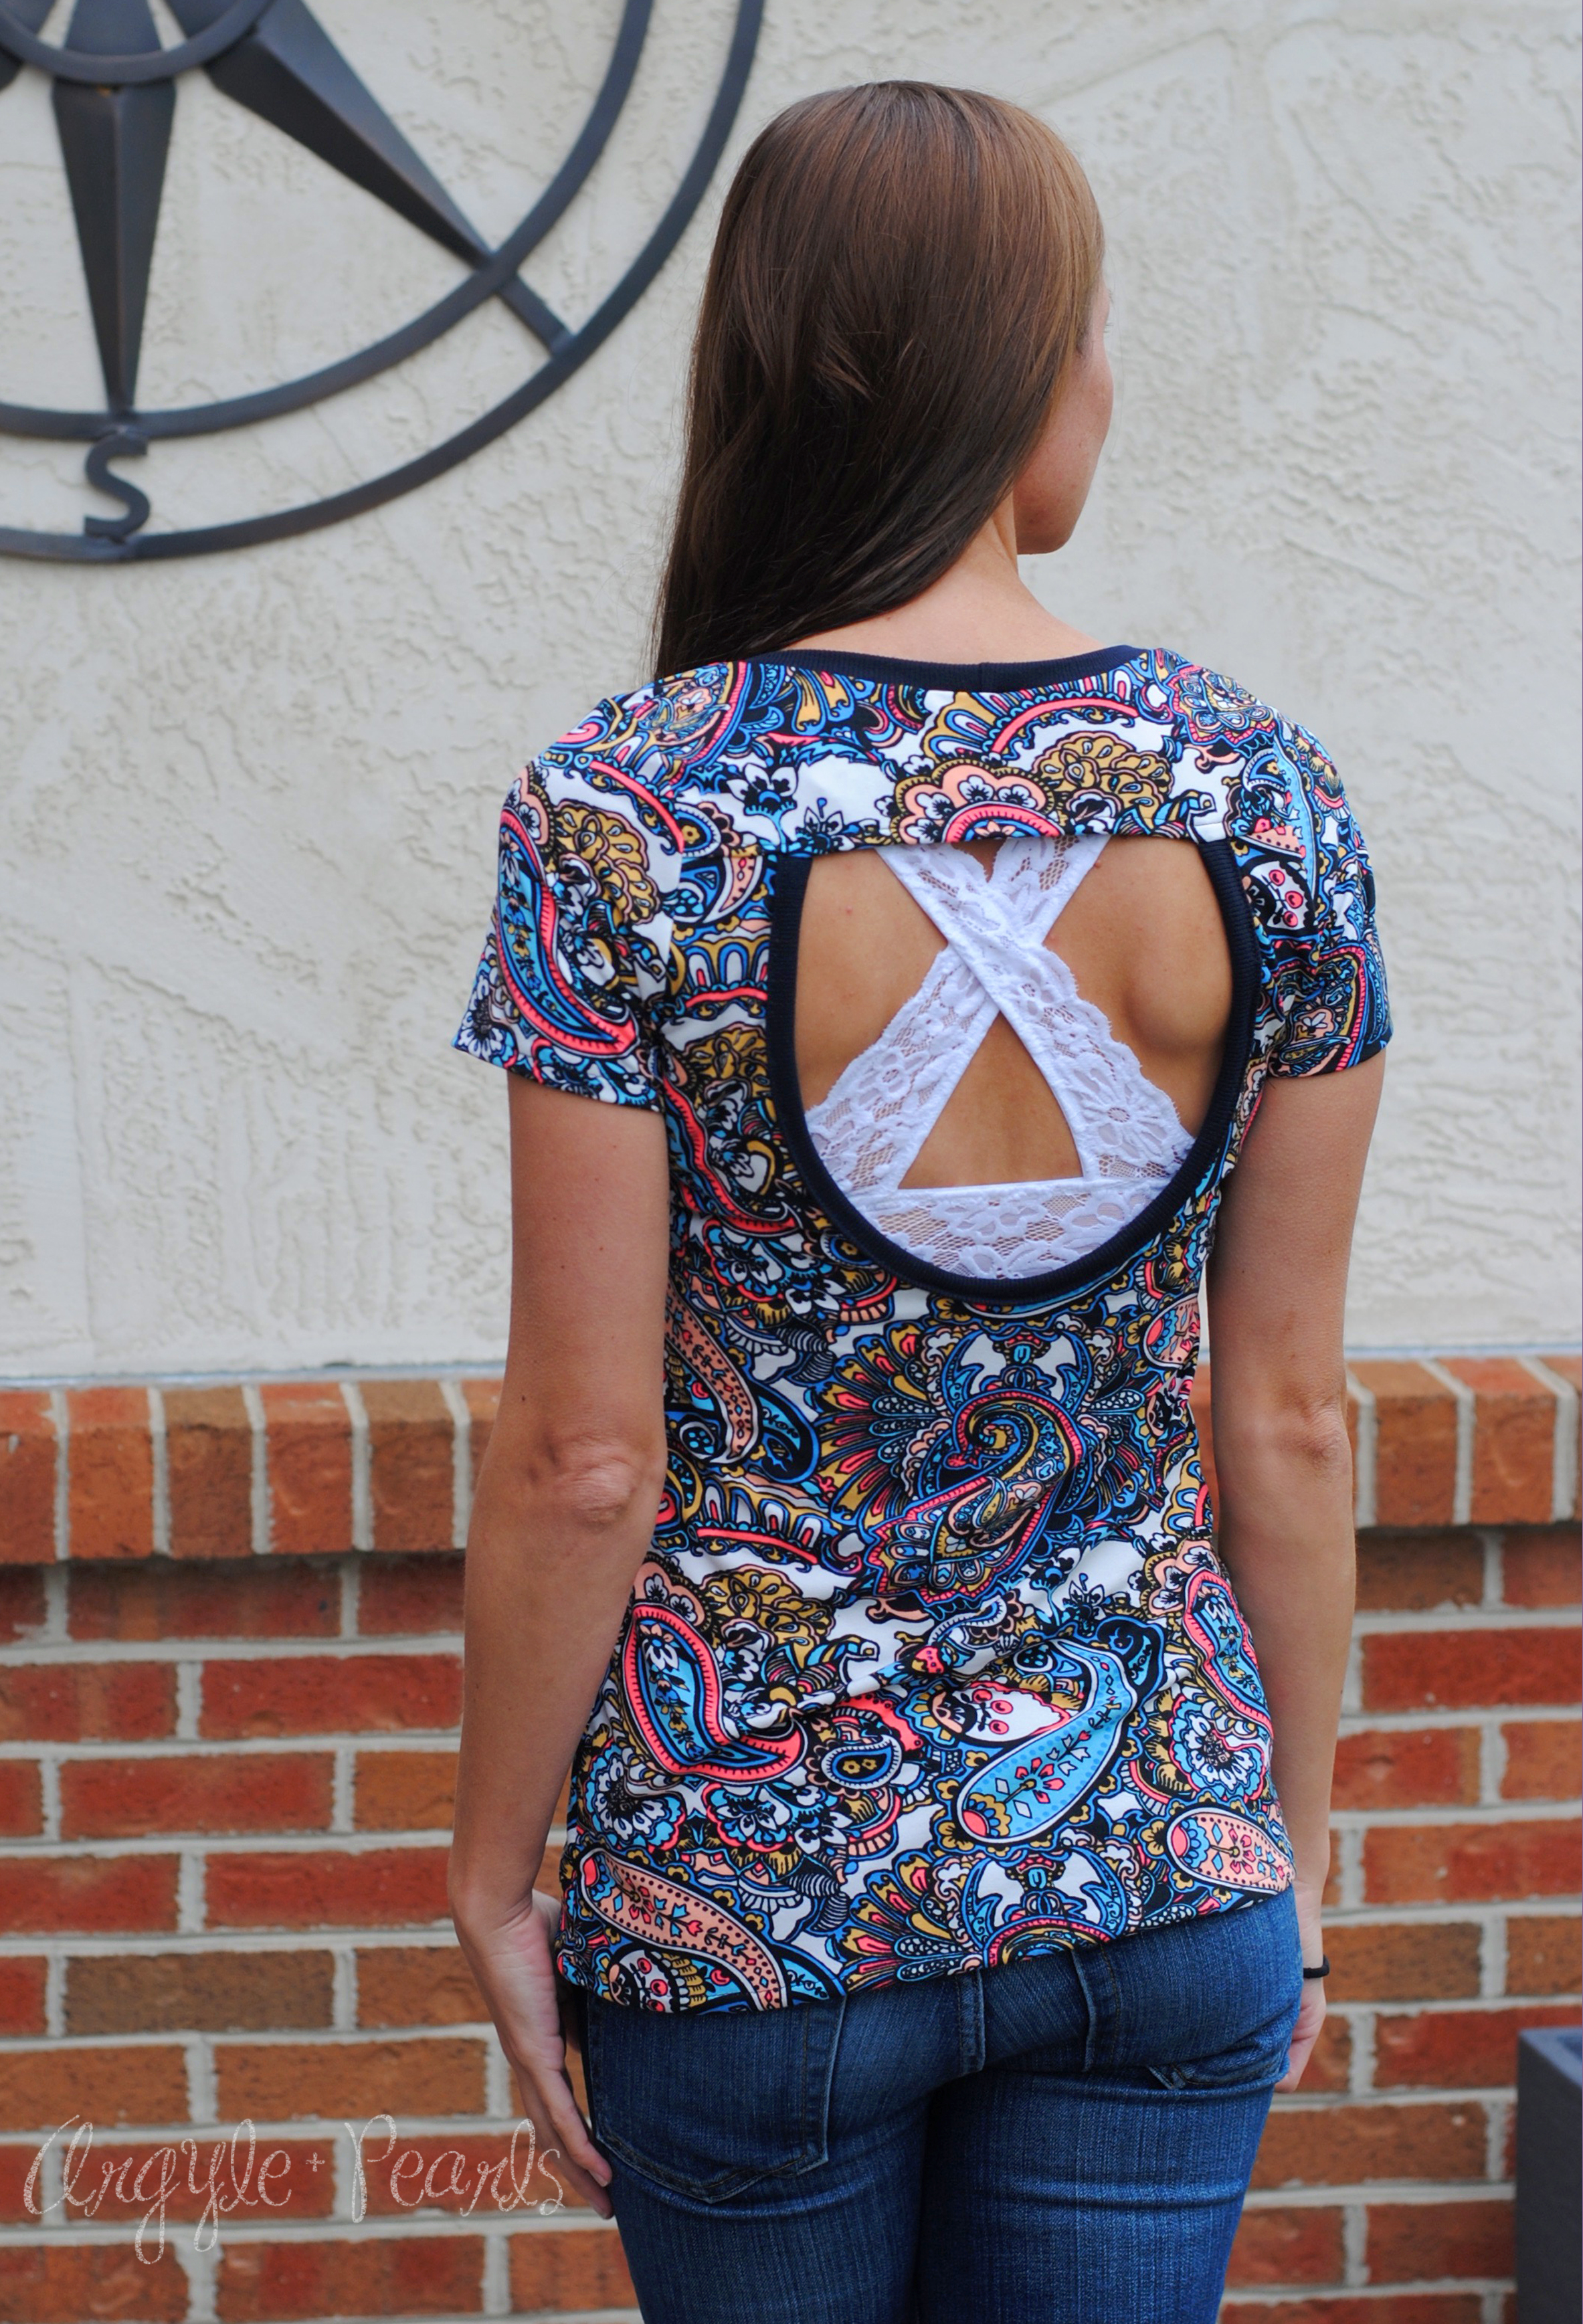
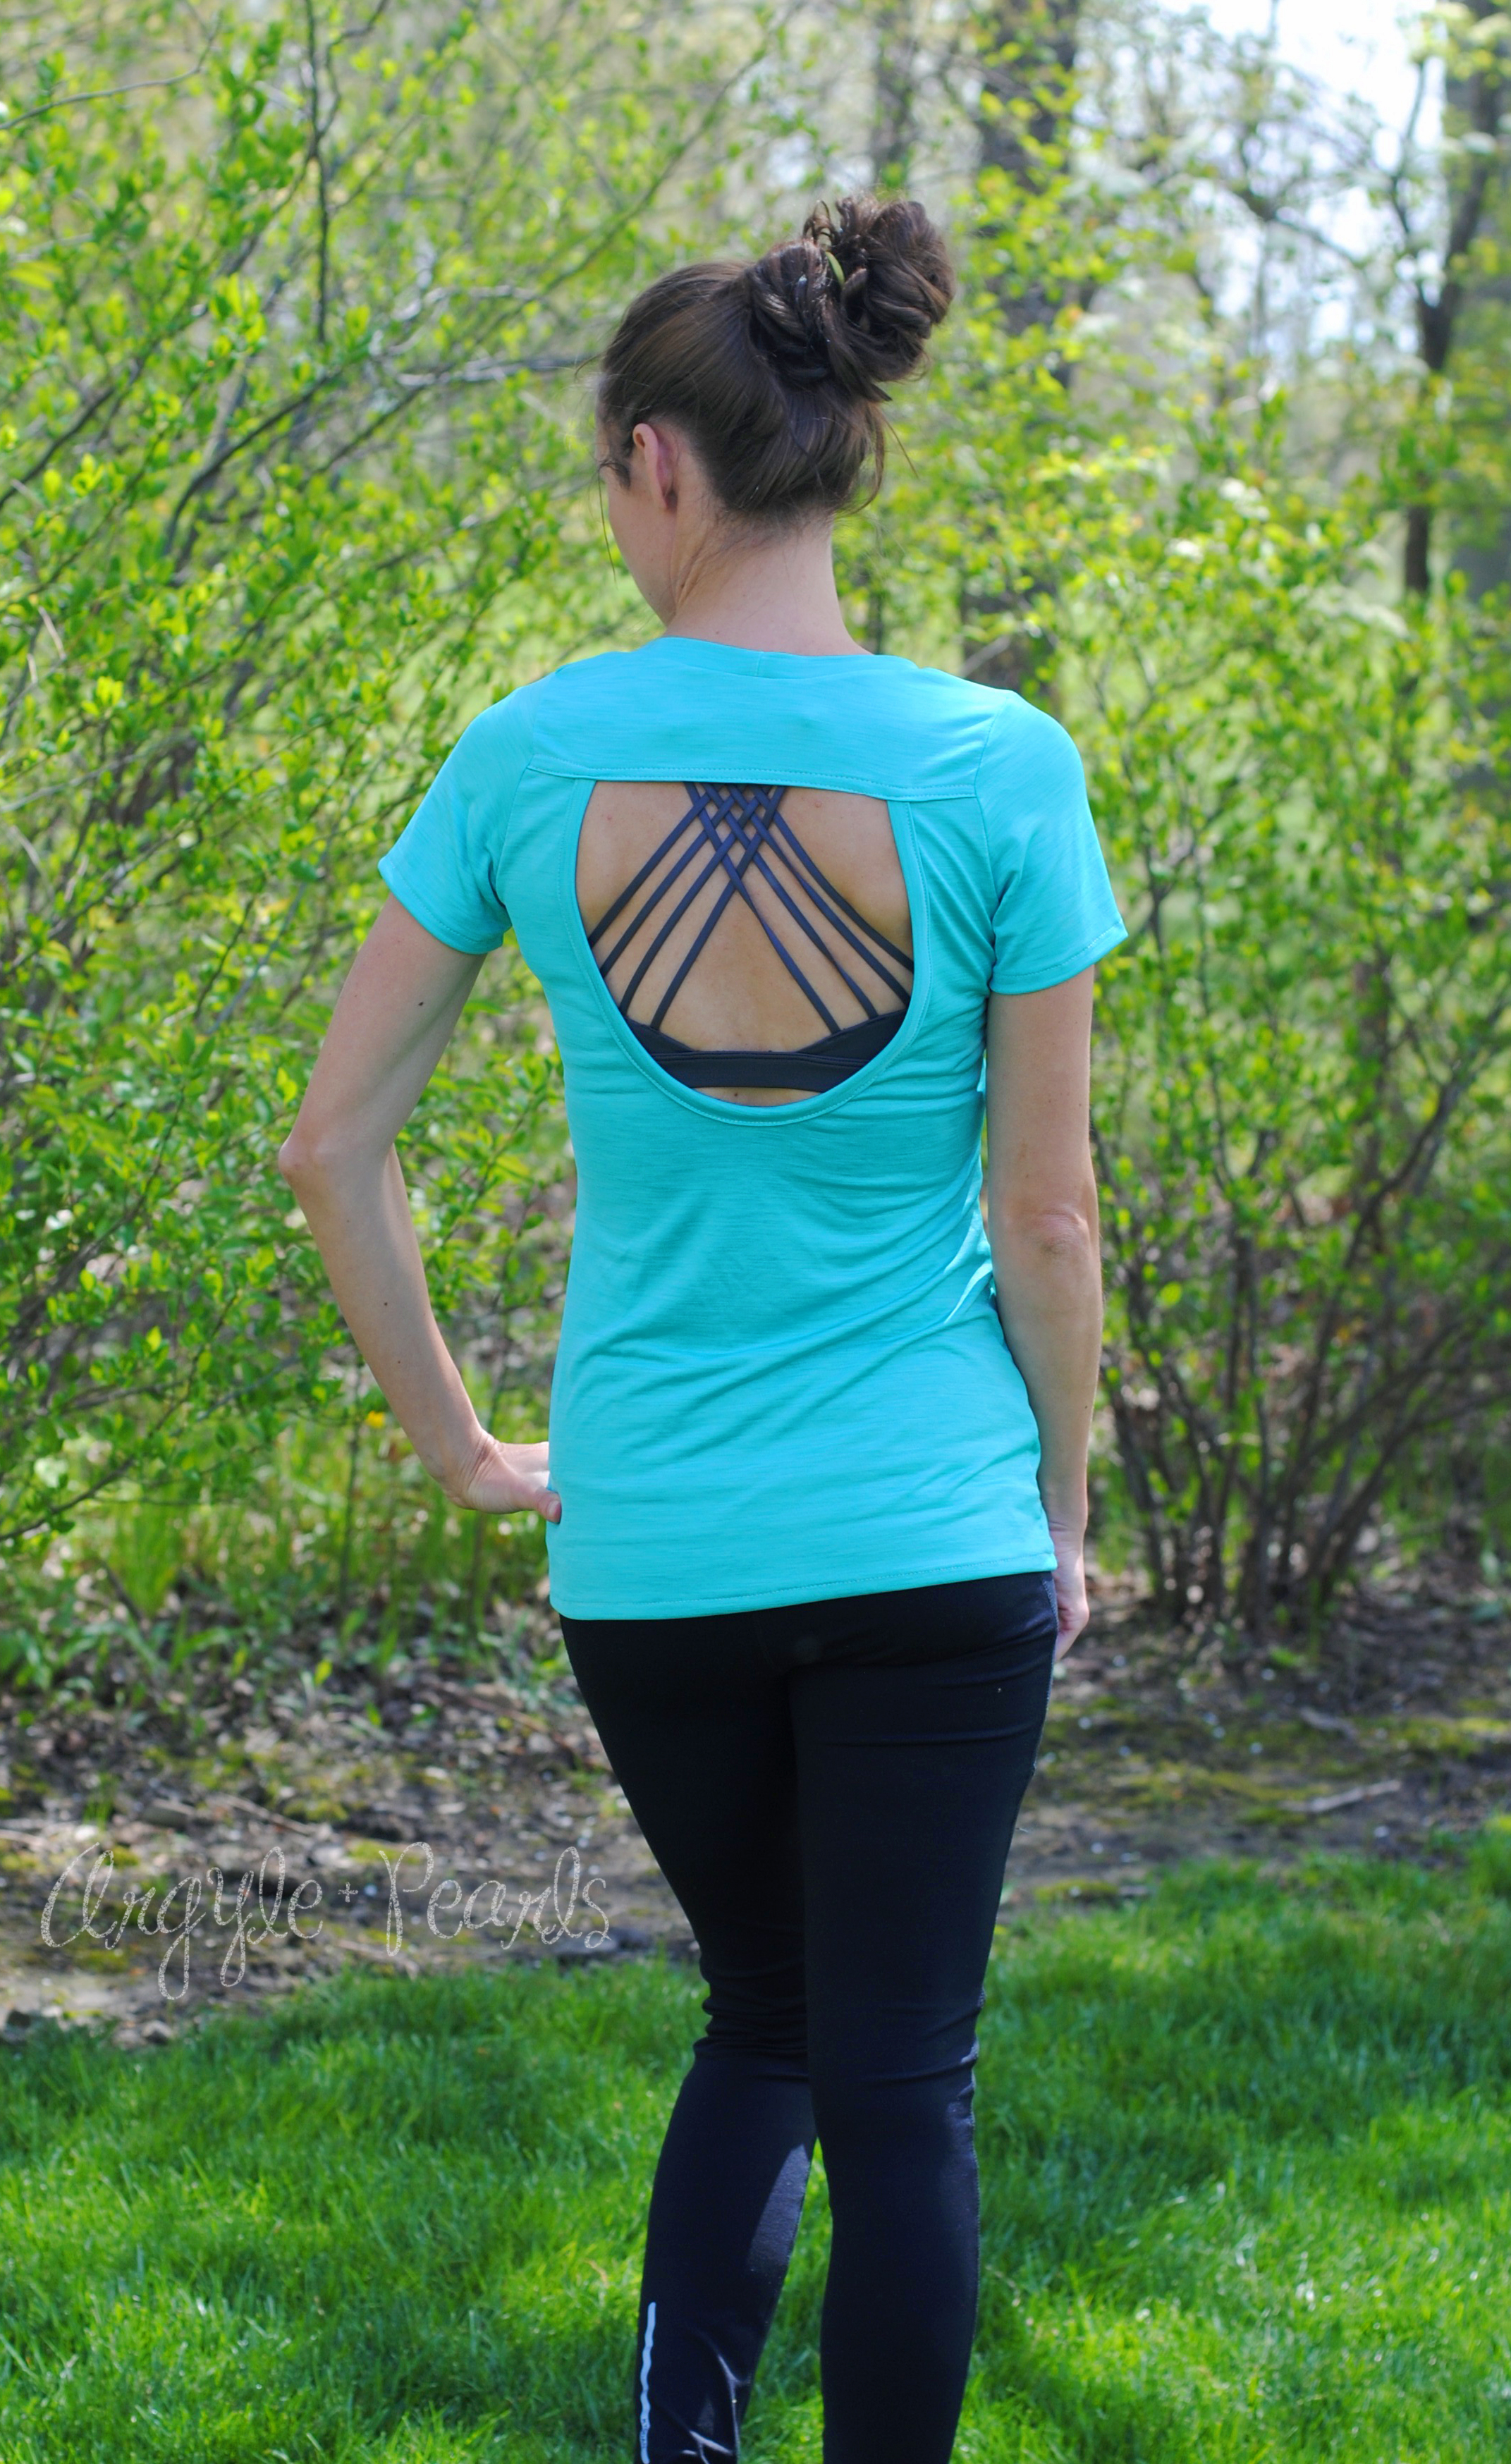

Jody: The only change necessary for this hack is to the back bodice piece. Basically, you will create a new back piece that has the cut-out, then assemble the rest of the shirt as you normally would per the pattern! I will show you how to do the cutout by following the steps below.
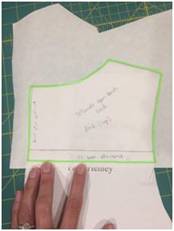
Take your original back pattern piece and trace the top part only. I figured I wanted my top piece to be about 3-4 in tall, so I eyeballed about how big I wanted it and then added a half in for hem allowance as you will need to finish the bottom edge of your top bodice piece. I just laid some freezer paper over my original pattern piece and traced it on to that (new piece I traced show in green outline)
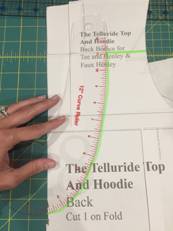
Then, you will need to trace the bottom bodice piece and create the center back cutout. I marked on the original pattern piece where the bottom of my top piece ended, then added on a half inch seam allowance to my bottom bodice piece as well to allow for attaching it to the top piece. I used my handy dandy curved ruler to trace out the center cutout portion. (This tool also was helpful in measuring for the binding piece! I could easily measure my curved opening to be 21 inches, which means I would need a binding piece of roughly 90% of that, or 19 inches long.) Be sure to clearly mark the fold line on your new pattern piece because it will look odd with the cut-out on one side and the armscye on the other, so it could be easy to mix up and cut incorrectly!
Next you will cut out your fabric using the pieces according to the pattern, aside from the back pieces that you will use your newly created pieces instead, cutting on back top bodice on the fold, one bottom bodice on the fold, and once binding piece for the cut-out, at 1.75” wide by 90% off your cutout opening… (as described above my cut-out was 21 inches so my binding piece calculated out to be roughly 19in long)
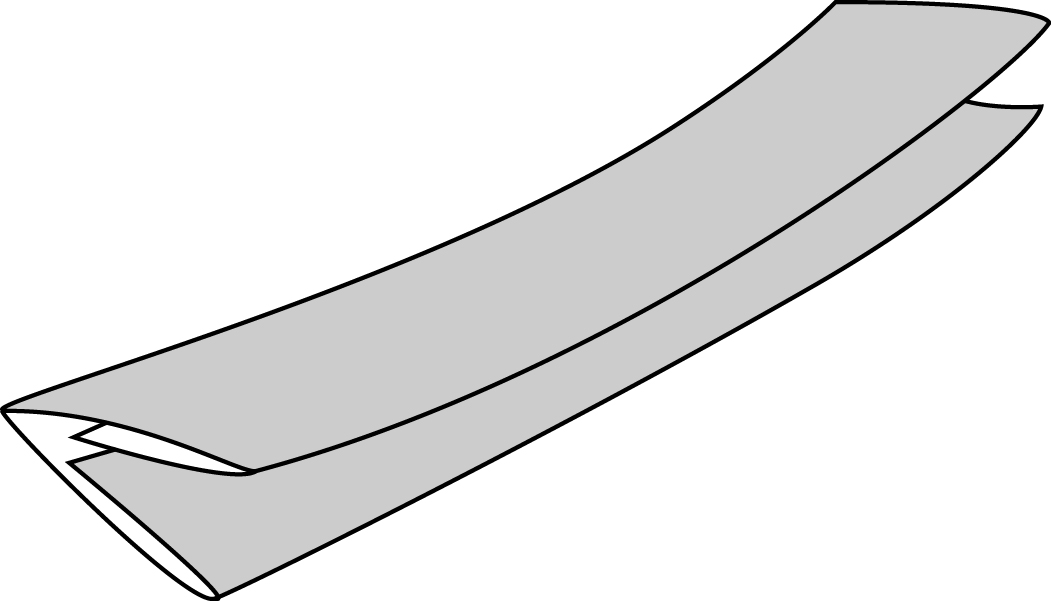
Your first step in creating your new back bodice piece is to bind the cut-out. (You could just turn and stitch to hem the cut-out if you’d like, but I prefer the neatness a binding creates, especially on the curve….) Prepare your binding piece like you would bias tape, folding in half and pressing, then folding each edge into the center and pressing well to create fold the lines.
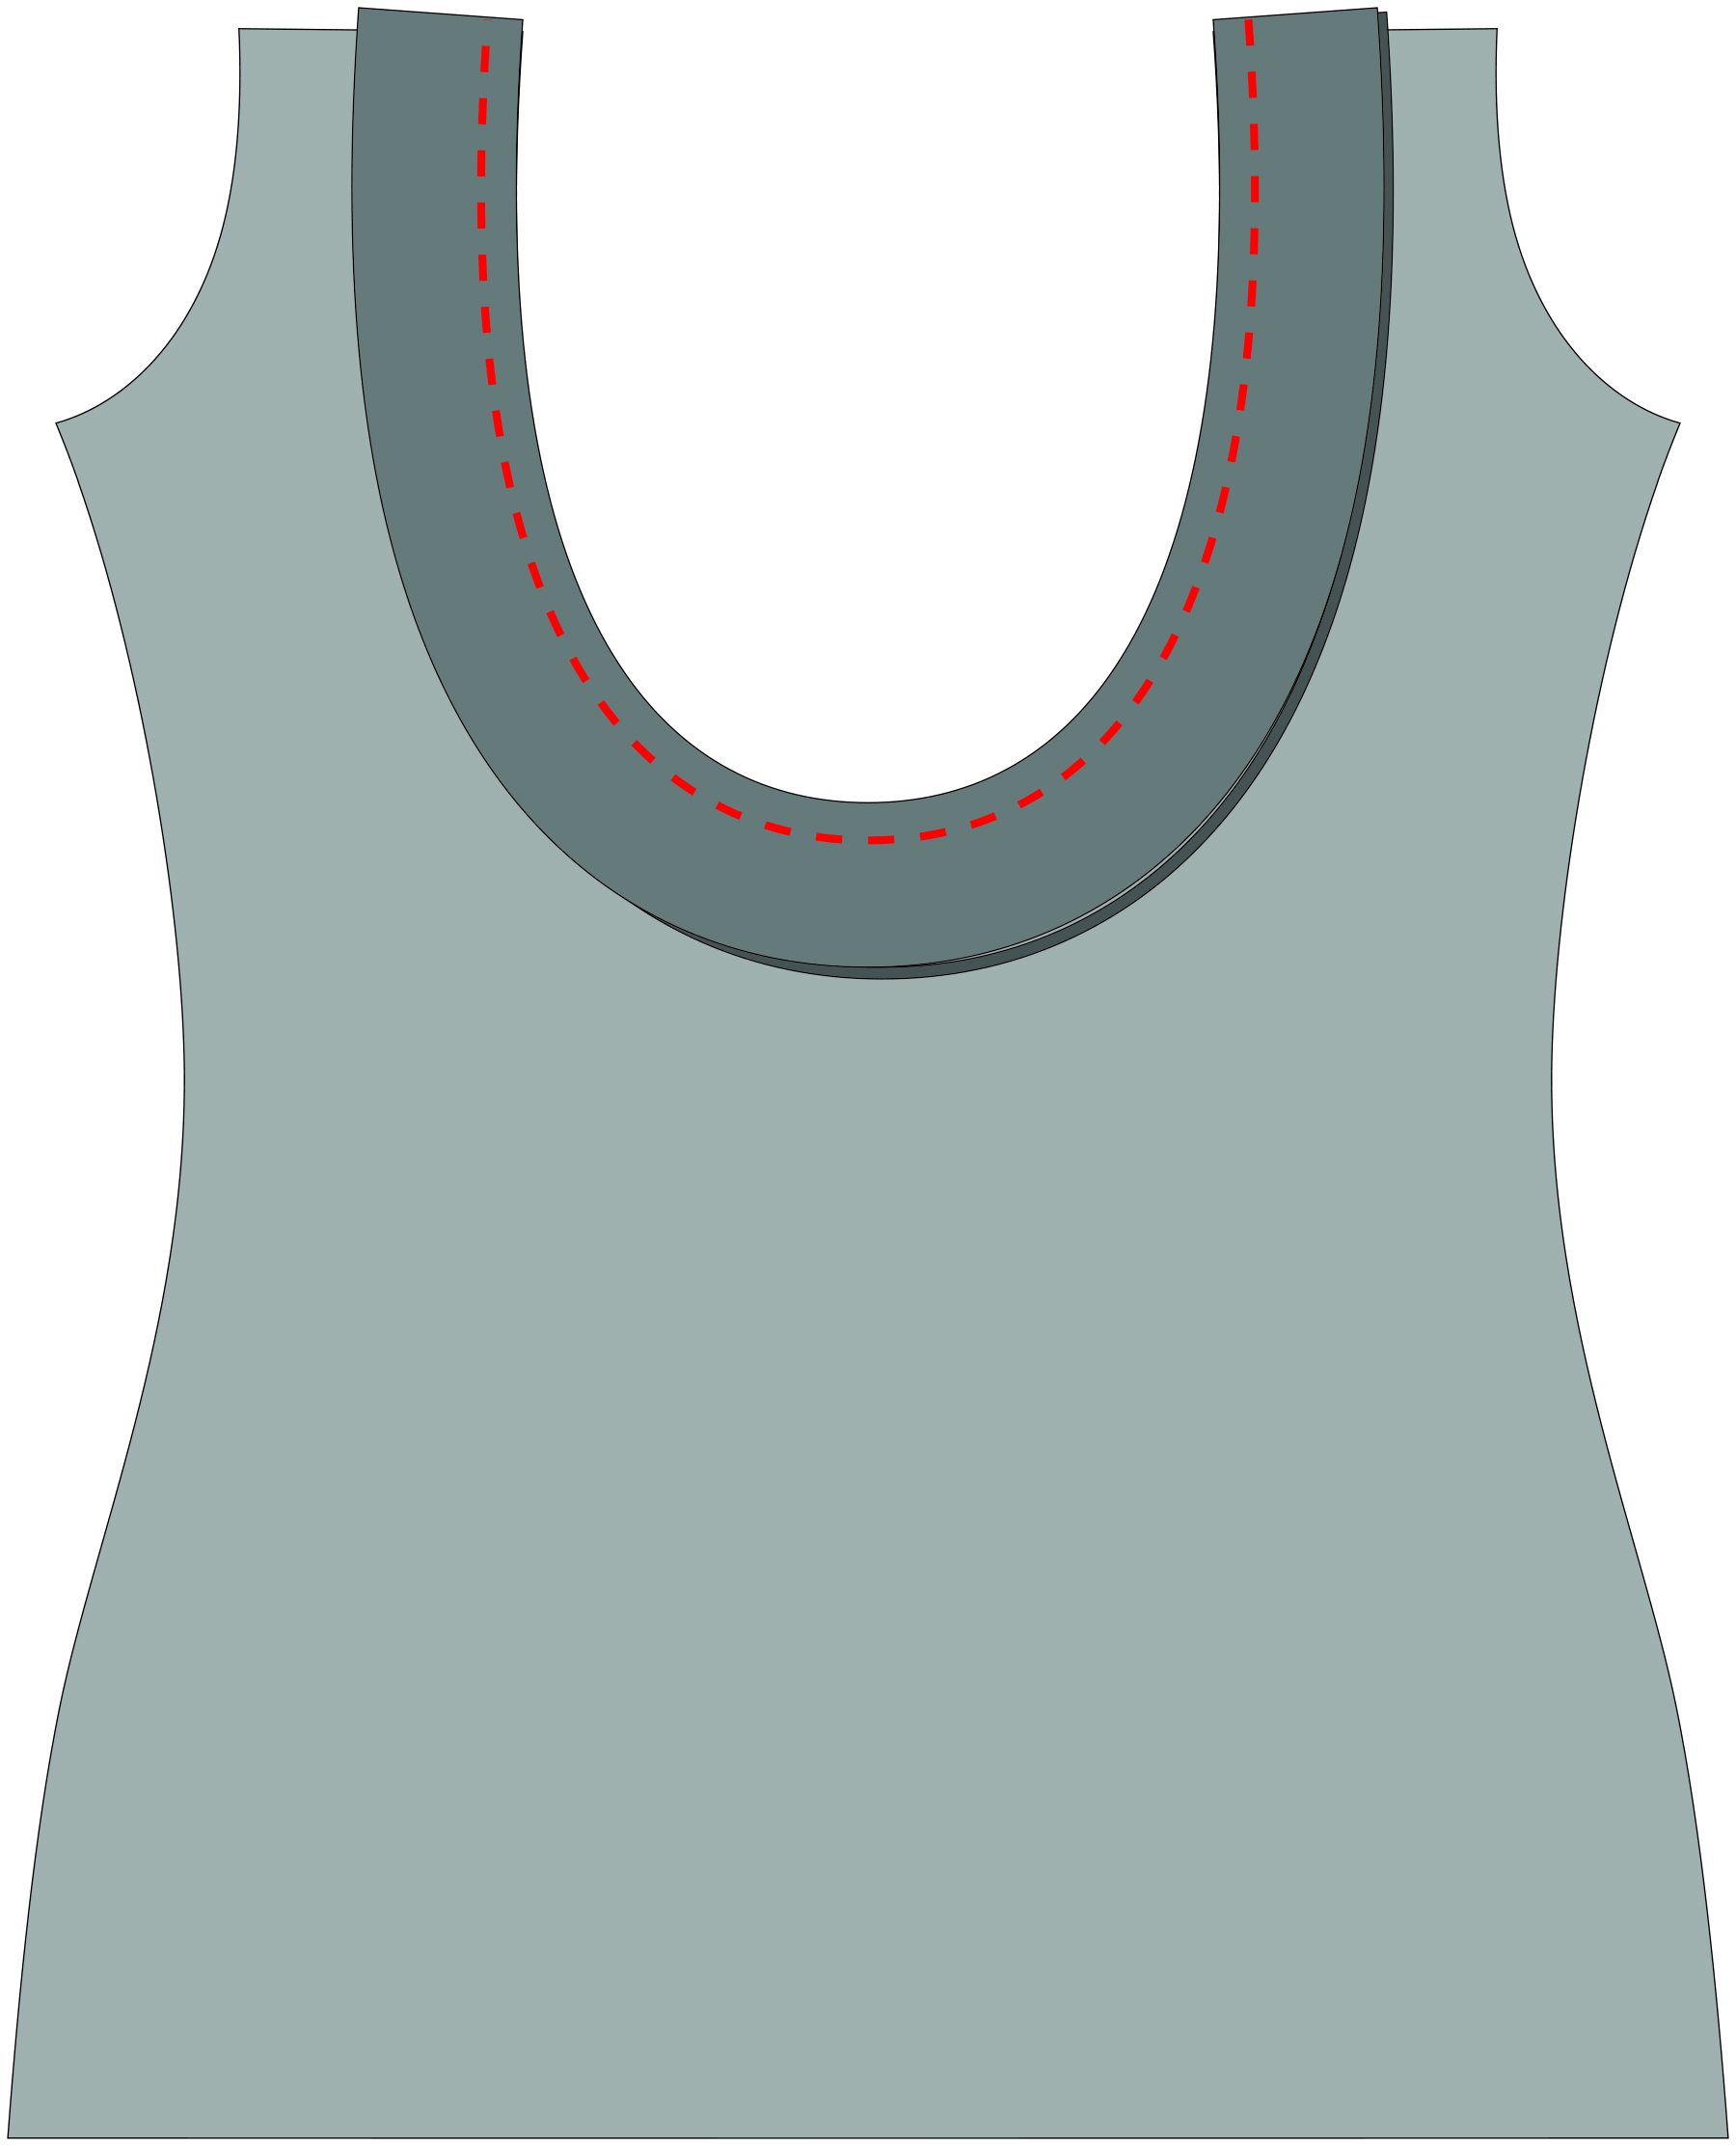
Take your binding piece, and stretch it gently and evenly to fit the curve of the back cut-out. Pin it in place, with the RIGHT SIDE of the binding to the WRONG SIDE of the bodice piece. Stitch this in place. (I used a serger to attach mine with a 1/4’’ seam allowance)
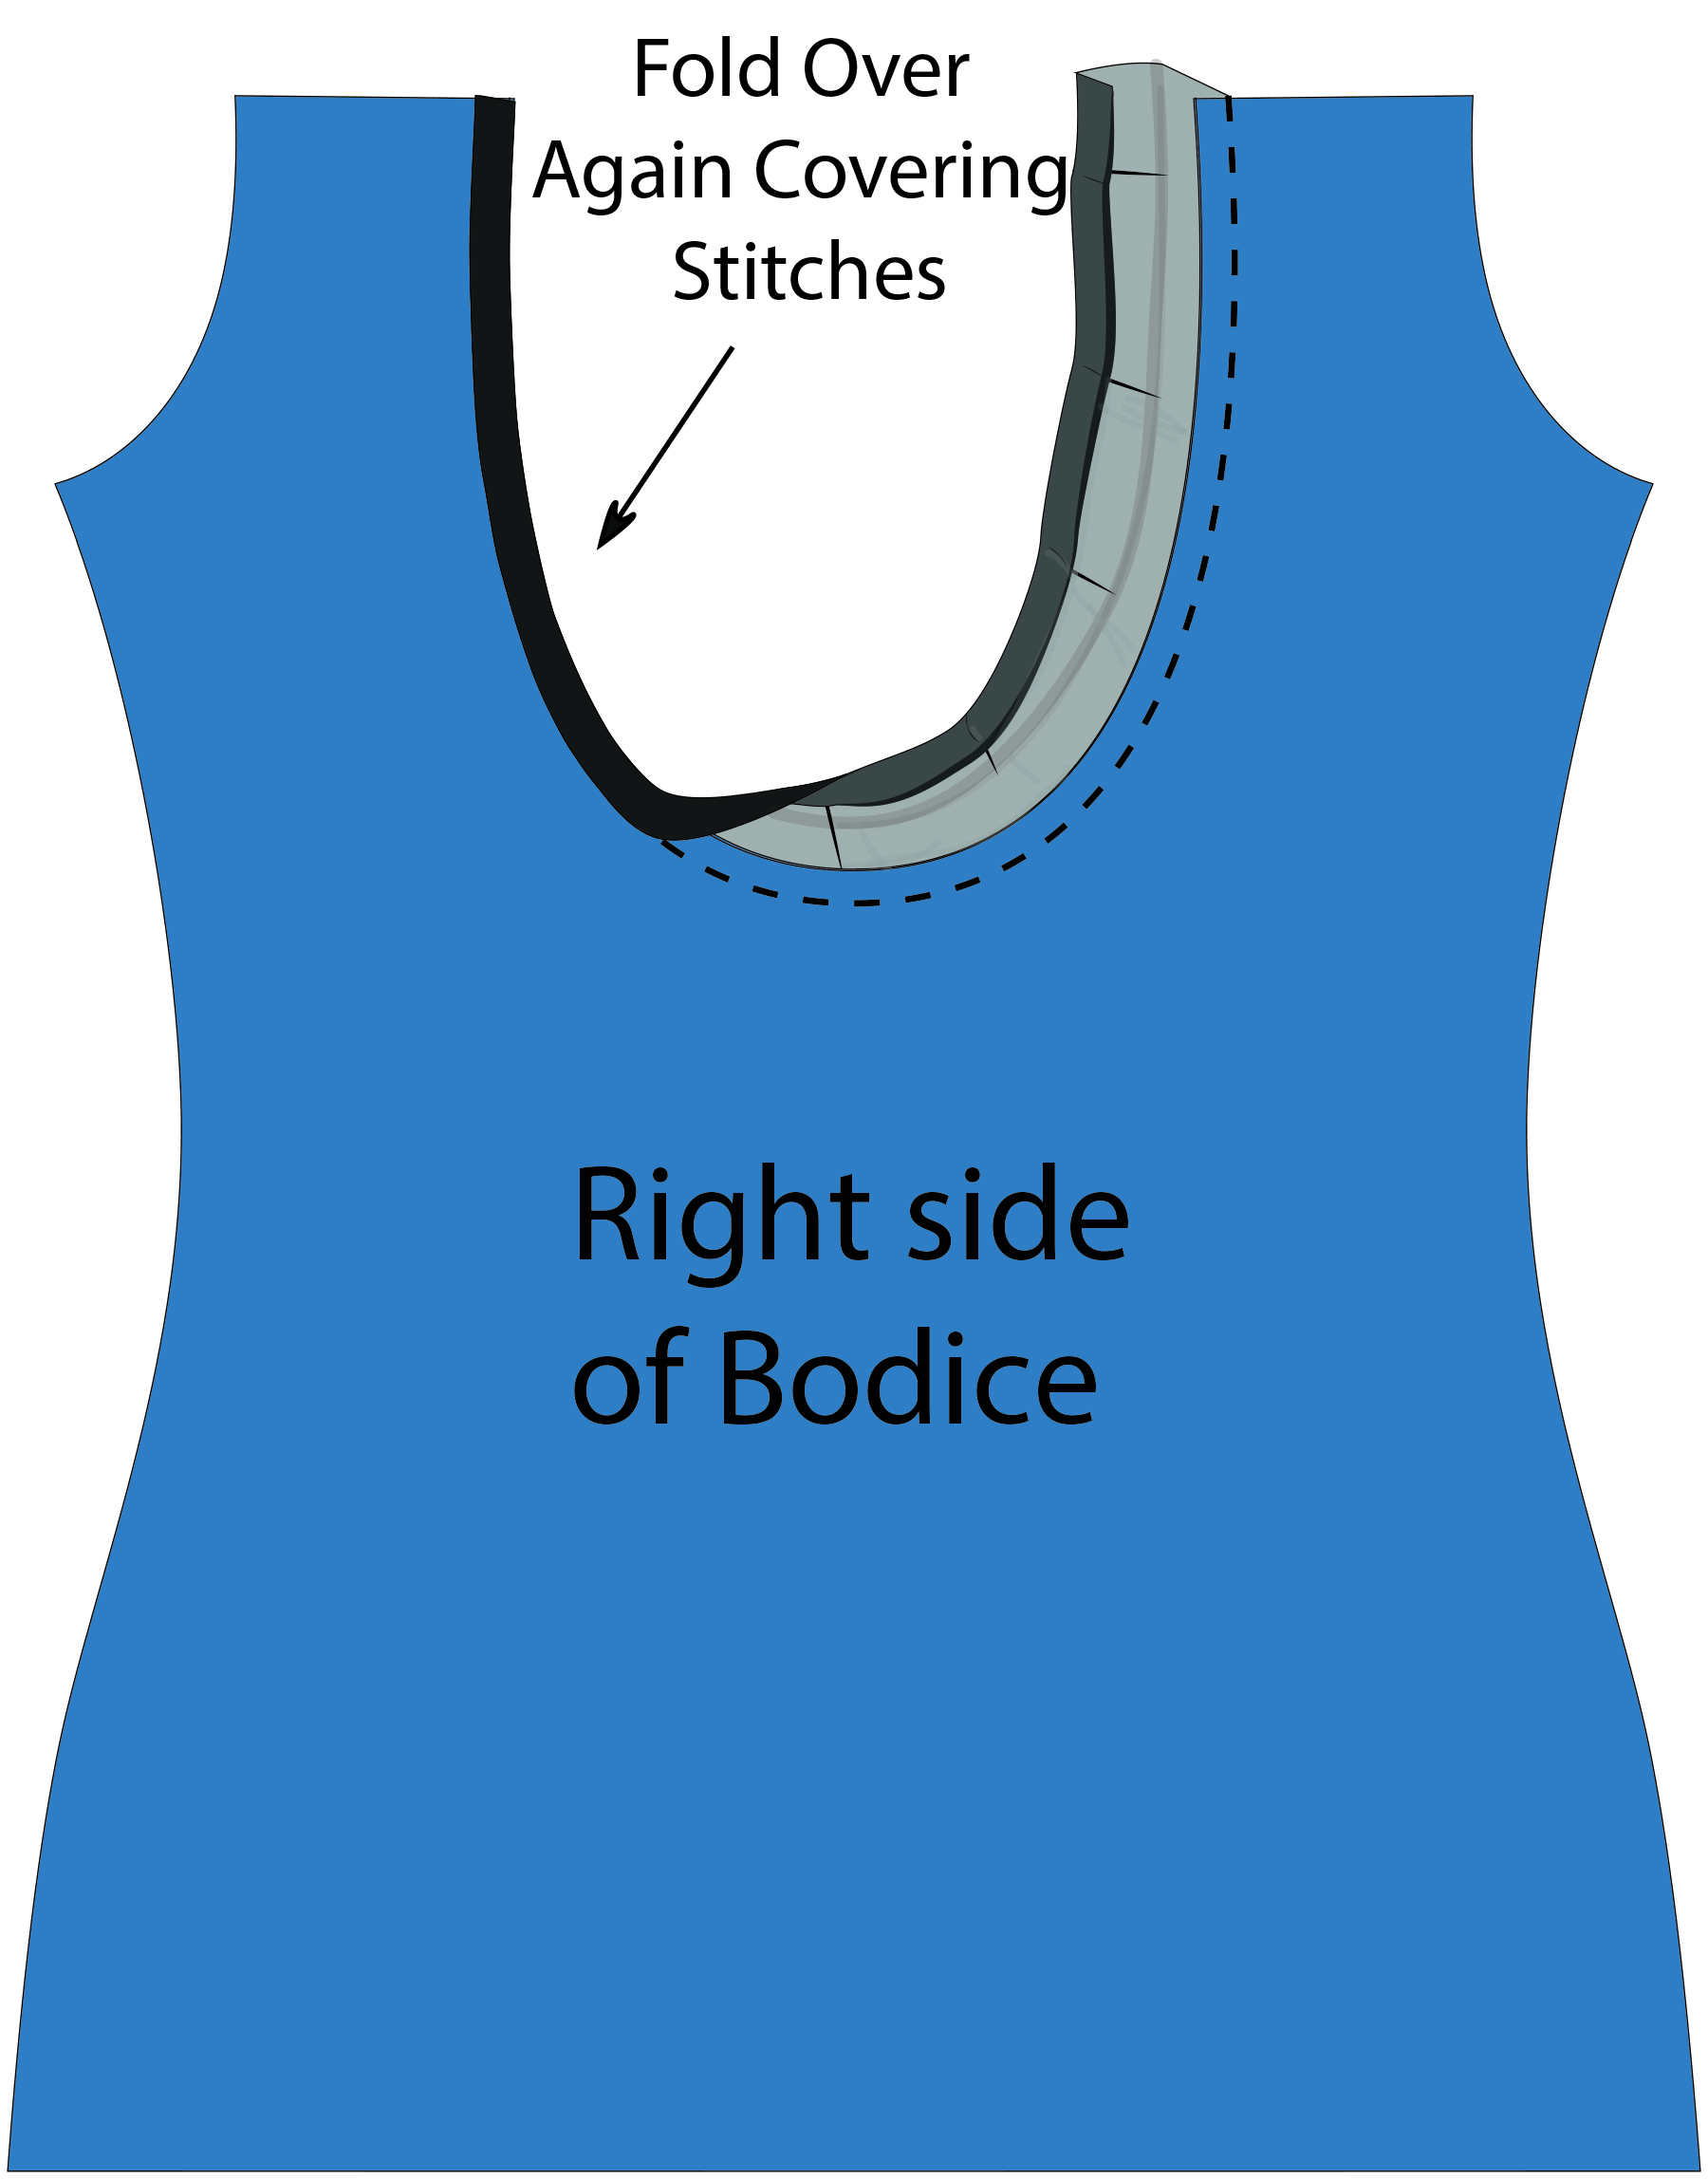
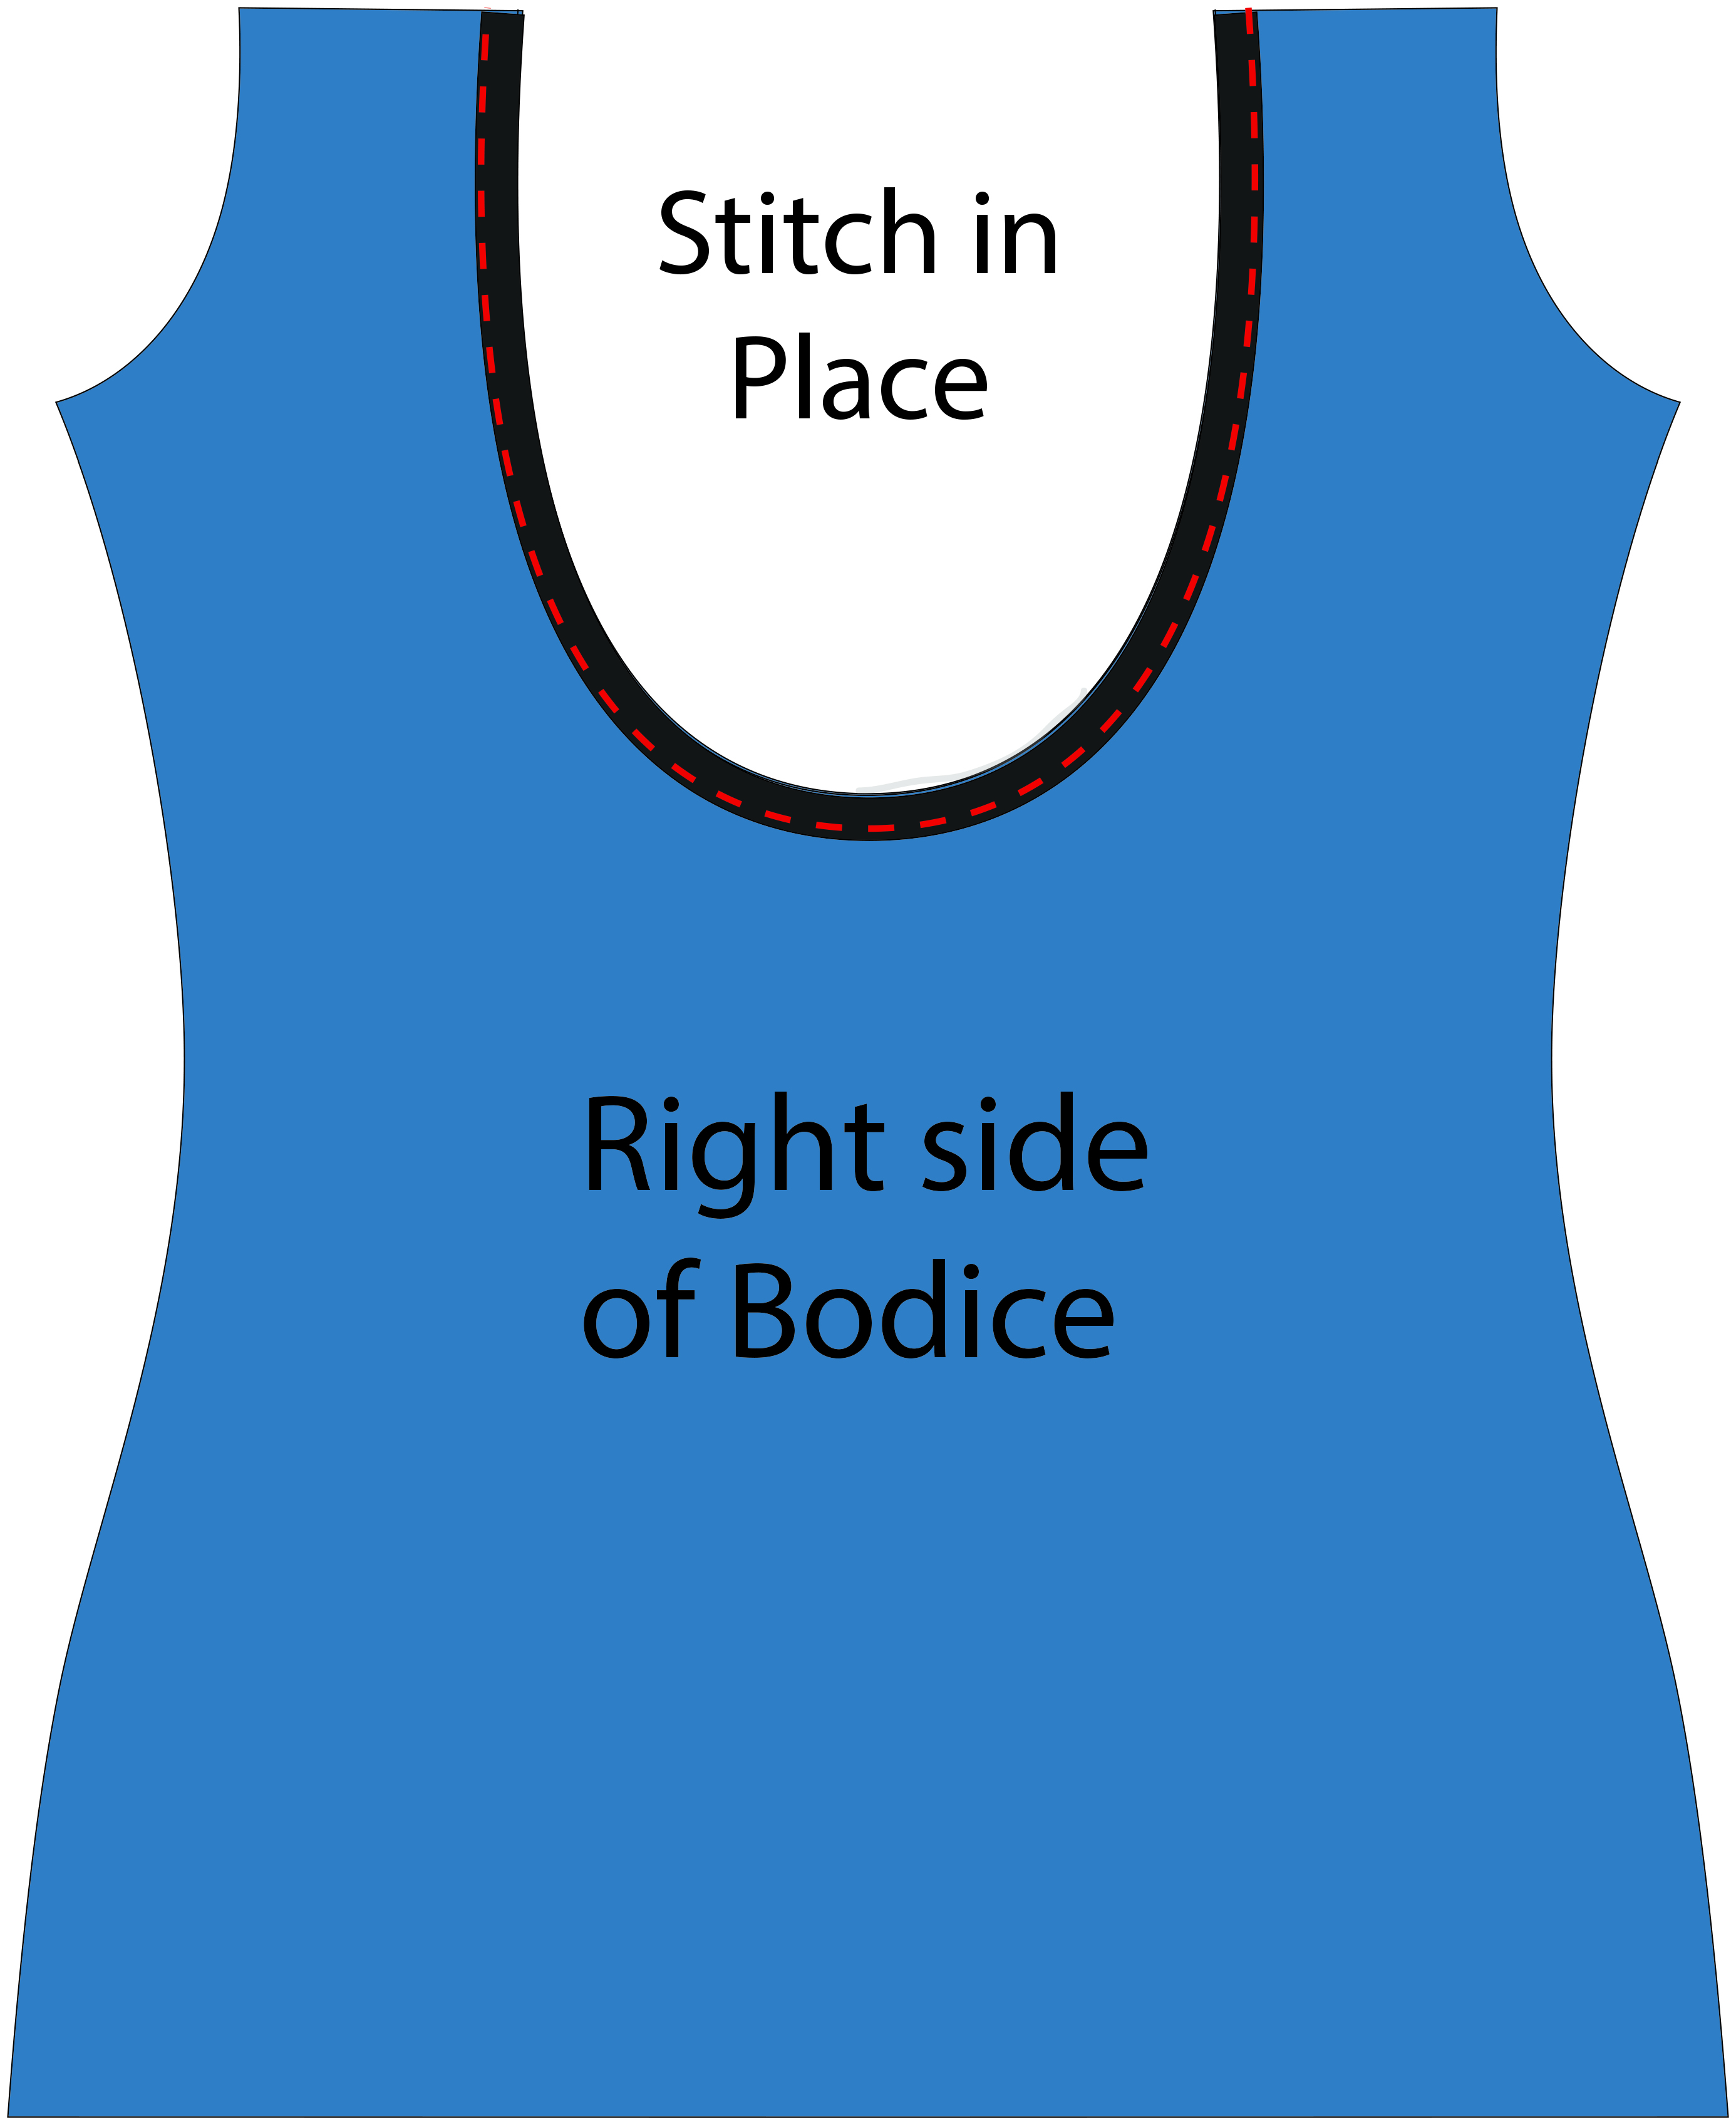
Once it’s attached, work your way around folding the raw edge in towards the middle meeting the other raw or serged edge, then fold over again to the right side of the bodice. Once it’s all evenly folded, edge stitch the binding in place.

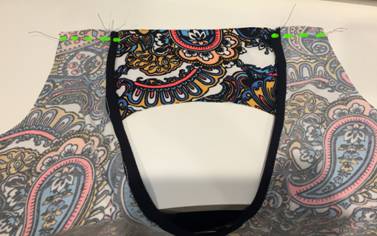
After your cut-out is bound or otherwise finished, you will need to attach it to the top bodice piece. I laid my top bodice piece, upside down with right sides facing up on my table, then placed my bottom bodice piece on top of that, right sides together. I stitched the two pieces together as shown with the green lines using a half inch seam allowance.
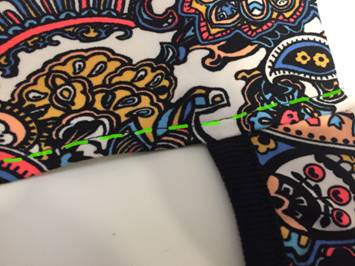
Once your top and bottom bodices are attached, you will need to hem the top bodice piece, further securing the two pieces together and finishing that edge. After I stitched the two together, I flipped it over and added some wash away wonder tape to the bottom edge to help me get a nice crisp hem. I just peeled it off and folded it up to create the hem. The stitch lines from where I attached the two pieces also serve as a guide for the hem here too.

 Stitch the hem of your top bodice piece that we just folded up…

And we are done creating our new back bodice piece! Now, we can use this new modified back bodice piece to assemble the rest of the pattern as we normally would!