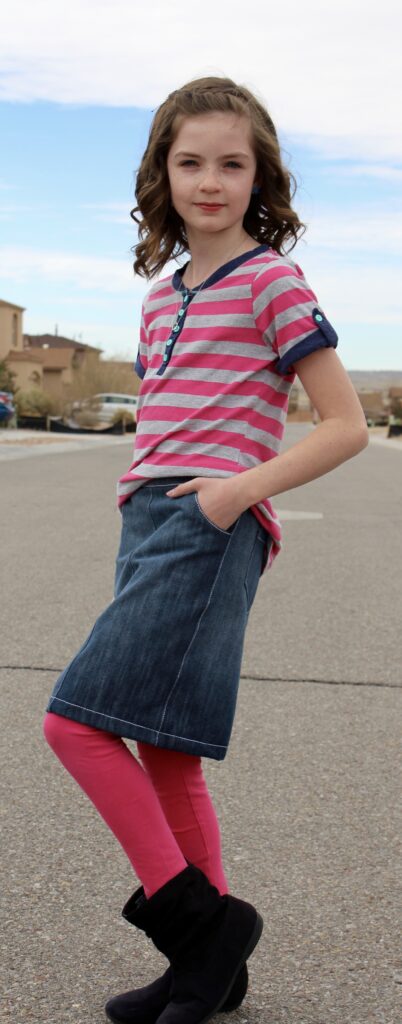
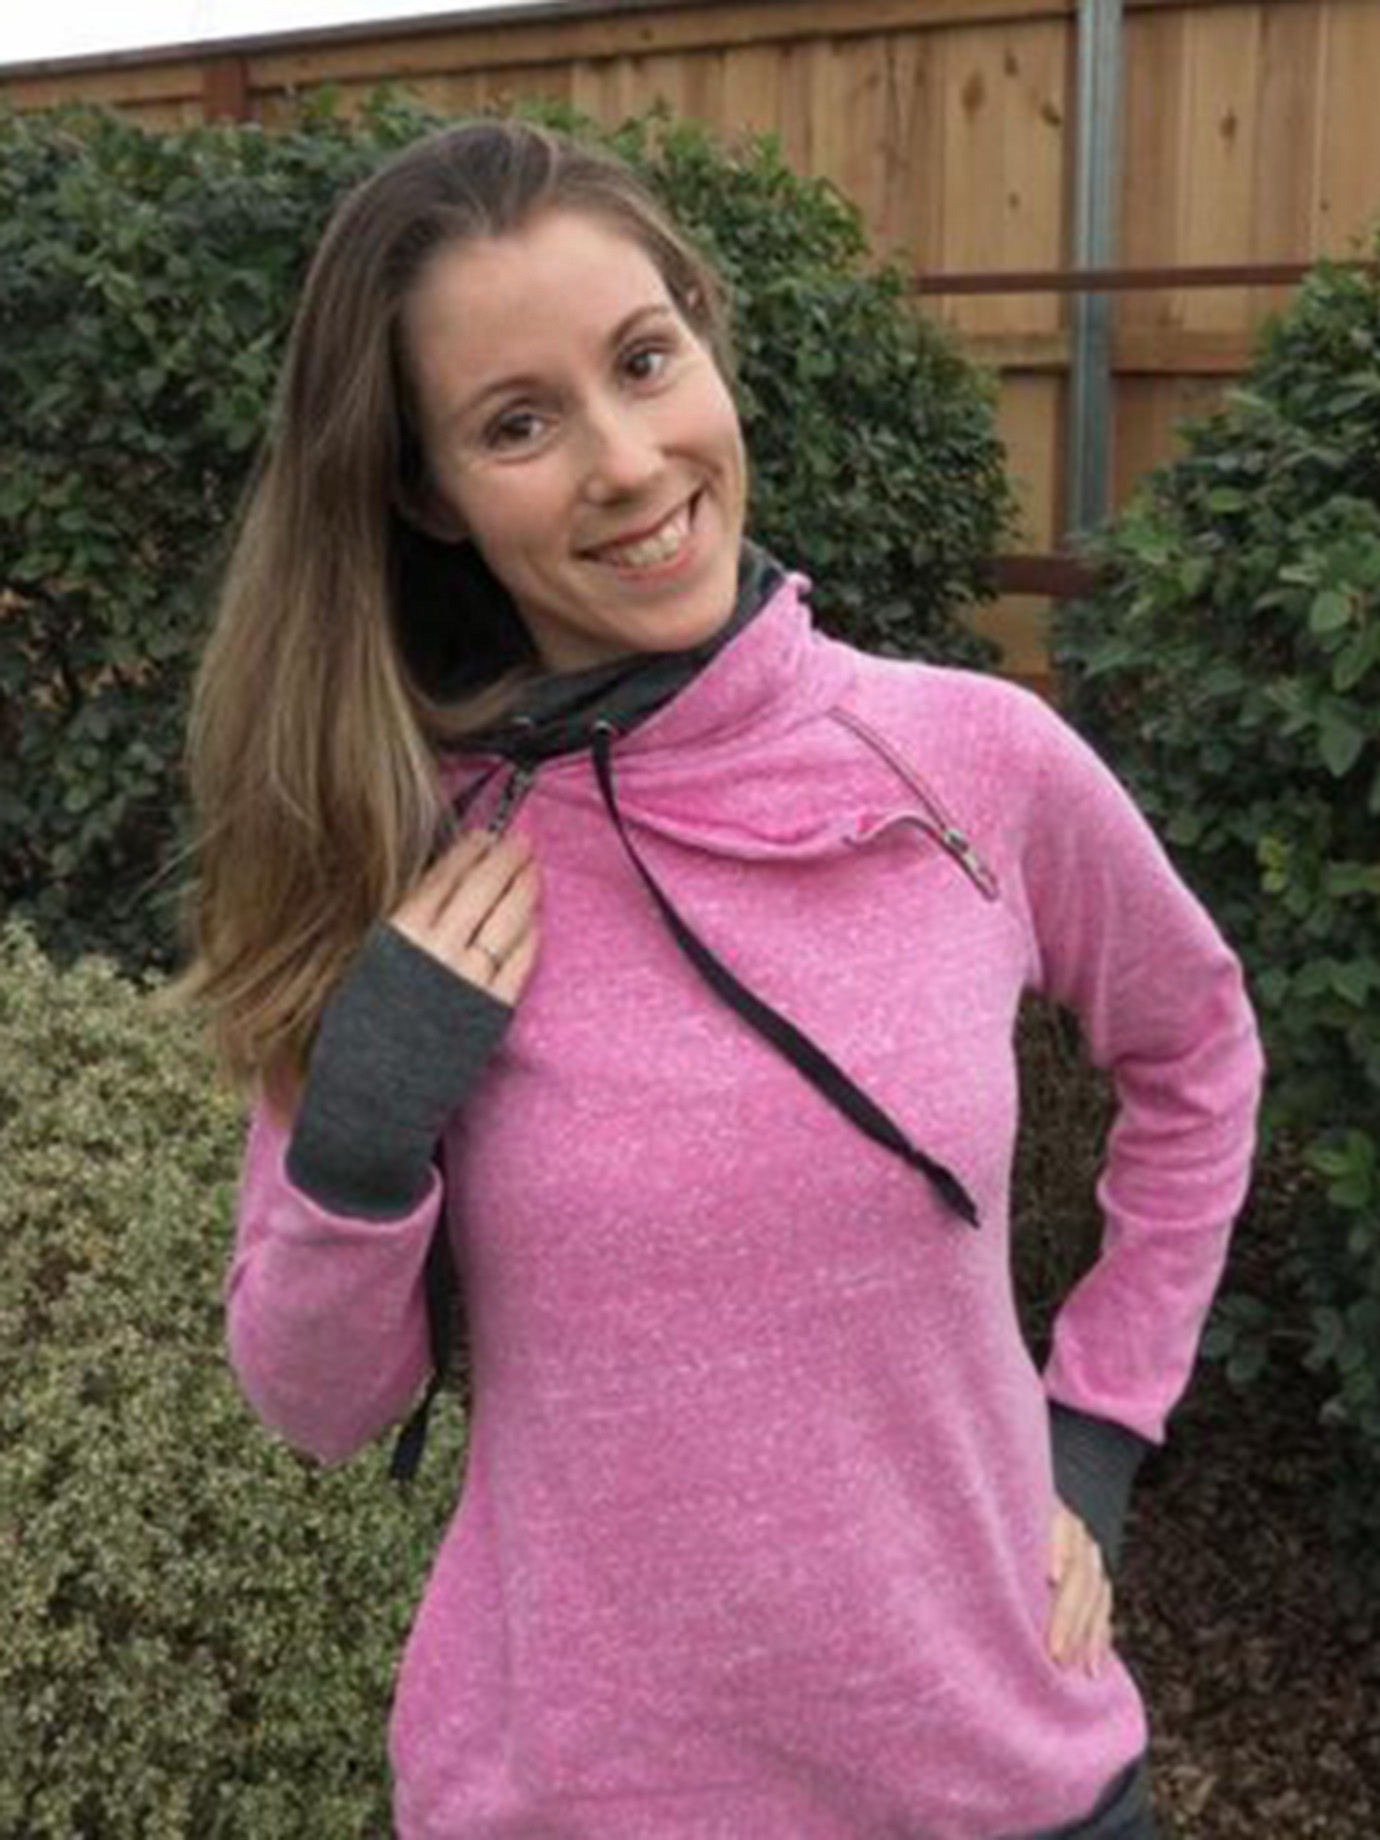
The other day I was thinking to myself, Self how could I use the Metropolitan pants and make them into a skirt…..?
So first, I gathered my supplies. The Metropolitan Pants pattern…
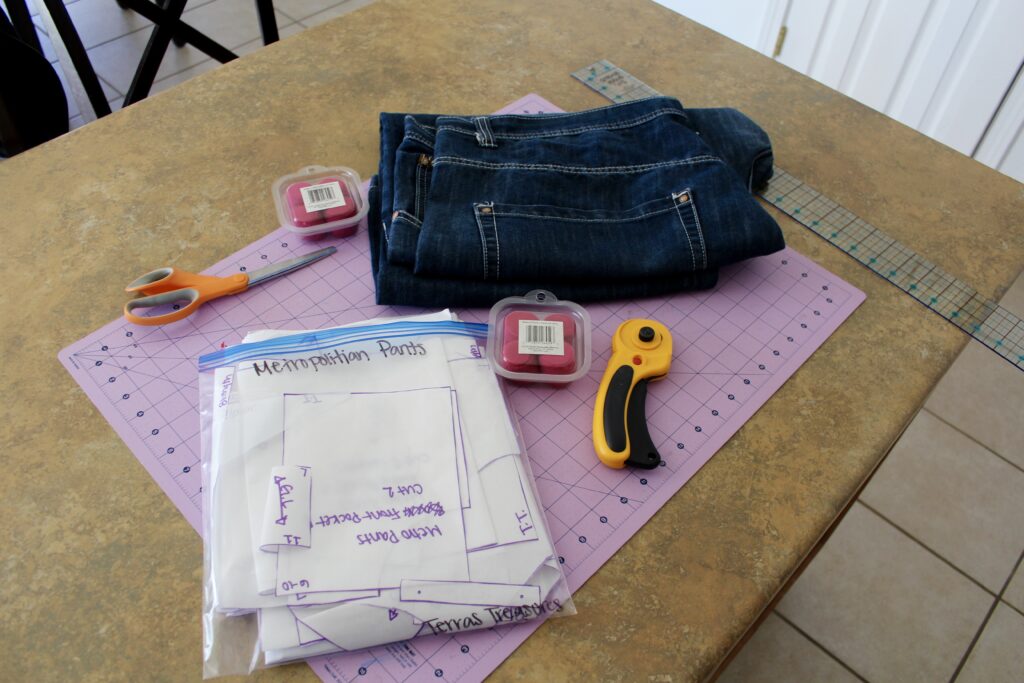
I am using an Old pair of jeans for my pair.
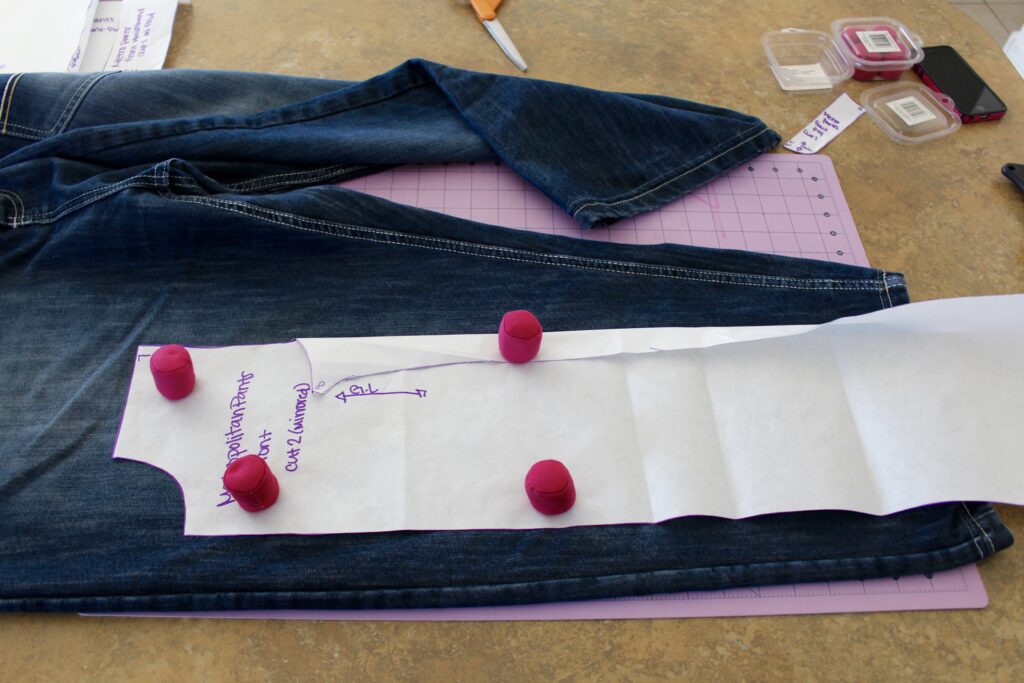
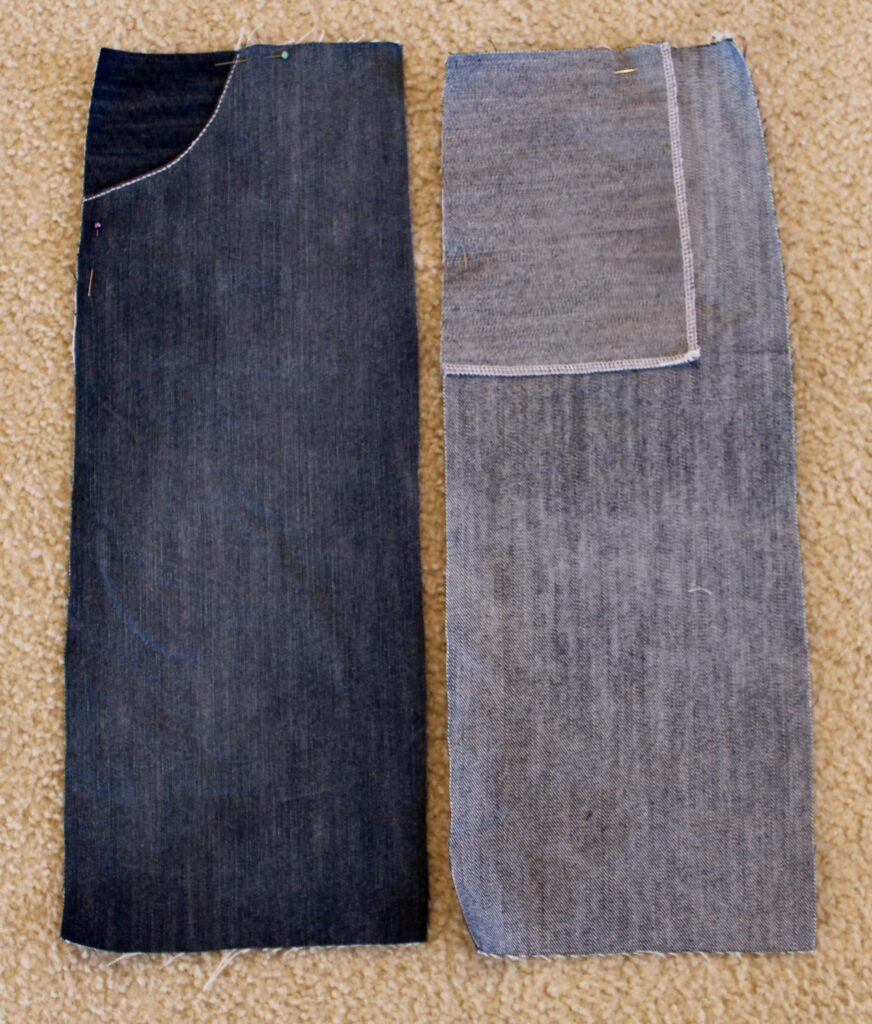
Lay your front pattern piece out on your fabric. You will want to fold over the curved crotch seam till it becomes a straight line all the way to the bottom. Then I folded up the bottom leg piece till I was happy with the length of my skirt.
Tip* Cut longer then you think you need. You can always take off some when you hem.
Repeat for the back of the skirt.
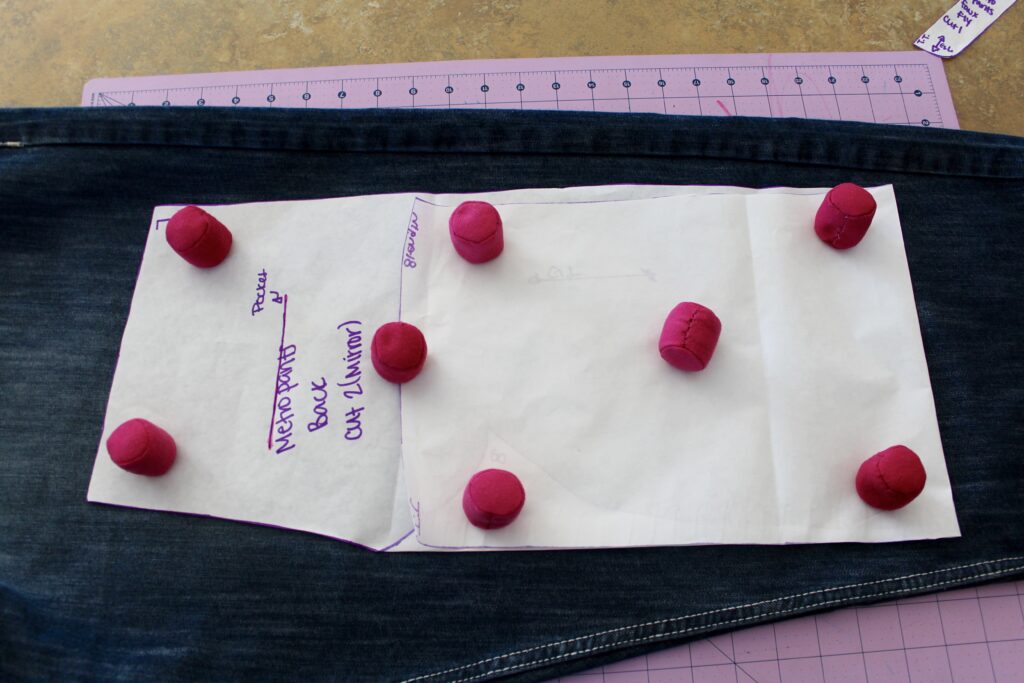
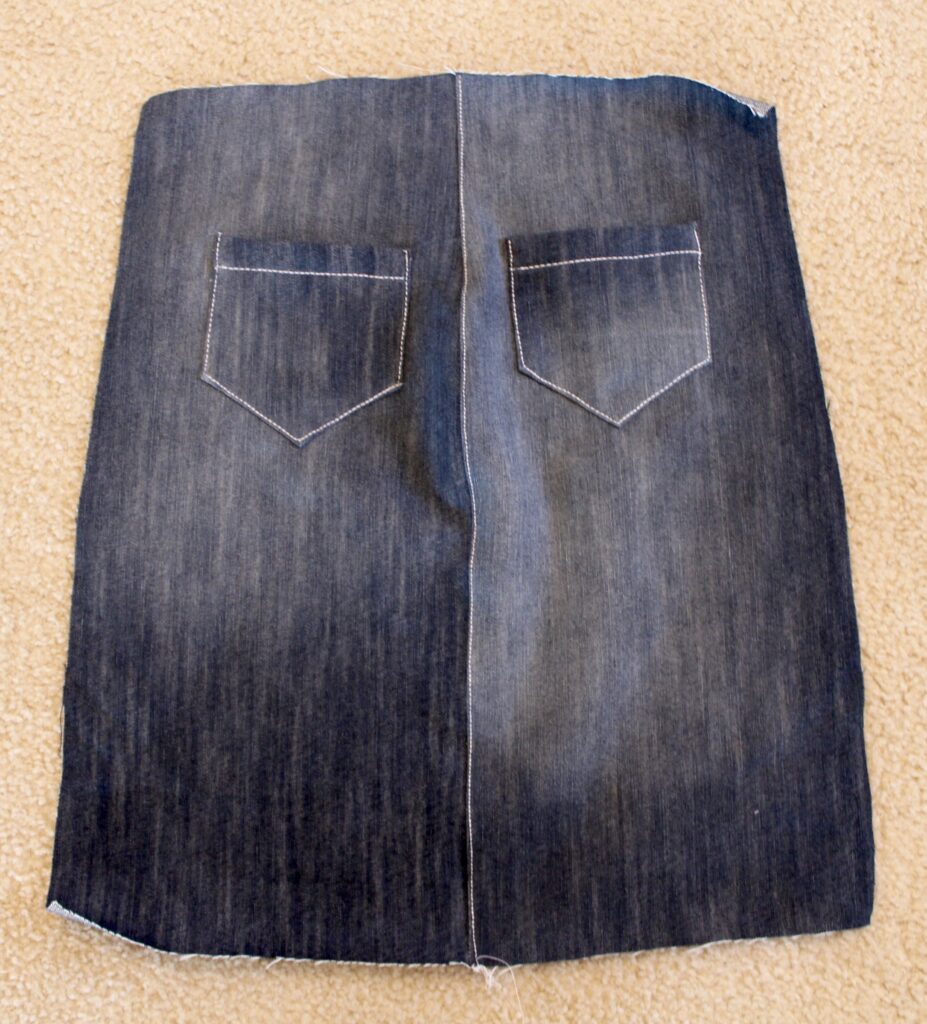
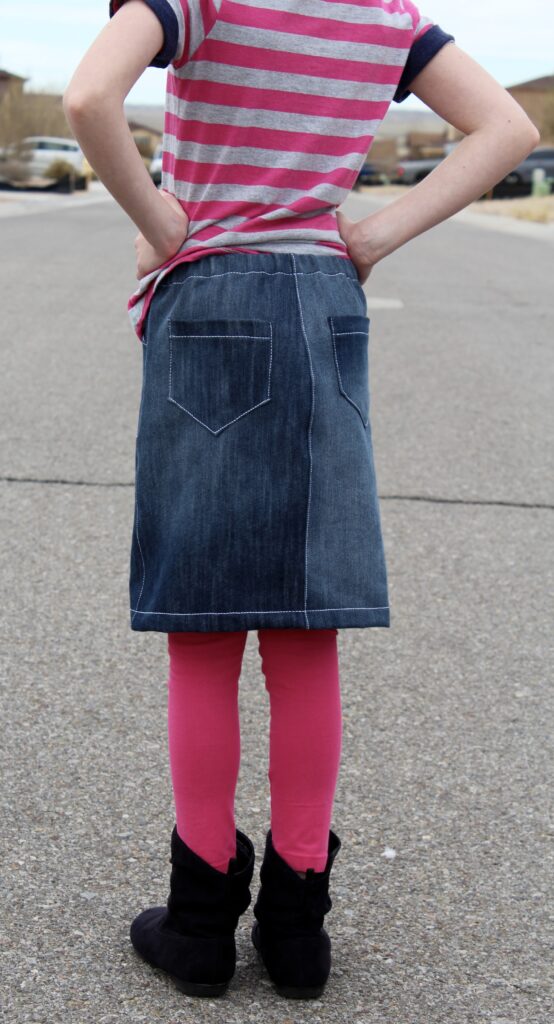
I decided that for my skirt I wanted to use the traditional back pocket found on Jeans rather than the welt pockets. I used the pocket piece that corresponded to my size from the Alpine Trousers and shorts.
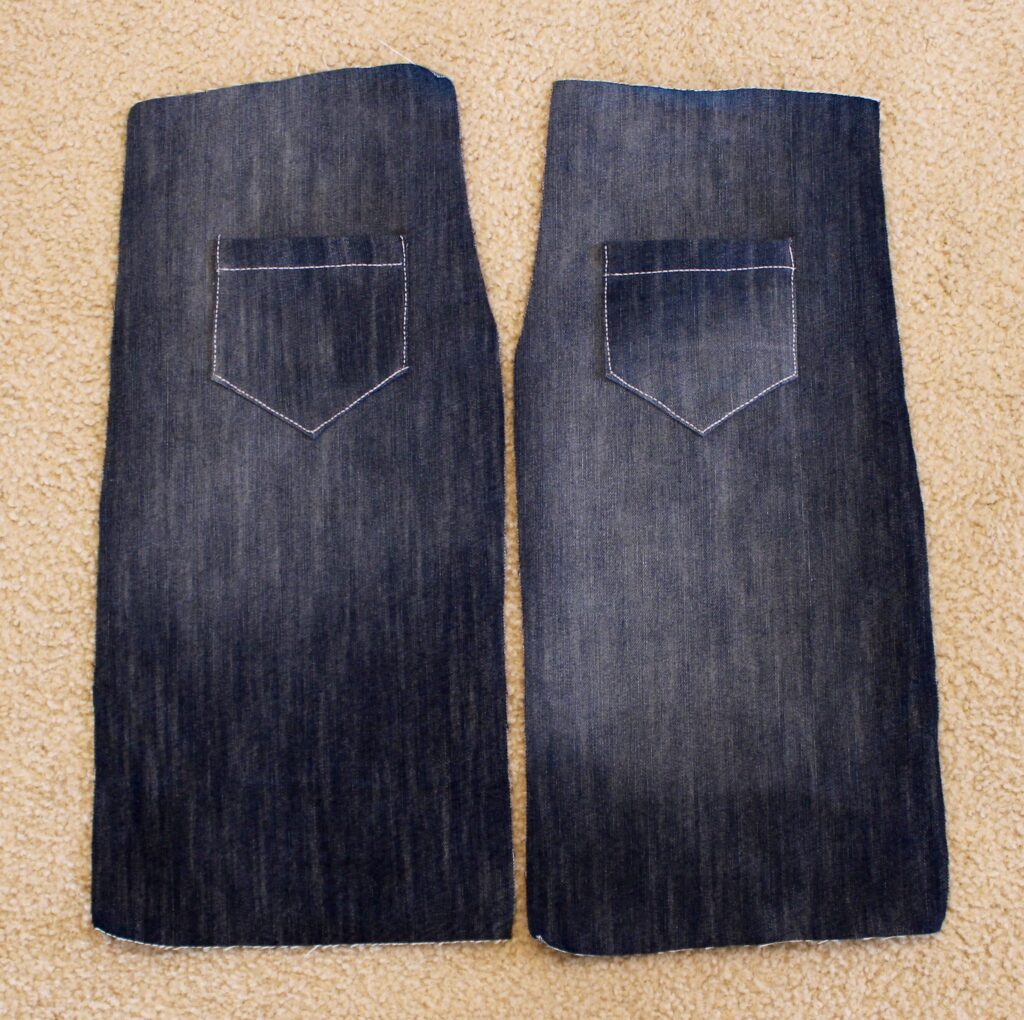
Transfer the Markings for the back pocket placement onto the pack of the skirt panels. That will be your guideline when you place the regular pockets!
Finish cutting out the rest of your pattern from the Metropolitan Pants as listed. I like to use fun fabrics for my pocket linings! Makes for something special!
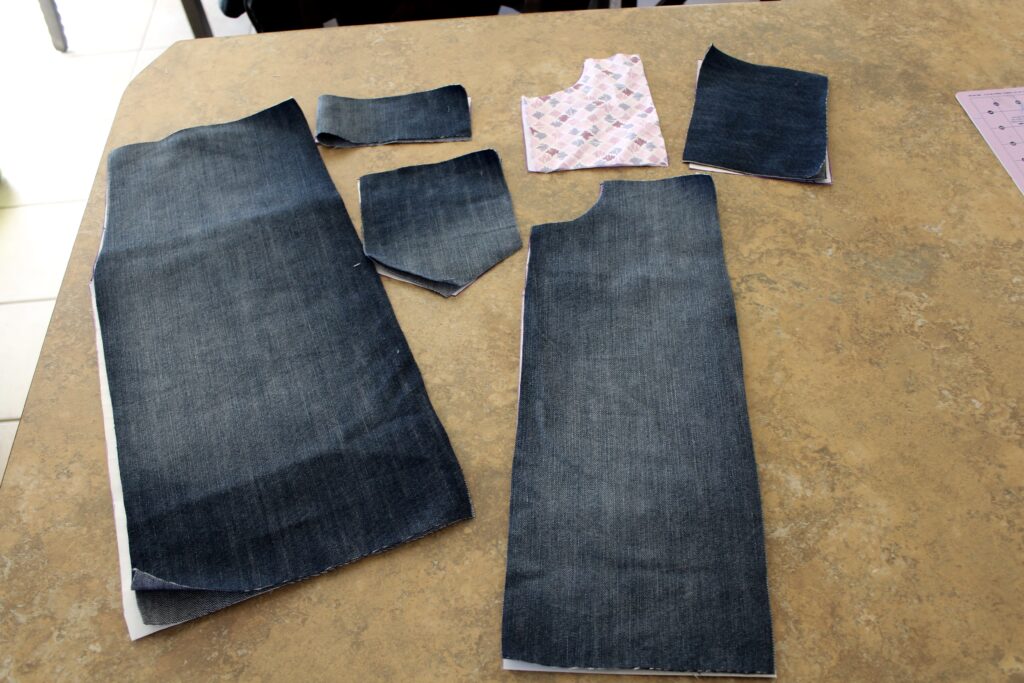
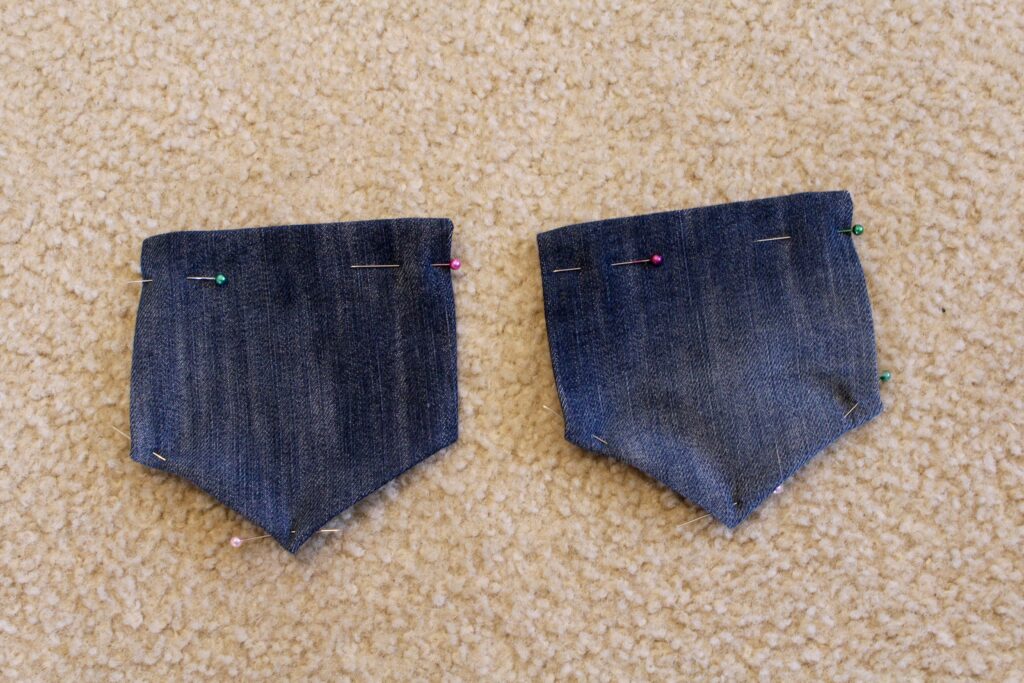
Make your pocket pieces as directed in the Alpine Shorts and Trousers.
Attach to the back of the skirt.
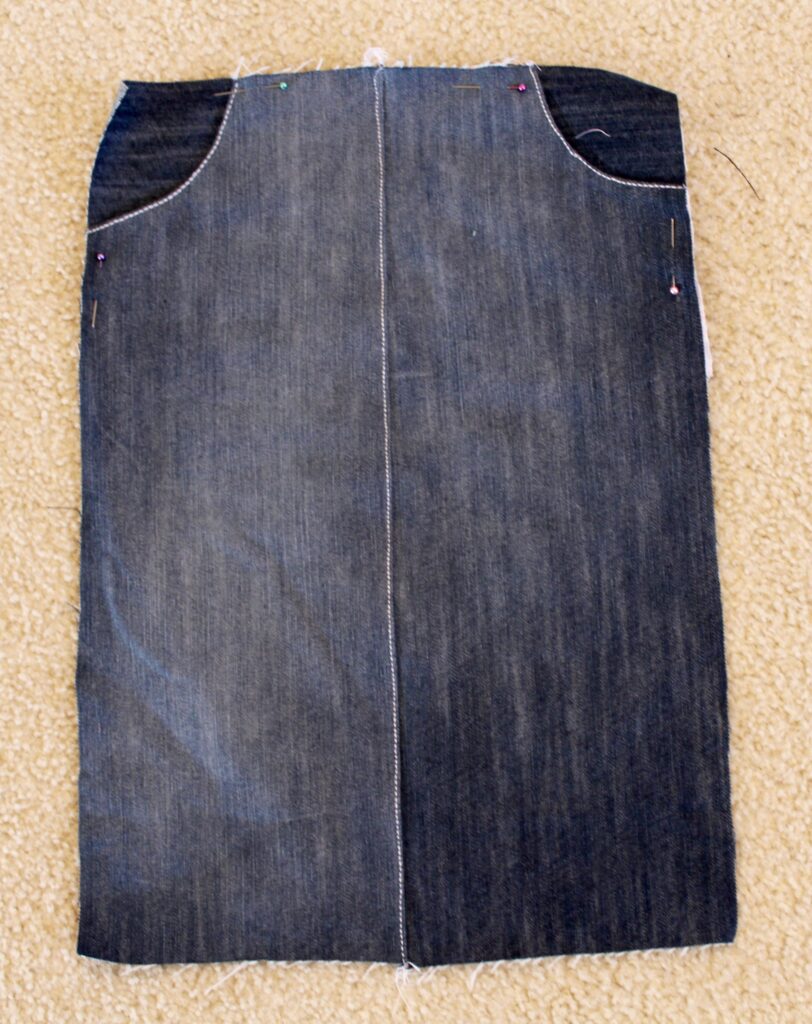
Follow the directions to adding the front pockets to your skirt.
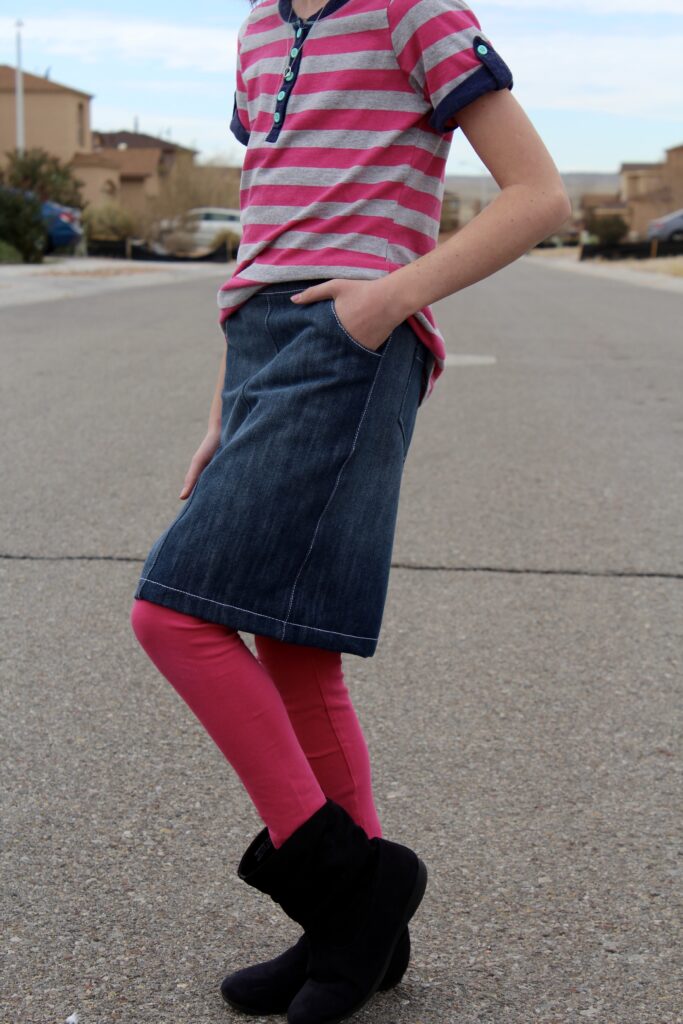
Then you will sew the back piece together down the center. Set aside. I chose to do a triple top stitch to give the appearance of real jeans.
Take your two front pieces, place them right sides together and sew. Top stitch your seam down with a triple stitch.
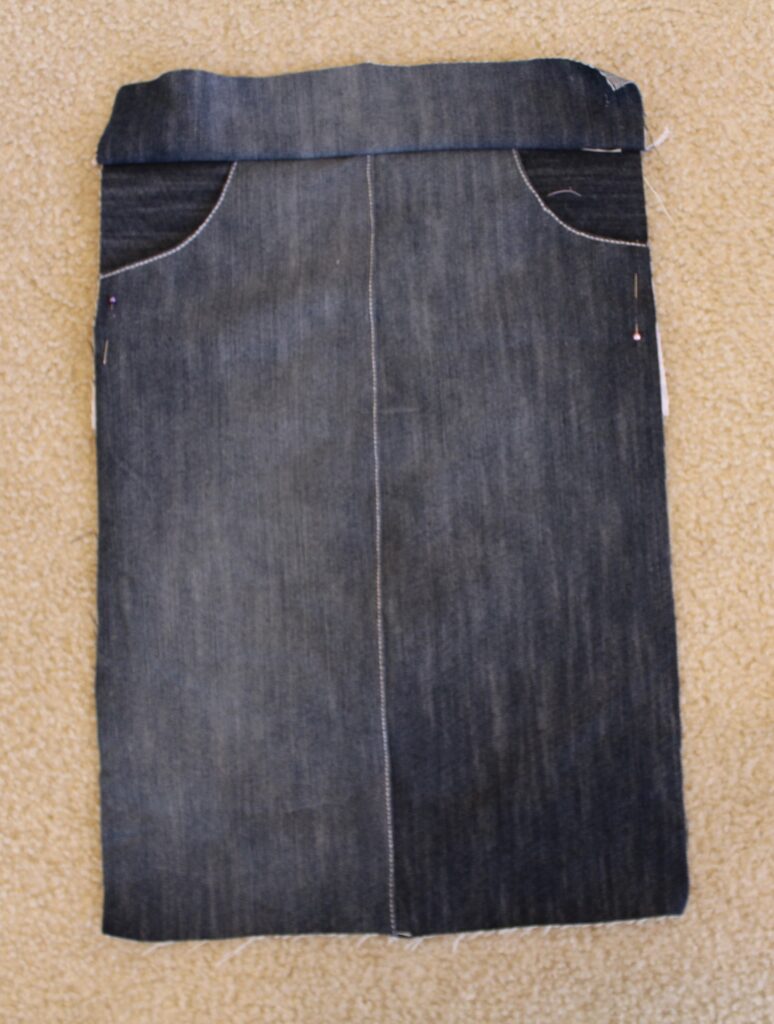
Attach the front waist band as instructed.
Put the front and back skirt pieces together. Sew 1 side together, triple stitch the seam down. Sew the other side together, triple stitch the seam down.
Finish the waist band as instructed in the pattern.
Try your skirt on your Model and see where you would like the hem to fall. I folded my hem 1/2′ then another 1/2′ and triple stitched it in place!
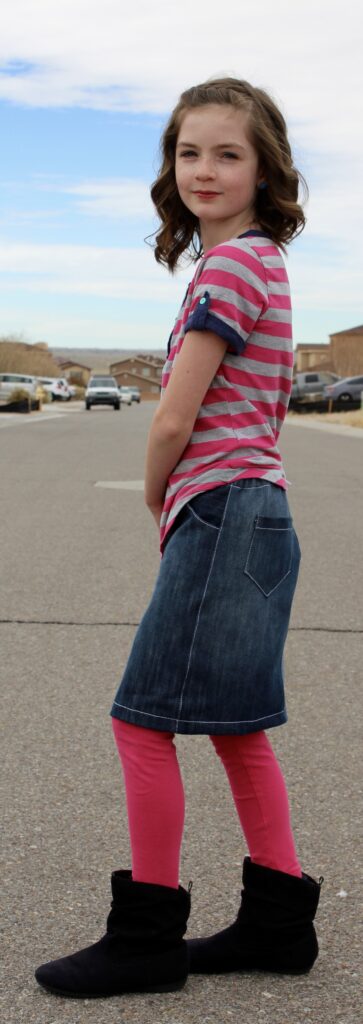
Take some pretty pictures of your Model and fall in love with your new Metropolitan skirt!!!


