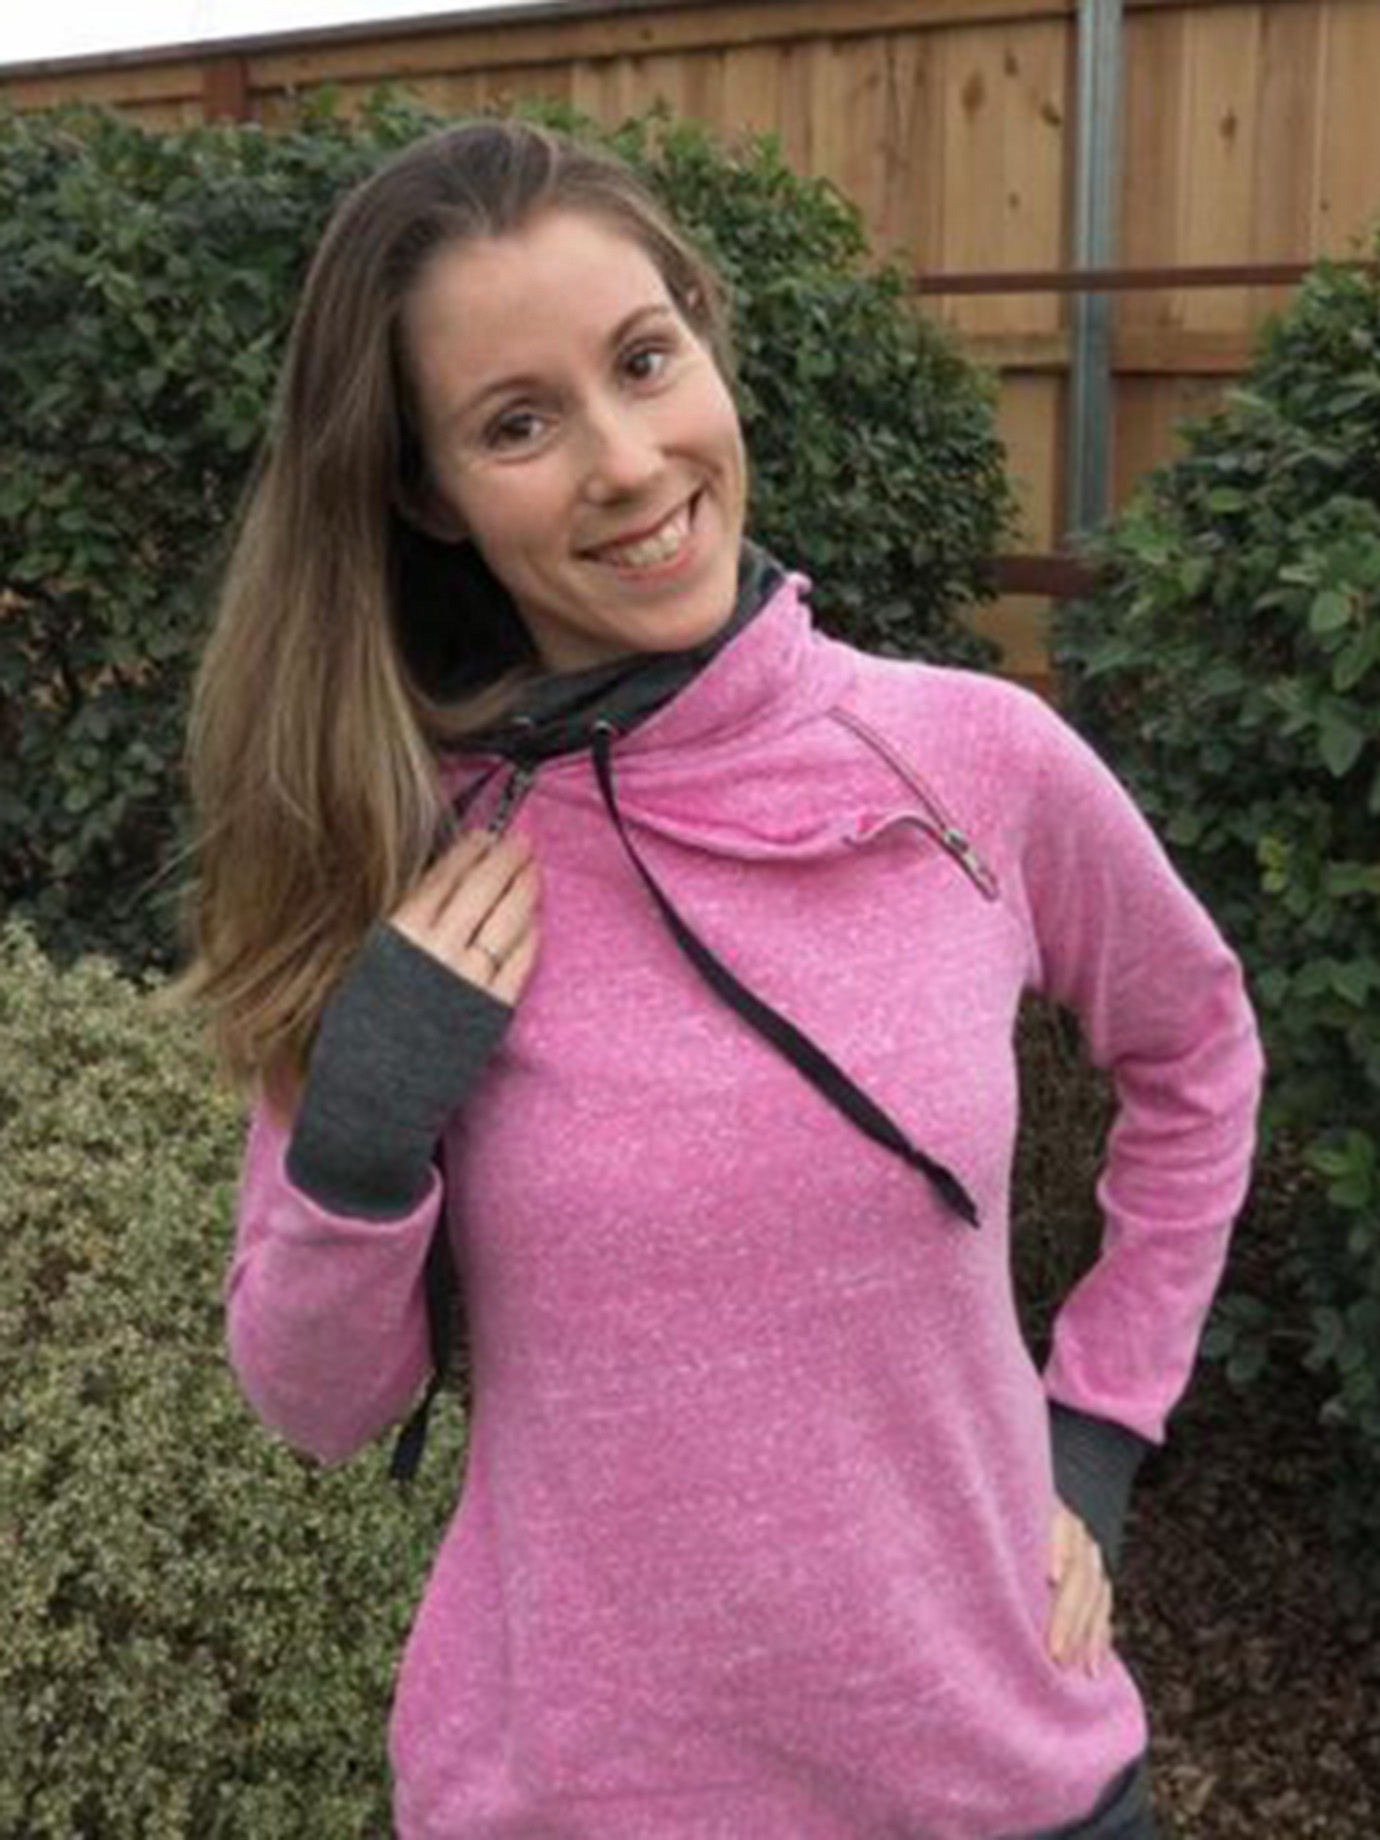
The lovely Amanda Carita from Amanda’s Bundles has been creating these beautiful hoodies with the Summit Peak Hoodie and I’m here to show you that hack.
First you’ll take the pocket and the back bodice pieces. Place the pocket next to the bodice and measure the height. Draw a straight line across at that height and trim away the top part. Keep the bottom piece. (You’ll want an additional back bodice piece since you’ll be using this one to create your kangaroo pocket).
Then you’ll take the Front Bodice A piece and place along the top of the piece you just trimmed, aligned at the center. Mark the width on your trimmed piece.
Next fold your trimmed piece in half matching the top to the bottom and mark the half way point.
Add 3/8″ above that mark for seam allowance.
Draw a curved line between those two points and trim away the excess.
Take some extra paper and create a duplicate of your pattern piece. Align the pieces at the center and secure with tape. You now have your pocket piece.
Fold your fabric vertically and place your pocket piece with the top at the fold. Cut your pocket piece.
Now turn your pocket wrong side out with the top folded. Align the side pockets and using a 3/8″ seam allowance, stitch in place.
Turn your pocket right side out and press.
Sew the front bodice pieces without the pocket.
Place your pocket piece on top of the front bodice, right sides facing up. Stitch the pocket to the bodice along the top of the pocket. Baste the sides of the pocket to the bodice.
And there you go! Your Kangaroo pocket is sewn! Finish the hoodie according to the instructions in the pattern.
Standard Hood
If you’d also like to sew a standard hood instead of the scuba hood included in the pattern, here is that hack!
Take your hood pattern piece included in the pattern and place some spare paper underneath it. Add 1″ to the top front and 1 1/4″ to the bottom. Connect those two lines with a curve. Trim away the excess paper and there is your hood piece.
Cut 2 hood pieces (Mirror image) from your fabric and place them right sides together. Sew along the back and top of the hood. (Add button holes or grommets before you start sewing the hood if you’re adding a drawstring.)
Fold the front edge of the hood under 1″ and stitch in place.
Turn your hood right sides out and overlap the bottom front 3/4″ and baste in place. Sew to the neckline following the pattern instructions.
And now you have a new hoodie!


