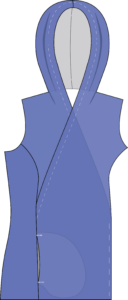
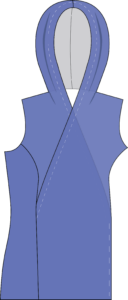
Create this great wrap pullover from the Harbor Hoodie pattern!

You can create this top with or without the pockets. You can also use the hood or collar option. You won’t be lining the top and there’s also no need for binding.
First take the Front B pattern piece and locate the tie and strap placement marker. Create a mark just below it.
The place a mark directly across on the opposite side.
Using the first mark you placed, extend the pattern out 3/4″ creating hem allowance. This will be your new front piece B. Cut the rest of the pattern pieces as intended.
Sewing it all together:
The steps will be slightly out of order from the instructions included in the pattern.
First take the two Front Piece B fabric pieces and place them right sides together. Sew the hood or collar together along the back seam.
Hood
Collar
Now fold over the hem allowance you created earlier 3/4″ and press. Edge stitch in place.
Hood
Now lay the piece flat, right side facing up. Place one piece on top of the other aligning the markers created earlier. Baste both sides in place.
Pockets:
Now take two opposite pocket pieces and place them right sides together with the crossover piece and the opposing Front Piece A. Use the guides from the pattern piece for placement and align at the sides. Stitch in place with 3/8″ seam allowance. (Skip to the next step if you’re not sewing pockets).

No Pockets: Find the opposing Front Piece A.
Next fold over Front Piece A right sides together with the crossover bodice. Stitch together along the side and the outside of the pocket pieces. For no pockets stitch along the side.
Lay the piece flat right side facing up.
Pockets: With the pocket facing towards the center stitch a short straight seam through all layers at the top and bottom of the pocket opening.
Pockets
No Pockets
Repeat all these steps with the opposite side.
Use the instructions to finish the back piece and sew the rest of the pullover. Skip the lining and binding instructions. Also skip sewing the back seam of the hood or collar as that’s already been completed.
And you’re done!


