Hello fellow makers!
This is Marta from @the.pickle.and.the.banana on Instagram. I’m here to talk to you about Heat Transfer Vinyl, or HTV. Did you know that there are 23 FREE designs on the New Horizons website? They can be used with either the Cameo or Cricut and are even great for printing or using as backgrounds. Make sure you check them out!

The world of cutting machines and vinyl is as vast as the sewing world. So if you are looking for a new all-consuming hobby, it’s a pretty fun one to get into. There is A LOT of information out there and a variety of machines. If you don’t already own one you can do some reading and decide which one works best for you. I have the Silhouette Cameo 3. I have enjoyed the machine so far and have found it pretty user friendly (even though it took me a year to take it out of the box!). Today I am just going to take you through the application of HTV and share some tips and tricks.
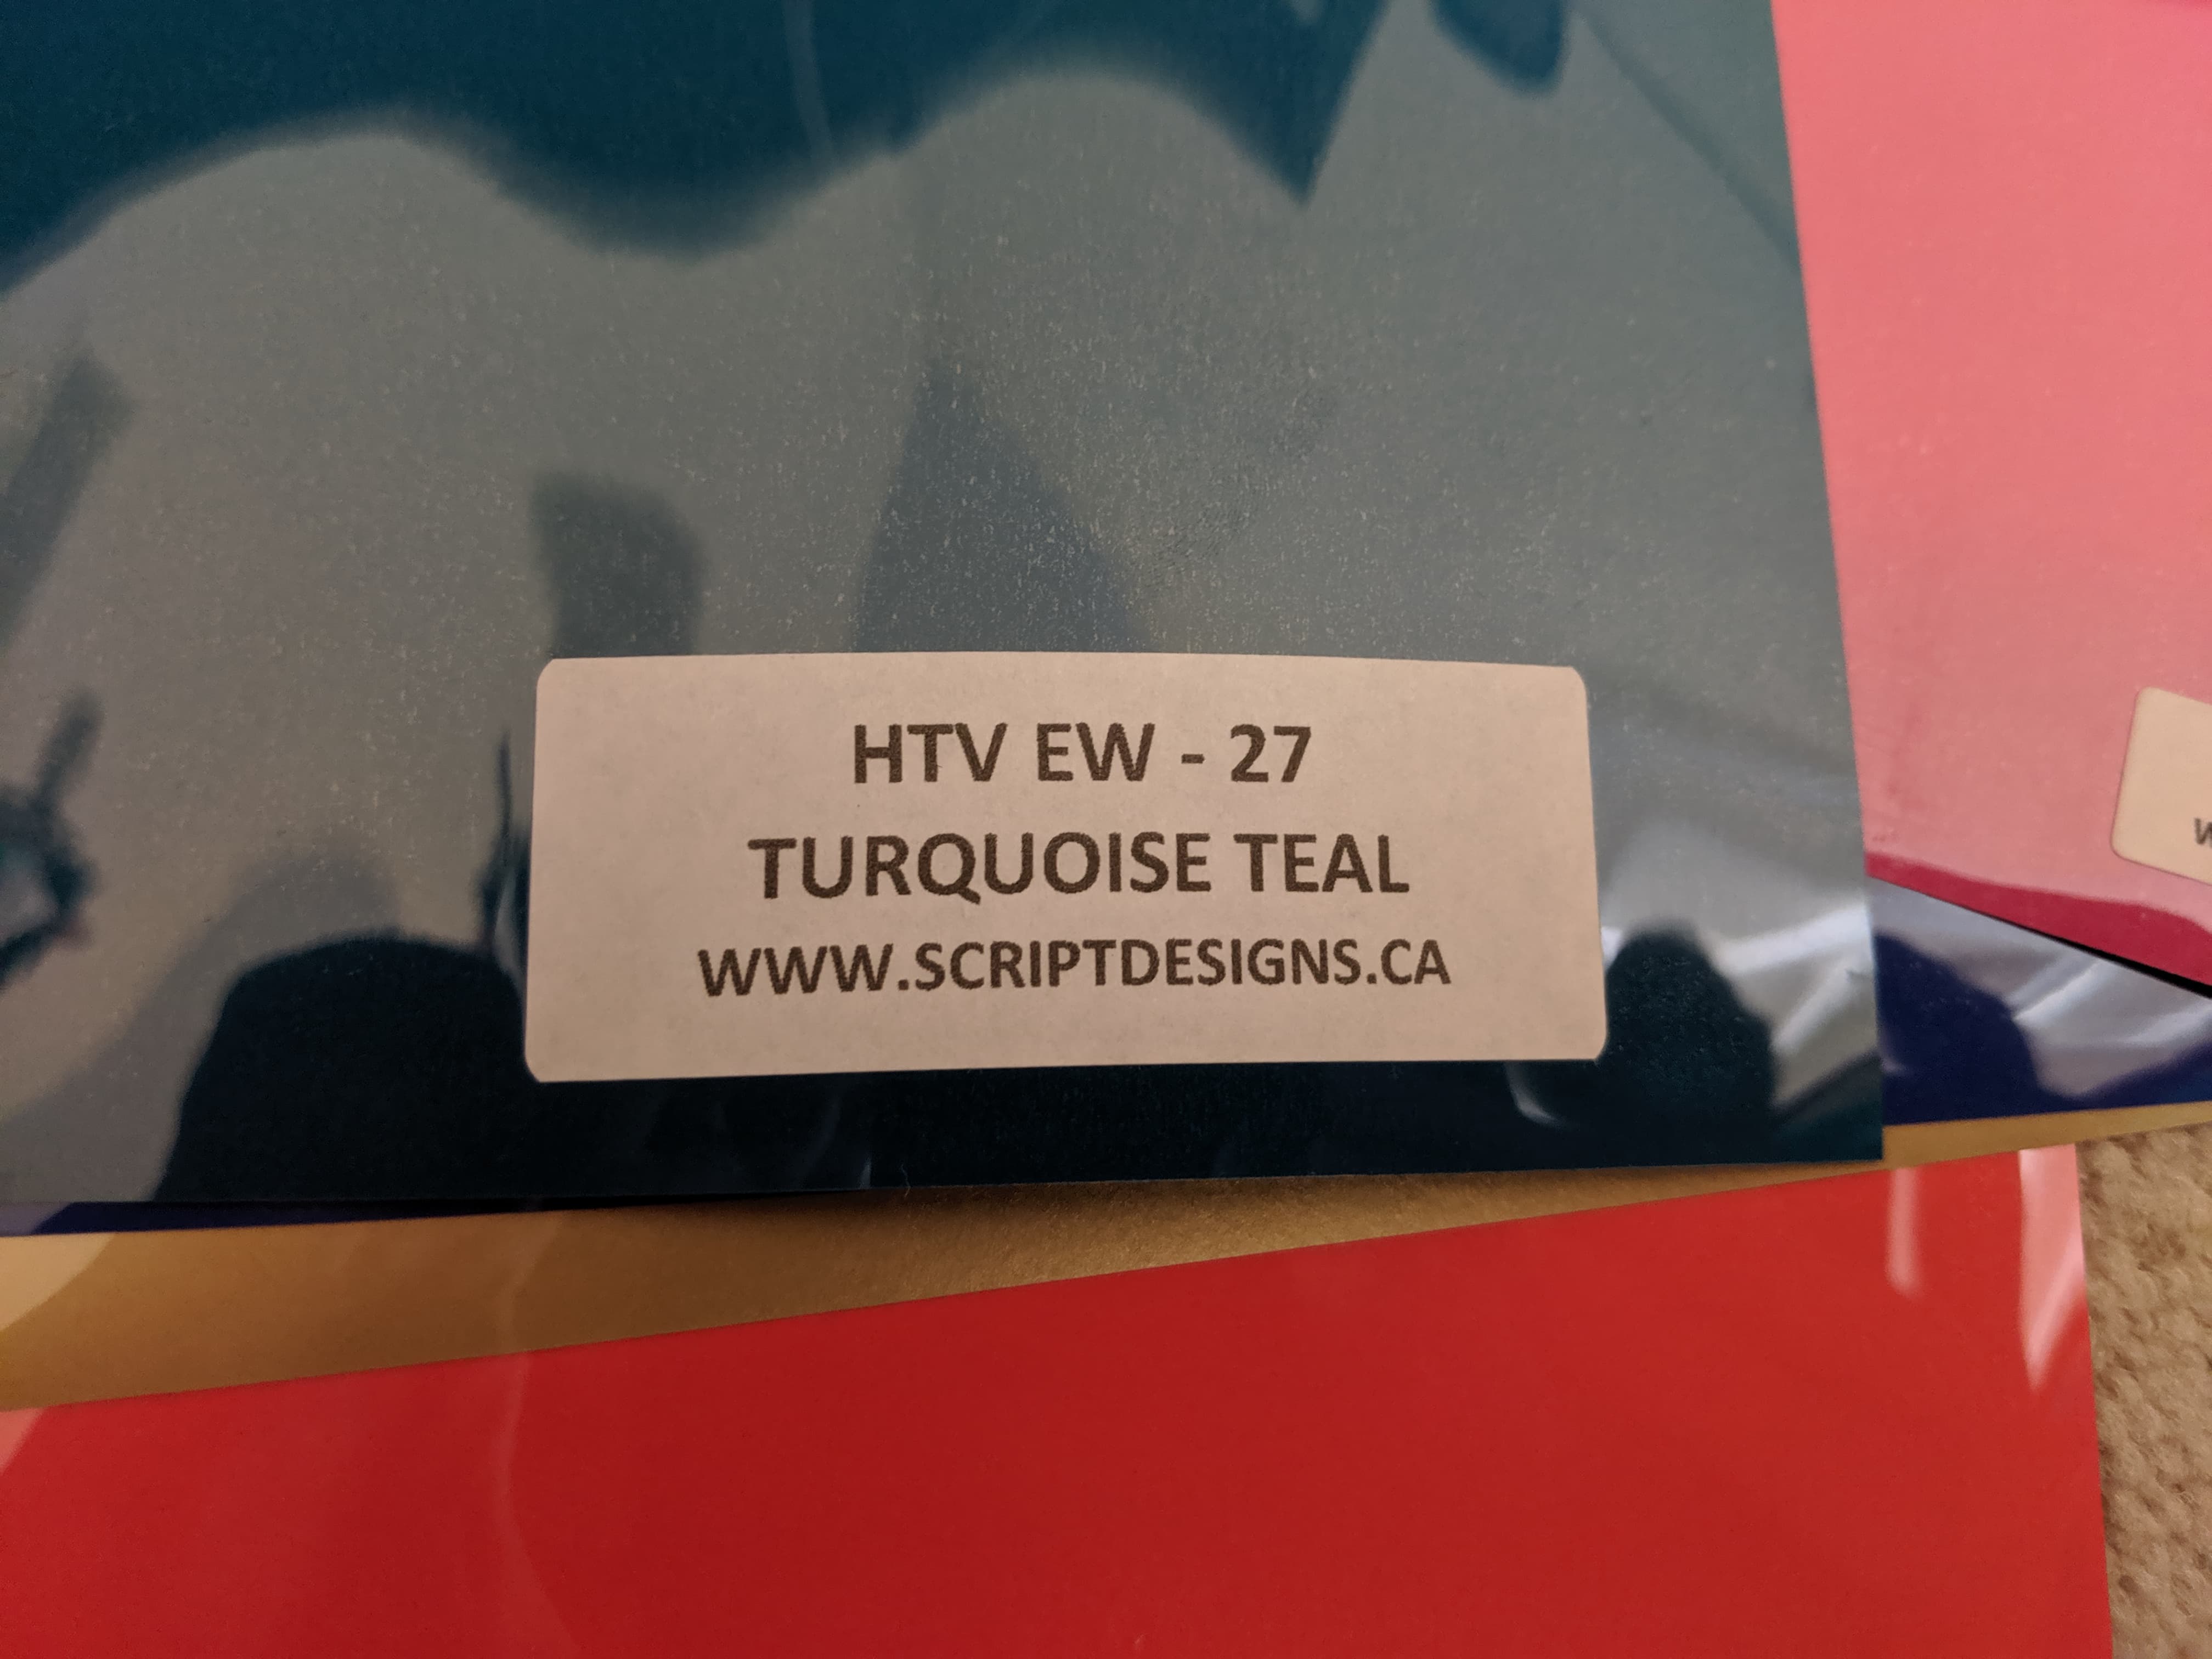
There are lots of different types of HTV. The Siser brand is very popular. It’s what I’ve used and have been happy with it so far. Today I will be using Siser Easyweed HTV.
The first thing you need to do is open your design in your software.
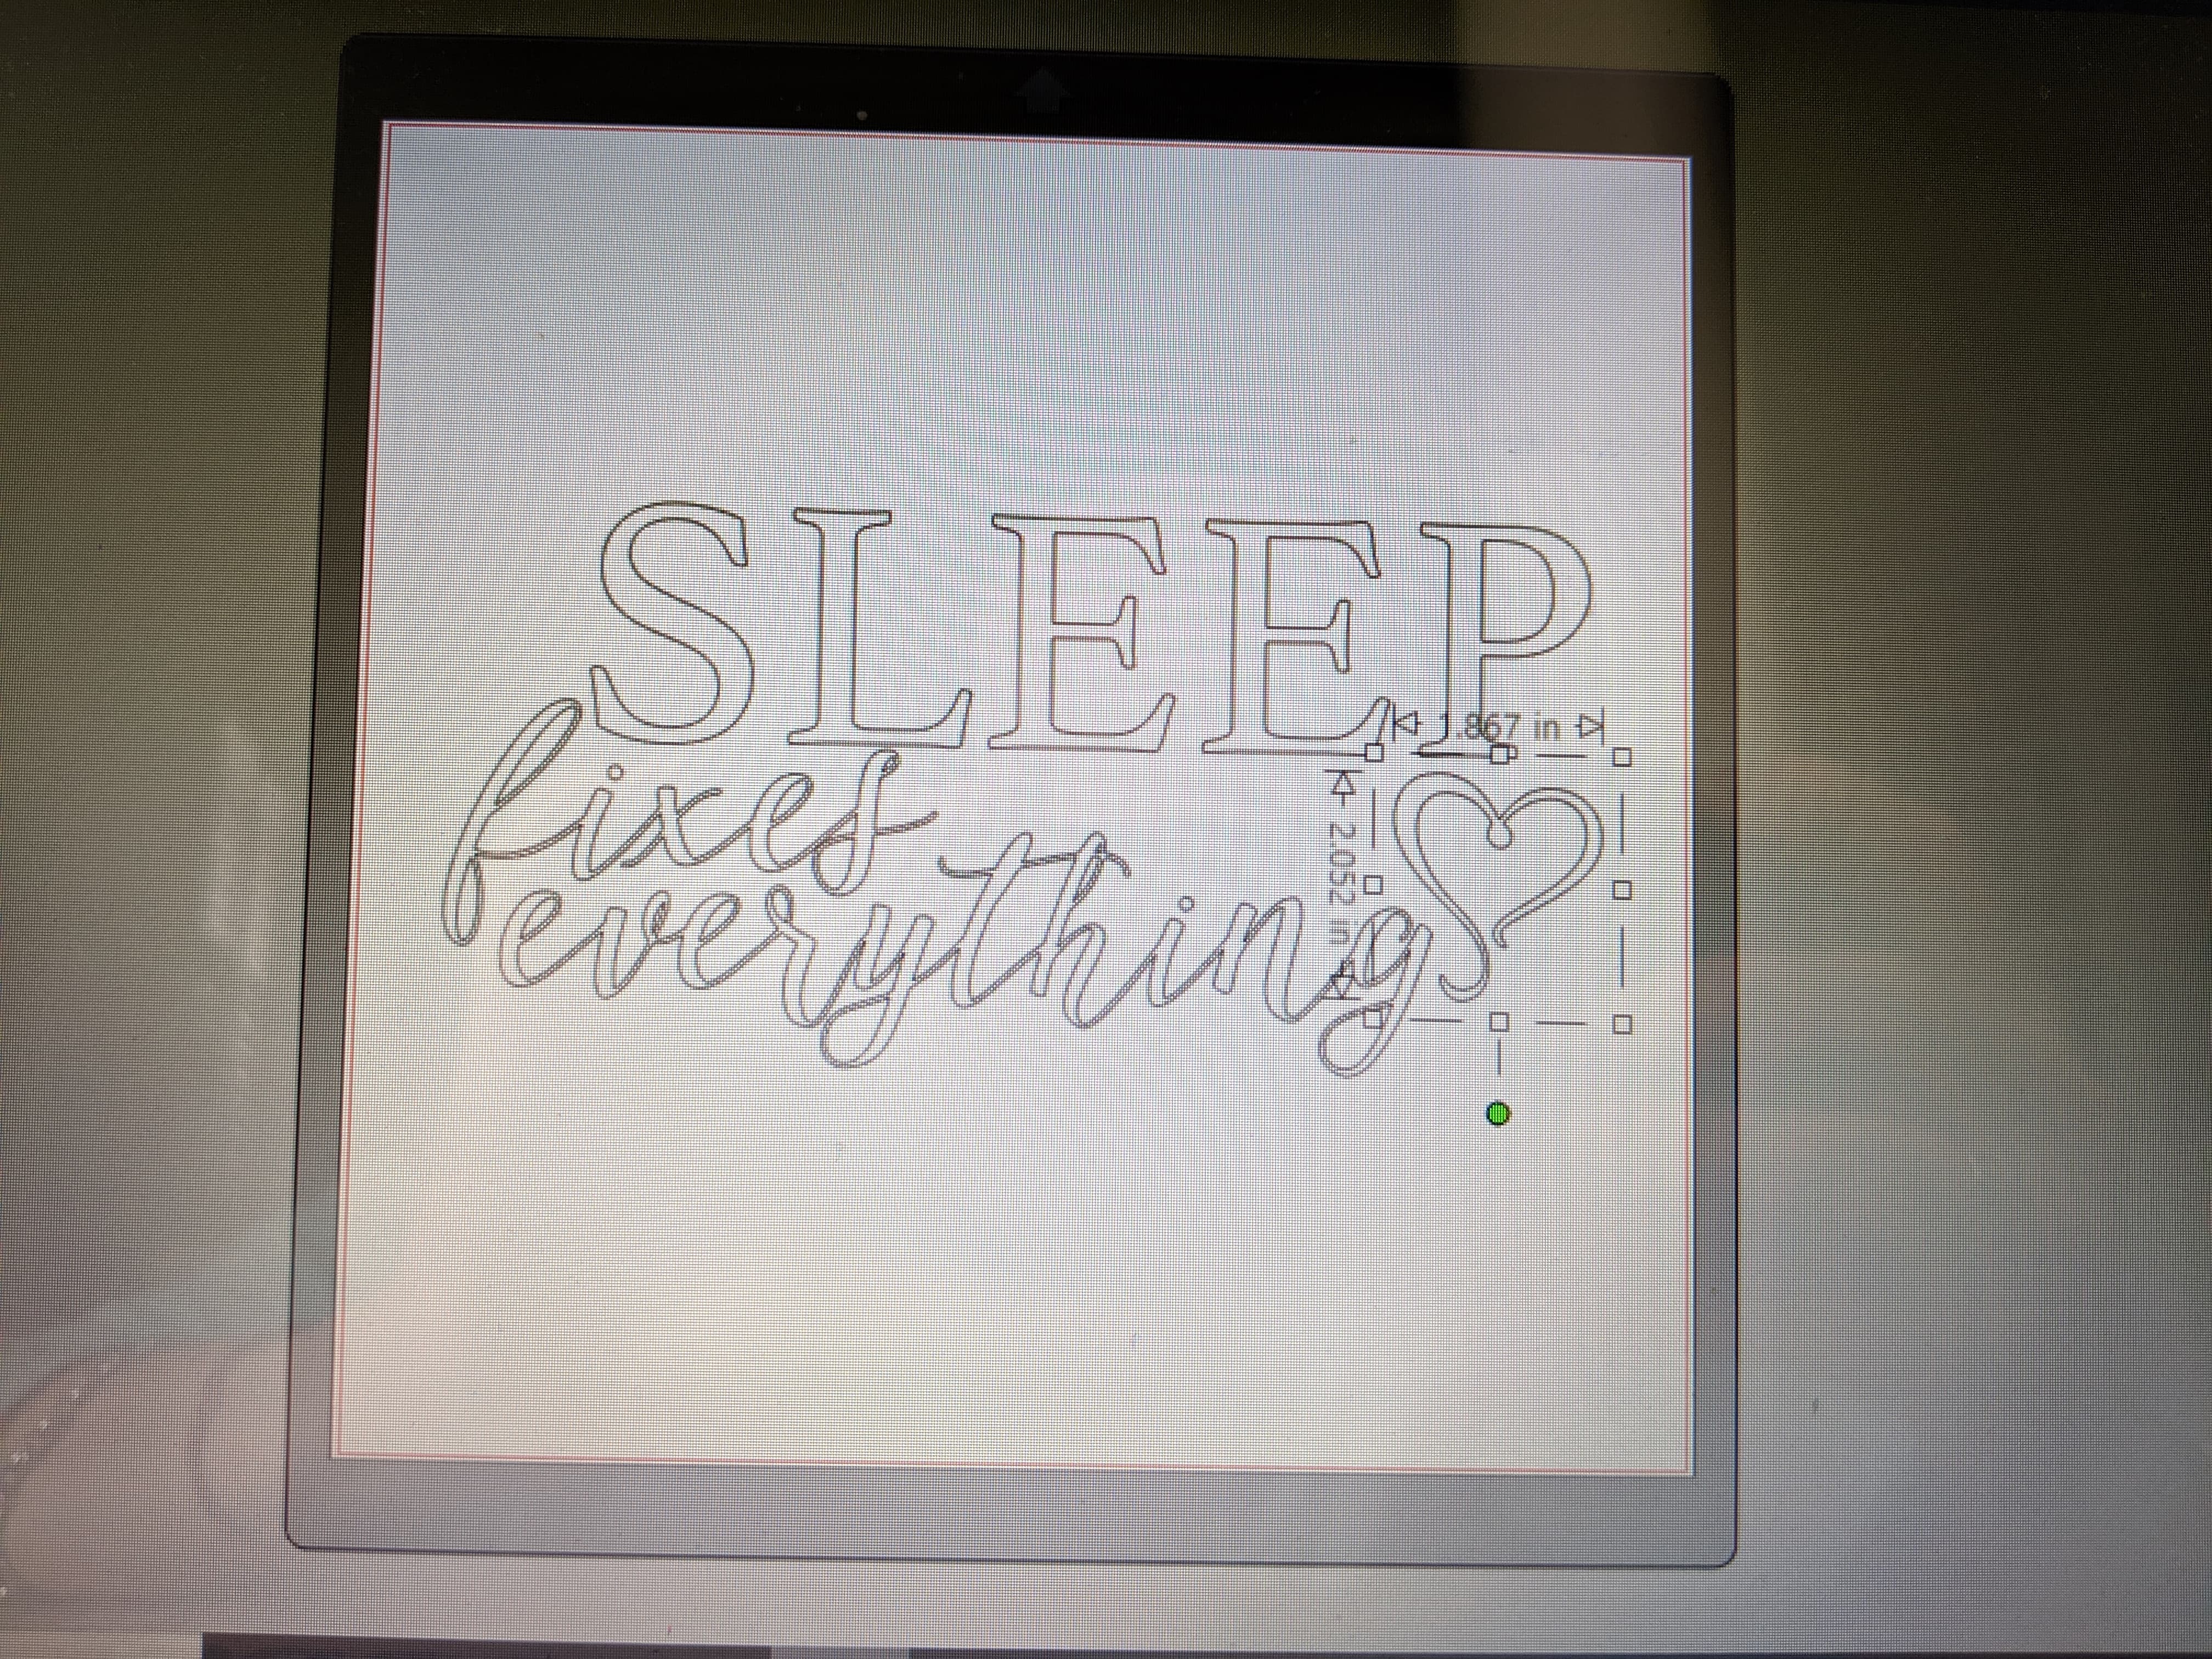
Then you can manipulate your design however you like. You can make it bigger or smaller, add or remove elements. I have removed the heart (I’m just not a heart person), and moved the whole design right to the top of my page so I don’t waste any of the HTV.
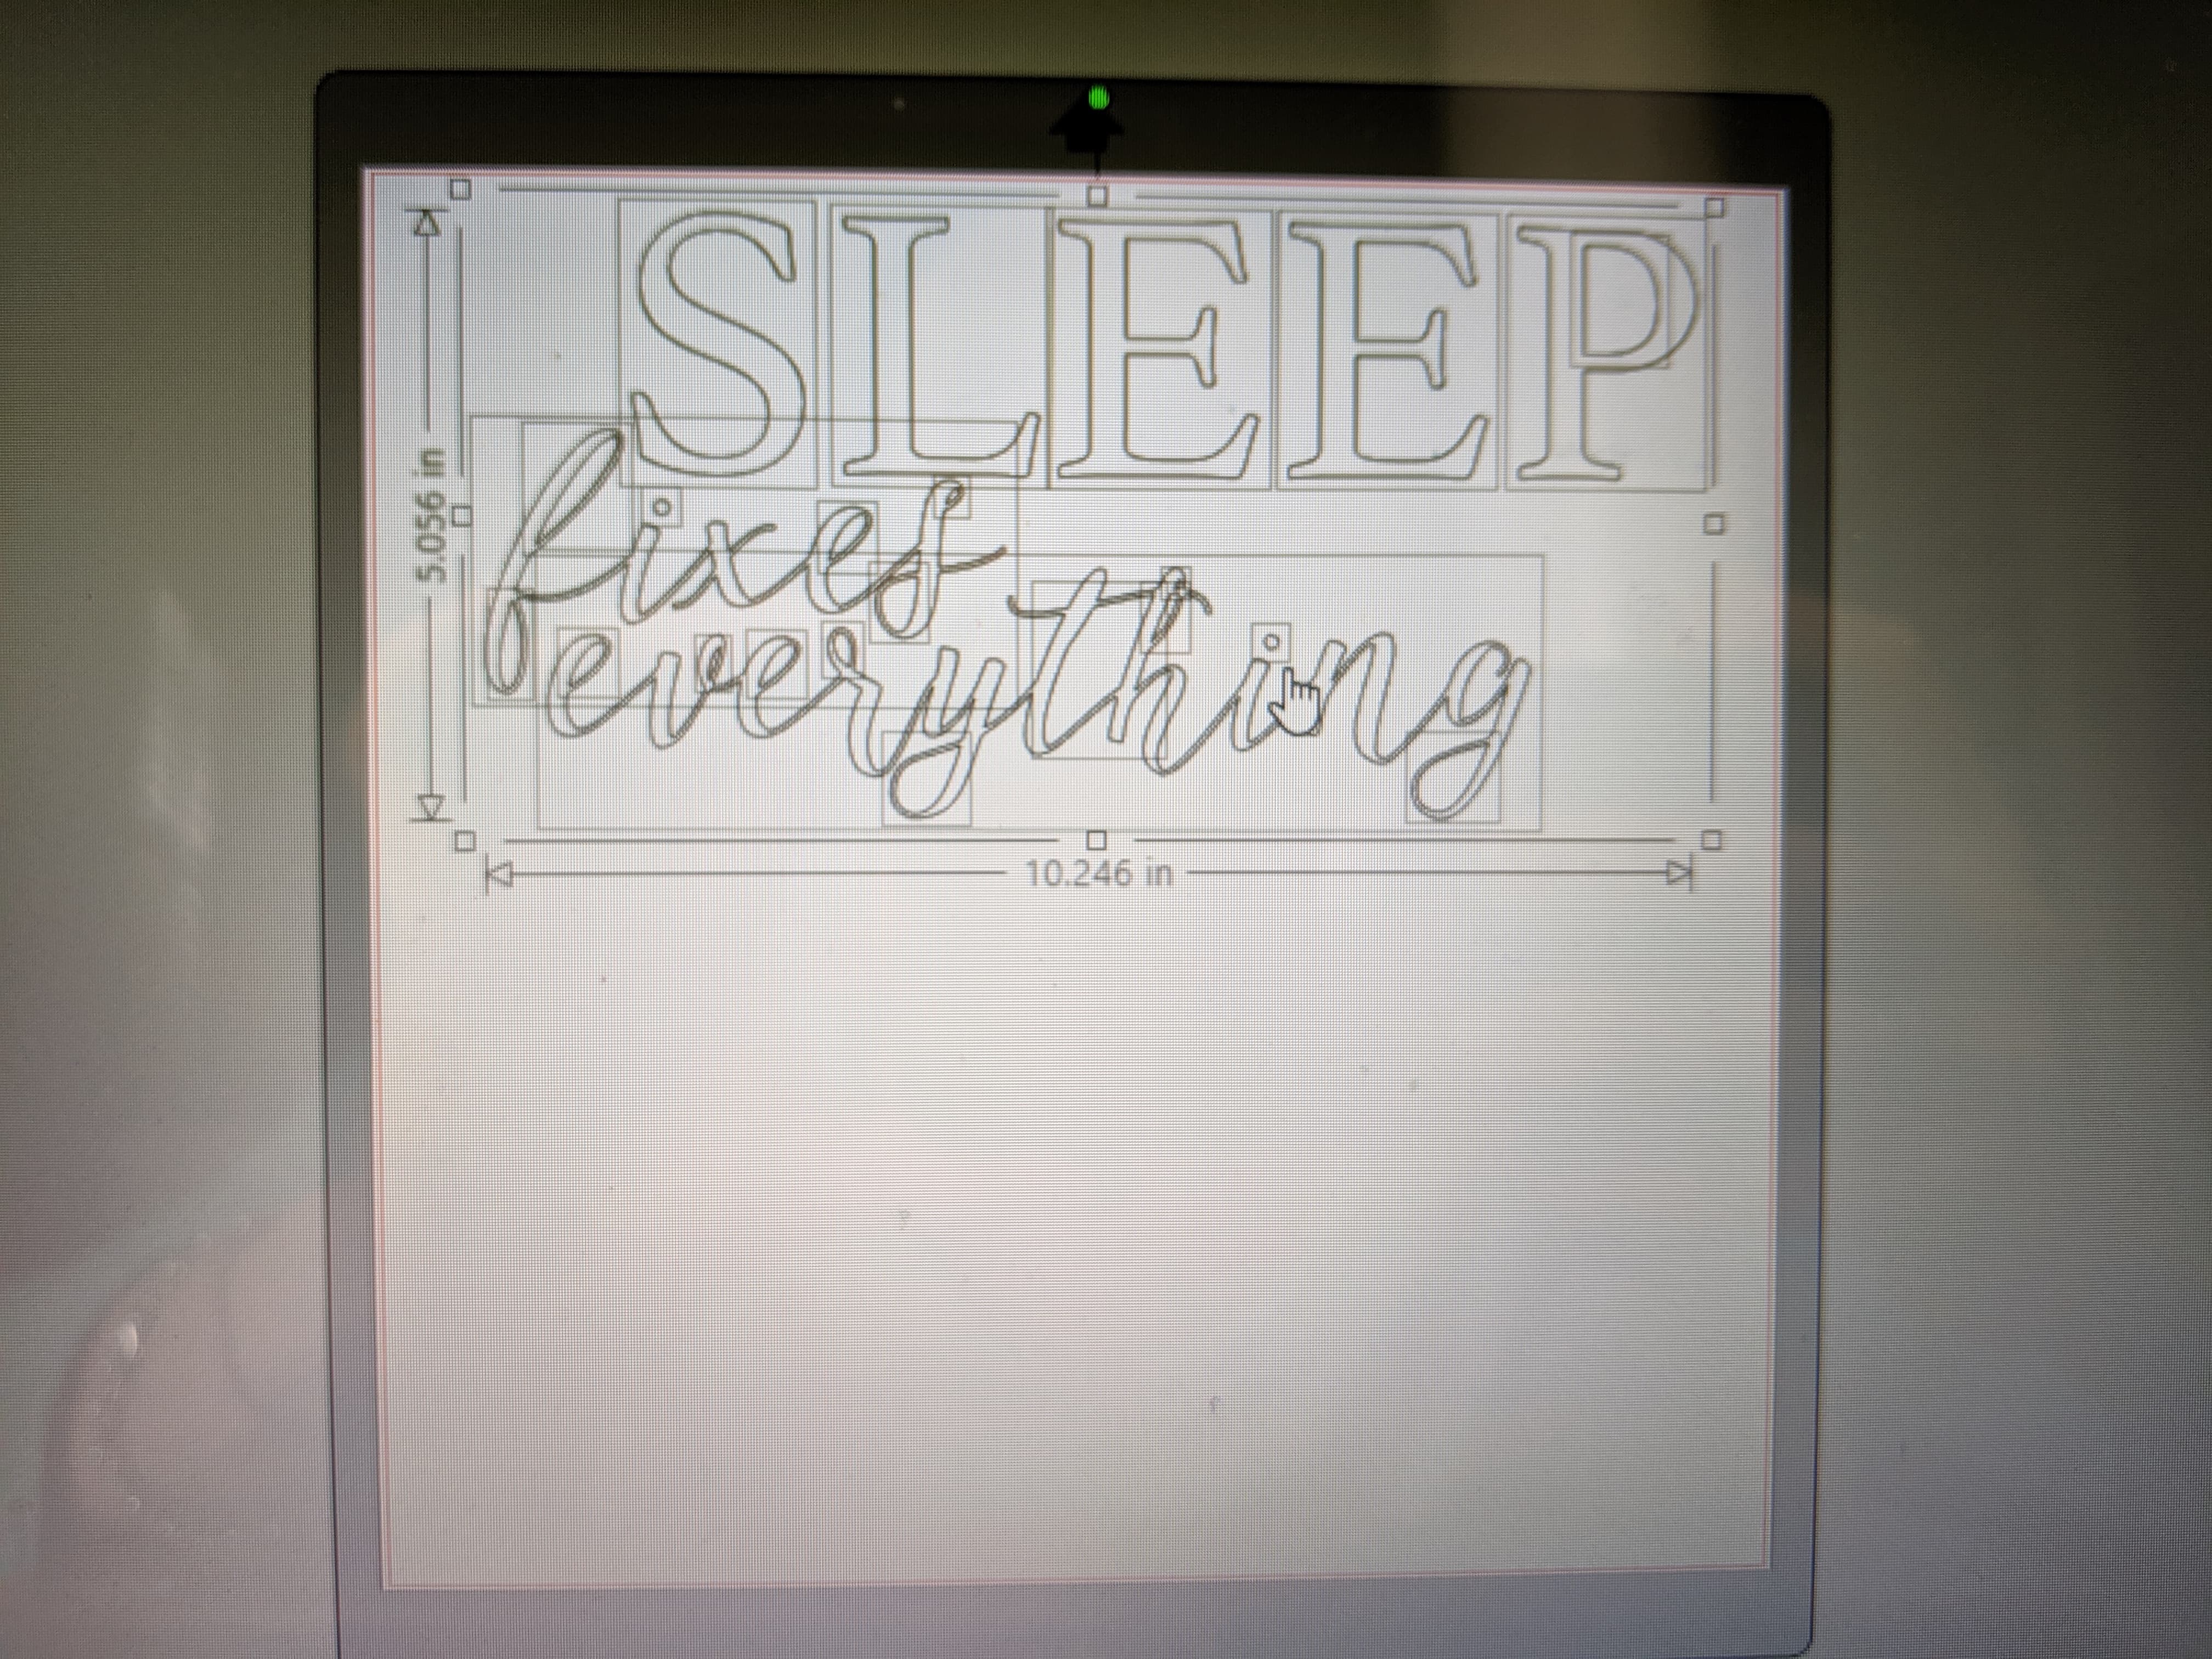
If you are using your design as HTV (rather than a sticker) you have to make sure to make it mirror image so that it will print backwards but iron on correctly.
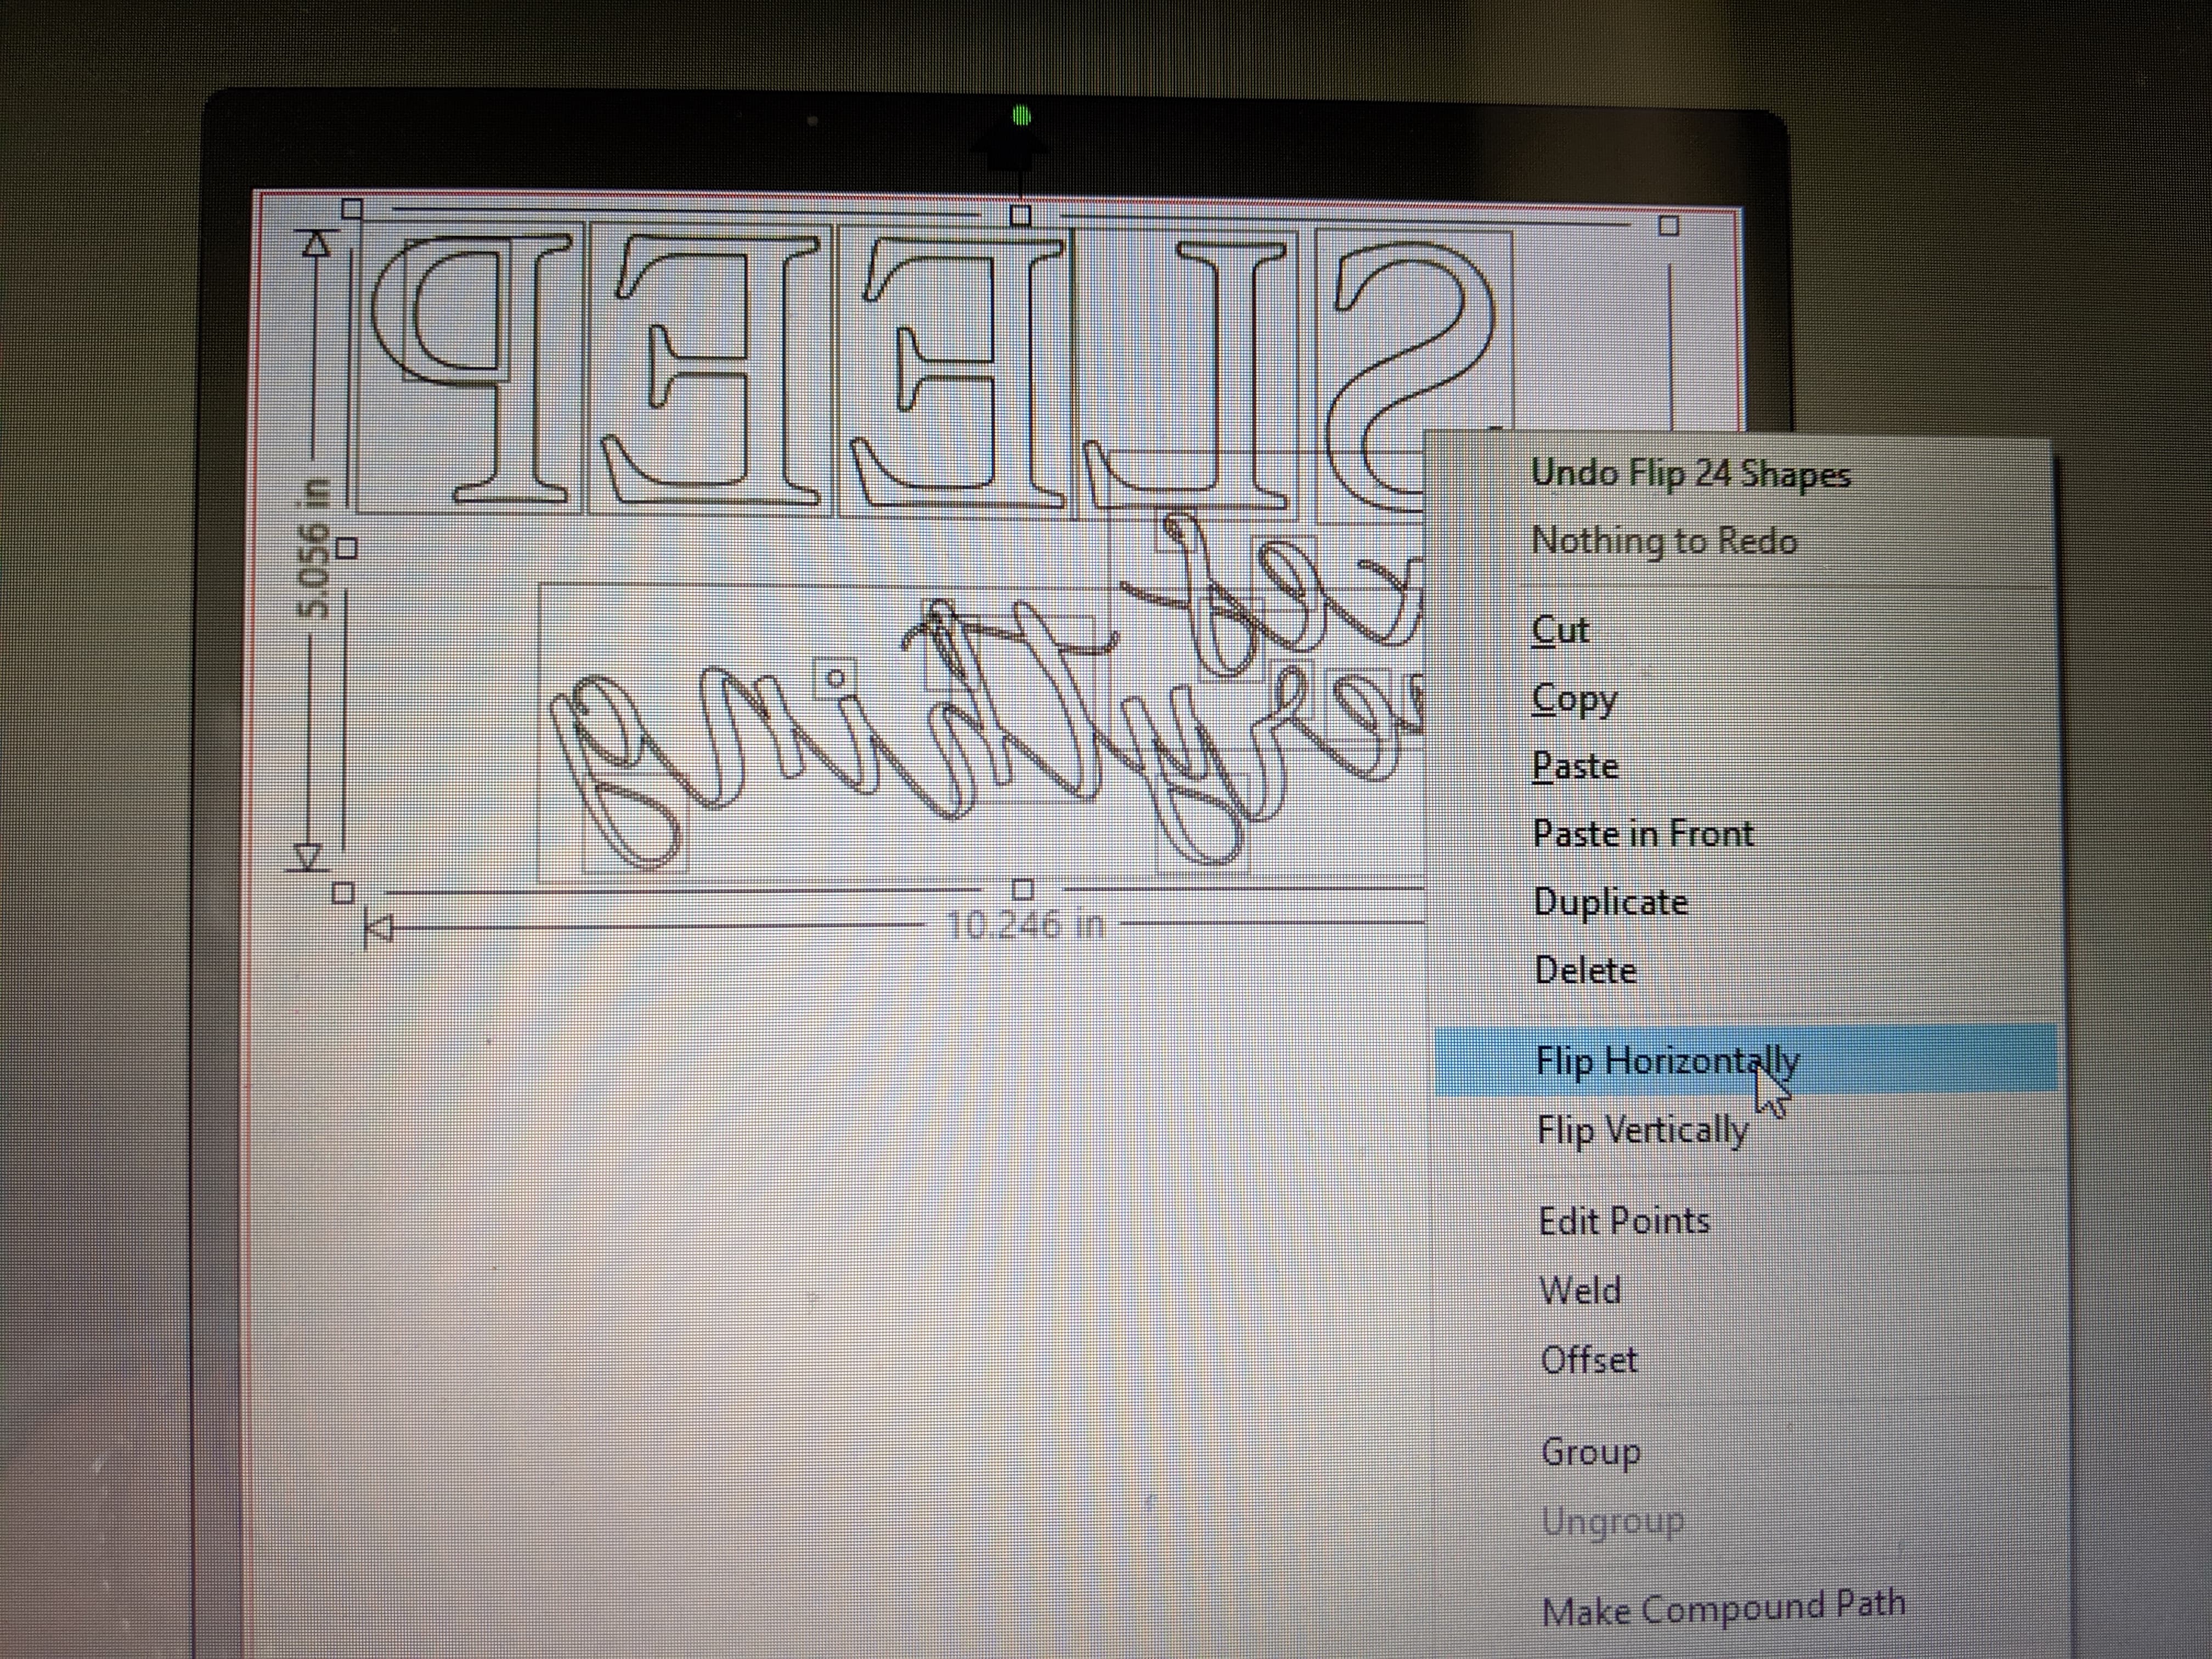
Some software will remind you to do this before you hit print.

Make sure to choose the correct HTV you are working with so that the knife cuts it properly. Having the incorrect medium here can cause the knife to go too deep or not deep enough.
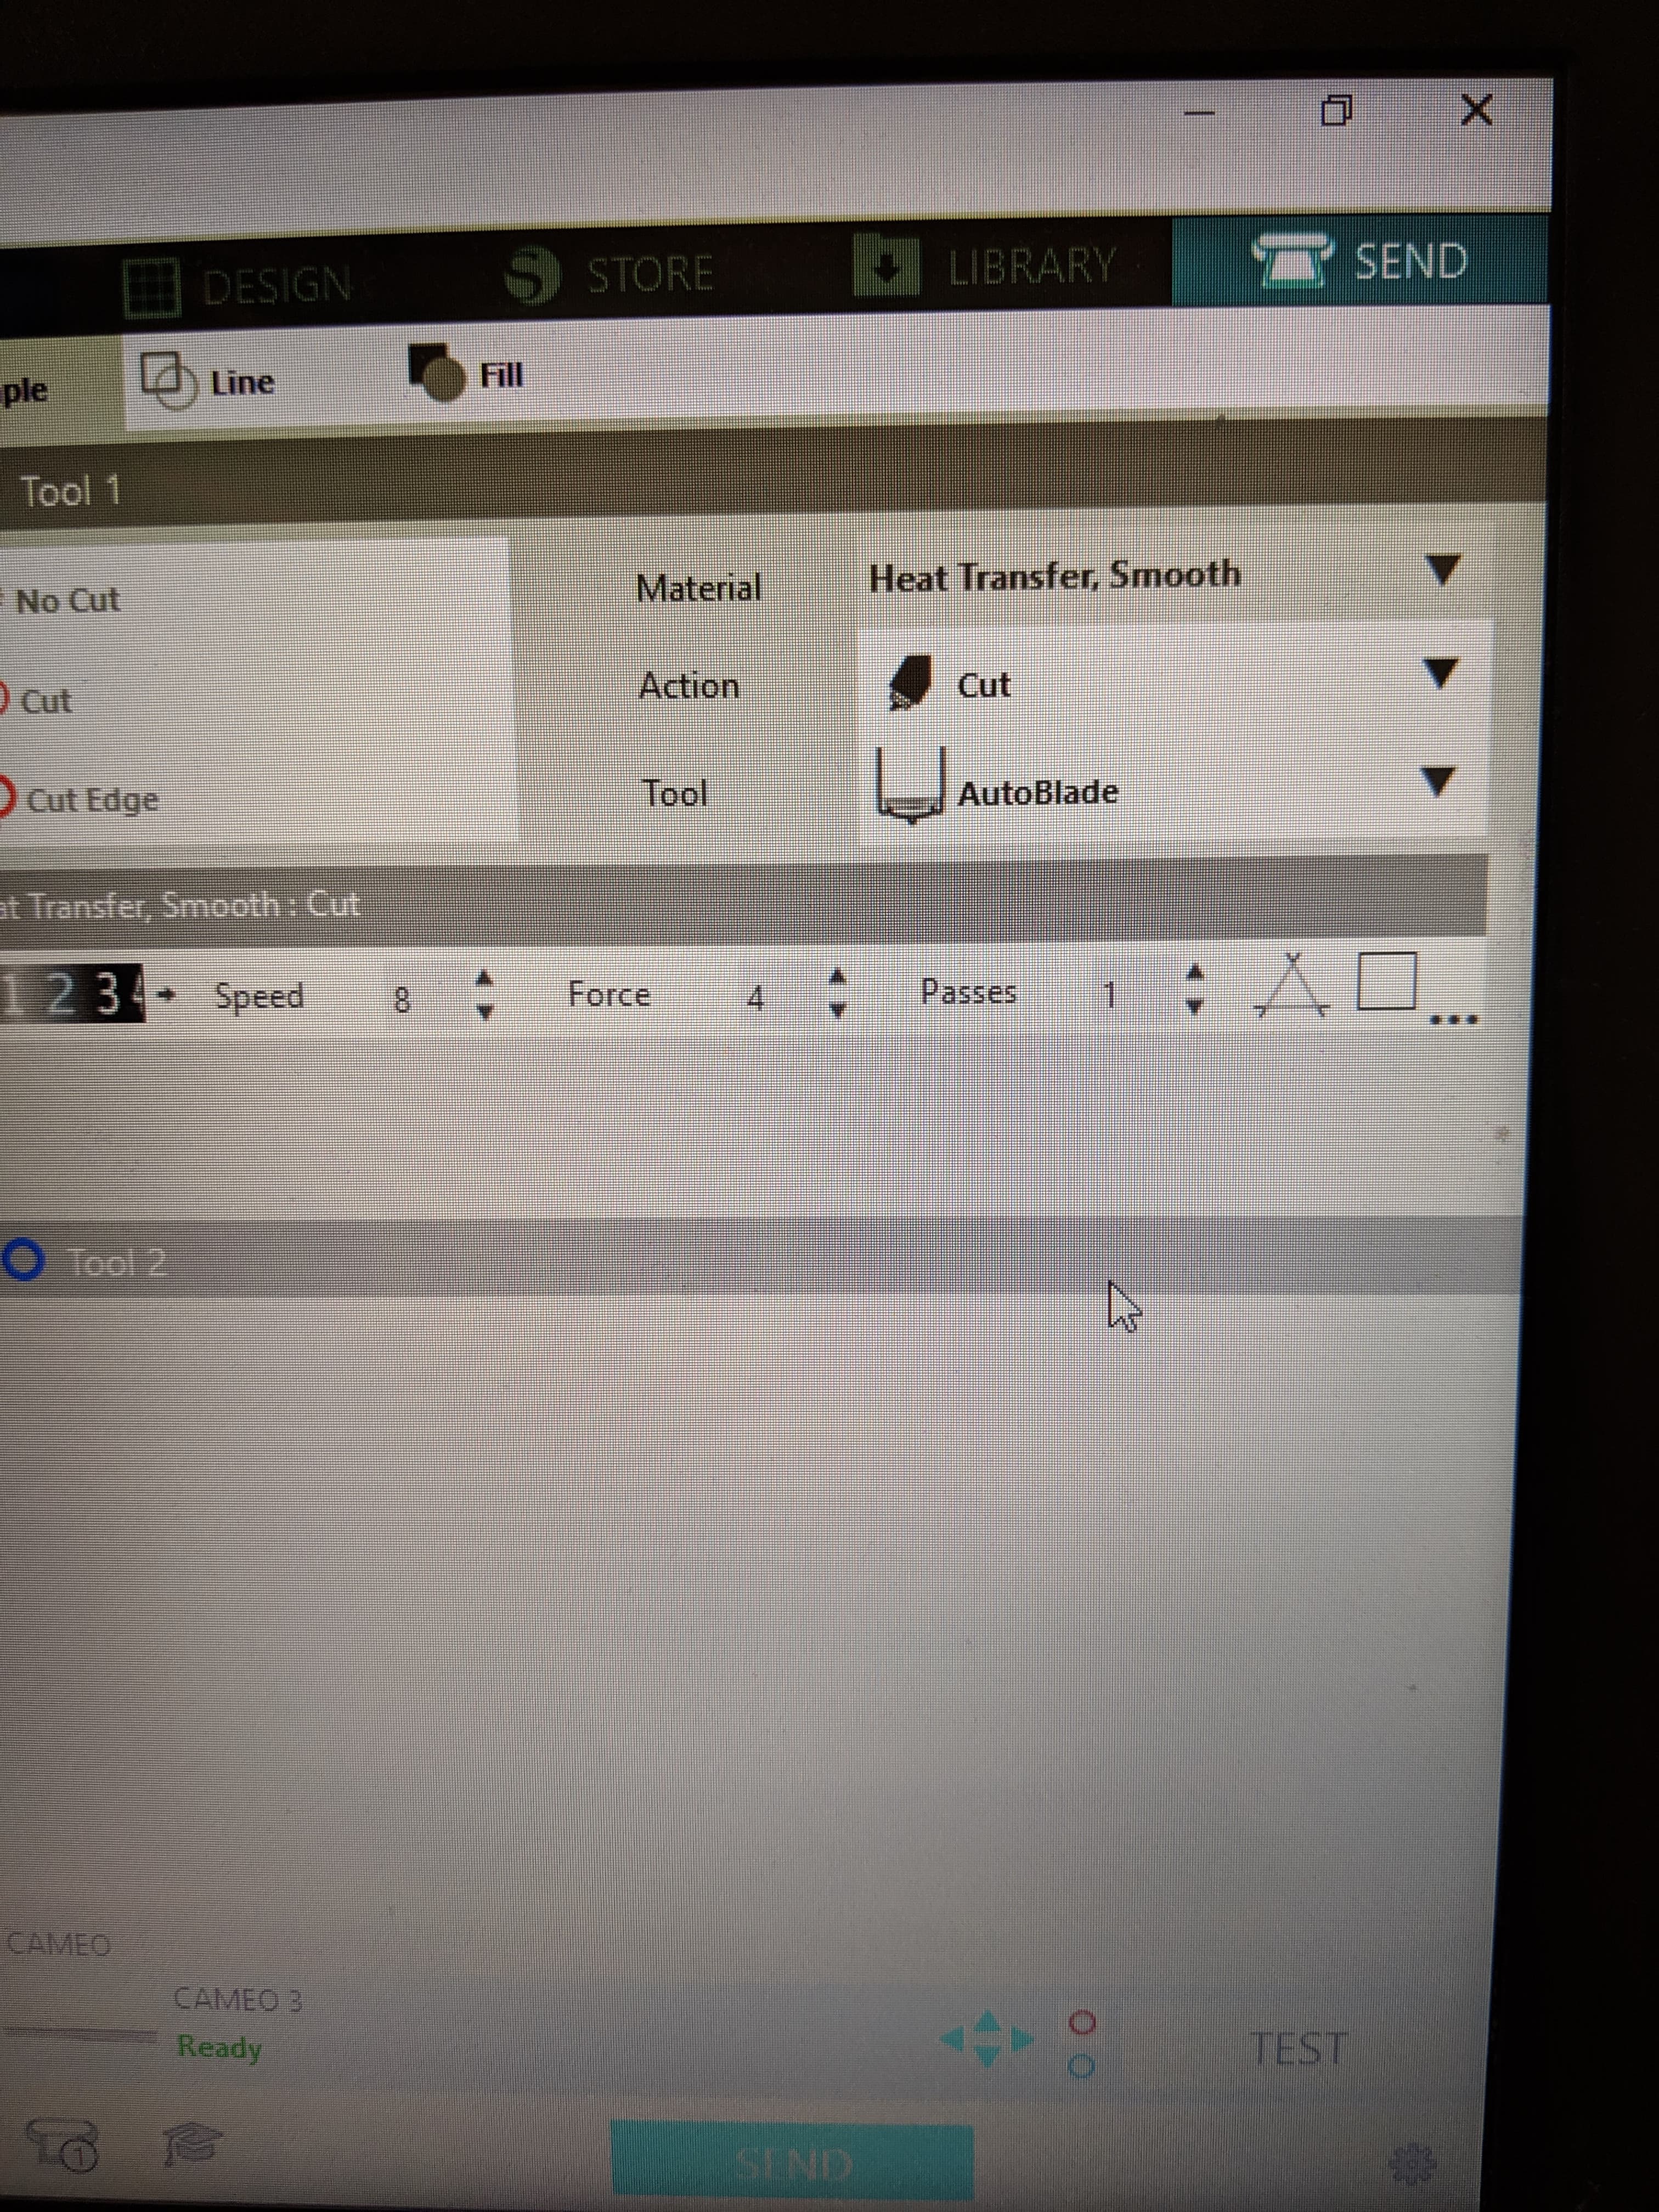
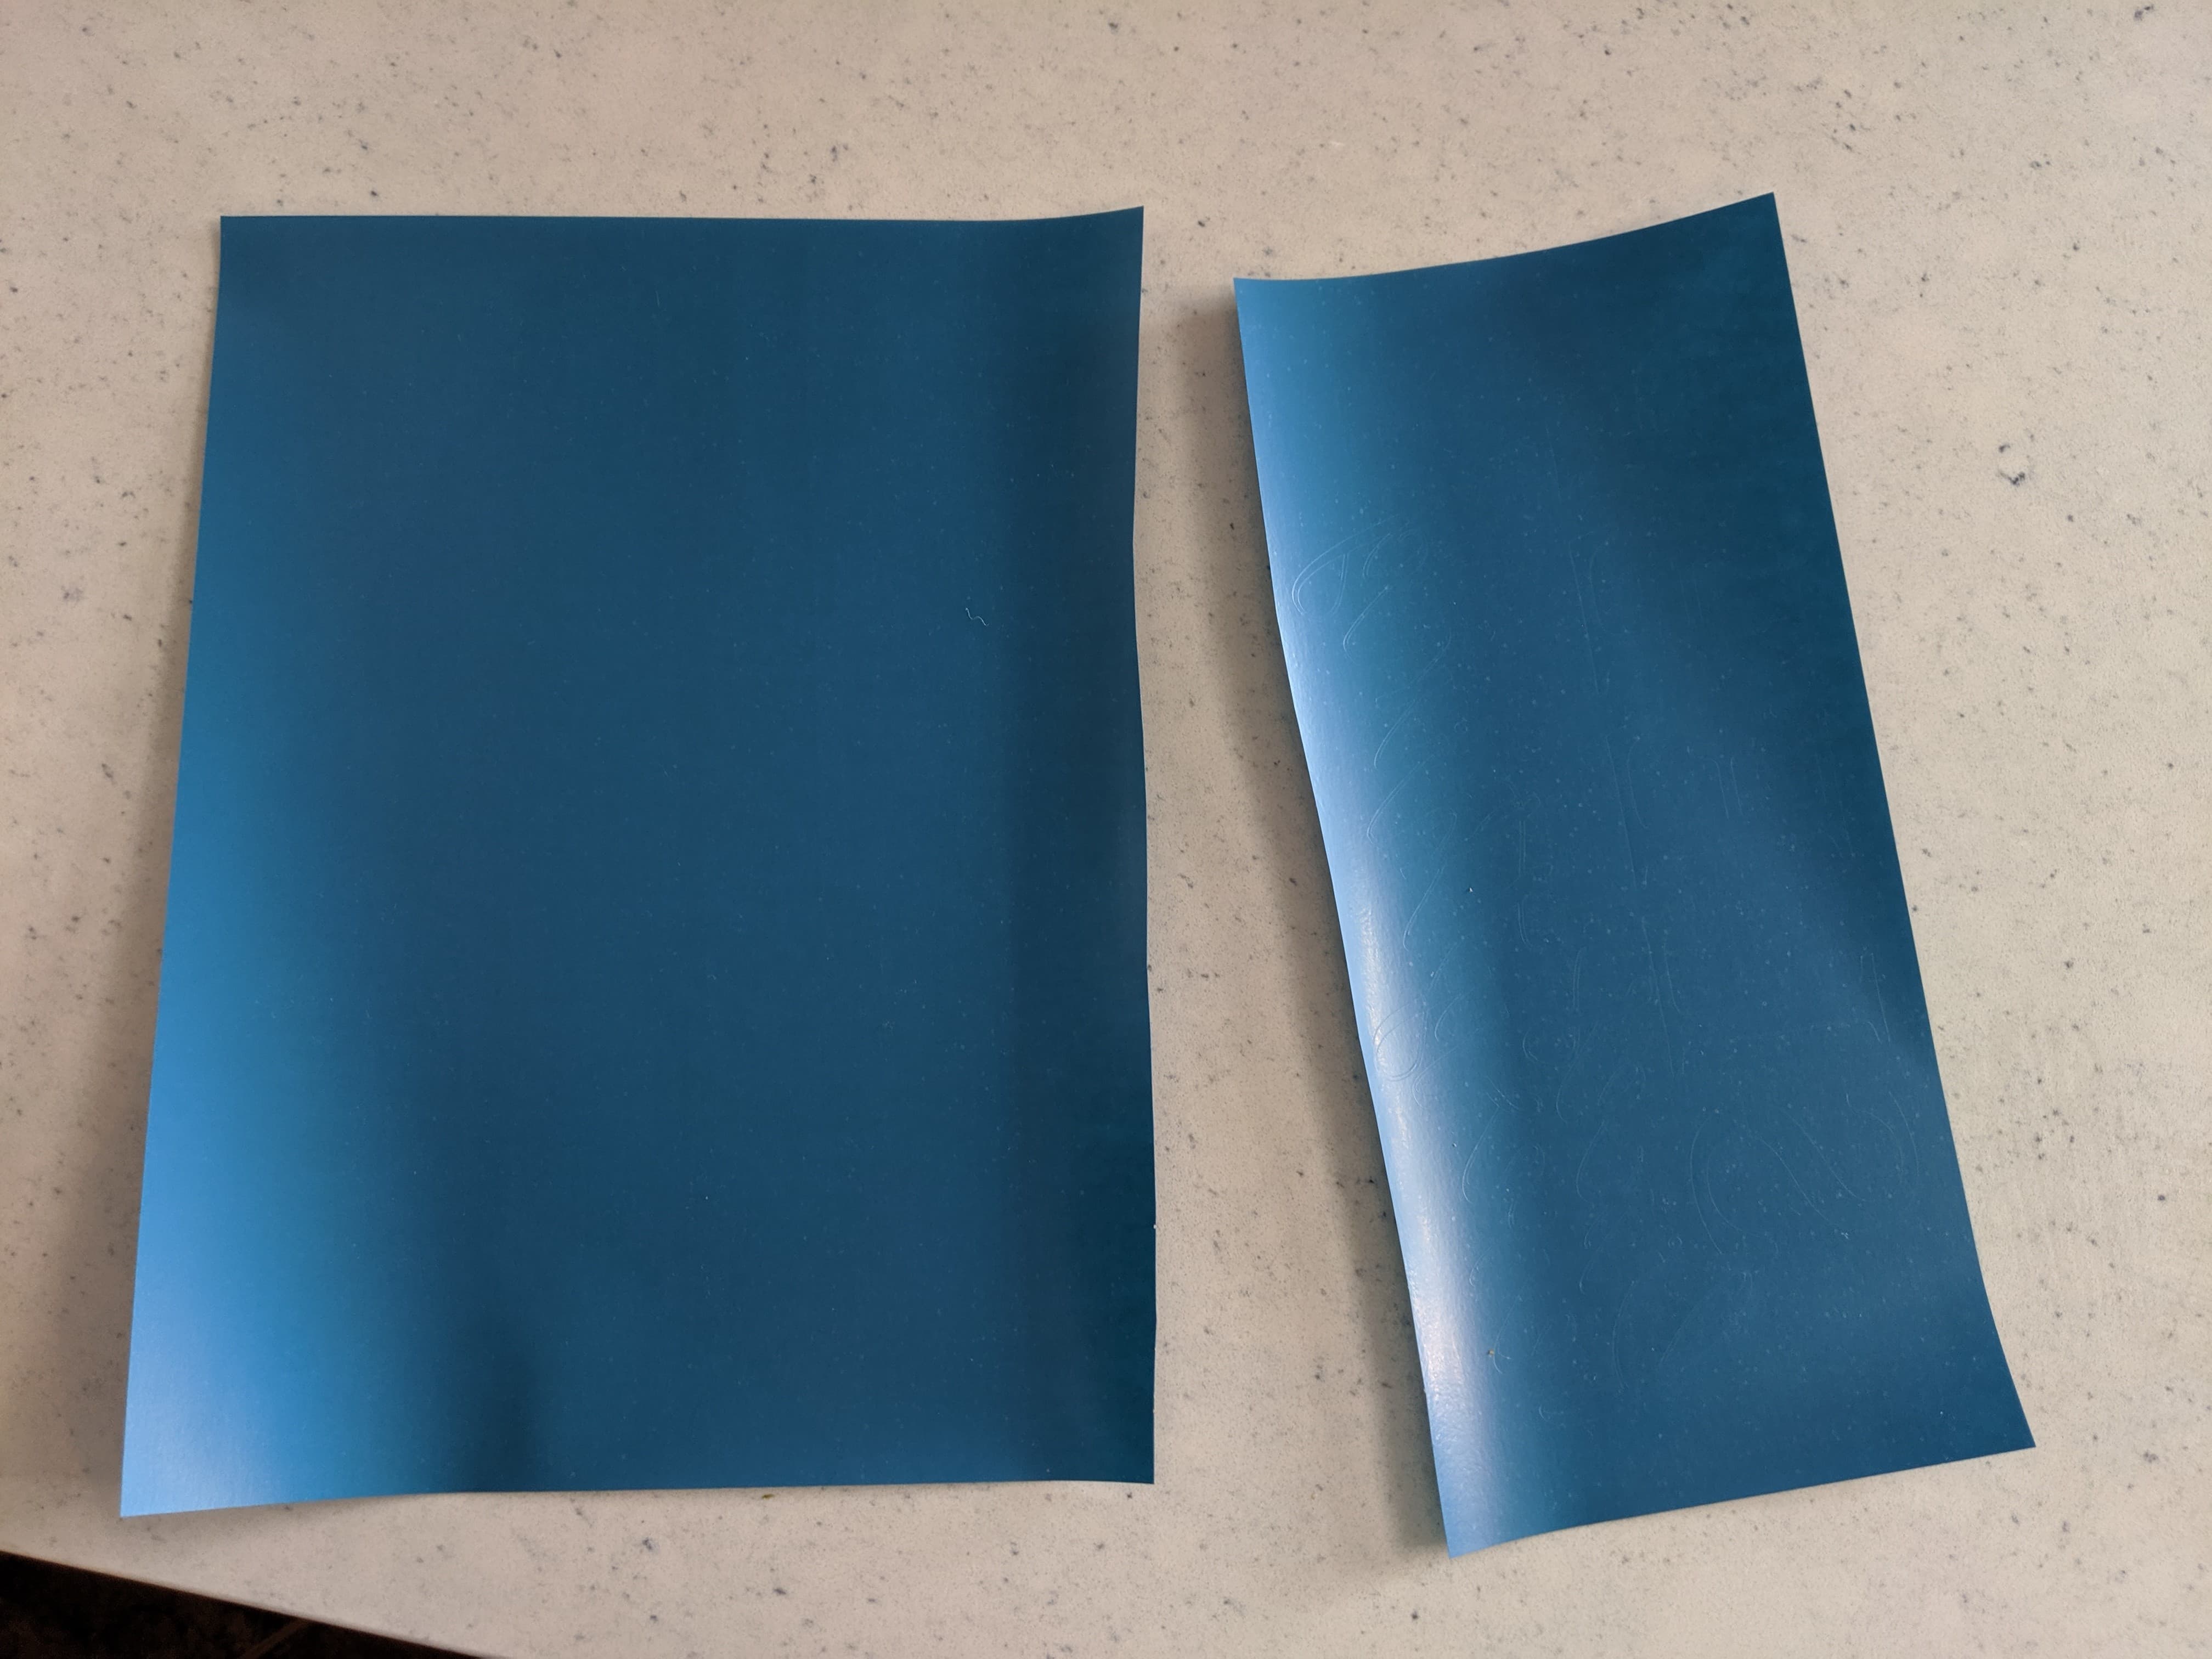
Now you’re all set, hit send and watch it cut! Once your design is cut, remove the HTV from the machine and cut as closely to it as possible to save the rest of the sheet.
Next you will need to weed your design. This means that you pick off the parts you don’t want. I use this pick I got in a Cameo set, but you can also use a straight needle. Once you have removed the large pieces, go in and remove the small ones, like the insides of “o’s” and “d’s”.

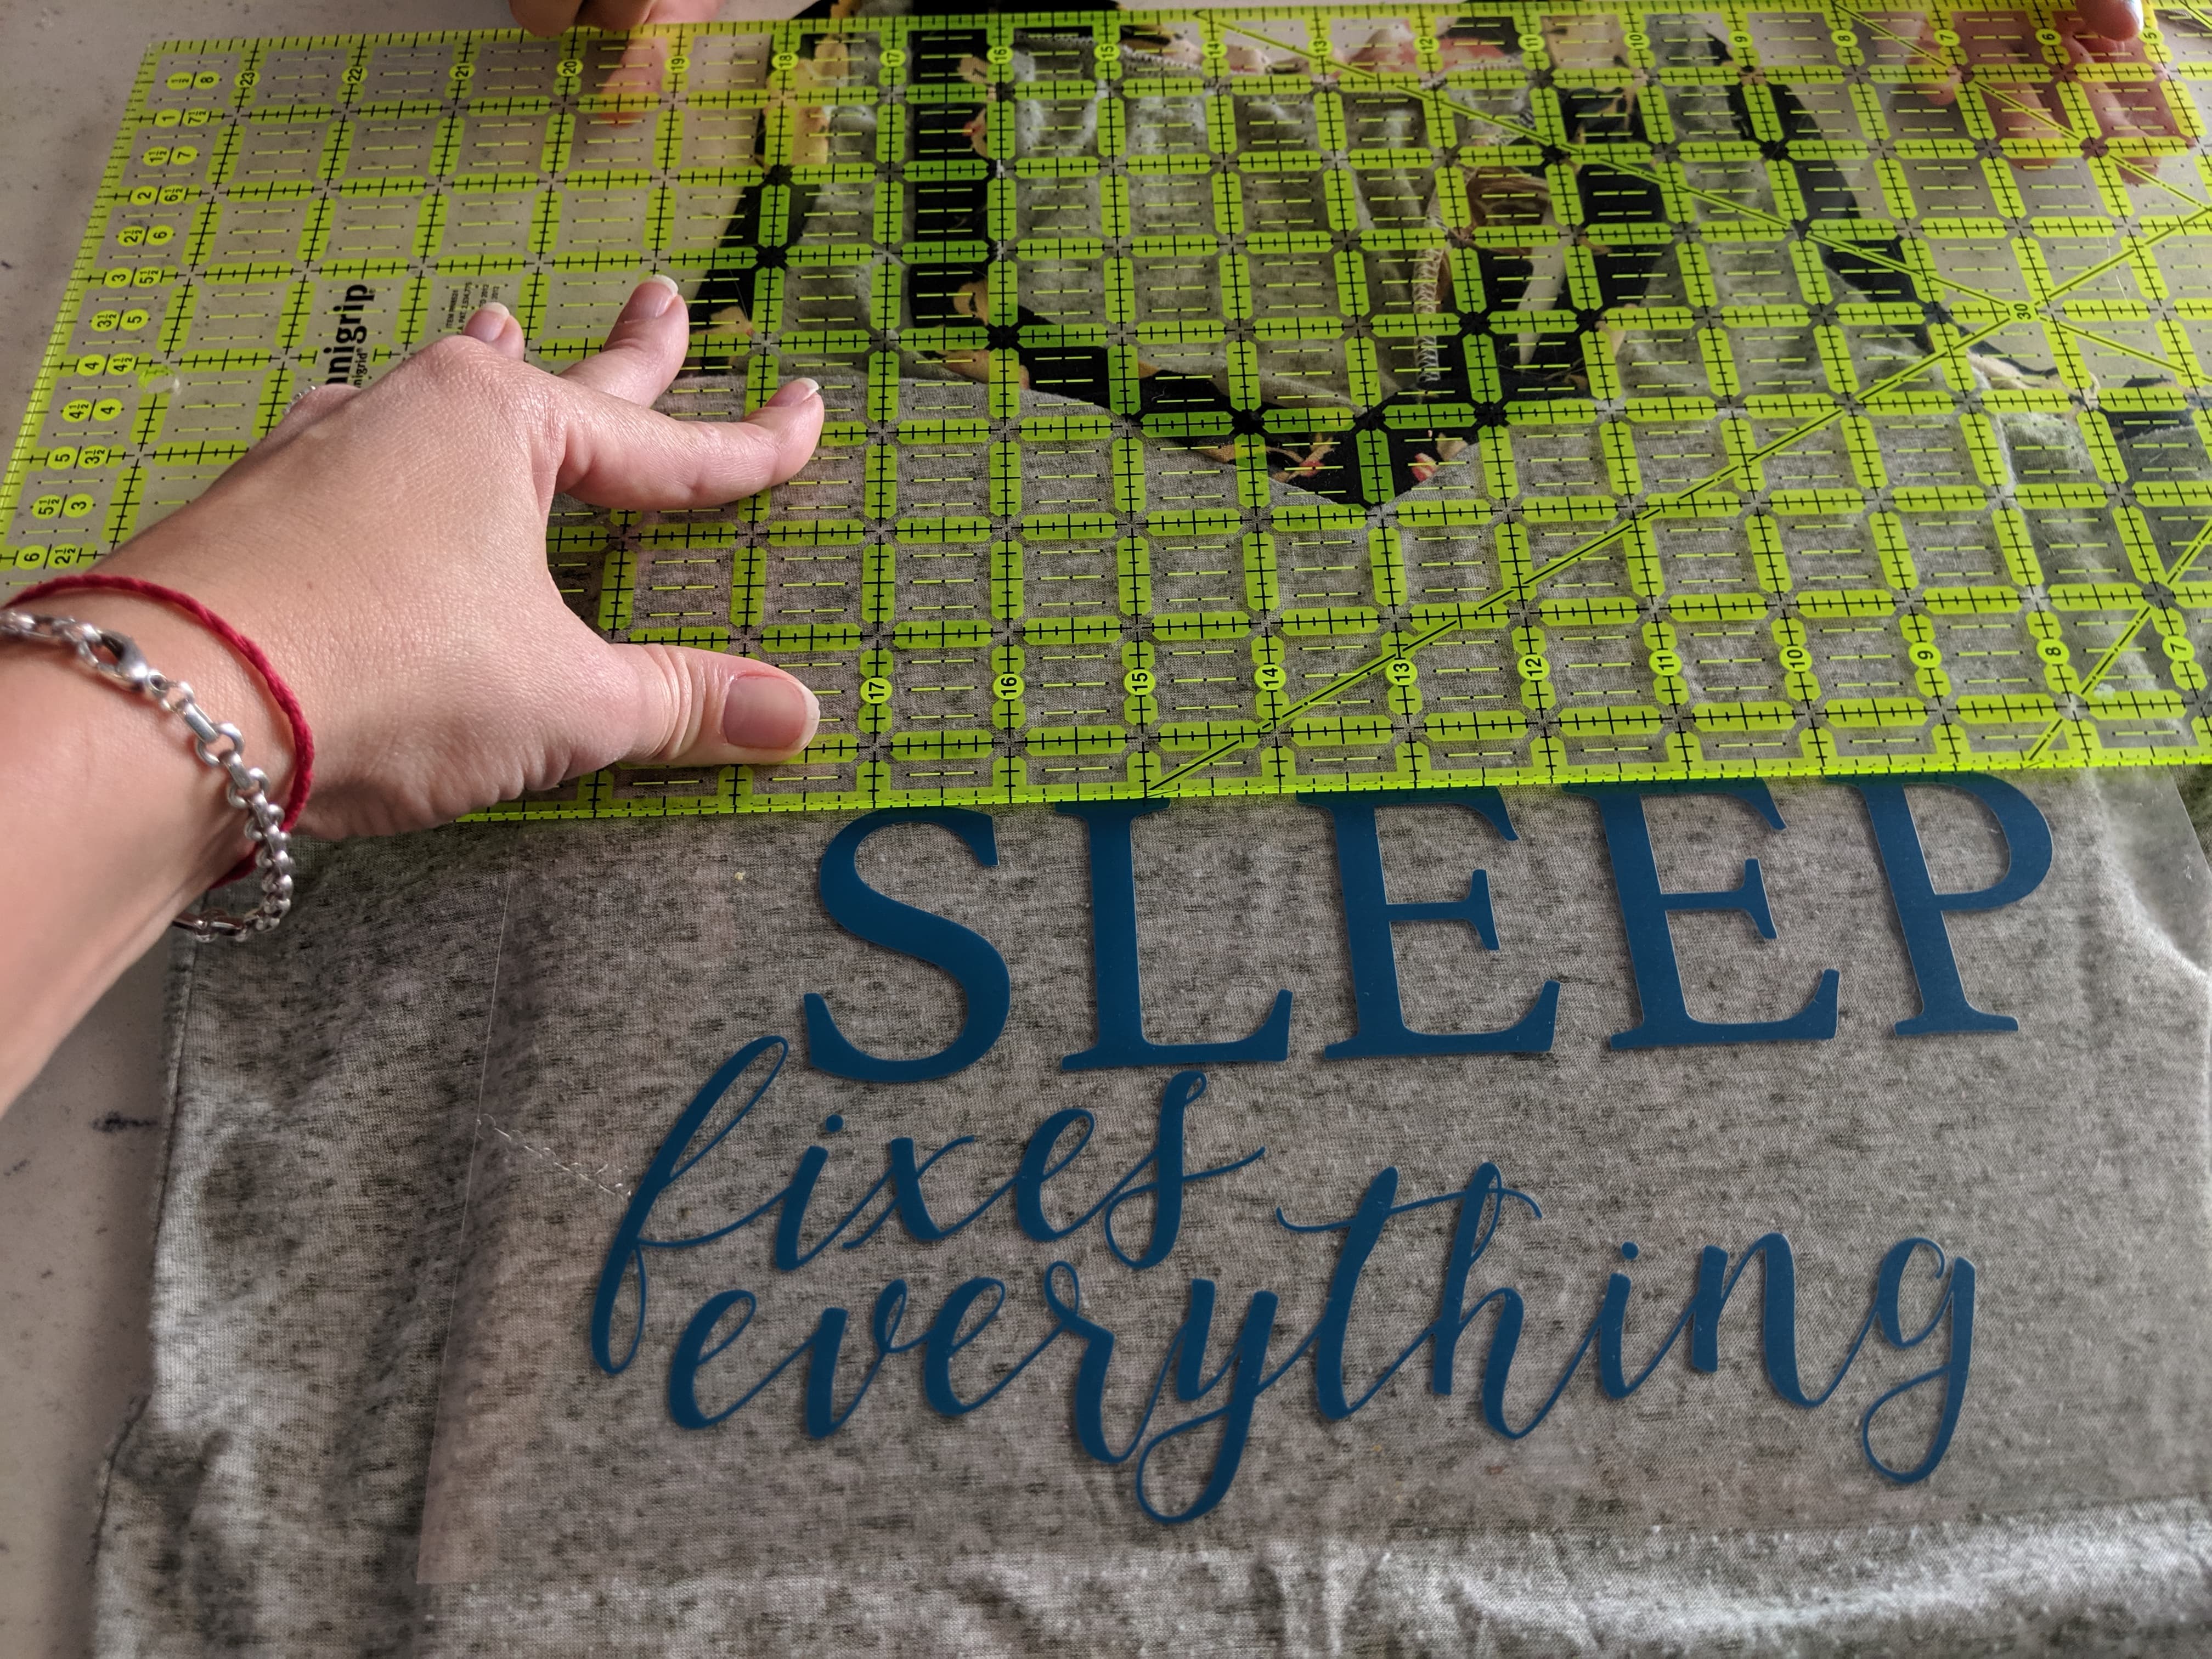
Once you have removed those, you are ready to place your design on your garment (or any other piece of fabric you choose).

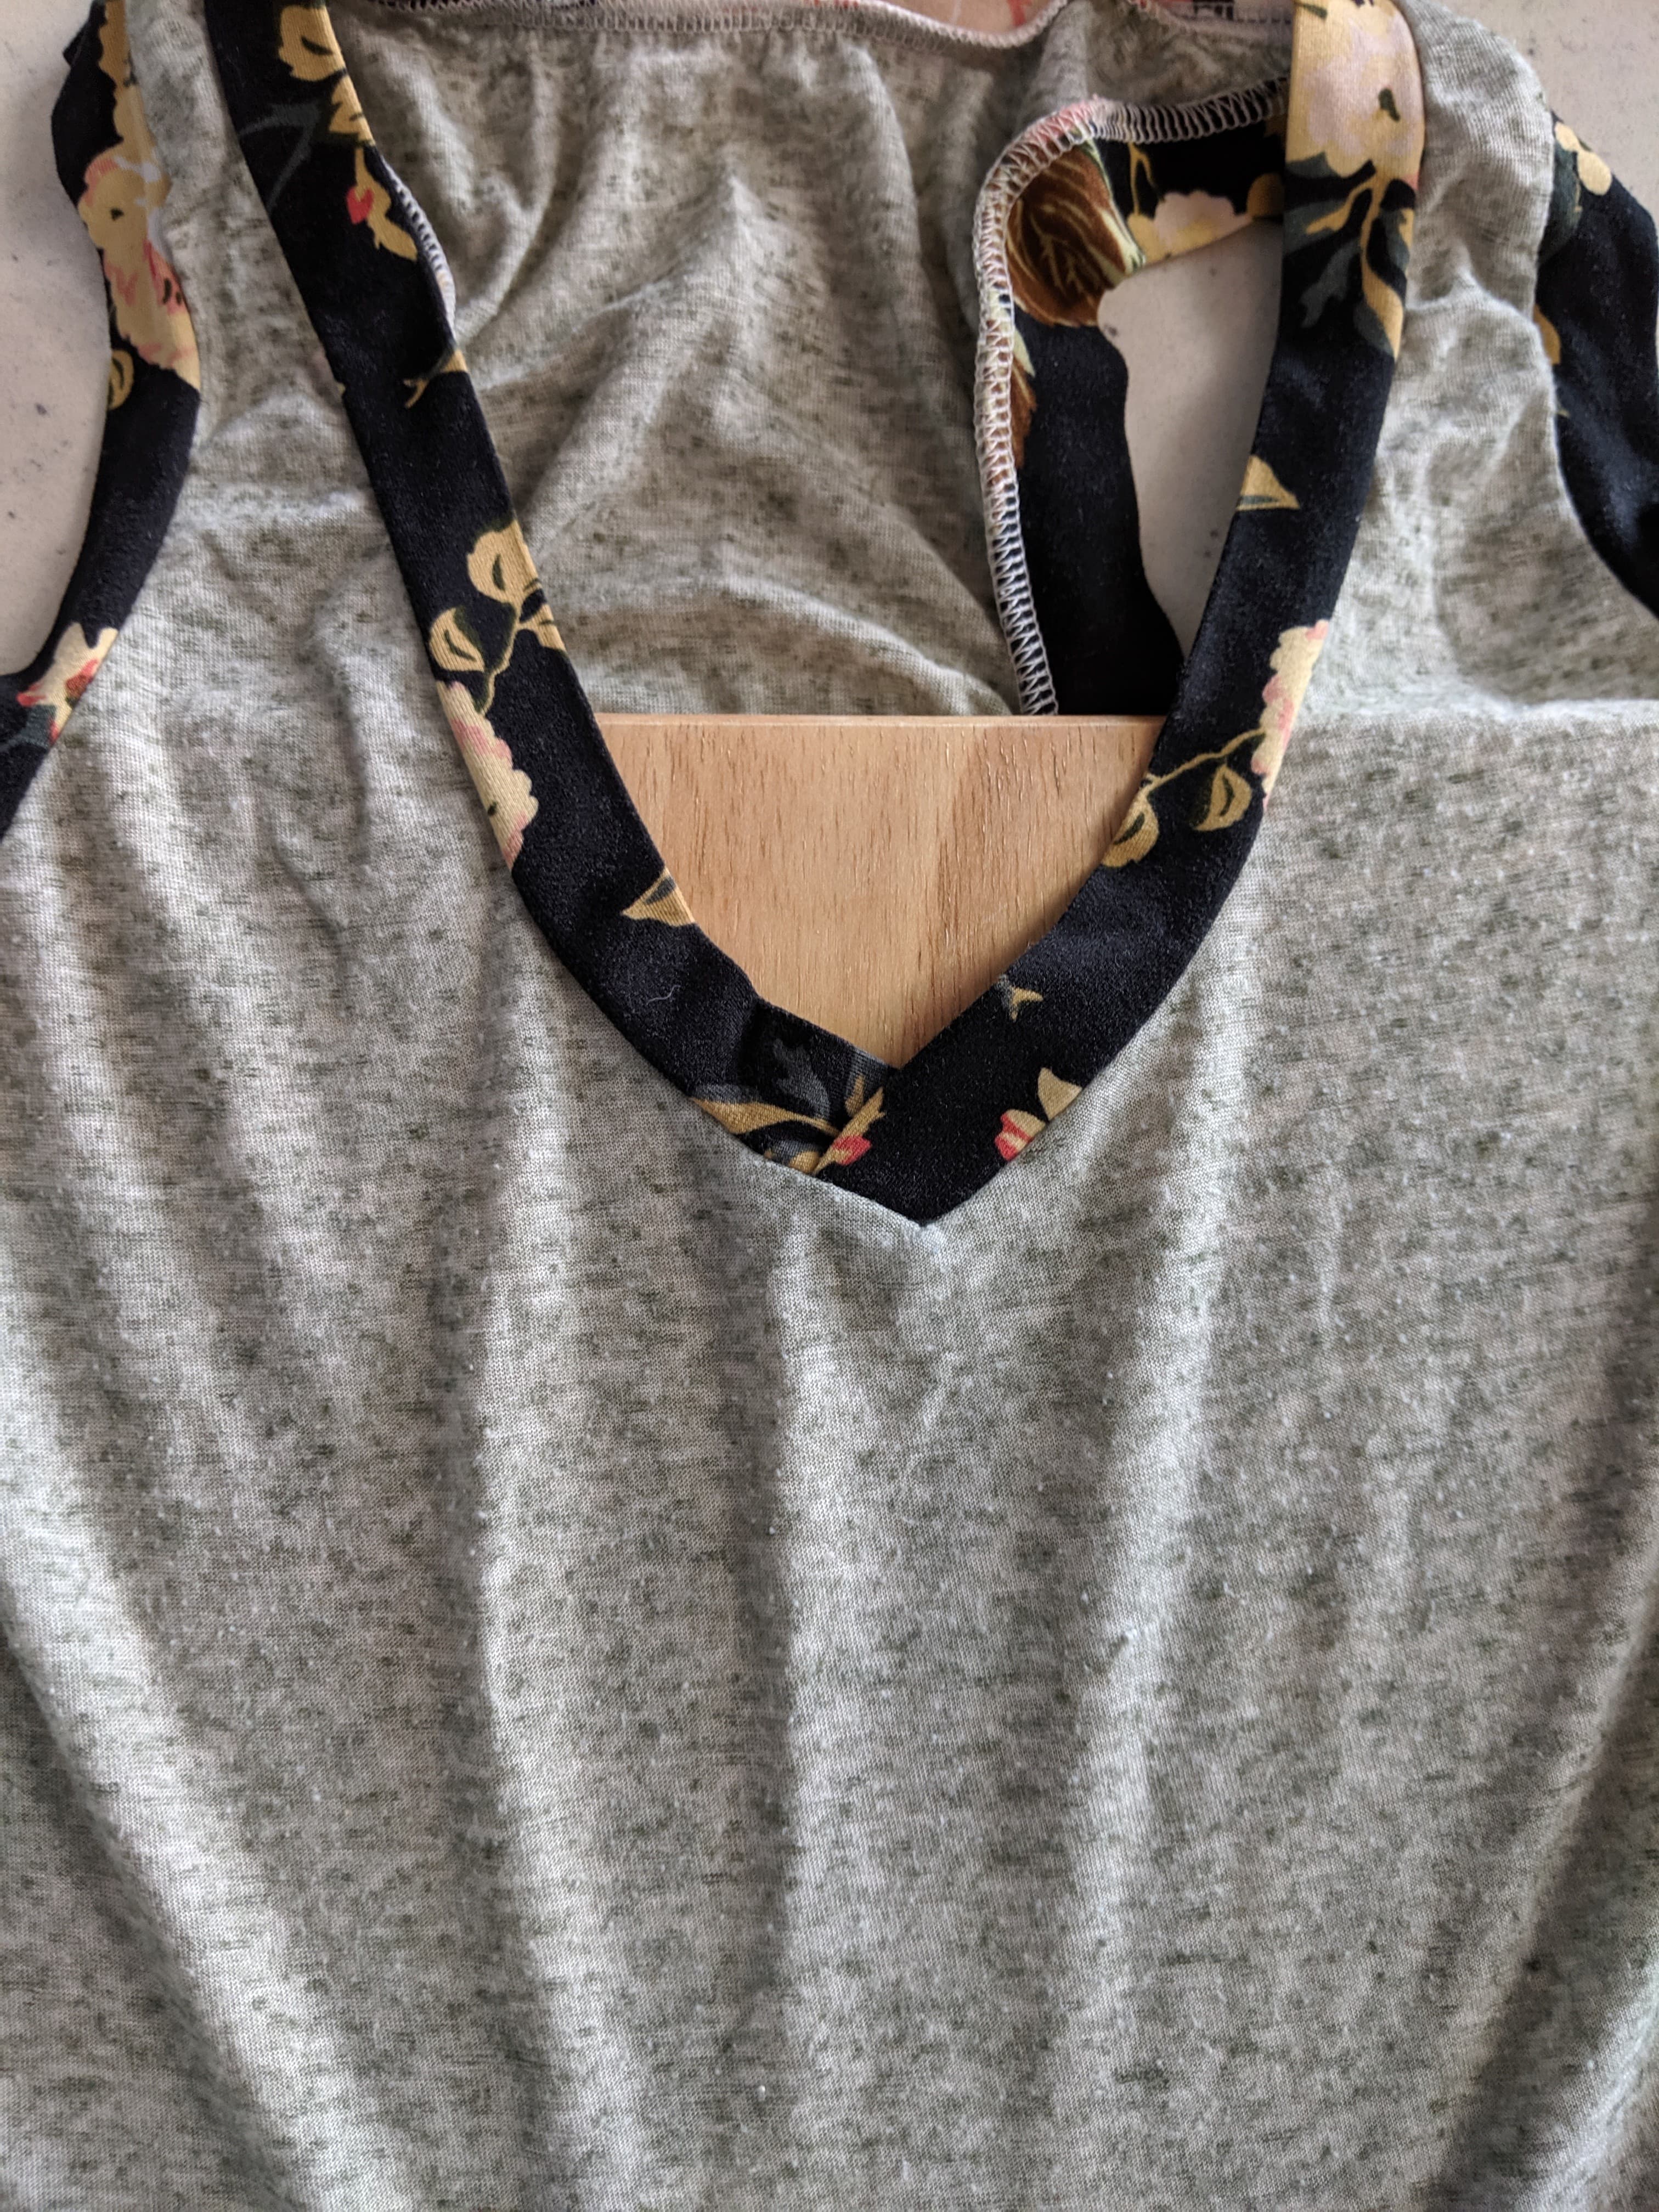
As sewists, we all know that pattern placement is everything. The same is true of HTV. You want to make sure that your design is in the correct place. There are lots of guides online that can help you with that. I have read that 3-3.5 inches below the point of the Vneck is the correct place. When I tested that it looked too low for me, so I went with 2.5 inches.
You want to make sure you place something between the two layers of your garment. You can use a metal sheet, a cookie sheet, or any other hard surface that will not be impacted by the heat. I have a large wooden cutting board that I like to use.
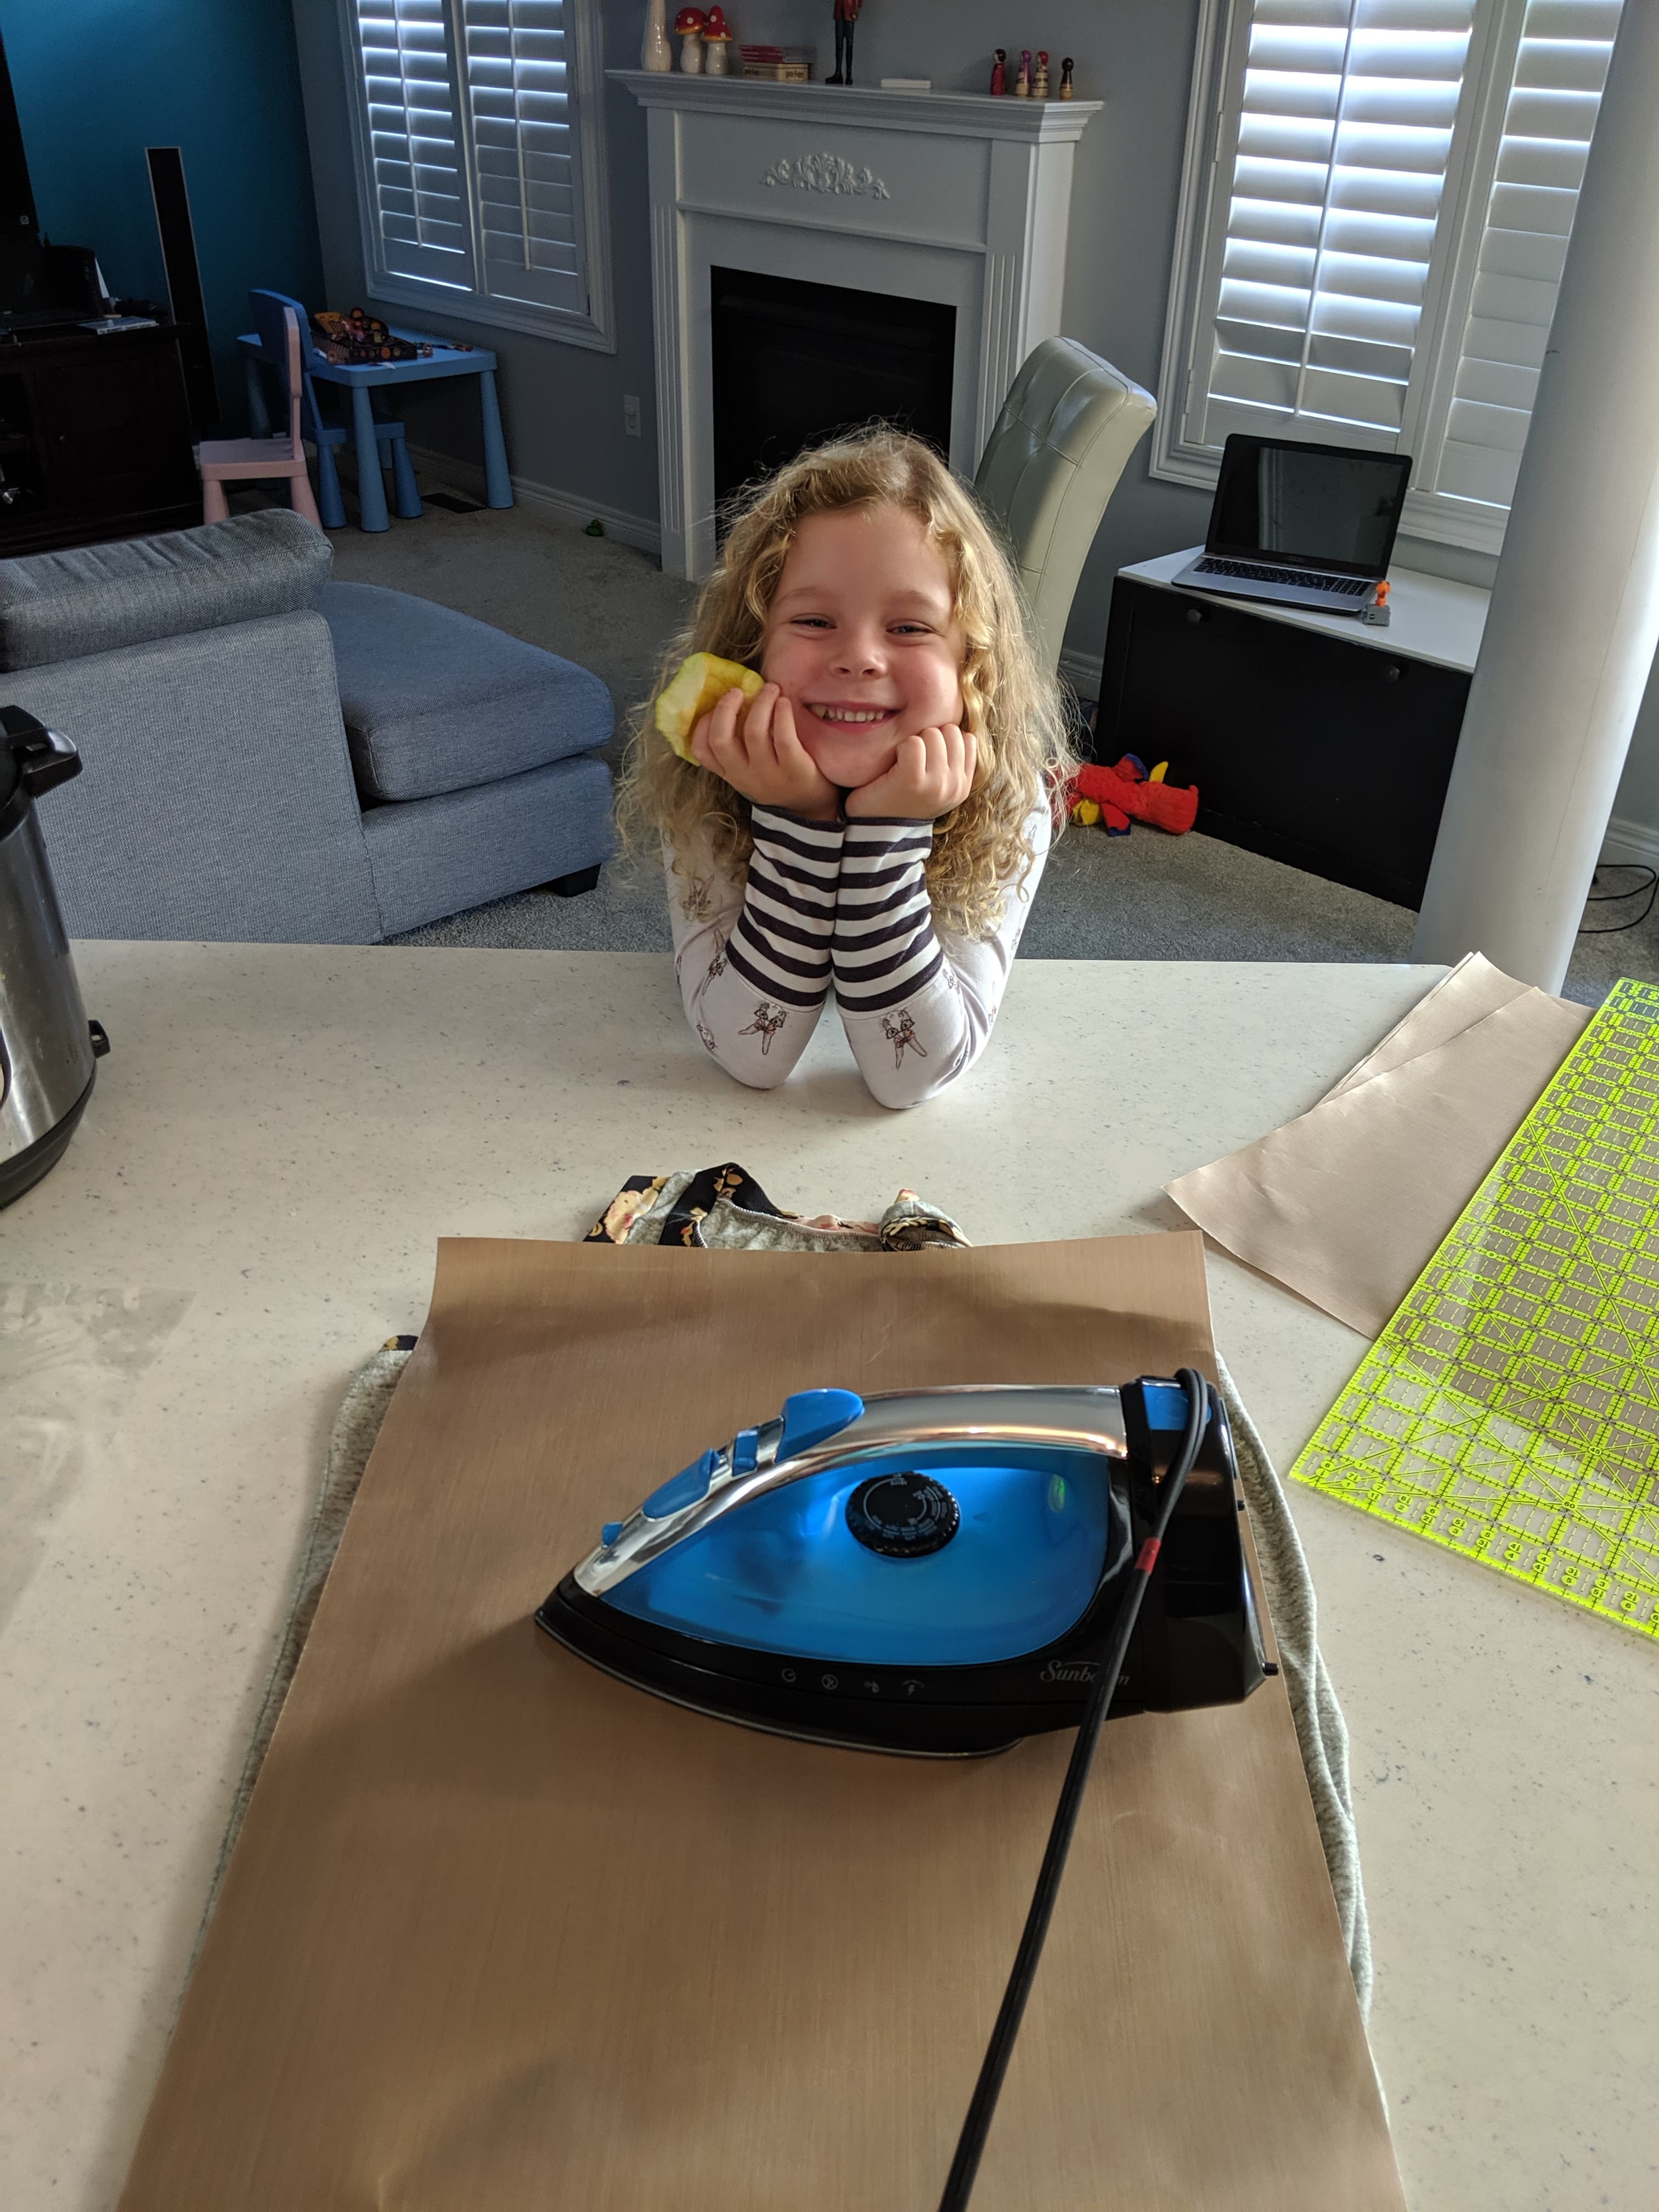
Also, make sure that you are set up on a hard surface. You will need to put A LOT of pressure on your iron, so being on a carpet or ironing board isn’t the best because it’s too soft. I use my kitchen counter and climb up on a stool to give me more leverage. If you are using a store bought shirt, do not prewash because the chemicals in the detergent can impact the sticking ability. I am using a nightgown that I’ve had for a while, it’s definitely been washed many times in natural detergent.
Before applying your design, iron your garment. This heats it up a little bit to help the vinyl stick and also gets rid of any wrinkles so that your HTV is applied smoothly.

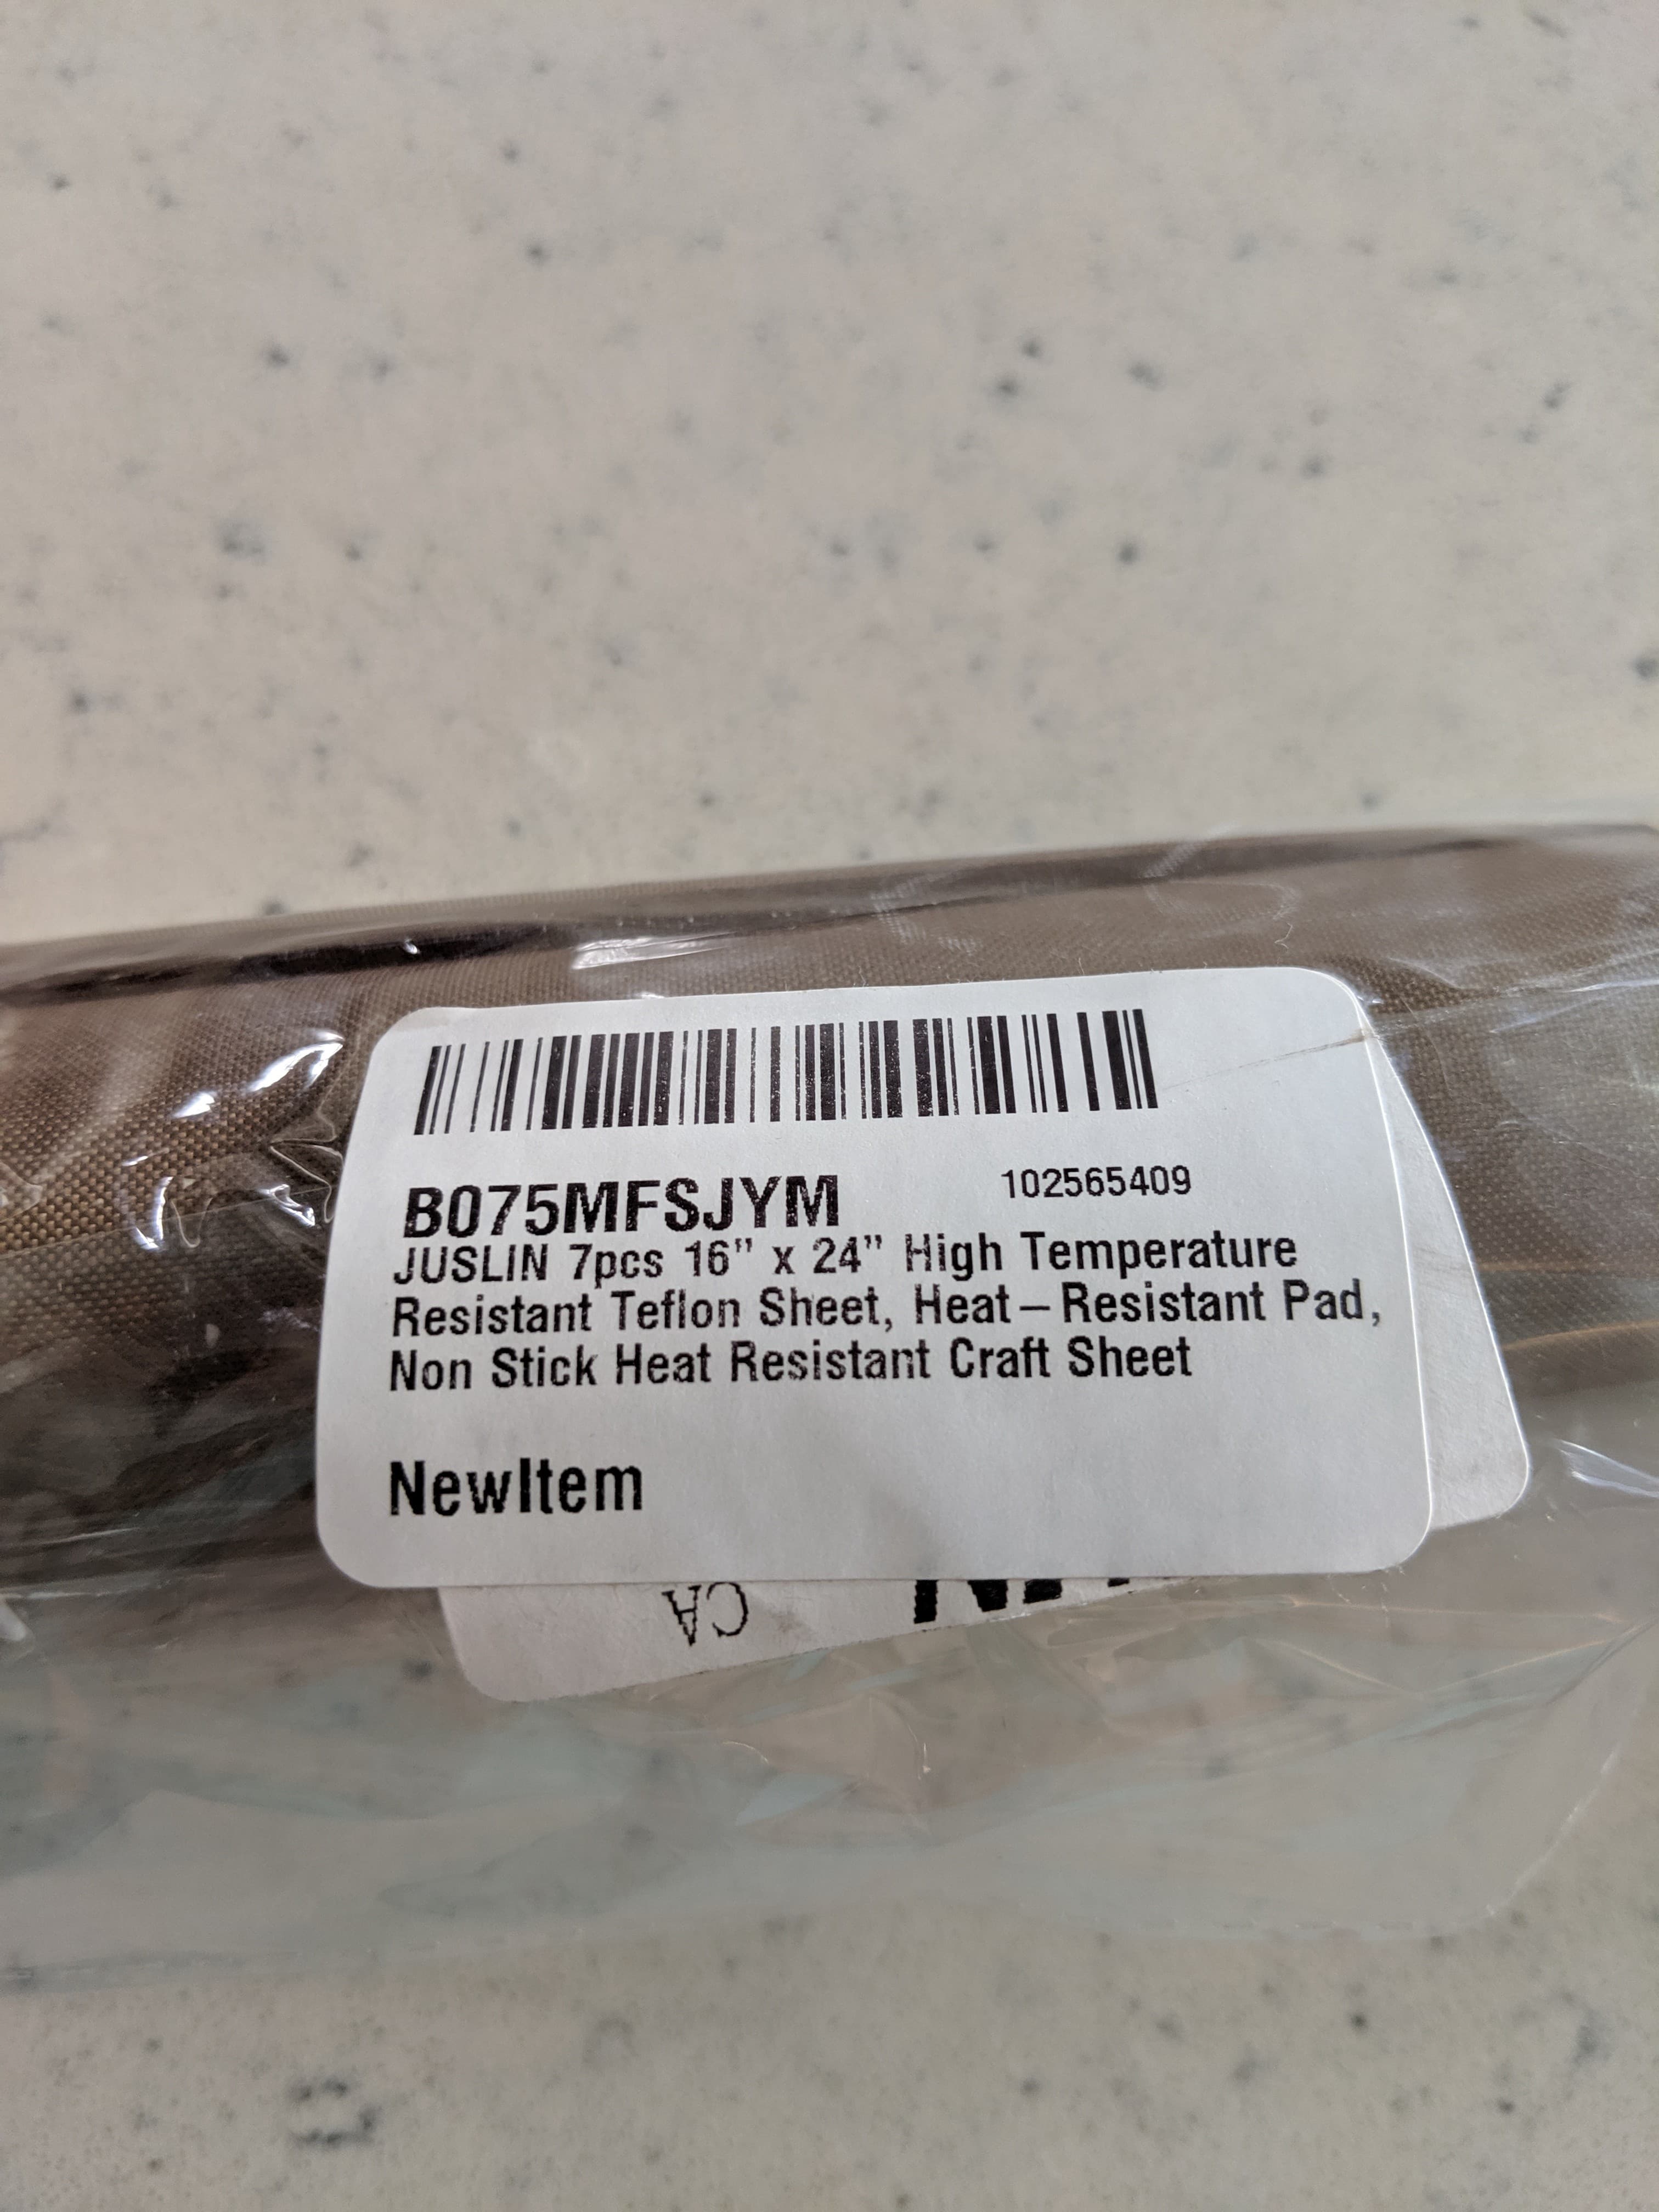
Once you are ready, place your design on the garment, set your iron to cotton, and grab something to press on. You can use a few different things to press, a scrap of cotton fabric or parchment paper will work well. Just make sure not to use anything that is sticky or prone to melting. I purchased these Teflon sheets from Amazon and they work really well. They transfer the heat and I have found them better than other things I have used.
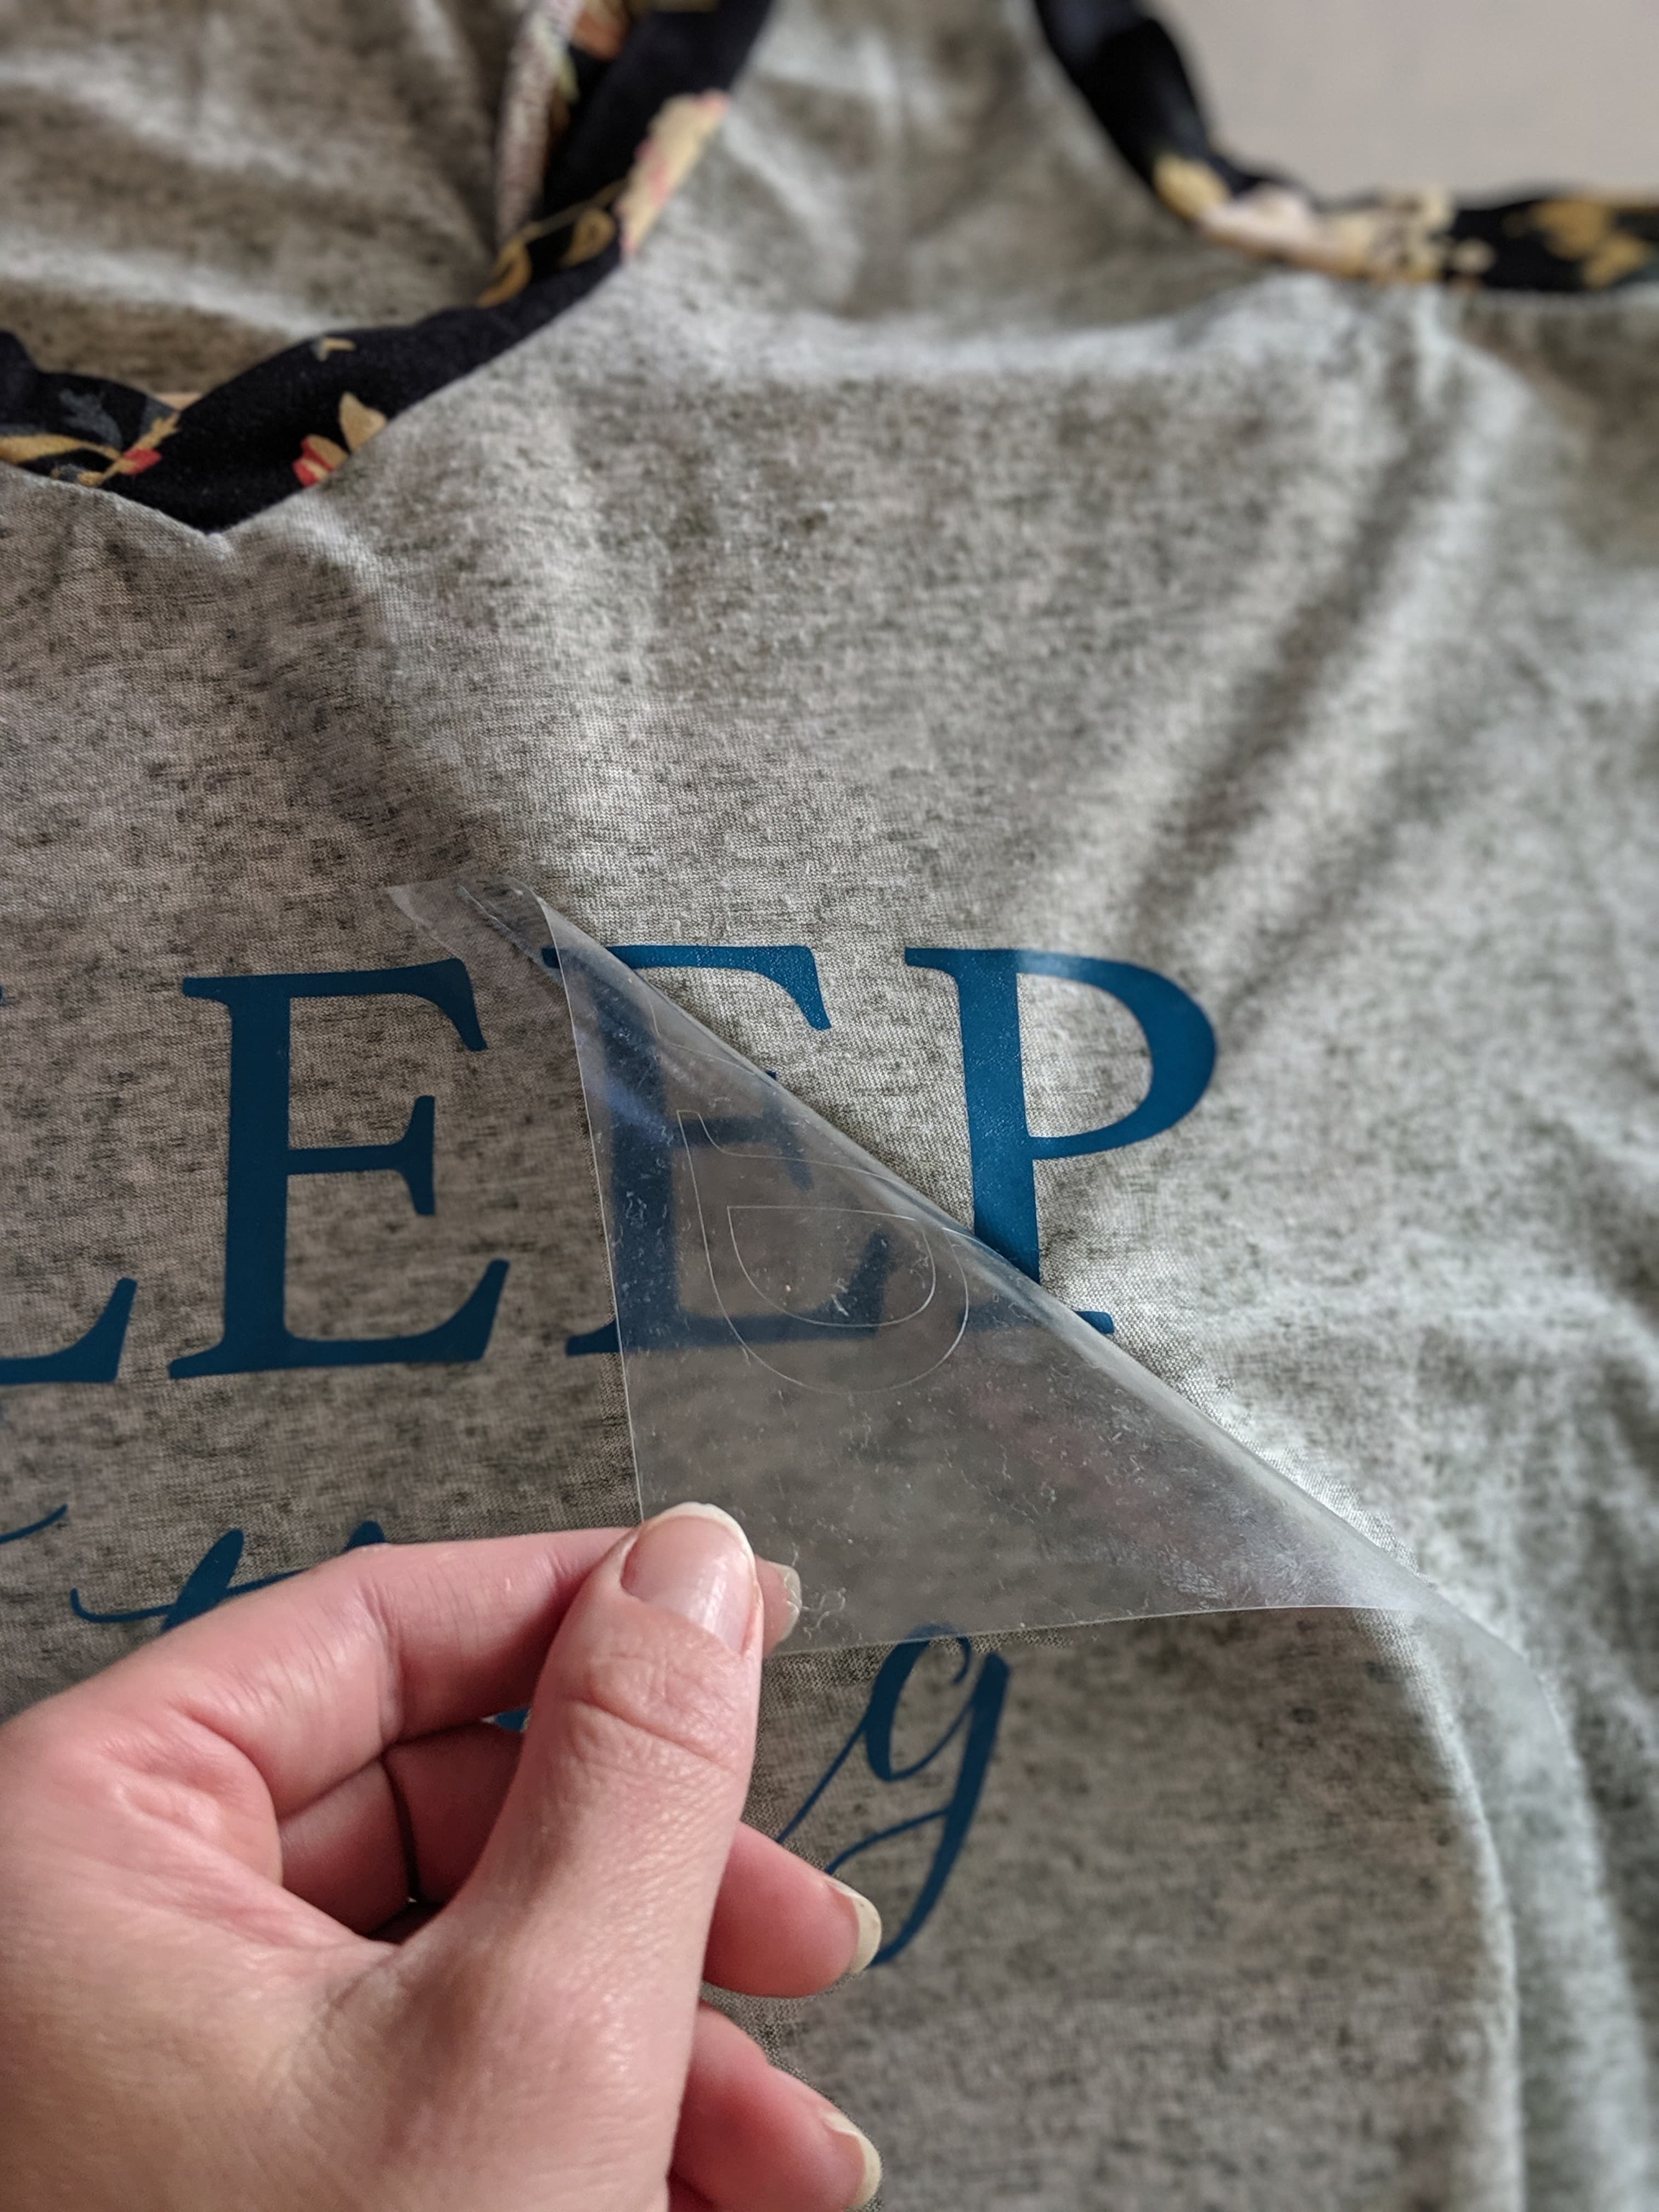
When you are pressing, put lots of pressure on your iron. Make sure to keep the iron in the same place for about 15 seconds and work in sections. This is a press and hold, not ironing motion. You need to get the vinyl to melt into the fabric. Once you have gone over the entire design you can remove the sticky clear plastic backing. Make sure to follow instructions on your vinyl. Some can be removed while still hot, while others need to cool. Peel slowly and carefully to ensure your vinyl doesn’t lift.
Once you have removed your backing, put your press sheet back on the design and go over it again. This time you only have to stay for about 10 second on each area. If you had any lifting you can spend more time on those areas.
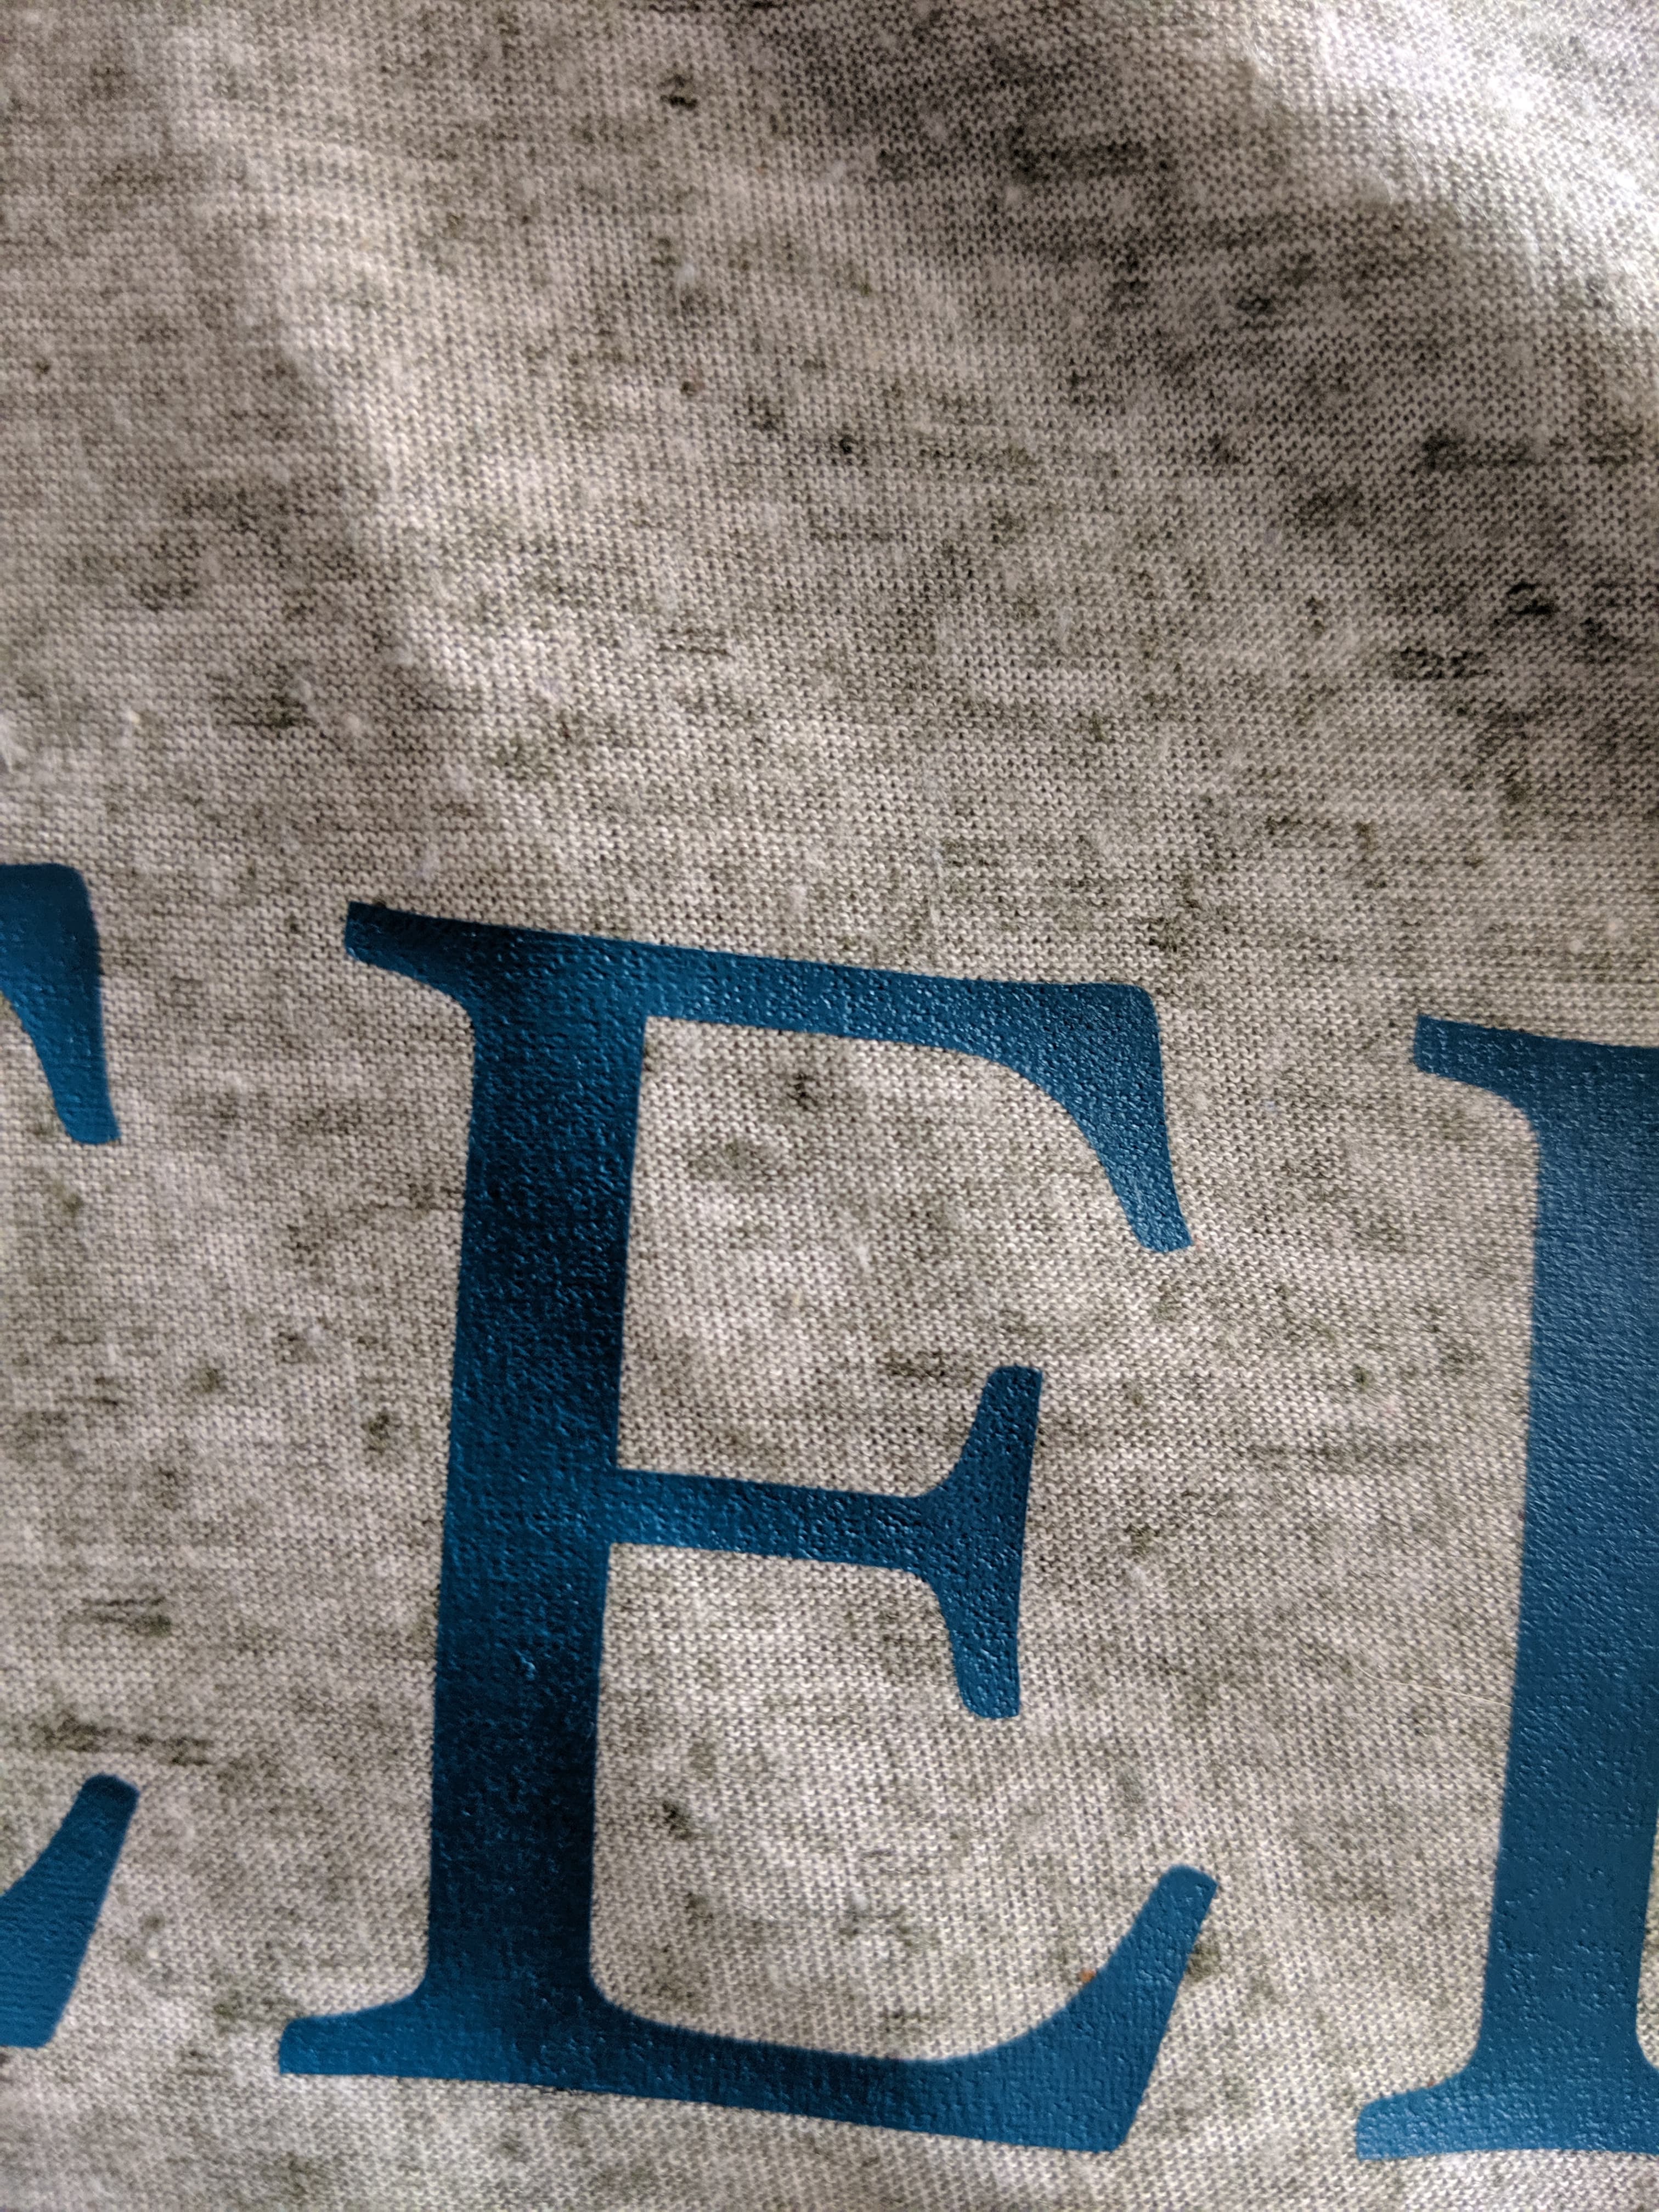
You’re all done! You can see a close up here of how the grain of the fabric is visible through the HTV. That’s how you know it has properly melted into the fabric.
You can wear your garment right away, but make sure to wait at least 24 hours before washing it. It is best to wash on cold, inside out and dry at your regular settings.
I hope this little tutorial was helpful and that you are ready to make all the HTV fun! Thanks for hanging out with me!

xoxo
Marta