I love being able to add a cute and easy detail to a garment, it just makes it even more special and unique! Today I’ll be showing y’all hoe to add a cute faux button placket to the front arm seam of the Summit Peak or Tami hoodie with the Tami double hood.
Note Before Getting Started
Before we get to the hack, you’ll want to completely construct the front bodice of your Summit Peak hoodie (if that’s the body pattern you’re using). If you’re using the Tami body no need to worry about that step.
Faux Placket Measurements
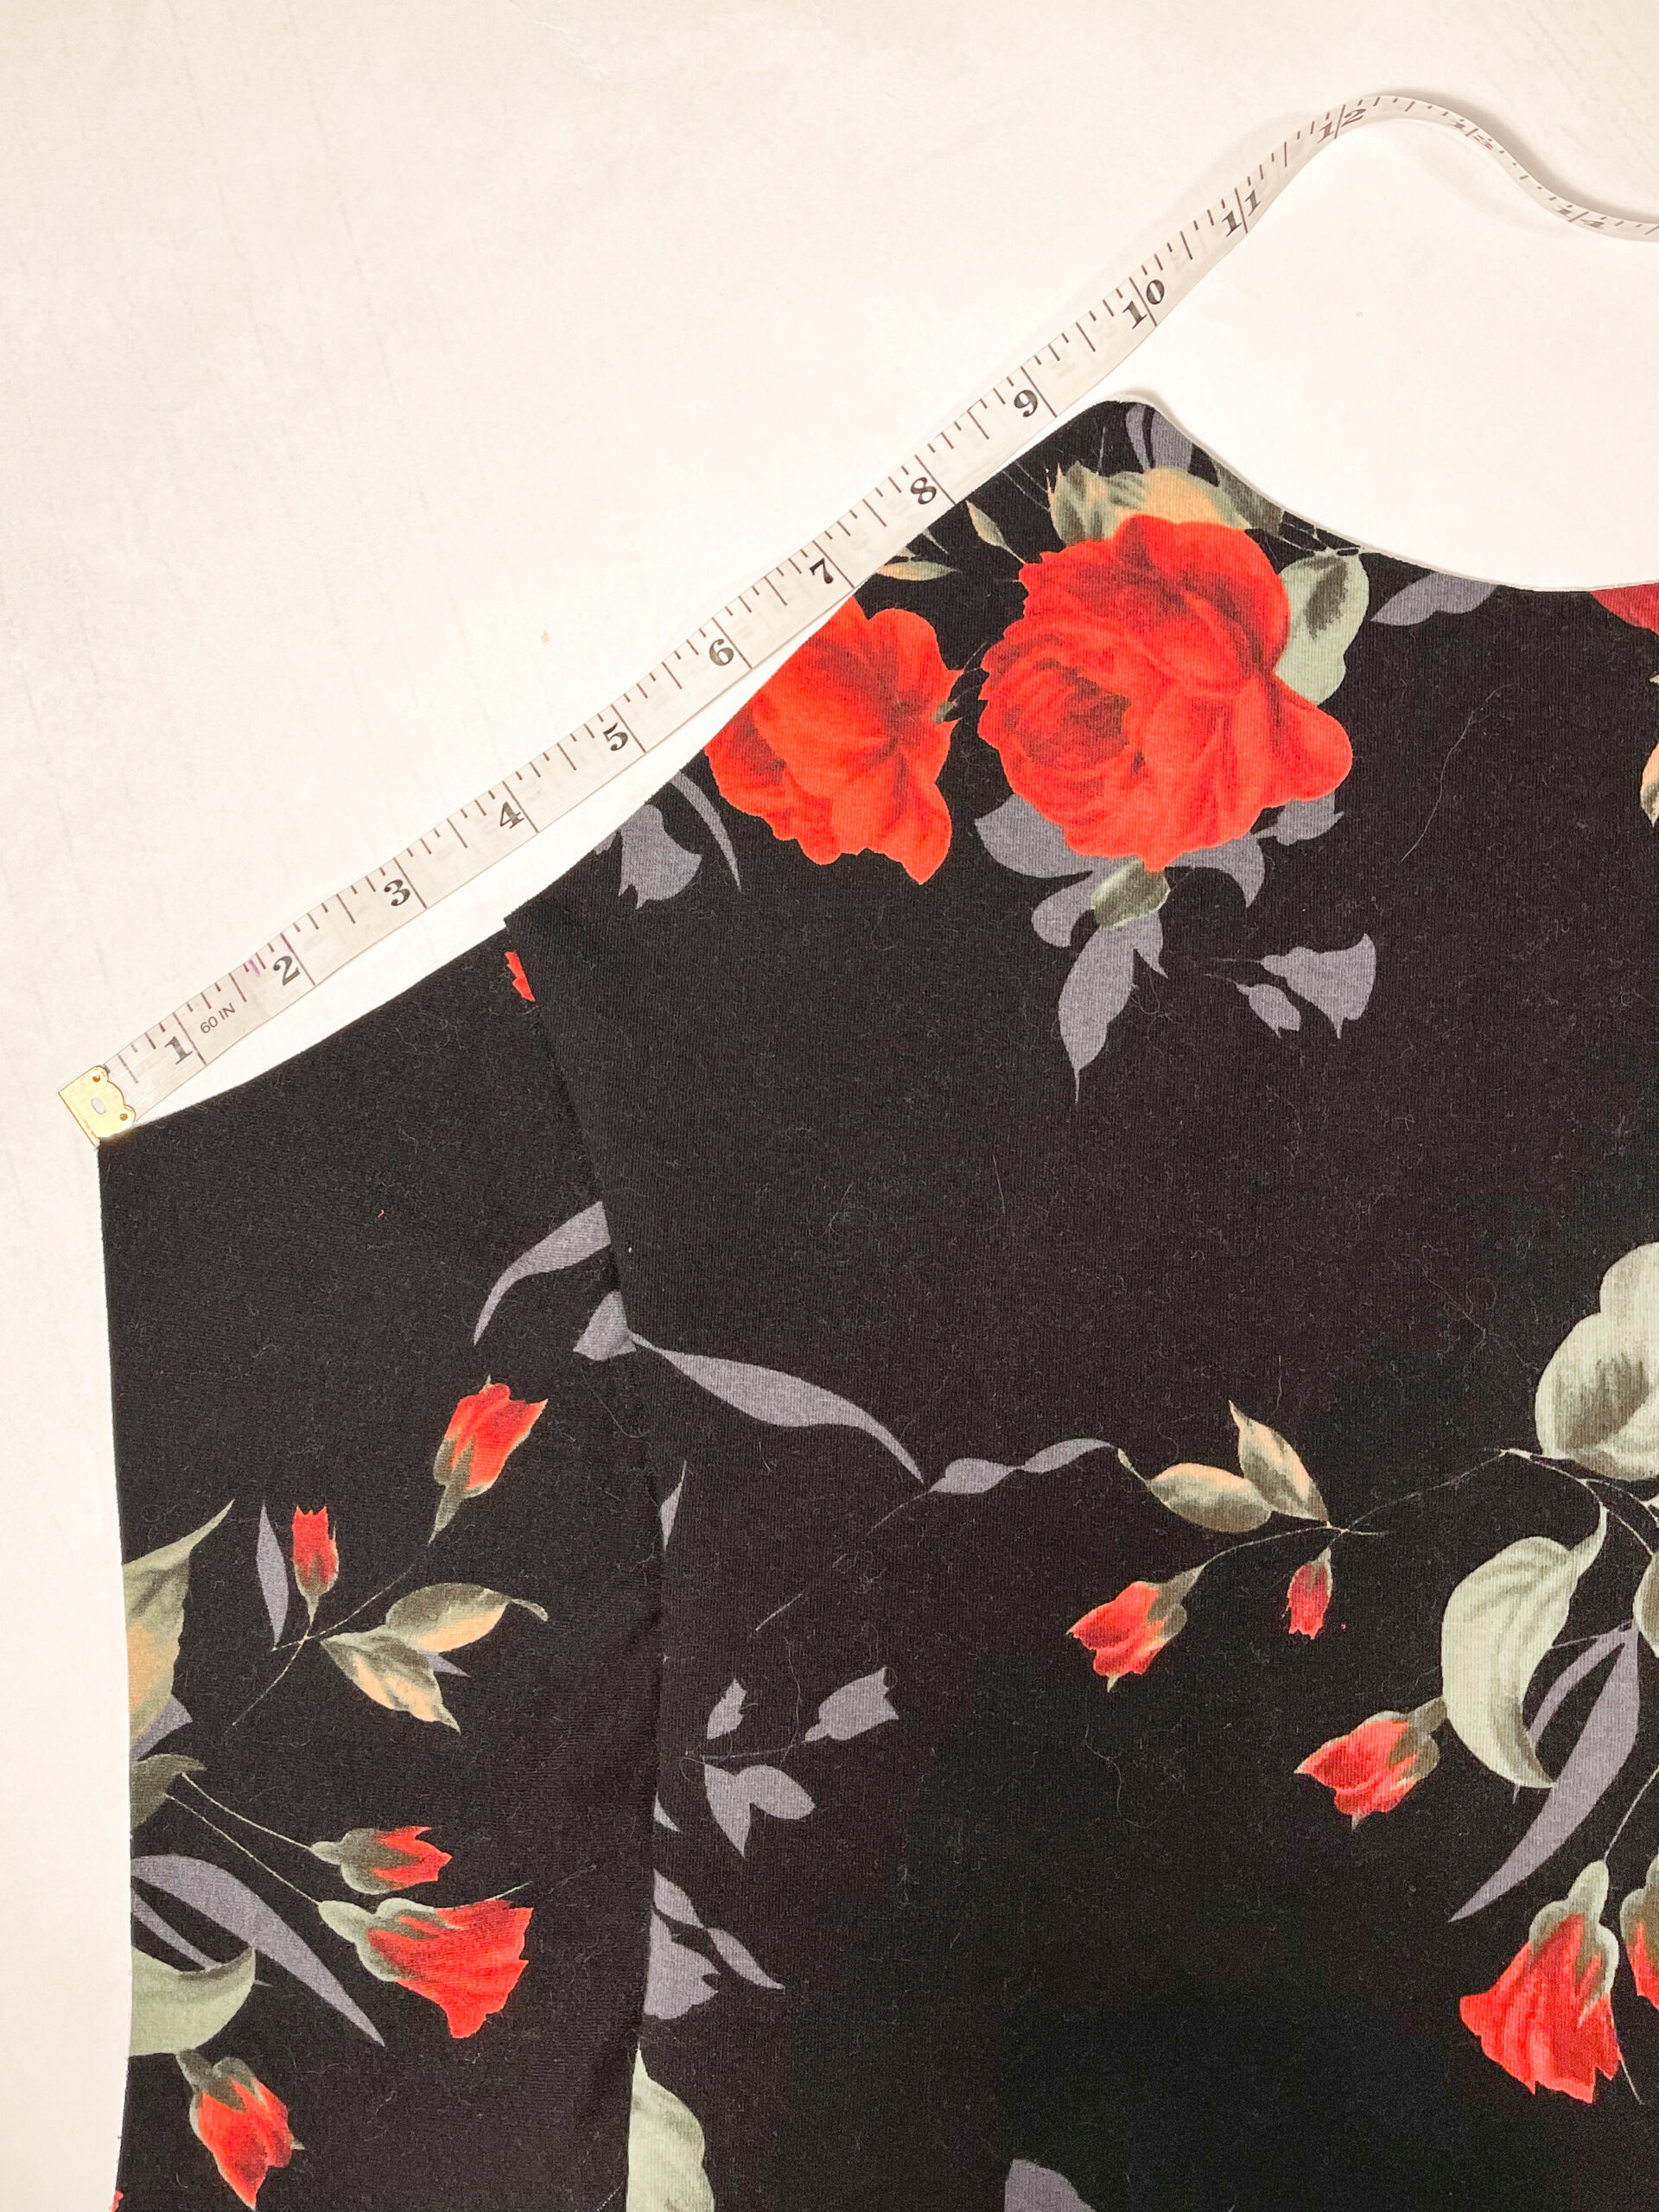
Use a measuring tape to get the length of the raw edge of the front bodice where the arm piece attaches. It doesn’t need to be exact as we’ll need the rectangle to be a bit smaller than this edge anyway.
Cut a rectangle out of the fabric of your choice that is the length of the measurement you just took. I made mine about 2 inches wide, but you can make it as wide or narrow as you’d like the faux placket to end up.
Sewing the Placket Piece

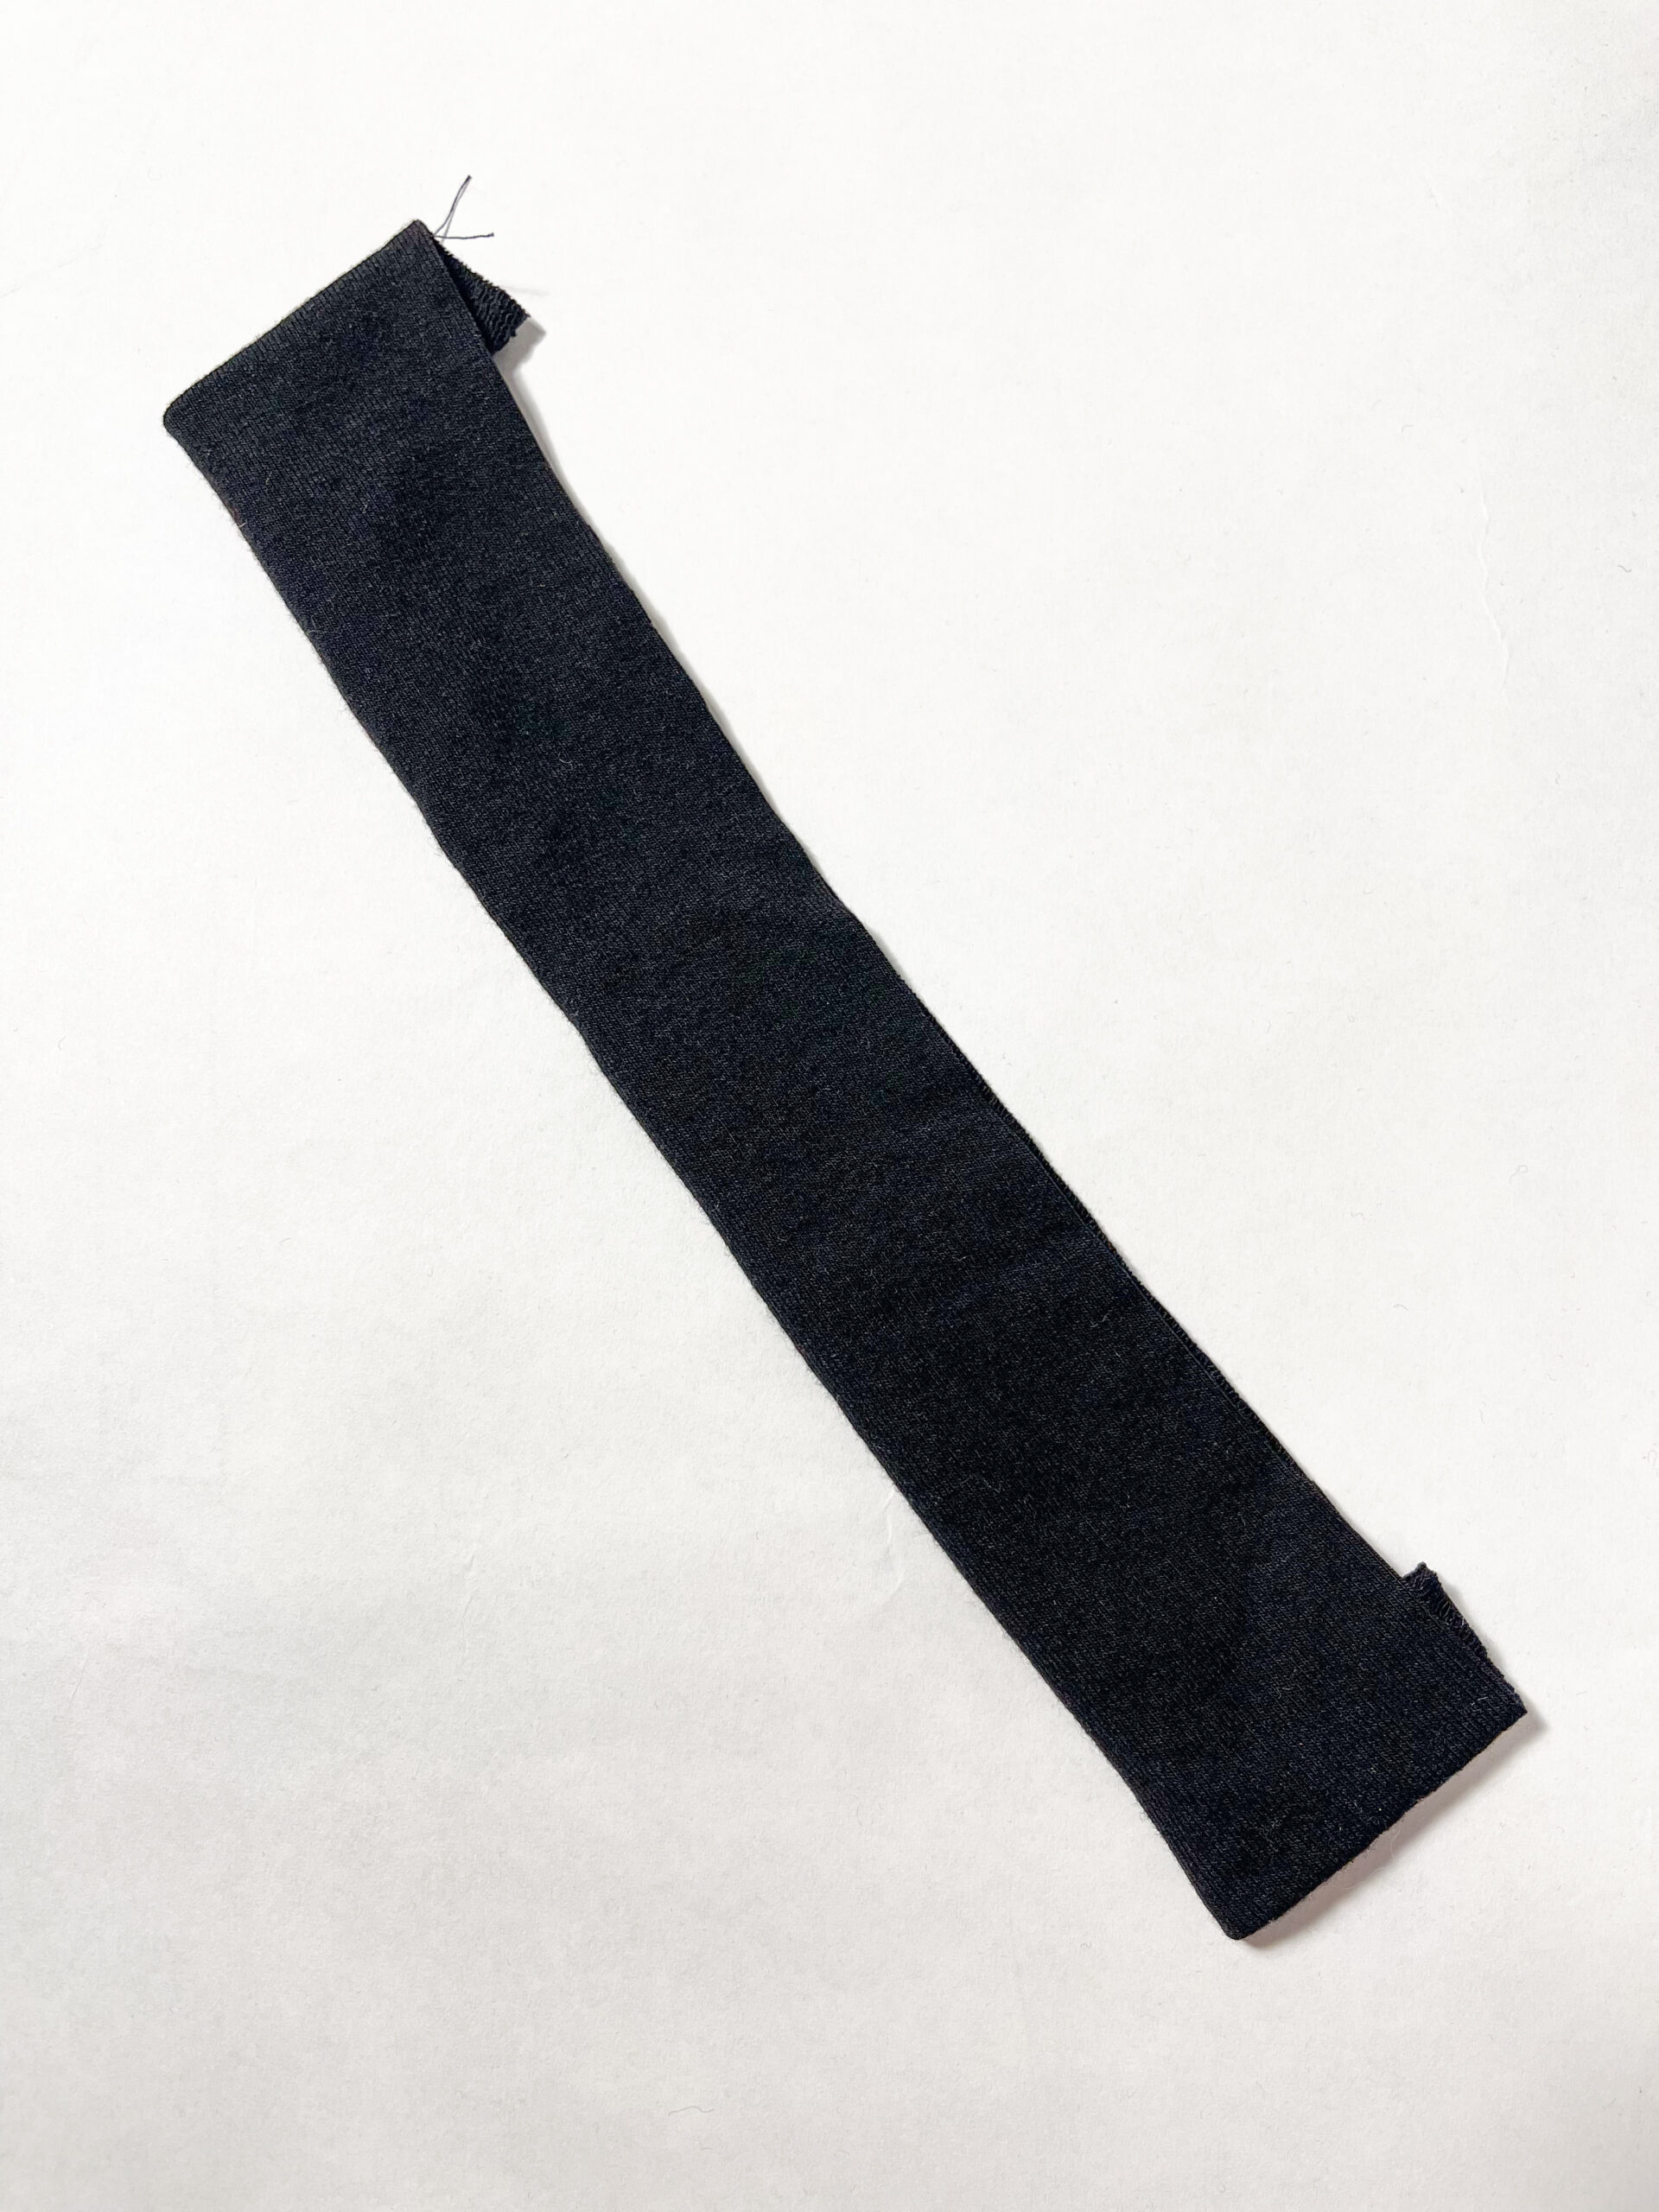
Fold the faux placket piece width-wise with right sides together, and pin or clip the short edges. We will be sewing the short raw edges together to create a finished look once the faux placket piece is turned right side out.
Complete the hood construction of the Tami double hood per tutorial instructions and pin the finished hood pieces inside each other so you can get a rough idea of how it will look upon completion.

Lay the pinned hood mock up onto the front bodice piece of your hoodie, both right sides up. Note which side of the bodice the hood opening is adjacent to, this will be the side where we place our faux placket.

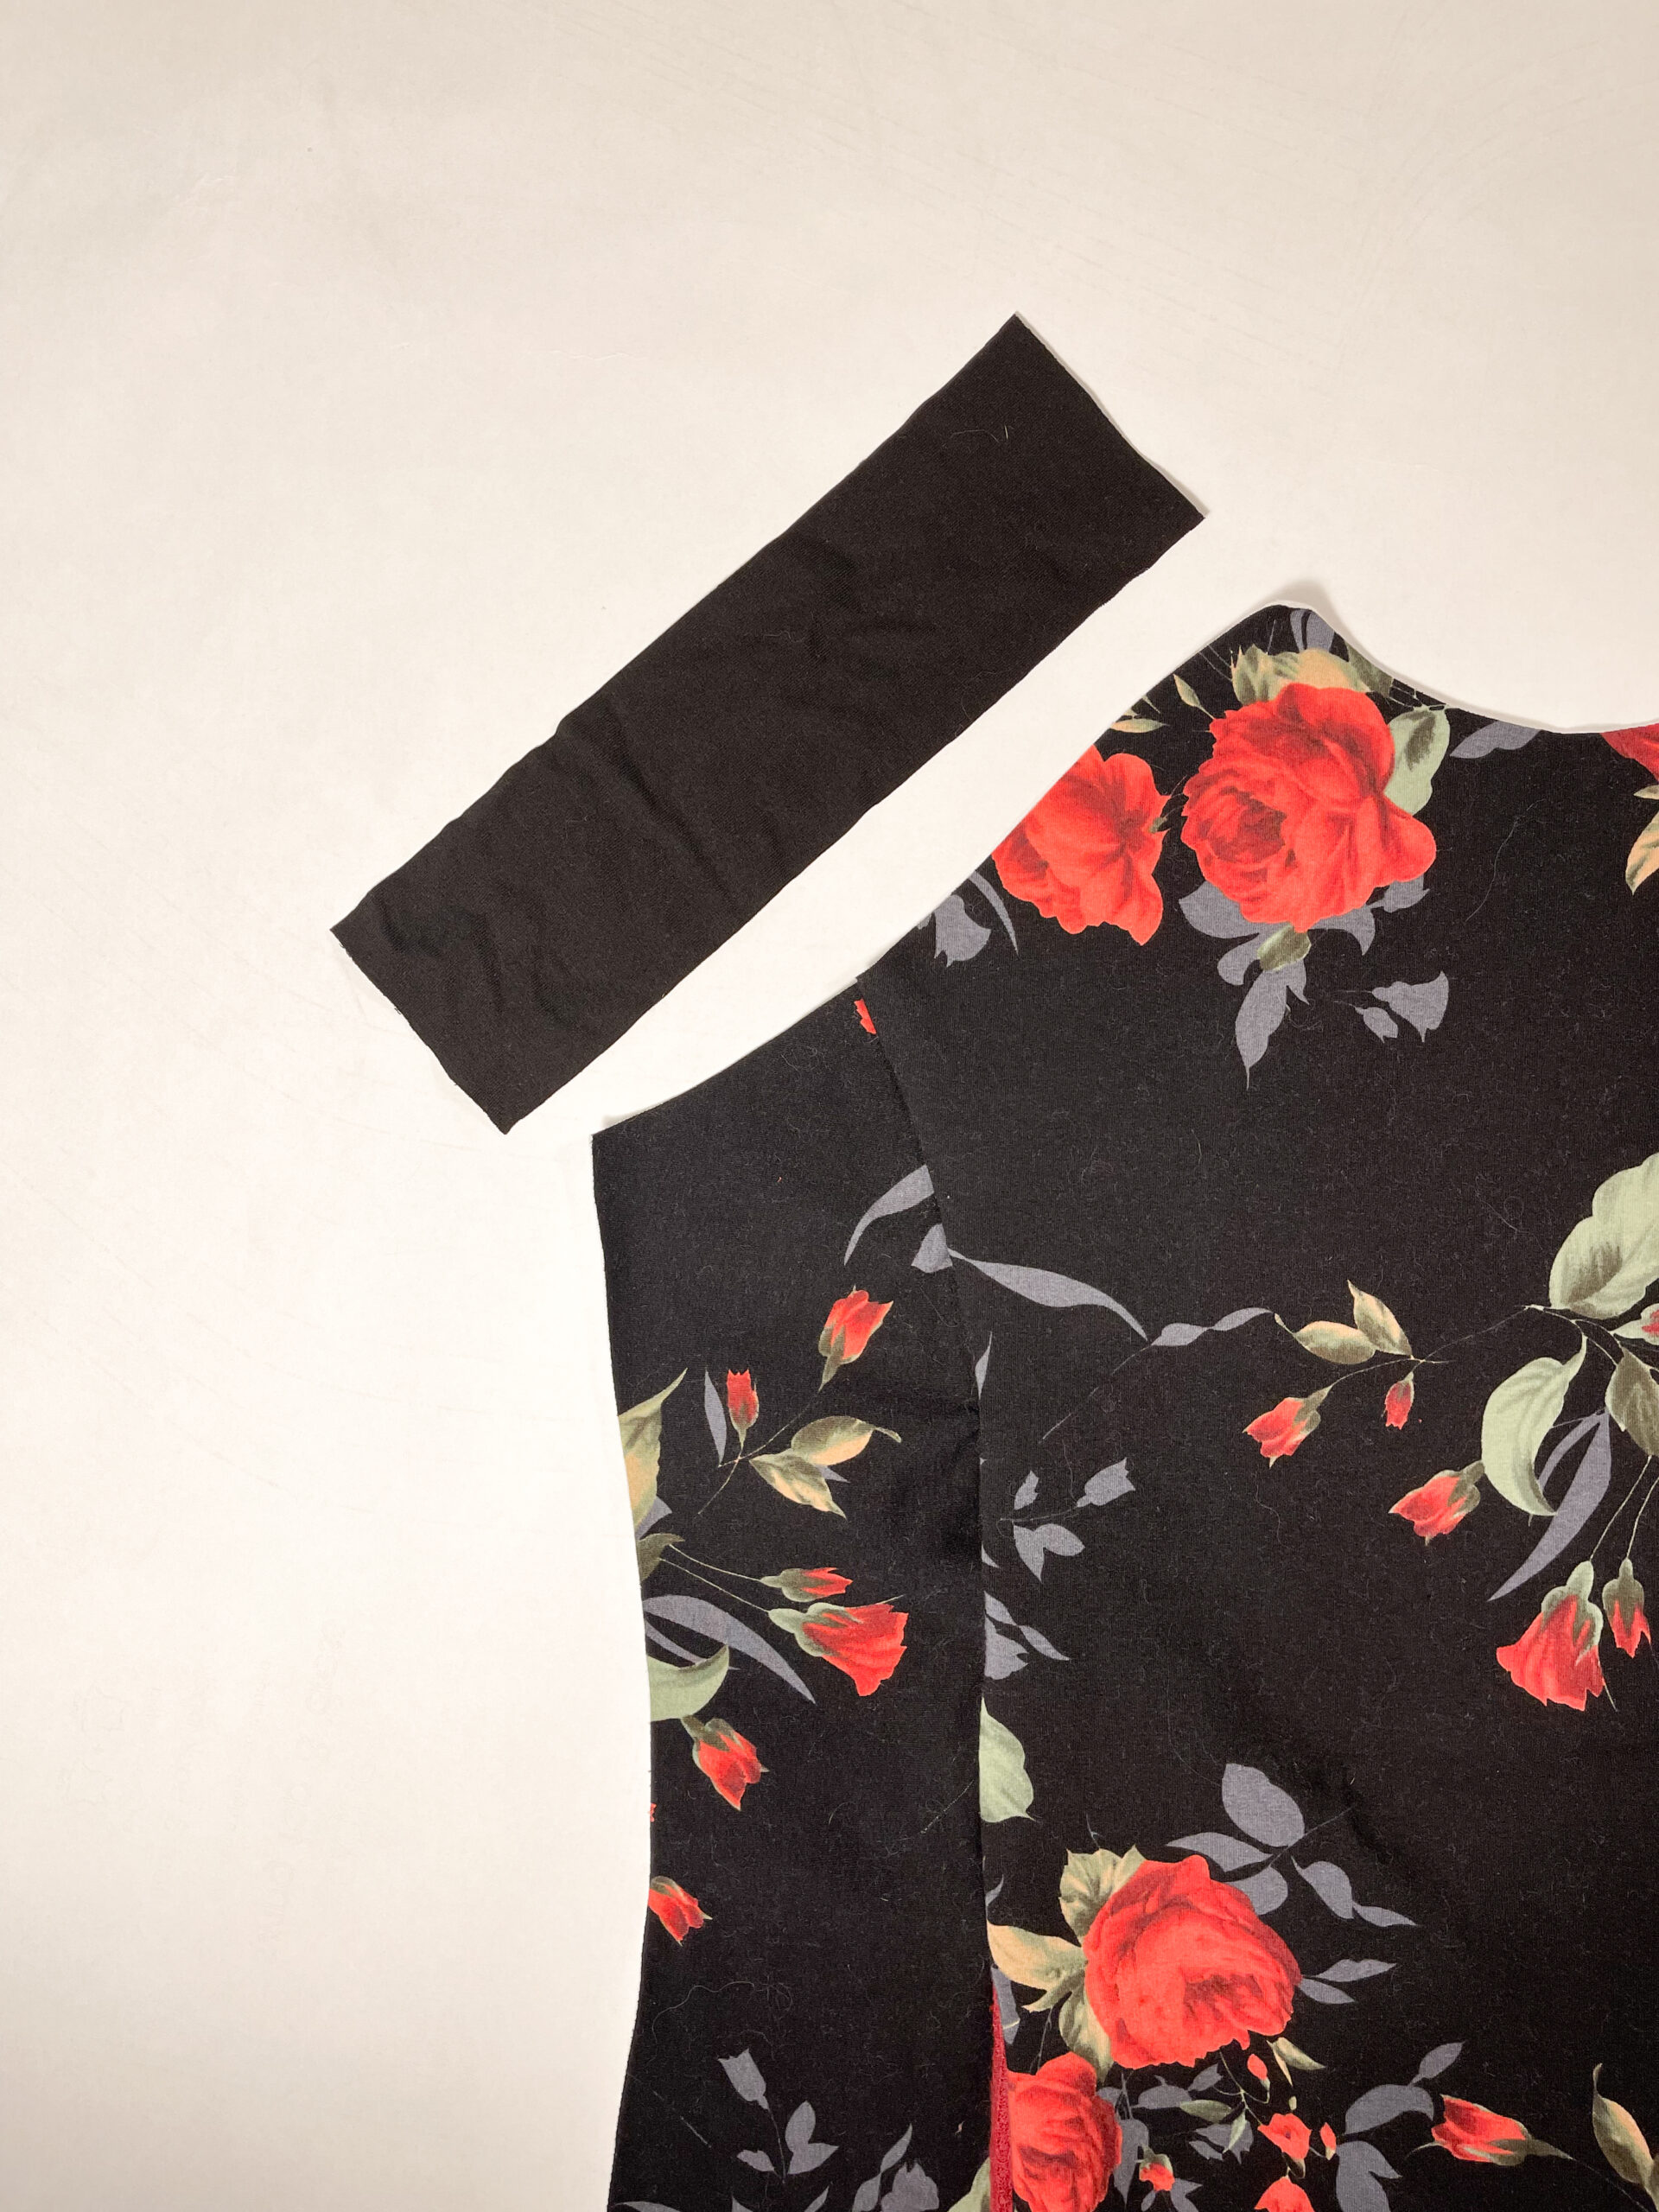
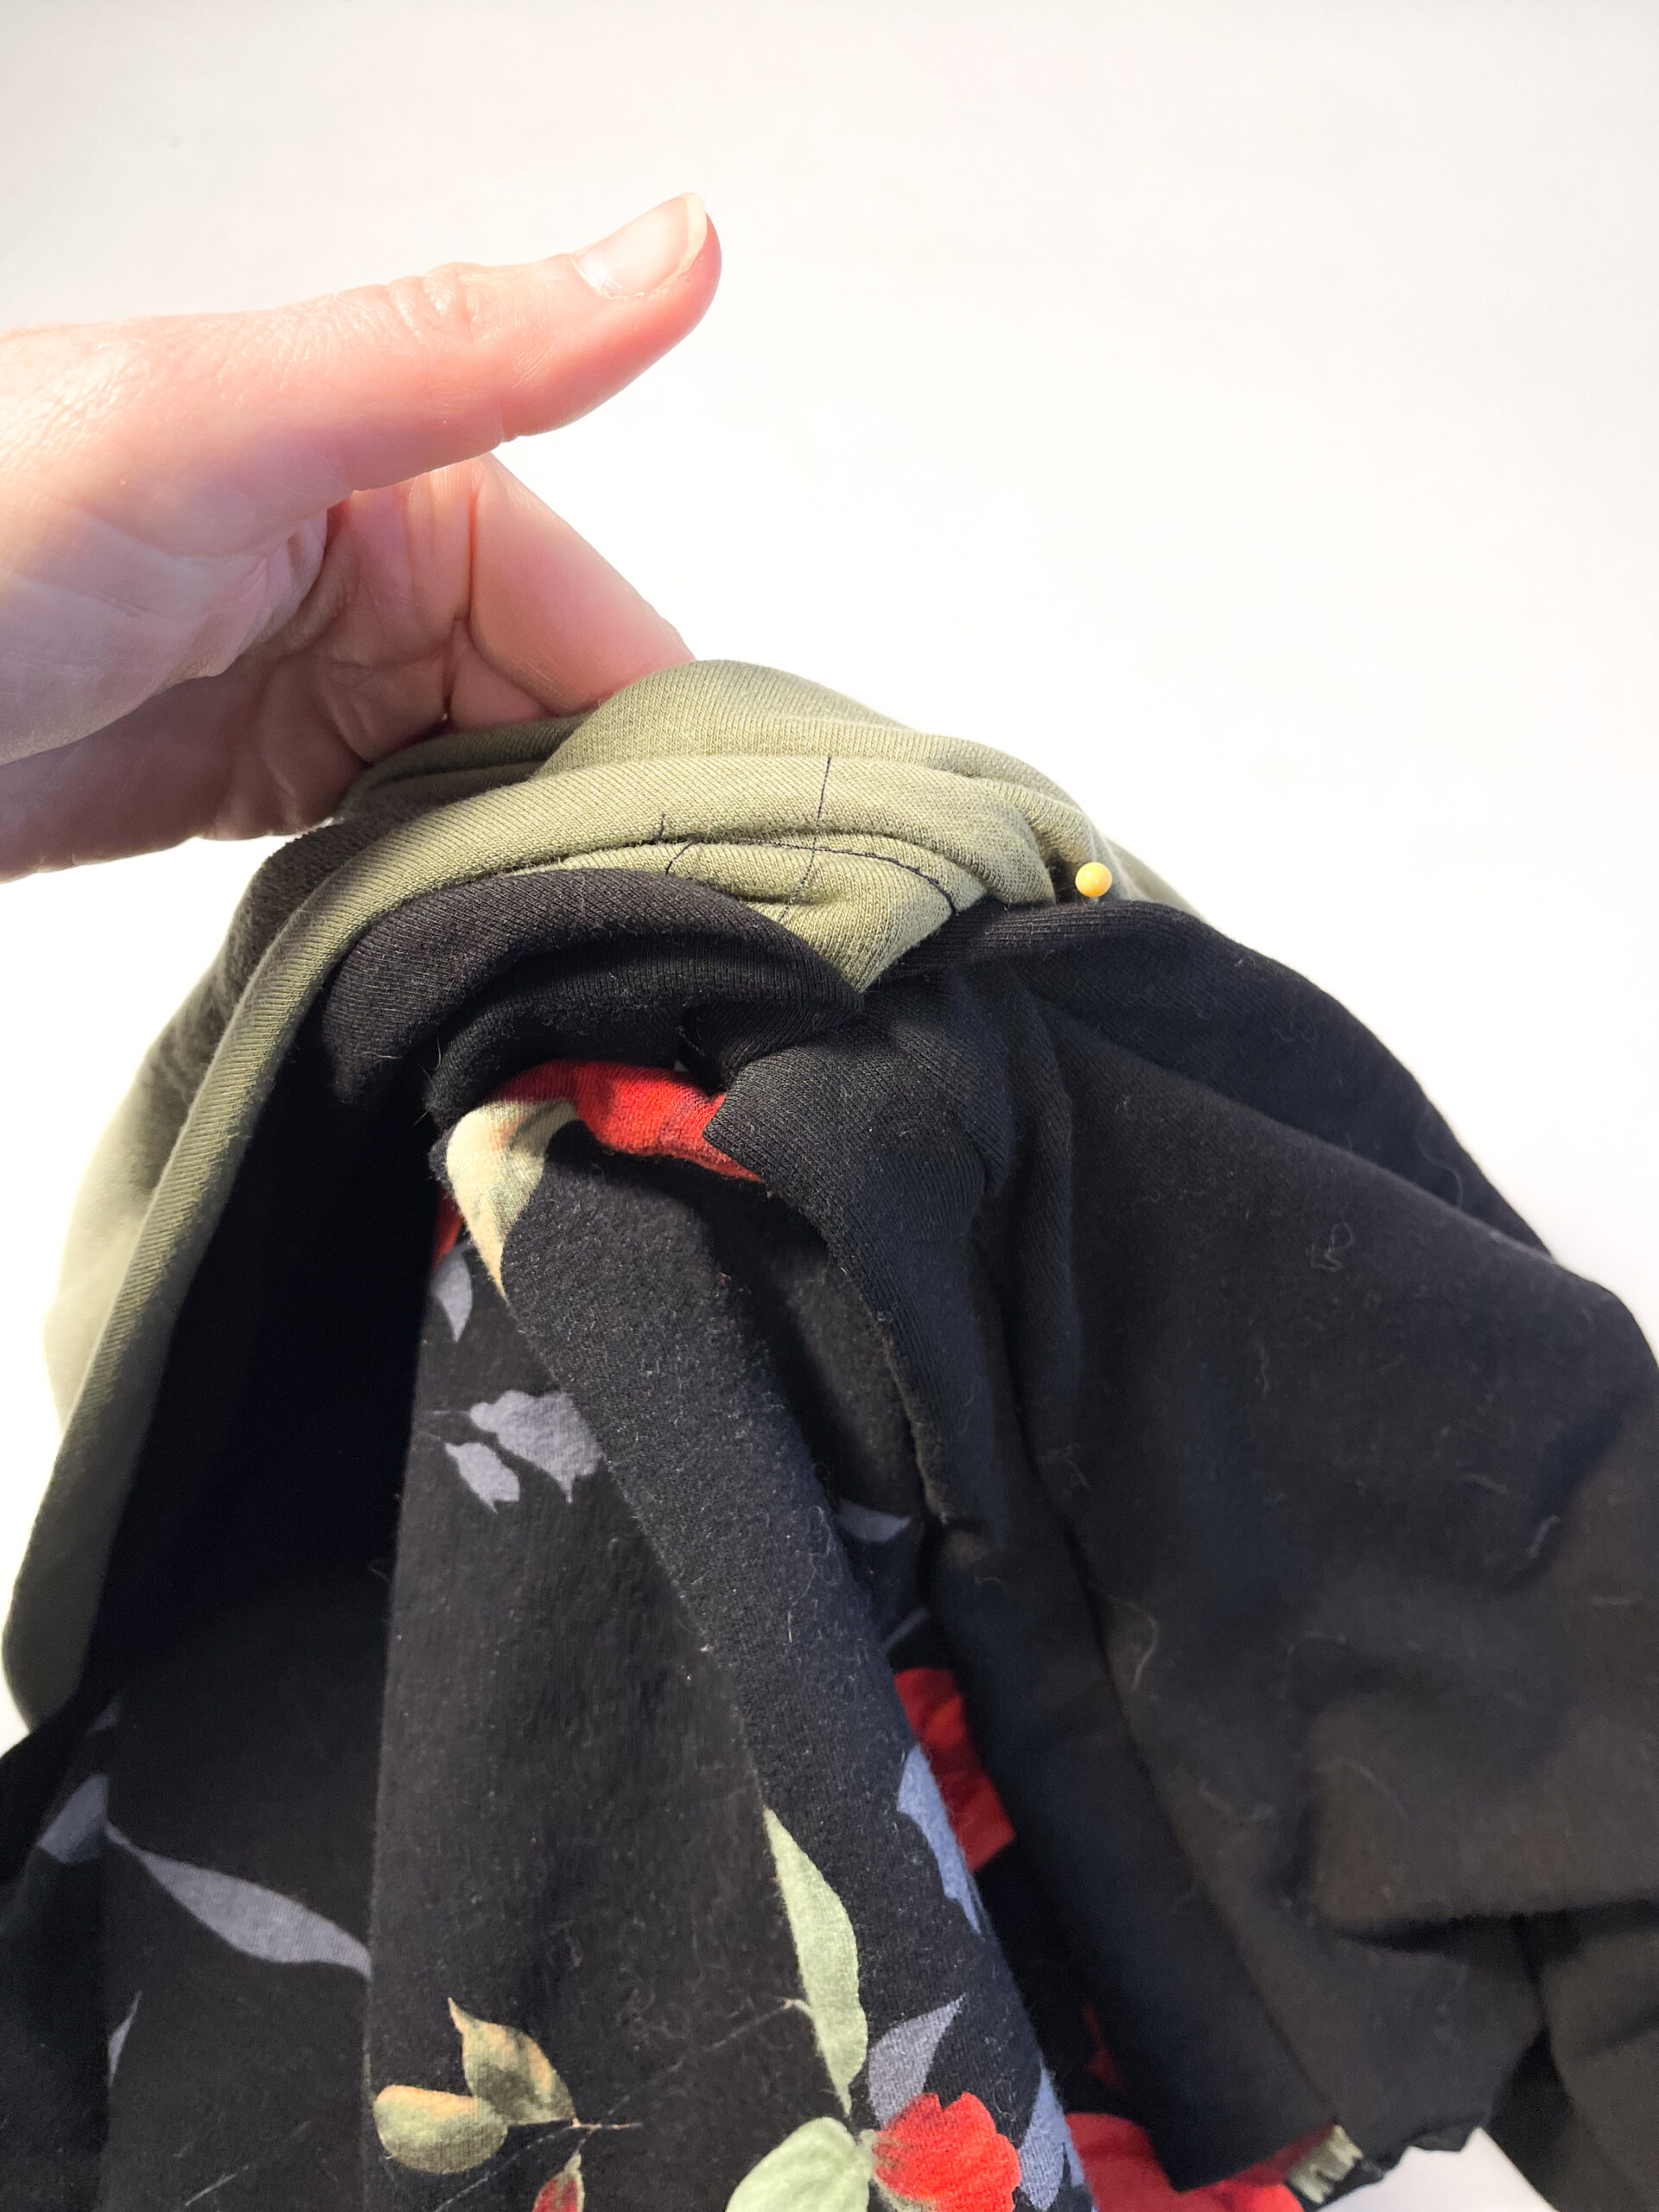
Lay your faux placket piece on top of the front bodice piece with the raw long edge matching up to the raw edge on the front bodice piece. Center the faux placket piece within that edge, and position it with the intention of keeping it free of seam allowances in the armpit or where the hood will attach along the neckline.
Lay the corresponding arm pattern piece face down on top of the faux placket piece, which is on top of the front bodice piece.

Pin all 3 pieces in place with the raw edges lined up. The faux placket will be sandwiched between the arm and bodice pieces. Finish pinning and sewing both arm pieces to the back and front bodice pieces.
Complete the Bodice

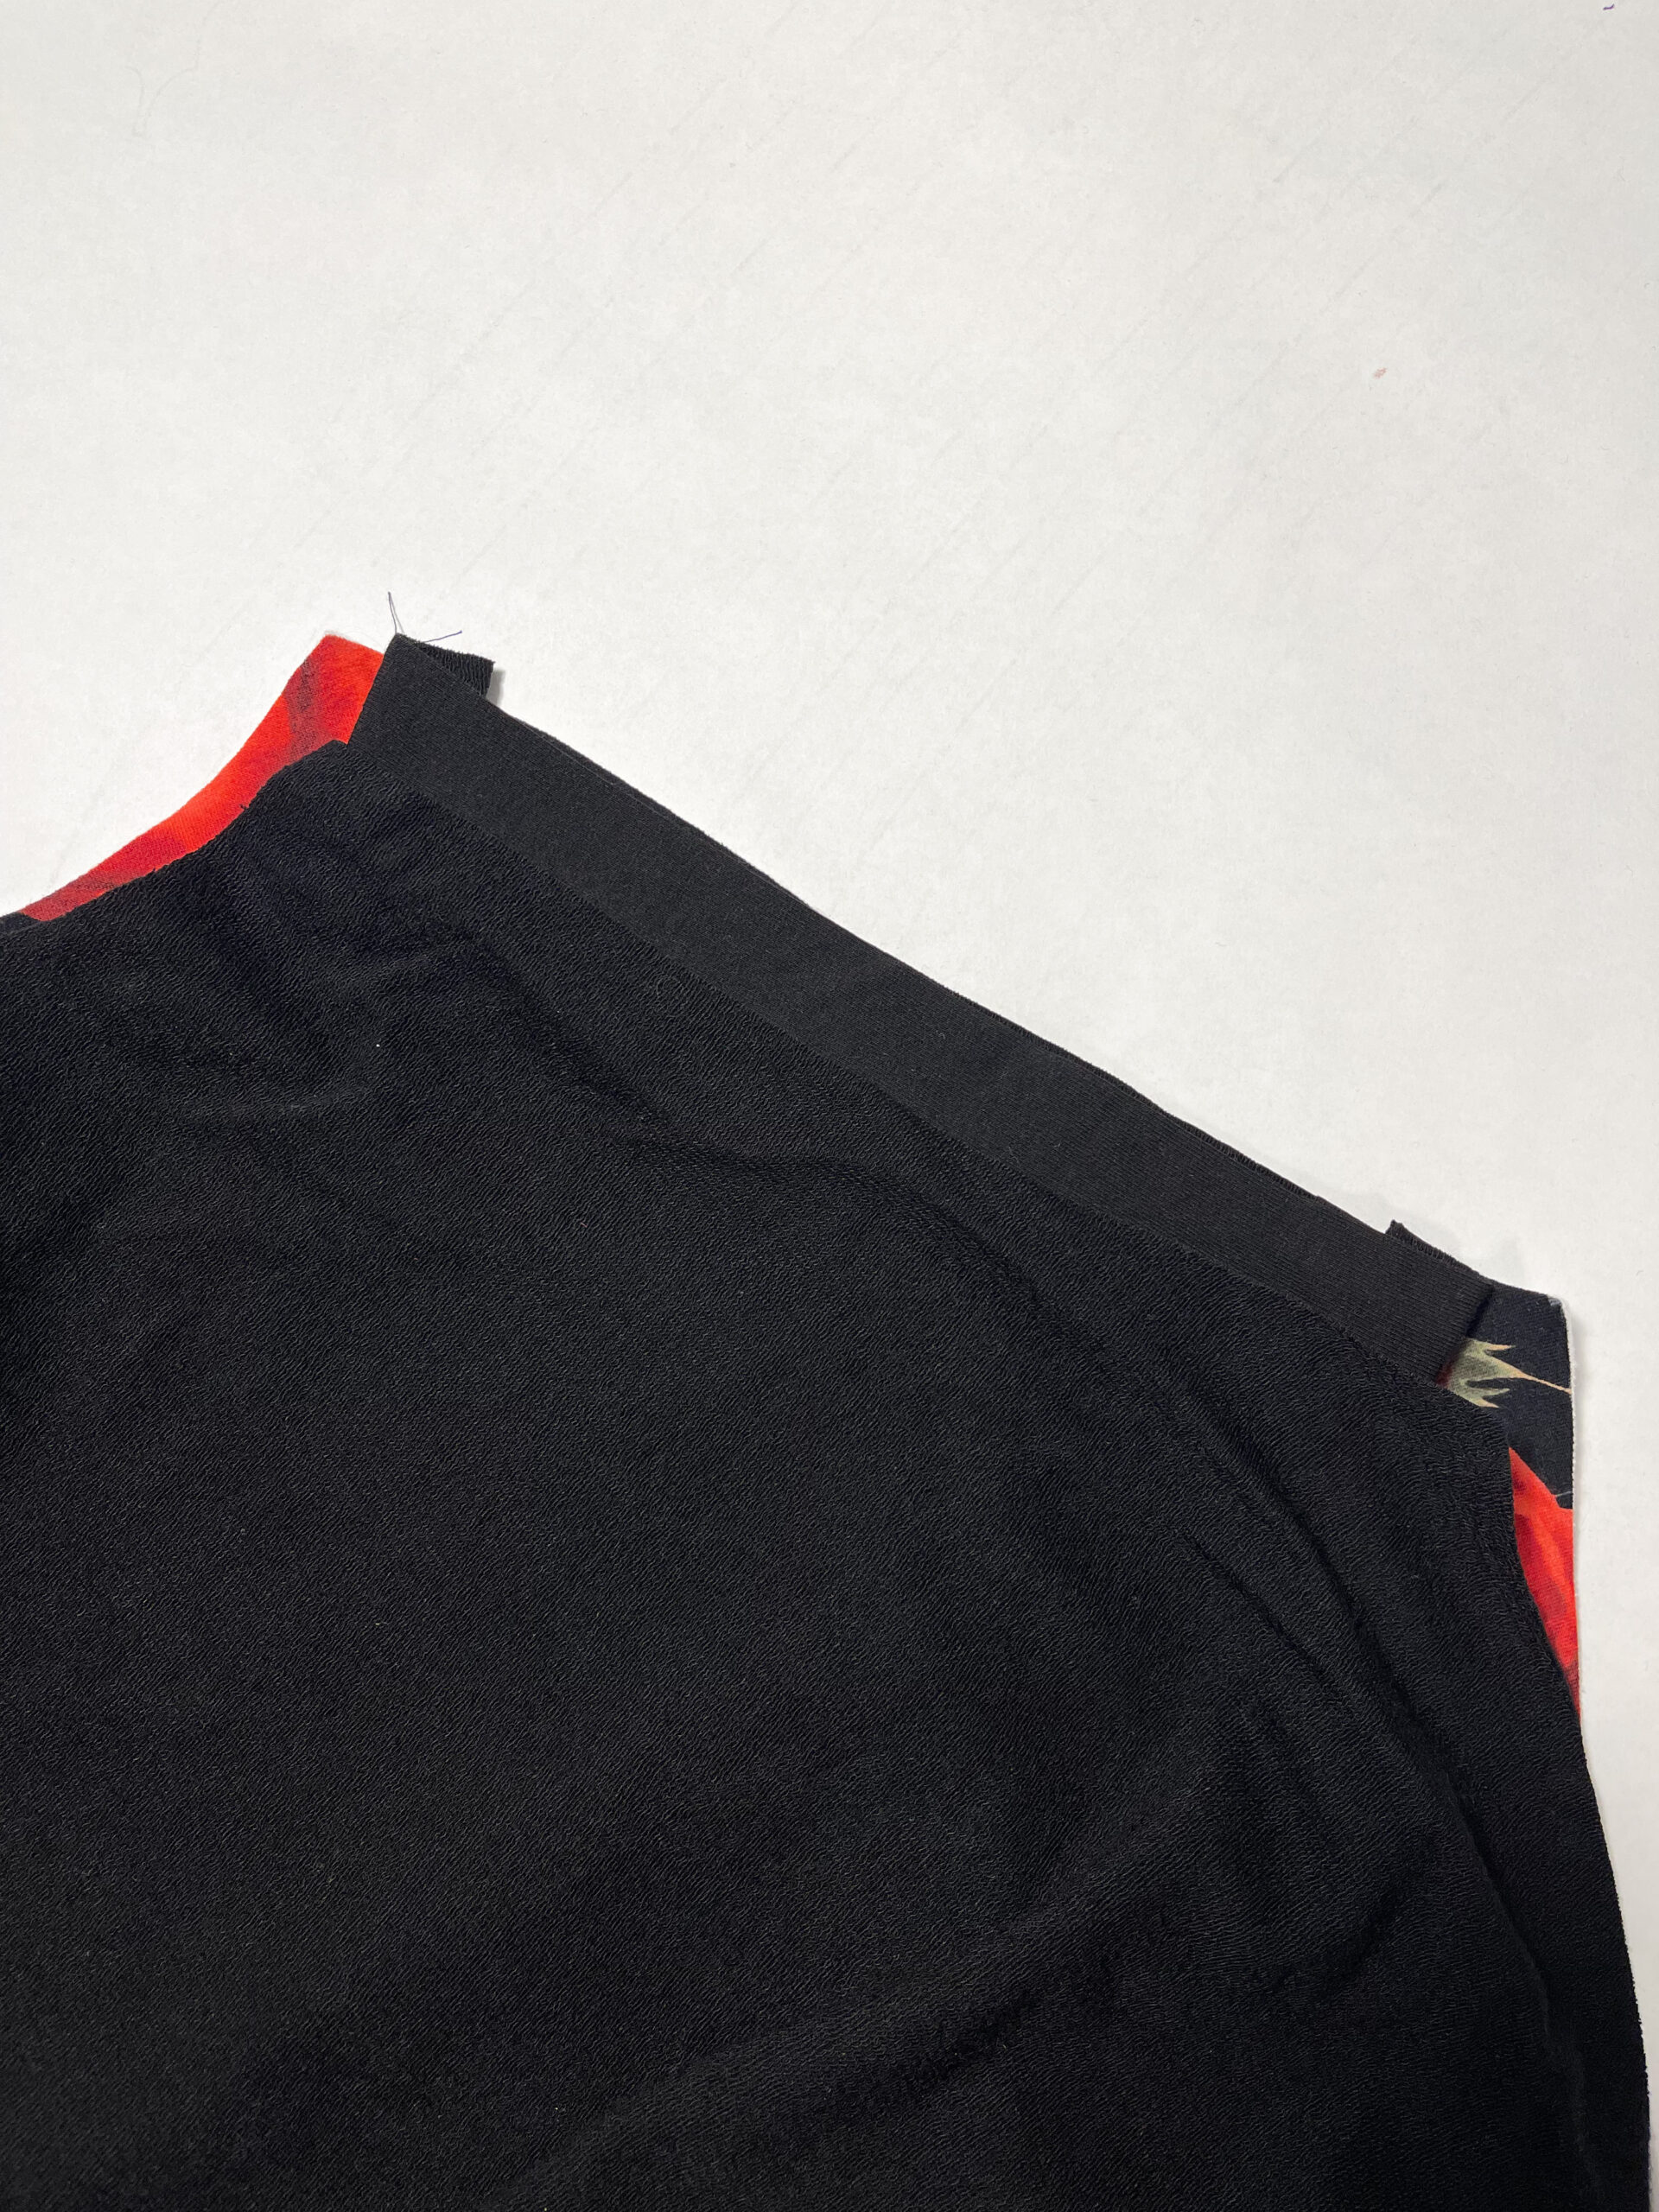
Pin and sew the underarm/side seams as outlined in the tutorial, being sure not to get the faux placket piece caught in the armpit seam allowance.

Turn your garment ridge side out. You should see something like this.
Attaching the Hoods
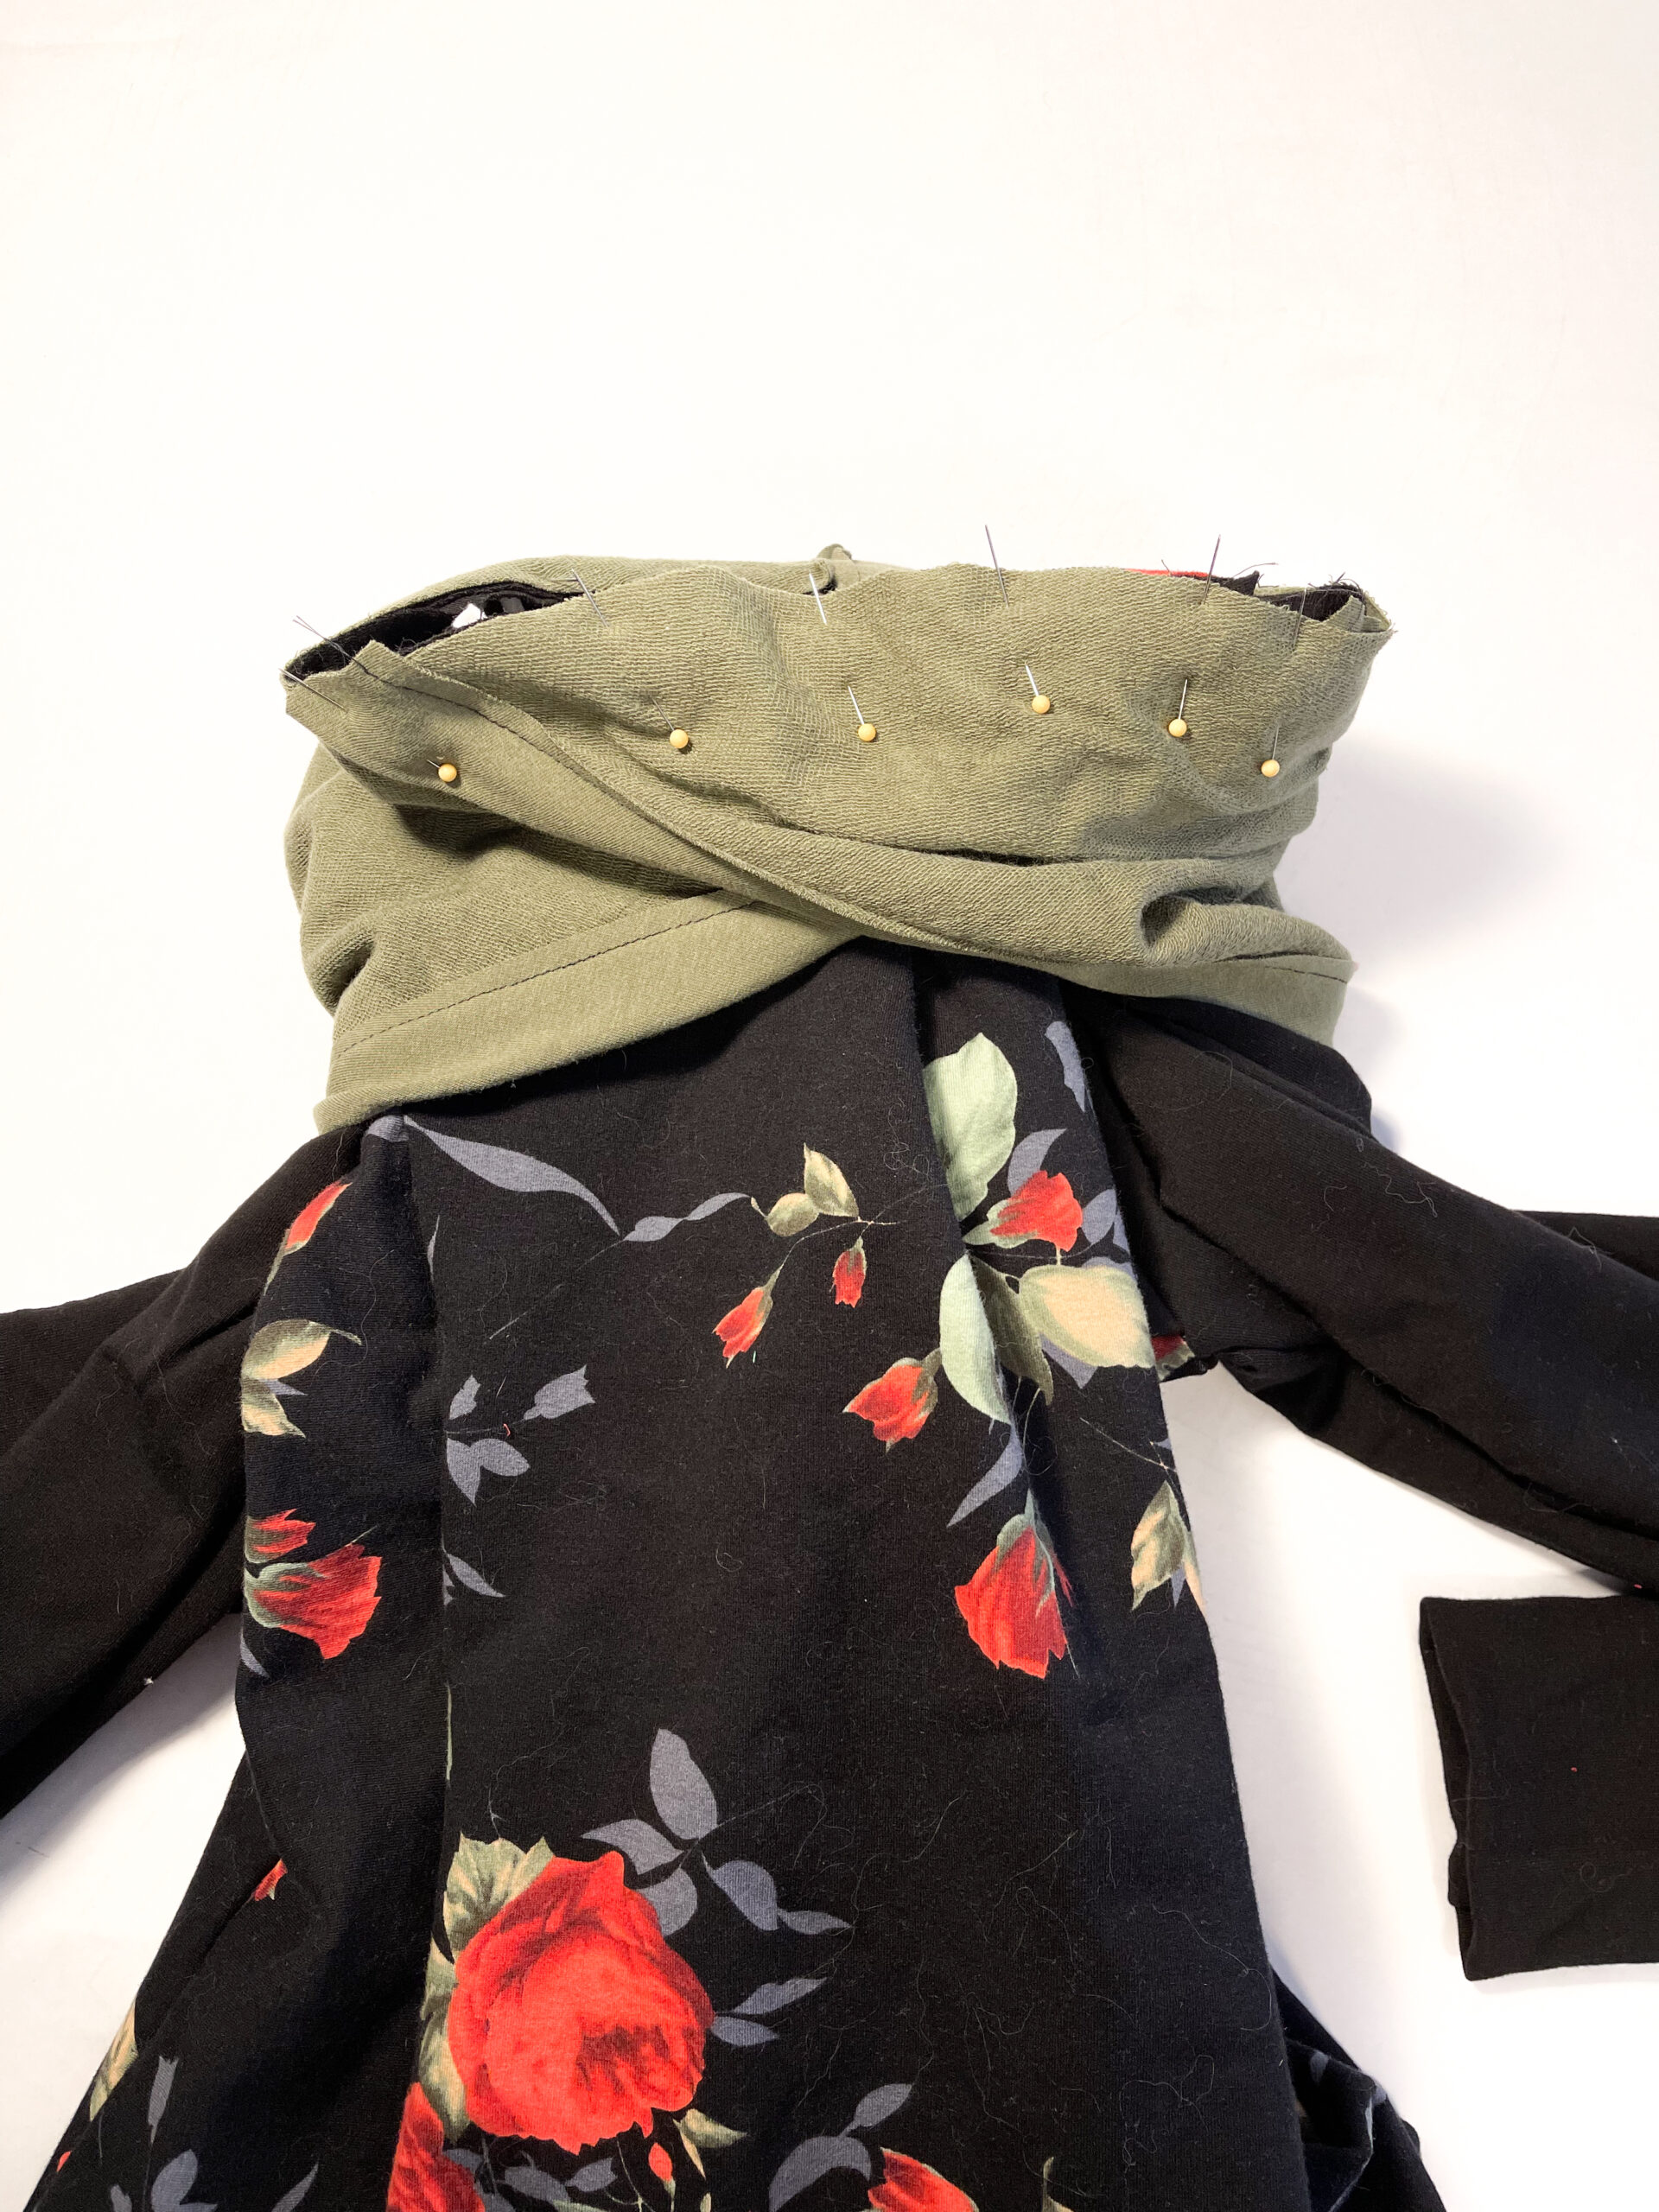
Pin the double hood to the garment body as per the pattern tutorial instructions.
Check to be sure the upper end of the faux placket will not get caught up in the hood/neckline seam allowance. Sew the hood on at the neckline.

Turn the hood right side out and you should see something like this.
Attach the Buttons

Sew on some fabulous buttons to tack the faux placket down to the front bodice piece, and you’re all done!
Don’t forget to share your faux placket Tami or Summit Peak on the Pattern Niche Facebook group.